Hello, aspiring ethical hackers. In one of our previous blogposts, you learnt in detail about what is OSINT, types of OSINT etc. In this blogpost, you will learn about a tool named SpiderFoot. SpiderFoot is an open-source intelligence (OSINT) automation tool.
Spiderfoot is a python script and can be run on any machine with Python installed. Using spiderfoot, we can gather information from almost any open source data source available. For this tutorial, we will be using Kali Linux as spiderfoot is installed by default on it. Spiderfoot has an embedded web server and hence has a web-based interface.
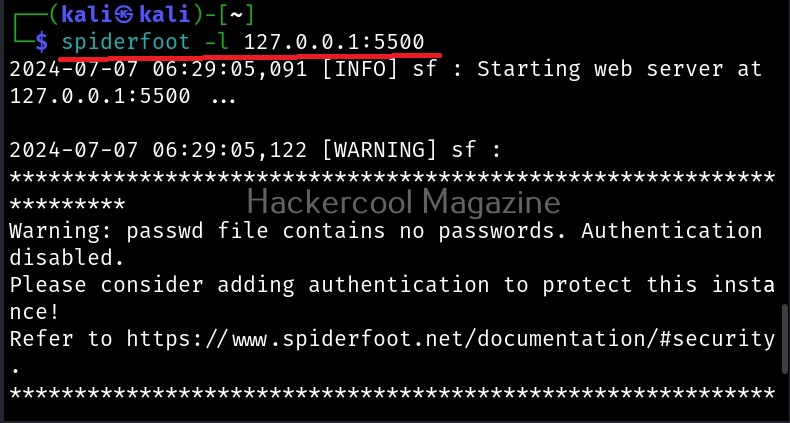
To start spiderfoot on Kali, all you have to do is use the “-l” option and then specify a IP address and port on which you want the web server to listen on. The “-l” option stands for listen. Here we have configured spiderfoot to listen on the port 5500 of localhost.
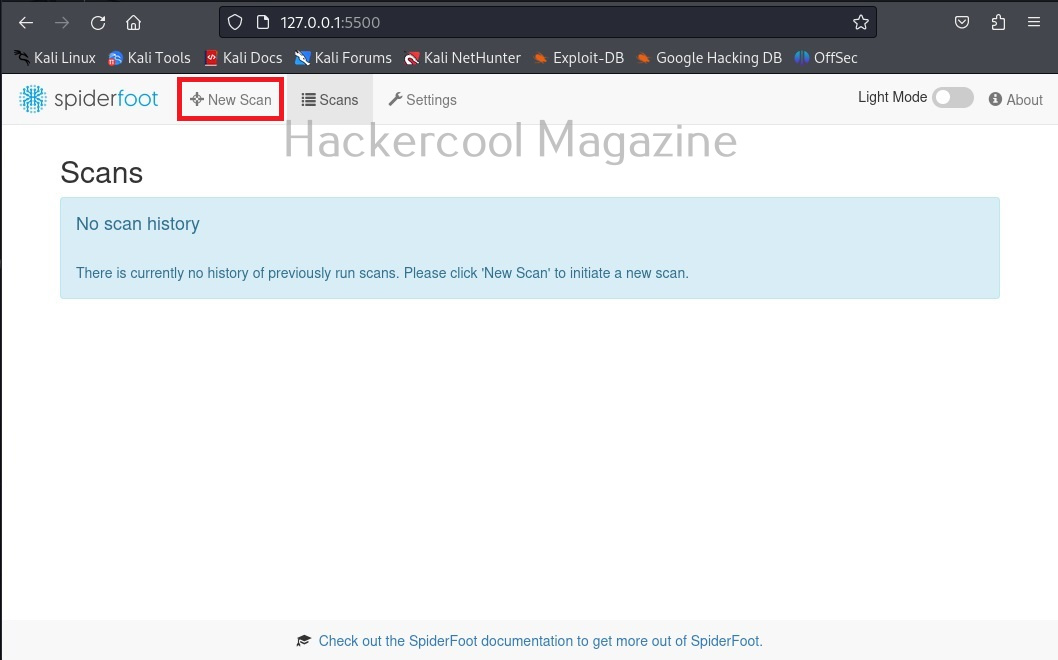
Now, browse to the above highlighted URL using your favorite browser. You should see this.
Since we have not yet performed any scans yet. There is no scan history. To start a new scan, click on “New scan”.
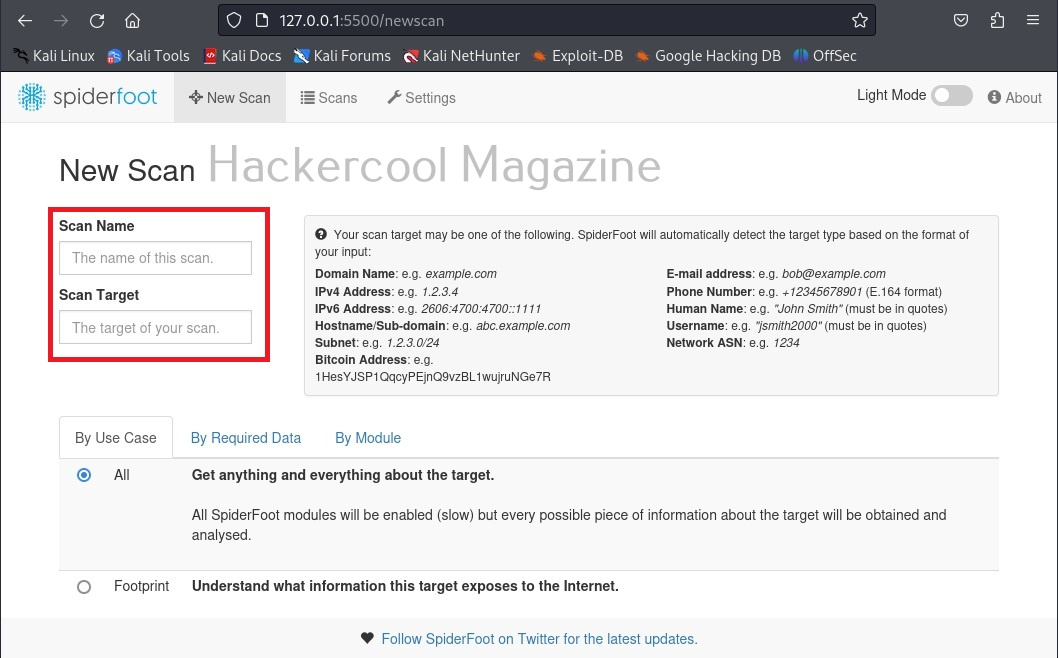
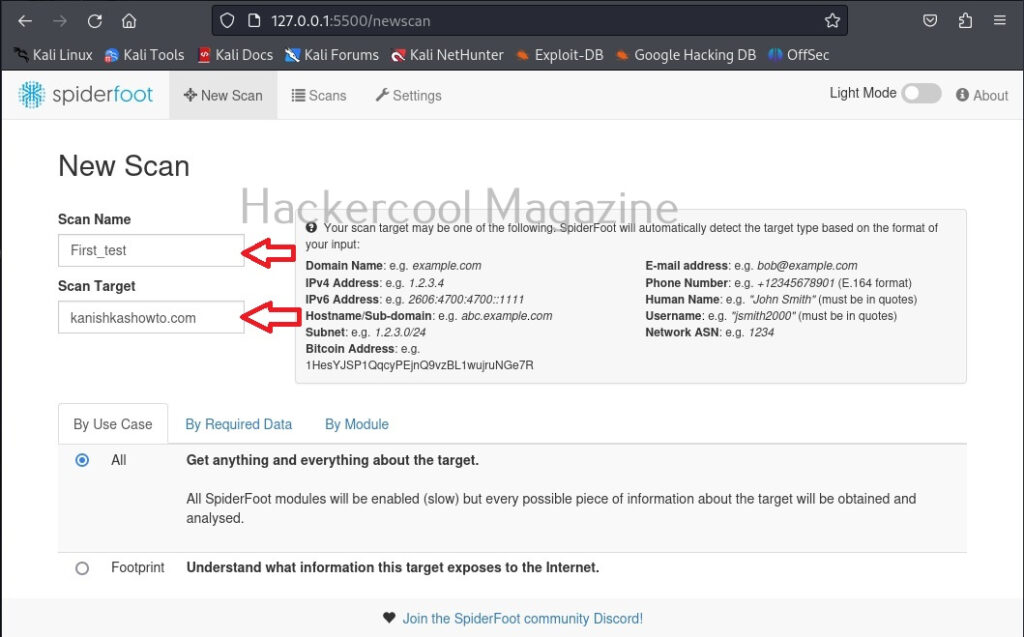
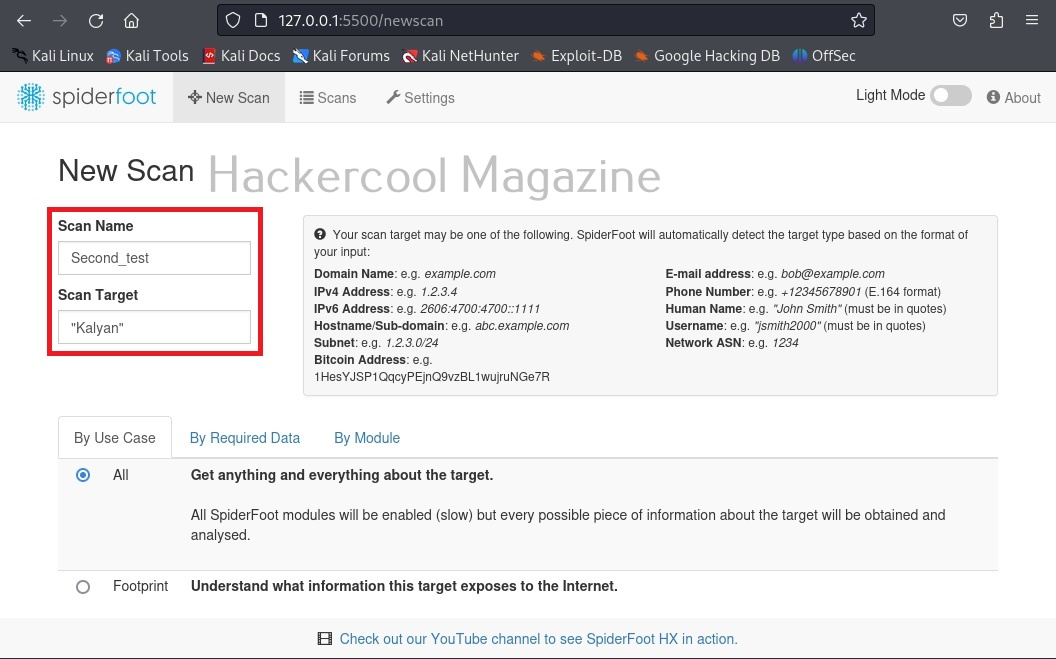
Spiderfoot can gather information from domain name, IPV4 or IPV6 address, host names, sub-domains, subnet, Bitcoin address, E-mail address, phone number, human names, usernames and networks. Let’s start our search with a domain name first.
After entering the name of the scan and the scan target scroll down a bit.
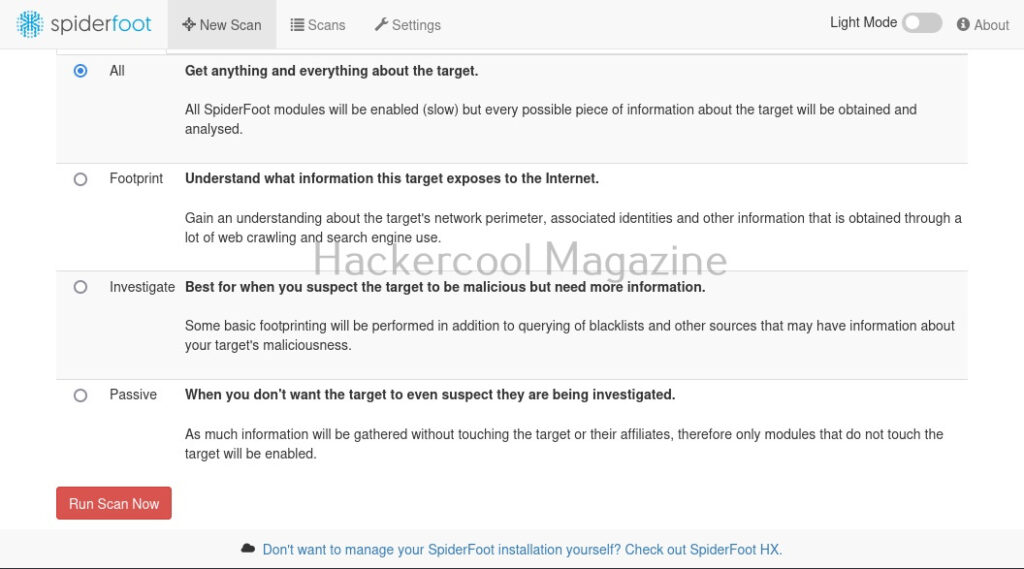
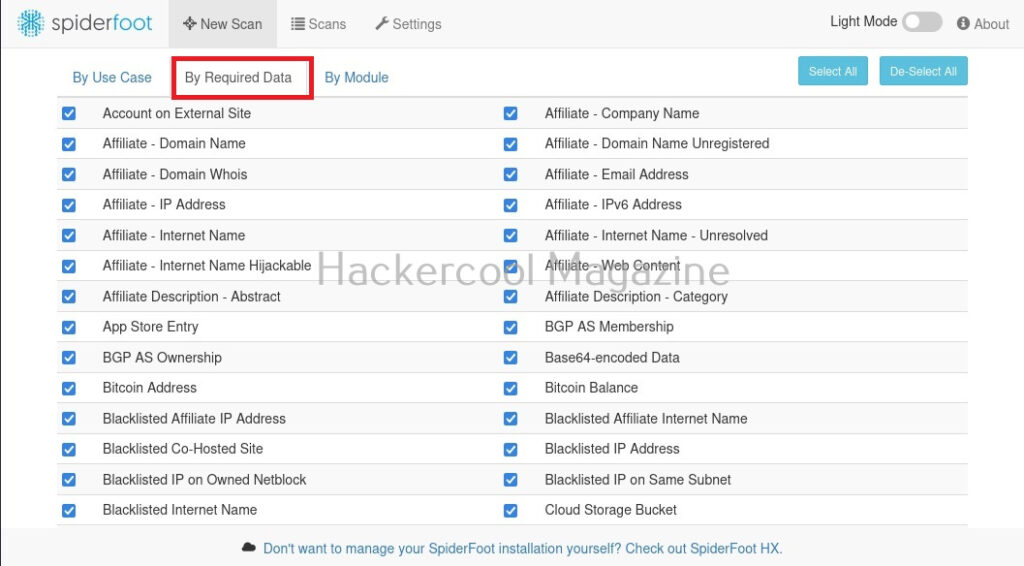
There are various ways you can search with for any target using SpiderFoot. You can also search based on what you require about the target.
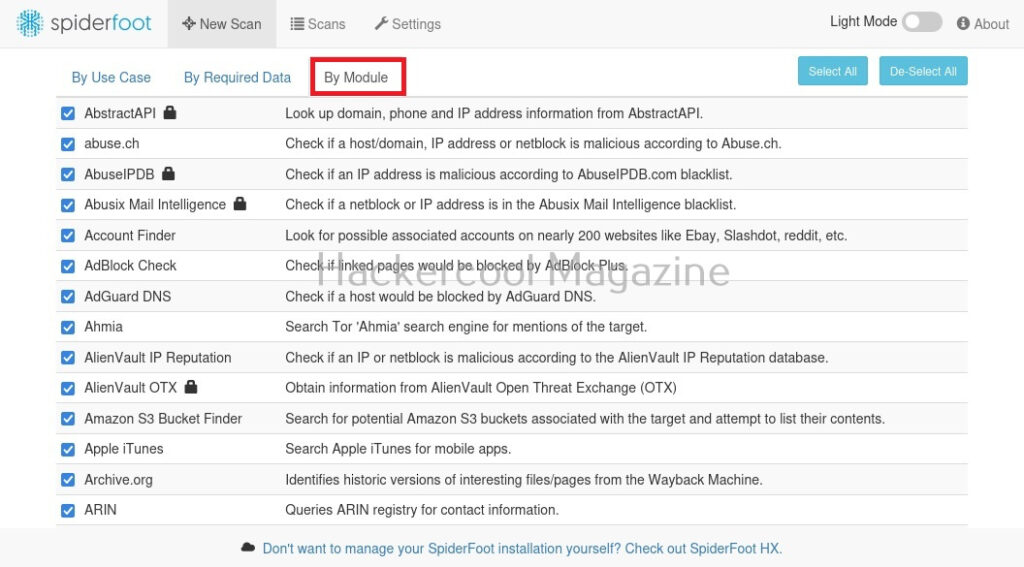
You can also search based on required module (more about modules later).
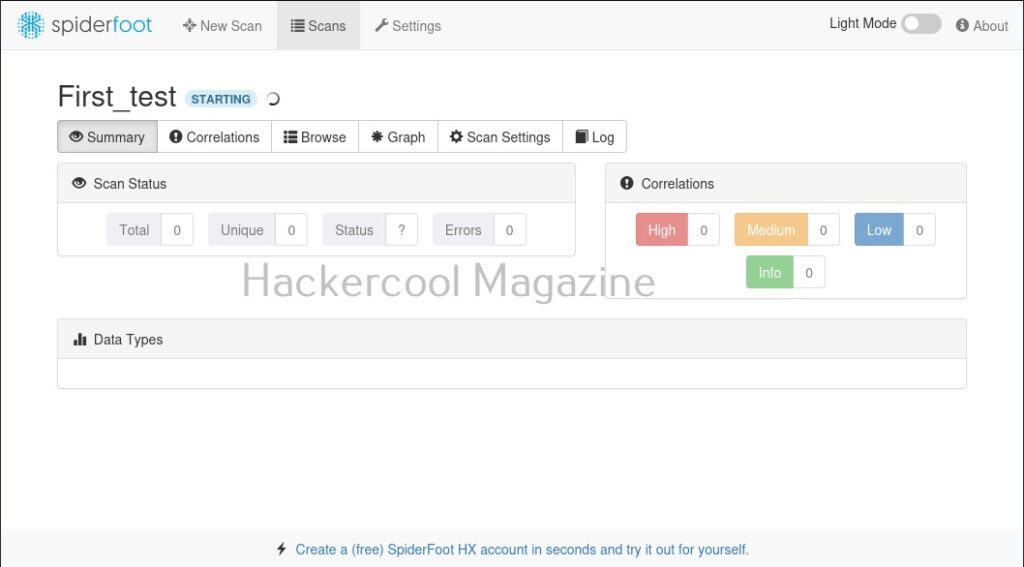
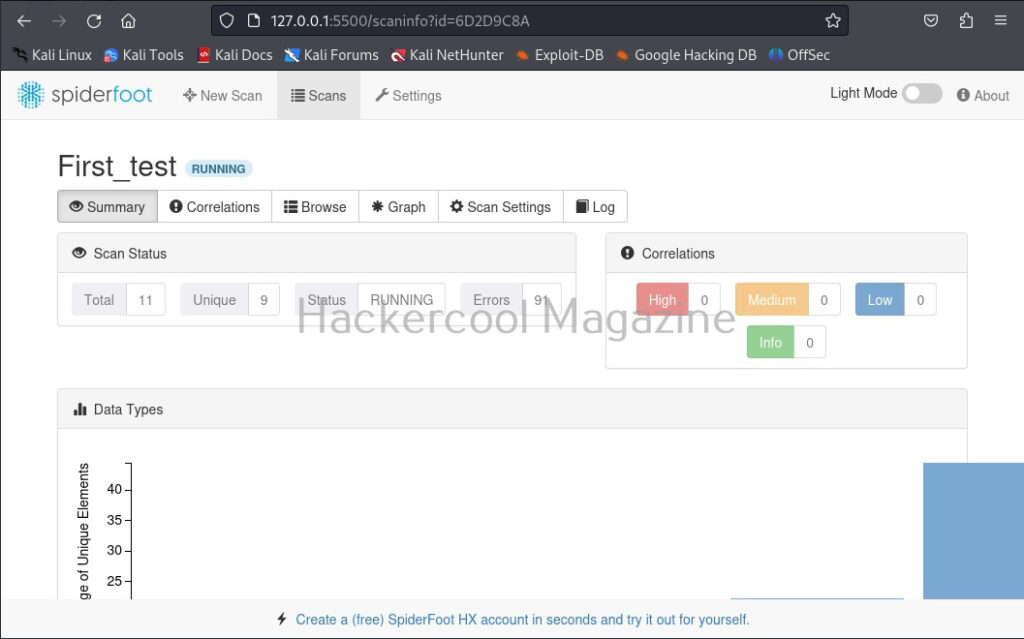
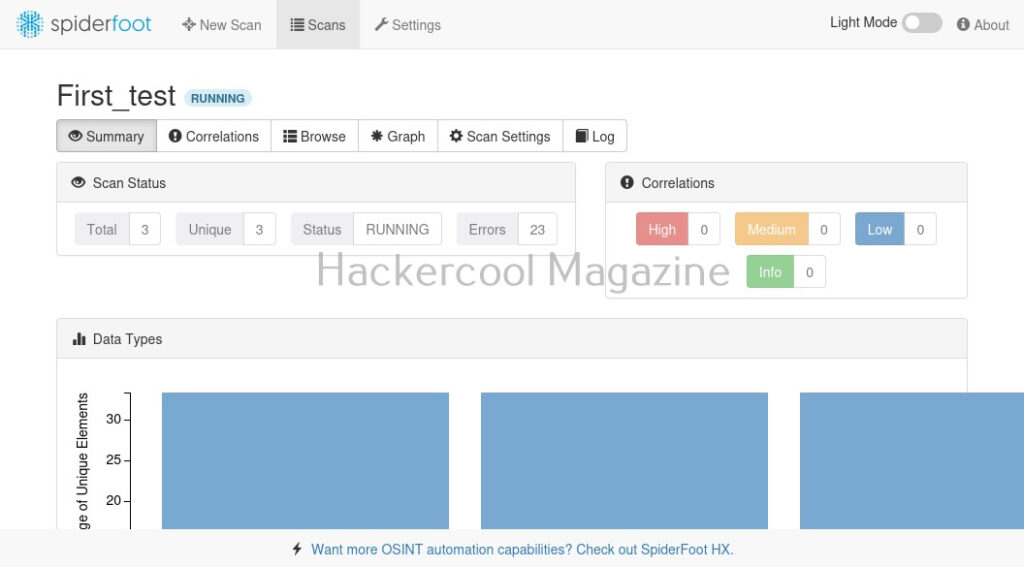
I select “All” and click on “Run scan now”. The scan starts and may look empty at the beginning.
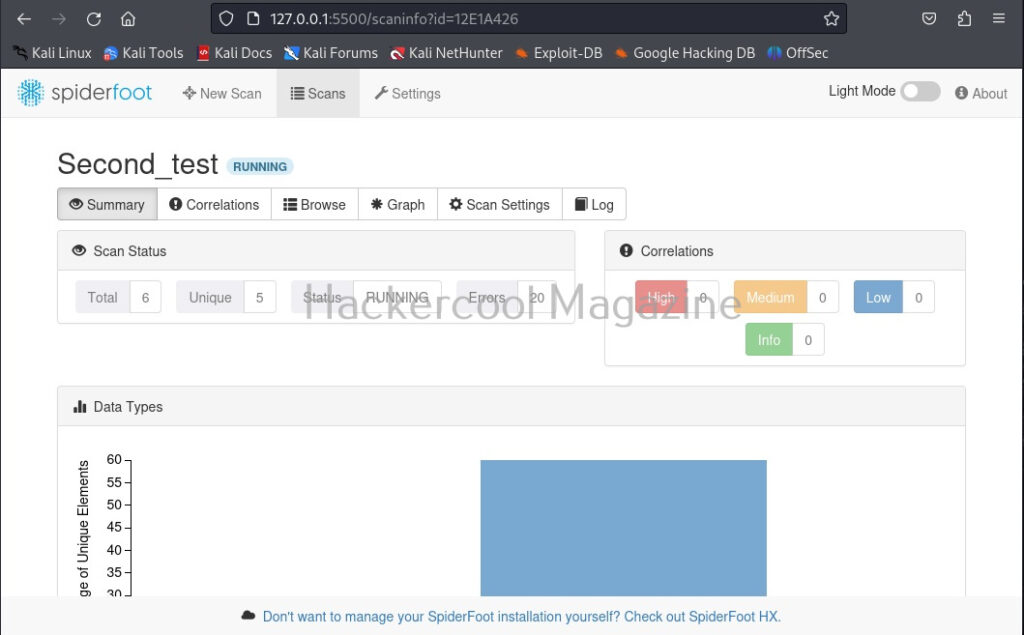
As the scan progresses, your screen will be filled with bars as shown below.
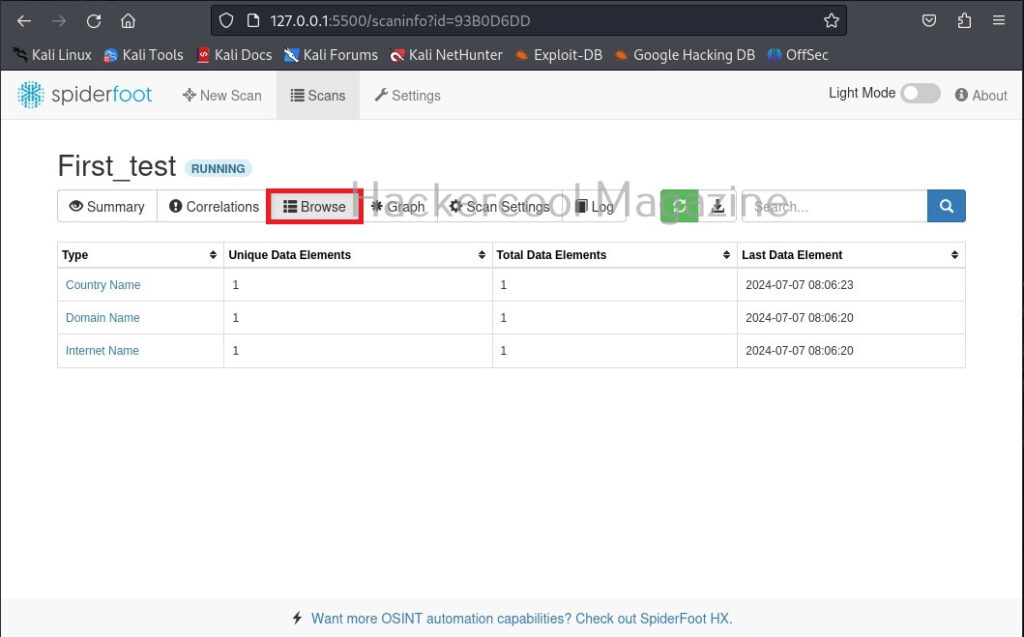
While the scan is still running, you can view the findings of the scan by going to the “Browse” tab as shown below.
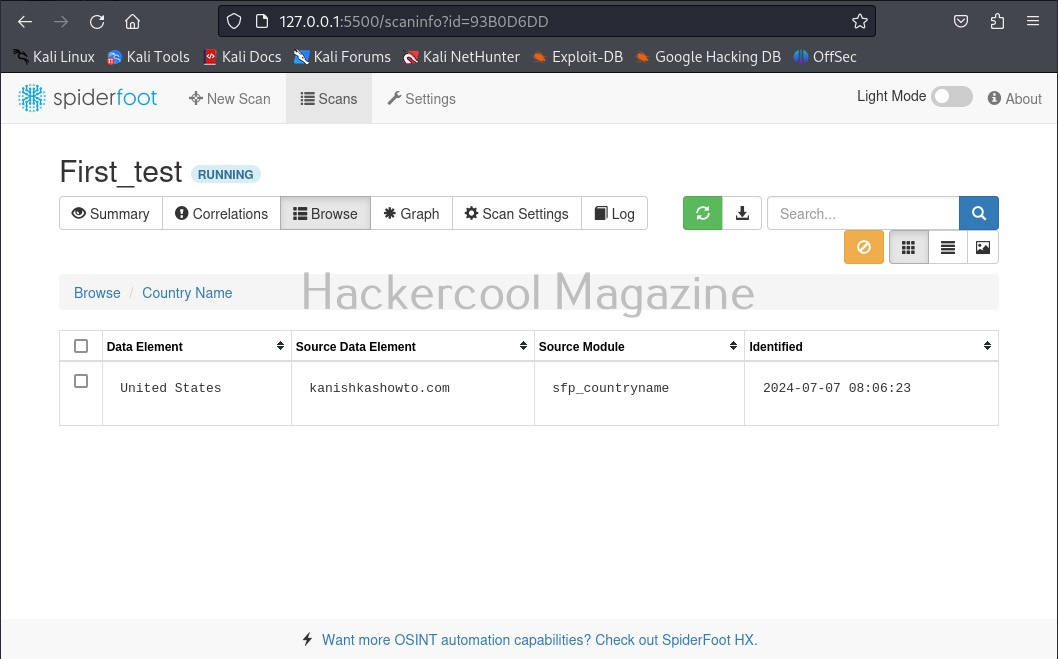
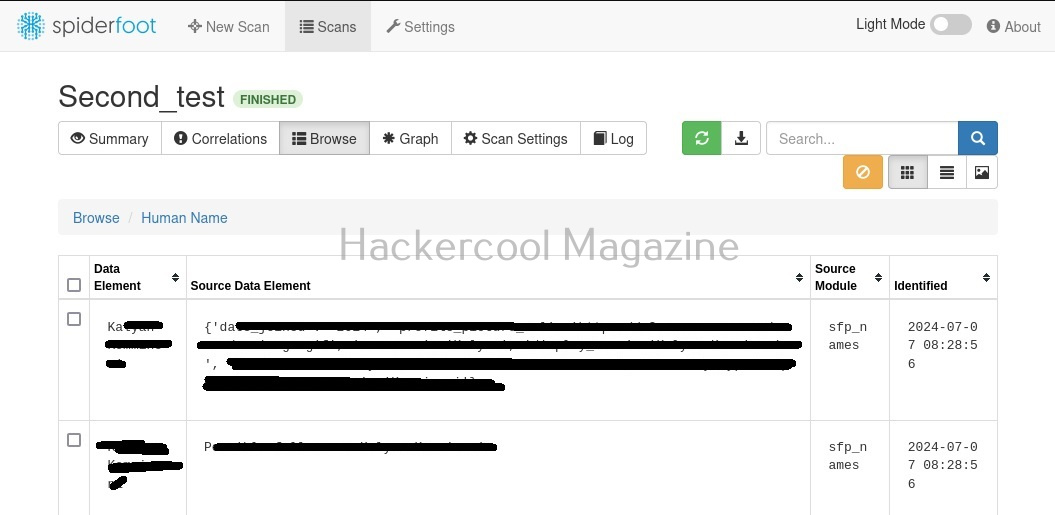
You can view each of the entries to find out what spiderfoot has detected.
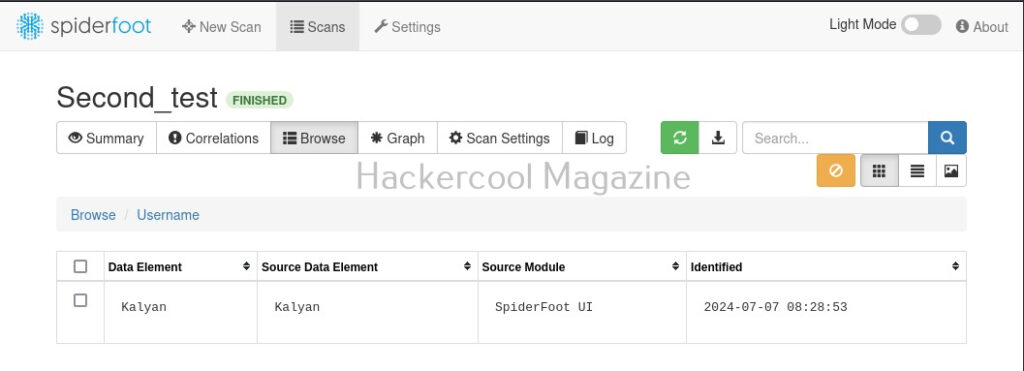
For example, in this case, the target website is hosted in USA. Now, let’s search for a “Name” say “kalyan”. The good thing about spiderfoot is that it will automatically detect the type of target based on format of your input.
Here’s the result.
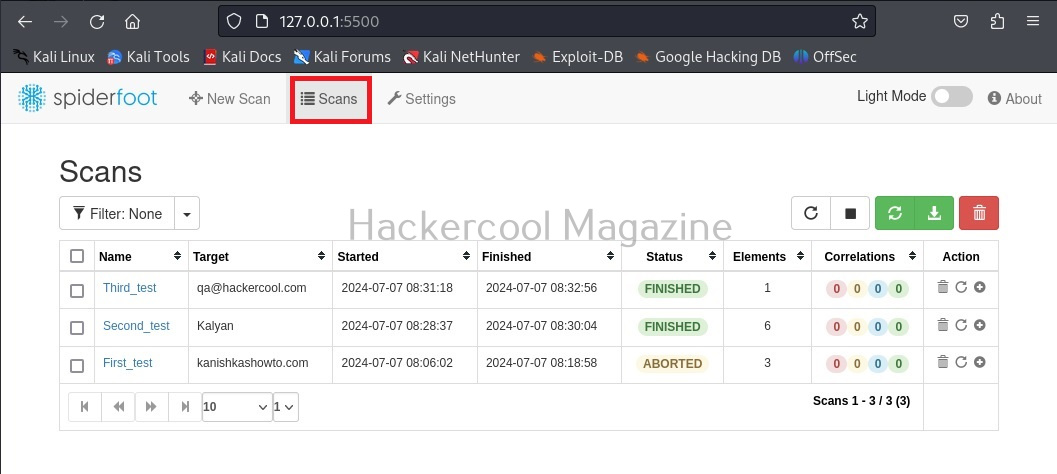
You can see all the scans you performed in the “scans” section.
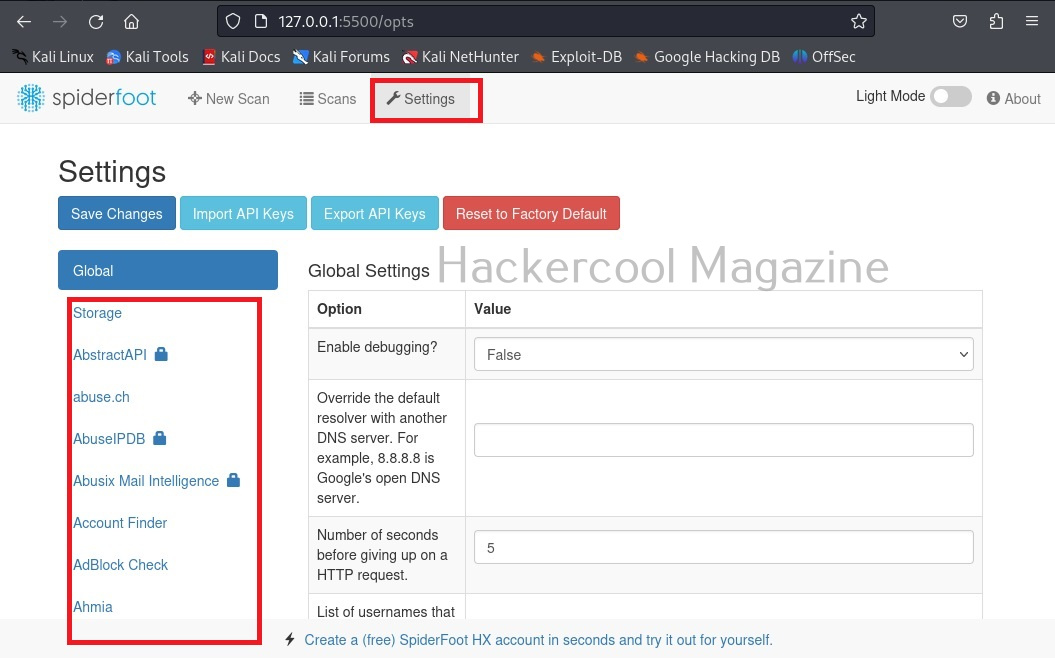
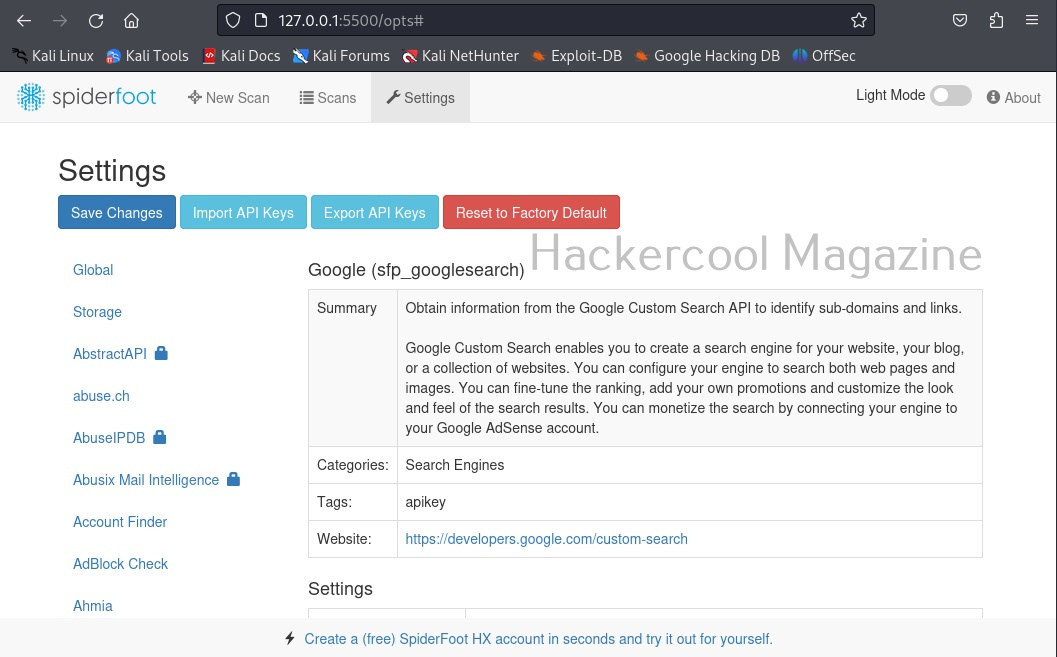
Another important tab here is the “settings” tab. It consists of settings for this tool. But just not that. Remember, I told you at the beginning of this article that Spiderfoot can collect information from almost all data sources. These data sources are listed here to the left in settings section.
Almost all sources are free, but some need APIs belonging to that particular service (Did you see the lock sign next to some services?).
Follow Us
