Hello, aspiring ethical hackers. In this blogpost, you will learn about a tool named Hping 3. Hping3 is a network tool that can be used to send custom ICMP/TCP/UDP packets and to display target’s replies like ping does with ICMP. This tool can be used to perform echo requests, port scanning, test network performance using different protocols, perform traceroute, fingerprint target operating systems, test firewalls and even perform DOS attack.
Let’s see some of the uses of the this tool. For this we will be using Kali Linux on which hping3 is installed by default. As target, we will be using Metasploitable 2 set in our virtual hacking lab. So let’s begin with.
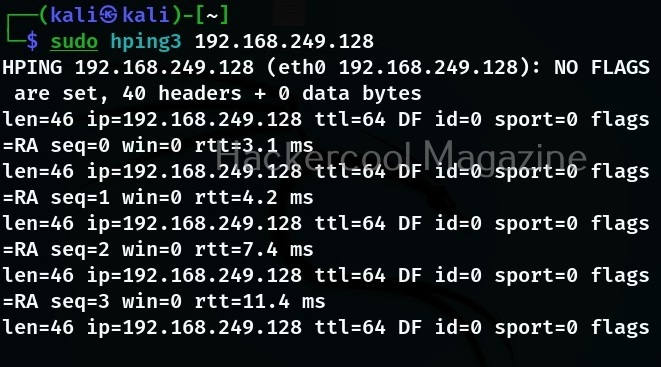
The simple way to use hping3 to specify a target IP address as shown below.
You can see that hping3 sends echo request messages and displays the replies.
Modes
Hping3 supports many modes and protocols. By default, it uses TCP protocol to send TCP header file to target system’s host port 0 with a window size of 64 without any TCP flags on.
The above image is of that only. However, hping3 supports more modes.
Raw IP mode:
In this mode, hping 3 will send IP headers with data appended to it.
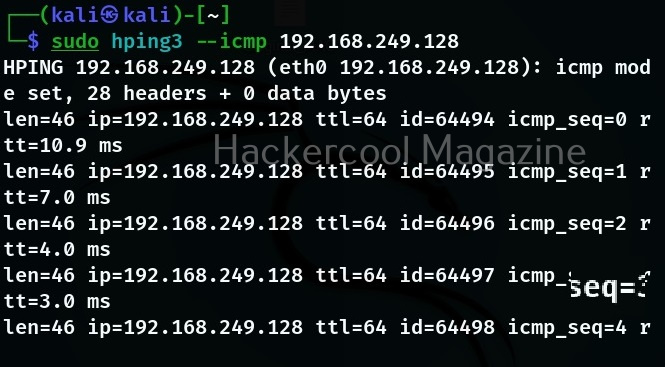
ICMP mode:
In this mode, hping 3 will send ICMP echo requests which can also be modified.
UDP mode:
In this mode, hping 3 sends UDP to targets host’s port 0.
Listen mode:
In this mode, hping3 waist for incoming connections acting as a listener (waits for packets of a specified signature).
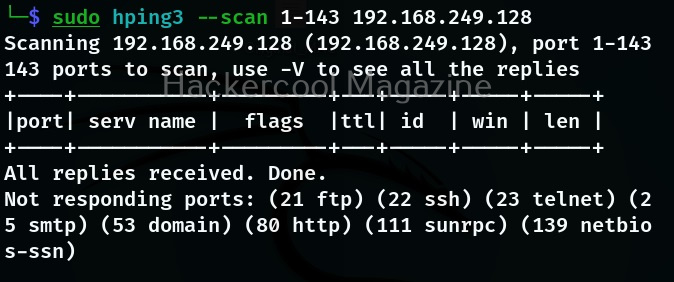
Scan mode:
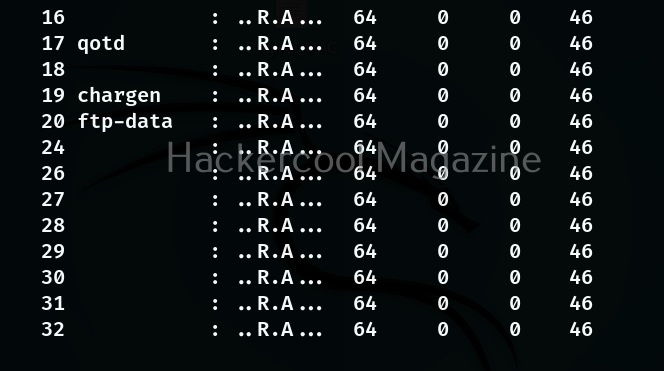
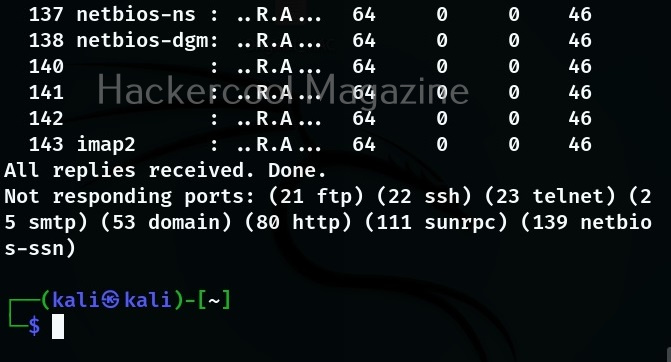
In this mode, the tool expects as argument that describes groups of ports to scan. Port groups can also be specified using comma separated notation.
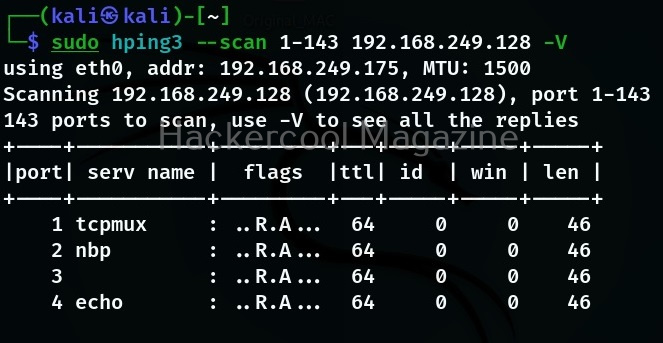
Detailed output (-V)
To get more detailed output while using this tool, verbosity level can be specified using “-v” option as shown below.
Spoofing your address (–spoof)
Hping 3 also allows you to spoof your address while using it as shown below.
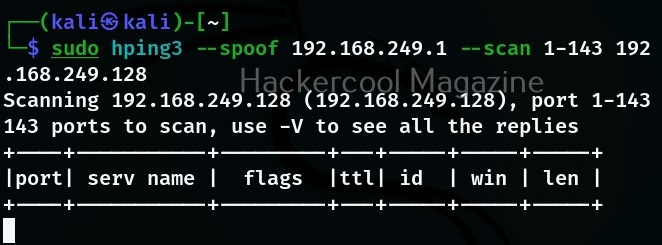
Send data to a specific port (-p)
If you want to see how different ports on the target system are reacting to different packet, you need to send the packet using the ‘-p’ option. With this option, we can specify the destination port as shown below.
Number of packets to send (-c)
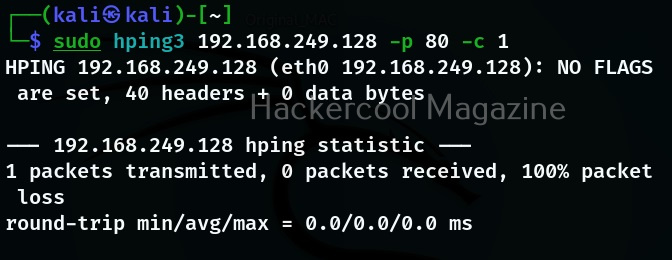
In the above example, hping 3 will continously send packets. You can even limit the number of packets to be sent using the ‘-c’ option. Let’s send only one packet to target port 80.
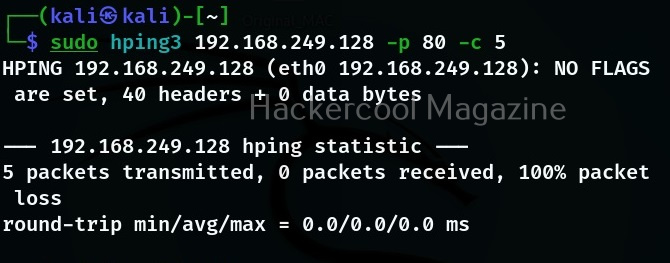
You can set the any number of packets you want.
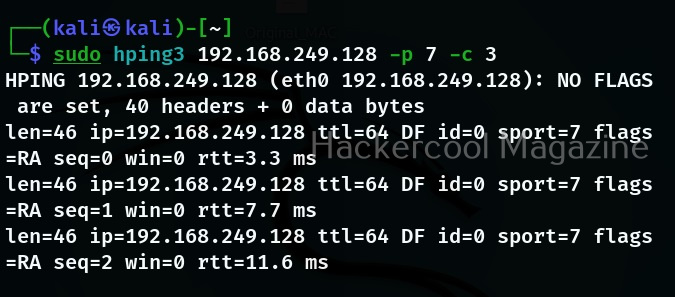
In the above image, you can see that there are no replies from target port 80 to above request. That’s because we are sending a ping request to port 80 which belongs to HTTP. Let’s send the same packet to port 8 (echo request) and see the difference.
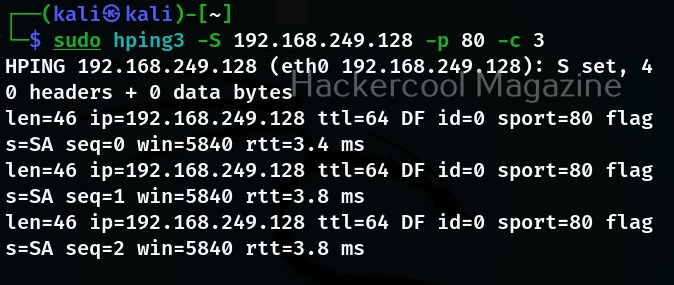
Now, we have a reply. Let us send a SYN request to port 80 of our target system and see the reply.
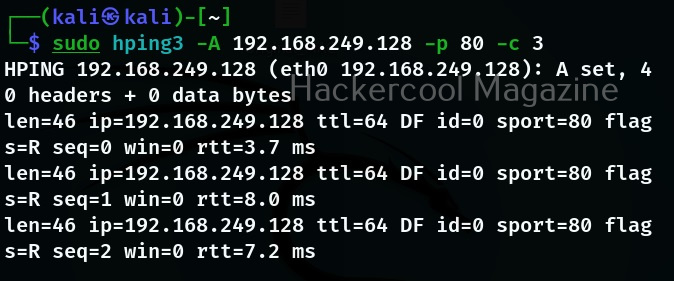
As you can see, we are getting SYN-ACK reply as expected. Let’s see how it reacts to ACK scan.
It’s replying with a RST flag. Just like this, we can perform all the scans that can be perform using NMap.
Denial of Service (DoS) attack
We can also perform DOS attack with hping3. Here are various options of sending a large number of packets to the target system or resource.
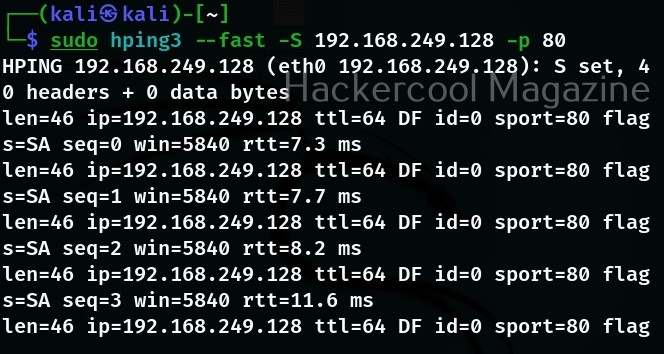
Fast:
With this option, hping3 will send 10 packets for second to the target. For example, let’s send SYN packets to target port 80.
Faster:
When we specify this option, it sends packet faster than the earlier option (fast).
Flood;
The name itself implies that it will send packets faster than the earlier option without taking care even to display incoming replies.
Follow Us
