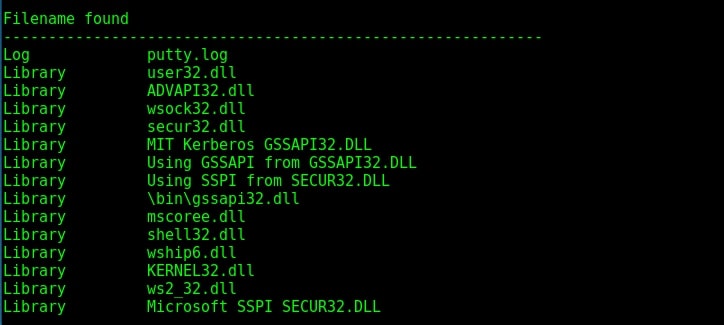
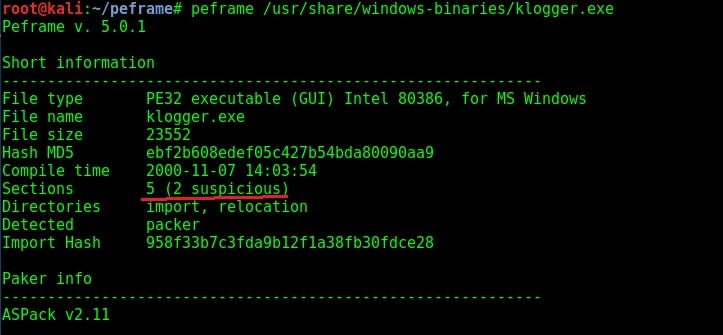
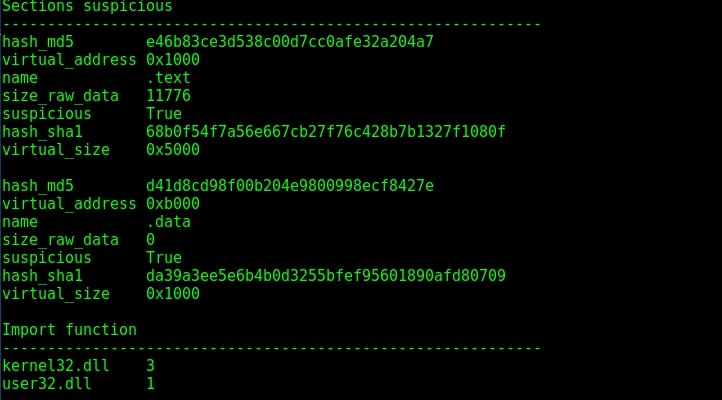
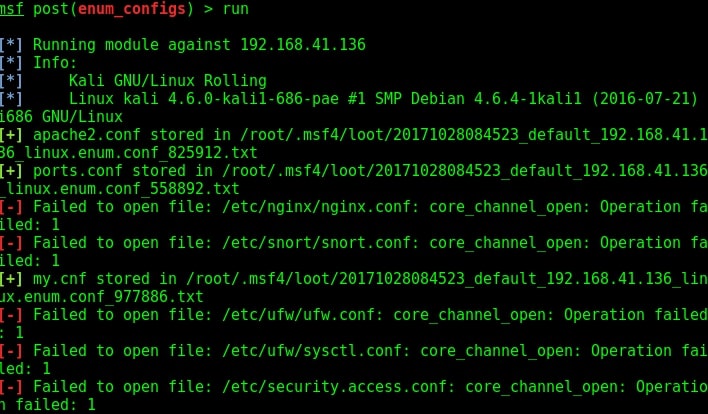
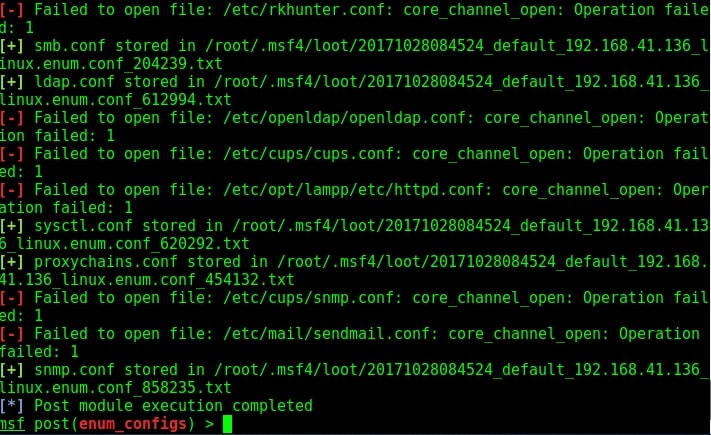
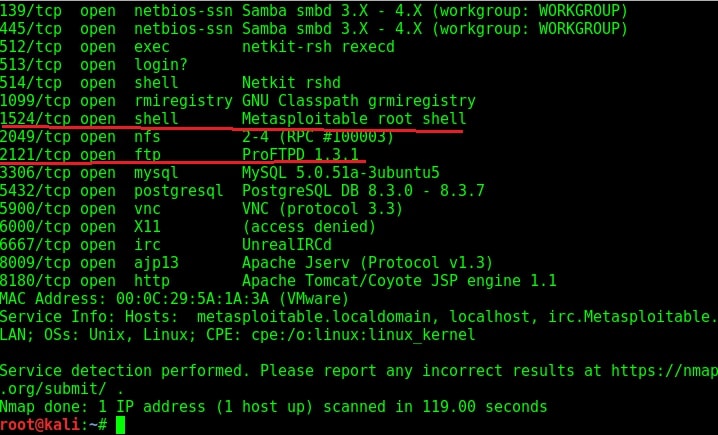
Vulnerability Assessment is the process of evaluating the weakness of a system or network. It identifies the vulnerabilities in a system or network and helps black hats to devise exploits to get access to a target system or network. We developed this Vulnerability assessment by hackers article to give readers an idea as to how hackers perform vulnerability assessment. For example, imagine I am a black hat who performed a Nmap scan on the target (in this case, Metasploitable). The target has displayed so many banners of the services running.
Continue reading Vulnerability Assessment by hackers : Part 2Author: kanishka10
Meterpreter architecture migration exploit
Hello aspiring hackers. You all know about the meterpreter payload. It is an advanced dynamically extensible payload of Metasploit. Meterpreter architecture migration exploit is a “post” exploit used to migrate from one architecture to another architecture. What is architecture? As we all know there are two main system architectures 32bit and 64bit.
Sometimes we happen to run our exploit from a 32bit machine to hack a 64bit machine or run our exploit from a 64bit machine to hack a 32bit machine. The meterpreter payload spawns a process according to the architecture of the attacking system. If the attacking system is 32bit, the meterpreter process is 32bit and if the attacking system is 64bit the meterpreter process is 64bit.
Sometimes there may be compatibility issues if we get a 32bit meterpreter session on a 64bit machine and vice versa. This is the exact reason why this module has been introduced. For example, in one of our previous howto, we hacked a 64bit machine from a 32bit Kali Linux. So we have a 32bit meterpreter session on a 64bit target system. To overcome the problems of incompatibility, we need to start a 64bit meterpreter session.
It is exactly in cases like these, this module comes handy. This module checks if the architecture of meterpreter is as same as the architecture of OS and if it is not, spawns a new process with the correct architecture and migrates into that process. Let’s see how this module works.
To use this module, we need to background the current session using command “background”. Then load the exploit as shown below. Type command “show options” to have a look at the options it requires.
We need to only set the session id of the meterpreter session we just sent to background and the exploit is good to go.
If you see in the above image, our exploit failed to run for the first time. This is because in the previous session we had system privileges and if we run this module we may lose the system privileges. But don’t worry we can change the options to overcome this problem.
Set “ignore_system” option to true and you should be fine to go. This time the exploit ran successfully. As you can see in the above image, our target is a 64bit machine and our meterpreter migrated to a 64bit process successfully. Lets check by typing command “session s -l” to see the available sessions. You can see we have a 64bit meterpreter now. Job performed.
Beginners guide to UAC bypass
Hello, aspiring ethical hackers. In our previous blogpost, you learnt about various techniques used for Windows privilege escalation. In this blogpost, you will learn about UAC bypass, one of the techniques used for privilege escalation in Windows. To understand UAC bypass, you need to first understand what is UAC.
What is UAC?
User Account Control (UAC) is a mandatory access control feature of Windows operating system that helps in improving the security of the operating system. It was introduced in Window Vista and Windows Server 2008 and has ben improved since then. User Account Control works by limiting a software or program to run with standard user privileges (low privileges) until and unless a user with administrator privileges authorizes it by giving permission. This way, only applications trusted by the user can be run on the system. This helps to prevent malware infection as malware and virus need administrator privileges to infect the system wholly.
How can UAC be bypassed?
Now, you have a question. How can UAC be bypassed. There are various UAC bypass methods. They are,
1. Registry key manipulation:
This technique works by hijacking the normal execution flow of an auto elevated application. What are auto-elevated applications? In Microsoft windows, if a binary is trusted (i.e. it has been signed with a MS certificate or the binary is in a trusted directory), the UAC prompt will not be presented. This can be exploited using a registry key.
The fodhelper privilege escalation method is an example of this. Fodhelper.exe is a trusted binary in Windows operating systems that is used to manage features in Windows settings. We can exploit this binary by hijacking a special key in the Registry under the current user hive and inserting a custom command that will get invoked when the Windows fodhelper.exe application is launched.
Once the UAC flag is turned off, we will spawn a second shell with SYSTEM privileges. Metasploit has a module for this. Let’s see it practically using Metasploit. Imagine we have a scenario where we have gained access to a Windows system using any Windows hacking technique.
To use the fodhelper module to elevate privileges, we need to background the current session.
Search for fodhelper module using the search command.
Load the module and set the session ID as shown below.
Run the module as shown below.
As you can see, we successfully got a meterpreter session. When I check privileges, its still user privileges but when I run “getsystem” command, I get system privileges on the target Windows system.
2. DLL hijacking:
In this method, the execution of an elevated program is hijacked using DLL Search order hijacking, DLL loading, redirection or other DLL vulnerability.
3. Elevated COM interface method:
COM stands for Component Object Model. It acts as a binary interface between various processes of different programming languages. In Windows, is is the basis for several other Microsoft technologies like OLE, OLE Automation, Browser Helper Object, ActiveX, COM+, DCOM, Windows shell, DirectX and Windows runtime. In this method, the COM handler is bypassed while it references registry when a high integrity process is being loaded. These DLLs contain the payloads that result in elevated sessions.
Let’s demonstrate this using Metasploit. As for every privilege escalation exploit, we need to already have a meterpreter session on target. This can be achieved using one of the Windows hacking techniques. Once we have it, search for the bypassuac_comhijack module as shown below.
Load the bypassuac_comhijack module and check its options by using the “show options” command as shown below.
Set the session id and execute the exploit using “run” command as shown below. If everything went right, we will have another meterpreter session as shown below.
Check the privileges using the “getuid” command. If you still don’t have system privileges, run command “getsystem” and even if it results in an error, check your privileges once again using command “getuid“. You should definitely have system privileges by now.
Hacking FTP Telnet and SSH
We have performed two types of enumeration till now. Before we perform further enumeration, let us see whether these credentials we acquired can help us in gaining access to the remote system. We will do this by hacking FTP, telnet and SSH services. When we performed a scan with Nmap during scanning and enumeration stage, we have seen that ports 21,22,23 are open and running FTP, Telnet and SSH services respectively.
FTP
FTP stands for File Transfer Protocol. As the name implies, it is used to share or transfer files. This service runs on port 21 by default. Although not quite popular now, it was the most popular way of sharing files in yesteryears. It was quite popular as torrents now, only that FTP is a client-server architecture. Since FTP is used for sharing files, it has a option to enable anonymous downloads. Anonymous download is a type of download where anyone can download the file by logging in with the username of “anonymous” and password as anything. But it a was courtesy to give your email address as password in those days. Enabling anonymous account on FTP server is considered a high security risk especially if the account given not only read but also write permissions. Another disadvantage with FTP is that it uses clear text authentication. So if any hacker is sniffing on your LAN, he can see the username and password in plain text. Ok, Since our target is running FTP service, let us first check if anonymous account is enabled on the server. We can connect to FTP server through terminal by using command “ftp target address” as shown below.
I try to login with the anonymous account with anonymous as the password and the login is successful. Good, anonymous account is enabled on the target. It’s time to check the permissions given to anonymous user.
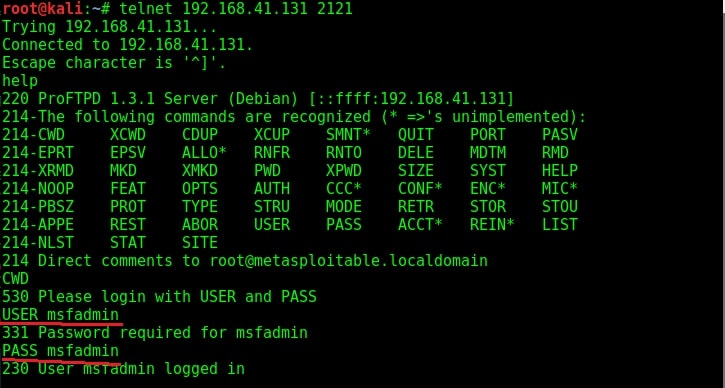
I type command “pwd” to see the current ftp directory. It’s root directory. Next I use “put” command to upload a random file to the FTP server. As you can see in the above image, file could not be created. So anonymous account has only “read” permissions. Enabling write permissions to the anonymous account may result in propagation of malware, pirated software etc. So anonymous account is secure in this case. Next I decided to try the credentials I got during enumeration. I decided to try with “msfadmin” first. The password is also “msfadmin” for user msfadmin. Login successful. I first checked the contents of the ftp directory. It seems this account has admin rights on the FTP server.
I once again try to upload the “shell.php” into the FTP directory. This time it’s successful.
Now I can upload any malicious file to the server and can use it for any nefarious purpose. or propagation.
TELNET
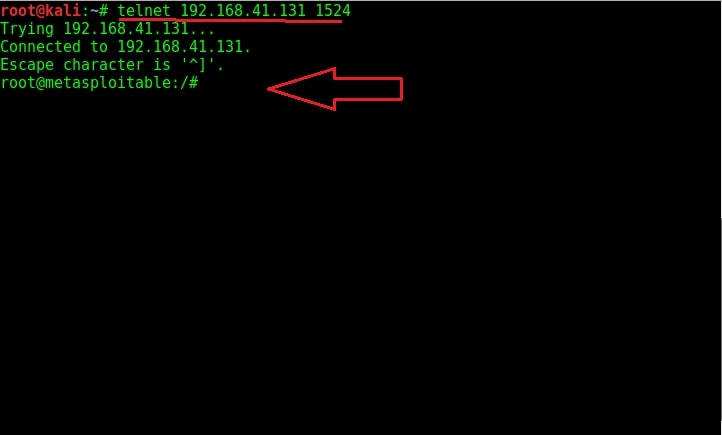
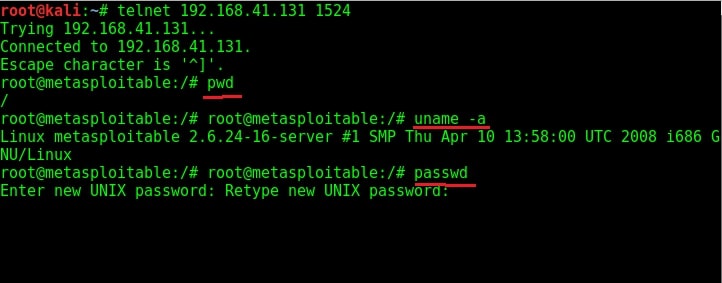
Telnet is a network protocol used to remotely administer a system. It is bi-directional and interactive communication protocol. Using telnet we can remotely communicate with a system far away. It runs on port 23. We can connect to a telnet server from terminal just as we connected to a FTP server using command “telnet IP address”. Anyone who successfully logs into telnet will get a shell on the remote system. When I connected to the telnet server of our target system, I didn’t even need any enumeration as the username and password were displayed in the banner.
When I logged in with the credentials msfadmin/msfadmin, as you can see in the below image, I got a normal shell.
Although getting a shell on a remote system is good, we can perform limited operations with this type of shells. But don’t worry, we can get a meterpreter session on the remote system with the help of Metasploit, of course by exploiting telnet.
Start Metasploit and load the telnet module as shown below. Set all the options we need and execute the module by typing command “run”.
You can see that we successfully got a shell just like before. Type command “sessions” to display the sessions we have.
Metasploit provides a wonderful option to upgrade a command shell to meterpreter shell. Load the following post module and the set the session id as that of telnet shell. Run the module.
As you can see in the above image, we successfully got a meterpreter session on the metasploitable system. We can see all the sessions we have using command “sessions”.
We can interact with the session we want by using command “sessions -i id” where id is the session id number. We will see more about meterpreter in our later issues. For the first time, we gained access to the metasploitable system, although with limited privileges.
SSH
SSH stands for a secure shell. It was designed as a replacement for telnet and intended to be secure unlike telnet. SSH is a cryptographic network protocol which encrypts the data during remote communication. Thus it provides security and authentication also takes in encrypted format. Thus even if any hacker is sniffing on the local LAN, he still can’t any SSH credentials. SSH by default runs on port 22. Just like it has a telnet module, Metasploit also has a SSH login module. We will use the same credentials msfadmin/msfadmin to login. Load the SSH login module as shown below and configure required options.
Once all the options are set, run the module as shown below.
We have a successful login. Same as above, we can use “sessions” command to view the available sessions. We can also upgrade this SSH shell to meterpreter just as we did in the case of telnet. That was about hacking FTP, telnet and SSH. Learn something advanced hacking with HTA Webserver Exploit
What We Achieved:
Using the details we gathered during enumeration, we have hacked some services on the Metasploitable system. We have also gained shell and meterpreter session on the system.
Install Parrot OS in Vmware
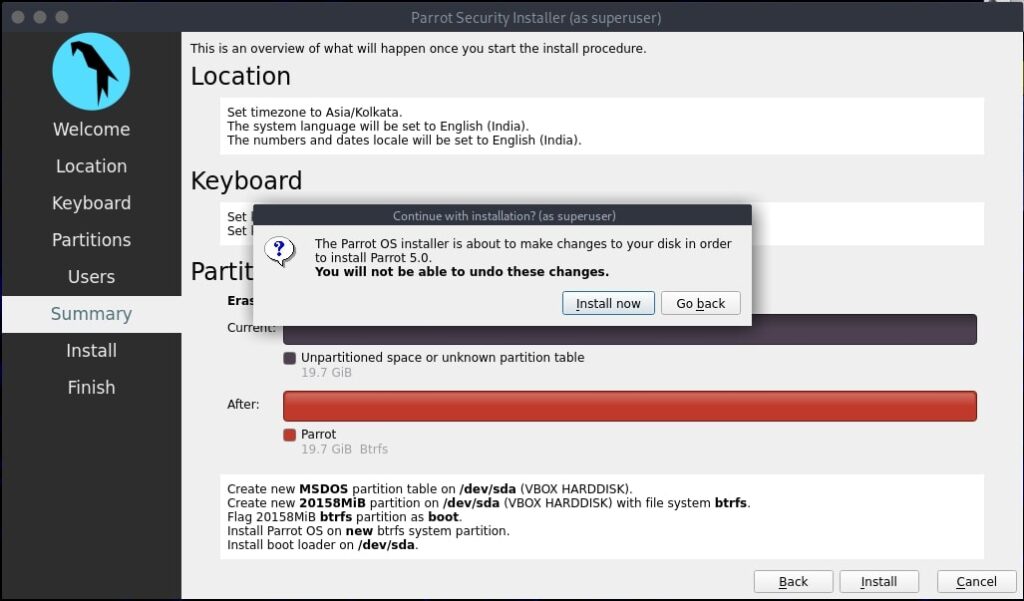
Kali Linux is the most popular and also my favorite pen testing distro. Its regular updates and stability accord it the top spot. Apart from Kali Linux, there are many other pen testing distros available. One of them is Parrot Security distro. Parrot Security sports many more tools than Kali Linux which includes software for cryptography, cloud, anonymity, digital forensics and of course programming. One of our readers has requested us to make a guide on how to install Parrot Security OS in Vmware. So be it.
Download the Parrot Security OS . Unlike the makers of Kali Linux, Parrot Security have not yet provided a Vmware image to download. So we have to download a iso image (depending on your architecture yo- u can download a 32bit or 64 bit iso file). Once the download is finished, open Vmware Workstation (Version 12 used for this article). Hit “CTRL+N”. The below window should open.
Make sure the “Typical” option is selected, and click on “Next”. That takes us to the next window. Initially, the “installer disc image file” field should be empty. Click on “browse” and browse to location of the iso file we just downloaded and select it. Now the window should look like below. Click on “Next”.
The Guest operating system should be automatically selected for you, if not select Linux as OS and version as Debian 8.x (since I am installing a 32bit, make it Debian 8.x64 if installing 64bit). Click on Next.
Choose the name of virtual machine and its location as you like. I named it Parrot. Click on “Next”.
Allocate the hard disk memory for your virtual machine. Keep the minimum as 20GB. Click on Finish.
It will show you a summary of all the selections you made. If you want to make any changes, click on Customize hardware or else click on Next.
The virtual machine is created with the name you gave it. Power on the virtual machine. It will boot and take you to the interface shown below. Choose the “Install” option. In the next window select “Standard Installer”. You can select these options using “tab” button.
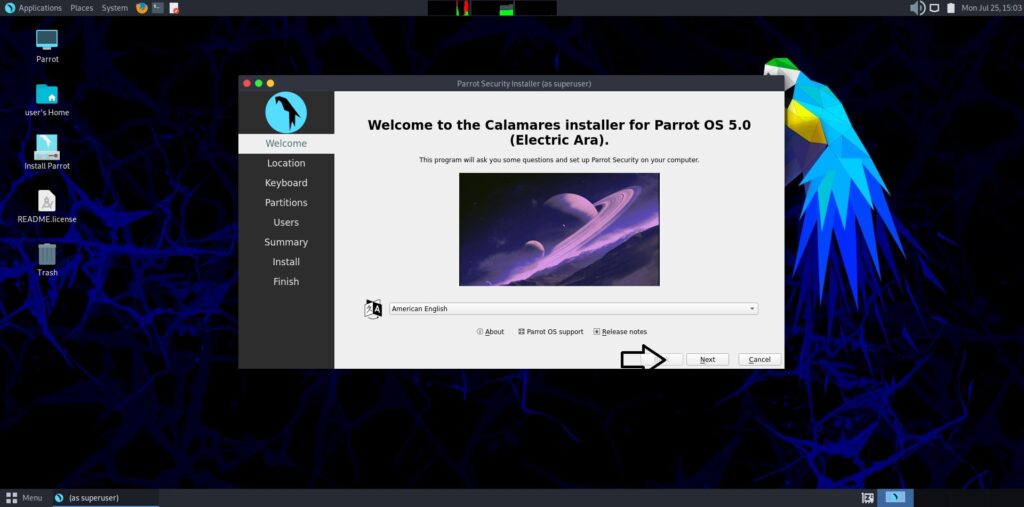
Select the language in which you want to continue the installation process.
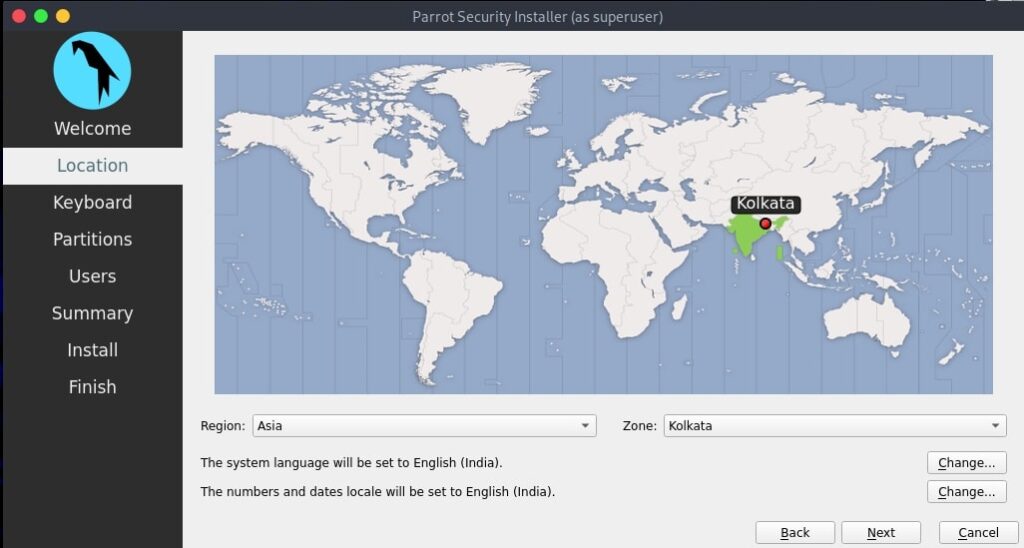
Select your country. For this article, I chose location as India.
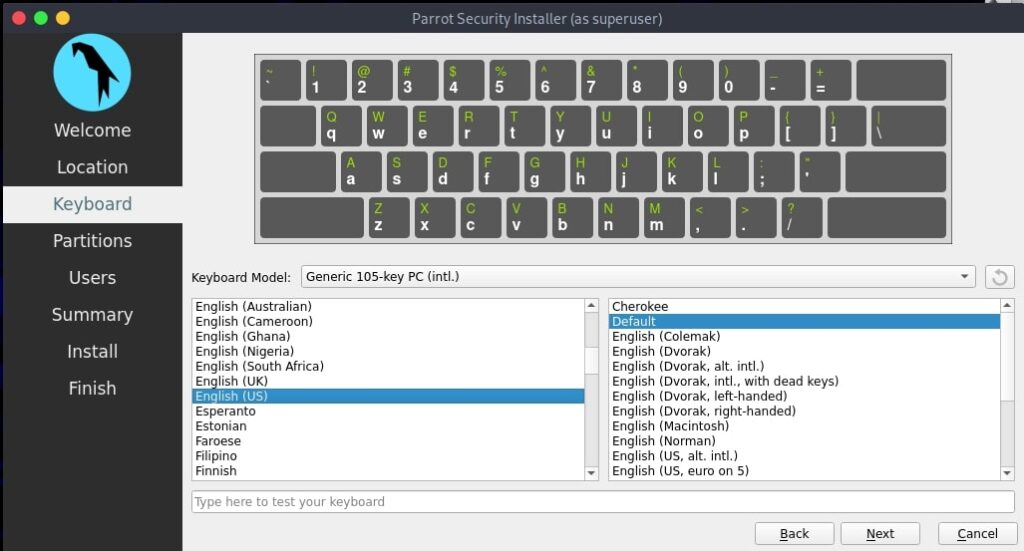
Select the keyboard configuration you want.
It is important to set the root password (no need to tell it is Linux’s most powerful account) for the machine before we do anything. Set a complex password. Read the suggestions before you set the root password.
Re-enter the root password again to confirm it.
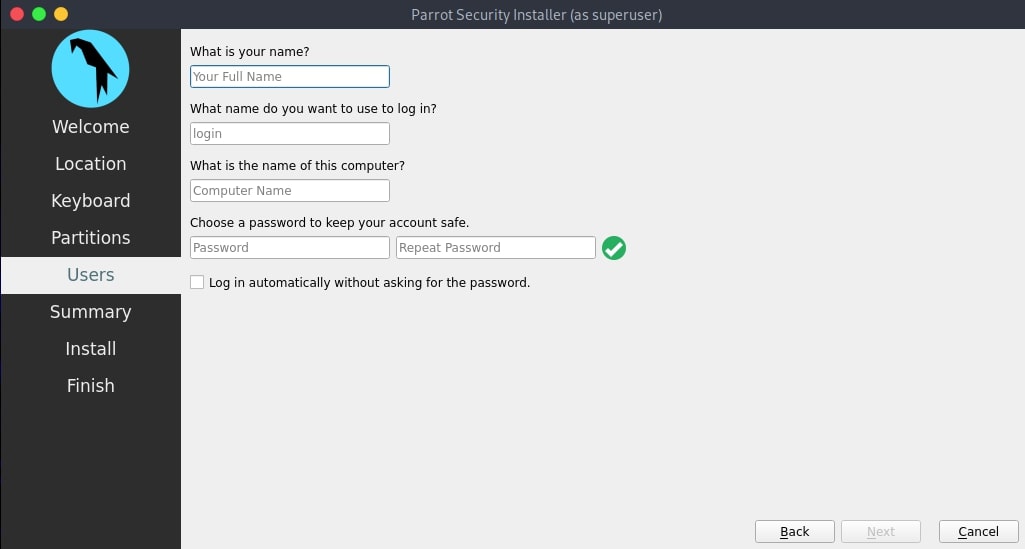
It is a good practice to use the system as a no -n root user. The system will prompt you to create a new user account for non-administrative activities. I am creating a user with name kalyan. I am giving the same name as username.
Create a password for the user account you just created. Make it a good password for security reasons.
Re-type the password again to confirm the password you have assigned.
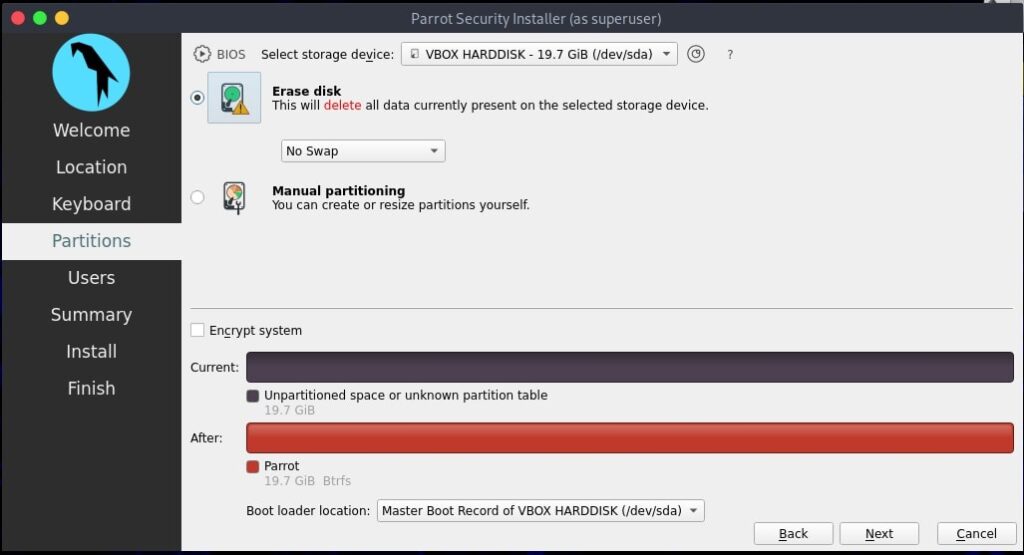
The next step is partitioning the hard disk. Unless you are an expert or want to try something different, use the entire disk.
The system will warn you before partitioning. Select the disk for partitioning.
It will ask you to choose the partitioning scheme. Choose the first one. It is also recommended for users.
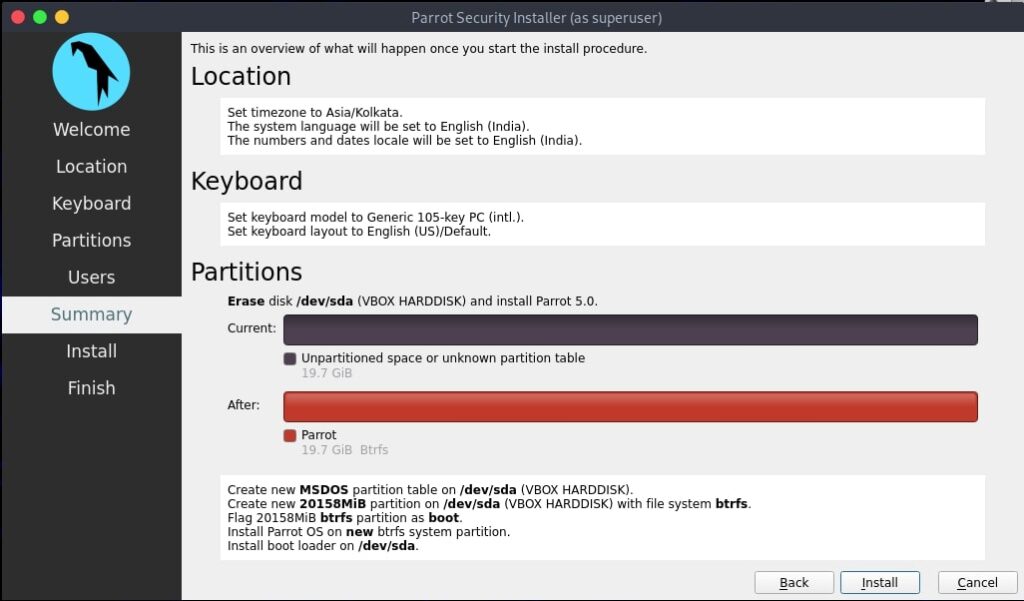
Next, it will show you changes you have configured before writing the changes to the disk. Select “Finish partitioning and write changes to the disk”.
Confirm for one last time that you want to writ-e changes to the disk. Select “Yes”.
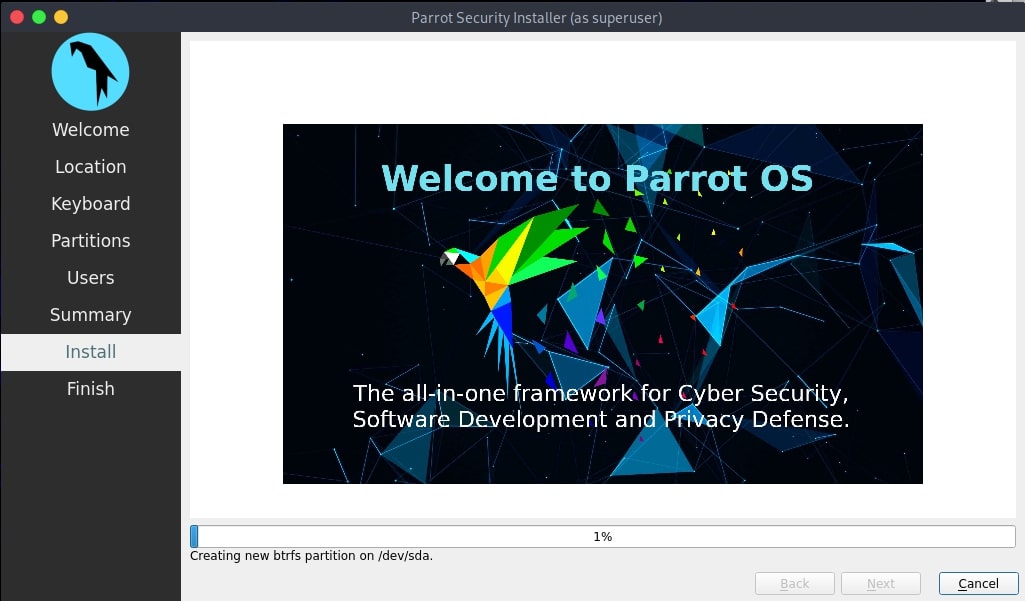
The installation process will start and may take some time. You can have snacks and come back. After installation finishes, it will prompt whether you want to install GRUB boot loader.
Select Yes. Then it will ask you where to install the boot loader. Select the /dev/sda disk.
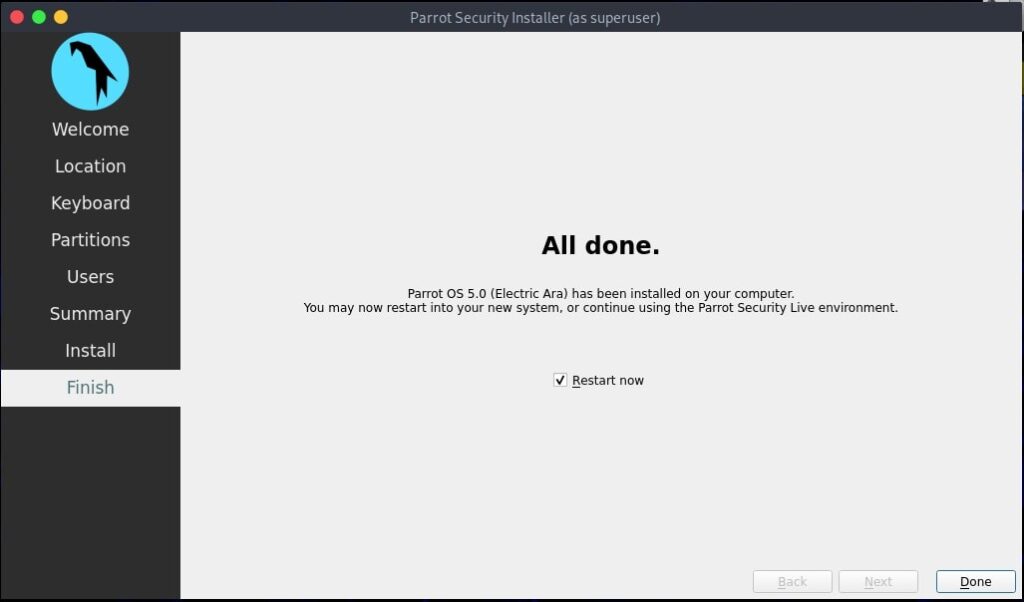
After the installation is finished, it will show you a message as shown below. It’s time to boot into your new system.
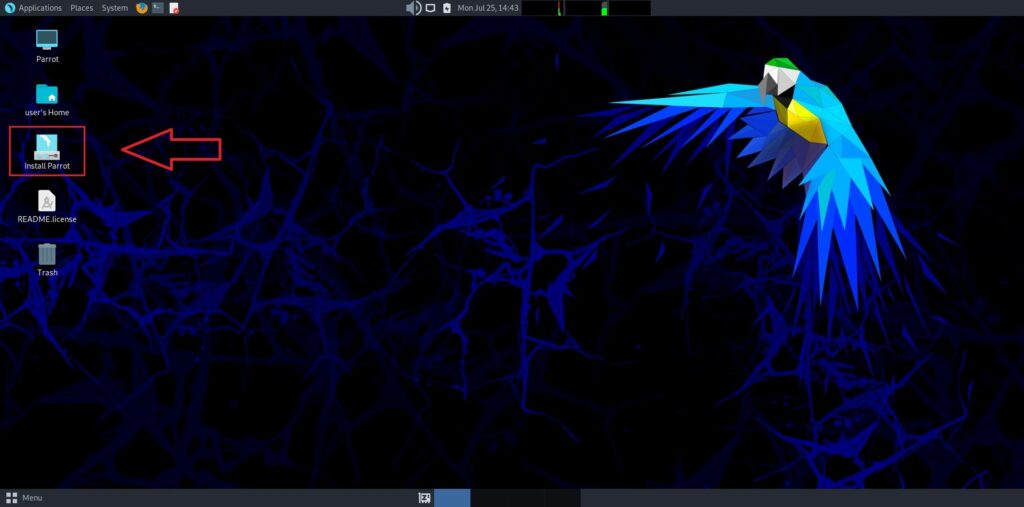
As the system boots, it will ask present you a login screen. You can login as either root or the new user you created it. Once you login, your new pen testing distro should look as below.