Hello, aspiring ethical hackers. In this blogpost, you will learn how to create a virtual hacking lab for practicing hacking. No matter how many articles or blogposts you read or how many hacking courses you take, you cannot truly understand the concept of hacking until you perform those hacking tutorials practically. To practice hacking effectively, you need a secure environment without the risk of compromising the security of a safe network or systems and attract legal consequences due to your actions.
What is a Hacking lab?
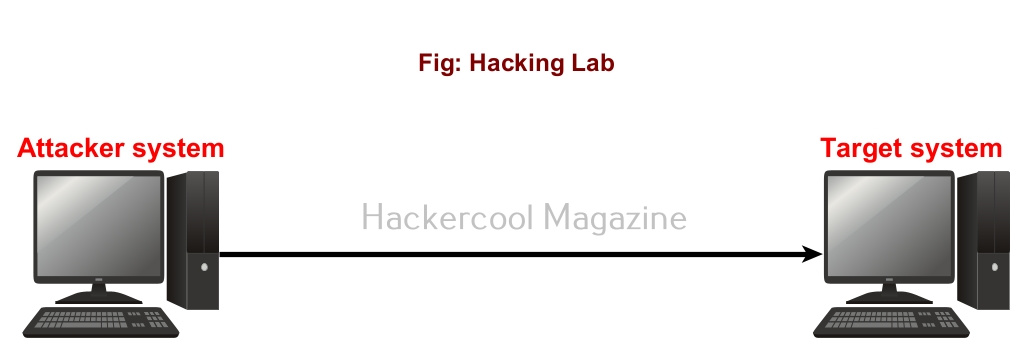
A hacking lab is a lab that provides a safe environment to practice hacking without the above-mentioned risks. The most basic hacking lab consists of two machines: attacker system (the system from which you hack) and target system (the system which you hack).
What is a virtual hacking lab?
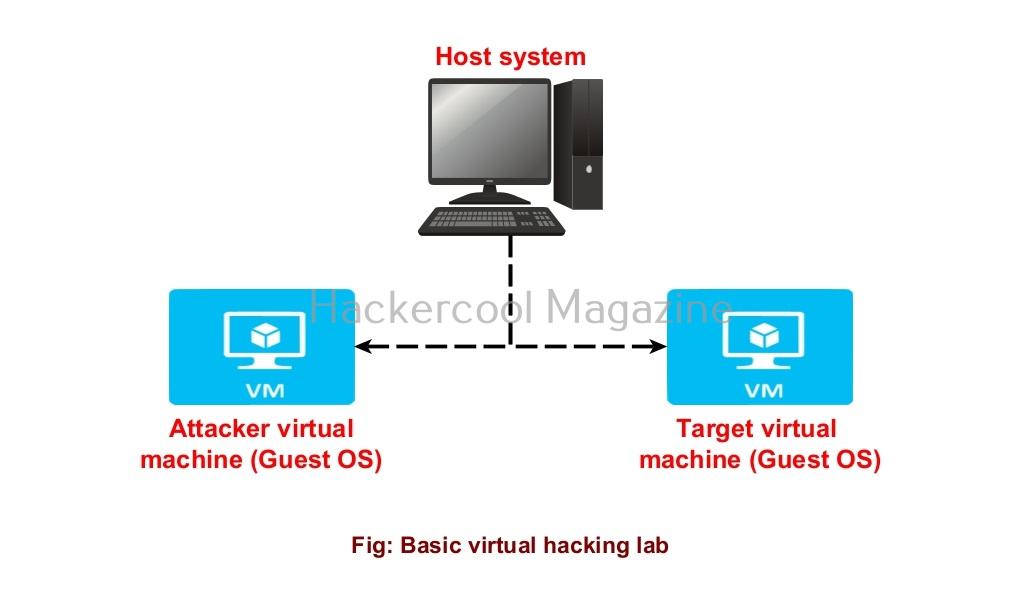
Just now, you have learnt that a basic hacking lab needs to have one attacker system and target system. They can be installed on separate hardware but this may prove expensive especially as you upgrade your hacking lab in future. Luckily, hacking labs can be created on a single system itself using virtualization solutions. Virtualization allows you to install multiple operating systems on a single machine. Some of the popular virtualization solution are Oracle VirtualBox, Parallels Desktop, VMware vSphere, Hyper-V, QEMU etc.
The hacking labs created using this method is called virtual hacking lab. They are inexpensive compared to the cybersecurity lab and easily adaptable. Of all the solution mentioned above, I will be using Oracle Virtual Box as it is FREE and also rich in features. Oracle VirtualBox can be downloaded and installed on Windows, Linux, macOS, Solaris etc. Here, I have installed virtual Box on a Windows machine.
How to create a virtual hacking lab?
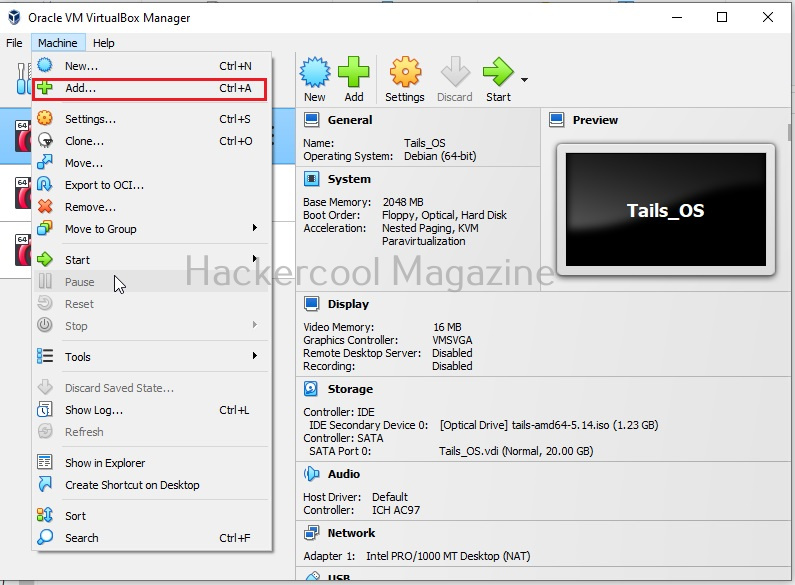
Let’s create a simple hacking lab with an attacker system and target system on VirtualBox. The operating system on which Oracle VirtualBox (or any another virtualization software) is installed is known as the Host machine. The operating systems that are installed in Oracle VirtualBox as called as GUEST machines. So here, in VirtualBox, we are going to install two guest machines: one is Kali Linux (attacker system) and Metasploitable 2 (target system).
What do we need?
1. Oracle VirtualBox. (Download)
2. Kali Linux. (Download)
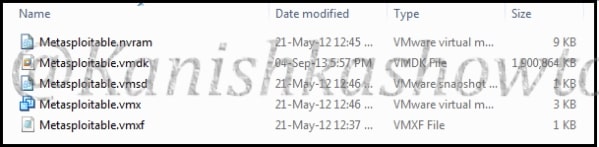
3. Metasploitable 2. (Download)
Install Kali Linux and Metasploitable 2 in VirtualBox.
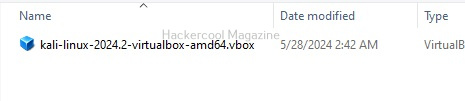
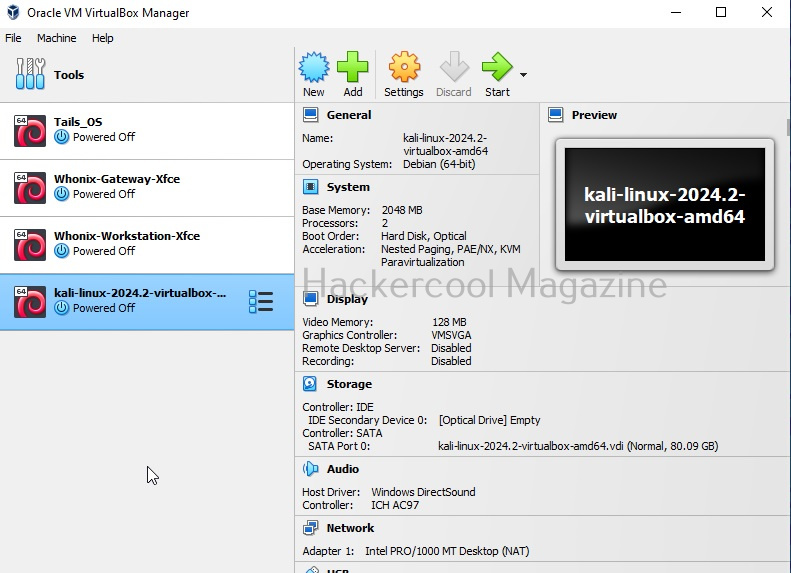
See how to install Kali Linux in VirtualBox.
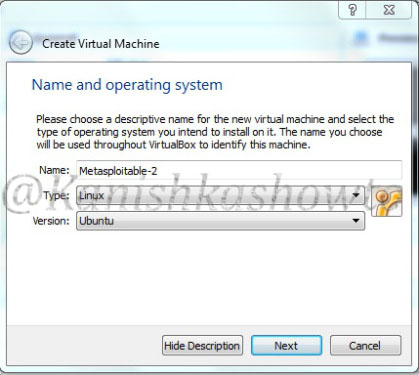
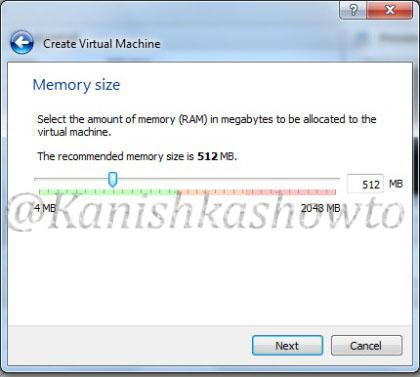
See how to install Metasploitable 2 in VirtualBox.
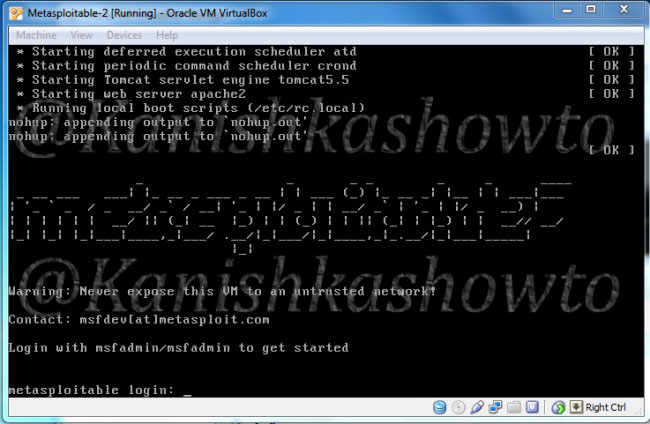
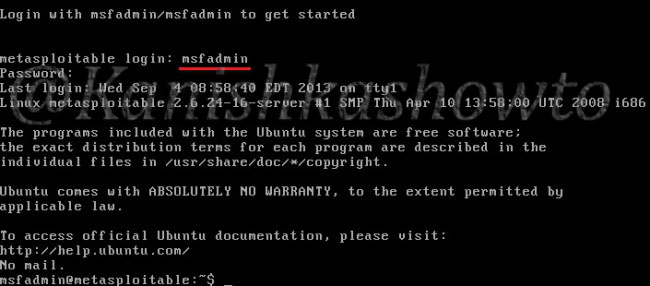
Once both the virtual machines are installed, turn on both the machines. Login into the Metasploitable 2 VM. Default username and password are “msfadmin / msfadmin”.
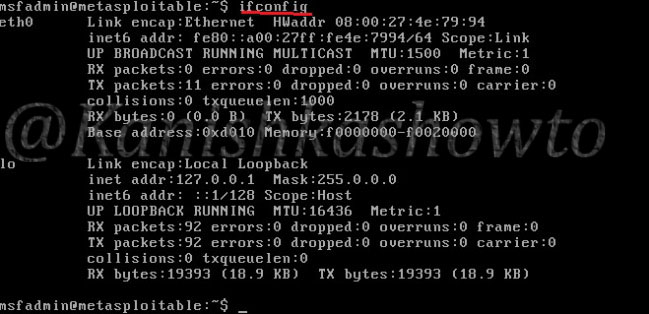
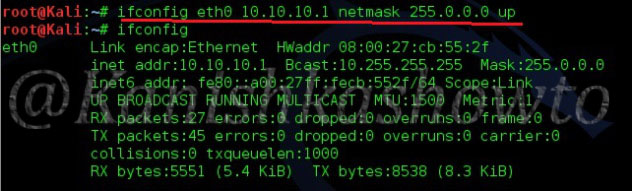
Type the command “ifconfig” to find out the IP address of your target system.
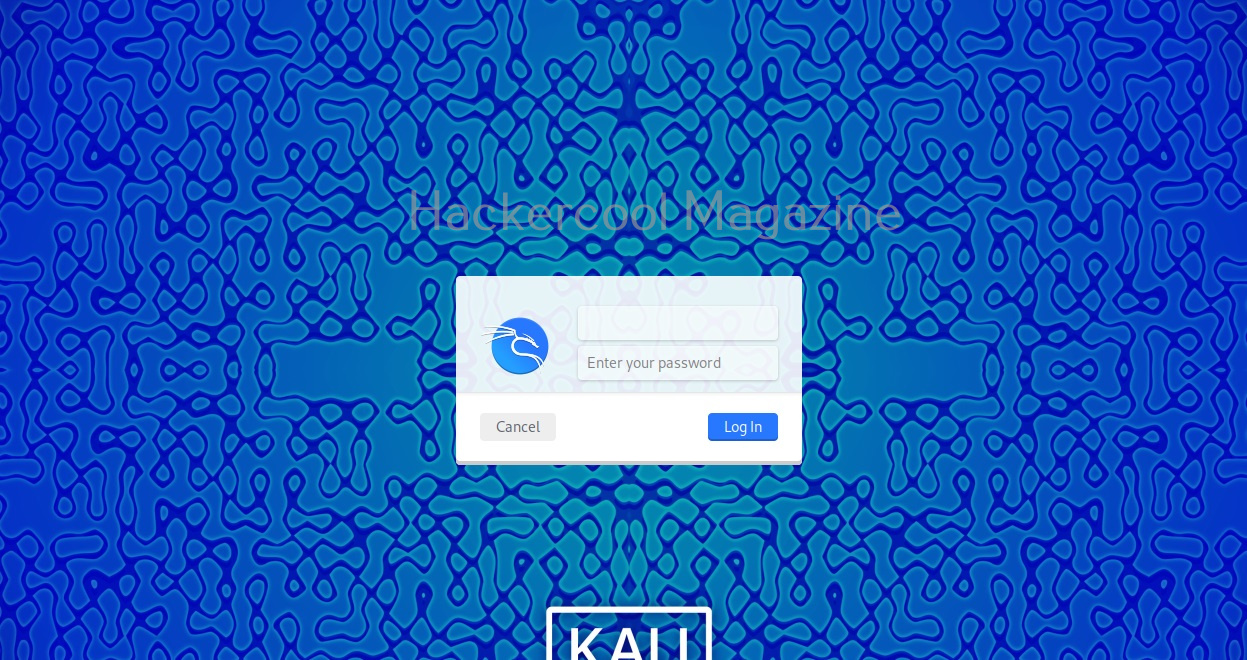
Similarly login into the Kali Linux machine and in the terminal, type command “ip a” to find out its IP address.
Test whether the attacker system can communicate with the target system by pinging the target system from the attacker system as shown below.
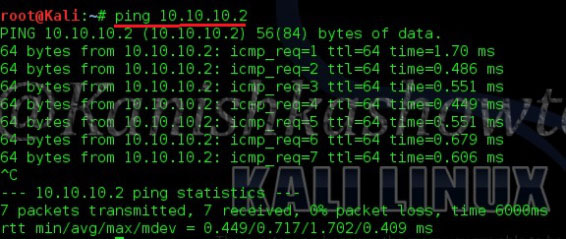
The connection is successful. Our virtual hacking lab is ready. Happy practicing hacking.
Various networking modes of VirtualBox
Above, we created a simple virtual hacking lab successfully. Go to “settings” of any of the above GUEST machines and go to “Network settings”, you will see that this Guest machine is attached to a NAT adapter.
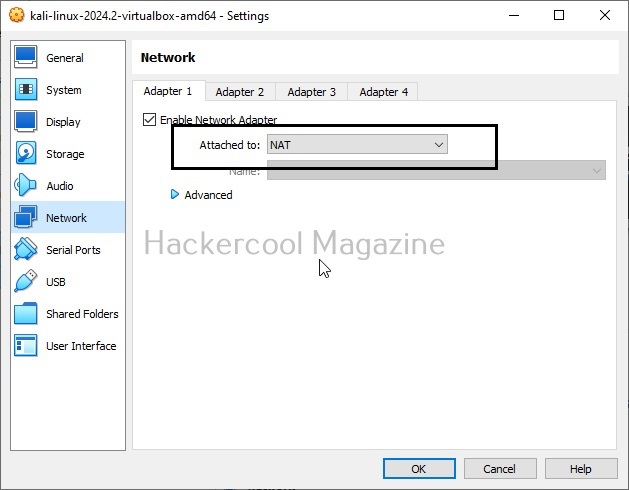
When you install a GUEST machine in VirtualBox, the default network mode is NAT. Apart from NAT, there are other network modes on VirtualBox.
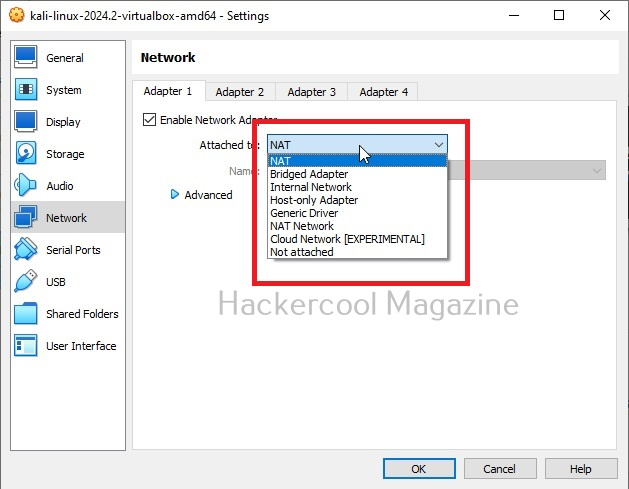
Each networking mode plays a different role in hacking. So, it’s good to learn about each of them.
1. NAT:
NAT stands for Network Address Translation (NAT). This is the default networking mode of VirtualBox. This mode allows web access, downloading of files from internet, etc. Our simple lab above is NAT. This is used to create a hacking lab when both attacker system and target system need internet access.
2. NAT network:
This is useful in creating hacking lab on a separate internal network that uses outbound connections.
3. Bridged adapter:
When you use a Bridged adapter, the virtual machine uses the network adapter of the Host machine and acts as a separate machine in the LAN network of the Host machine.
4. Internal network:
This creates a different kind of network separated from the host system. This network doesn’t have access to the outside internet.
5. Host-only network:
This creates a network in which the virtual machines have access to the Host machine.
6. Not attached:
In this type of network, the virtual machine is disconnected from everything. This might be useful in creating a malware analysis lab.