Hello, aspiring ethical hackers. In our previous blogpost, you have learnt about network scanning and enumeration. In this blogpost, you will learn about a tool named arp scan, a command line tool used for scanning and fingerprinting on the local network.
ARP scan is available for Linux and BSD systems and uses ARP protocol to scan the network. Let’s see how to use this tool. For this, we will be using Kali Linux as this tool is available for download by default in Kali repositories.
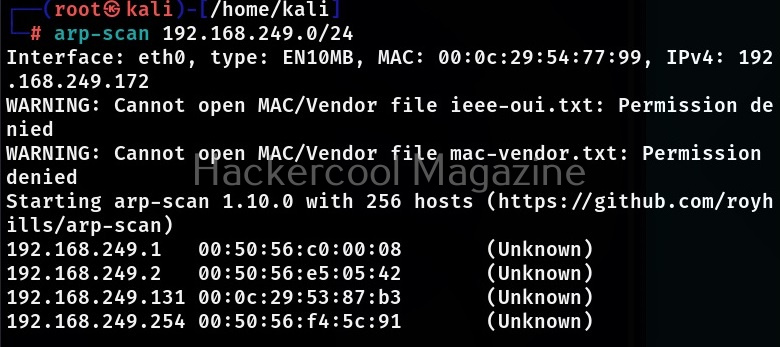
It is good to run arp scan tool as root user in order not to face some errors. You can simply scan a network using arp-scan as shown below.
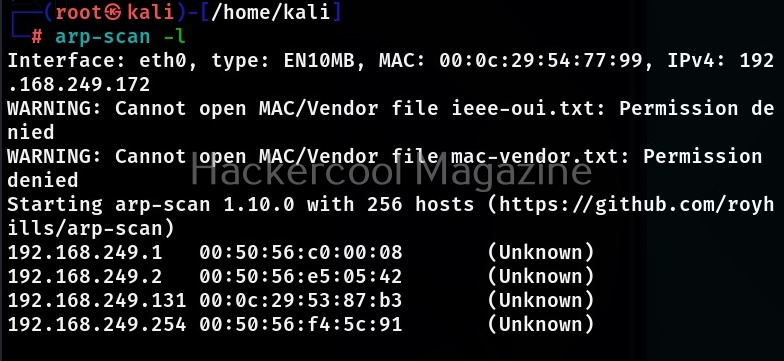
If you want to scan your local network, you can simply specify the “-r” option to do it as shown below.
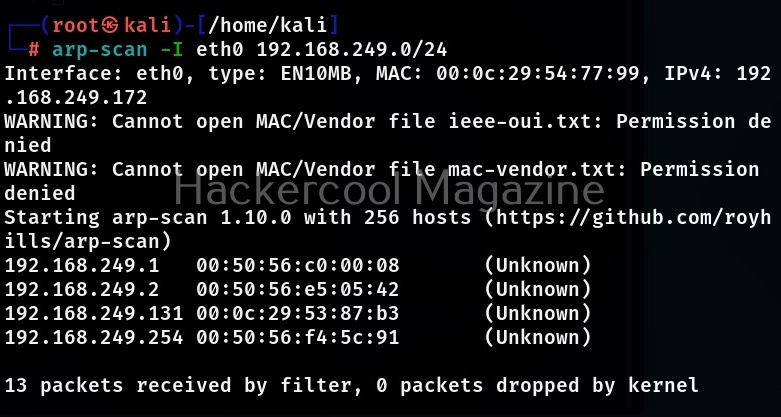
If your device is connected to multiple networks and you want to scan a particular network, you can specify the network interface using the “-I” option. By default if the “-I” option is not specified, arp-scan will search the system interface list for the lowest numbered configured up interface, excluding Loopback and scan that network.
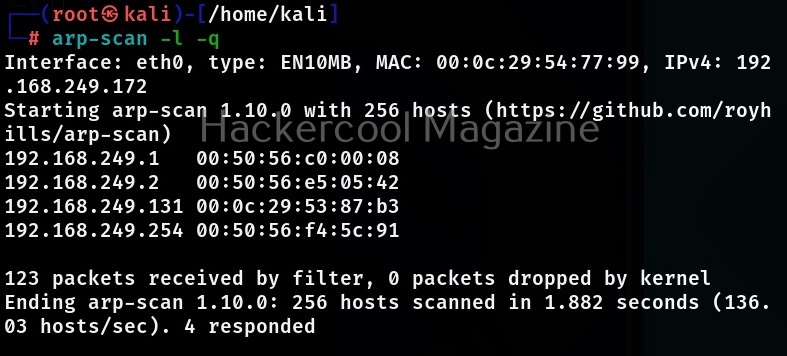
Quiet mode (-q)
If you want minimal output to be displayed for each responding host, while scanning with arp-scan, you can use quiet mode. While using this mode, only the target IP address and MAC address are displayed.
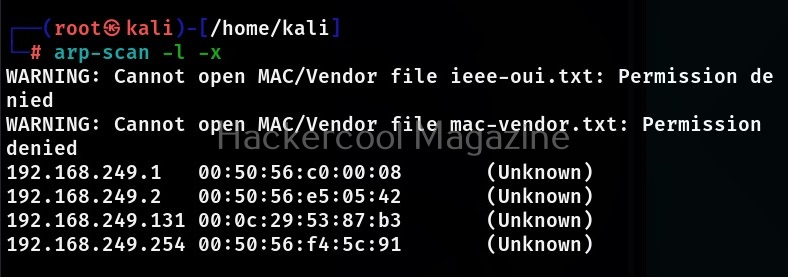
Plain mode (-x)
If you want more less details like just the responding host details, you can use the plain mode. While using this mode, arp scan suppresses the header and footer text in output as shown below.
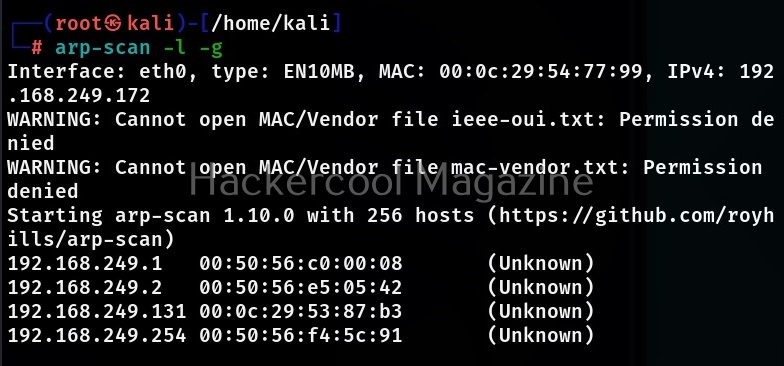
Ignore duplicates (-g)
By default, arp scan displays duplicate packets by flagging them with (DUP.n) where “n” is the number of times the target host responded. By specifying the option, these duplicate packets can be ignored by arp-scan.
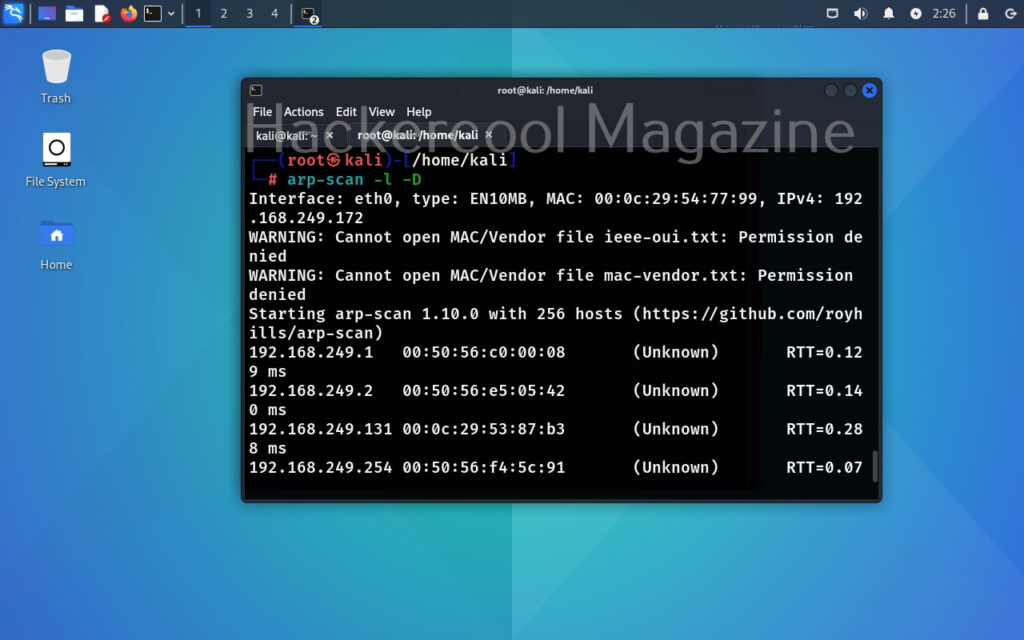
Calculate and display round trip time (-D)
Network Packet round trip time (RTT) is the time it takes for a data packet to travel from a source to a destination and back again. It is a key matric to measure network latency and is usually measured in milliseconds. Setting this option, allows us to measure the round trip time.
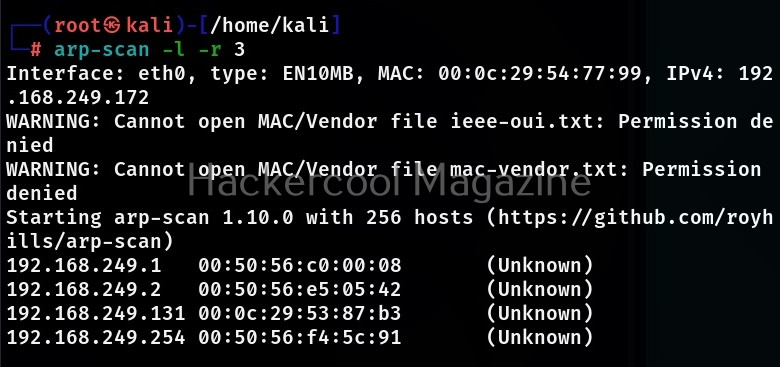
Retry attempts (-r)
This option can be used to specify the number of retry attempts to make per host. By default arp-scan makes 2 retry attempts. For example let’s set it to 3.
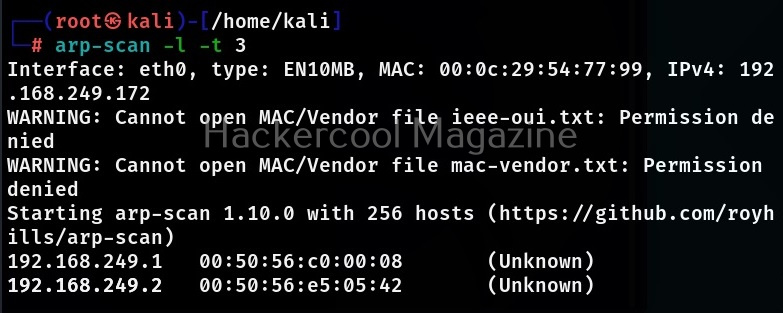
timeout (-t)
By default, 500ms is the timeout for this tool. This option can be used to change it however.
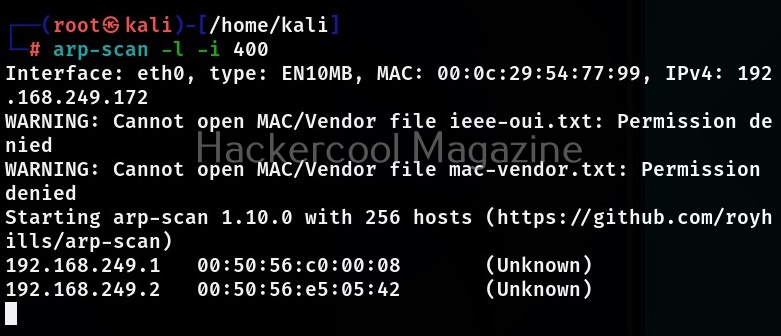
Interval (-i)
If you have limited bandwidth to use for scanning with this tool, you can use this option to control the outgoing bandwidth by limiting the packet rate. For example, let’s set the interval between each packet to 400 milliseconds. It can also be set to micro seconds by appending the “u” option.
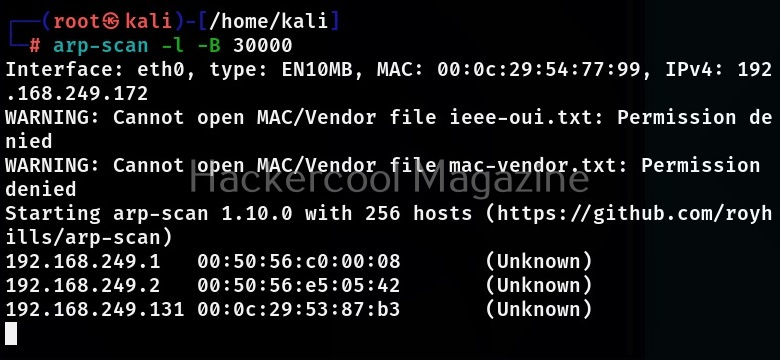
Bandwidth (-B)
This option is useful when you want to control the outbound bandwidth to a specific value. By default, bandwidth is 2,46,000 bits per second.
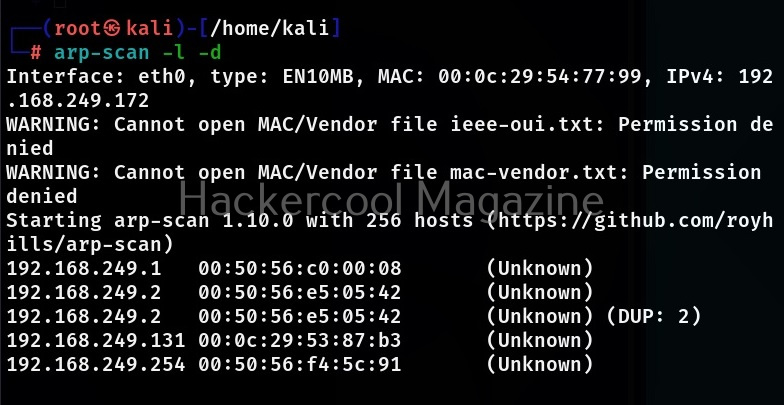
Resolve responding addresses to hostnames (-d)
This option is used to resolve the hostnames for addresses detected by this tool. The default output format will display the hostnames instead of the IPv4 address.
Limit the number of hosts to scan (-M)
By default, arp-scan scans all the hosts on the network that are LIVE. You can limit the number of hosts to scan using this option.
Follow Us
