Hello, aspiring ethical hackers. In our previous blogpost, you learnt everything about wifi hacking. In this article, you will learn about kismet, a wifi security assessment tool.
Kismet is a wireless network and device detector, sniffer, war driving tool and intrusion detection system (WIDs) for not just wifi but also Bluetooth, Zigbee, RF and more. Let’s see the working of this tool. For this, I will be using Kali Linux as kismet is installed by default on Kali or is present in its repositories. We will also be needing a wireless adapter that can monitor wireless packets. I am using ALFA AWVS036NHA adapter for this article.
First thing we do is to plugin the adapter to the system and check if it is connected to the device using command shown below.
iwconfig
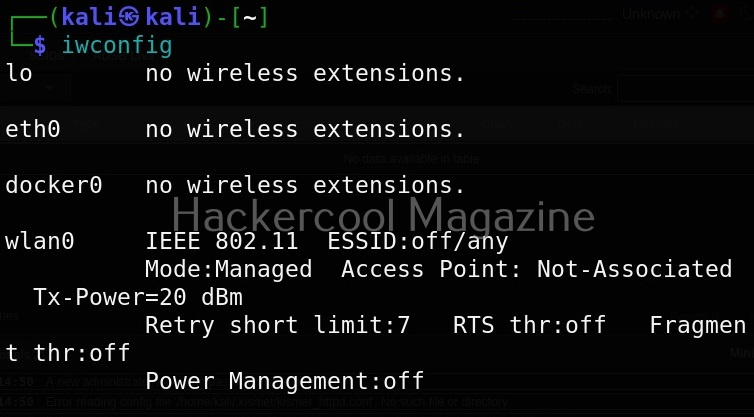
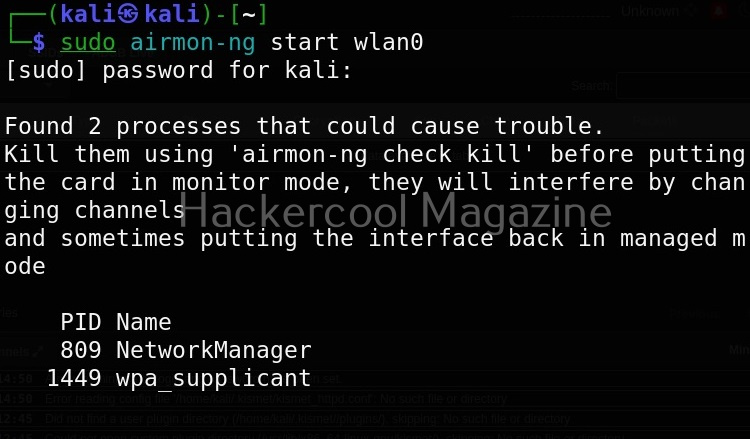
In the above image, you can see our wireless interface is named “wlan0”. Next, we start monitor mode on our wireless adapter using command as shown below. Monitor mode allows the adapter to scan for all wireless networks in the air.
sudo airmon-ng start wlan0
We can confirm if monitor mode is enabled on the adapter by once again using “iwconfig” command.
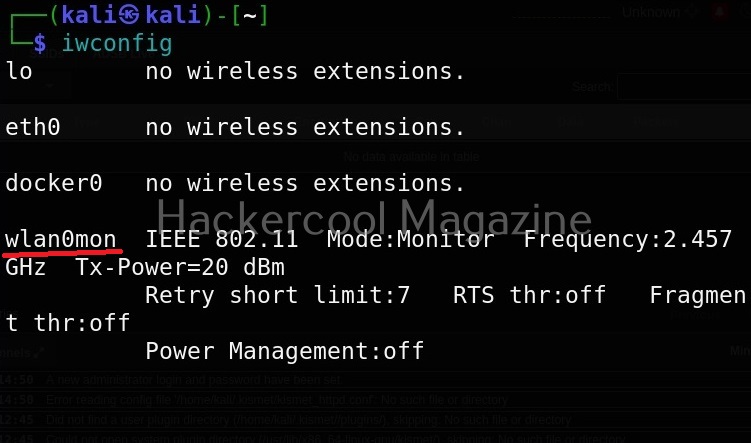
As you can see in the above image, the mode of the adapter changed from managed to monitor and its name changed to wlan0mon from wlan0. Now we have to start kismet on this interface. It can be done as shown below.
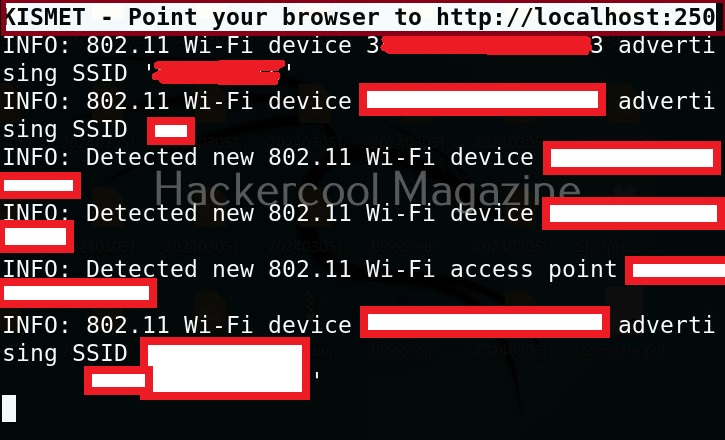
sudo kismet -c <wireless interface>

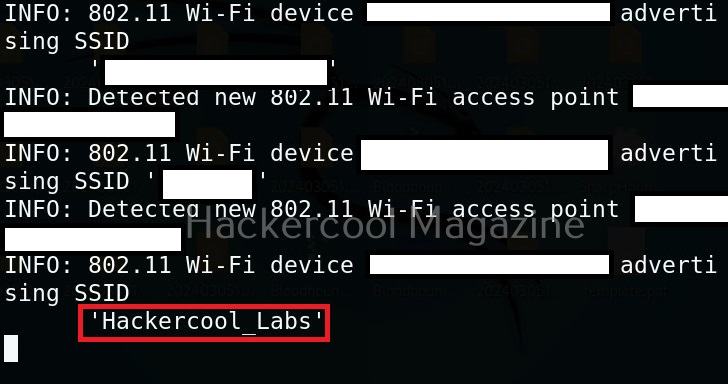
kismet starts capturing data immediately as shown below.
You can see the wireless network and wireless devices in a browser with the link given at the beginning of the capture. The URL is “localhost:2501”. Go to the URL using a browser. As soon as you do that, you will be faced with a login screen as shown below.
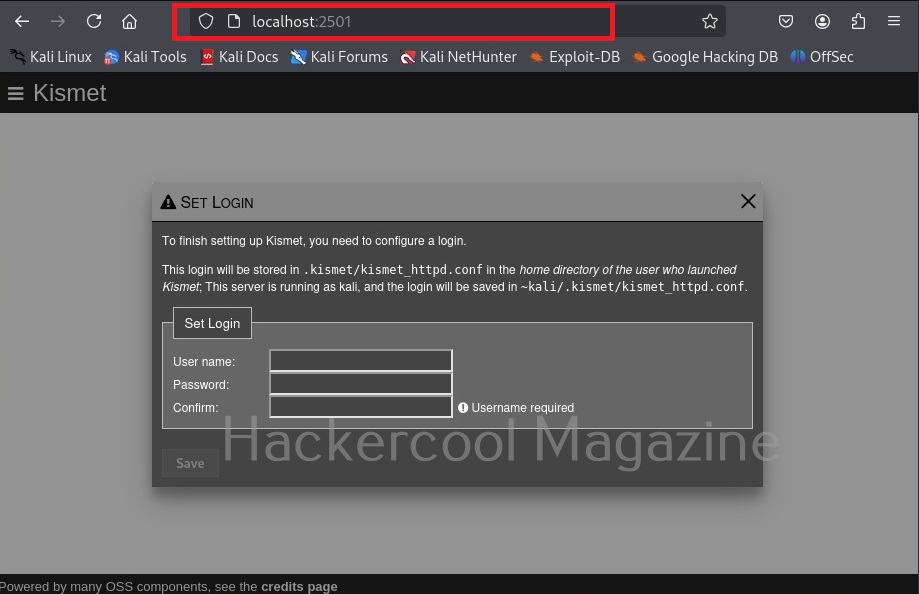
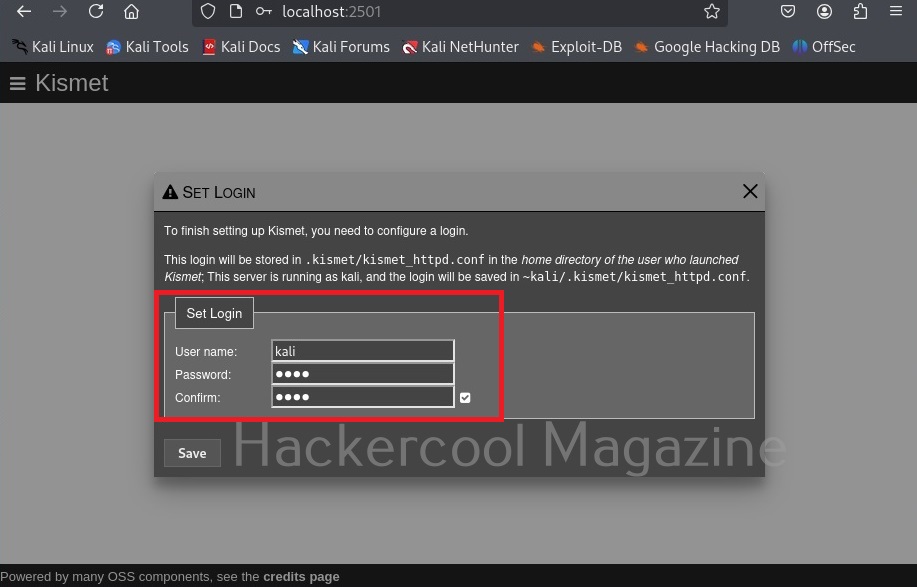
Since you are setting up kismet for the first time, set a username and password and most importantly don’t forget them.
Then click on “Continue” to see the interface of kismet.
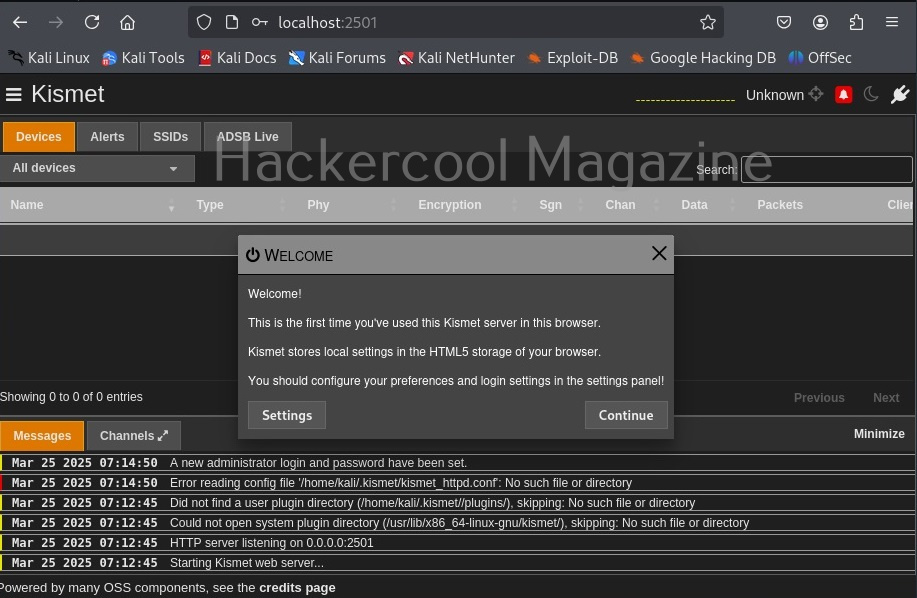
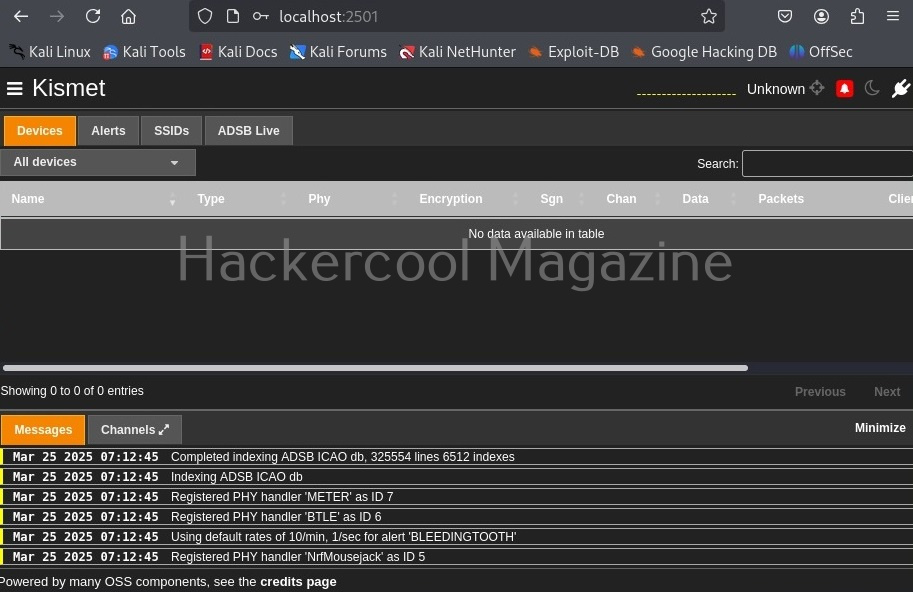
Kismet will show you all the wireless access points it has detected.
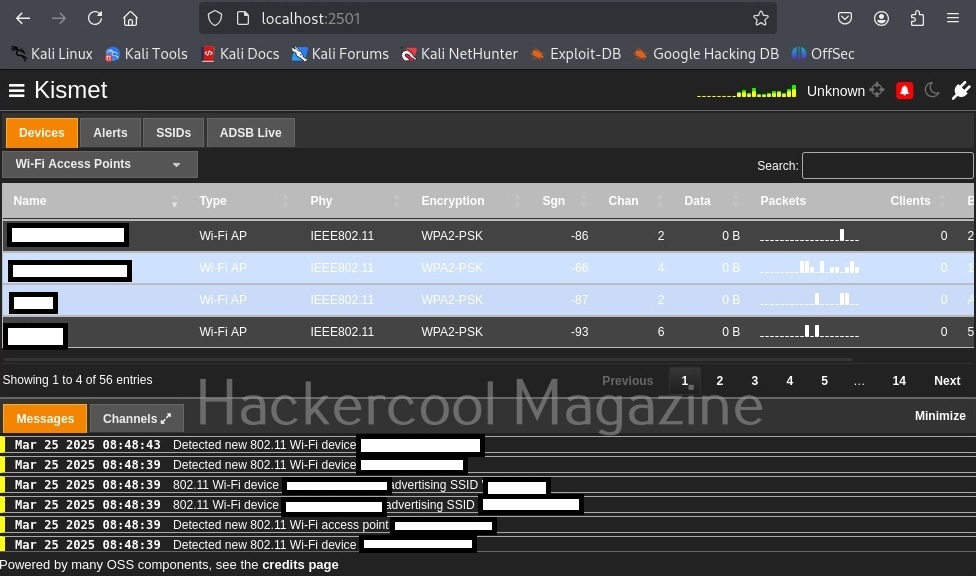
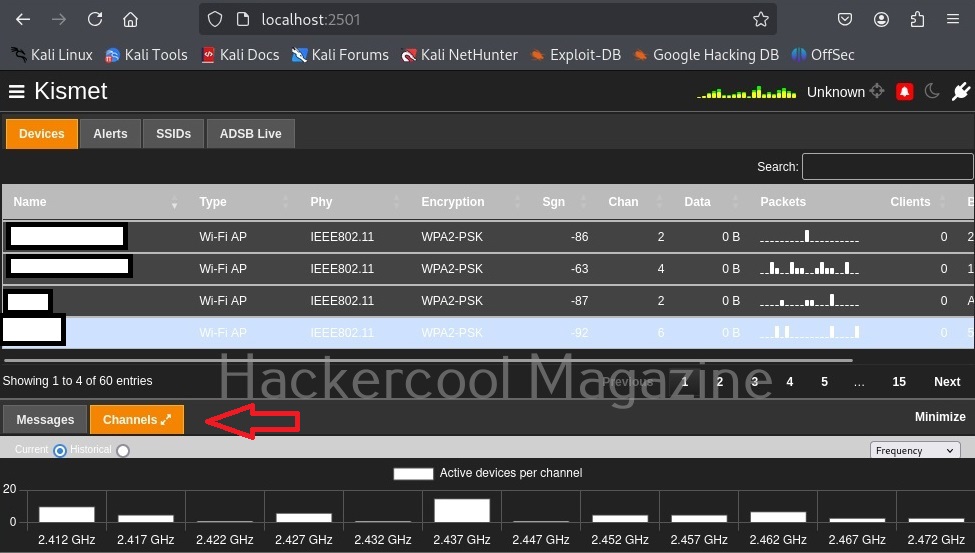
While the top shows all the wifi access points and client devices, in the bottom you can see messages. Just beside the “messages” tab there is a “Channels” tab where you can see all the channels and active devices on each channel.
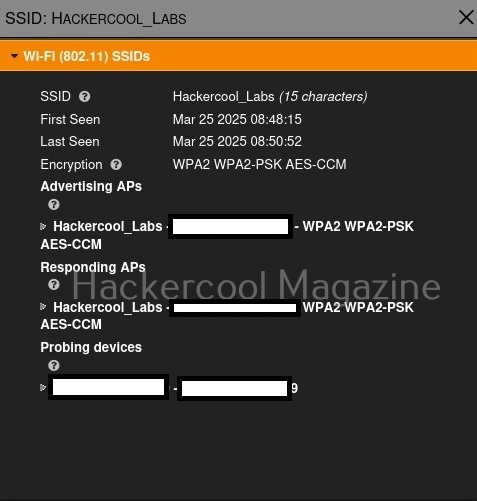
Coming to the top, while devices tab shows you all the wireless devices, clicking on the SSIDs tab displays all wireless access points. You can even search for a access point of your choice. For example, let’s search for wifi access point named “Hackercool_Labs”.
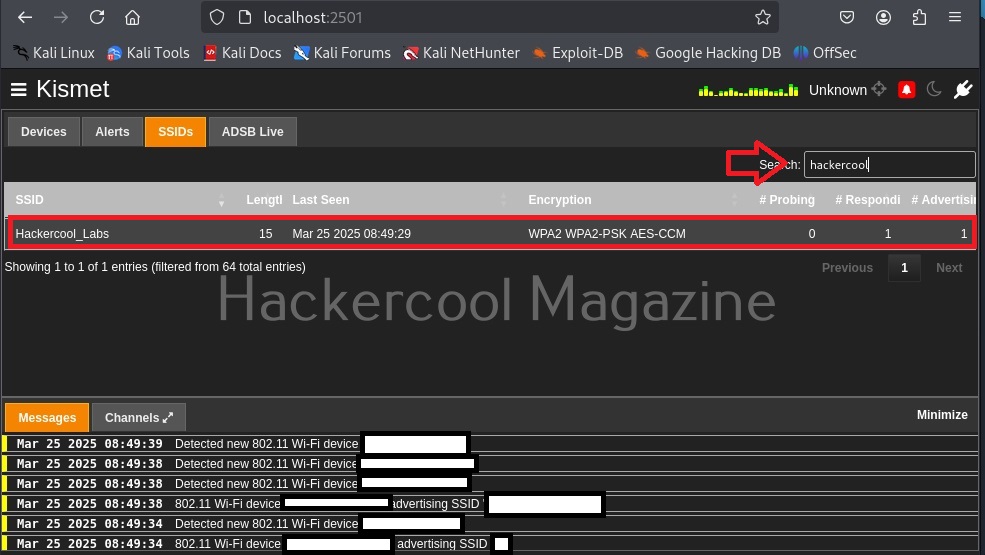
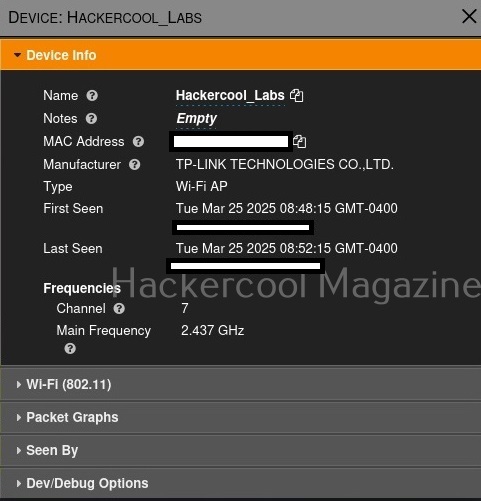
Clicking on the resulting entry shows more details about the wireless access point as shown below. We can see that the access point is a router from TP-Link.


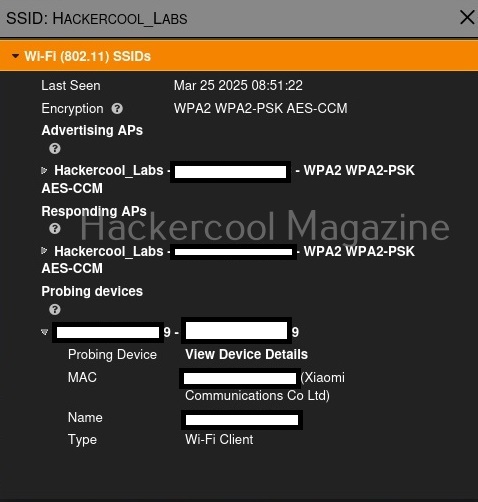
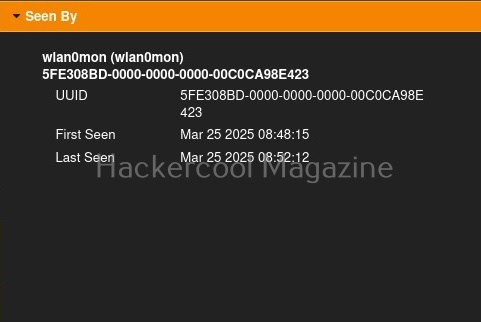
It will also show the MAC addresses of the devices or clients connecting to this particular access point as shown below.
We can even learn more about the devices connecting to this access point. For example, the device that connected to our target access point is a mobile from Xiaomi. Similarly, we can identify other devices like cameras, smart devices etc.
We can learn the channel on which it is running and its frequency.

To the top left, there is a kismet menu.
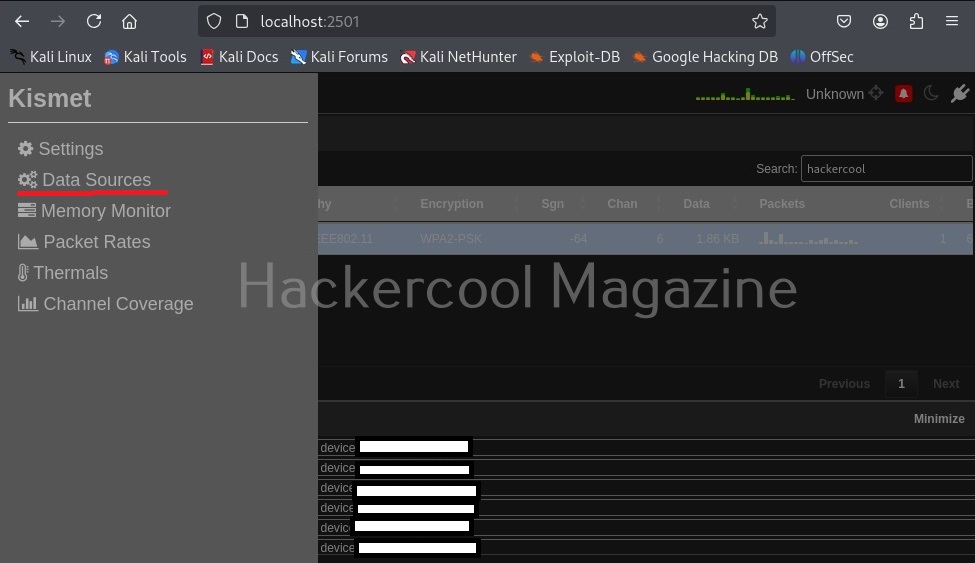
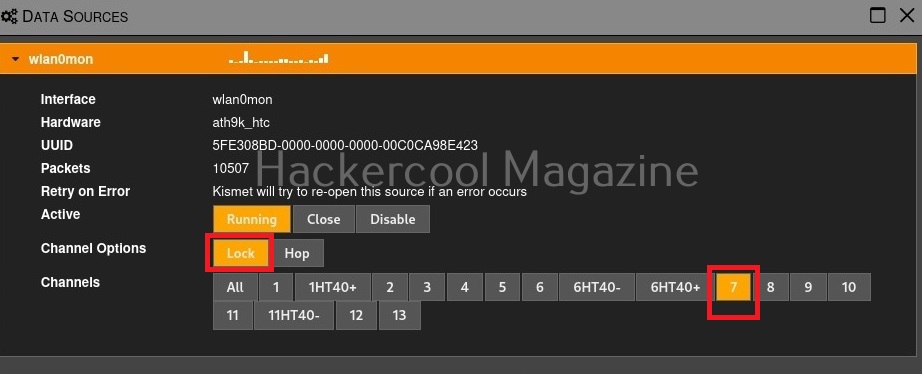
Click on “Data sources”. This will give you information from where your data is coming.
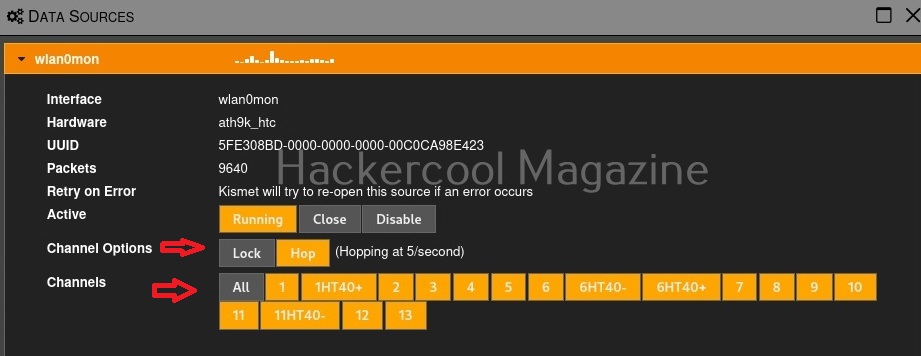
By default kismet hops from one channel to another channel (channels are explained in our wifi hacking article) to collect information. You can even lock kismet to a single channel. For example, say 7.
That’s all for now. In our future updates we will show you what more you can do with kismet. Learn about wifipumpkin3 tool.
Follow Us