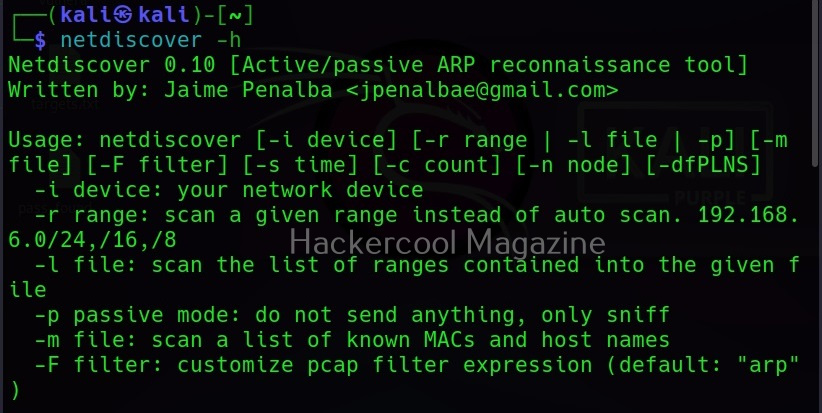
Hello, aspiring ethical hackers. In one of our previous blogposts, you learnt about network scanning. In this blogpost, you will learn about netdiscover tool. It is an active/passive network address discovering tool that was actually developed to discover wireless networks during wardriving but can also detect addresses on switched networks. It used ARP packets to detect network addresses.
It is mostly used to find the target IP address in hack the box challenges. But it can also be used to scan for network addresses of a network in real-world pen testing. It is installed by default in Kali Linux and we are going to use same for this tutorial.
The simplest way of using netdiscover to find out network addresses is to simply type the command “netdiscover” in the terminal as shown below.

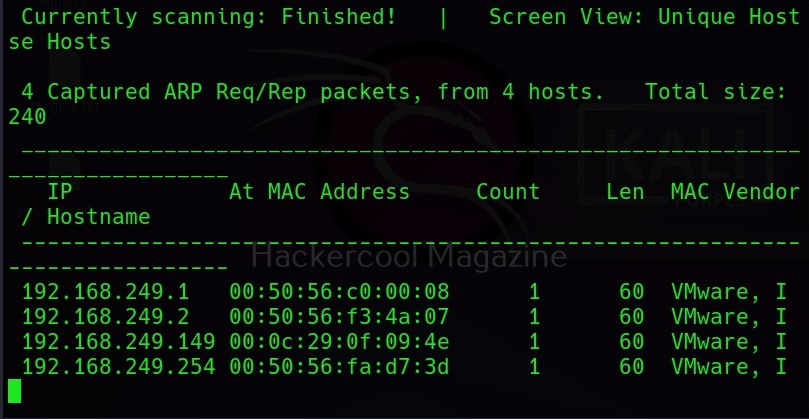
Then it slowly scans for network addresses as shown below. This is how most people use it.

Fast mode
However, you don’t have to wait for netdiscover to finish scanning as long as it takes. You can scan faster with netdiscover too using the “-f” option.

Interface mode
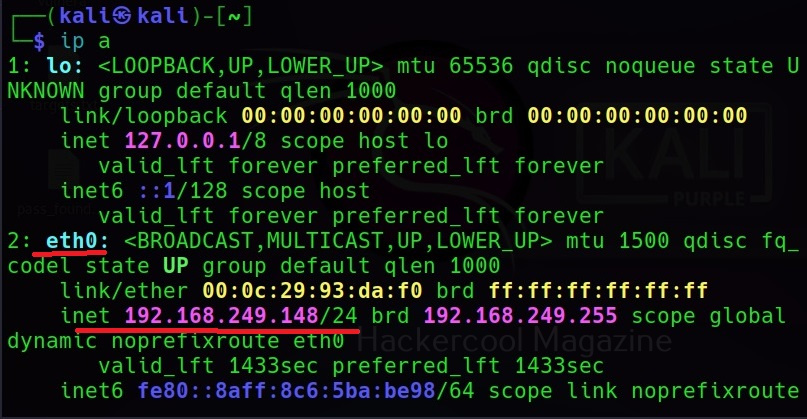
Netdiscover can be set to scan network addresses on a specific network interface you want. For example, on Kali Linux, let’s use the command “ip a” to view all the network interfaces connected to it.
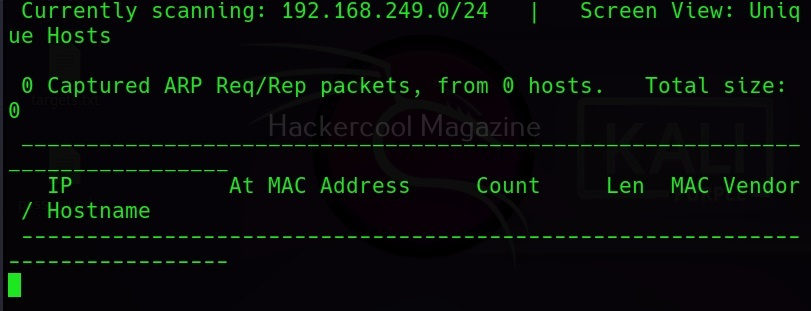
Interface mode can be set with the “-i” option. For example, let’s scan the interface “eth0” as shown below.

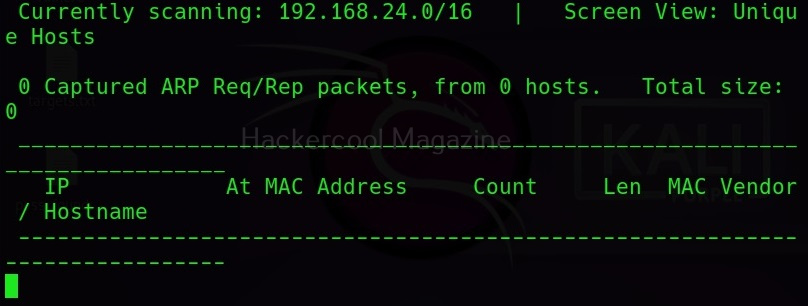
Scan a specific range
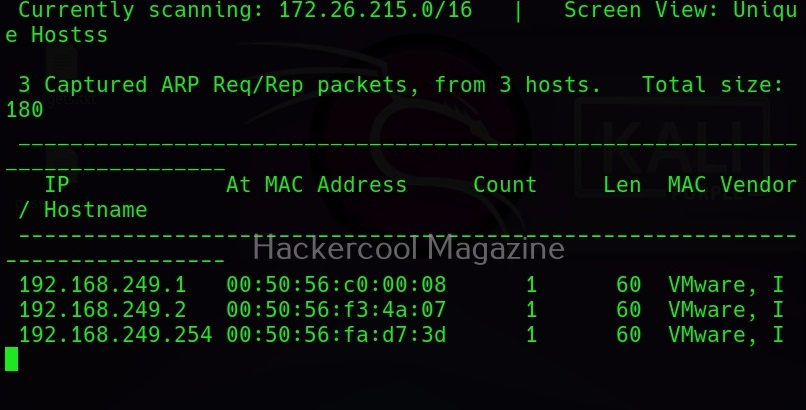
Similarly, netdiscover can be used to scan a specific range as shown below. For example, let’s scan the range 192.168.248.0/24.

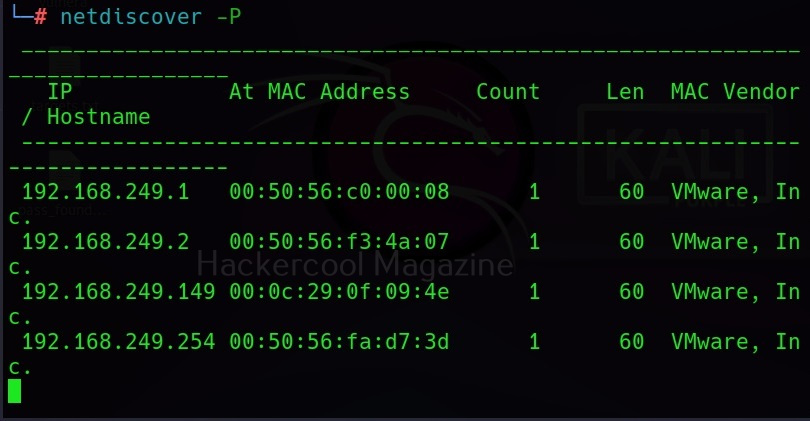
Printable form (-p)
Netdiscover can also display its output in a way easy for printing using the “-p” option.