Hello, aspiring ethical hackers. In one of our previous blogposts, you have learnt in detail about steganography and types of steganography techniques. In this blogpost, you will learn about steghide, a tool that can perform image steganography and audio steganography.
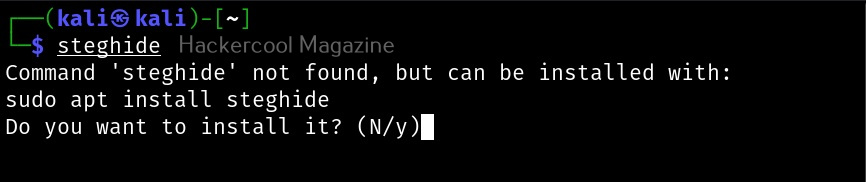
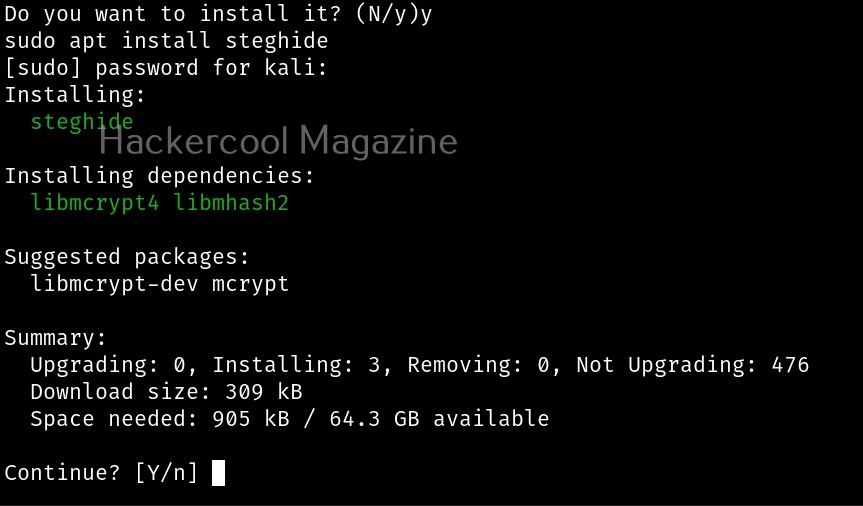
Let’s see how this tool works. This tool is installed by default in Kali Linux. The command to use steghide is shown below. If it is not installed yet, the system will prompt you to install it as shown below.
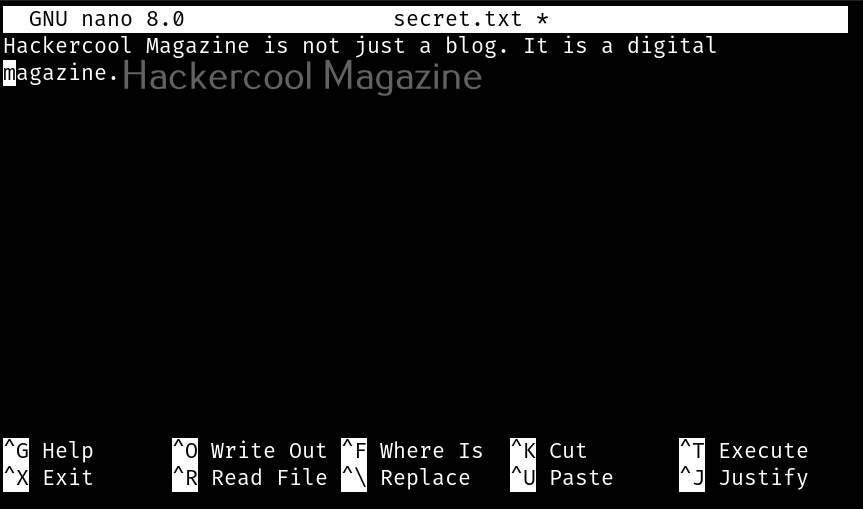
After steghide is successfully installed, let’s get ready our files. To perform steganography, we need two files: a file we want to hide (hereby called as secret file to avoid confusion) and another file to hide this secret file. So, first let’s create file which we want to hide (I mean, secret file). Let’s create a text file named “secret.txt” with some text inside as shown below.

Now, we need a file in which we can hide this “secret.txt” file. With Steghide, we can hide secret data in JPEG, BMP and audio files of WAV and Au formats. For this tutorial, let’s just download a hot pic in jpeg format from Freepix as shown below.

What can be hotter than an erupting volcano. Since both files are ready, we can start working with steghide. Here’s the command.

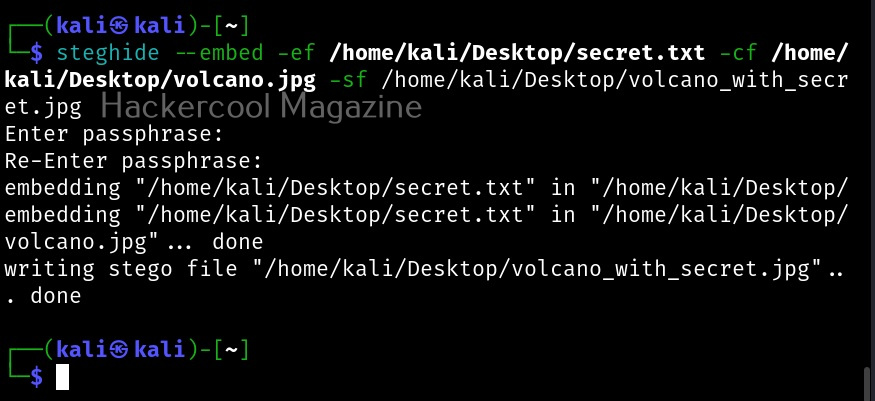
Here is the explanation of the options used:
–embed: for embedding a file into another (in this case, embedding secret.txt into volcano.jpg).
-ef: file that needs to be hidden or embedded
-cf: file in which the above file is to be hidden.
-sf: resultant file after embedding.
You can embed a file even without using the ‘-sf’ option but when you do that, the original file (in our case, volcano.jpg) will be overwritten. Steghide will ask you to set a password while embedding a file, you can continue without setting the password too, but that would make it easy for right people to see the secret message. This is the image with secret data hidden beside it.

It is looking just like any normal image, right. We can use steghide to specify additional options while embedding but before that let’s learn how to extract this secret data from the image file. To retrieve hidden data from the image file, we use the “extract” command of steghide is used.


You can even specify a separate file to extract the secret data from using the ‘-xf’ option below.


Whatever the case, you have to enter the correct password while extracting. Steghide also has a ‘info” command to display the information about the image file with secret data. Here it is how it works on a normal image file.

Now, let’s get information about our “volcano_with_secret.jpg file.
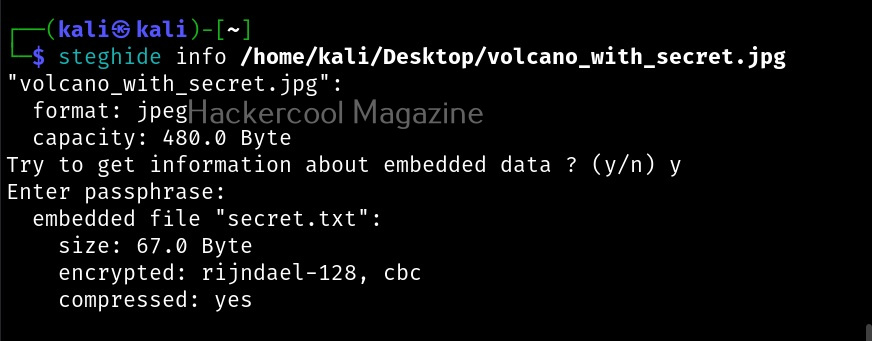
As you can see, steghide reveals that the above file (volcano_with_secret.jpg) is embedding a file named “secret.txt, it is compressed and encrypted with rijndael-128, cbc encryption. Now, let’s learn about additional options that can be used with steghide while embedding a file. We have seen while using “info” command that the name of the embedded file was displayed using the “-N” option, you can stop this name from being displayed.
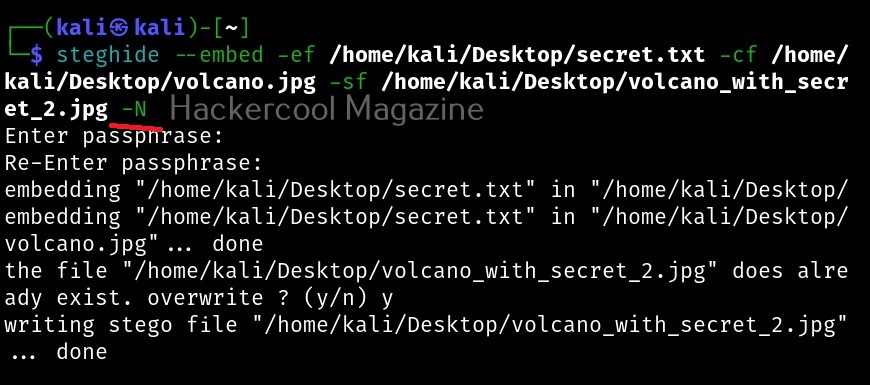
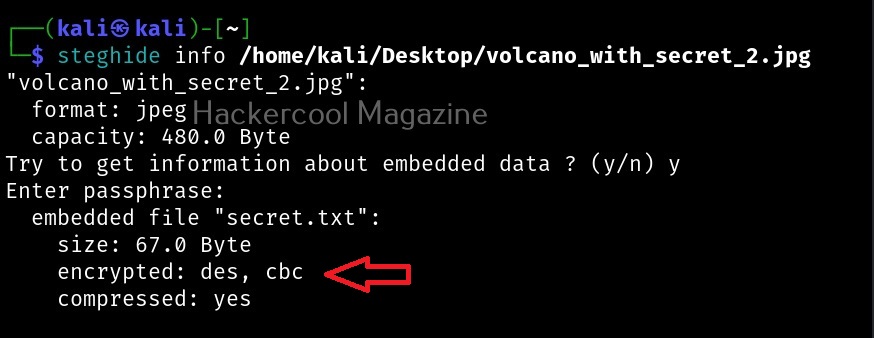
Now, let’s observe this file using the “info” command as shown below.

As you can see, the name of the hidden file is not being displayed now. You can even encrypt a file with steghide using the “-z” option.
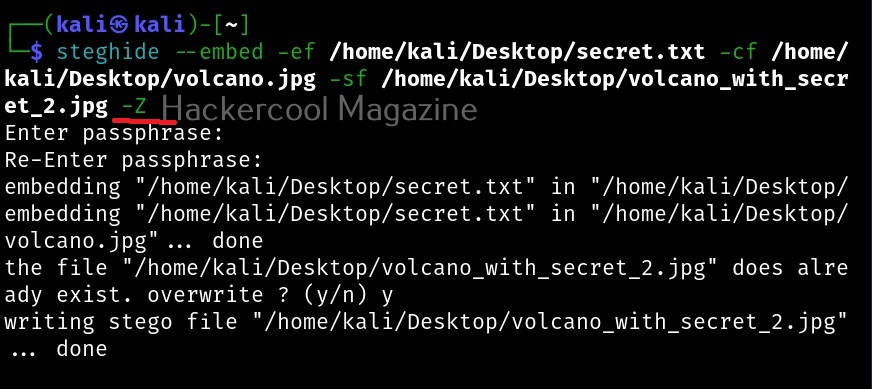

By default, steghide uses rijndael-128 cbc encryption to encrypt the file. We can even specify the encryption algorithm we want. The encryption algorithms supported by steghide can be viewed using the “encinfo” command.
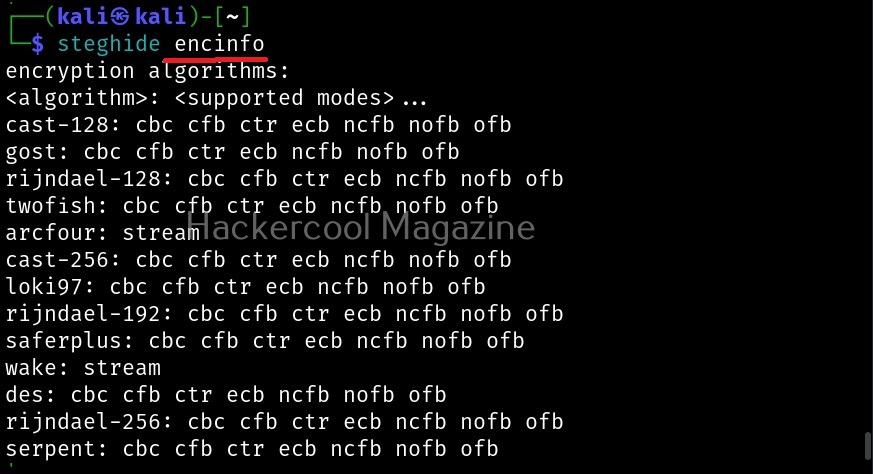
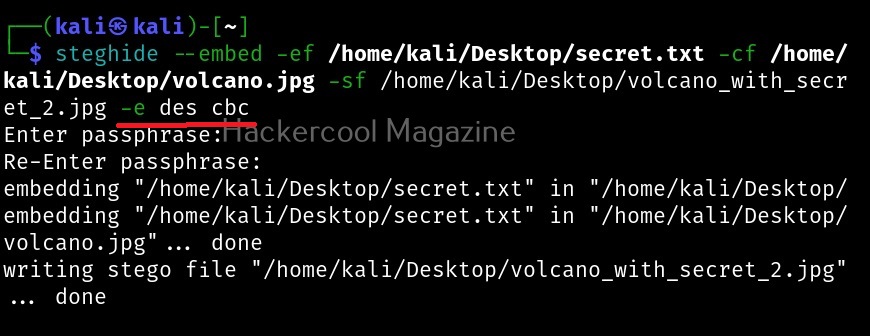
We can set our own encryption algorithm we want using the ‘-e’ option. For example, let’s set the DES algorithm with cbc cipher.
That is how we use steghide to hide a file.
Follow Us