Hello, aspiring ethical hackers. In one of our previous blogposts, you learnt in detail about Nmap, the popular port scanner. If you are like me, you thought all those commands, types of scans and options are very difficult to grasp. Well, maybe even the makers of Nmap also thought the same. Hence, they release a GUI version of Nmap called Zenmap.
Zenmap is the official GUI version of Nmap security scanner. It works on almost all platforms (Linux, Windows, mac OSX, BSD etc.). Just like Nmap it is also open-source. In this blogpost you will learn in detail about Zenmap. It can be downloaded from here. Kali Linux has Zenmap in its repository as part of kaboxer. For this tutorial, we will be using this only.
In Kali Linux, open a terminal in kali and type the command “Zenmap-kbx”. If Zenmap is not already installed, the system will prompt you if you want to install it.
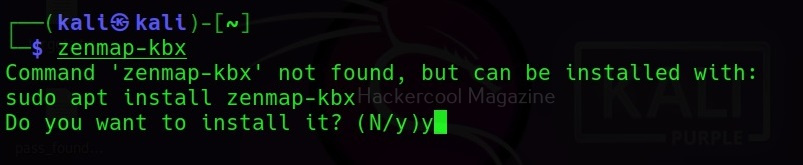

Type “y” to install it, Otherwise, it will open Zenmap GUI as shown below.
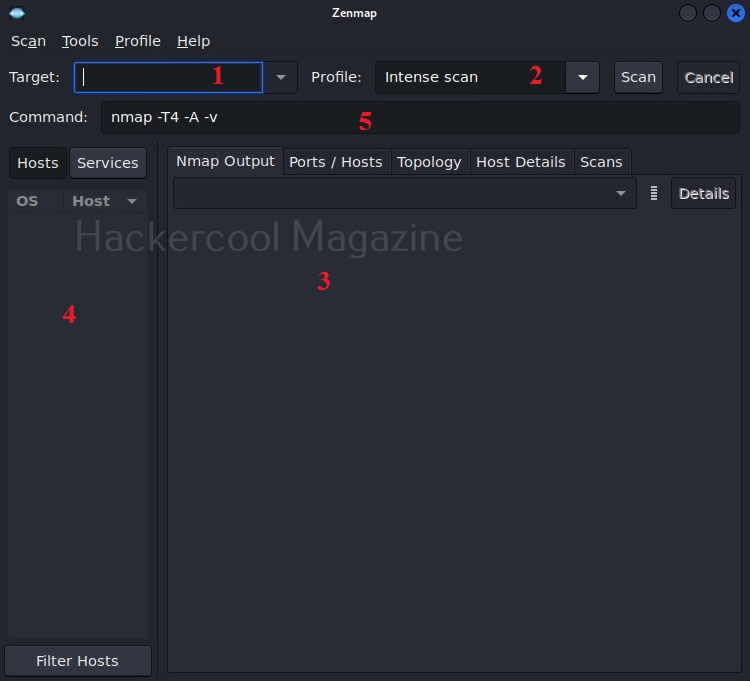
The interface of Zenmap can be divided in to five sections.
- Target section
- Profile section
- Output section
- Host / services section
- Command section
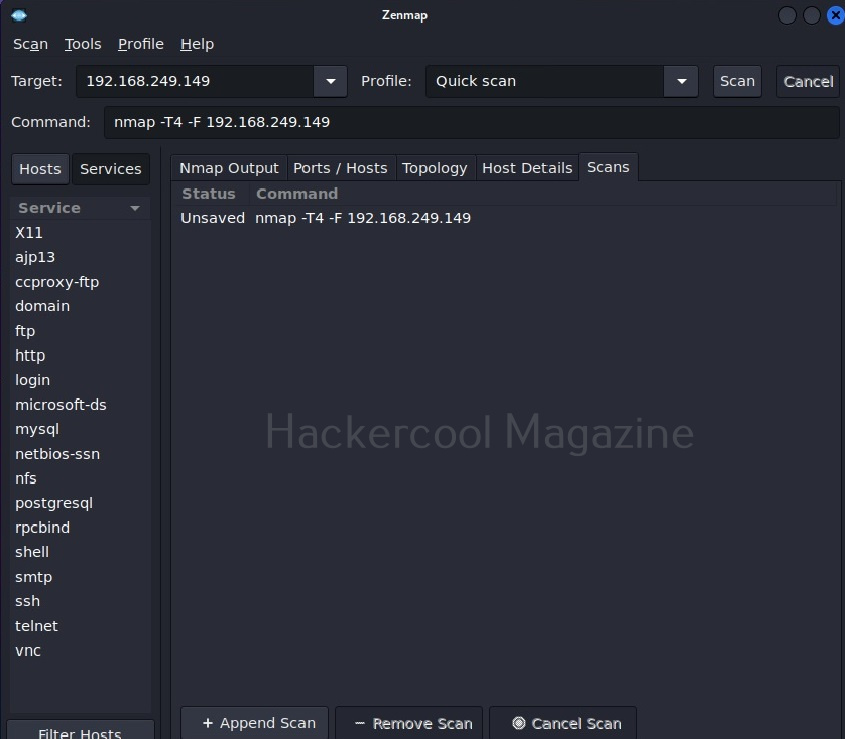
The target section is where we specify a target. The target can be specified in all the variety of ways Nmap allows. The profile section allows you to choose a type of scan. There are various scan options available.
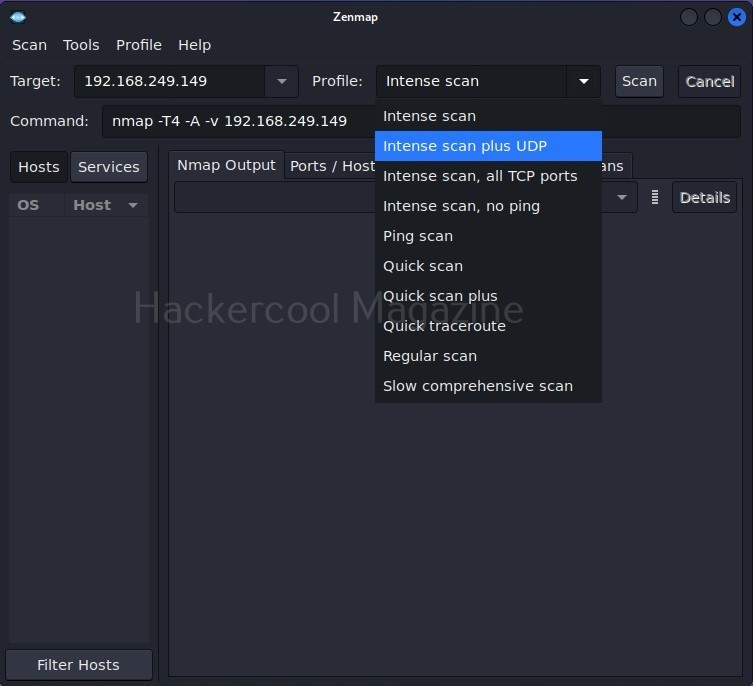
Let’s select Quick scan for now. The command section shows the command for each scan type you select. Yes, you can type the command also directly and run Zenmap here. But if you want to do it, you would have been content with Nmap only. For now, let’s click on ‘scan’. Very soon, the results will be out and can be seen in output section as shown below.
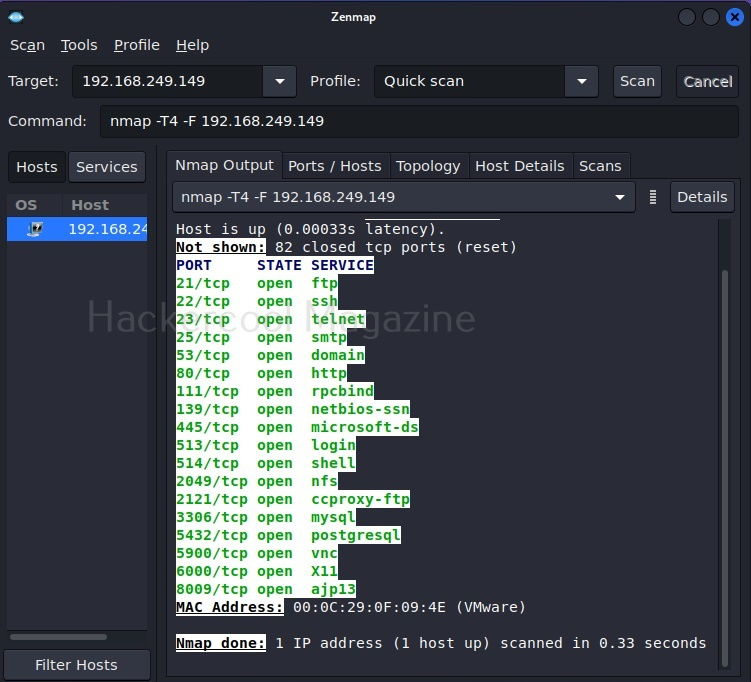
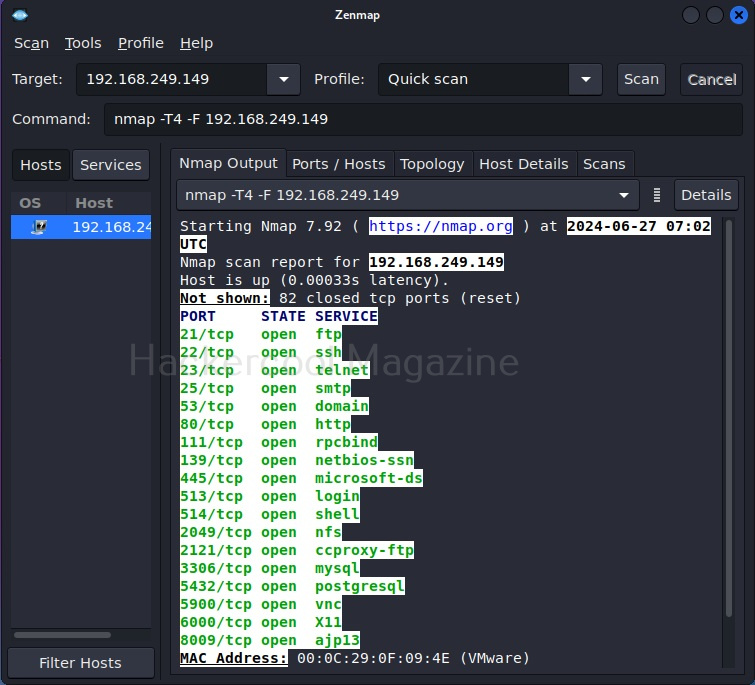
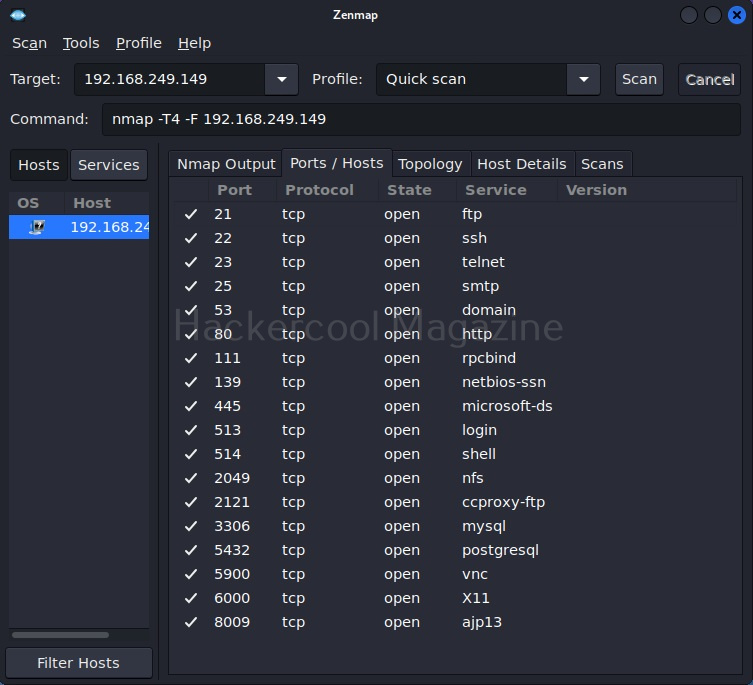
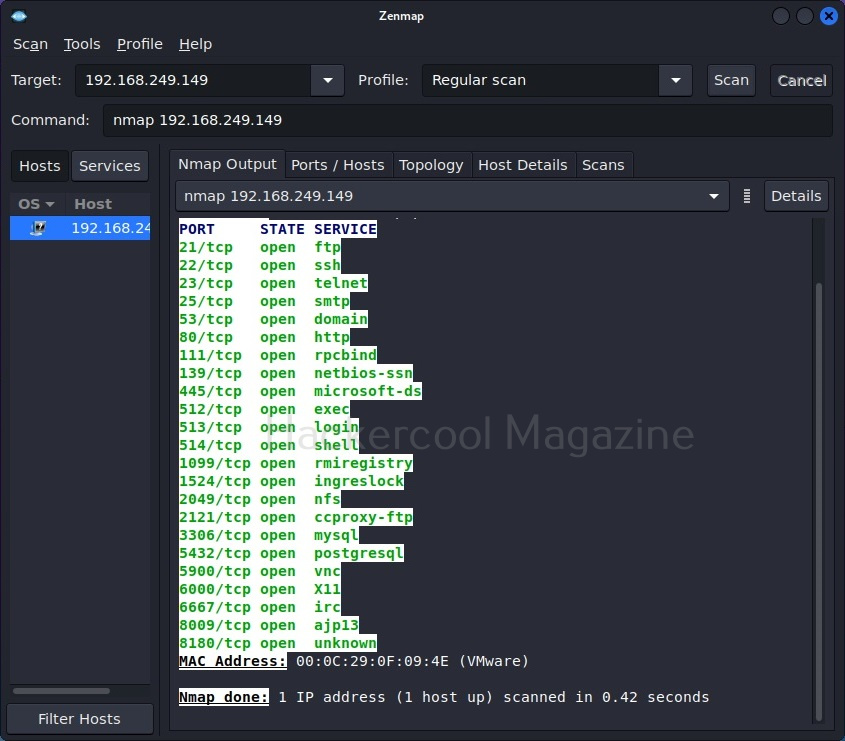
The output section has many other tabs that provide additional information about the target scanned. The ports/hosts tabs show the open ports, type of protocol it uses and the service running on it separately and clearly.
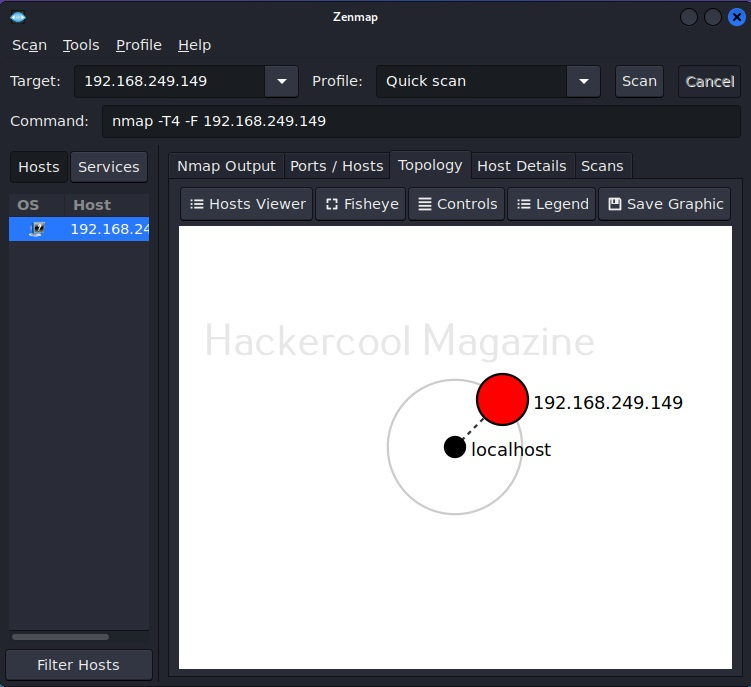
The “Topology” sub-section shows that our attacker machine and target machine in visual form.
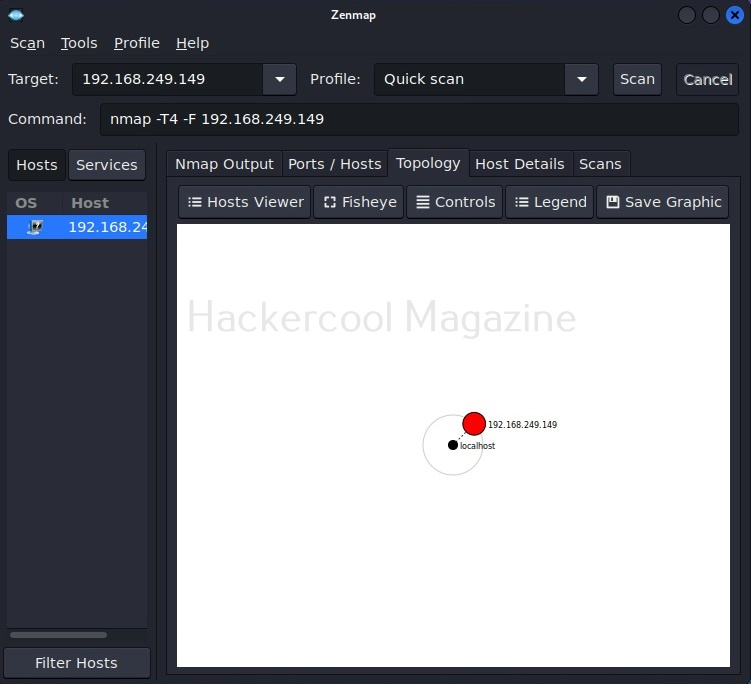
You can even zoom on the visual representation for a better view.
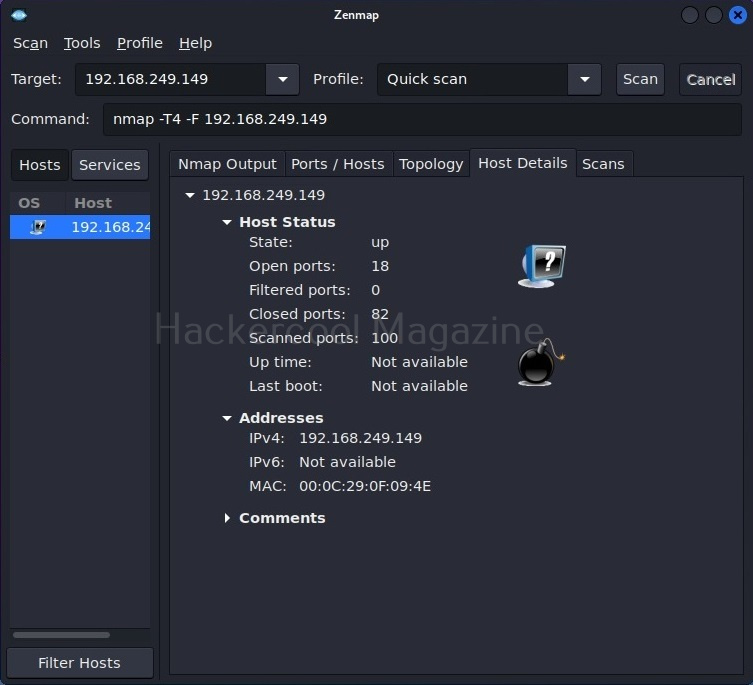
The “Host details” tab shows details about the target host separately.
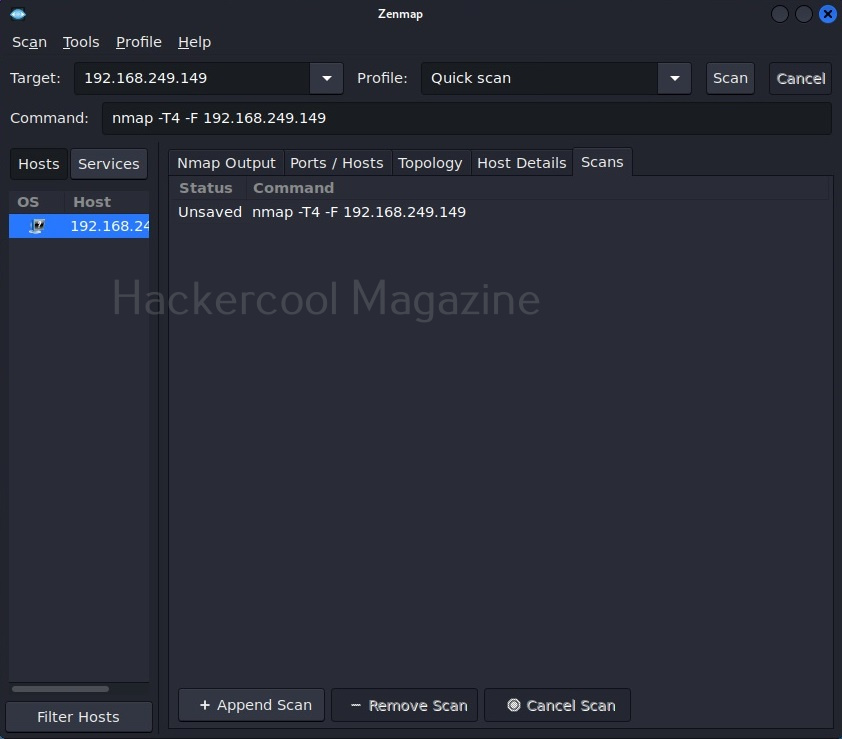
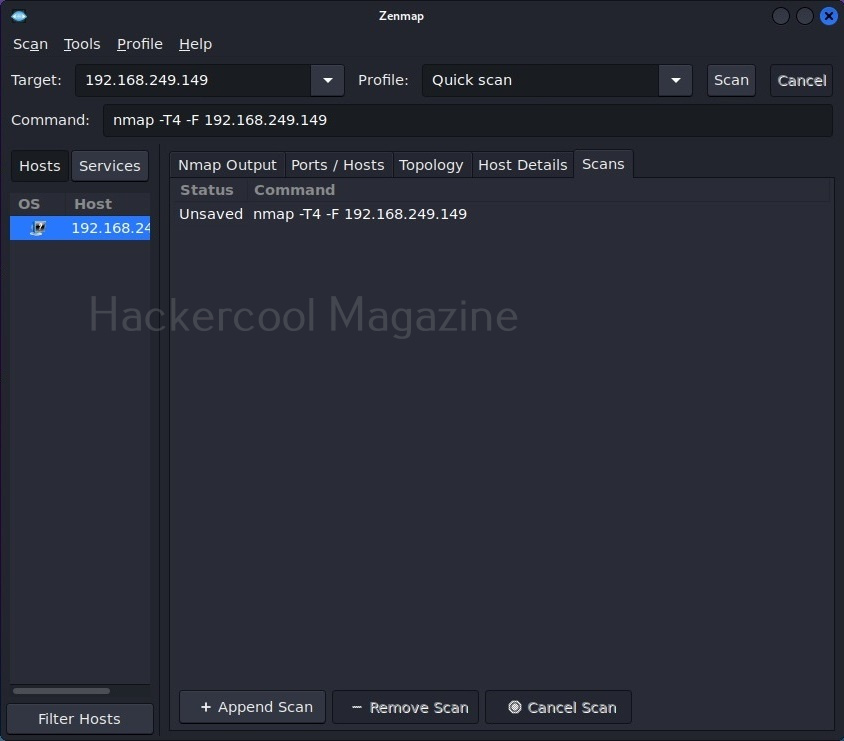
The “scans” section shows all the scans you have performed.
Let’s select a “Regular scan” now.

The “Hosts/services” section provides information about the target host and services running on it.
That was all about Zenmap. See how simple it is to use Zenmap for port scanning.
Follow Us