Hello, aspiring ethical hackers. In this blogpost, you will learn about the foundation concept of this blog and magazine, Hacking. Yes, in this blogpost, you will learn everything about hacking.
What is hacking?
Hacking is a term that is mostly used in the realm of cybersecurity nowadays. Hacking is the art of gaining access to a device or a network or a resource through other means than the usual means of access. This unauthorized way of gaining access is mostly considered illegal.
History of hacking
Nowadays, you can see the term “Hacking” being thrown around in the content of cyber security but the beginning of hacking had nothing to do with computers at all.
Yes, you read that right. Hacking, usually began as phreaking. Phreaking is the illegal practice of hacking into telephone systems to make free calls way back in 1970’s. A person who did phone phreaking was called a Phone phreak. Although, there were many phone phreaks at that time, the most famous (or infamous) among them would be John Draper, popularly known as “Captain Crunch”. John Draper used a toy whistle to mimic & manipulate tones of telephone systems to fool them to make free long-distance calls. The toy whistle he used was found in a box of “Captain Crunch” cereal and hence his other name.
The term ‘hacking’ was used as early as 1950’s and it was used to define any person that explored the limits of a computer system. But computer hacking started spreading its wings after the personal PC era began in 1980’s.
The most notorious hacker at that time was Kevin Mitnick who performed many hacking attacks on some of the world’s largest companies at that time. As internet evolved in 1990s and 2000s, you know what hackers can do now.
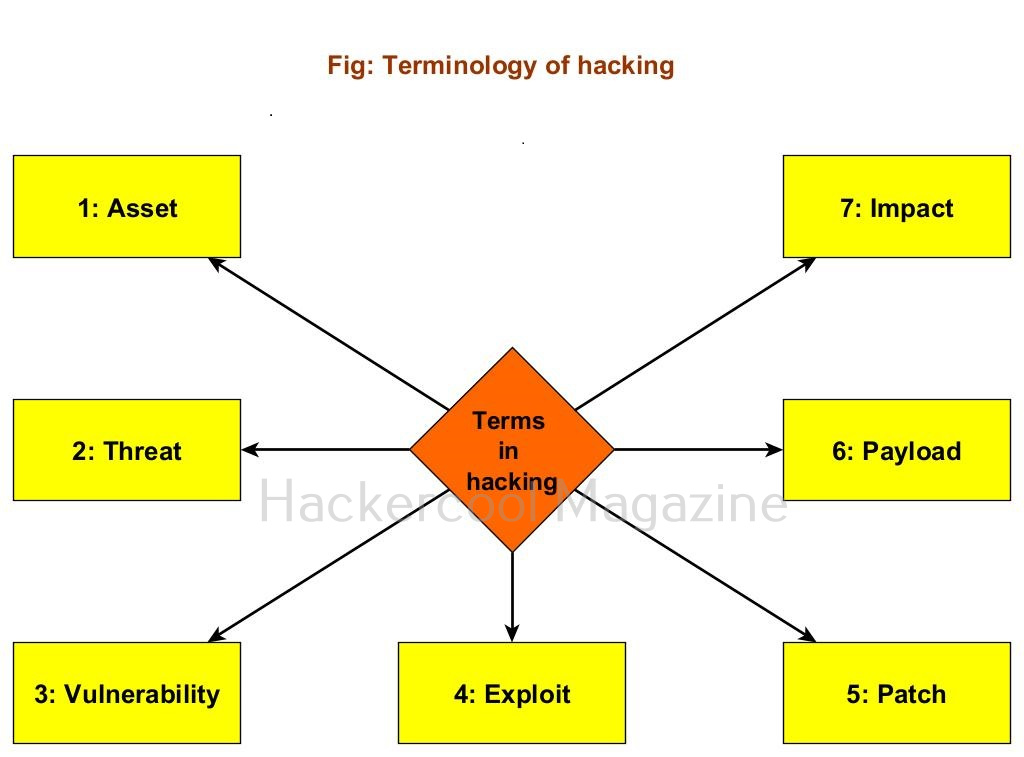
Terminology of hacking
To understand hacking, you need to have a basic understanding of some of the terms related to hacking. They are,
1. Asset:
In an organization, anything of value is considered as an asset. For example, employee records of the organization, employee credentials, records of its customers, the servers, computers etc are considered of value to the organization.
2. Threat:
Any action or event that can disrupt the organization’s activities can be termed as threat. For example, these actions can be deleting the user accounts of employees of the organization, making their services unavailable to their customers etc.
3. Vulnerability:
A vulnerability is a weakness in the system application or network of the organization.
4. Exploit:
The programing code written to take advantage of this vulnerability is known as exploit. (A zero-day vulnerability is a vulnerability which doesn’t have any patch yet).
5. Patch:
Code written to mitigate the vulnerability in the system, application or network is known as a patch. (You should have heard of Exploit Database. As the name of the website implies, it hosts all the exploits or POC’s. A proof of Concept is the exploit code written to demonstrate the vulnerability.
6. Payload:
In hacking, exploit takes advantage of the vulnerabilities. After exploiting the vulnerability, hackers usually run specific code. This code is known as payload. For example, ms_08_067 is a vulnerability which is exploited by the exploit module of same name, while meterpreter is the payload. Learn more about the payloads here.
7. Impact:
The damage done to the asset due to exploitation of vulnerability is known as impact.
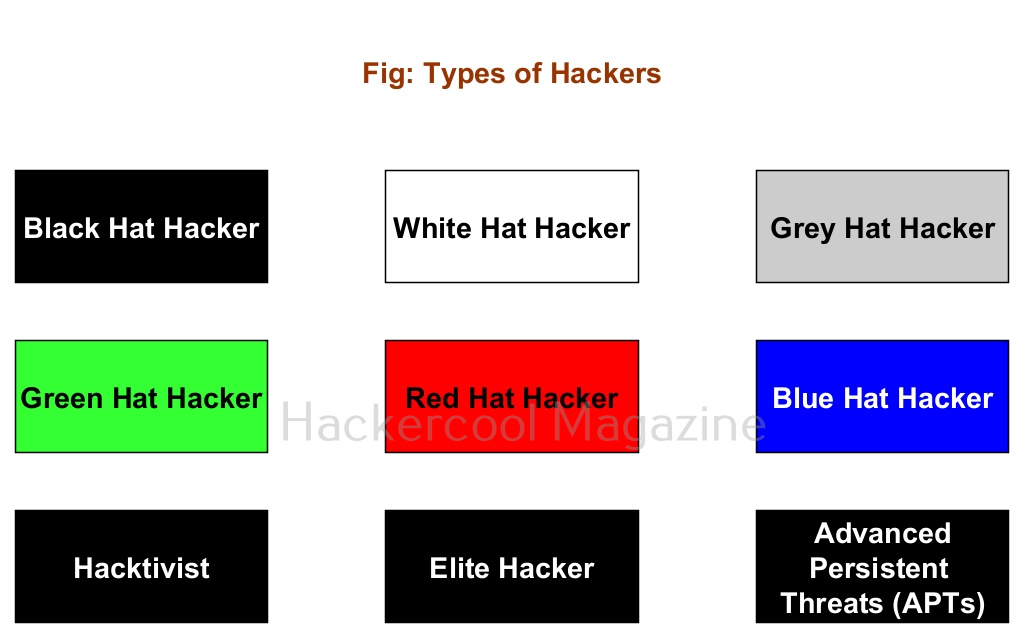
Types of hackers
You have learnt that a person performing hacking is known as a hacker. Based on the type of hacking they perform; hackers can be classified into different types. They are,
1. Black Hat Hacker:
A Black Hat Hacker is a hacker who performs all illegal hacking attacks. These are the villains in the domain of hacking.
2. White Hat Hacker:
If there are bad guys of hacking, there are bound to be good guys of hacking. White Hat hackers are the good guys of hacking. They protect the organizations from the Black Hat Hackers.
3. Grey Hat Hacker:
Like the Grey zone, these hackers are in the group of ambiguous zone, who cannot be necessarily called Black Hat or White Hat hackers. For example, a person working as a White Hat Hacker in day and taking Black Hat assignments at night.
4. Green Hat Hacker:
Green Hat Hackers are those hackers who have no knowledge but are “experts” at using readymade tools and exploits made by Elite Hackers.
5. Red Hat Hacker:
Red Hat Hackers are White Hat Hackers that try to take down or prevents Black Hat Hackers. They sometimes use aggressive tactics to achieve their goal.
6. Blue Hat Hacker:
Blue Hat Hackers (also known as Blue Teams) are hired to test the organization for any vulnerabilities or weaknesses. They are similar to White Hat Hackers but are extreme.
7. Hacktivist:
A hacktivist is a type of hacker who hacks to promote a political or social or environmental cause.
8. Elite Hackers:
At the opposite ends of Green Hat Hacker or script kiddie, we have the Elite Hackers who have deep knowledge of hacking. He/she likes to write his/her own exploits, find zero-days etc.
9. Advanced Persistent Threats (APTs):
APT’s are state-sponsored hackers (more rightly hacker groups) that are specifically used to target enemy nations, perform cyber espionage, collect information etc.