Hello, aspiring ethical hackers. In our previous blogpost, you learnt in detail about Pen testing. In this blogpost you will learn about the perhaps the most popular penetration testing software suite, Metasploit Framework. Metasploit Framework (MSF) is free, open-source pen-testing suite that is used to execute exploits and develop code against a remote target machine. Although it sis made for penetration testers, it is also used by Black Hat Hackers around the world.
History
Metasploit was originally written by H.D.Moore, an American network security expert, open-source programmer and hacker. He has been the chief Architect of Metasploit Framework until his departure from Rapid7 company in 2016. Originally written in Perl, Metasploit was rewritten in Ruby programming language by 2007. In 2009, it was acquired by Rapid7. Metasploit is available for Windows, Mac and Linux. Metasploit is so widely used that it is included in every ethical hacker os like Kali and Parrot Security.
Structure of Metasploit
Metasploit Framework is the name given to the free version of Metasploit. The role of Metasploit in penetration testing comes after the stage of port scanning and vulnerability scanning (Information from tools such as NMap, Nessus and OpenVAS etc can even be imported into Metasploit). Metasploit is built with a modular approach. For beginners, Metasploit can be complex and a bit difficult to understand. Let’s learn in detail how to run Metasploit.
Let’s start with Metasploit modules. The most important modules of Metasploit are Exploit, Payloads, POST, Auxiliary, Evasion and Encoder modules. Let’s learn about each one of them now.
1. Auxiliary modules:
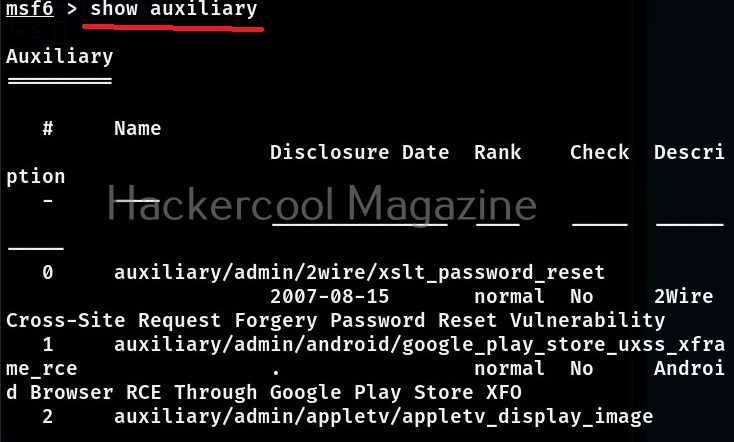
Auxiliary modules in Metasploit perform simple functions like scanning, enumeration, gathering information, logging in into services etc. They have single function. At the time of writing this article, there are over 1267 auxiliary modules in Metasploit.
2. Exploit modules:
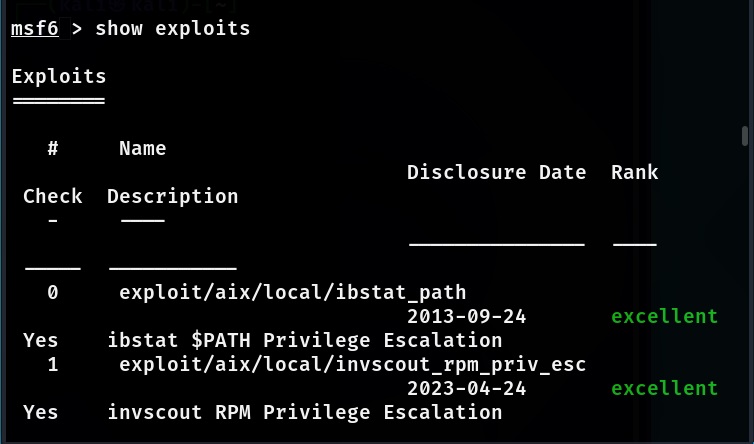
Exploit modules are exploit codes written in Ruby. They exploit the vulnerabilities to execute arbitrary code on the target system. At the time of writing this article, there are over 2461 exploit modules in Metasploit.
3. Payload modules:
The arbitrary code that is executed by the exploit modules of Metasploit is known as payload. At the time of writing this article, there are over 1468 payload modules in Metasploit.
4. Encoder modules:
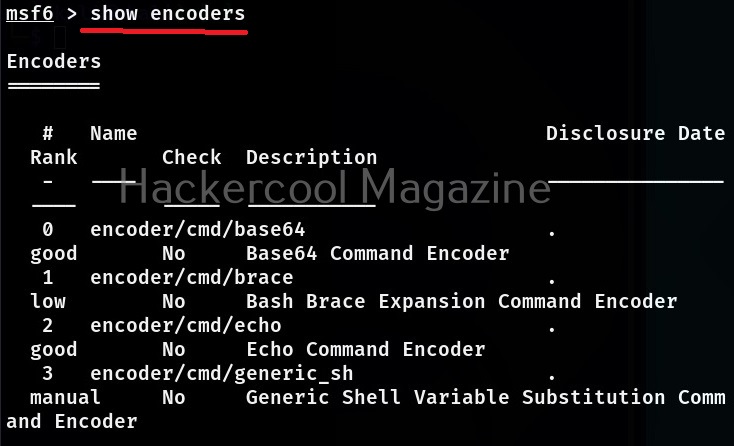
As the name of the module suggests, Encoder modules of Metasploit take raw bytes of a payload as input and run some sort of a encoding algorithm like XOR, Bitwise XOR on the payload code. At the time of writing this article, there are over 49 encoder modules in Metasploit.
5. Evasion modules:
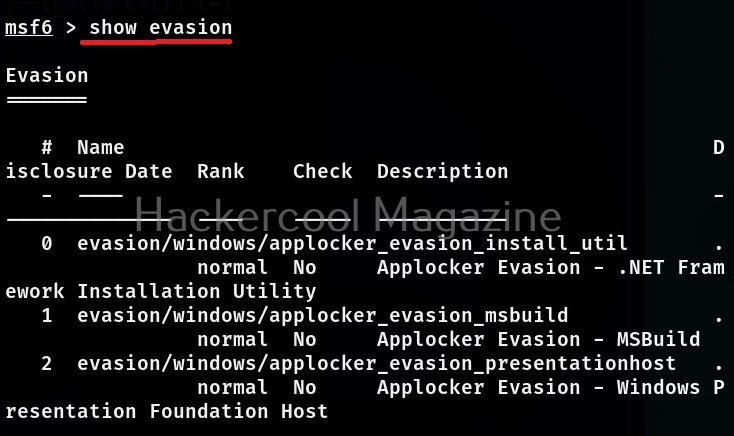
Evasion modules are used to generate payloads that evade Antivirus. At the time of writing this article, there are over 9 evasion modules in Metasploit.
6. POST modules:
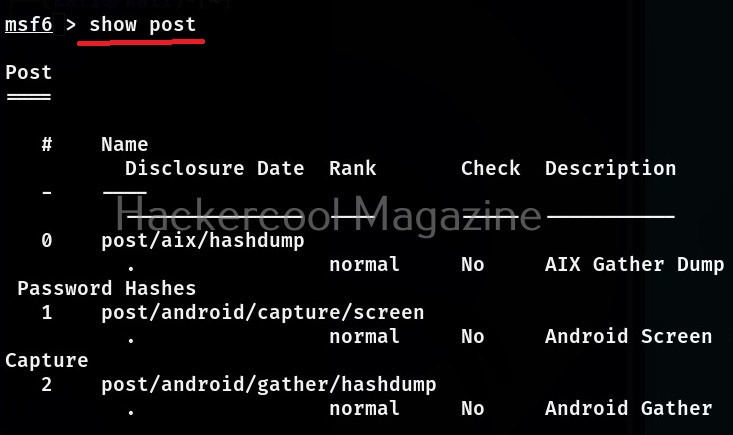
POST modules are those modules of Metasploit that are useful during POST exploitation phase of the pen test. At the time of writing this article, there are 431 POST modules in Metasploit.
How to use Metasploit Framework?
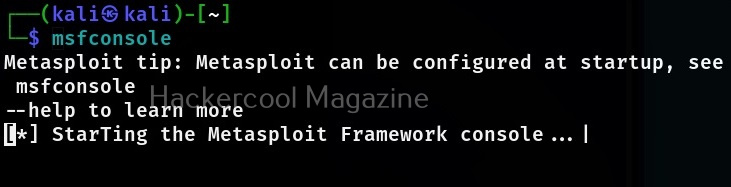
Let’s see how to use Metasploit for beginners. We will be using Metasploit in Kali Linux as it is already installed. To start Metasploit, open a terminal and type command shown below.
msfconsole
To see all the auxiliary modules of Metasploit, use the command shown below.
show auxiliary
Similarly all the exploits in Metasploit can be seen using the command shown below,
show exploits
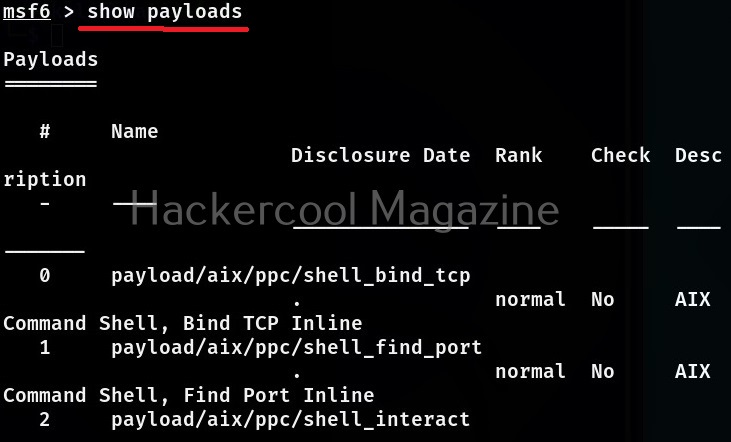
To view all the payloads in Metasploit, you can use the “show payloads” command.
show payloads
The same commands can be used to view all the encoder, evasion and POST modules of Metasploit respectively.
Now, let’s come to the realistic use of Metasploit. As I already told you at the beginning of this blogpost that the use of Metasploit comes after the stage of footprinting and scanning. As part of vulnerability scanning, we happen to find that one of the devices in the target network is vulnerable to Bluekeep vulnerability.
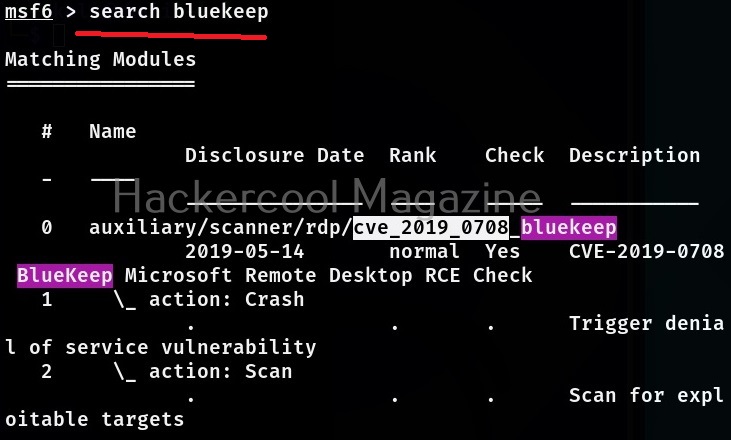
Now, let’s see how to exploit this vulnerability with Metasploit. The first to do after starting Metasploit is to use the search function of Metasploit to search for the exploit we need. For example, “bluekeep” as shown below.
Metasploit has a very versatile search function. You can also search using the CVE ID of vulnerability as shown below.
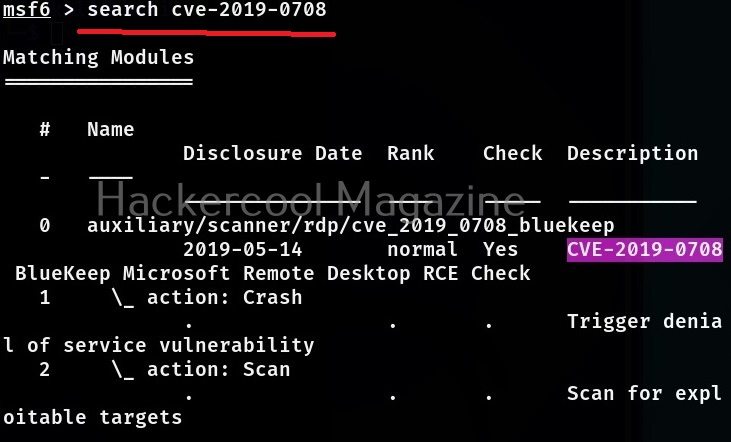
No matter how you search, Metasploit will show all the modules related to particular vulnerability you searched for. Since, I already know the target machine is vulnerable to Bluekeep vulnerability, I select the exploit module for this vulnerability. To load this module, we can use (literally) and load the module using the entire name of the module or its serial number given at the begining.


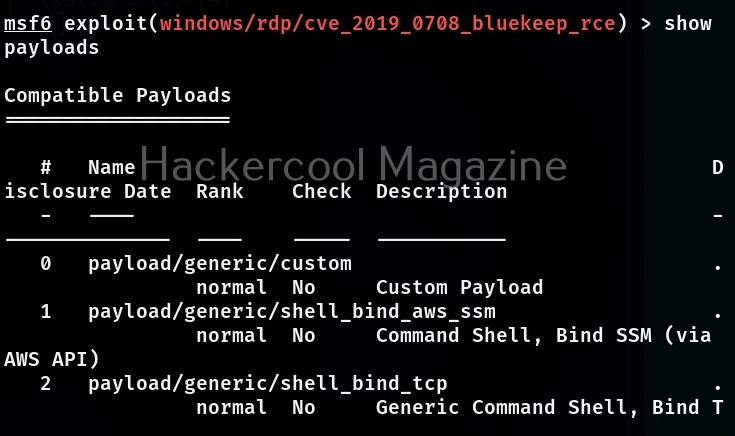
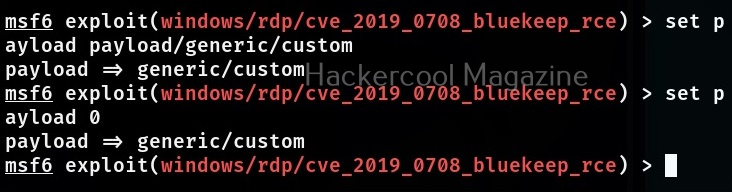
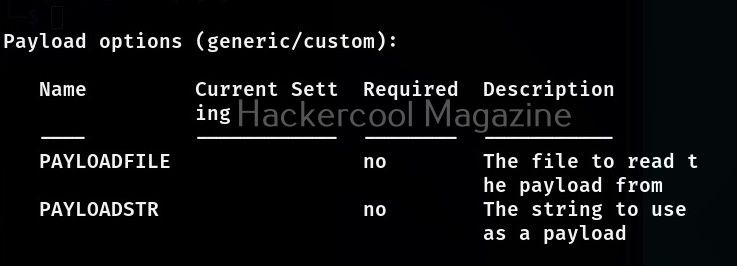
A payload most probably METERPRETER payload is assigned by default as soon as you load the exploit module. If you want to set a different payload other than the default one, you can use “show payloads” command to see all the payloads supported by the selected module. Unlike earlier this will not show all the payloads of Metasploit but only the ones supported by this exploit module.
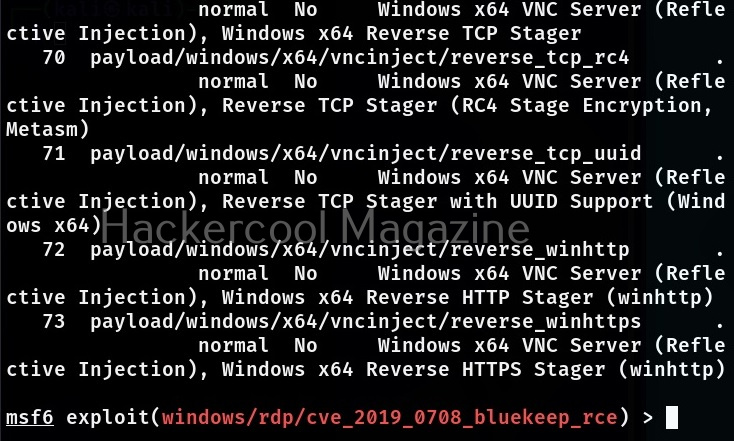
To assign a new payload, we use the “set” command in the same way as we used the “USE” command earlier.
Then we use the “show options” command to see all the options required for this module to work after selecting the payload. The required options are marked with “yes” in the required column.
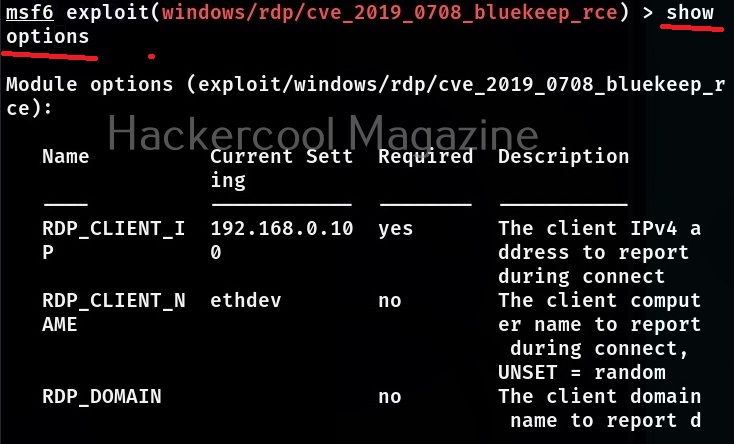

This module required the RHOSTS option which is the IP address of the target system. All the required options can be set with the SET command as shown below.

After all the required options are set, all we need to do is execute the module using “run” command or “execute” command. You can see Metasploit module in action in our blogpost on exploiting ms08_067 vulnerability.
Learn how to exploit cve-2018-17456 vulnerability with Metasploit.
Learn how to upgrade a normal command shell to meterpreter session.
Learn how to perform Windows POST exploitation with Metasploit.
If your meterpreter session is not the same as the OS architecture, you can spawn a new process with the correct architecture and migrate to that process using the archmigrate module.
Learn how to perform HTA attack with Metasploit.