Hello, aspiring ethical hacker. In our previous blogpost, you learnt about Denial of Service (DoS) attack. In this blogpost, you will learn about goldeneye, a HTTP DoS Test Tool.
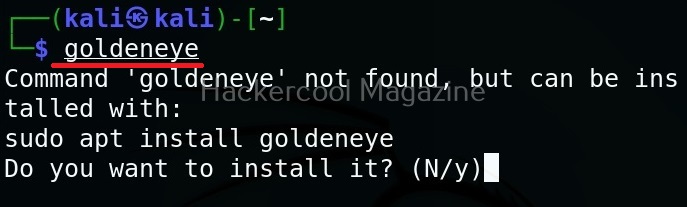
This tool helps us to test if a web server is susceptible to DoS and DDoS attacks in real-world. Like any DoS testing tool, it generates a large number of requests in short time. Let’s see how this tool works. For this, we will use Kali Linux as this tool is available by default in its repositories. It can be installed as shown below. To install it on other systems, it can be downloaded from here.
The simplest way to use goldeneye tool is to just provide the URL you want to test as shown below.
Different modes (-m)
By default, goldeneye uses GET requests to test a website. However, it has two other modes too: POST and RANDOM. You can set this modes using the “-m” option.
Number of workers (-w)
By default, goldeneye uses 10 workers running 500 connections each. However, we can change it using the “-w” option. For example, let’s set it to 20 workers.
Number of connections (-s)
Similarly, we can change the number of connections using the “-s” option. Let’s change the number of connections to 1000.
Debug mode(-d)
We can run goldeneye tool in debug mode using the “-d” option. Debug mode gives detailed information about the tests being performed.
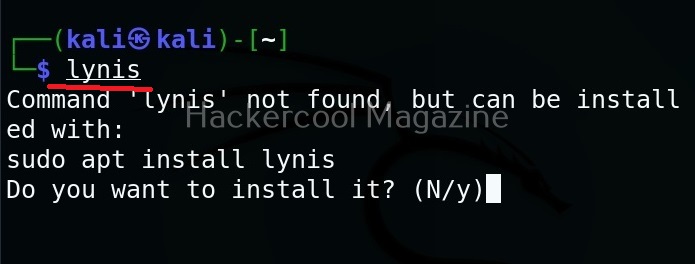
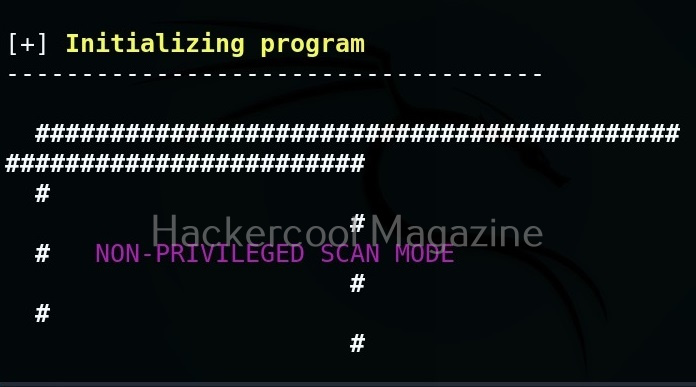
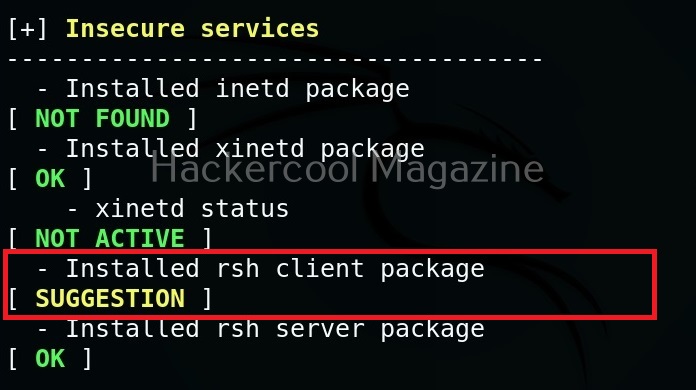
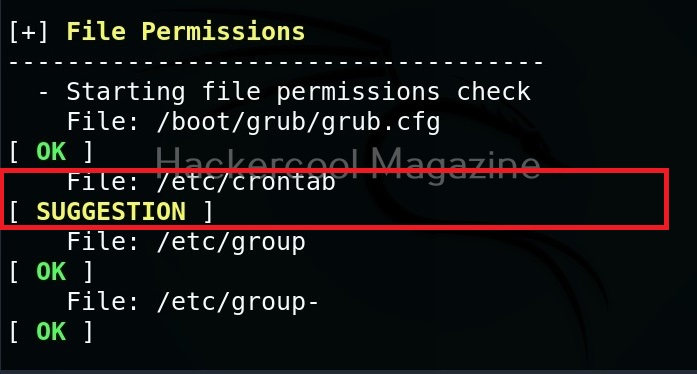
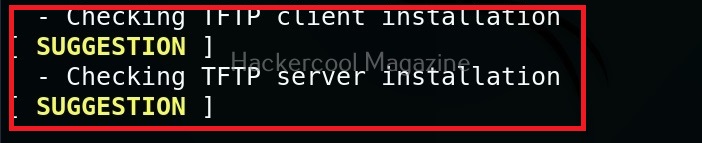
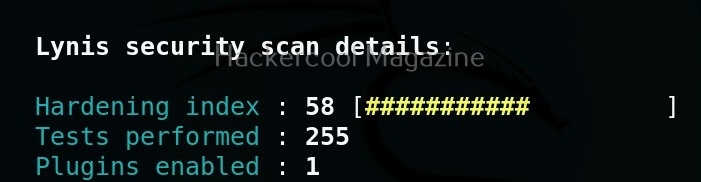
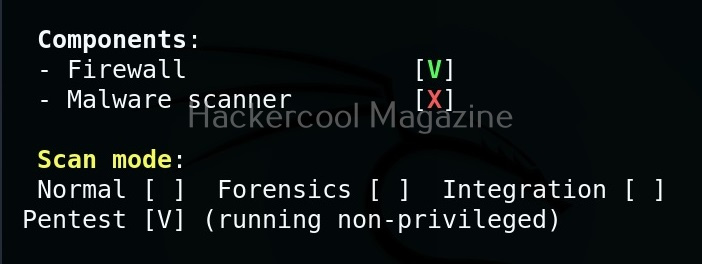
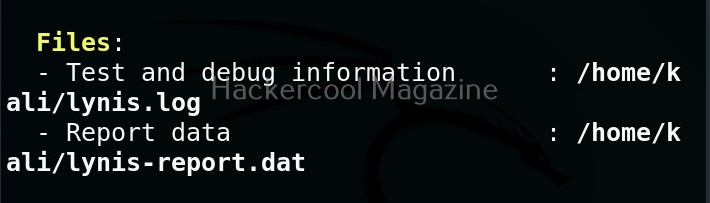
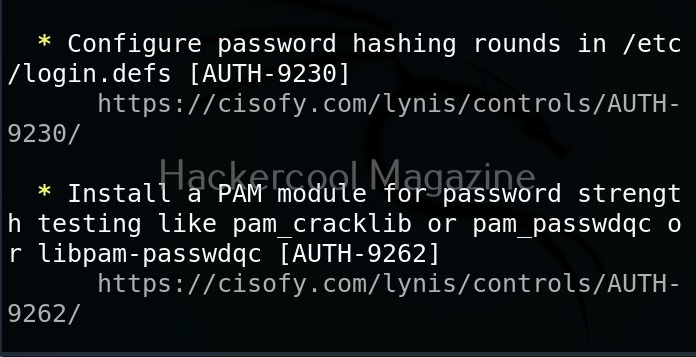
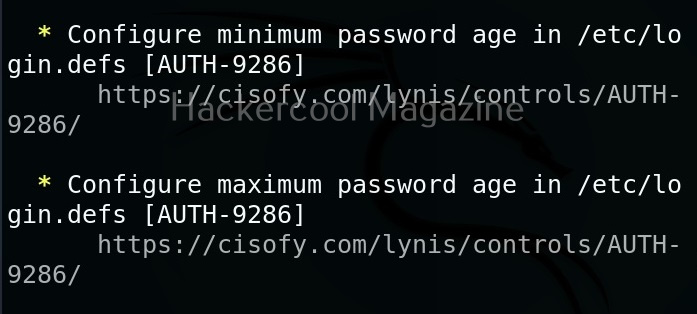
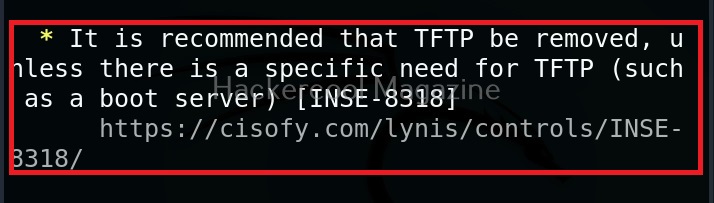
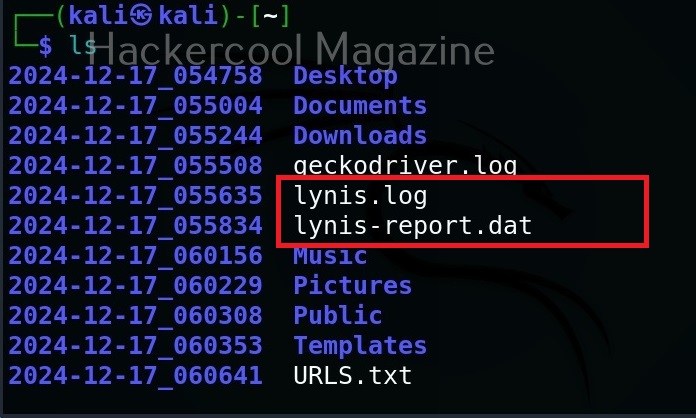
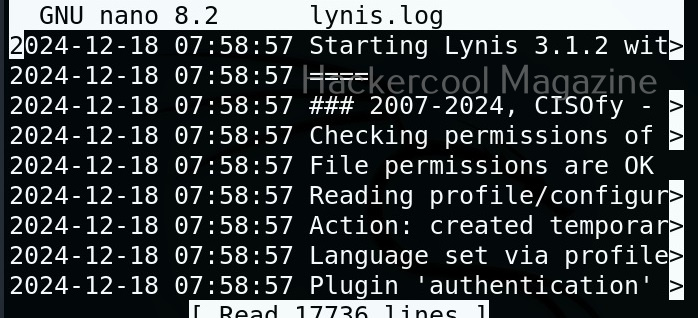
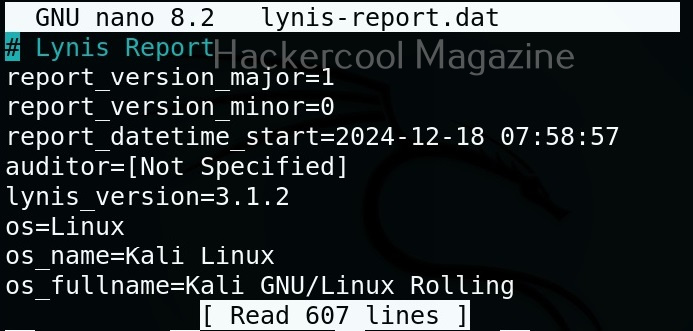
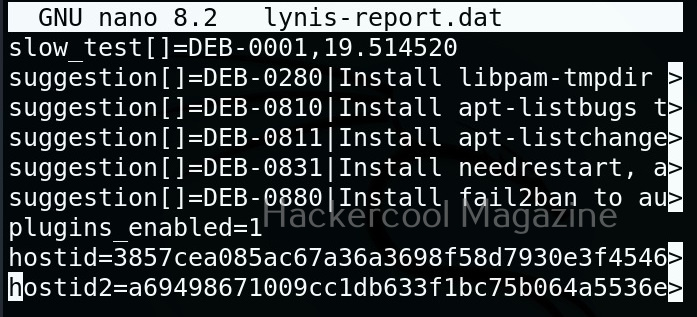
Hello, aspiring ethical hackers. In this blogpost, you will learn about a tool called Lynis, the security auditing and hardening tool for UNIX based systems like Linux, macOS, BSD and others. It performs an in-depth security scan to test security defenses and provide suggestions for further system hardening.
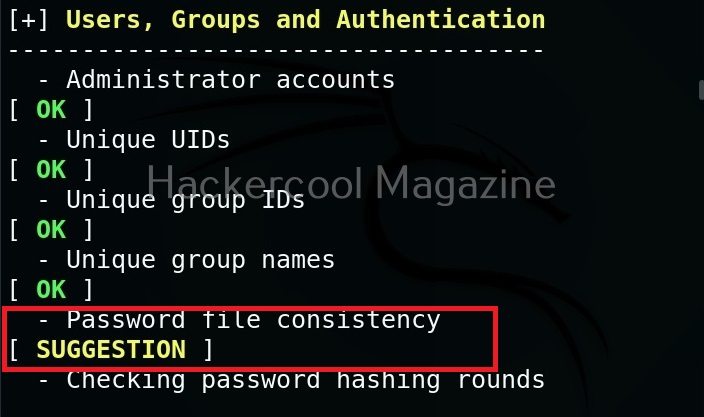
This tool audits the following features on the system.
Hello aspiring ethical hackers. In our previous blogpost, you studied about website footprinting. In this blogpost, you will learn about a tool called eyewitness which helps you to decide which website to focus on.
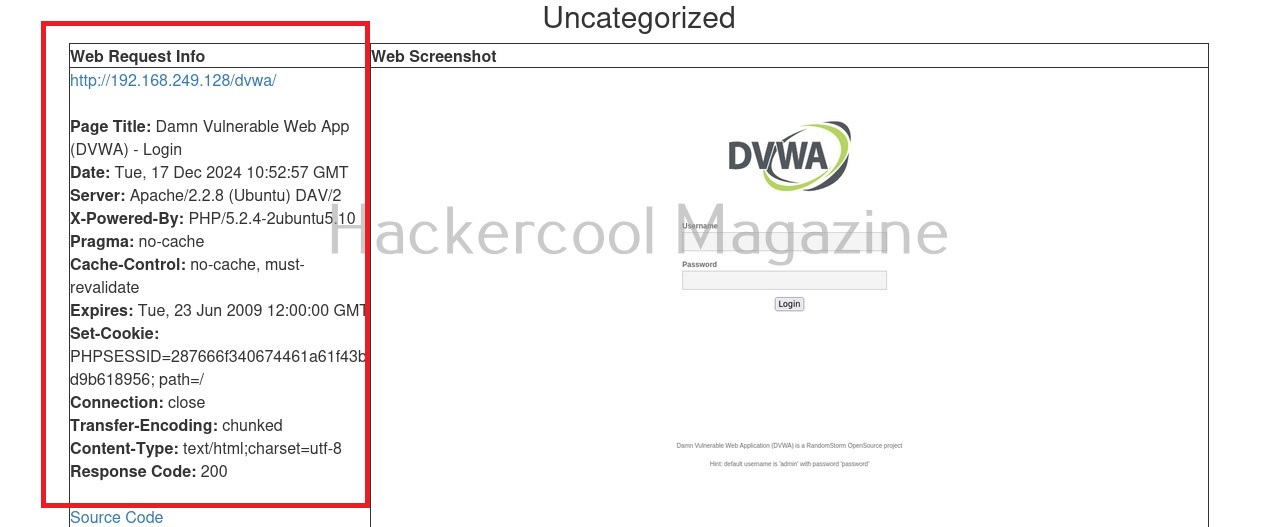
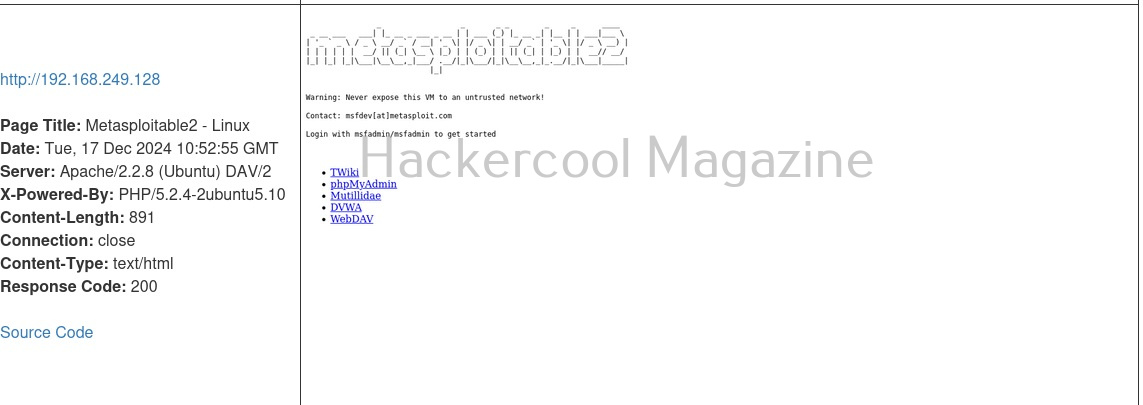
In ethical hacking, before trying to footprint a website, it would be good if we have a general idea about what websites to target first. For example, a company you are going to pen test may have multiple websites and sub domains. Before we jump into password cracking or exploitation or directory busting or perform any other attack, it would be good if we are first able to decide what website and URLs to target first. The role of eyewitness tool comes there. Eyewitness takes the screenshots of the URLs or websites you provide. Apart from taking screenshot of the URL, it will also capture any header info and default passwords.
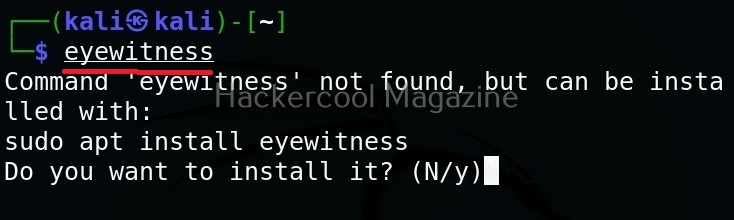
Let’s see how to use this tool. For this we will be using Kali Linux as this tool is available by default in Kali repositories. As target, we will be using Metasploitable 2 installed in our virtual hacking Lab. It can be installed as shown below.
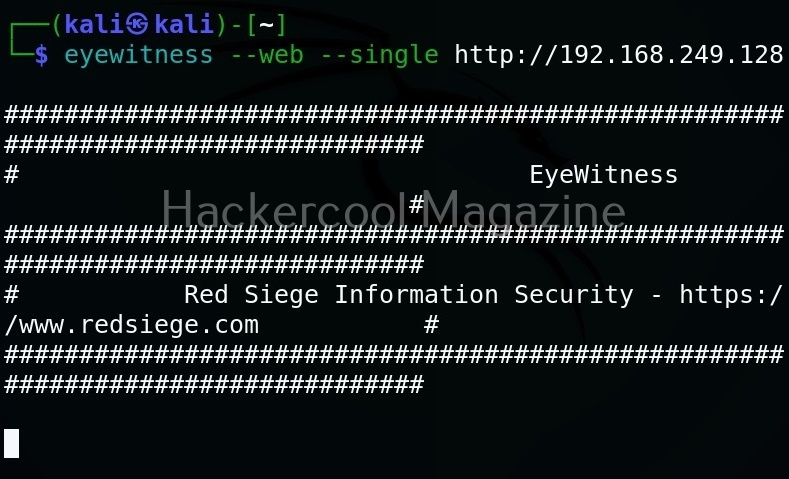
Target a single URL (–single)
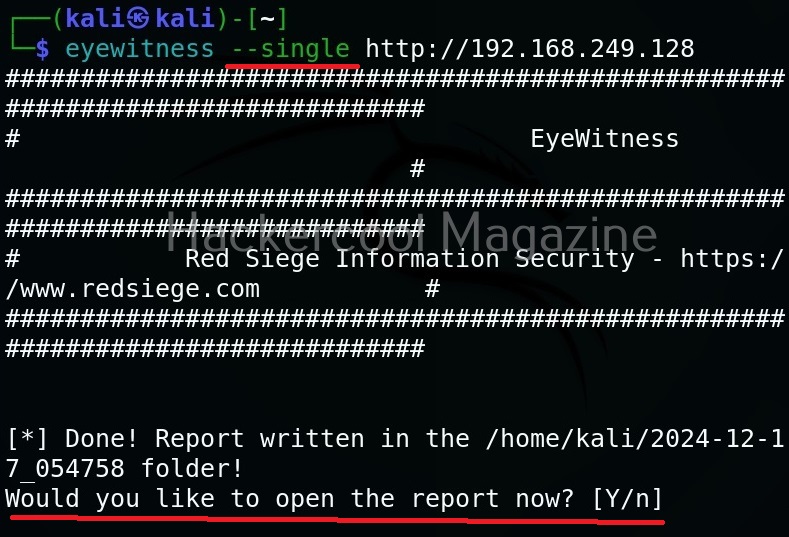
You can take screenshot of a single URL as shown below.
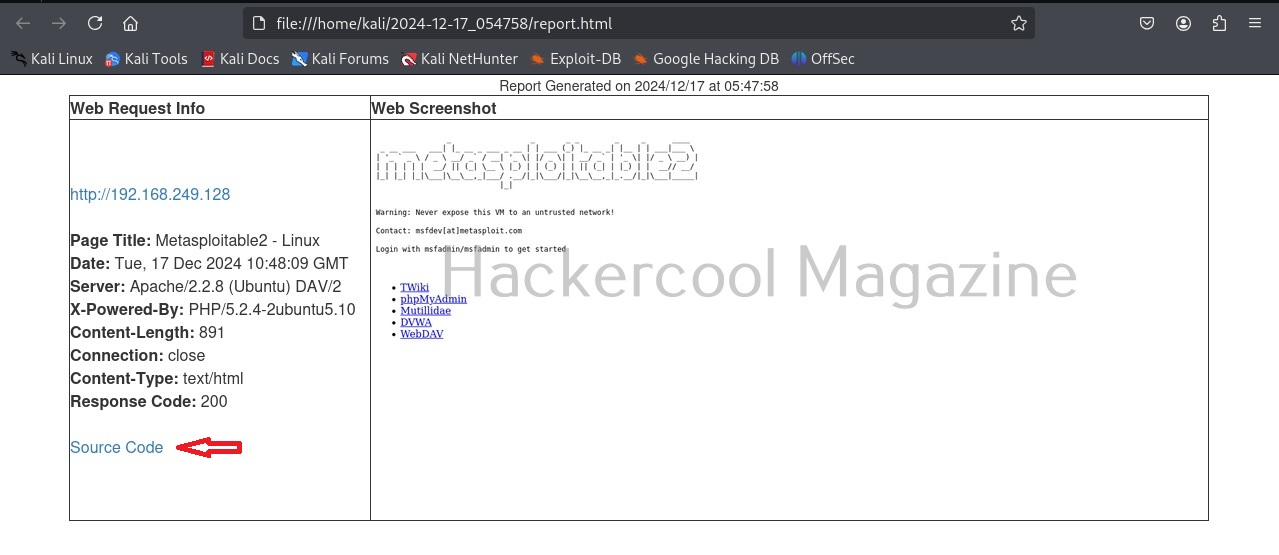
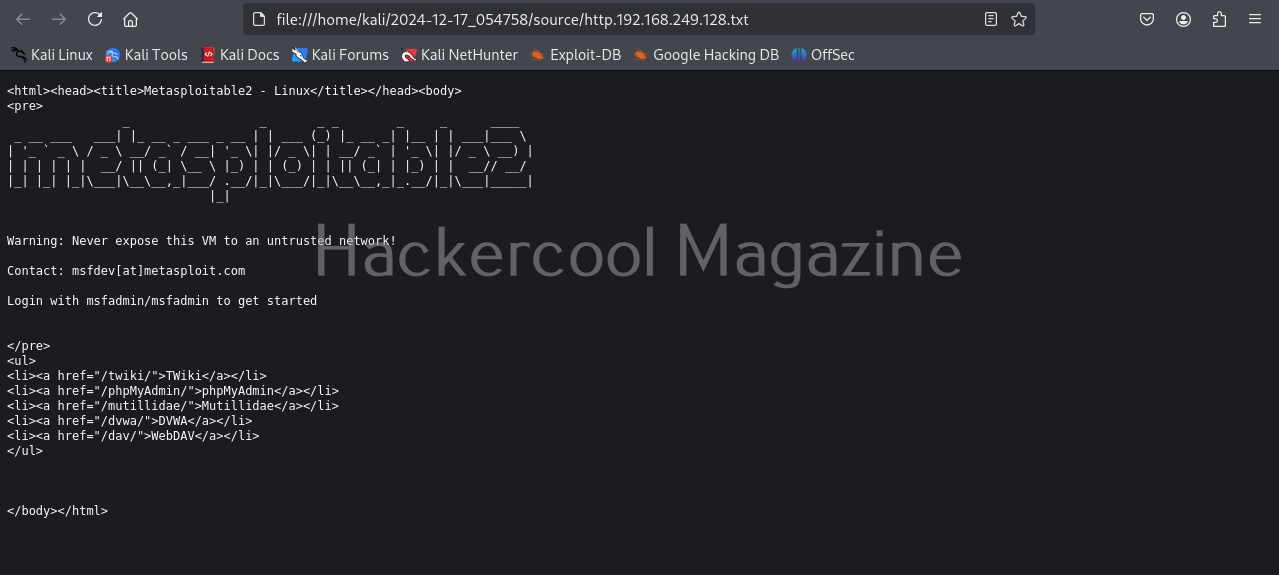
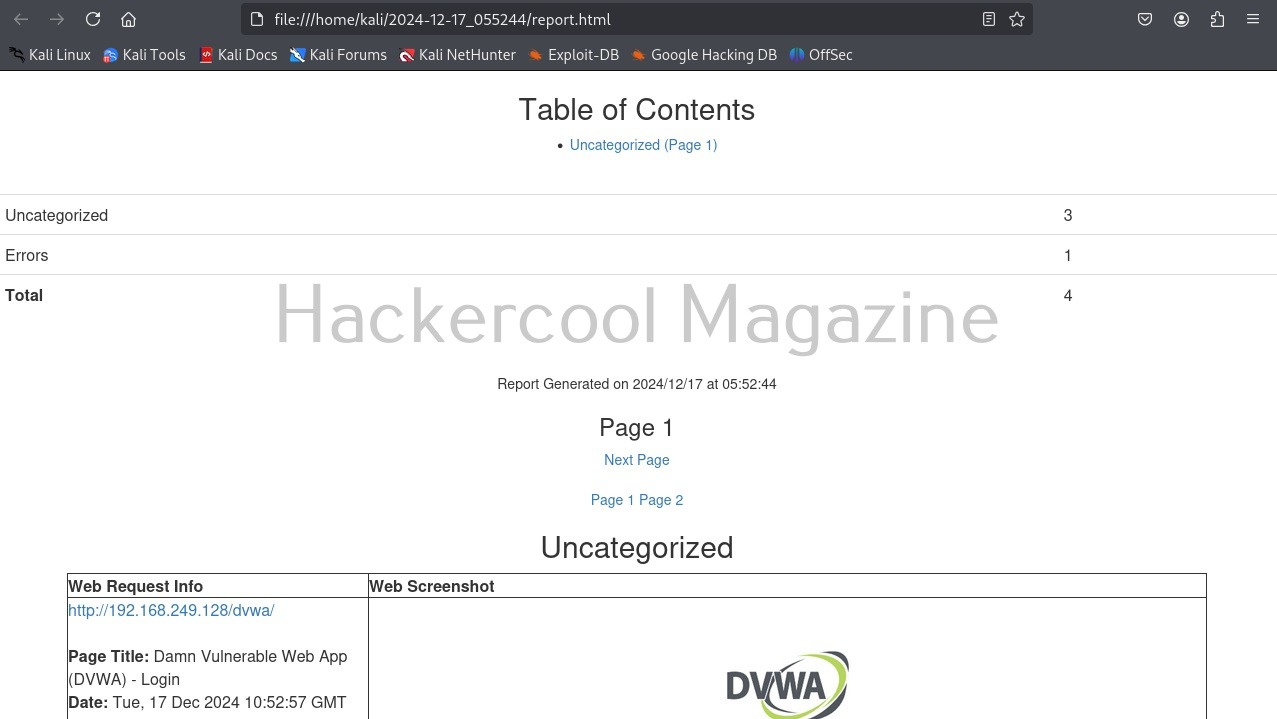
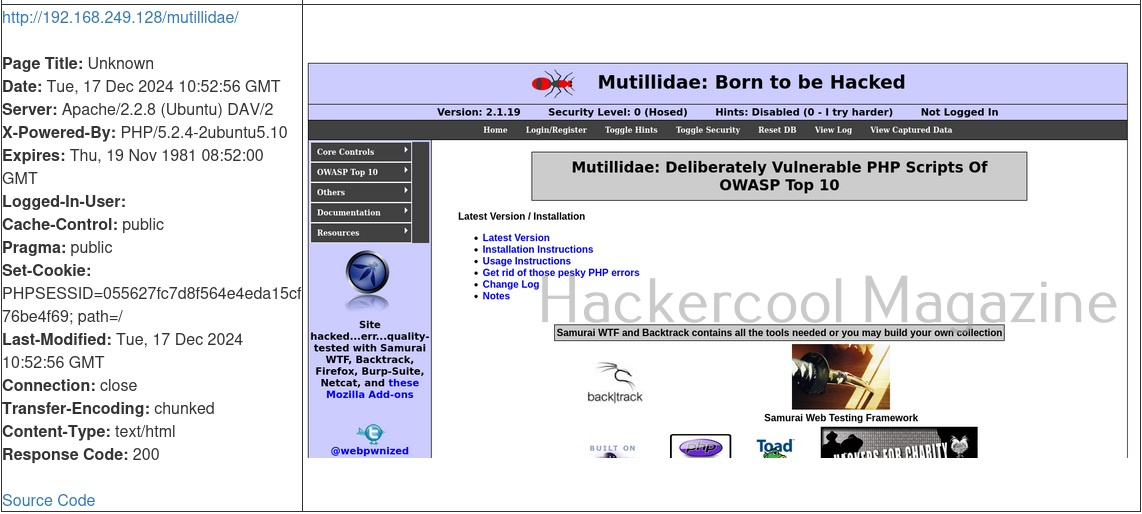
As soon as it writes a report for your target, it will ask you if you want to open the report. Click on “Yes”. It will open the report as shown below.
You can even view the code of the URL you scanned.
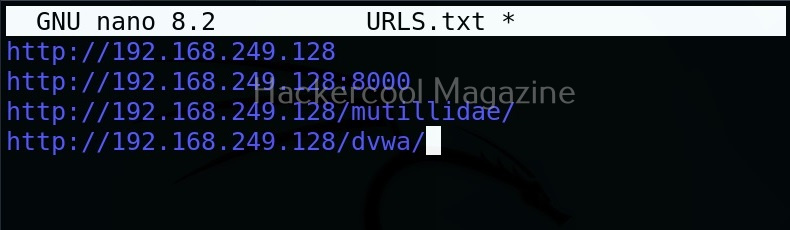
But the real power of eyewitness can be seen when we are targeting multiple URLs at once. For doing this, we will first create a file called URLS.txt and add some URLs we want to target as shown below.
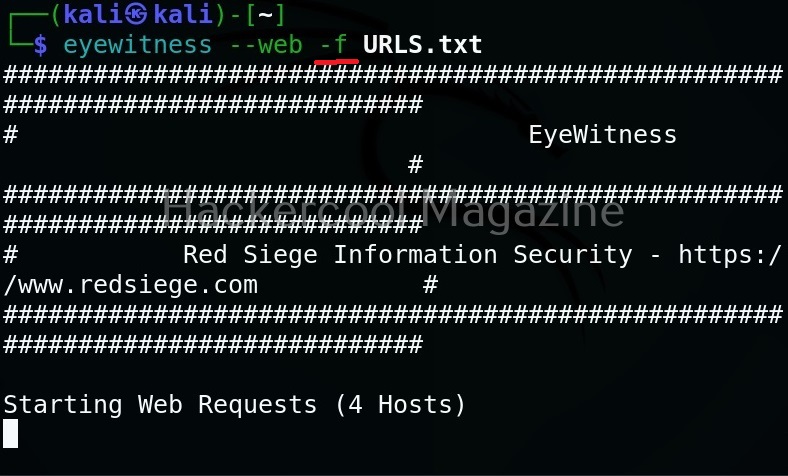
Target multiple URLs (-f)
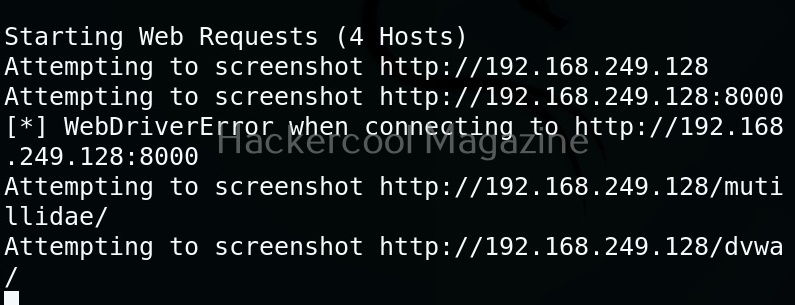
Multiple URLs can be targeted with this tool by specifying the above created file with (-f) option.
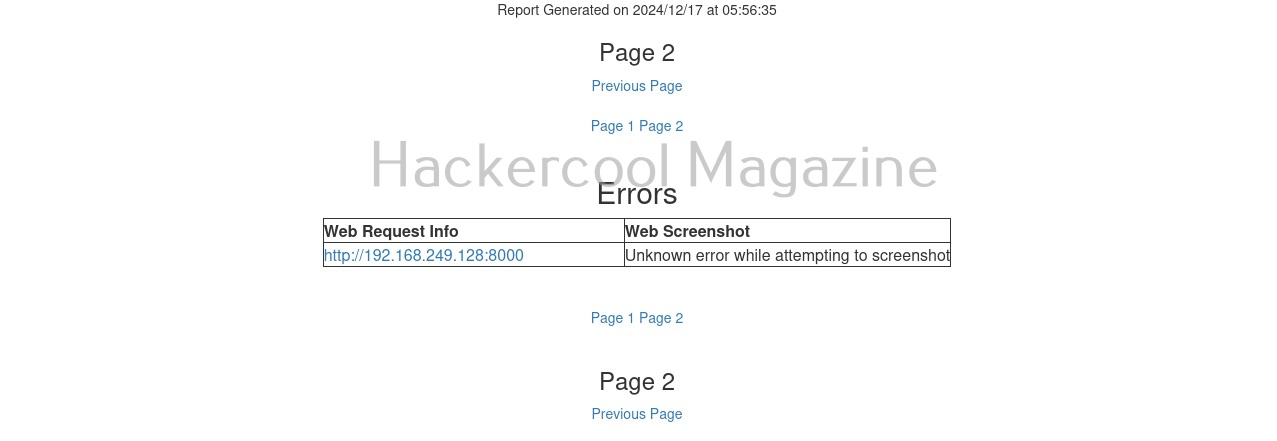
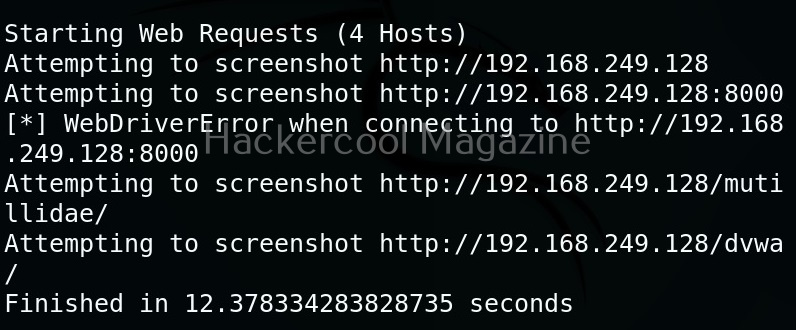
Here’s the report.
One of our URLs we targeted ended up in a error.
Skip DNS resolution(–no-dns)
In some cases, while using eyewitness tool, you may have to go through a VPN. In such cases, it is good to skip DNS resolution when connecting to the website. This option helps you to do it.
Resolve IP / host name for your target (–resolve)
Time to wait while requesting an URL (–timeout)
By default, eyewitness waits for 7 seconds before it goes to take a screenshot of a new webpage. However, this can be changed with this option. For example, let’s change the timeout time to 1 second.
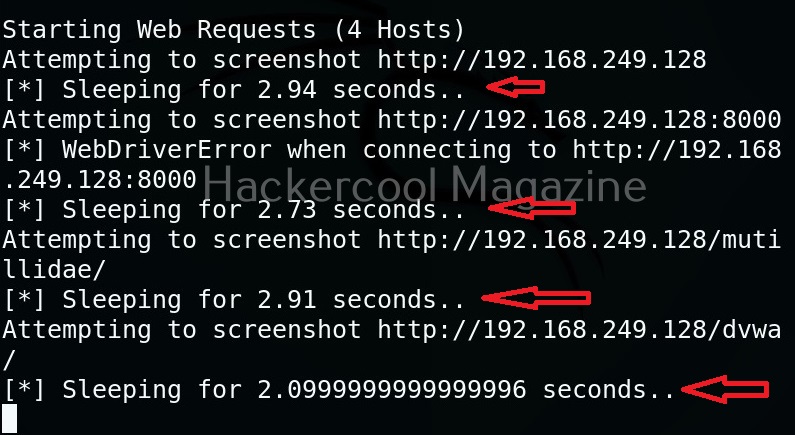
Add jitter (–jitter)
Using this option, we can randomize the URLs specified and add a random delay.
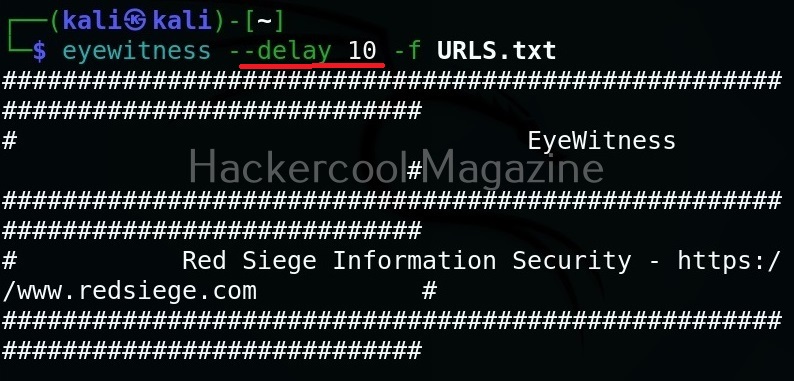
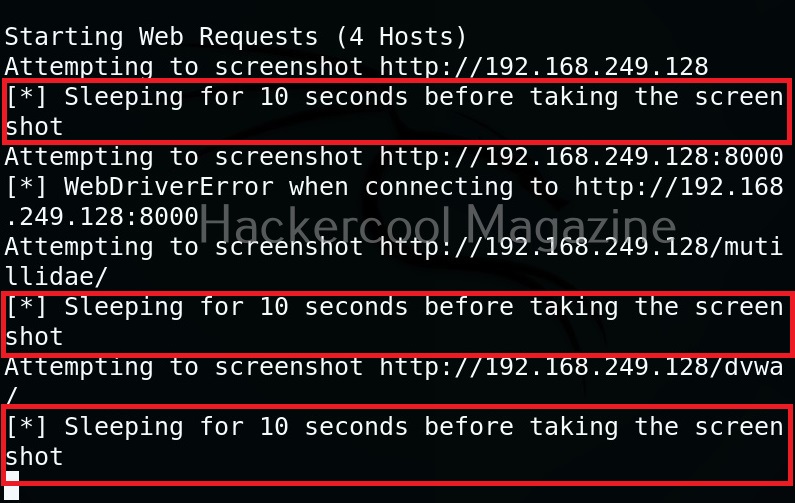
Add delay before taking ascreenshot (–delay)
Using the option, we can add delay between opening of the navigator and taking a screenshot. This delay can be specified in seconds. For example, let’s add 10 seconds delay before taking screenshot.
Maximum retries (–max-retries)
This option specifies eyewitness tool how many retries it has to make if it fails to grab a screenshot on the first attempt.
Specify directory name for saving the report (-d)
This option is used to specify a directory name for saving the report.
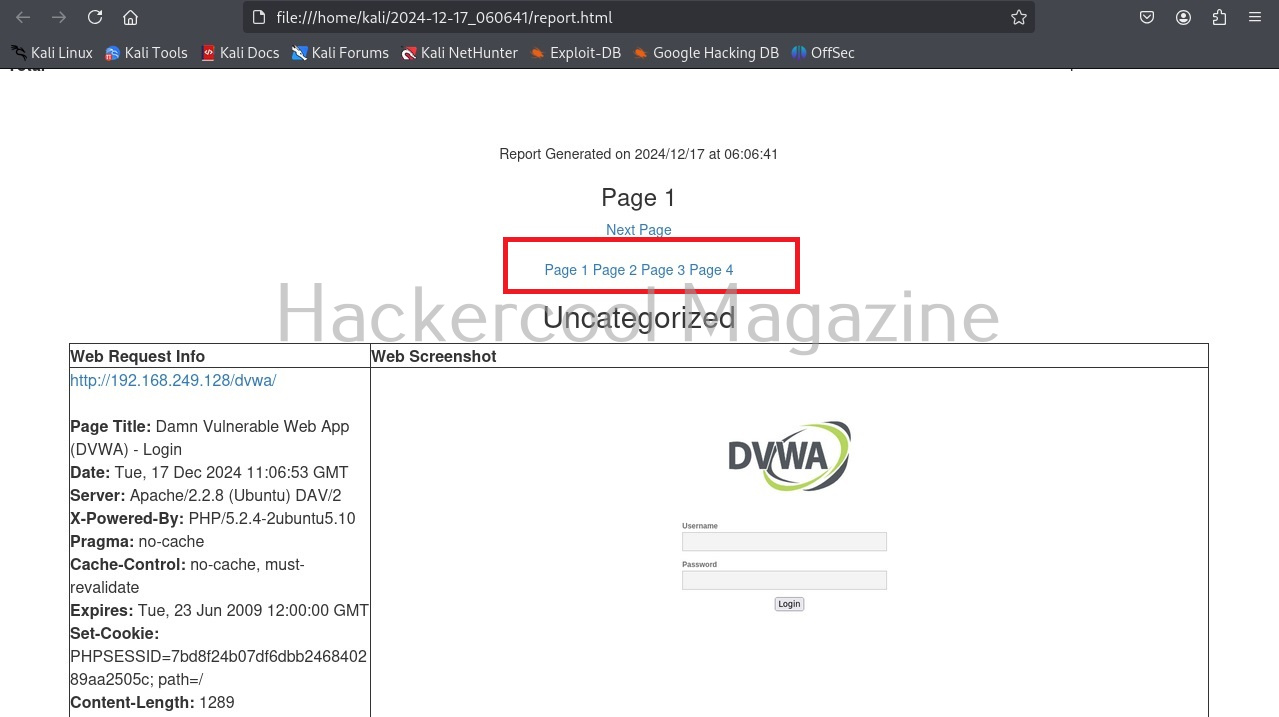
Number of results to show on one page (–results)
By default, eyewitness shows output for all the URLs given as input on a single page. This option can be used to specify how many results to show per page. For example, let’s set it to show 1 result per page.
As you can see, now, all the results are shown on separate pages.
You don’t want to be prompted for viewing the report (–no-prompt)
If you don’t want eyewitness to prompt you to open the report after finishing its work, you can use this option.
Hello aspiring ethical hackers. In our previous blogpost, you learnt what is OSINT and its importance in ethical hacking, different types of OSINT etc. In this blogpost, you will learn about Sherlock, a OSINT tool.
Sherlock’s role in OSINT comes while gathering information from social media. It works by hunting for a particular username across various social networks. It does this by relying on social media site’s design feature to provide a URL with the username when a user registers an account on the social network.
Sherlock queries that URL and determines if the user has an account on that particular social network. It works by querying that URL and then uses that response to determine if there is a username. Sherlock can search for users on over 300 social networks that include Apple Developer, Arduino, Docker Hub, GitHub, GitLab, Facebook, Bitcoin Forum, CNET, Instagram, PlayStore, PyPi, Scribd, Telegram, TikTok, Tinder etc.
Let’s see how this tool works. For this I will be using Kali Linux which has Sherlock in its repository. You can install sherlock on Kali as shown below.
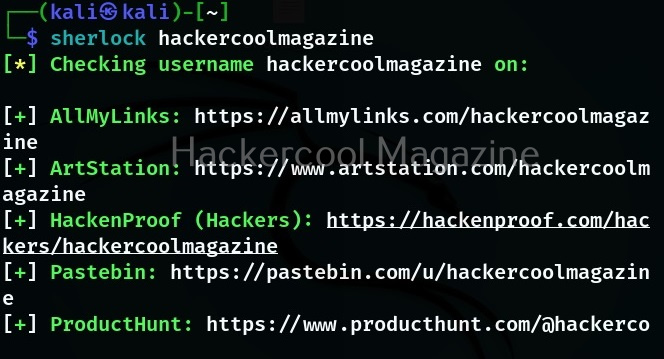
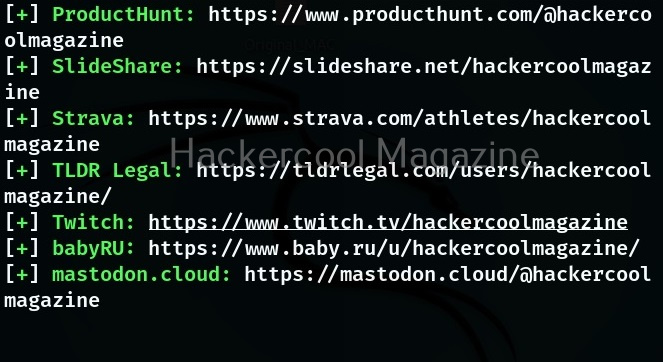
The simplest way to query a username with sherlock is by just supplying a username.
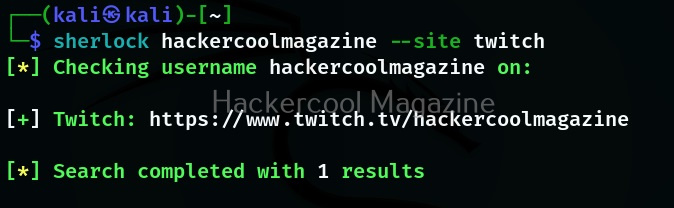
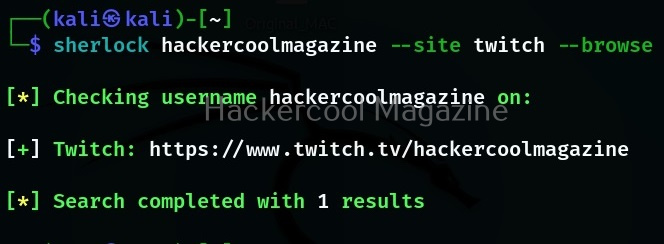
Searching on a particular social media site
Instead of searching for a username on all the social media accounts, you can search for a username’s presence even on a single site as shown below. For example let’s search for a username on site Twitch.
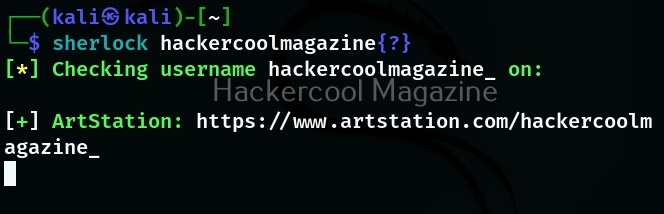
Searching for similar usernames
Sometimes, a username can be slightly different to a person we are searching for. We can also search for similar usernames with this tool as shown below.
Here, {?} will be replaced with – or hyphen or period (.).
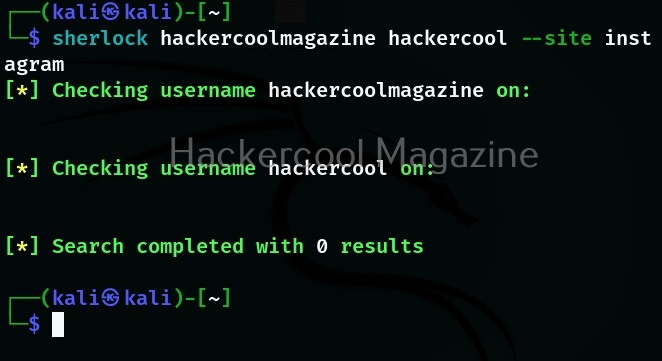
Searching for multiple usernames at once
You can even search for multiple usernames with this tool as shown below. For example, let’s search for “hackercoolmagazine” and “hackercool” on Instagram.
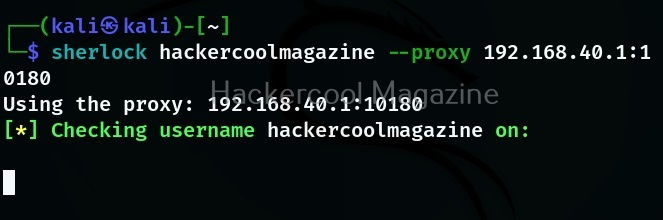
Using a proxy while searching
You can even route your query through a proxy to remain anonymous.
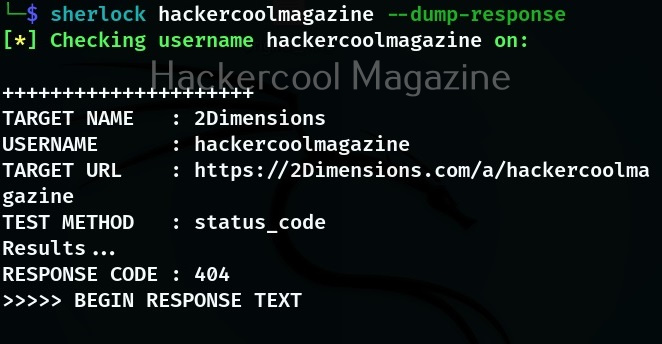
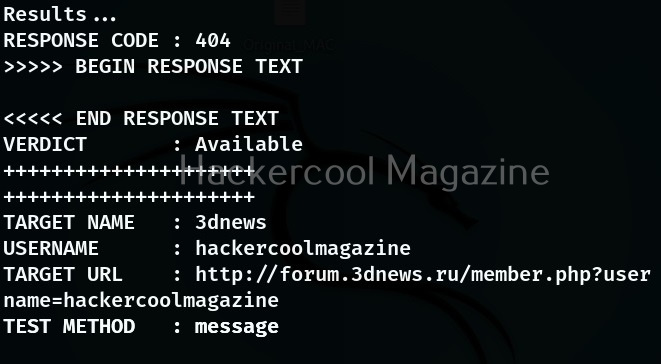
Dump the entire HTTP response
We can even see the HTTP response of the site while searching using this option.
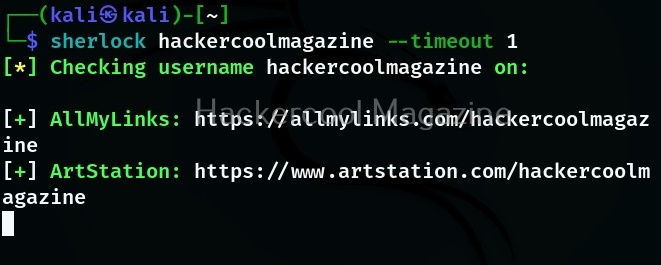
Time to call
By default, while querying for usernames, this tool waits for 60 seconds for response to the request it made. With this timeout option, this time can be changed as shown below. The value should be set in seconds.
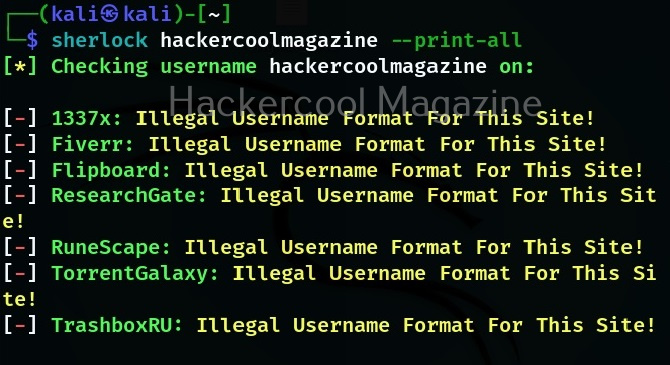
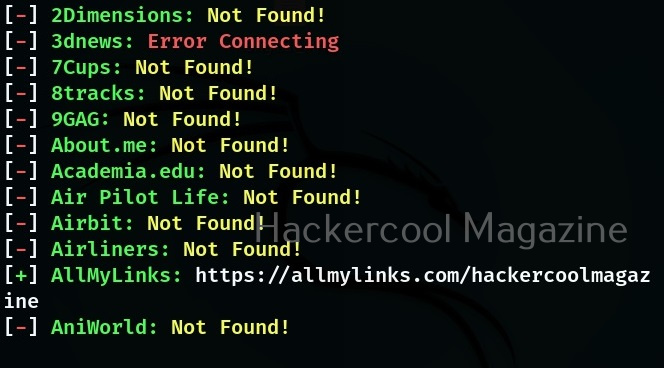
Print all the output
By default, Sherlock only prints out the social network where the username was found. Using the option, we can see all the social networks this tool queries for and also the reason why it was not found.
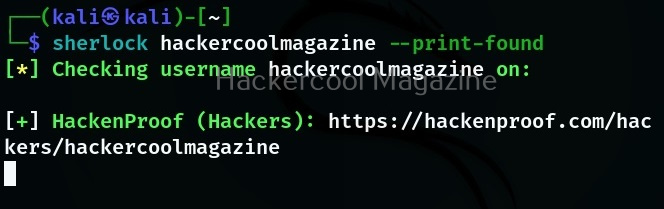
Print only positives found
This option prints out all the social networks on which the username is found.
Browse
By setting this option, we can use Sherlock to view the job result page on browser.
Search NSFW sites too
By default, sherlock doesn’t query NSFW sites while searching for a username. When we set this option, it even queries NSFW sites for the particular username.
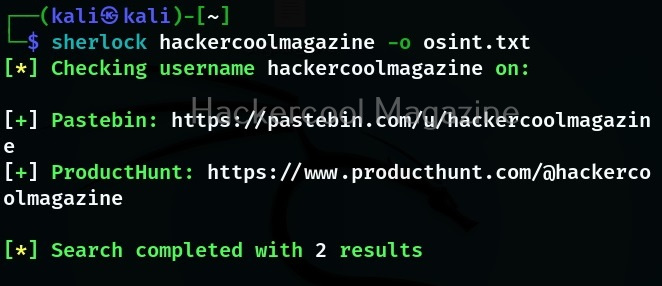
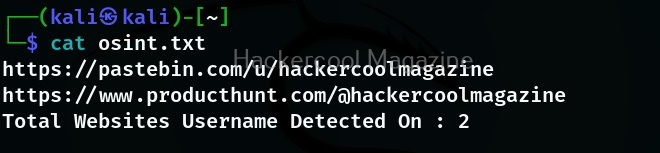
Writing the output to a file
Like any other tool, we can use Sherlock too to save the output to a file of our choice using the “-o” option as shown below.
Hello, aspiring ethical hackers. In our previous blogpost, you learnt in detail about Pen testing. In this blogpost you will learn about the perhaps the most popular penetration testing software suite, Metasploit Framework. Metasploit Framework (MSF) is free, open-source pen-testing suite that is used to execute exploits and develop code against a remote target machine. Although it sis made for penetration testers, it is also used by Black Hat Hackers around the world.
History
Metasploit was originally written by H.D.Moore, an American network security expert, open-source programmer and hacker. He has been the chief Architect of Metasploit Framework until his departure from Rapid7 company in 2016. Originally written in Perl, Metasploit was rewritten in Ruby programming language by 2007. In 2009, it was acquired by Rapid7. Metasploit is available for Windows, Mac and Linux. Metasploit is so widely used that it is included in every ethical hacker os like Kali and Parrot Security.
Structure of Metasploit
Metasploit Framework is the name given to the free version of Metasploit. The role of Metasploit in penetration testing comes after the stage of port scanning and vulnerability scanning (Information from tools such as NMap, Nessus and OpenVAS etc can even be imported into Metasploit). Metasploit is built with a modular approach. For beginners, Metasploit can be complex and a bit difficult to understand. Let’s learn in detail how to run Metasploit.
Let’s start with Metasploit modules. The most important modules of Metasploit are Exploit, Payloads, POST, Auxiliary, Evasion and Encoder modules. Let’s learn about each one of them now.
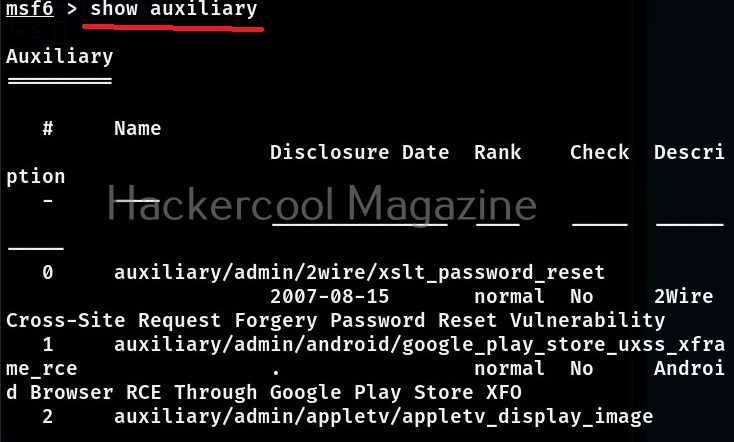
1. Auxiliary modules:
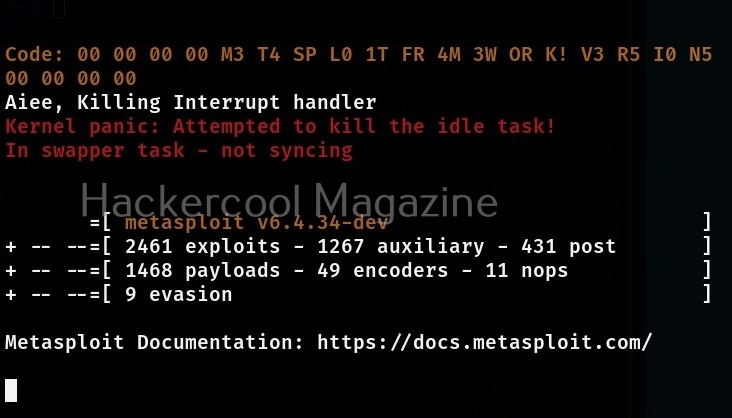
Auxiliary modules in Metasploit perform simple functions like scanning, enumeration, gathering information, logging in into services etc. They have single function. At the time of writing this article, there are over 1267 auxiliary modules in Metasploit.
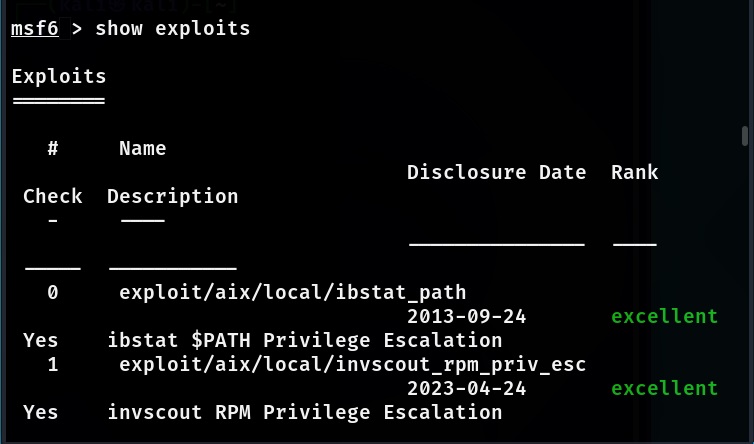
2. Exploit modules:
Exploit modules are exploit codes written in Ruby. They exploit the vulnerabilities to execute arbitrary code on the target system. At the time of writing this article, there are over 2461 exploit modules in Metasploit.
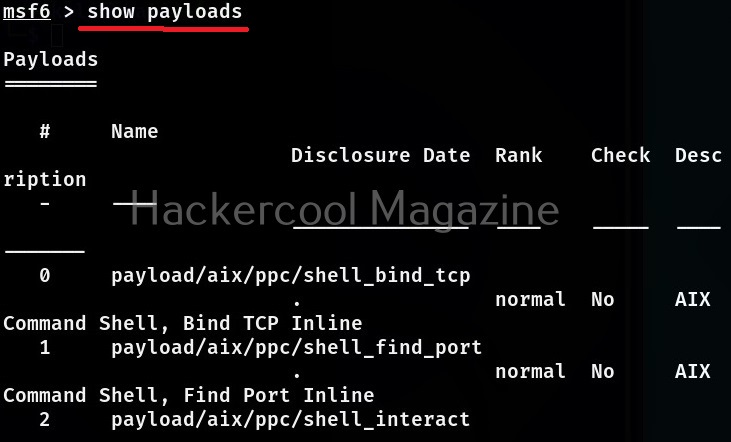
The arbitrary code that is executed by the exploit modules of Metasploit is known as payload. At the time of writing this article, there are over 1468 payload modules in Metasploit.
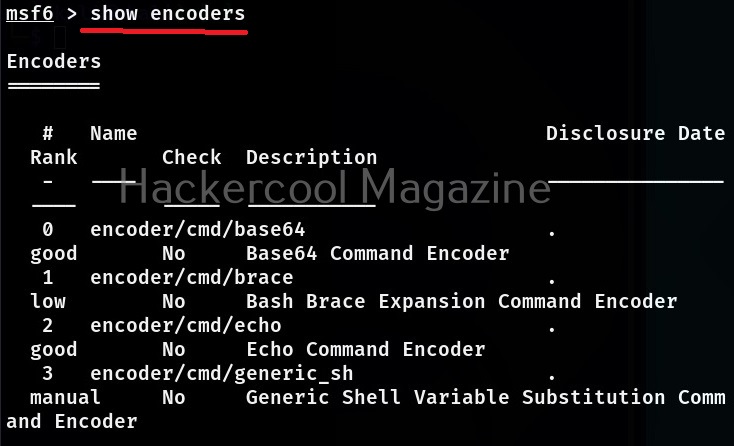
4. Encoder modules:
As the name of the module suggests, Encoder modules of Metasploit take raw bytes of a payload as input and run some sort of a encoding algorithm like XOR, Bitwise XOR on the payload code. At the time of writing this article, there are over 49 encoder modules in Metasploit.
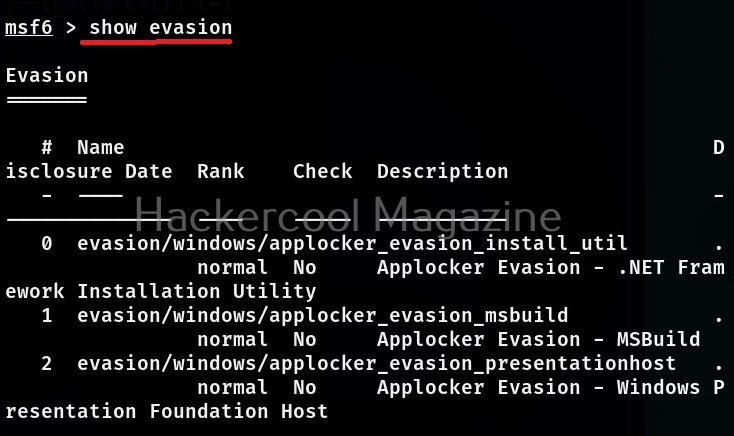
5. Evasion modules:
Evasion modules are used to generate payloads that evade Antivirus. At the time of writing this article, there are over 9 evasion modules in Metasploit.
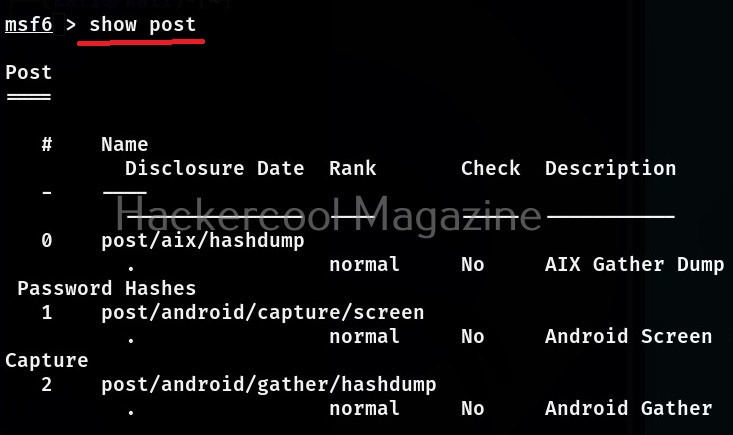
6. POST modules:
POST modules are those modules of Metasploit that are useful during POST exploitation phase of the pen test. At the time of writing this article, there are 431 POST modules in Metasploit.
How to use Metasploit Framework?
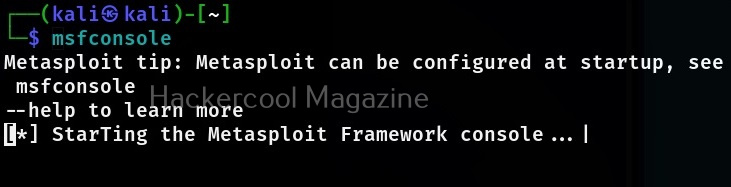
Let’s see how to use Metasploit for beginners. We will be using Metasploit in Kali Linux as it is already installed. To start Metasploit, open a terminal and type command shown below.
msfconsole
To see all the auxiliary modules of Metasploit, use the command shown below.
show auxiliary
Similarly all the exploits in Metasploit can be seen using the command shown below,
show exploits
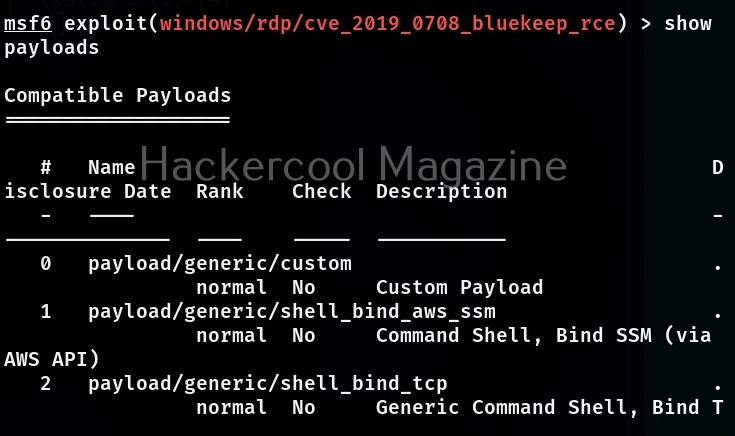
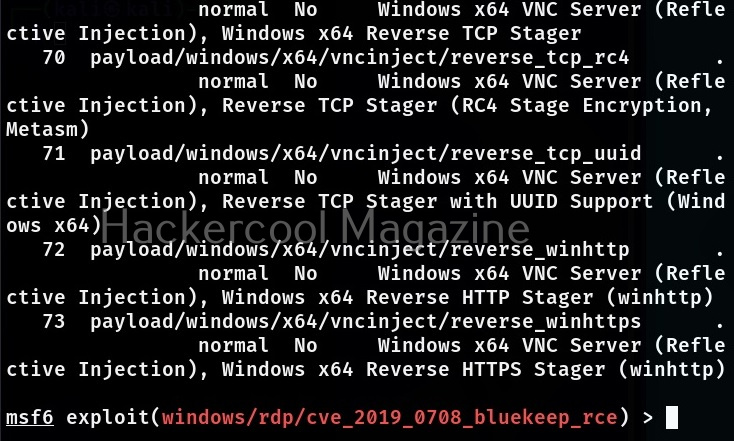
To view all the payloads in Metasploit, you can use the “show payloads” command.
show payloads
The same commands can be used to view all the encoder, evasion and POST modules of Metasploit respectively.
Now, let’s come to the realistic use of Metasploit. As I already told you at the beginning of this blogpost that the use of Metasploit comes after the stage of footprinting and scanning. As part of vulnerability scanning, we happen to find that one of the devices in the target network is vulnerable to Bluekeep vulnerability.
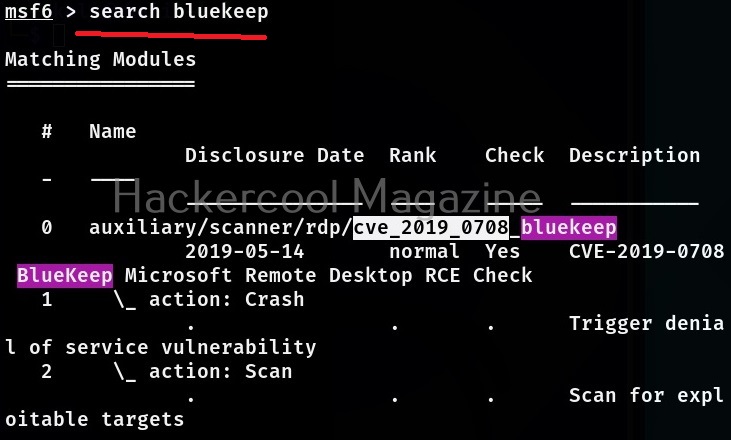
Now, let’s see how to exploit this vulnerability with Metasploit. The first to do after starting Metasploit is to use the search function of Metasploit to search for the exploit we need. For example, “bluekeep” as shown below.
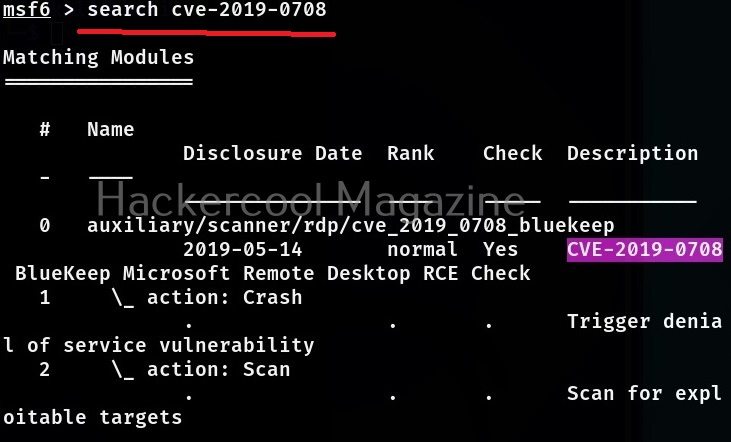
Metasploit has a very versatile search function. You can also search using the CVE ID of vulnerability as shown below.
No matter how you search, Metasploit will show all the modules related to particular vulnerability you searched for. Since, I already know the target machine is vulnerable to Bluekeep vulnerability, I select the exploit module for this vulnerability. To load this module, we can use (literally) and load the module using the entire name of the module or its serial number given at the begining.
A payload most probably METERPRETER payload is assigned by default as soon as you load the exploit module. If you want to set a different payload other than the default one, you can use “show payloads” command to see all the payloads supported by the selected module. Unlike earlier this will not show all the payloads of Metasploit but only the ones supported by this exploit module.
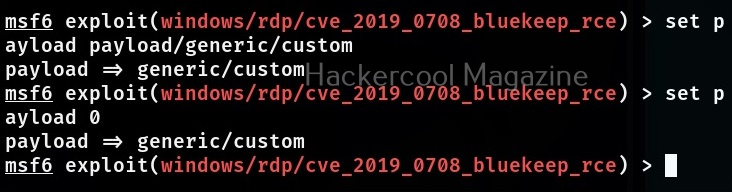
To assign a new payload, we use the “set” command in the same way as we used the “USE” command earlier.
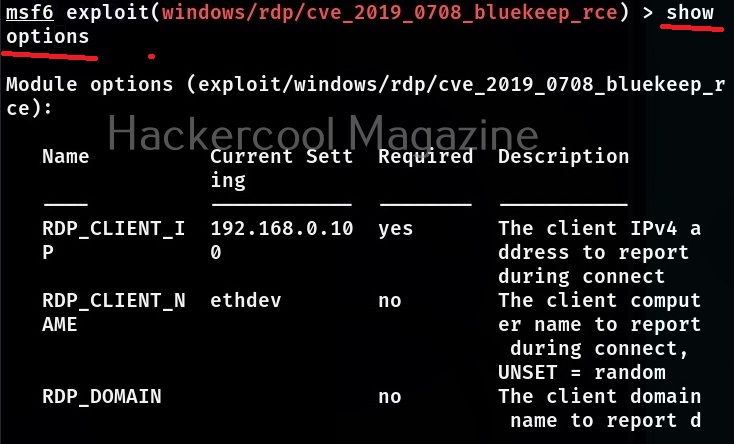
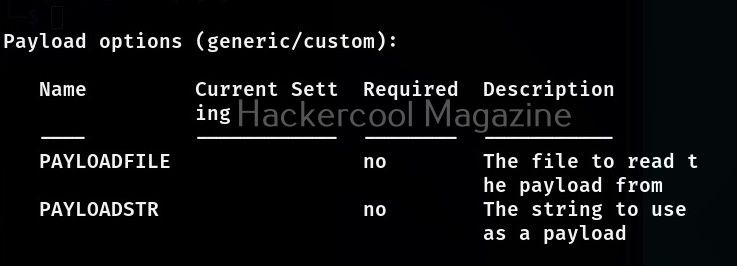
Then we use the “show options” command to see all the options required for this module to work after selecting the payload. The required options are marked with “yes” in the required column.
This module required the RHOSTS option which is the IP address of the target system. All the required options can be set with the SET command as shown below.
After all the required options are set, all we need to do is execute the module using “run” command or “execute” command. You can see Metasploit module in action in our blogpost on exploiting ms08_067 vulnerability.
Learn how to exploit cve-2018-17456 vulnerability with Metasploit.
If your meterpreter session is not the same as the OS architecture, you can spawn a new process with the correct architecture and migrate to that process using the archmigrate module.