Hello, aspiring ethical hackers. In one of our previous blogposts, you learnt in detail about footprinting or information gathering and the various methods of reconnaissance. In another blogpost, you learnt what is OSINT. In this blogpost, you will learn about a resource that falls into the above categories. Its named Shodan, I prefer to call it the hackers search engine
What is Shodan?
You know about Google search engine and its power. It allows you search for images, videos, news etc. what if there was a search engine to search for various types of devices connected to the internet. These devices can be webcams, routers and different servers like web server, FTP server, Telnet, SSH, SNMP, IMAP, SMTP etc. In fact, everything connected to internet. Well, the answer is Shodan.
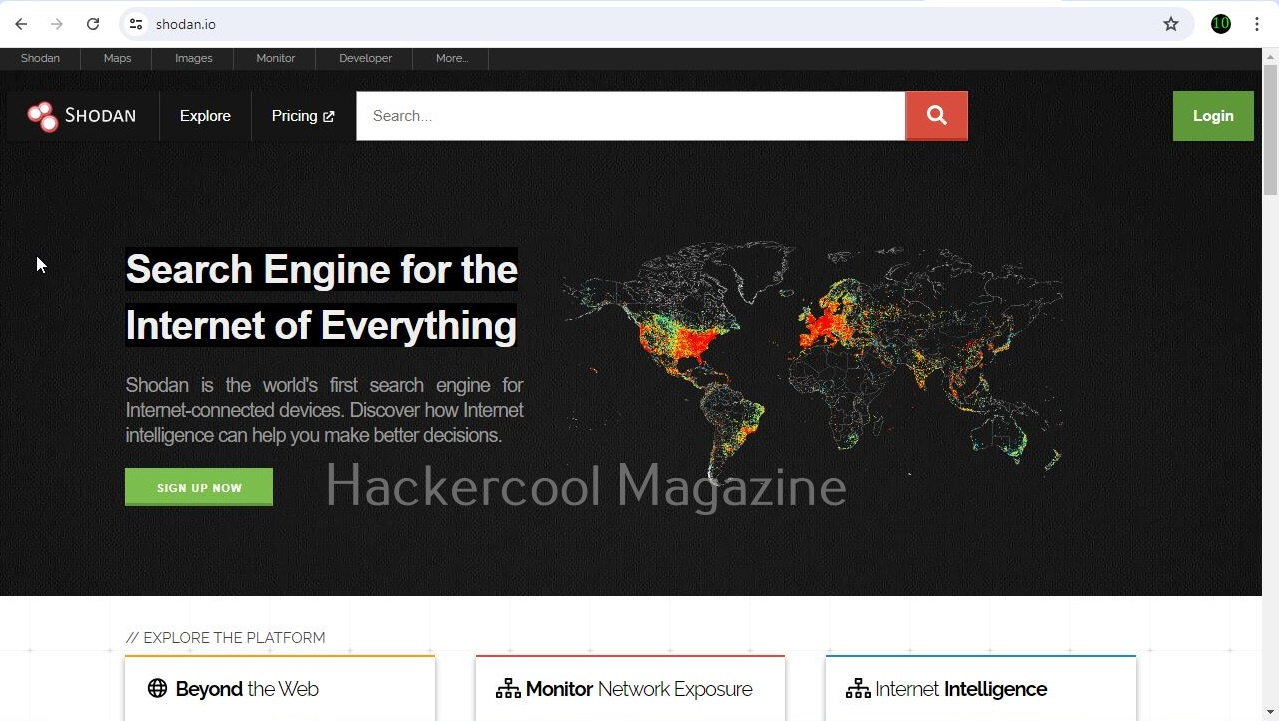
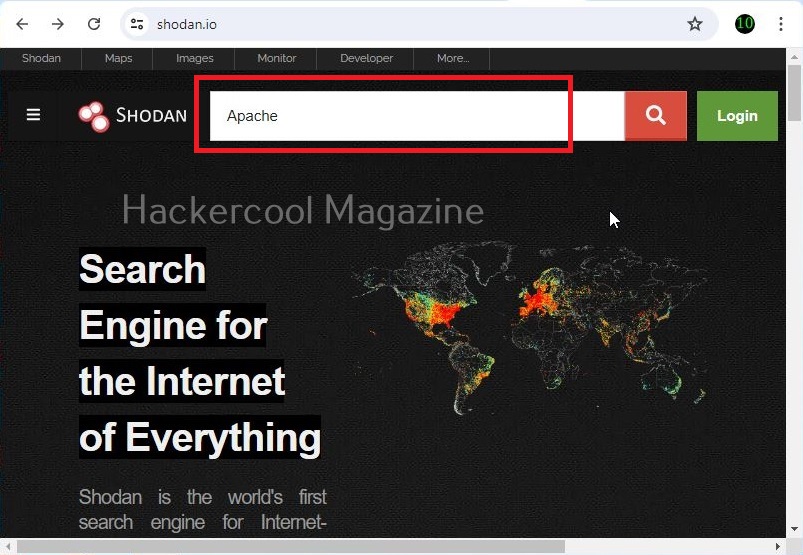
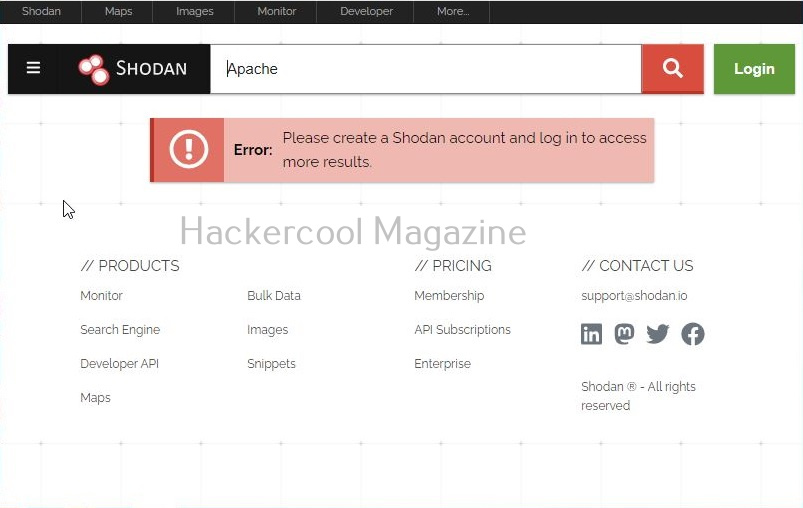
Let’s learn more about it. Go to the official website of it here and in the search field, search for Apache.
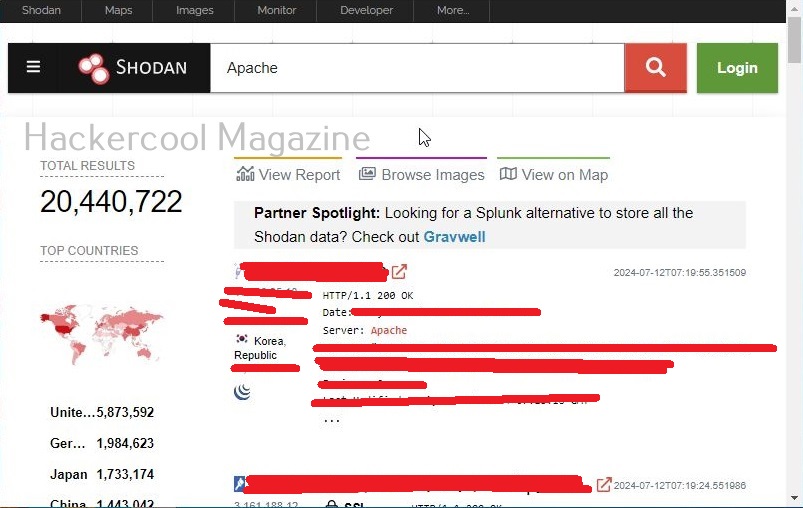
It will start displaying all the Apache servers connected to internet as shown below.
But as you try to go to the next page to see more entries, you should see the below error.
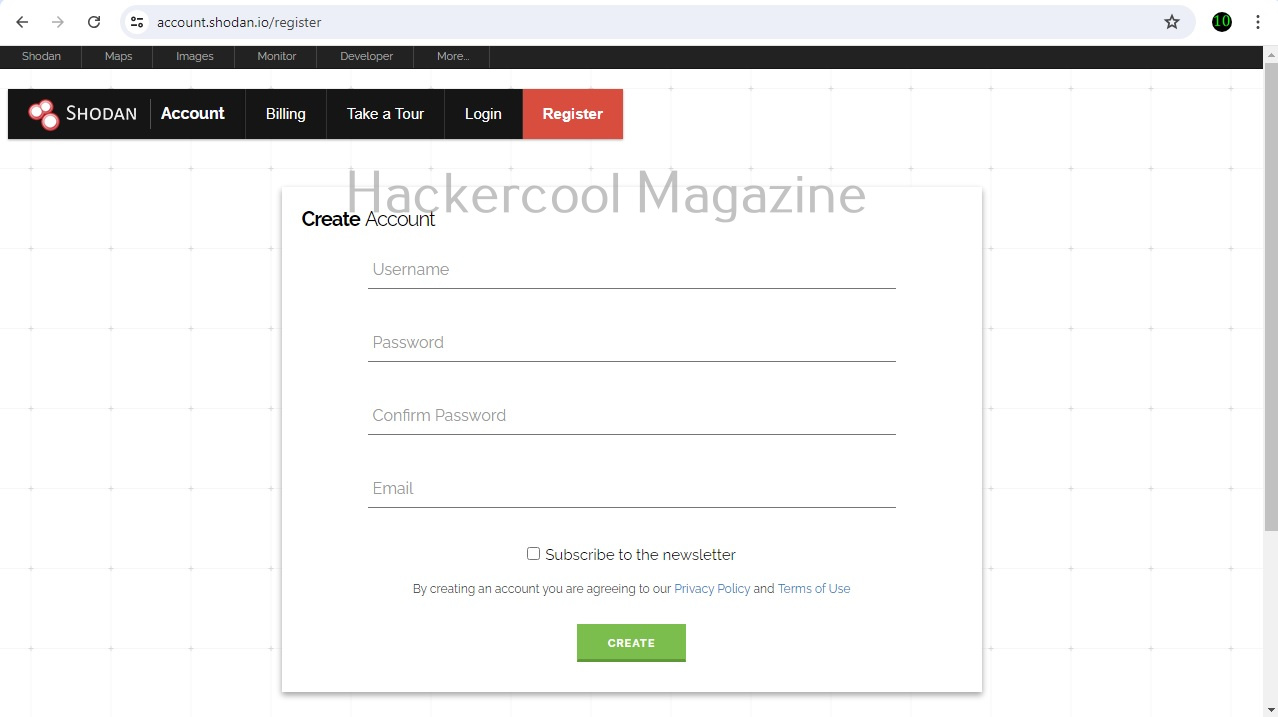
You can search for anything you want but the results are limited if you are not registered. You can create an account on Shodan by going to the Register page. Registration is free and after you confirm your registration from your email, you are ready to use the power of this awesome search engine.
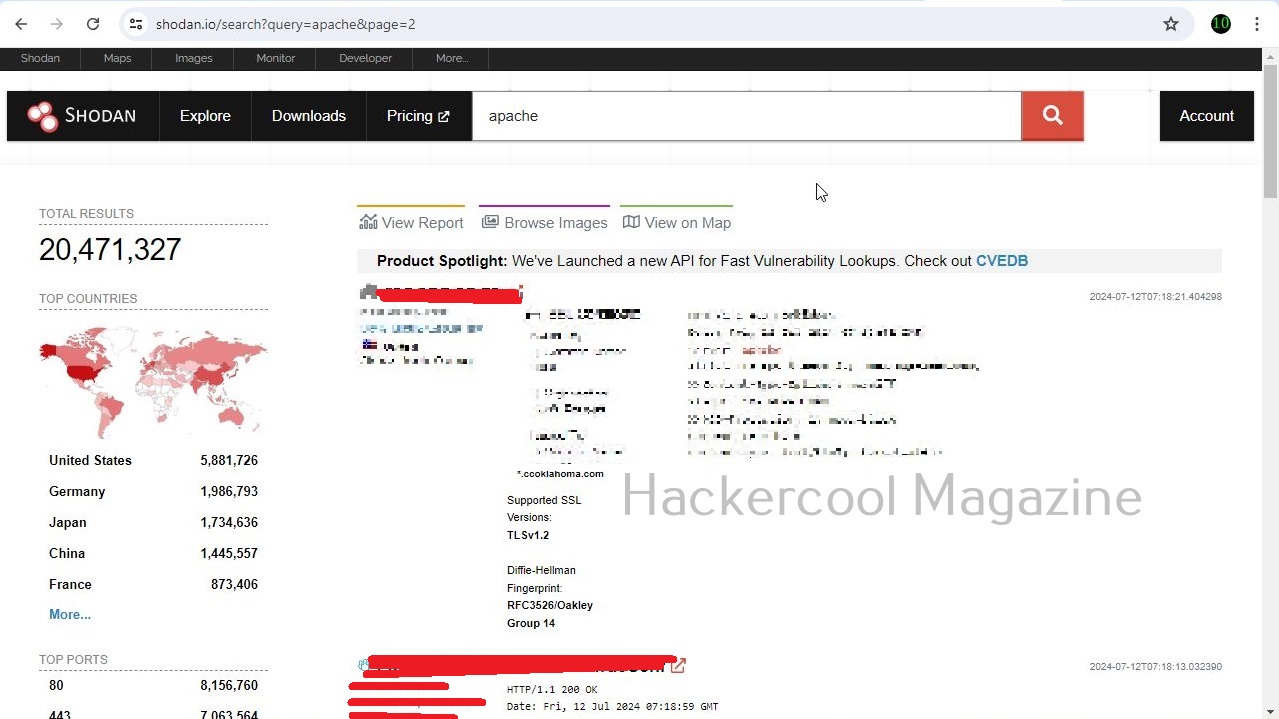
You can login into your Shodan account and search for whatever you want.

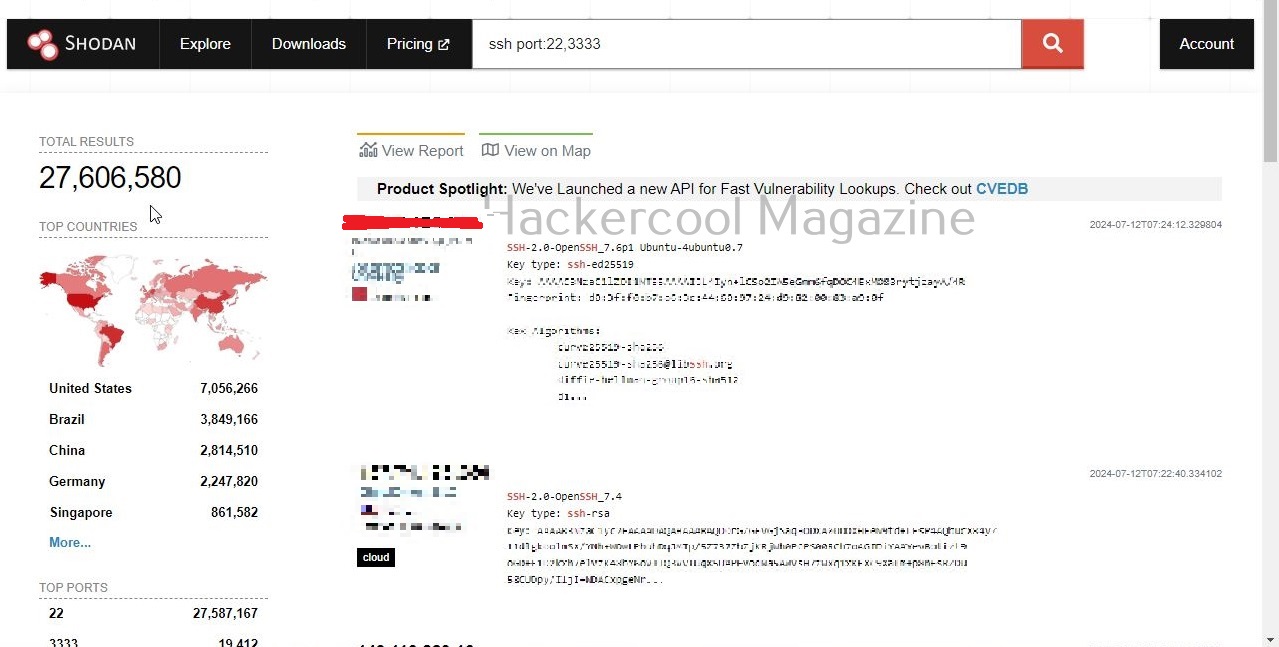
Let’s search for SSH servers running on ports 22 and 3333.
Sometimes, administrators just change the operating port of a server to prevent hacking attacks. We can even search for them. For example, let’s search for SSH servers running on ports other than 22 and 3333.

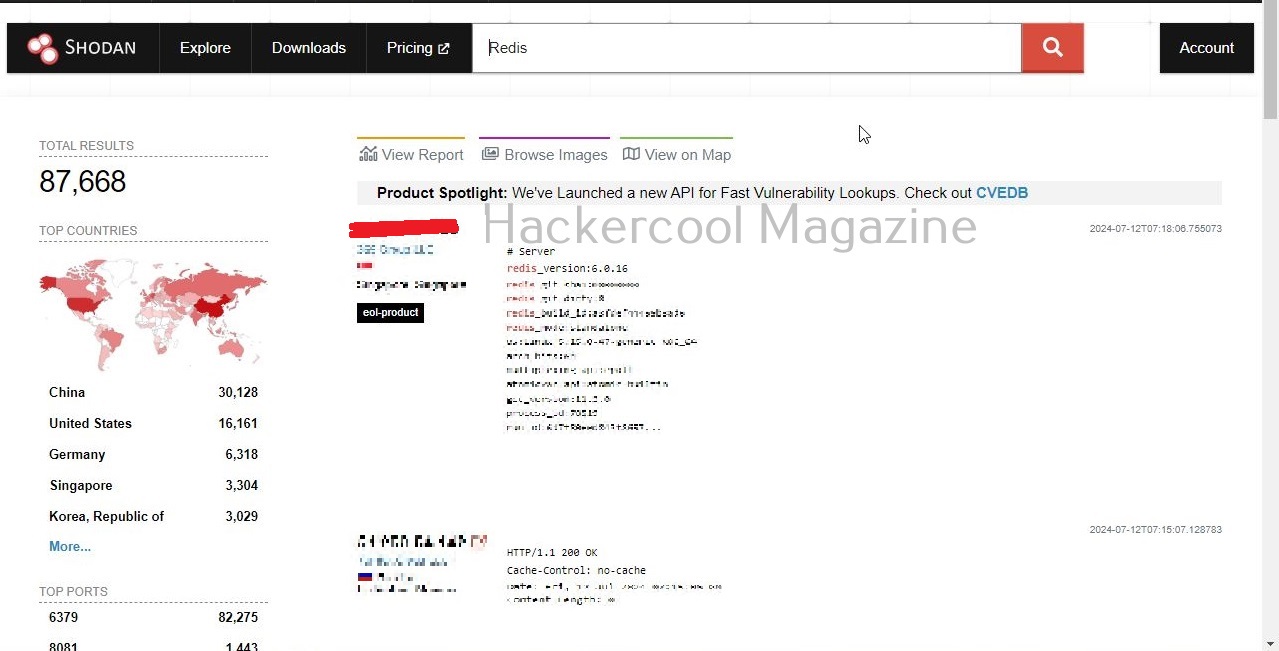
Let’s search for Redis servers.
In fact, you can search for anything connected to the internet using Shodan. Seeing the use of this tool for pen testers, the makers of Kali Linux have included Shodan-cli, a command line version in their repository.


Before using the command line version of Shodan, you need to add the API key of Shodan. It can be added as shown below.

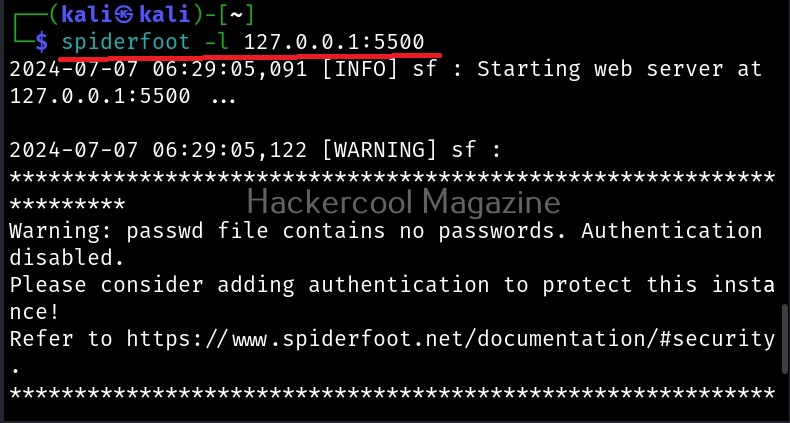
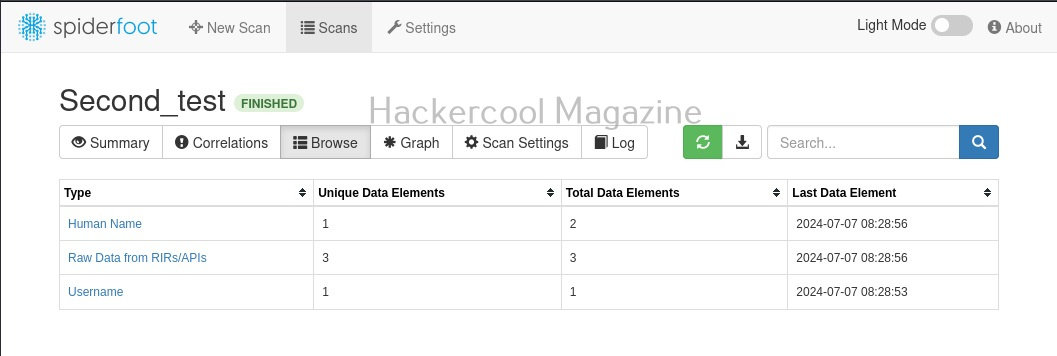
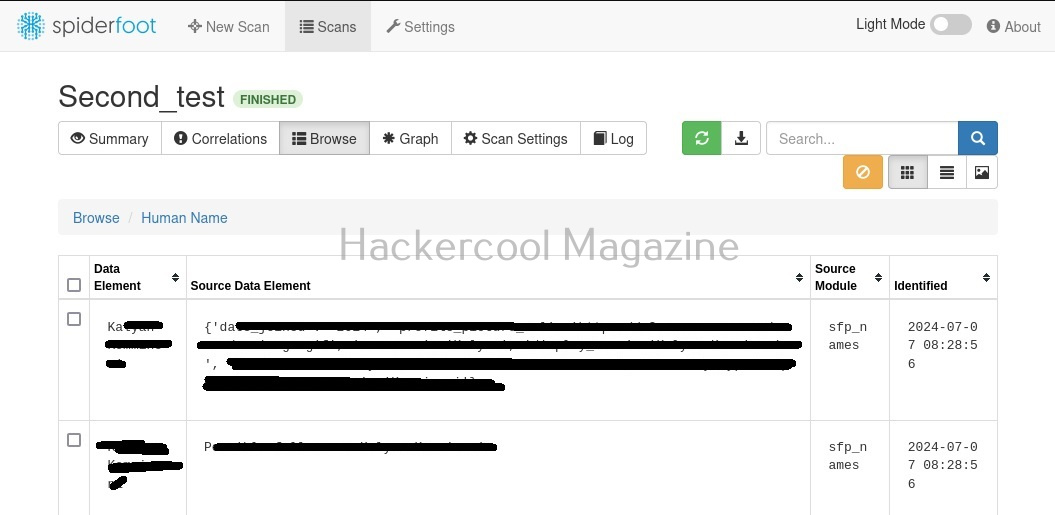
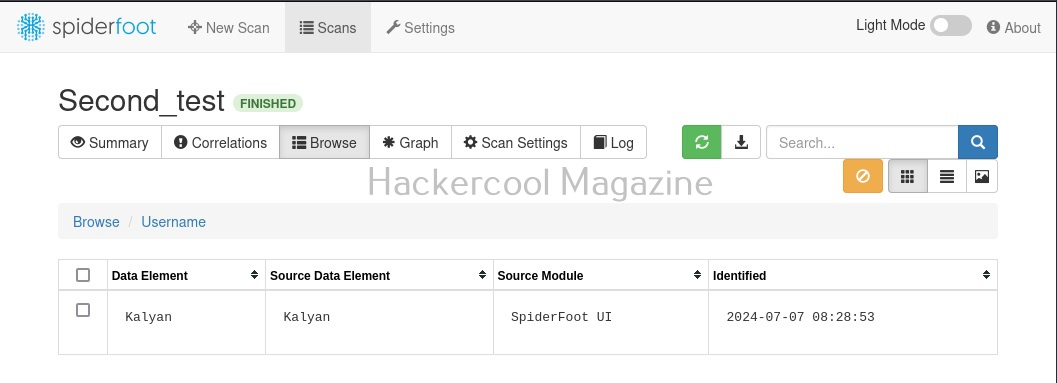
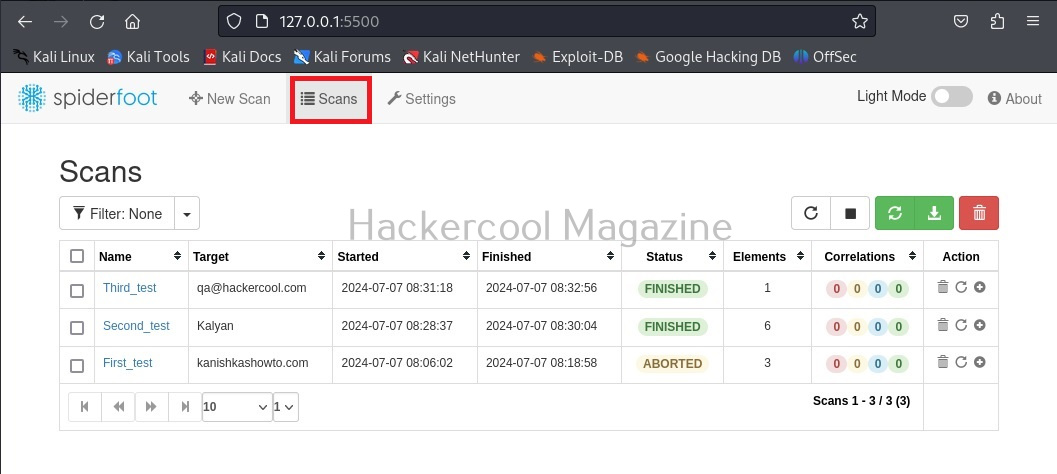
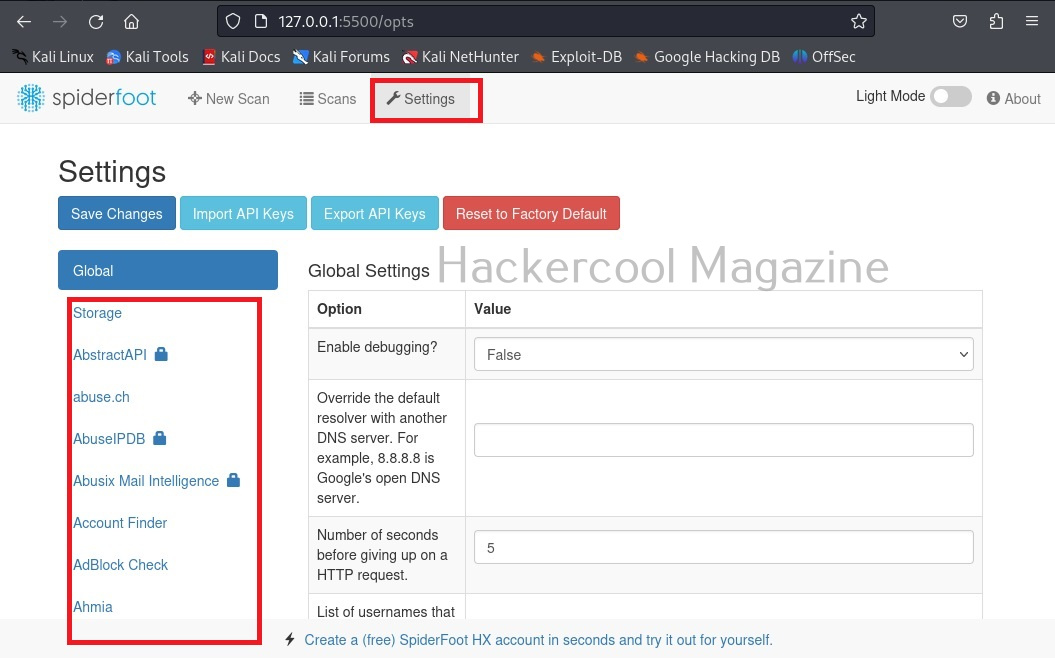
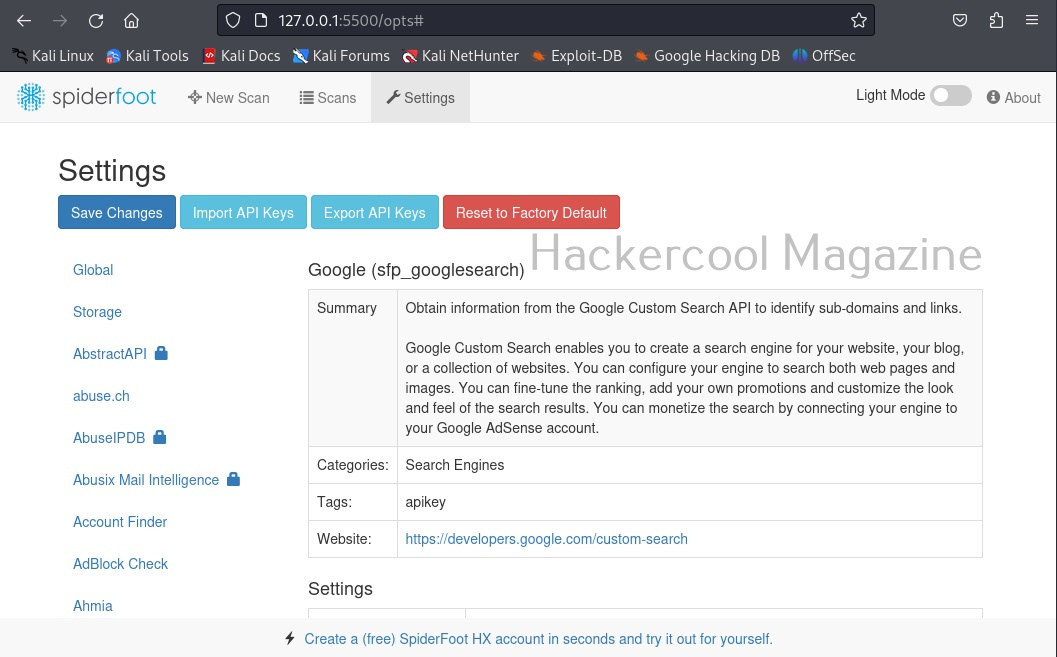
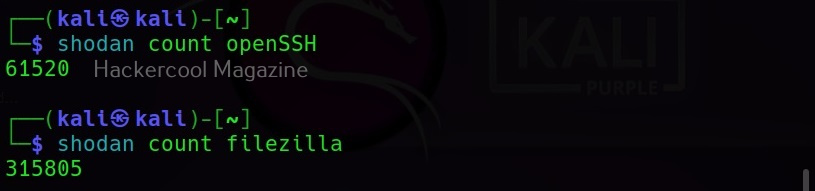
This key can be seen in the Account section of Shodan. Once the API key is entered, you can use Shodan-cli. This API key can also be used with tools like SpiderFoot used for OSINT. Note that the features are dependent on the types of account you have at Shodan. Free account has limited features. Let’s see how many open SSH and Filezilla servers are exposed to the internet.
After seeing all this, you may wonder how Shodan works or is it legal to use it. Shodan works by using a technique called banner grabbing. It captures banners of all the devices connected to the internet and then stores them in its database. Although it is legal to use Shodan for querying, it is not to do anything on the exposed servers without their permission. It is used by pen testers to see what devices are exposed and what information they are leaking to the internet.