Posted on

Beginners guide to netdiscover

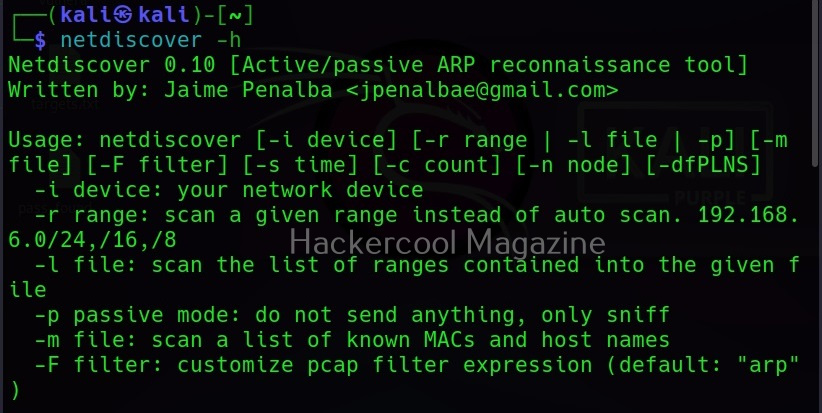
Hello, aspiring ethical hackers. In one of our previous blogposts, you learnt about network scanning. In this blogpost, you will learn about netdiscover tool. It is an active/passive network address discovering tool that was actually developed to discover wireless networks during wardriving but can also detect addresses on switched networks. It used ARP packets to detect network addresses.

It is mostly used to find the target IP address in hack the box challenges. But it can also be used to scan for network addresses of a network in real-world pen testing. It is installed by default in Kali Linux and we are going to use same for this tutorial.

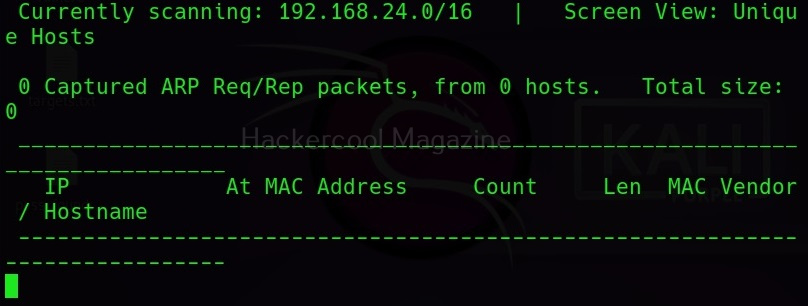
The simplest way of using netdiscover to find out network addresses is to simply type the command “netdiscover” in the terminal as shown below.

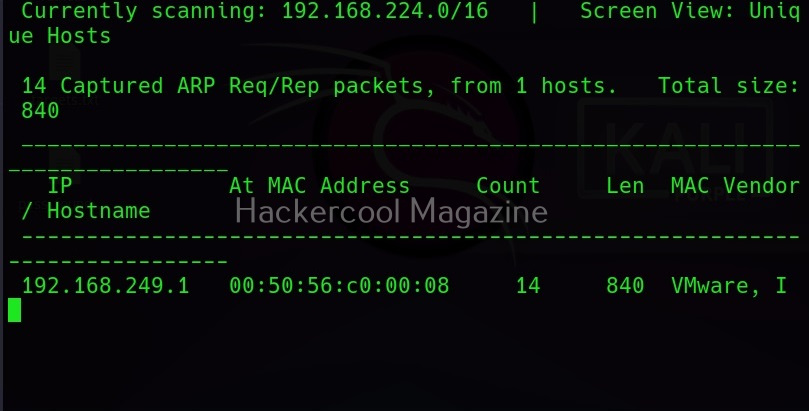
Then it slowly scans for network addresses as shown below. This is how most people use it.

Fast mode

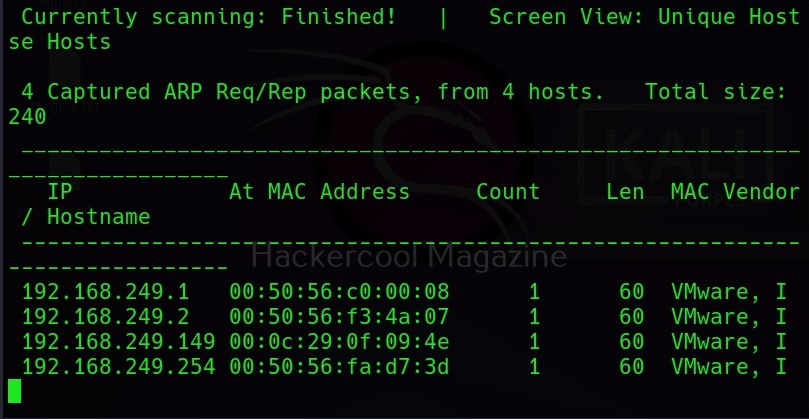
However, you don’t have to wait for netdiscover to finish scanning as long as it takes. You can scan faster with netdiscover too using the “-f” option.

Interface mode

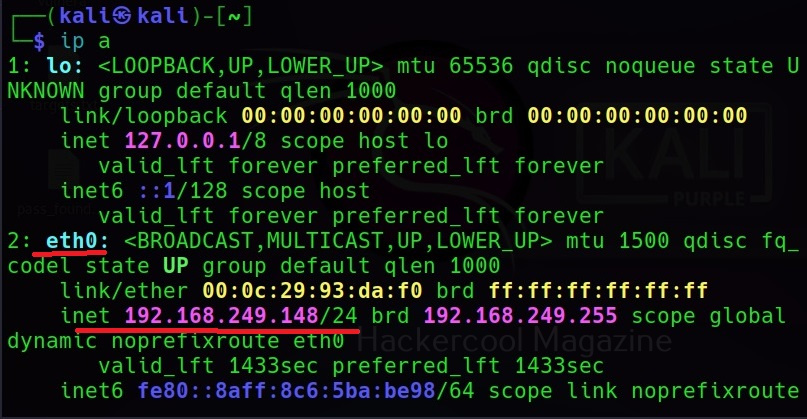
Netdiscover can be set to scan network addresses on a specific network interface you want. For example, on Kali Linux, let’s use the command “ip a” to view all the network interfaces connected to it.

Interface mode can be set with the “-i” option. For example, let’s scan the interface “eth0” as shown below.

Scan a specific range

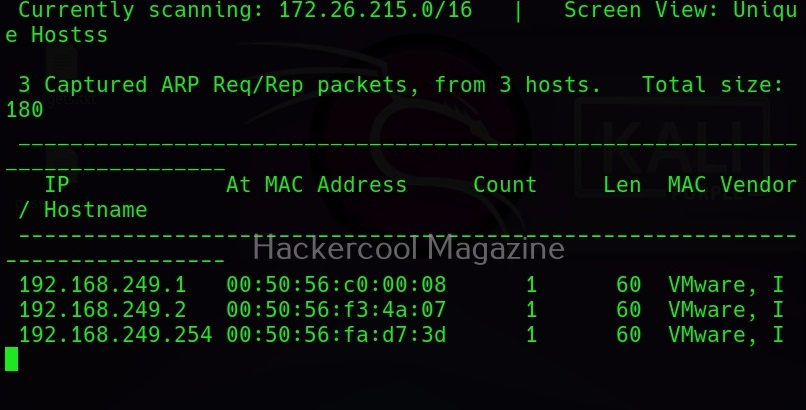
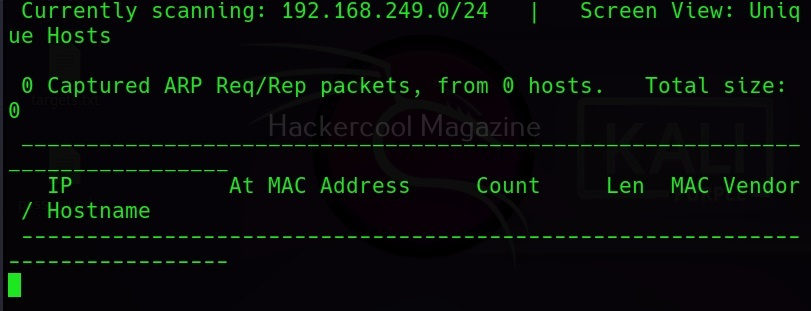
Similarly, netdiscover can be used to scan a specific range as shown below. For example, let’s scan the range 192.168.248.0/24.

Printable form (-p)

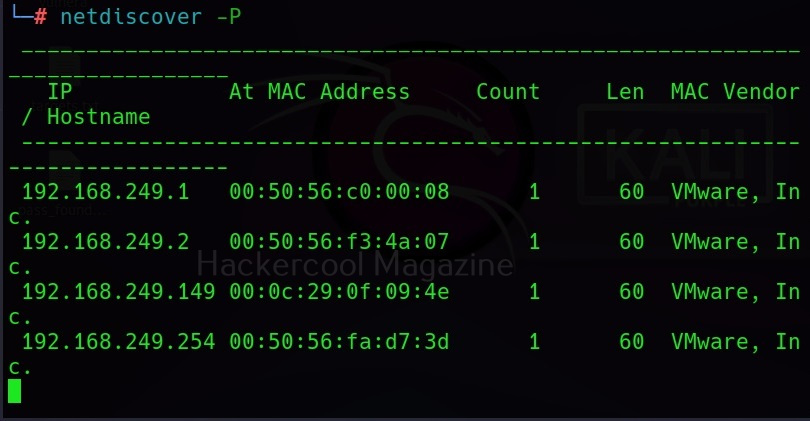
Netdiscover can also display its output in a way easy for printing using the “-p” option.

Posted on

Beginners guide to Zenmap

Hello, aspiring ethical hackers. In one of our previous blogposts, you learnt in detail about Nmap, the popular port scanner. If you are like me, you thought all those commands, types of scans and options are very difficult to grasp. Well, maybe even the makers of Nmap also thought the same. Hence, they release a GUI version of Nmap called Zenmap.

Zenmap is the official GUI version of Nmap security scanner. It works on almost all platforms (Linux, Windows, mac OSX, BSD etc.). Just like Nmap it is also open-source. In this blogpost you will learn in detail about Zenmap. It can be downloaded from here. Kali Linux has Zenmap in its repository as part of kaboxer. For this tutorial, we will be using this only.

In Kali Linux, open a terminal in kali and type the command “Zenmap-kbx”. If Zenmap is not already installed, the system will prompt you if you want to install it.

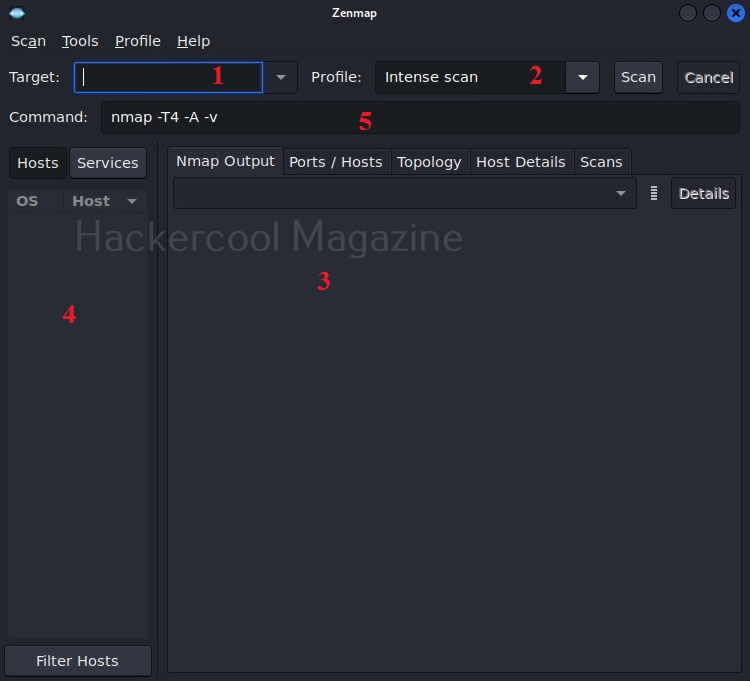
Type “y” to install it, Otherwise, it will open Zenmap GUI as shown below.

The interface of Zenmap can be divided in to five sections.

  1. Target section
  2. Profile section
  3. Output section
  4. Host / services section
  5. Command section

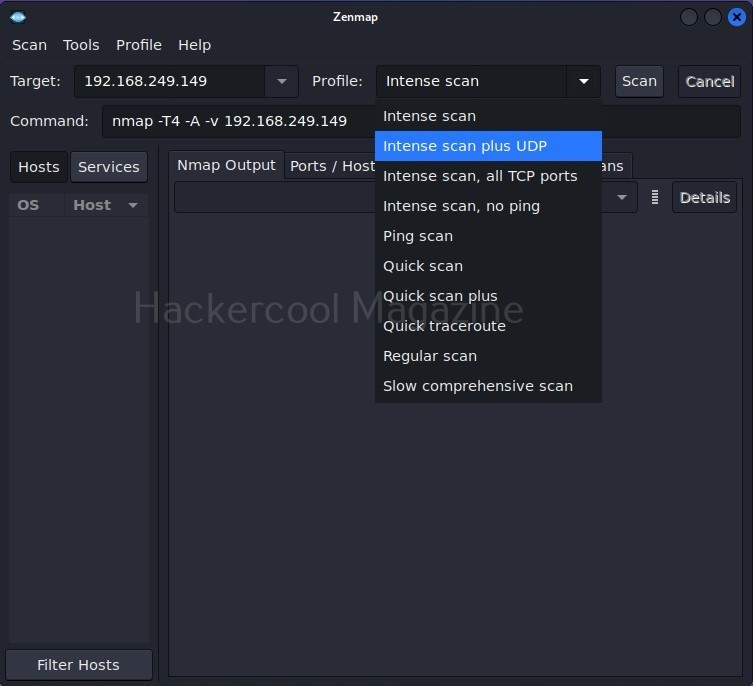
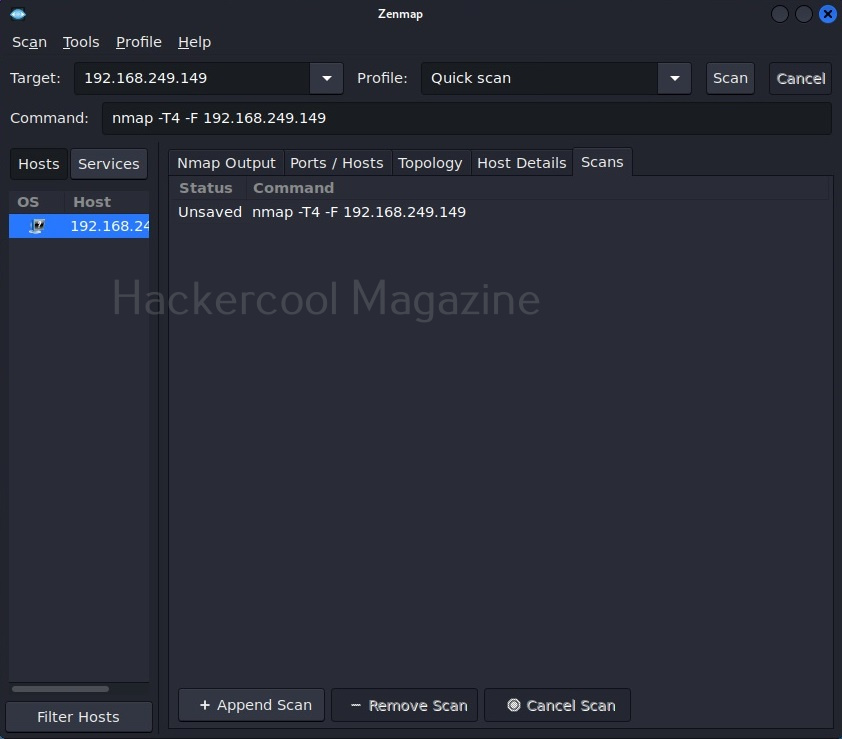
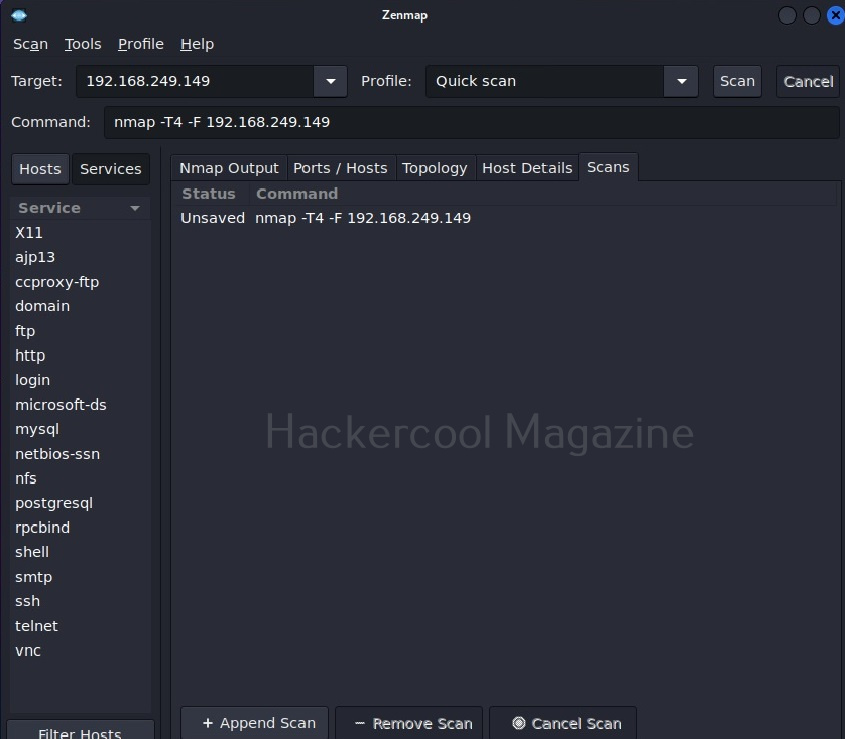
    The target section is where we specify a target. The target can be specified in all the variety of ways Nmap allows. The profile section allows you to choose a type of scan. There are various scan options available.

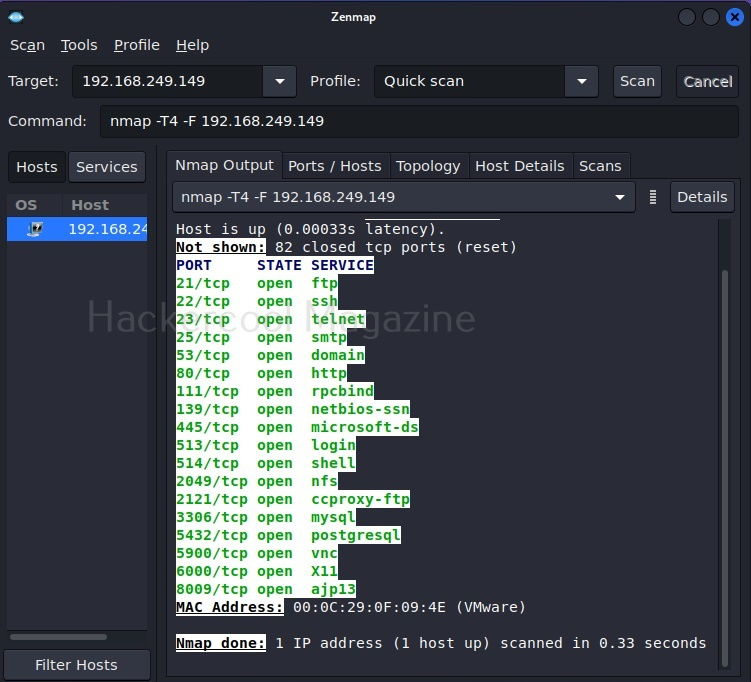
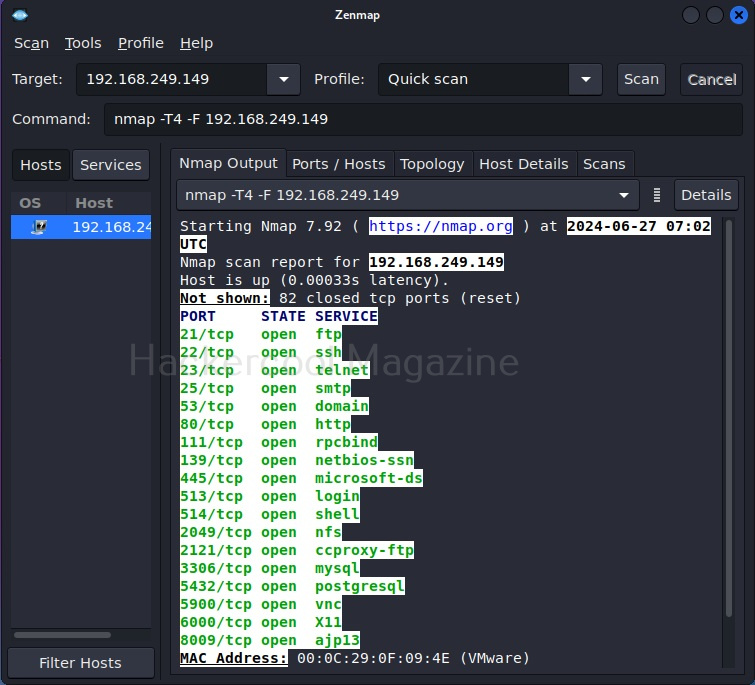
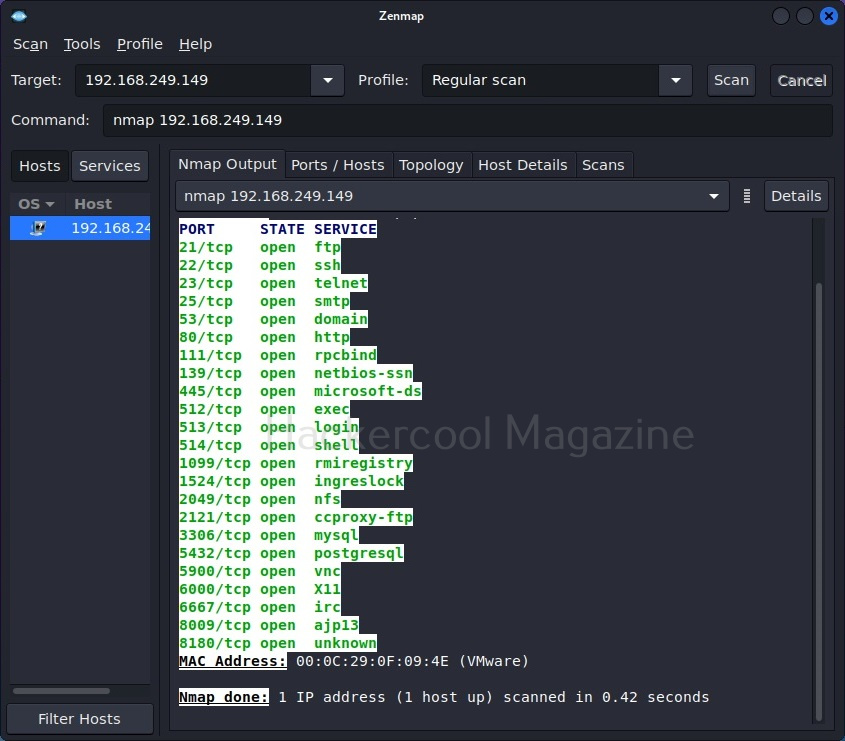
Let’s select Quick scan for now. The command section shows the command for each scan type you select. Yes, you can type the command also directly and run Zenmap here. But if you want to do it, you would have been content with Nmap only. For now, let’s click on ‘scan’. Very soon, the results will be out and can be seen in output section as shown below.

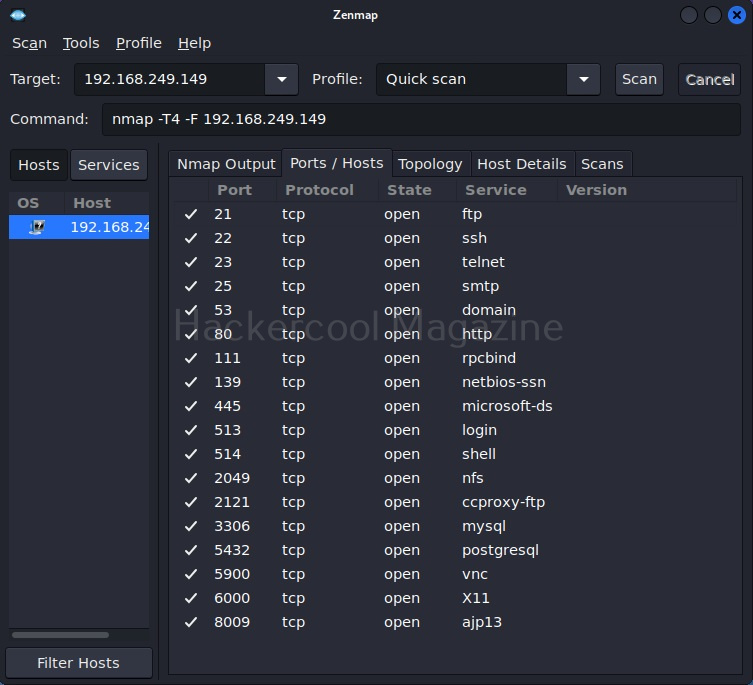
The output section has many other tabs that provide additional information about the target scanned. The ports/hosts tabs show the open ports, type of protocol it uses and the service running on it separately and clearly.

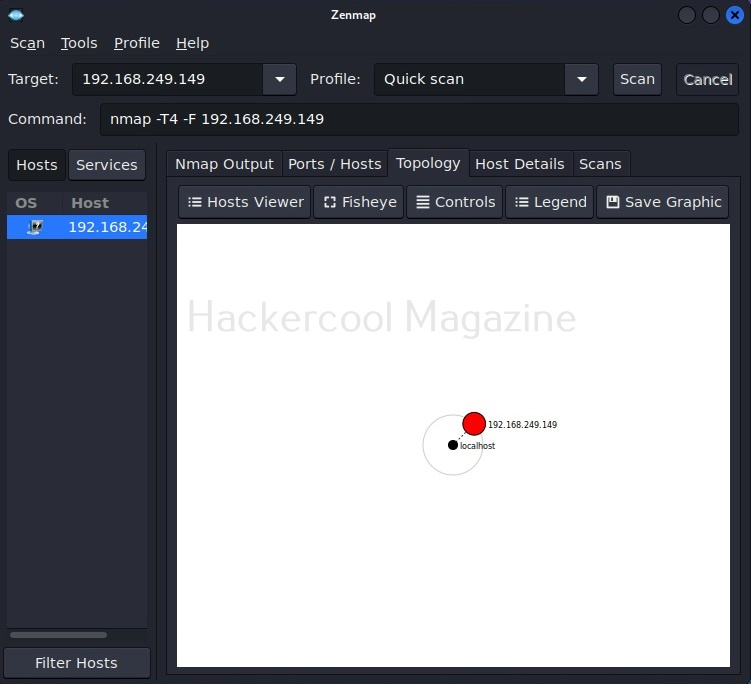
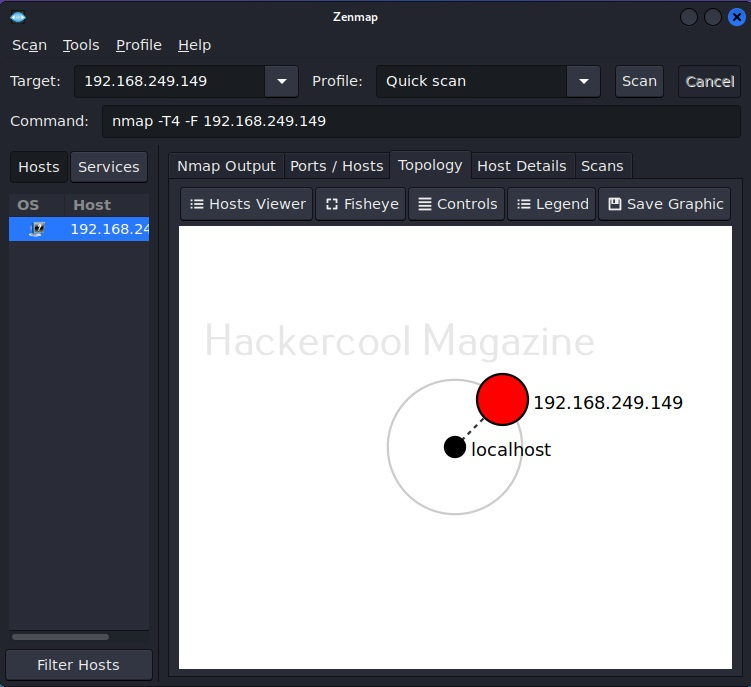
The “Topology” sub-section shows that our attacker machine and target machine in visual form.

You can even zoom on the visual representation for a better view.

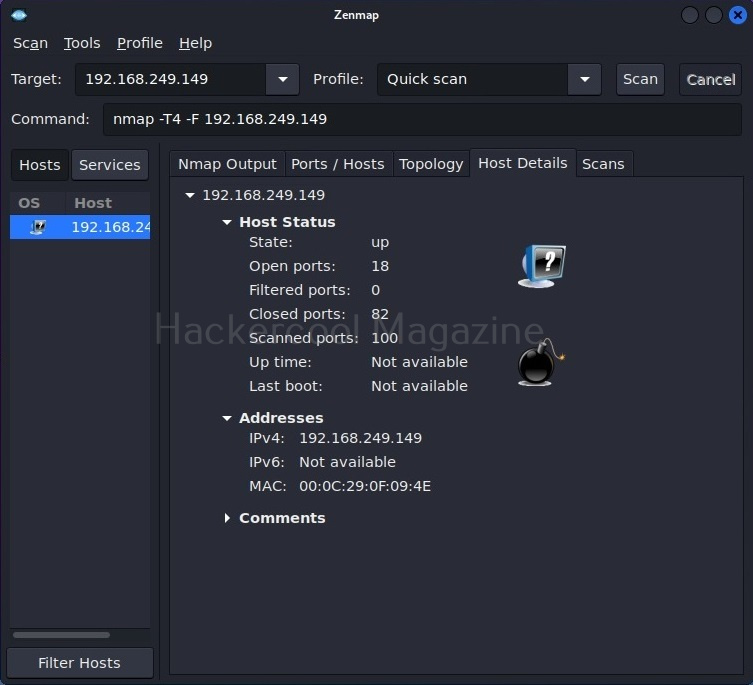
The “Host details” tab shows details about the target host separately.

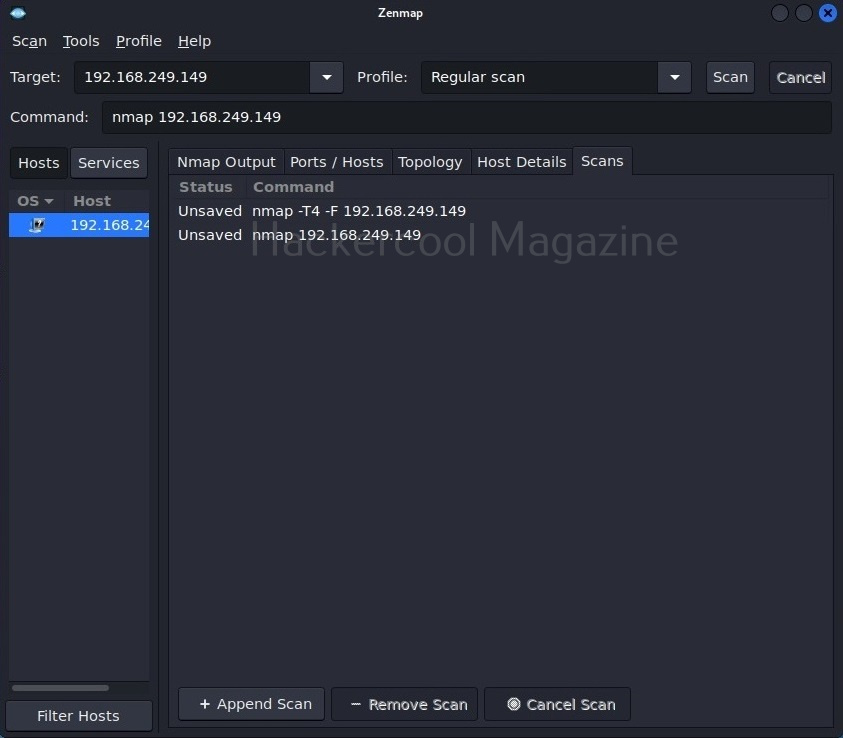
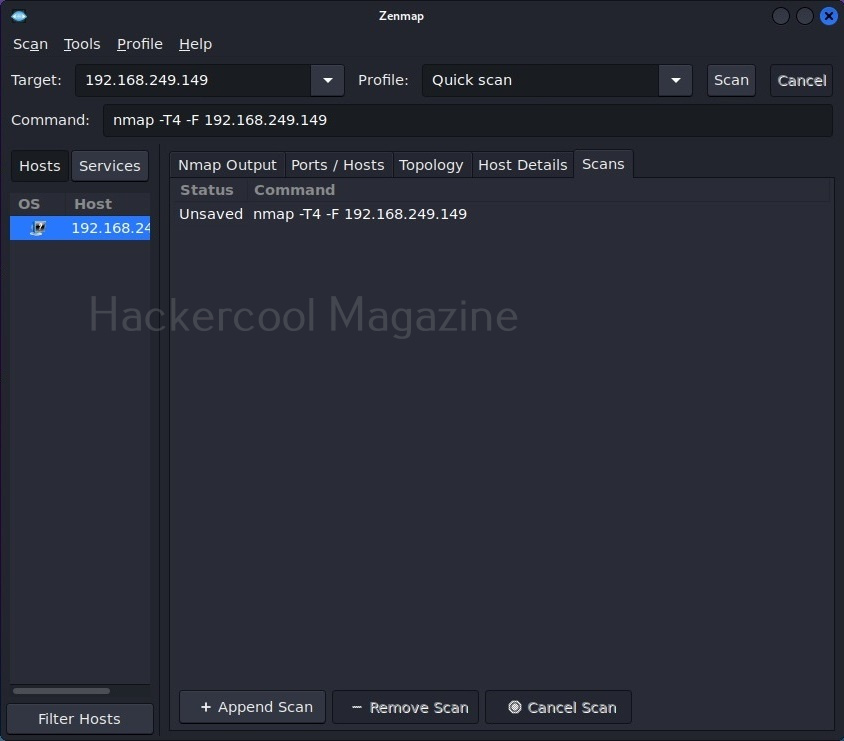
The “scans” section shows all the scans you have performed.

Let’s select a “Regular scan” now.

The “Hosts/services” section provides information about the target host and services running on it.

That was all about Zenmap. See how simple it is to use Zenmap for port scanning.

Posted on 2 Comments

Complete guide to Nmap port scanner

Hello, aspiring ethical hackers. In our previous blogpost, you learnt in detail about network scanning. This blogpost is a complete guide for using Nmap (Network Mapper), a popular and open source utility used for port scanning and network discovery by network administrators and pen testers. It uses real IP packets in novel ways to determine the LIVE hosts on the networks, open ports, the services they are running, type of firewalls in use etc. It is available for all major operating systems like Linux, Windows and Mac OSX.  

We are using it on Kali Linux where it is installed by default. Let’s begin with how to specify targets while scanning.

Target specification

1. Provide input through a list:

nmap -iL <input filename>

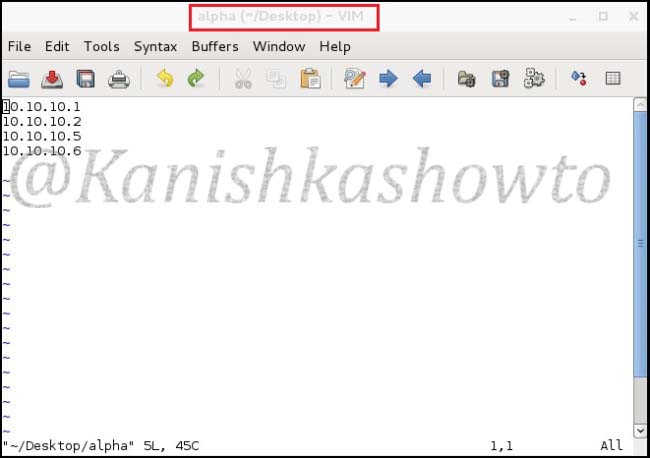
This option reads targets from a specific file. Let’s create a file named alpha with a few  newline separated or tab-limited or space separated IP addresses using vi on Desktop.

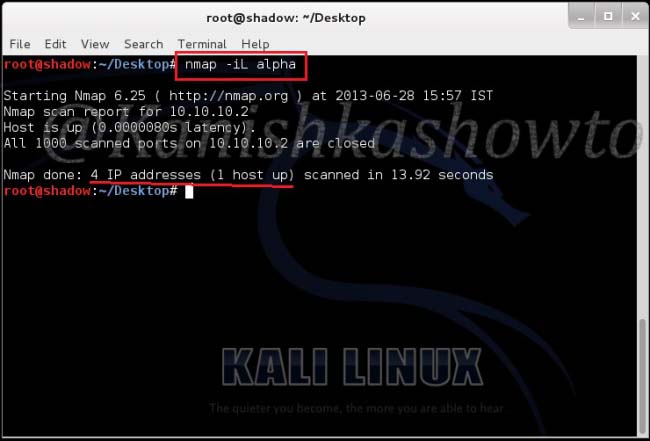
Then, move to Desktop directory and type the command as shown below. It scans the four IP addresses listed in our file.

2. Specify random hosts to scan:

nmap -iR <number of hosts>

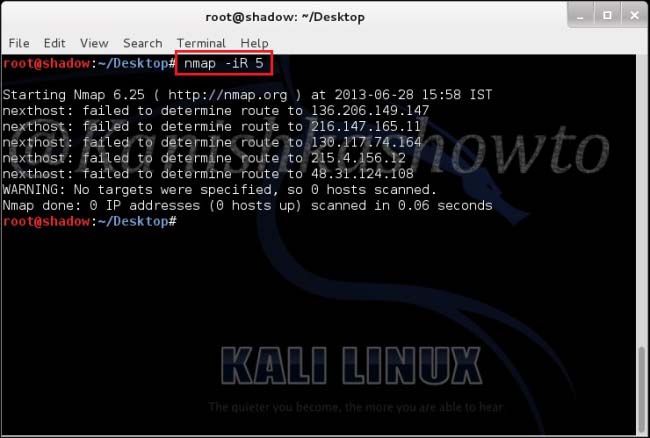
This option is used to specify random hosts to scan. Nmap generates its own targets to scan. The <number of hosts> argument tells nmap the number of IP’s to generate. Let’s type command as shown below. We can see that it generated five random targets to scan. The scan failed to determine route to the generated IP addresses because my system is not connected to Internet. Why didn’t it generate any internal IP addresses? Because in this scan private, multicast and unallocated address ranges are automatically skipped.

3. Scan the entire subnet:

nmap <IP address/dir>

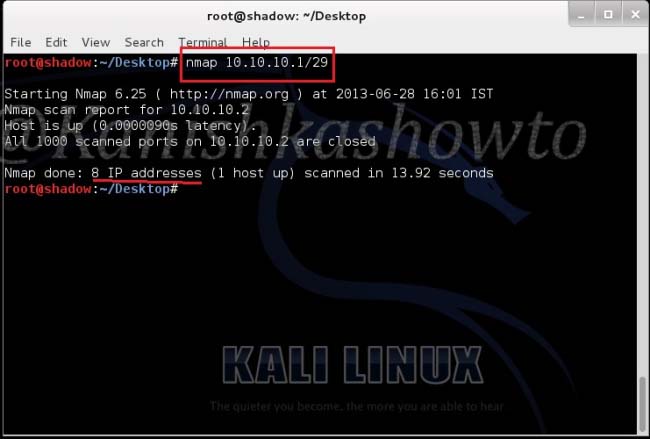
This option is used to scan the entire subnet.  Assuming you know CIDR let’s type the command as shown below to scan eight IP addresses from 10.10.10.1 to 10.10.10.8 and see the result below.

4. Exclude some hosts and networks:

nmap [targets] -exclude [targets]

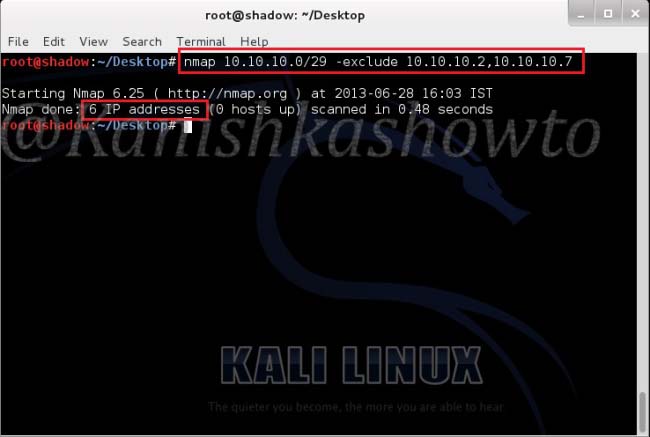
This option specifies a comma separated list of targets to be excluded from the scan even if they are part of overall network range we specify. For example, in our previous scan we saw that one host 10.10.10.2( which is the system I am working on) is alive. Now I decided to exclude that host and another host from the scan. So I type the command as shown in the image given below and press “Enter”. We can see that nmap has only scanned six IP addresses.

5. Take the exclusion list from a file:

nmap [targets] -excludefile [file name]

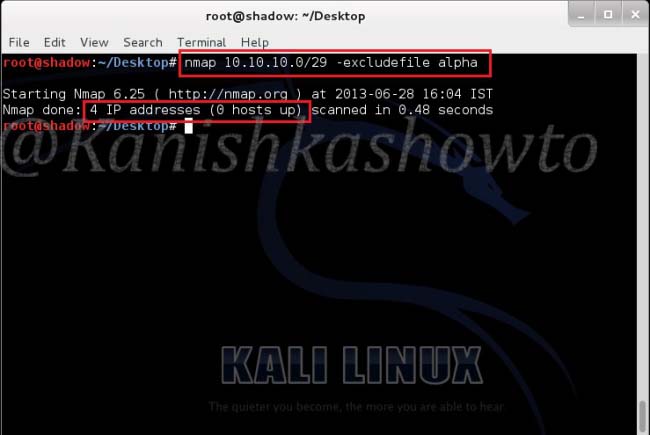
Now what if the subnet was very big and there are more number of hosts to be excluded from the scan. The above option helps us to achieve this. Remember the file “alpha”( with four IP addresses) we created. Now let’s specify nmap to quit scanning the hosts listed in the file. Type the command as shown below. We can see that it scanned only four hosts in the subnet.

6. Scan specific targets:

nmap [target1 target2  target3]

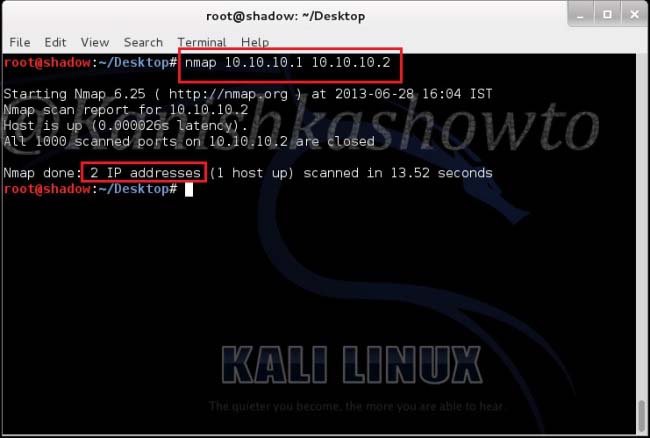
This option specifies nmap to scan multiple targets separated by space. Type the command  shown below . We can see the result below.

Scan types

Nmap is equipped with a variety of scans to detect open ports and services on the target system. Learn about Nmap’s various port scan techniques here.

Scan results

Nmap classifies the ports it scans into six categories. They are open, closed, filtered, unfiltered, open/filtered and closed/unfiltered. In which cases does Nmap classify a port as one of the above. Learn in port scan results of Nmap.