Hello, aspiring ethical hackers. In our previous blogpost on web application hacking and web server hacking, you learnt about various web vulnerabilities. In this blogpost, you will learn about Wapiti a web vulnerability scanner.
It is a very good practice to learn about the vulnerabilities and weaknesses in a website or web application before they hackers find bout them. Web vulnerability scanners play a very important role in detecting vulnerabilities. Wapiti is one such vulnerability scanner thats written in Python.
Unlike other vulnerability scanners, Wapiti works as a “Black Box” vulnerability scanner that instead of studying source code of the target web application, works by fuzzing and scanning the pages of web application, extract link forms, attacking the scripts, sending payloads, finding out error messages, special strings and other abnormal behaviours.
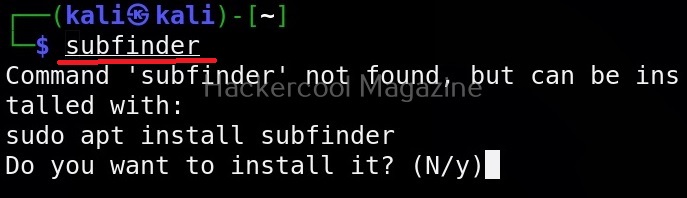
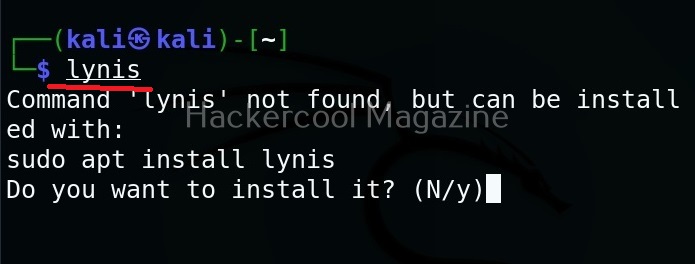
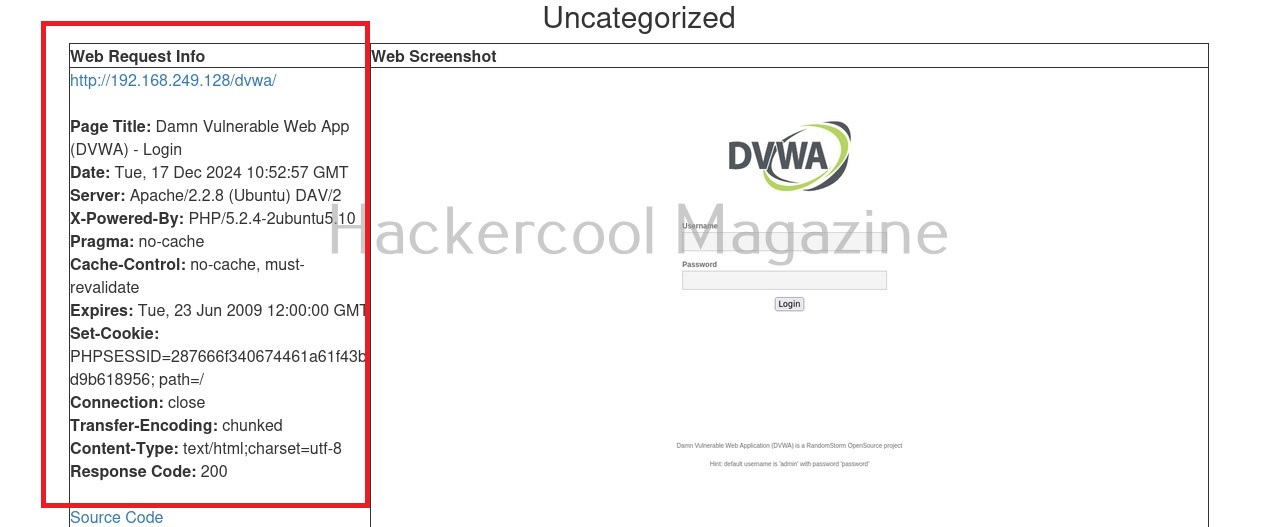
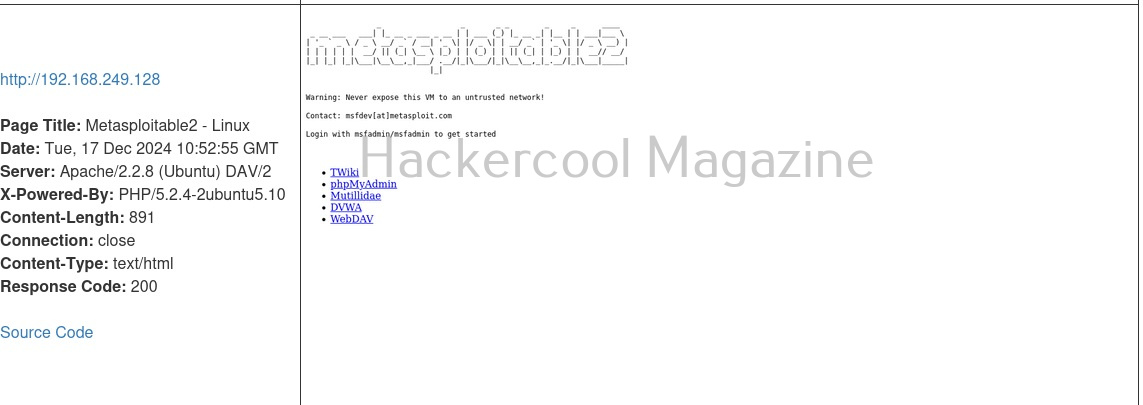
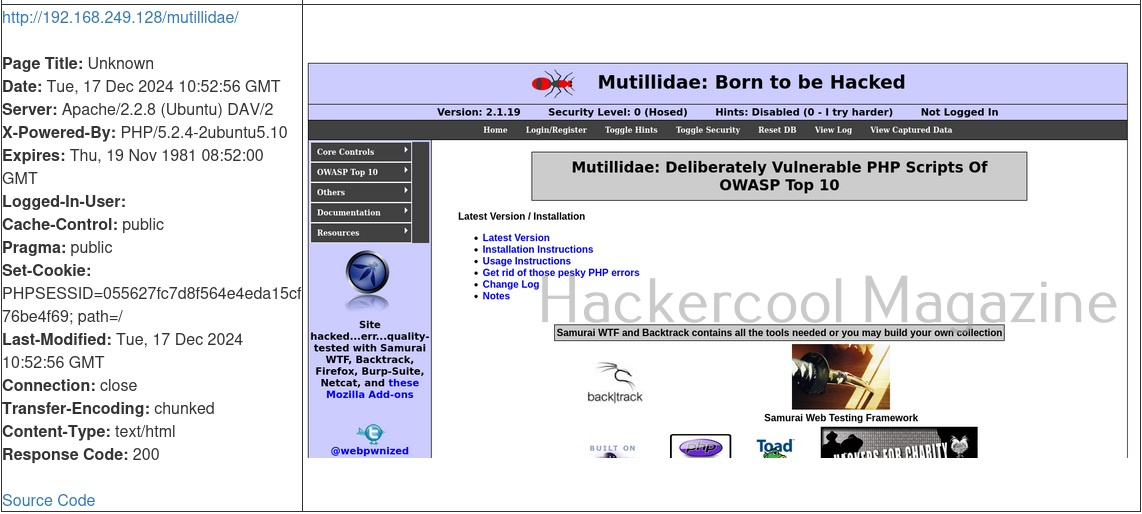
Let’s see how to find vulnerabilities using Wapiti. For this, we will be using Kali Linux as this tool is installed by default on Kali Systems. As target, we will be using Mutillidae web application on Metasploitable 2. See how to setup this virtual hacking lab.
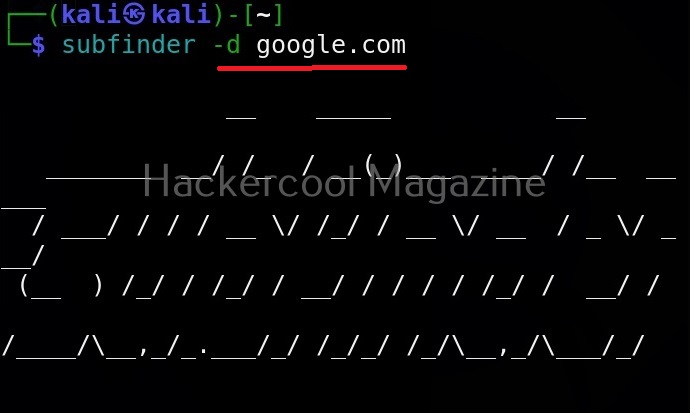
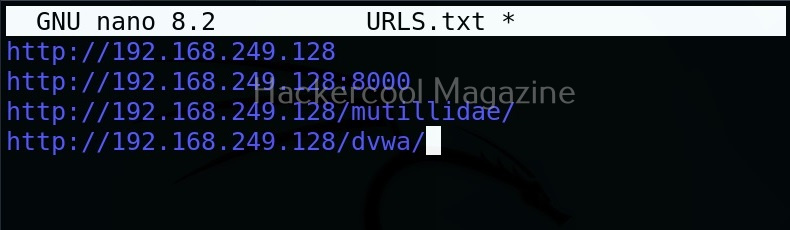
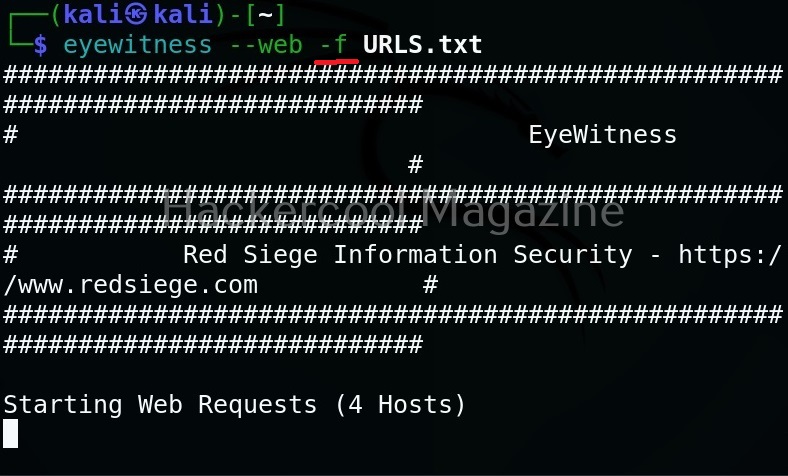
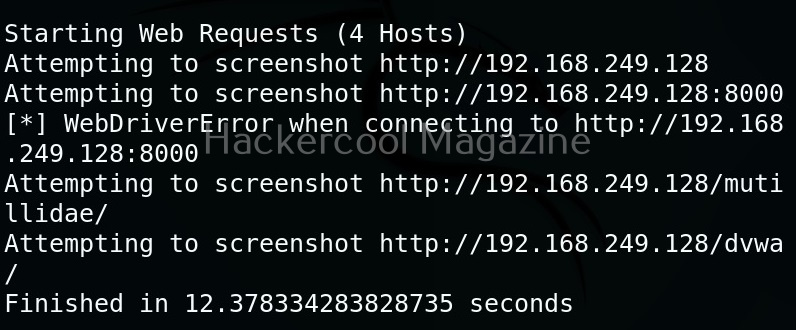
The simplest way to use Wapiti is to just supply it with the target URL as shown below.

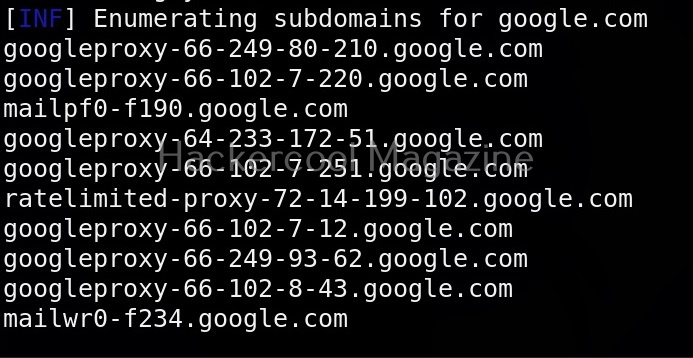
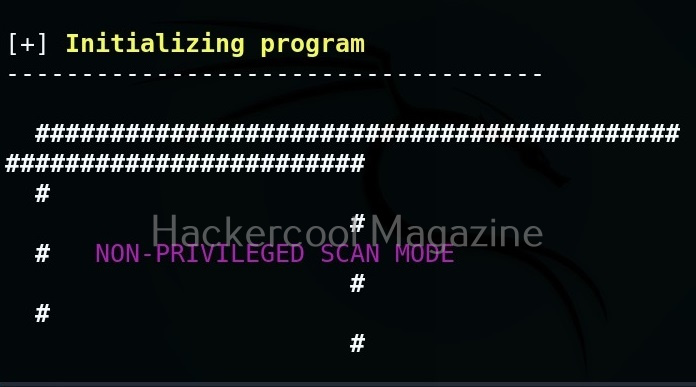
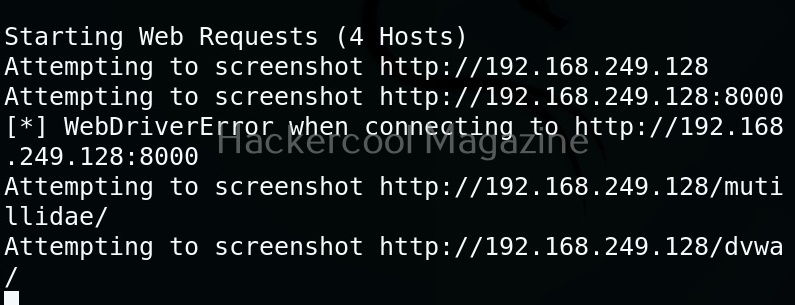
Then, Wapiti starts scanning the target as shown below.
Scope
Scope option of wapiti specifies it to what to scan. The scope option of wapiti takes four values: URL, page, folder, domain and punk. Here is the detailed explanation about these values.
- URL: Setting this will only scan and attack the exact base URL given with -u option.
- PAGE: Setting this as scope value will attack every URL matching the path of the base URL.
- FOLDER: This will scan and attack every URL starting with the base URL value. This base URL should have a trailing slash (no file‐name).
- DOMAIN: Setting this as scope value will scan and attack every URL whose domain name matches the one from the base URL.
- PUNK: Setting this value will scan and attack every URL found whatever the domain. Think twice before using this for scope.
Let’s set the scope to “page” for now.


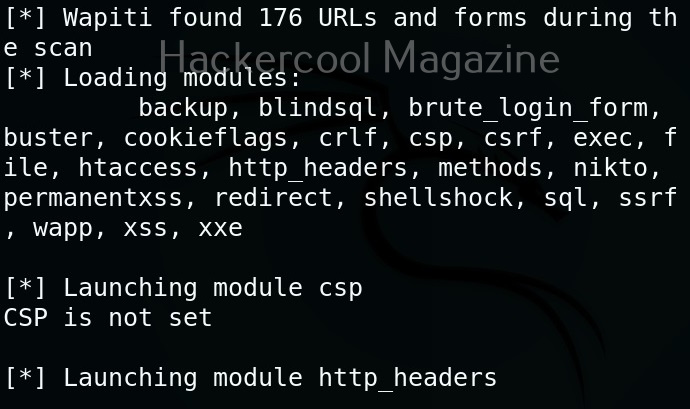
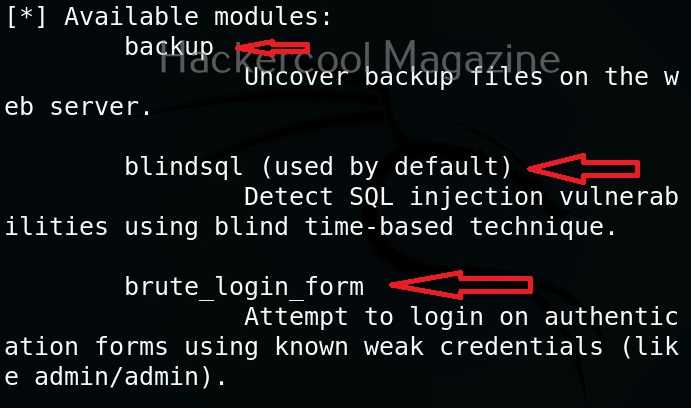
View all the modules (
Wapiti has many modules that help in vulnerability scanning. You can view all the modules using the “list modules” option.

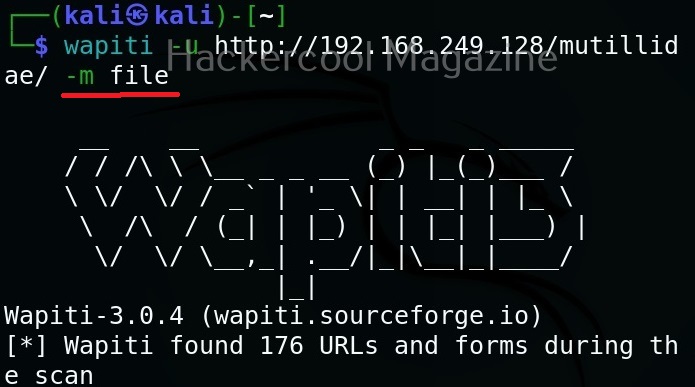
Select a single module
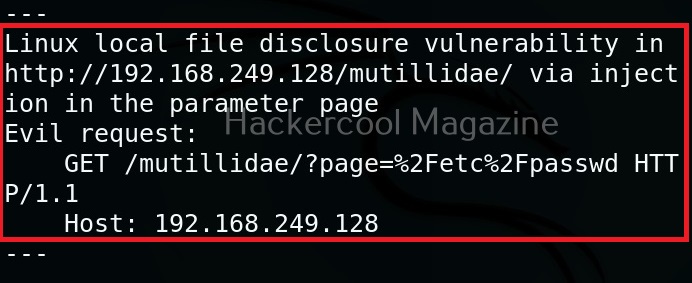
You can select just a single module using the “-n” option. For example, let’s load the file module.
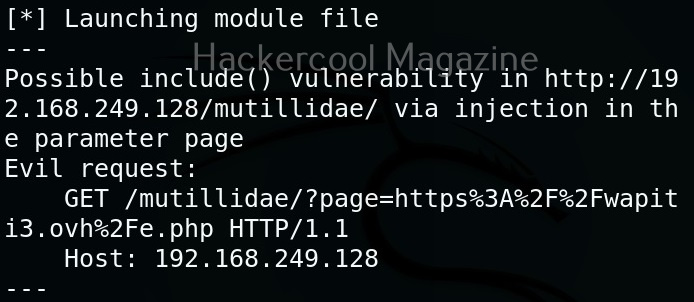
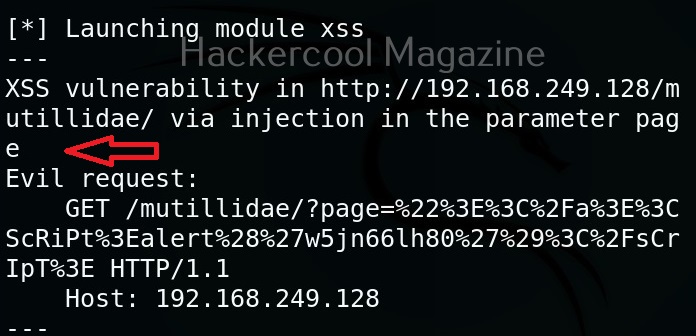
As you can see in the above image, a include vulnerability has been detected in the target web app.
Don’t resume the scan (–skip-crawl)
Sometimes, we abort a scanning session before it gets completed. When you start a new scan with Wapiti again, by default it resumes the aborted session by crawling the URLs again. If you don’t want to resume the previous scan from URL crawling, you can use this option. By using this option, Wapiti will attack only currently known URLs.

Resume from crawling
This option us useful in cases where the scan was previously aborted after wapiti started attacking. When a session is restored, the default behavior is to skip crawling. However, we can use this option to continue the scan process.

Flush attacks
This option specifies wapiti to forget everything about discovered vulnerabilities and which URL got attacked by which modules. Only the crawling information of the scan will be kept.

Flush session
This option specifies wapiti to forget everything about the target for the given scope.

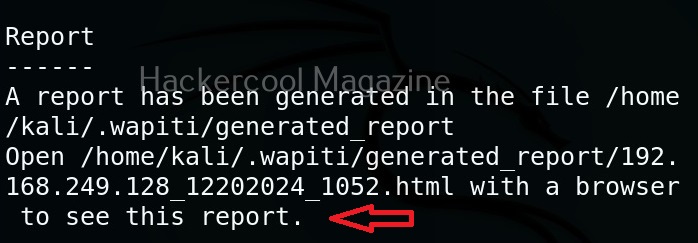
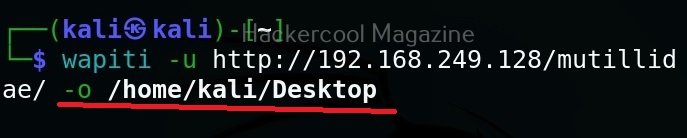
Saving the output to a directory
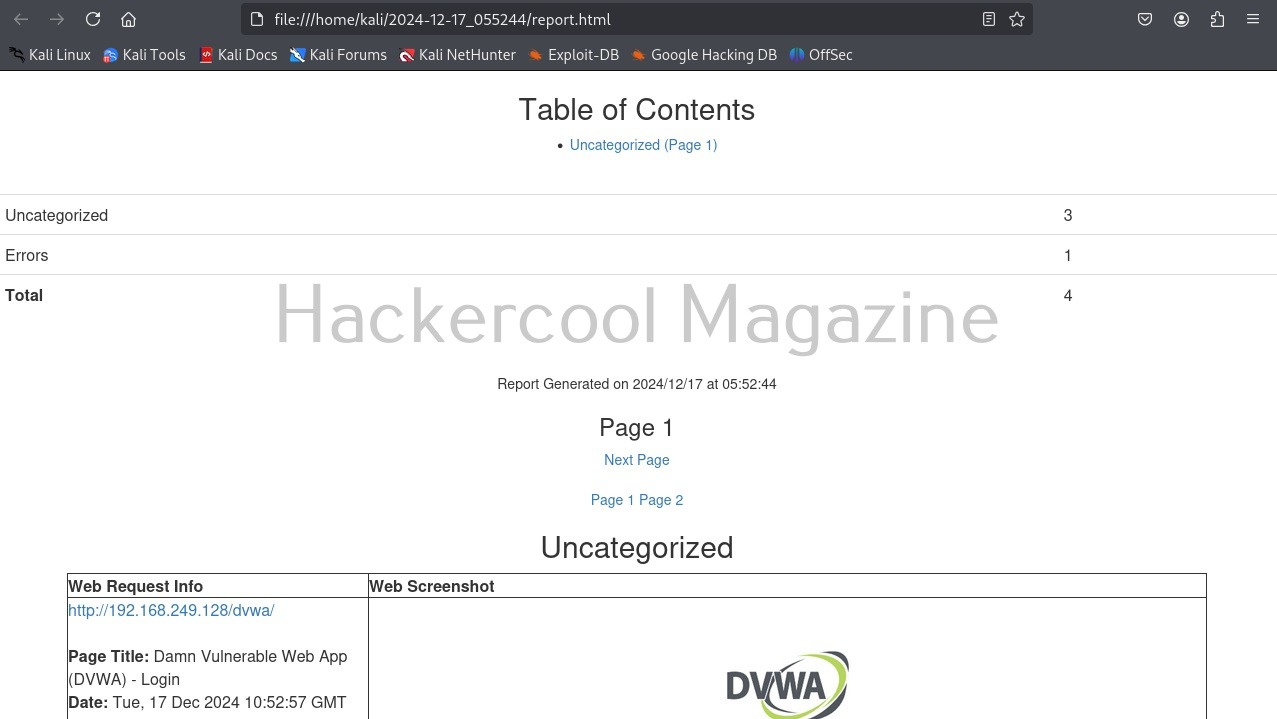
Like many tools, you can save the output of the scan of wapiti in a report. This option enables you to specify a directory for saving the report of the scan.
Format of the reports (-f)
You can use this option to specify the format of the report. The reports can be saved in json, HTML, txt and xml. formats. For example, let’s set the report to be txt format.