Posted on

Maintaining access in ethical hacking

Hello, aspiring ethical hackers. In this blogpost, you will learn about maintaining access in ethical hacking. Maintaining access is the fourth phase in the total 5 phases of ethical hacking. In this phase, hackers try to hold on to the initial access or foothold they have gained on the network.

Maintaining Access 1

This is done using various methods. They are,

1. Elevating privileges:

Most of the time when hackers gain initial access on the target system or network, it is a lower privileged one. So, as soon as hackers gain access, they try to elevate their privileges on the target system to be able to perform important actions on the target network or system. Learn more about privilege escalation.

2. Backdooring:

In this method of maintaining access, hackers try to install a backdoor on the target system or network. They do this by either modifying the legitimate components or by installing specific backdoors like C&C servers, genuine remote administration software etc.

3. Rootkits:

Sometimes, hackers install rootkits on the target system or network. A rootkit is a type of malware that masks its existence from the system software including Antivirus. Normally a rootkit provides higher level of access or sometimes even kernel level access to hackers.

4. Persistence scripts:

Hackers also use widely available persistence scripts to maintain access on the target system of the network.

5. Tunneling:

Maintaining access is not always about installing a backdoor or rootkit etc on the target system. Sometimes, it involves tunneling. Tunneling is a process in which data is usually shared between two different networks privately without being detected.
Posted on

5 phases of ethical hacking for beginners

Hello, aspiring ethical hackers. In this blogpost, you will learn what is ethical hacking and the 5 phases of ethical hacking.
What is Ethical Hacking?

Ethical hacking is hacking that is performed while following the ethics and rules. It is a procedure of detecting vulnerabilities and weaknesses in the target organization’s network and exploiting them with the written permission of an individual or organization. It is performed to find out and fix the vulnerabilities in the network that can be exploited by bad hackers aka Black Hat hackers.

What are the 5 phases of ethical hacking?

5 Phases Of Ethical Hacking 1 416x1024

Ethical hacking consists of 5 phases. They are,

1. Foot printing:

Also known as information gathering or reconnaissance, in this phase ethical hackers try to collect as much information as possible about the target organization or individual that may be helpful to them in the next phases of ethical hacking. Learn more about Footprinting.

2. Scanning & enumeration:

In this phase, the target organization’s network is probed to find any path of entry that can provide a way for ethical hackers into the network. It includes scanning for live systems in the network range, scanning for open ports on the LIVE systems and services running on them and scanning for any vulnerabilities in those services.

Then these services are enumerated to find any user accounts or other Information about the target networks. Learn more about scanning & enumeration.

3. Gaining access:

In this phase ethical hacking, ethical hackers exploit one of the vulnerability or weakness found in the second phase and gain a shell on the target system or network. Learn more about gaining access.

4. Maintaining access:

In this phase, ethical hackers after gaining initial access on the target system or network, try to maintain this access for future and continuous use. Learn more about various techniques used for maintaining access.

5. Covering tracks:

In this phase, ethical hackers try to hide or erase all their operations performed on the target system or network until now. This is to remove any evidence of their malicious activity. In Black Hat Hacking, they do this to prevent tracing of the hack back to them. This phase is also known as clearing tracks. Learn more about covering tracks.

Posted on

Gaining access in ethical hacking: Techniques

Hello, aspiring ethical hackers. This article is a beginner guide to gaining access. Gaining access is the third phase in ethical hacking after footprinting and scanning & enumeration. It should be noted that the earlier two phases will play a major role in gaining access. This blogpost will explain you about different ways in which hackers or pen testers gain access to a target system or network.

What is gaining access?

In our previous blogpost, you learnt what a shell is and types of shell in cybersecurity. When a hacker or pen tester gains a shell on the target system or network, it is called as gaining access. Gaining access is the first phase where a hacker or pen tester gains some control on the target system.

Methods of gaining access

There are multiple ways by which hackers can gain initial access. They are,

  1. Vulnerabilities in the operating system or firmware.
  2. Application vulnerabilities.
  3. Payloads & malicious software.
  4. Password’ cracking.
  5. Misconfigured services.
  6. Social- engineering.
  7. Wi Fi hacking
Gaining Access 1 1

1. Vulnerabilities in the operating system or firmware:

An operating system is the core of any computing device. Enterprises around the world use different operating systems for different purposes. Some of the popular operating systems used by enterprises around the world are Windows, Linux, MacOS, Android, IOS, chrome OS, Red Hat Enterprise Linux, Solaris, Centos, Ubuntu, IRIX and FreeBSD etc. No matter what operating system it is, it is a software consisting of programs. So, any vulnerability exposed in the operating system can be exploited by hackers to gain initial access. For example, ms08-067 and EternalBlue.

2. Application vulnerabilities:

An operating system is by itself not useful. So, a lot of application or programs are installed over the operating system to perform certain functions. Any vulnerabilities in these installed programs can be exploited successfully gain initial access. For example, Macros or Excel Macros.

3. Malicious payloads:

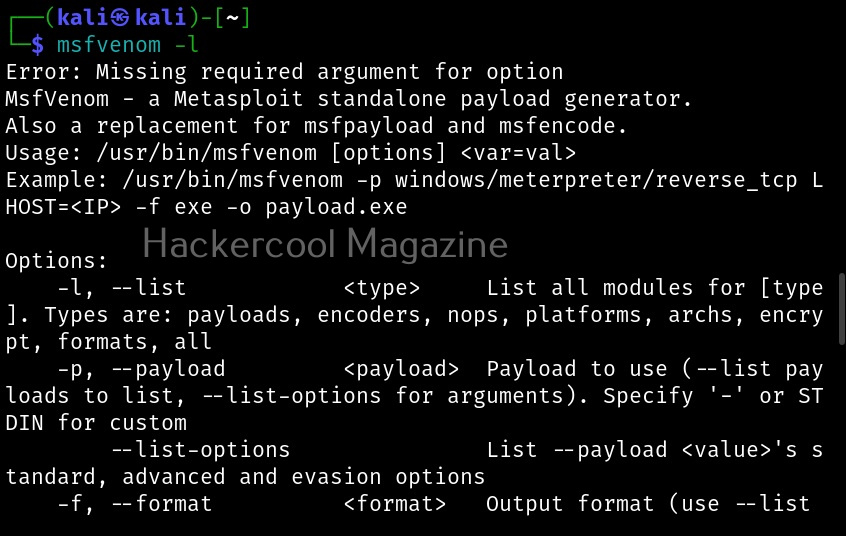
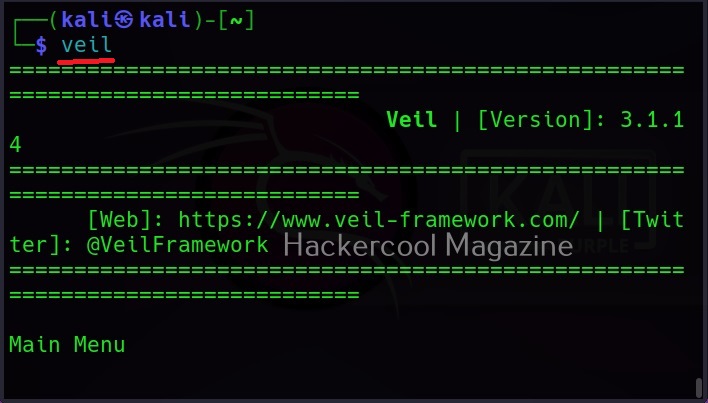
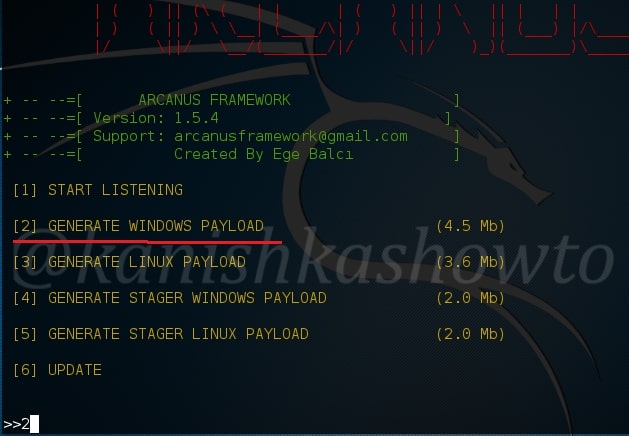
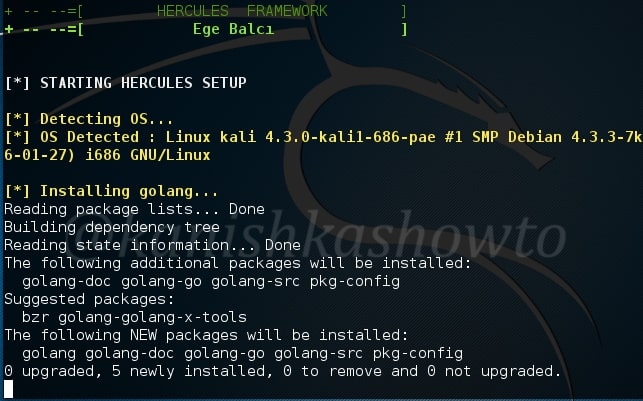
Hackers just don’t use vulnerabilities to gain access. They also use malicious payloads like malware and virus to gain access. Learn more about payload generators.

4. Cracked passwords:

Sometimes enterprise systems are enabled with remote access so that employees can connect to them remotely for the purpose of their work. The protocols enabling remote access like SSH, FTP, Telnet and RDP etc. Cracking the credentials of these services give hackers a way to gain access to the servers and subsequently to the entire system or network. Learn more about password cracking.

5. Misconfigured services:

Sometimes, services being used by the target network can be misconfigured either by mistake or on purpose. Hackers can exploit these misconfigurations to gain initial access.

6. Hacking Wi-Fi network:

Wi Fi hacking is often sometimes ignored as a factor that can provide initial access to the hackers. Hacking WiFi (especially if the password is not complex) is very easy compared gaining access through the above explained methods. It also provides easy access to hack. Learn more about WiFi hacking.

7. The human factor:

No matter how strong the firewall on the network is or how secure the devices are in a network, if the employees of the organization are not well trained, they can eventually give hackers access into the network or devices. Social-engineering is often very underrated as a factor that allows hackers to gain access. Learn more about social engineering.

Posted on

Cewl wordlist generator: Complete guide

Hello, aspiring ethical hackers. This blogpost is a complete guide to Cewl wordlist generator. Cewl stands for Custom Word List generation. It is written in ruby language. Unlike crunch that takes input from us to generate a wordlist, this tool spiders a given website to the depth specified by us and then creates a dictionary or wordlist from it. This wordlist can then be used for password cracking with tools the Brutus, Hydra, Medusa and John The Ripper. It was designed by Robin Wood based on a discussion on PaulDotCom about creating wordlists by spidering a target website.

Cewl can be downloaded from here. Kali Linux has cewl installed by default and for this tutorial we are using the same. Metasploitable 2will be used as target since it has lot of applications installed that can be used for testing it.

Cewl 1

To use cewl, all we have to do is simply supply the URL you want to spider for as shown below.

Cewl 2

Then it will create the wordlist for you as shown below.

Cewl 3
Cewl 4

Keeping the downloaded file (-k)

Specifying the ‘-k’ option the downloaded file can be saved.

Cewl 5

Depth of spidering (-d)

When you specify a target to Cewl, it spiders to the dept of 2 by default. You can change it using this option. For example, let’s set the depth to 1.

Cewl 6

Or 3 may be.

Cewl 7

Minimum word length (-m)

This option can be used to set the minimum length of the passwords cewl creates. For example, nowadays, most services set the minimum length of the password to at least 5. So there’s no use creating passwords with length less than the minimum length your target has set, If you have noticed the above results, the default minimum length for cewl is 3. Let’s set it to 5 for example.

Cewl 8
Cewl 9

As you can see in the above image, there are no longer passwords of length less than 5.

Spidering other sites (-o)

Setting this option allows cewl to spider another external sites during spidering of the target.

Cewl 10

Don’t scan specified paths (–exclude)

If the target website is too large, you may want to skip some paths or maybe you just want to skip some paths as they may not have any passwords. You can use this option what cewl to exclude the paths you don’t want to scan. Then paths should be supplied in a file.

Cewl 11
Cewl 12

–allowed

This option is used to specify regex patterns of the path to be followed. If the pattern doesn’t match, it drops the scan.

Cewl 13

No wordlist please (-n)

If you don’t want the wordlist to be printed, you can use the “-n” option.

Cewl 17

Saving the output (-w)

Till now, you have seen that Cewl has been printing the wordlists it creates to the terminal. The output can be copied and pasted in another file to be saved from using as a wordlist. But why take all this effort when we can just save the output to file, using the ‘-w’ option.

Cewl 14
Cewl 15

Use User agent (-u))

A user agent is a characteristic string that allows web server to identify the browser and operating system and we are using. You can see your user agent here. Using the (-u) option, cewl allows you to be get a specific user agent while spidering the website.

Cewl 16

Groups of words (-g)

Setting this option allow cewl to return group of words along with single words.

Cewl 18

Turn all generated passwords to lowercase (–lowercase)

Setting this option allows us to 16 turn all the passwords cewl generates into lower case.

Cewl 19

Here is the result.

Cewl 20

Include words with numbers too (–with-numbers)

While spidering, if cewl finds any words with numbers in them, it just ignores them. But many passwords contain numbers too. By setting this option, cewl collects numbers as well.

Cewl 21
Cewl 22

–convert-umlauts

Setting this option to while using cewl converts common ISO-8859-1 umlauts.

Cewl 23

Include meta data too (-a)

When we set this option, Cewl includes metadata found while spidering the website apart from the words.

Cewl 24

This metadata found is included at the end of the output files as shown below.

Cewl 25

Save metadata found to a different file (–meta-file)

You can even save all the metadata found on the target site to a different file as shown below using the “–meta-file” option.

Cewl 26

In the above image, you can see that cewl, while processing metadata creates a temporary file. This file known as cewl-temp.pdf is created in the /tmp directory by default. We can change the location of this file by using the “—meta-temp-dir” option as shown below.

Cewl 27

Gather emails too (-e)

Not just metadata, you can even process emails using cewl with the ‘-e’ option.

Cewl 28
Cewl 29

Save collected emails in another file (–email-file)

These collected emails can also be saved in another file using the “–email-file” option.

Cewl 30
Cewl 31

Show the count for each word (-c)

Setting this option shows the count for each word.

Cewl 32
Cewl 33

Verbose mode (-v)

Just like every other tool, this tool to has verbose mode that gives detailed information.

Cewl 34
Cewl 35

Debug mode (–debug)

Similarly, the “–debug” option gives detailed debugging information too.

Cewl 36
Cewl 37

Authentication

Some sites need authentication to spider it. Cewl allows authentication of websites too.

Cewl 38

It supports both basic authentication and digest authentication. The “auth_type” option is used to set the type of authentication. The “–auth _user” and “–auth_pass” option can be used to set username and passwords respectively.

Cewl 39

Here’s the output.

Cewl 40

Spidering through proxy

Spidering, no matter what the purpose is very noisy. Cewl has an option to spider through a proxy using the “–proxy_host” option.

Cewl 41

You can even specify the port of the proxy using the “–proxy-port” option.

Cewl 42

Cewl even has feature of authenticating to the proxy server using the “–proxy_username” and “–proxy_password” options.

Cewl 43
Posted on

Hydra password cracker: Complete guide

Hello, aspiring ethical hackers. This blogpost is a complete guide to Hydra password cracker. Hydra password cracker runs on Linux, Windows, Solaris, FreeBSD/openBSD, QNX and macOS. Using Hydra, we can crack passwords of various protocols like Asterisk, AFP, Cisco AAA, Cisco auth, Cisco enable, CVS, Firebird, FTP, HTTP-FORM-GET, HTTP-FORM-POST, HTTP-GET, HTTP-HEAD, HTTP-POST, HTTP-PROXY, HTTPS-FORM-GET, HTTPS-FORM-POST, HTTPS-GET, HTTPS-HEAD, HTTPS-POST, HTTP-Proxy, ICQ, IMAP, IRC, LDAP, MEMCACHED, MONGODB, MS-SQL, MYSQL, NCP, NNTP, Oracle Listener, Oracle SID, Oracle, PC-Anywhere, PCNFS, POP3, POSTGRES, Radmin, RDP, Rexec, Rlogin, Rsh, RTSP, SAP/R3, SIP, SMB, SMTP, SMTP Enum, SNMP v1+v2+v3, SOCKS5, SSH (v1 and v2), SSHKEY, Subversion, Teamspeak (TS2), Telnet, VMware-Auth, VNC and XMPP.

Hydra can be downloaded from here. This guide uses Hydra installed on default in Kali Linux and Metasploitable2 as target.

Single username (-l) and Password (-P)

If you want to check a single username and password with Hydra, the syntax is given below. Here we are testing the credentials on target system’s FTP server. This is normally useful when we have a general idea about at least one credential pair.

Hydra Password Cracker 1 1

Hydra will test this credential and come with a result. Here it is found this credential accurate.

Hydra Password Cracker 2

What if you can’t guess a password or have no knowledge about at least one credential pair. Then we need to test a large list of credentials using brute forcing by using a wordlist.

Specifying wordlist for usernames (-L) and passwords (-P)

You can specify wordlist containing usernames using the (-L) option and specify the wordlist containing passwords using the (-P) option as shown below.

Hydra Password Cracker 3

Here, I am suing the same wordlist for both username and passwords. “Metsaploitable.txt”. These wordlists are normally created or obtained during the enumeration stage. For example, we obtained this during SMB enumeration of the target. Hydra found three credentials valid from this wordlist.

Hydra Password Cracker 4

Restore a cancelled session (-R)

Sometimes we may need to test a large wordlist, with thousands of credentials in it. This may obviously take a lot of time and we may have to hit “CTRL+C” sometimes to cancel the session or maybe a power cut ended our scan abruptly.

Hydra Password Cracker 5

Do we have to start from the beginning again? Don’t worry. You can restore the session from where you stopped in Hydra as shown below.

Hydra Password Cracker 6

RIgnore the previous session (-I)

What if we don’t want to restart that session and to start a session afresh. We can just use the ignore (-I) command which asks it to ignore the previous session.

Hydra Password Cracker 7

Scanning unconventional ports (-s)

You know every service has a default port on which it runs. For example, FTP (21), Telnet (23), and HTTP (80) etc. Sometimes administrators configure this service to run on unconventional ports to make them less conspicuous. Using Hydra we can even run password attack on these ports using the (-s) option. For example, imagine FTP is running on the port 2121 and not 21.

Hydra Password Cracker 8

Target has SSL enabled (-S)

Using Hydra, we can connect using SSL with this option.

Hydra Password Cracker 9

If the service has an old version of SSL, we can use the “-O” option.

Hydra Password Cracker 10

Additional checks (-e)

Using this option, you can check accounts for null passwords (n), using username as password (-s) and using password as username and vice versa (-r).

Hydra Password Cracker 11

Combo (-C)

Sometimes, instead of an usual wordlist, we have wordlists that have credentials in “login:pass” format as shown below.

Hydra Password Cracker 12

If we want to use this type of wordlist, you can use this option.

Hydra Password Cracker 13
Hydra Password Cracker 14

-U

When you are using a wordlist with Hydra, by default it checks all passwords for the first username and then tries the next username. Using this option, we can loop around the passwords. The first password is checked for all the usernames and then it moves to next password and does the same.

Hydra Password Cracker 15

Stop after getting the first successful pair of credentials (-f)

This option (-f) makes Hydra stop password cracking as soon as one successful pair of credentials are found.

Hydra Password Cracker 16
Hydra Password Cracker 17

Target multiple servers (-M)

Hydra allows us to perform password cracking on multiple servers at once. We need to provide a file containing IP addresses of the targets.

Hydra Password Cracker 19

Stop after getting once successful pair on multiple servers (-F)

Setting the ‘-F’ option, Hydra stops after getting the first successful pair of credentials on multiple servers.

Hydra Password Cracker 18

Saving the output (-o)

Till now, we have seen Hydra showing output on stdout. However, with the “-o” option, we can save the output of the tool to a file.

Hydra Password Cracker 20
Hydra Password Cracker 21

Format of the output file (-b)

Hydra allows you to save output in three formats, although the default format is text. It also allows you to save output in Json and Json v2 format.

Hydra Password Cracker 22
Hydra Password Cracker 23

Number of tasks (-t)

Tasks are number of persistent connections Hydra makes while testing. By default, it makes 16 tasks, but this can be changed using this option. For example, let’s set it to 19.

Hydra Password Cracker 24

Module specific options (-m)

This option allows us to set module specific options. For example, FTP module in Hydra doesn’t have any module specific options. But other modules like HTTP have it. All the options for a specific module can be seen using the -U option. For example, lets change the option for http-get.

Hydra Password Cracker 25
Hydra Password Cracker 26
Hydra Password Cracker 27

Waiting time (-w)

Hydra waits for 32 seconds for receiving responses for it queries. This option can be used to change this time. For example, let’s set it to 10 seconds.

Hydra Password Cracker 28
Hydra Password Cracker 29
Hydra Password Cracker 30

Waiting time for login attempts (-c)

This option can be used set the waiting time for login attempts Hydra performs. It is useful only when a low task time is used.

Hydra Password Cracker 31

Verbose mode (-v) (-V)

Hydra has two verbose mode. The lowercase verbose mode is the default verbose mode in any other tool.

Hydra Password Cracker 32

If you want to see each login attempt Hydra makes, you need to use the (-V) option.

Hydra Password Cracker 33
Hydra Password Cracker 34

That’s all about Hydra password cracker.