Hello, aspiring ethical hackers. In one of our previous blogposts, you learnt what is OSINT in detail. In this blogpost, you will learn about Maltego, one of the most popular tools used to perform OSINT. Maltego is an open-source tool that is used for OSINT, forensics and other investigations. It is a link analysis software that offers real-time information gathering.
Maltego focuses on analyzing real world relationships between people, groups, webpages, domains, networks internet infrastructure and what not. Using maltego, we can extract information like DNS records, whois records, Phone numbers, email addresses, IP addresses and metadata etc.
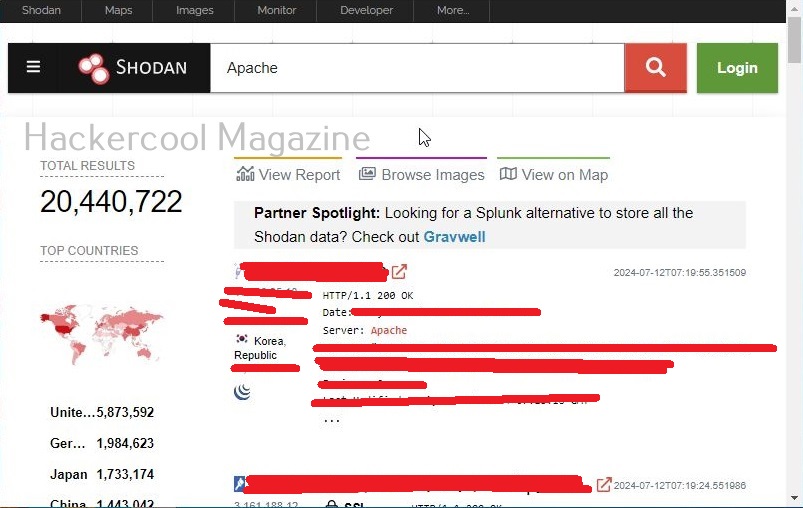
Some of the most important data sources queried by Maltego include vulners, dorking, OpenPhish, Image Analyzer, Hunter, Censys, Google Social Network Tools, VirusTotal Premium, NIST, Pipl, Whois XML, Wayback machine, Phone Search, Shodan etc.
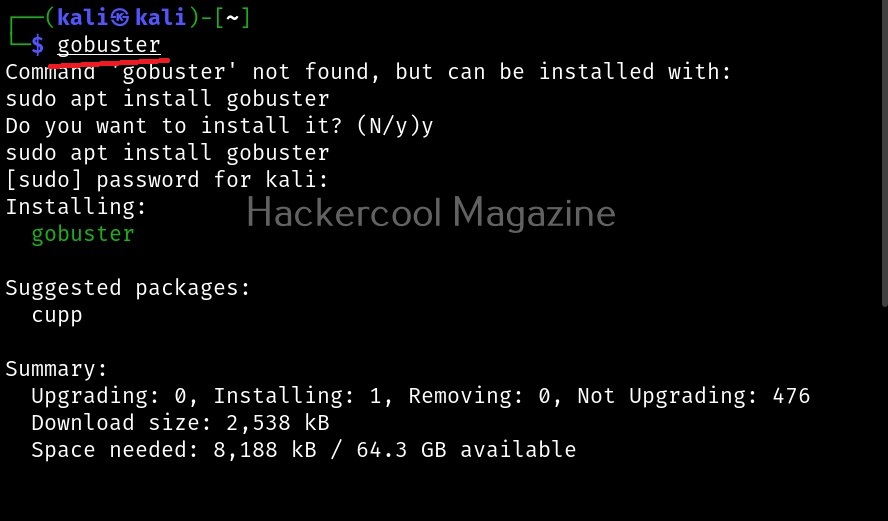
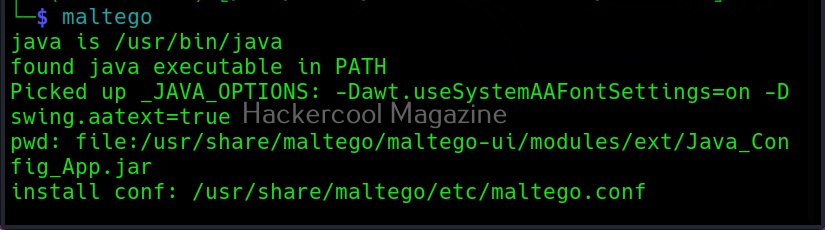
Maltego runs on Linux, MacOS and Windows. For this tutorial, we will be using Maltego on Kali Linux. Open terminal and type command “maltego”. The system will prompt you if you want to install maltego as shown below.
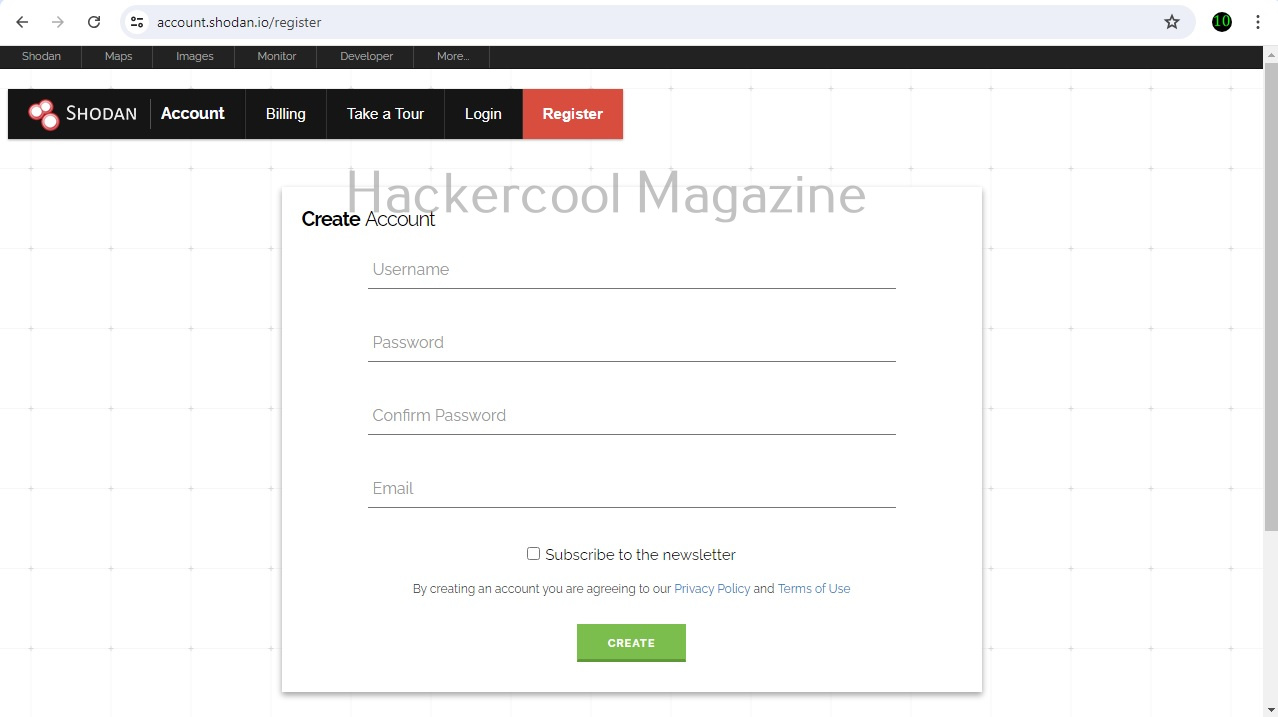
After the installation is finished, Maltego will prompt you to select a product. You need to have an account with Maltego to use it. Register for a free account. (Maltego CE (FREE) account by clicking on “Register”.
Accept the terms and click on “Next”.
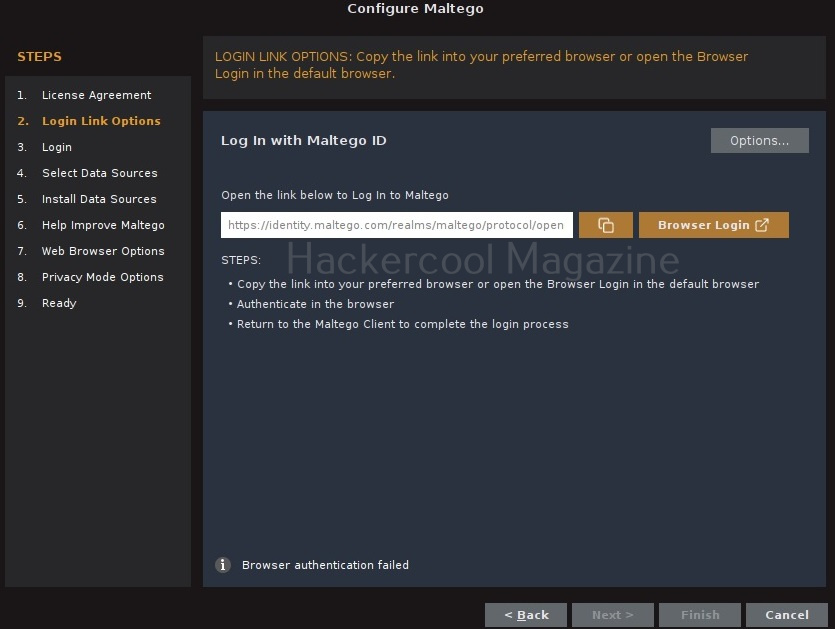
(You can either create a account from this tool or create it from their website). Login into your account.
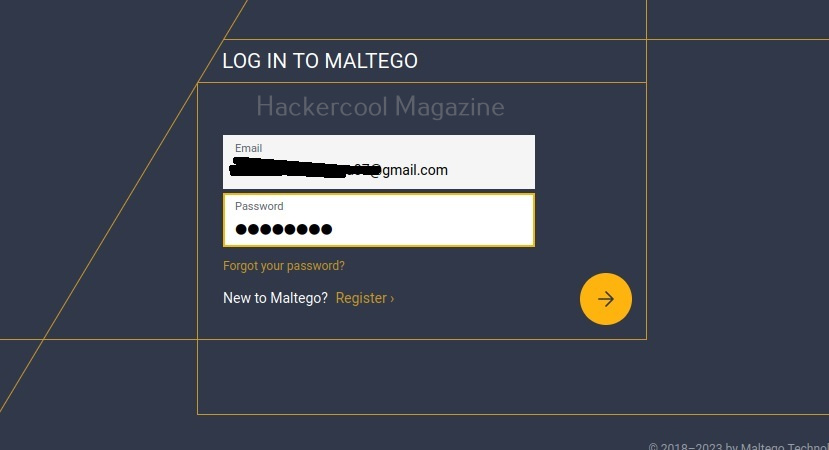
You will be taken to the browser. Login into your account created earlier.
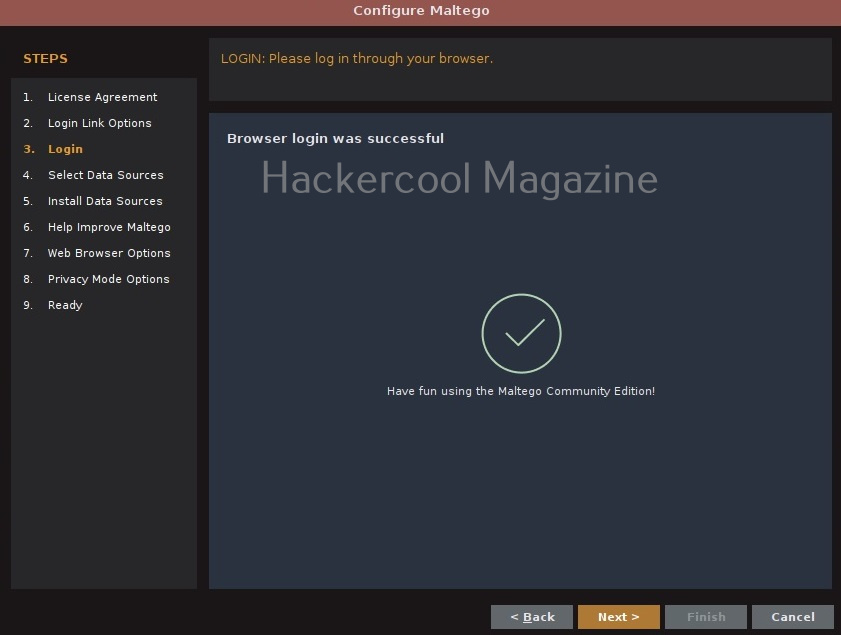
After a few seconds, you will get a message that the authentication is complete.
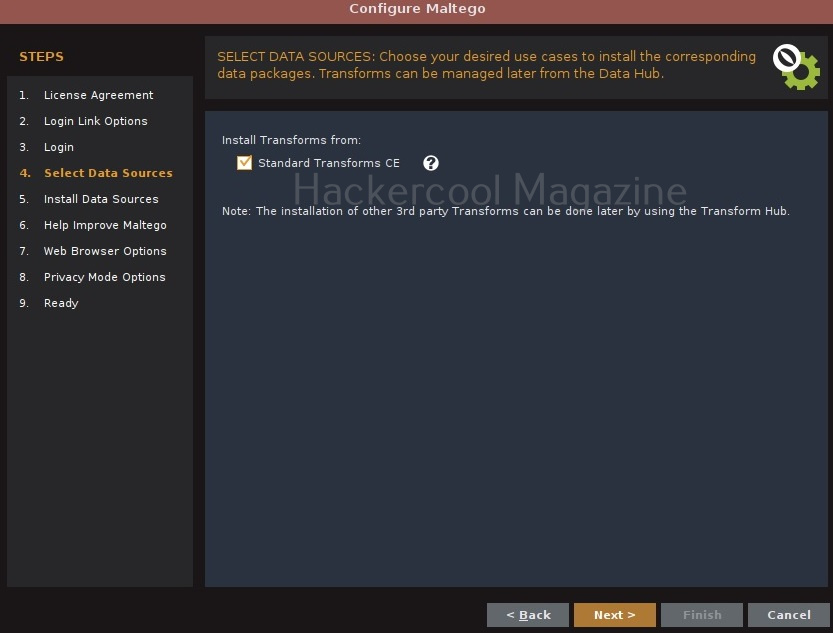
Click on “Next”. Select “standard transform” option and click on “Next”.
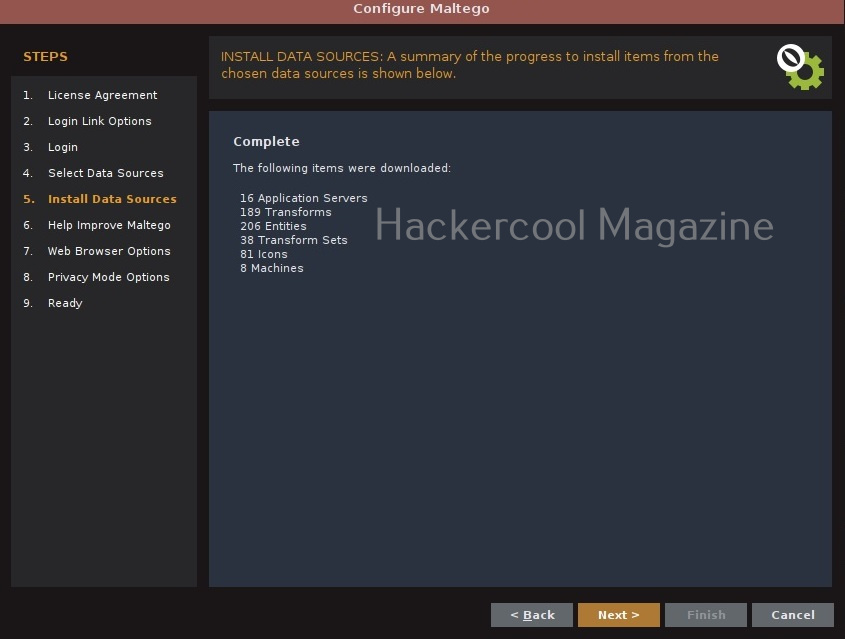
Click on “Next”.
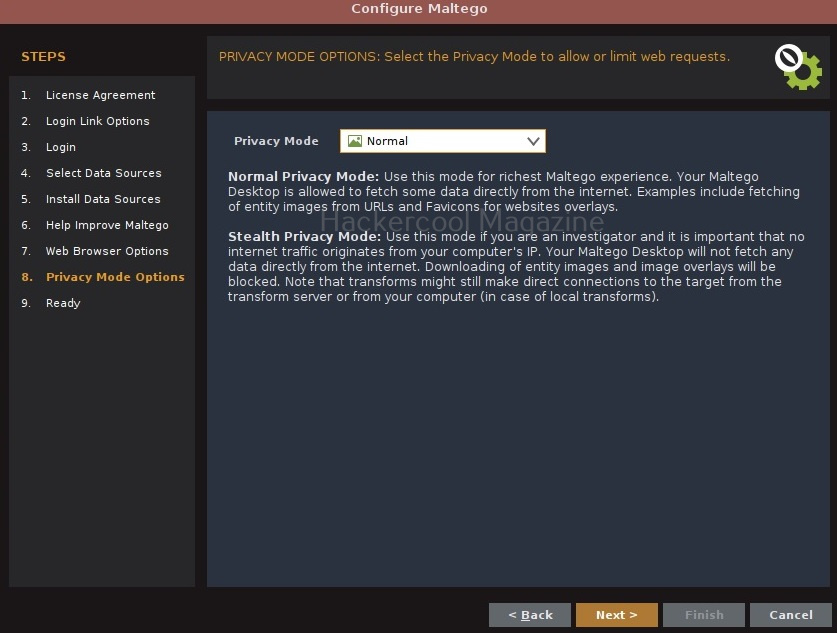
In the next window, make appropriate choice and click on “Next”.
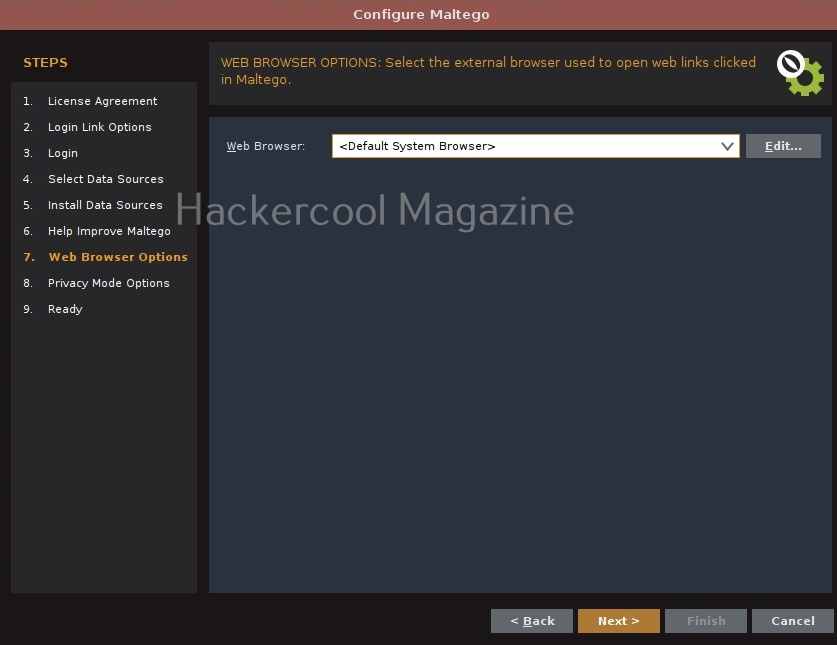
Choose a browser and click on “Next”.
Click on “Next”.
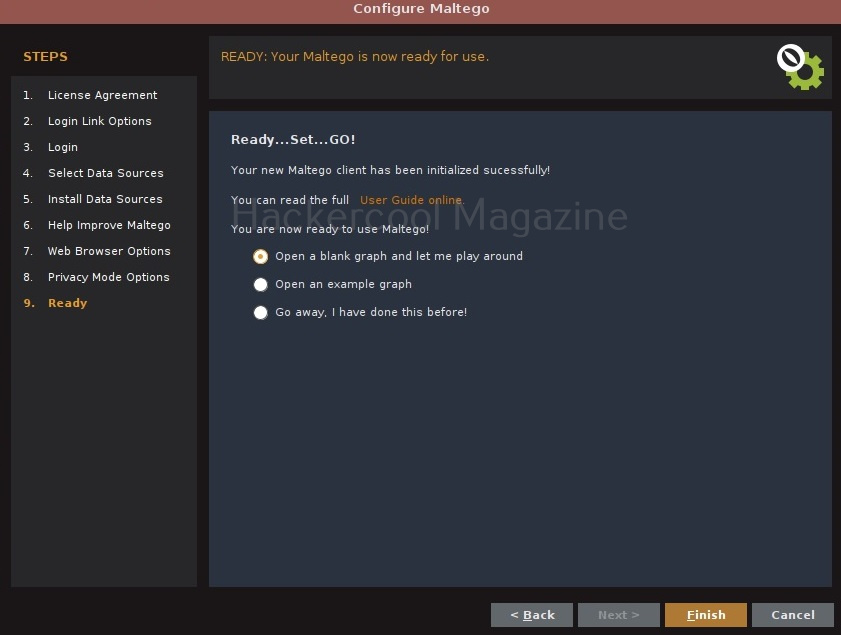
Select the option “Open a blank graph and let me play around” option and click on “Finish”.
If you select the option “Open an example graph”. You will see this.
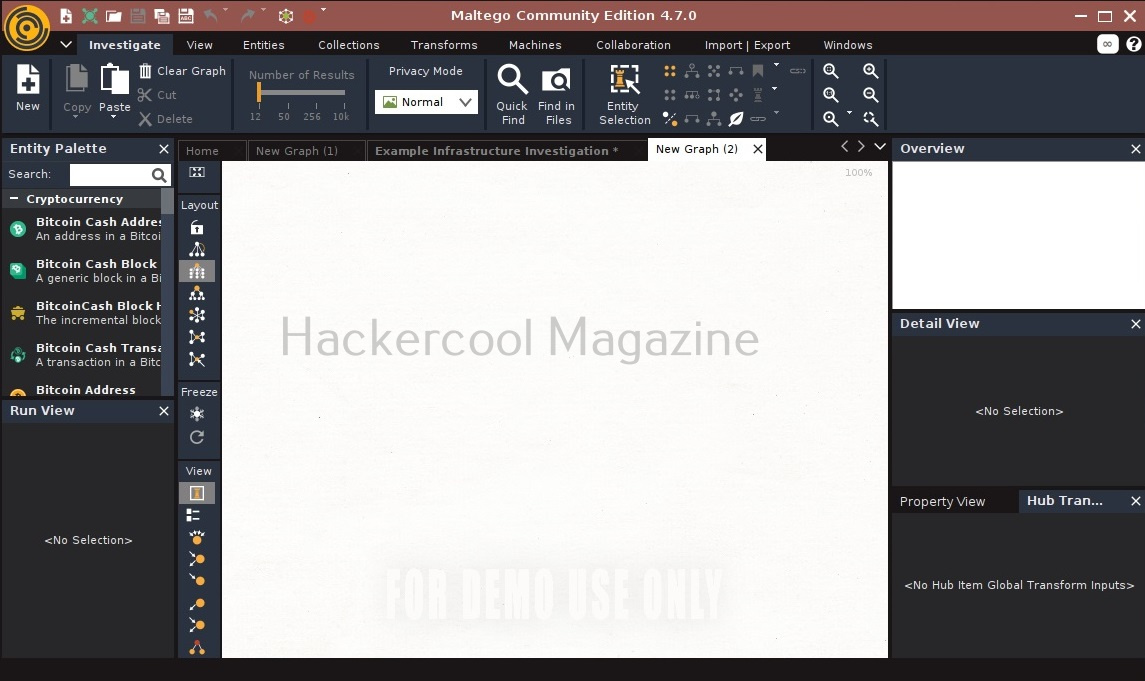
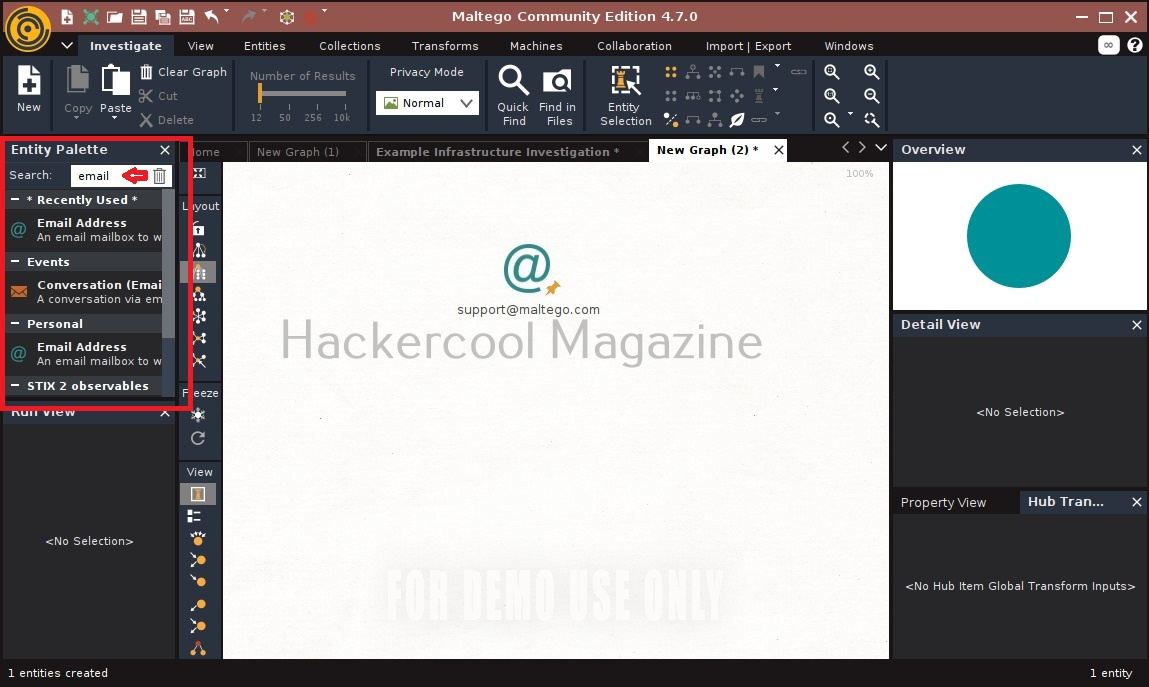
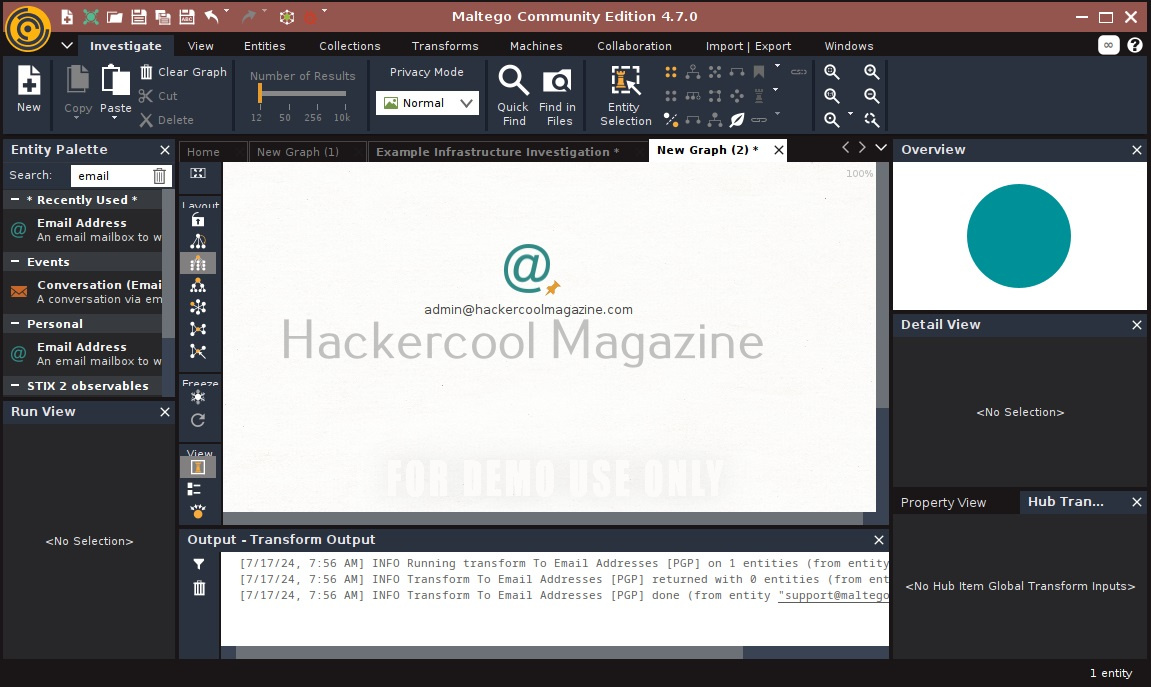
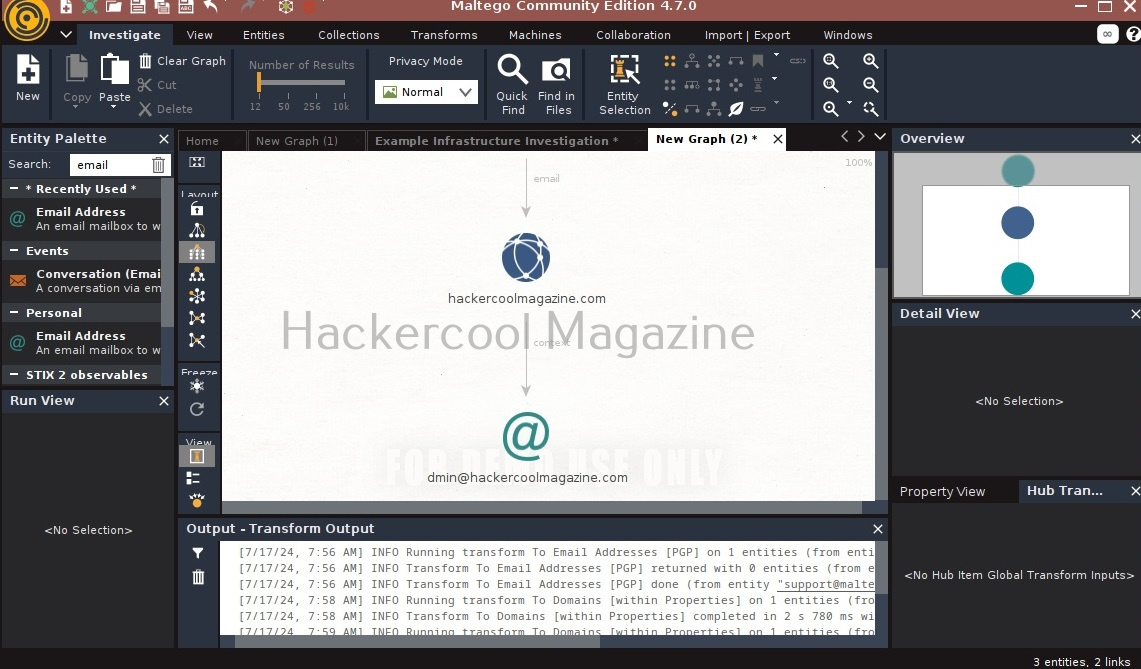
You will get to the interface of Maltego. Maltego calls the queries you search for as entities. These entities can be anything like name of a person, IP address, email address, domain etc. In the entity Palette, search for “email” as shown below and drag the result into the graph.
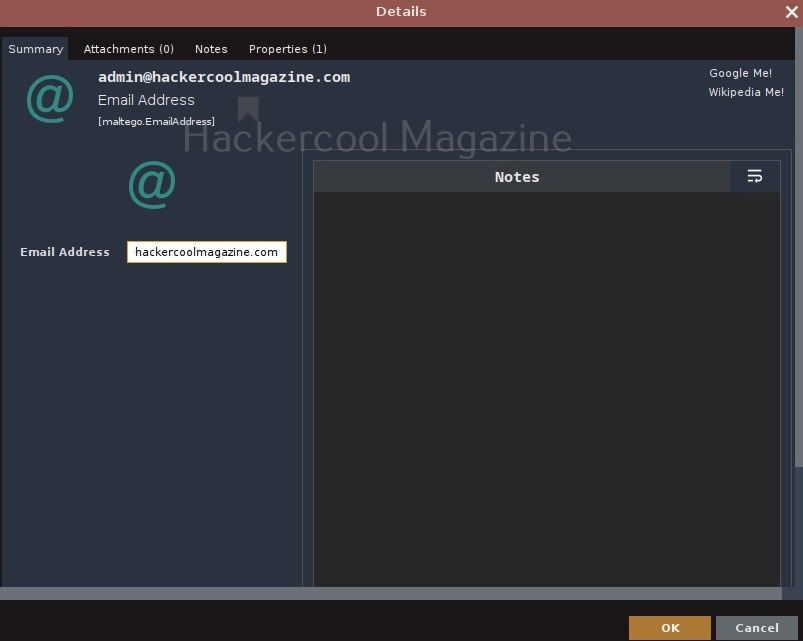
Click on the entity in the graph to change it to the email address you want to search for.
For example, let’s search for information related to our company.
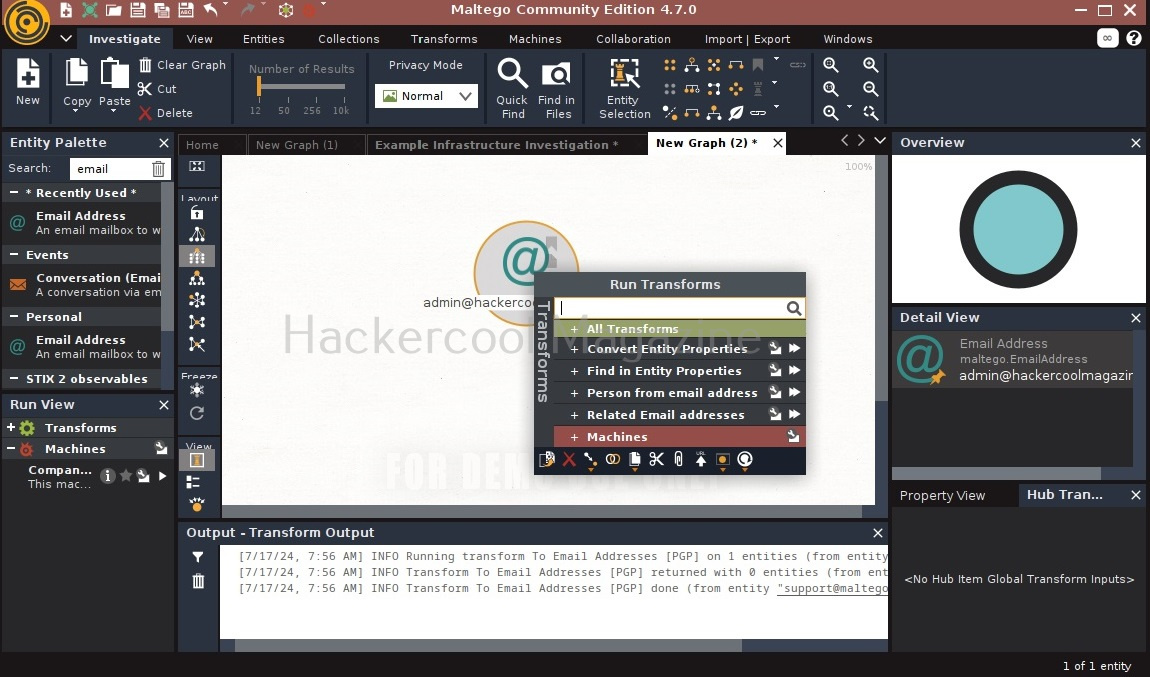
In order to search for anything related to this email, right click on the entity.
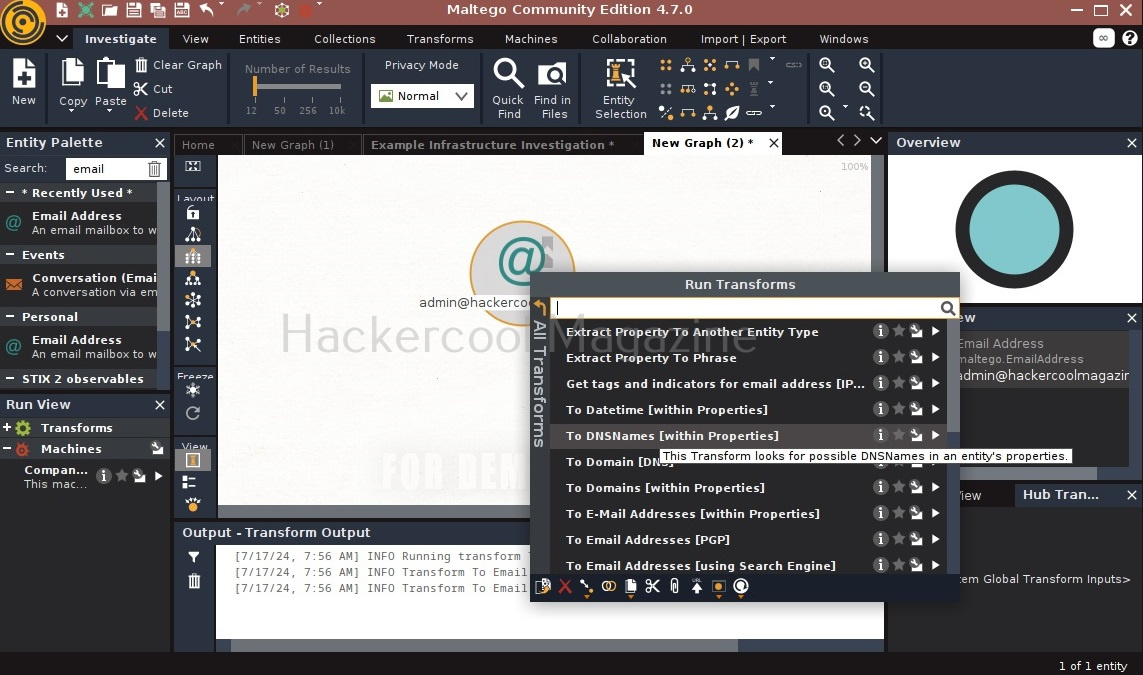
There are various transforms you can search for like IP addresses, domains etc. Click on running on all transforms to see all the transforms available.
From here, you can select any transform you want. For example, run “to domains”.
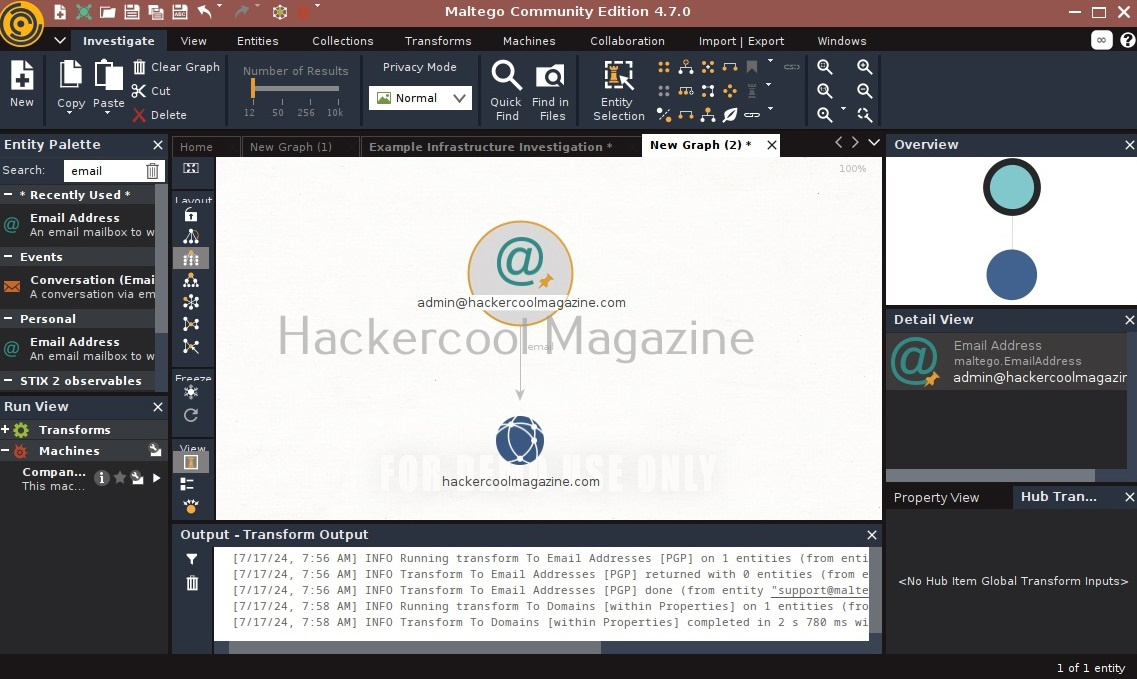
As you can see, the domain related to this email is displayed. You have read just now that Maltego is a link building software. We can also run a transform on this resultant domain. For example, right click on the domain, and select To email addresses transform again.
Like this, we can search for related email addresses, Phone number, domain, DNS entries, usernames, social media accounts, etc. using this tool. Learn how to perform OSINT using SpiderFoot.