Posted on

Beginners guide to Lynis

Hello, aspiring ethical hackers. In this blogpost, you will learn about a tool called Lynis, the security auditing and hardening tool for UNIX based systems like Linux, macOS, BSD and others. It performs an in-depth security scan to test security defenses and provide suggestions for further system hardening.

This tool audits the following features on the system.

  1. General system information.
  2. System tools.
  3. Operating system.
  4. Boot and other services.
  5. Kernel vulnerabilities.
  6. Memory and processes.
  7. Users, groups and authentication
  8. Kerberos
  9. Shells
  10. File systems
  11. USB devices
  12. Storage
  13. NFS
  14. Name Services
  15. Ports and packages
  16. Networking
  17. Printers and Spool
  18. Email and messaging software
  19. Firewalls
  20. Web servers
  21. SSH and SNMP
  22. Databases
  23. PHP (in web server)
  24. Logging and log files
  25. Insecure services
  26. Banners
  27. Scheduled Tasks
  28. Accounting
  29. Time and synchronization
  30. Cryptography
  31. Virtualization
  32. Containers
  33. Security frameworks
  34. System tools and malware
  35. File permissions etc.

Let’s see how to run Lynis for the first time. For this, we will be using Kali Linux. It can be installed on Kali as shown below.

After the installation is successful, run the command shown below to run it to audit the entire system.

1
lynis audit system

It runs as shown below.

While auditing, wherever there is scope for hardening, lynis adds a suggestion as shown below.

After the entire system is audited, Lynis provides summary of the entire audit as shown below.

Below the summary, you can find each suggestion as shown below.

You can harden your system based on these suggestions. You can also find this information in the log reports of Lynis.

Posted on

Beginners guide to Eyewitness tool

Hello aspiring ethical hackers. In our previous blogpost, you studied about website footprinting. In this blogpost, you will learn about a tool called eyewitness which helps you to decide which website to focus on.

In ethical hacking, before trying to footprint a website, it would be good if we have a general idea about what websites to target first. For example, a company you are going to pen test may have multiple websites and sub domains. Before we jump into password cracking or exploitation or directory busting or perform any other attack, it would be good if we are first able to decide what website and URLs to target first. The role of eyewitness tool comes there. Eyewitness takes the screenshots of the URLs or websites you provide. Apart from taking screenshot of the URL, it will also capture any header info and default passwords.

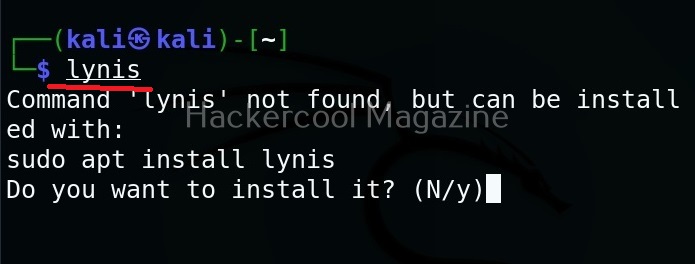
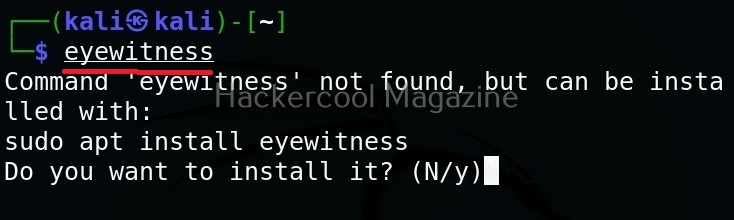
Let’s see how to use this tool. For this we will be using Kali Linux as this tool is available by default in Kali repositories. As target, we will be using Metasploitable 2 installed in our virtual hacking Lab. It can be installed as shown below.

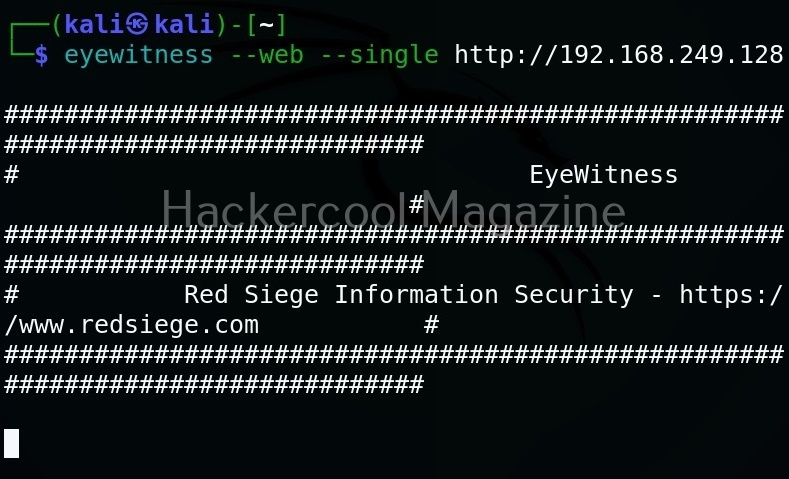
Target a single URL (–single)

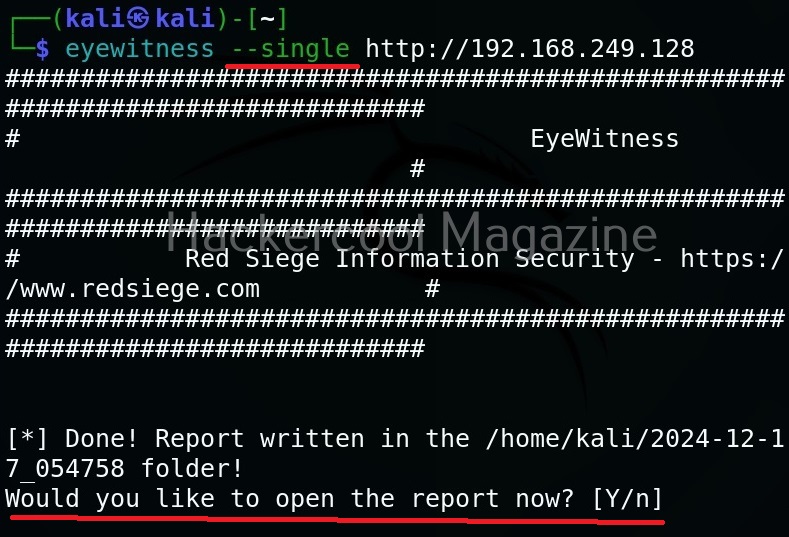
You can take screenshot of a single URL as shown below.

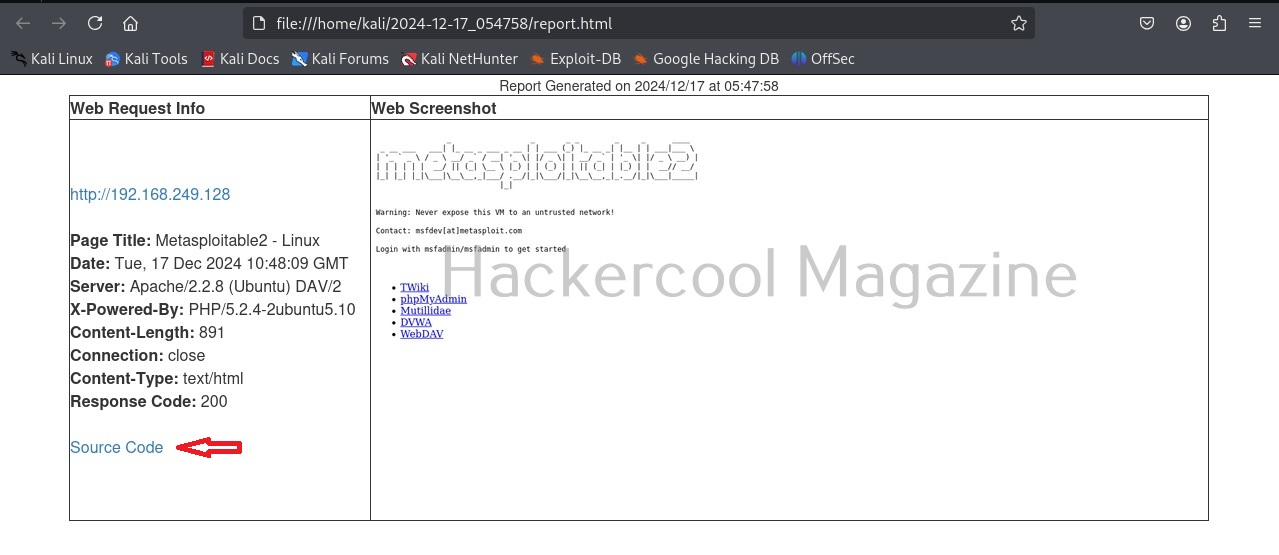
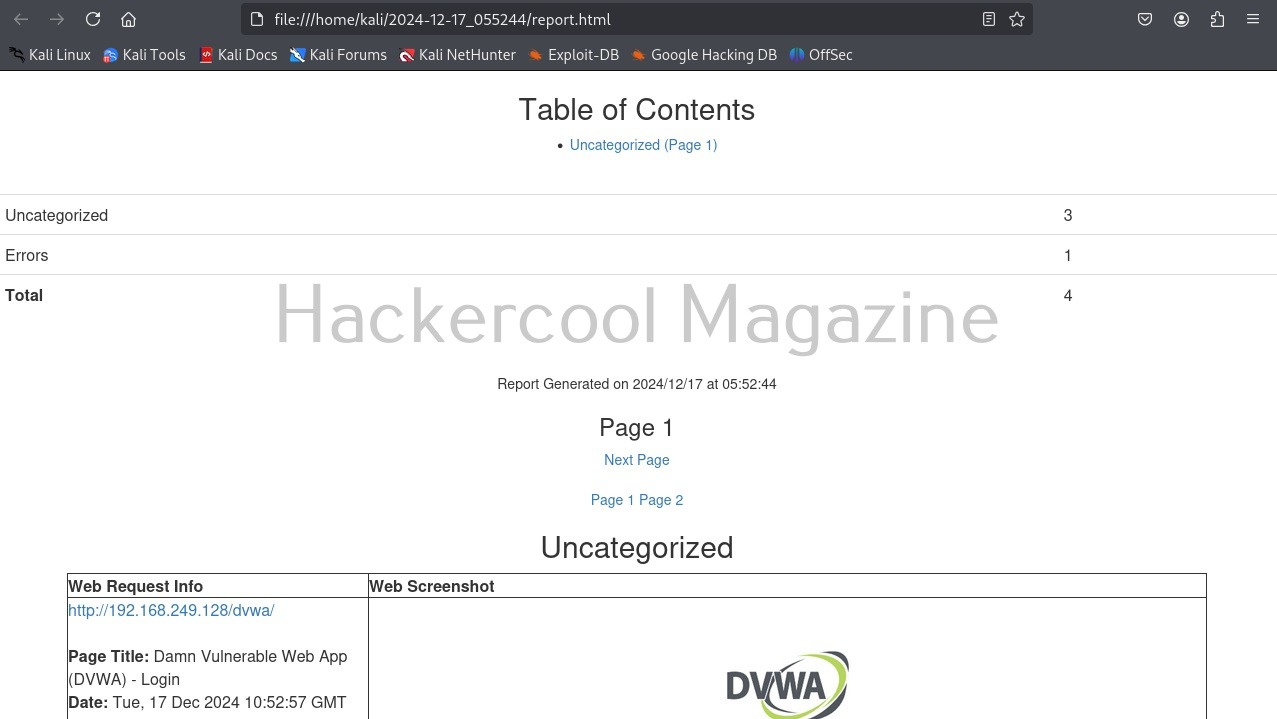
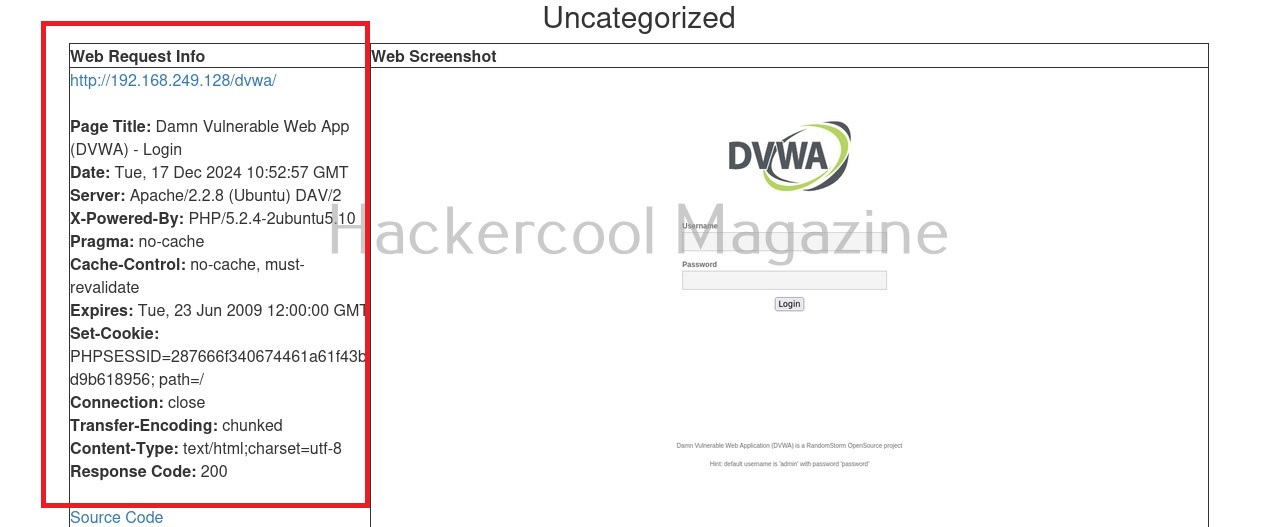
As soon as it writes a report for your target, it will ask you if you want to open the report. Click on “Yes”. It will open the report as shown below.

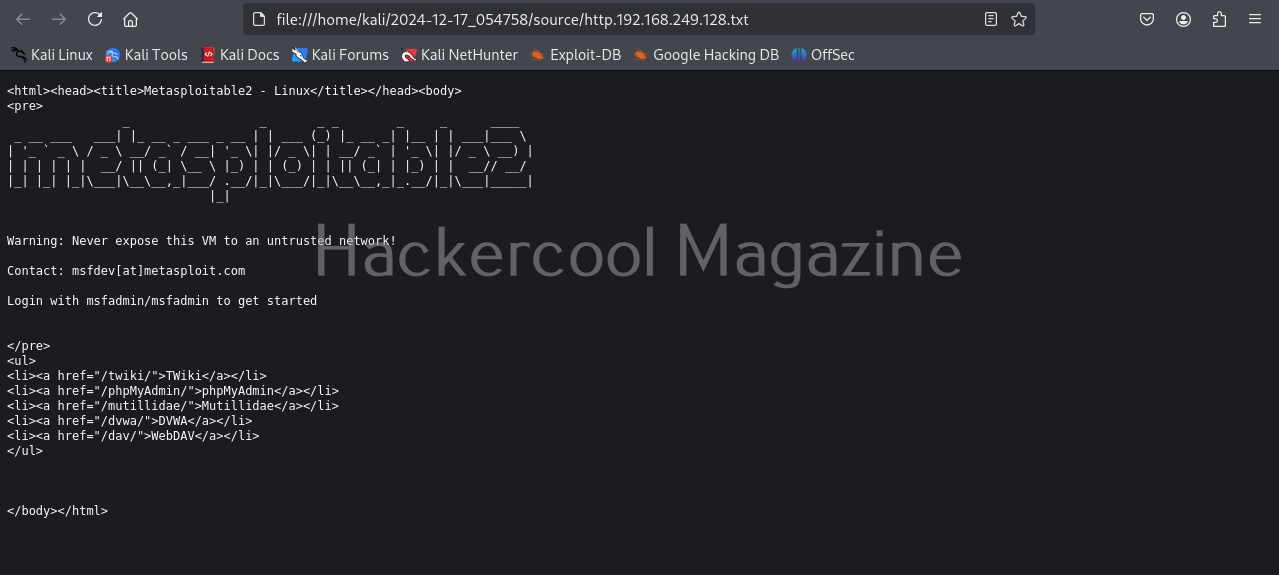
You can even view the code of the URL you scanned.

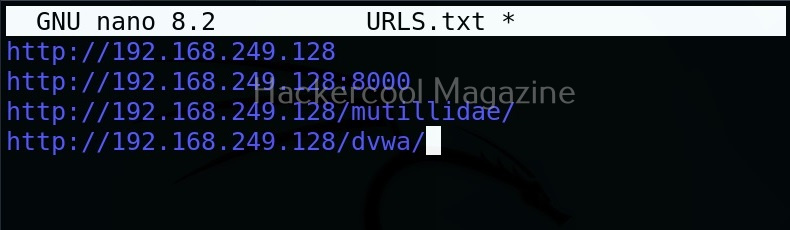
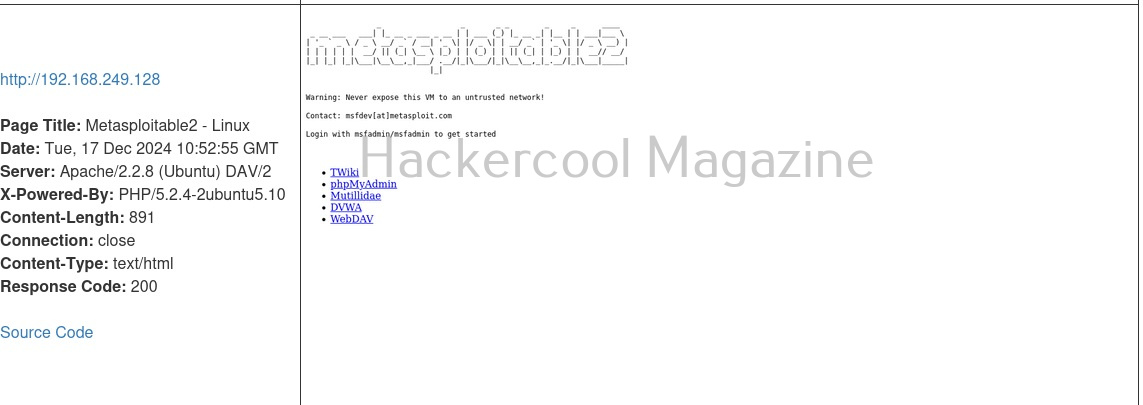
But the real power of eyewitness can be seen when we are targeting multiple URLs at once. For doing this, we will first create a file called URLS.txt and add some URLs we want to target as shown below.

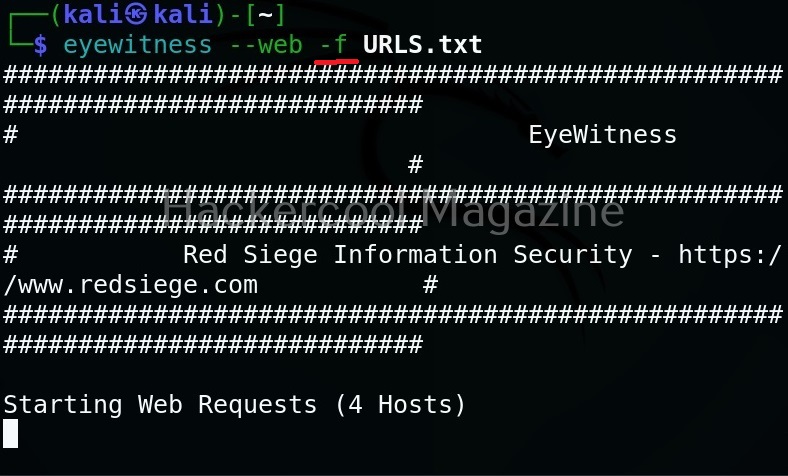
Target multiple URLs (-f)

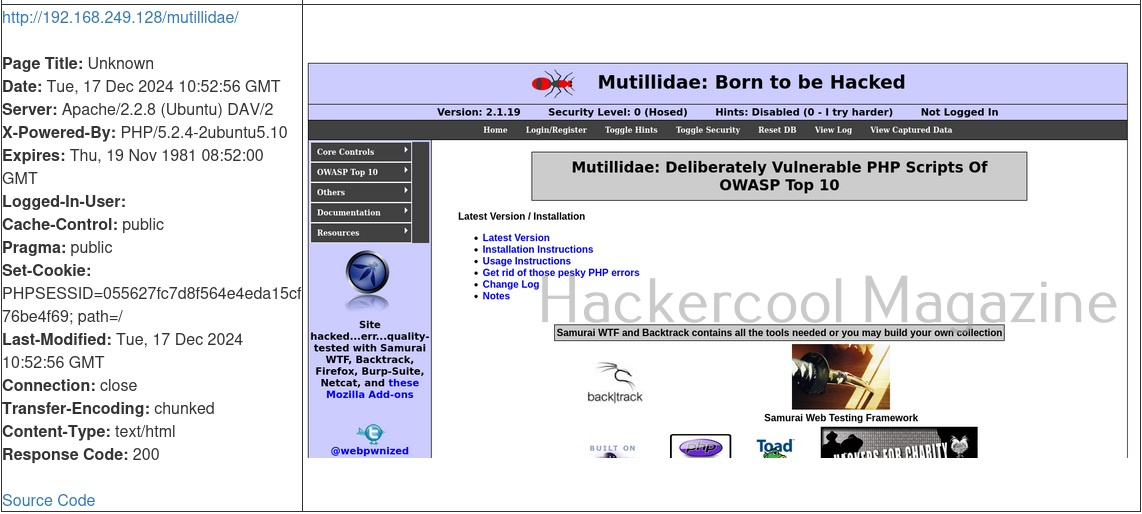
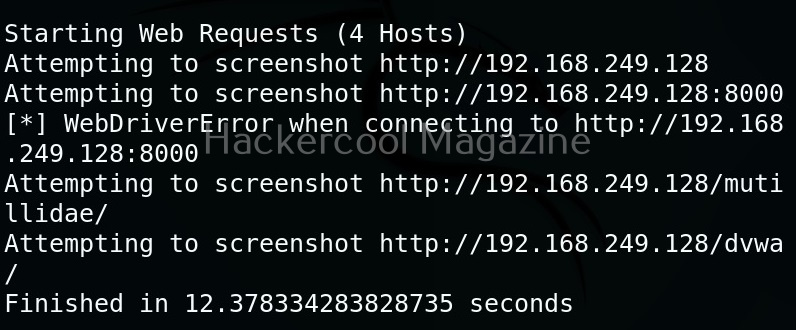
Multiple URLs can be targeted with this tool by specifying the above created file with (-f) option.
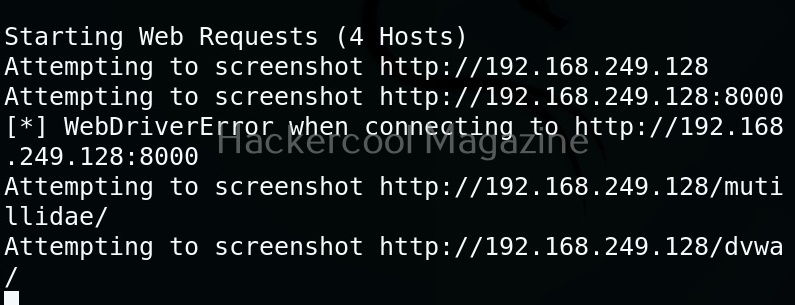
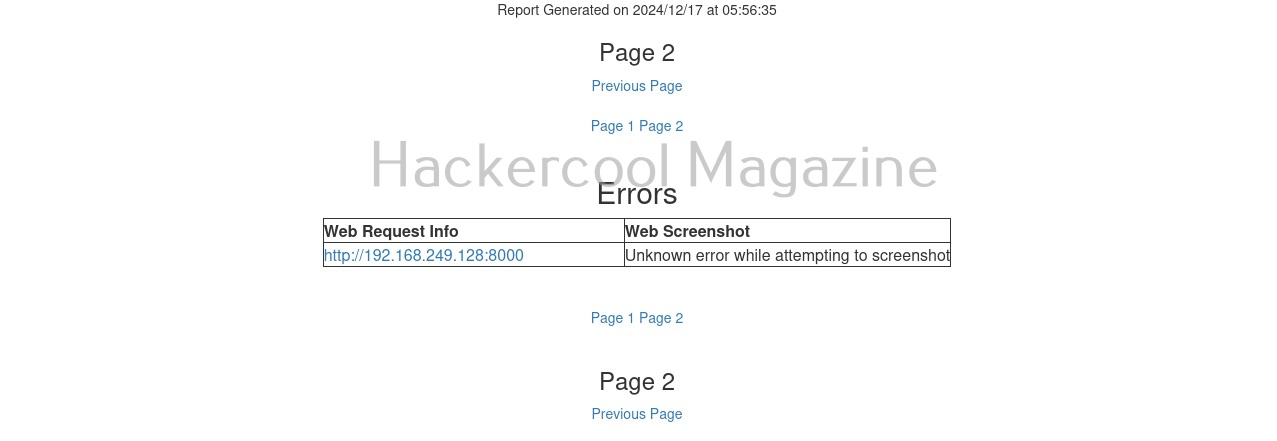
Here’s the report.

One of our URLs we targeted ended up in a error.

Skip DNS resolution(–no-dns)

In some cases, while using eyewitness tool, you may have to go through a VPN. In such cases, it is good to skip DNS resolution when connecting to the website. This option helps you to do it.

Resolve IP / host name for your target (–resolve)

Time to wait while requesting an URL (–timeout)

By default, eyewitness waits for 7 seconds before it goes to take a screenshot of a new webpage. However, this can be changed with this option. For example, let’s change the timeout time to 1 second.

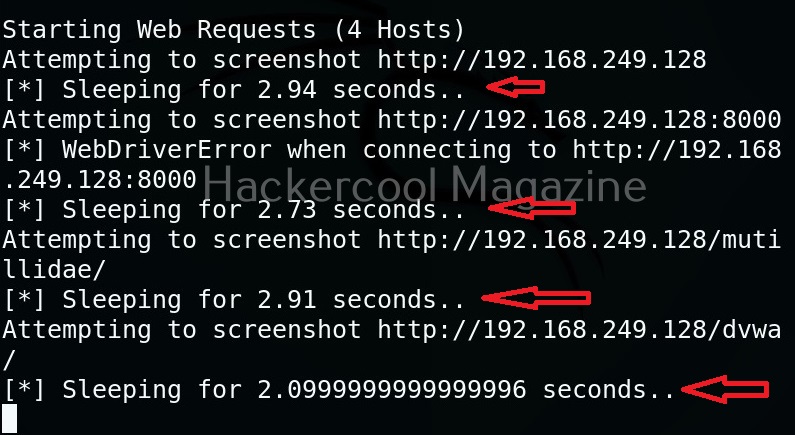
Add jitter (–jitter)

Using this option, we can randomize the URLs specified and add a random delay.

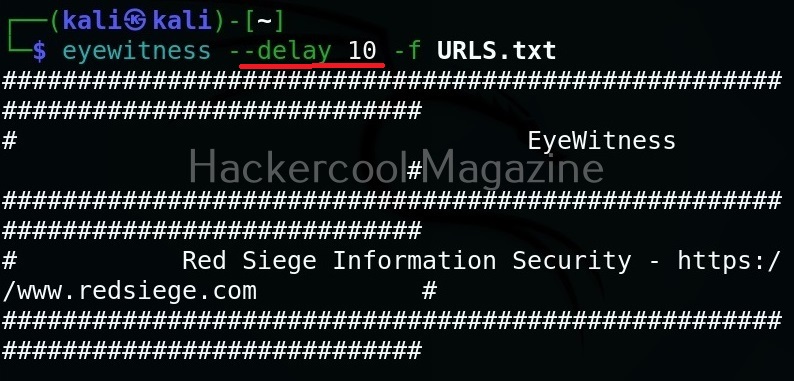
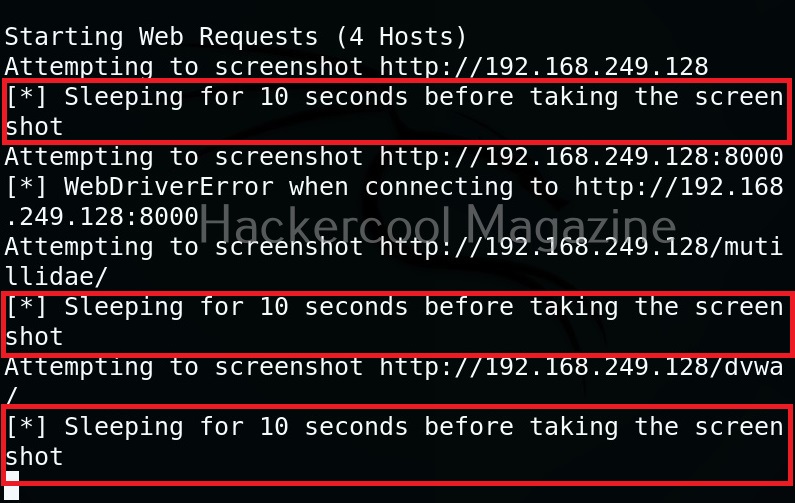
Add delay before taking a screenshot (–delay)

Using the option, we can add delay between opening of the navigator and taking a screenshot. This delay can be specified in seconds. For example, let’s add 10 seconds delay before taking screenshot.

Maximum retries (–max-retries)

This option specifies eyewitness tool how many retries it has to make if it fails to grab a screenshot on the first attempt.

Specify directory name for saving the report (-d)

This option is used to specify a directory name for saving the report.

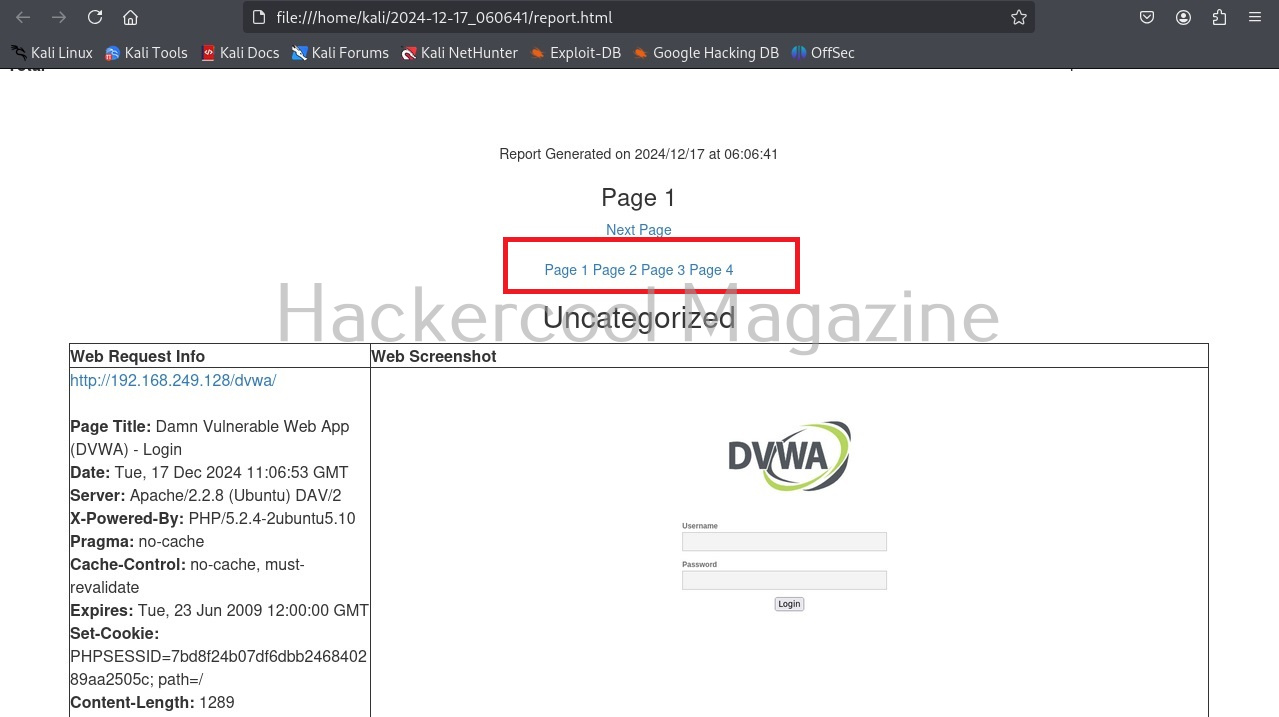
Number of results to show on one page (–results)

By default, eyewitness shows output for all the URLs given as input on a single page. This option can be used to specify how many results to show per page. For example, let’s set it to show 1 result per page.

As you can see, now, all the results are shown on separate pages.

You don’t want to be prompted for viewing the report (–no-prompt)

If you don’t want eyewitness to prompt you to open the report after finishing its work, you can use this option.

Posted on

Linux privilege escalation for beginners

Hello, aspiring ethical hackers. This blogpost is a detailed guide on Linux privilege escalation. Linux privilege escalation comes after Linux hacking and is part of Post-exploitation of Linux.

What is Linux privilege escalation?

Linux privilege escalation is the process of elevating privileges on a Linux system after successfully gaining access to a Linux system.

Why is it important?

Linux hacking is one of the most important topics in ethical hacking. Why? According to the Statcounter global stats, as of March 2024 operating system market share, the topmost operating systems being used around the world are Linux or its variants. The same report also states that usage of Linux as desktop increased to 4.05% this year. Also note that majority of the servers around the world are Linux servers. So, learning Linux hacking can provide lot of knowledge. But what are the various methods used for hacking Linux systems.

Linux privilege escalation techniques

There are multiple ways by which hackers can elevate privileges on a Linux system. They are,

  1. Exploiting SUID binaries.
  2. Exploiting SUDO privileges.
  3. Exploiting services running as root.
  4. Exploiting misconfigured cron jobs.
  5. Exploiting kernel vulnerabilities.

1.Exploiting SUID binaries:

Just like Windows, Linux too has many binaries on the system. These binary files too have permissions just like any file in Windows. Apart from the regular permissions of a file, Linux has special permissions for some binaries.

These permissions are called SUID or SetUID permissions also known as Set Owner User Identification (SUID). This permission allows a user with low privileges to run a binary or script under the power of the original owner of the particular file. So, if a SUID or SetUID bit is set to a particular binary or a root user has created a binary file and has set a SUID bit to it, this file can be exploited to gain root permissions on the target Linux system.

2. Exploiting SUDO rights:

SUDO is a very important concept in Linux. Sudo stands for ‘Super User Do’ and is pronounced as “su dough”. SUDO lets users run commands with root privileges from their own account. Learn more about exploiting SUDO privileges.

3. Exploiting services running as root:

Privileges can also be elevated on Linux by exploiting services running as root. Some services running on Linux are configured to run with root privileges. By exploiting any vulnerability in these services Root privileges can be acquired.

4. Exploiting misconfigured cron jobs:

In Unix system, cron is used to schedule jobs for automation. Some jobs that are misconfigured can be exploited to gain root privileges.

5. Exploiting kernel vulnerabilities:

Vulnerabilities in the Linux kernel can be exploited to gain root privileges.

Next, learn about Unix-privesc-check, a tool that helps in elevating privileges on UNIX based systems or better still learn about Linux exploit suggester, a shell script that suggest exploits for the target kernel.

Posted on

Windows privilege escalation for beginners

Hello, aspiring ethical hackers. In this blogpost, you will learn about Windows privilege escalation. Windows privilege escalation comes after Windows hacking and is part of Post-exploitation of Windows.

What is Windows privilege escalation?

Windows privilege escalation is the process of elevating privileges on a Windows system after successfully gaining access to a Windows system.

Why is it important?

According to StatCounter Global Stats, over 72.52% of people worldwide use Windows as their Desktop. That is the reason why Windows privilege escalation is one of the most important topics of ethical hacking.

Windows privilege escalation techniques

There are multiple ways by which hackers can elevate privileges on a Windows systems. They are,

  1. Exposed credentials
  2. Bypassing UAC
  3. Exploiting services running with administrator privileges.
  4. Windows kernel vulnerabilities.
  5. Misconfigured services.
  6. Windows Registry.
  7. Scheduled Tasks.

1. Exposed credentials:

Sometimes, the credentials of user accounts with administrator privileges on a Windows system are exposed. Most people still store Windows credentials on Desktop for easy access (you may not believe this but this is true). So, attackers can login as user with high privileges using these exposed credentials.

2. Bypassing UAC:

User Account Control (UAC) is a Windows security feature that was designed to protect the operating system. Introduced with Windows Vista, it is a mandatory access control enforcement feature. It works by limiting application software to standard user privileges until a user with administrator privileges authorizes an elevation in privileges.

This allows only applications that are trusted by users to be assigned administrator privileges. However, vulnerabilities in this UAC sometimes allows hackers to bypass UAC and get administration privileges on the target system.

3. Exploiting services running with administration privileges:

Some applications installed on Windows by users need administrative privileged on the system to run. If attackers exploit any vulnerabilities in these applications, they can easily elevate their privileges on the Windows system.

4. Windows kernel vulnerabilities:

Windows kernel in Windows (or for that matter any operating system) has the highest privileges assigned to it. If attackers exploit any vulnerabilities in the Windows kernel, they can elevate their privileges on the Windows system.

5. Misconfigured services:

Misconfigurations in services on Windows can also be exploited to escalate privileges on Windows system.

6. Windows Registry:

Windows registry is a hierarchical database that stores all low level; settings of Microsoft Windows. Weak permissions in the Windows registry can also be exploited to elevate privileges.

7. Scheduled Tasks:

Windows Task Scheduler (formerly known as Scheduled Tasks) is used to automate jobs and tasks in Windows just like cron jobs in Linux. Weak file permission setting in Task scheduler can be exploited to elevate privileges on a Windows system.

Learn about Windows-privesc-check, an executable that finds misconfigurations in target Windows system and helps in elevating privileges on a Windows target.

Posted on

POST exploitation guide for beginners

Hello, aspiring ethical hackers. In this blogpost, you will learn about POST-exploitation. POST-exploitation comes after the phase of gaining access in ethical hacking.

What is POST-exploitation?

POST- exploitation refers to all the operations that are performed after gaining initial access on the target system. It is done to further gain control of the target system and network. POST -Exploitation consists of three phases mainly. They are,

  1. Privilege escalation.
  2. Maintaining access.
  3. Covering tracks.

Let’s learn about each in detail.

1. Privilege escalation:

Privilege escalation is an act of gaining elevated access to resources that are normally restricted to an application or user. Privilege escalation is an act or process of gaining access to privileges of the other user account using any means or techniques. Normally privileges of user account with higher privileges are targeted by hackers. Learn more about privilege escalation.

2. Maintaining access:

Maintaining access is the fourth phase in the total 5 phases of ethical hacking. In this phase, hackers try to hold on to the initial access or foothold they have gained on the network. For this, they use various techniques like elevating privileges, installing backdoors, running persistence scripts and tunneling.

3. Covering Tracks:

Covering tracks or clearing tracks is the phase of ethical hacking in which a hacker tries to erase all the evidence on the target system that can lead back to the hacker. For covering tracks, hackers perform various actions like clearing logs, time stamping files etc.