Posted on Leave a comment

Windows privesc check: Complete guide

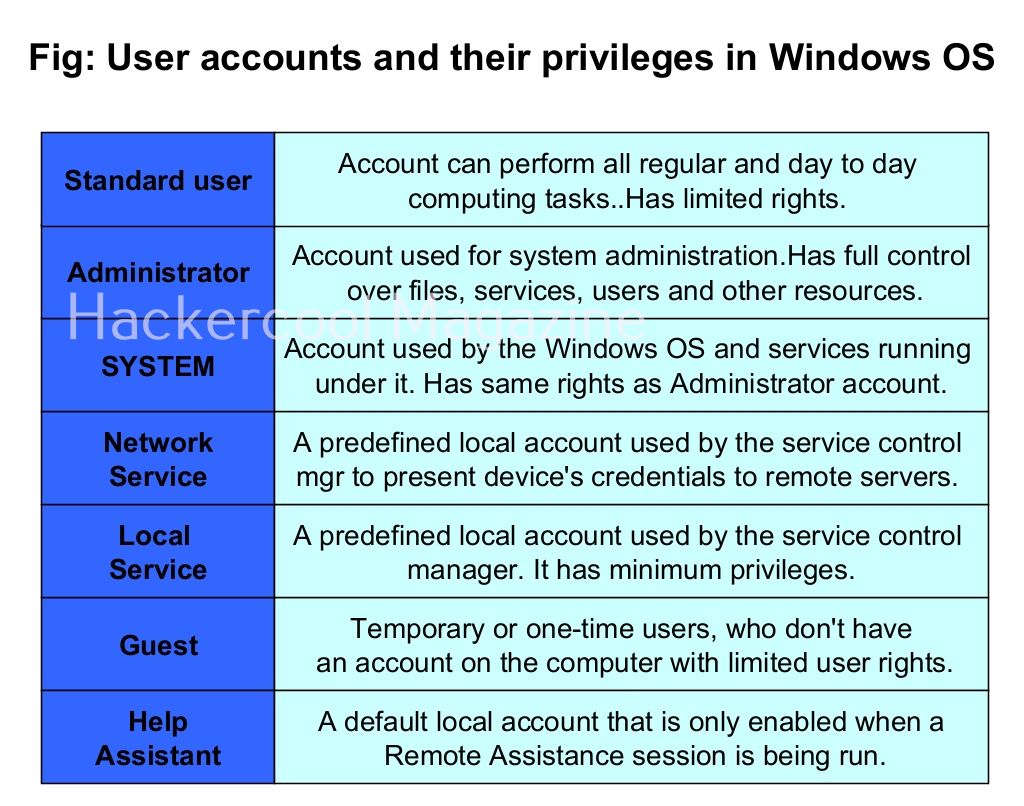
Hello, aspiring ethical hackers. In our previous blogpost, you learnt about Windows privilege escalation in detail and various techniques used for achieving this. In this article, you will learn about windows-privesc-check, a standard executable that helps users in elevating privileges on a Windows system.

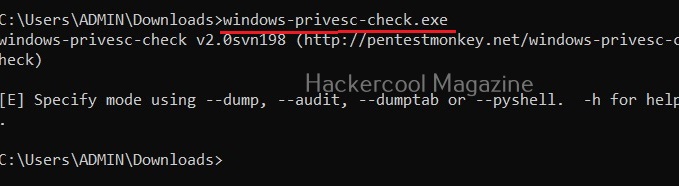
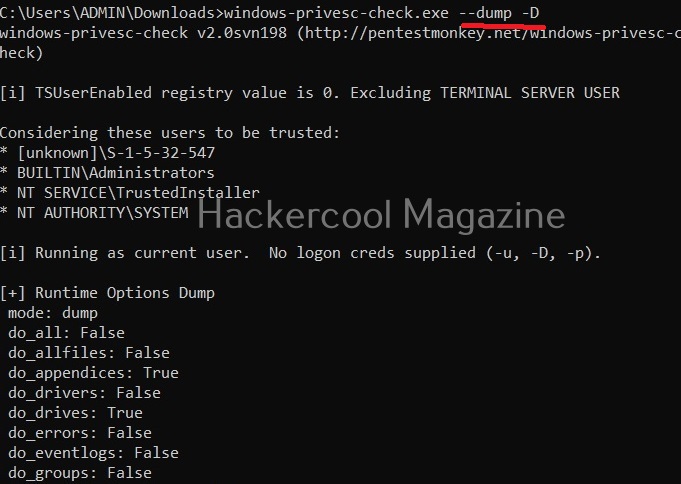
Windows-privesc-check is a executable that can find misconfigurations in target systems that can help in elevating privileges on a Windows system. Let’s see how this tool is used. This tool needs to be run on the target Windows system after gaining access.

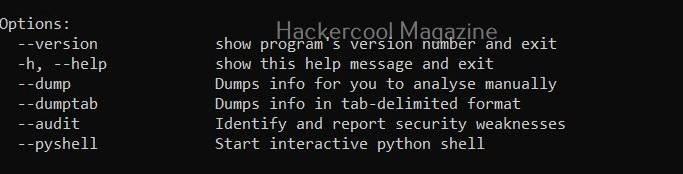
Windows-privesc-check can dump target system information in four formats. They are

  1. Dump: This option dumps information for you to analyze manually.
  2. Dumptab: This option dumps information in tab -data limited format.
  3. audit: Setting this option identifies and reports security weaknesses.
  4. Pyshell: This option starts an interactive Python shell.

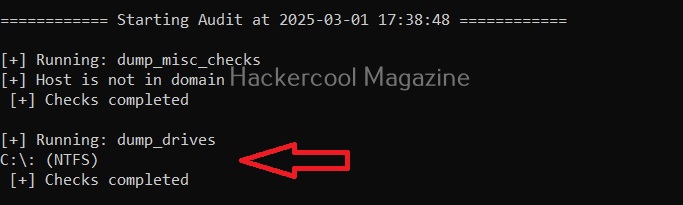
Dump the drives (-D)

Setting this option dumps all the partition drives on the target windows system.

Dump event logs (-E)

Setting this option dumps all event logs on the target Windows system.

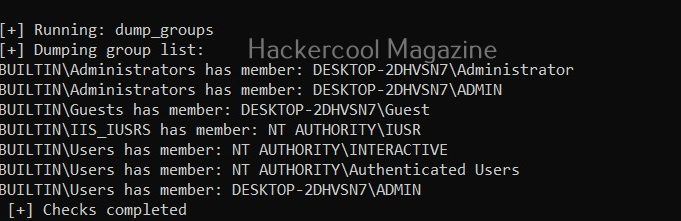
Dump user groups (-G)

Setting this option dumps all user groups present on the target system.

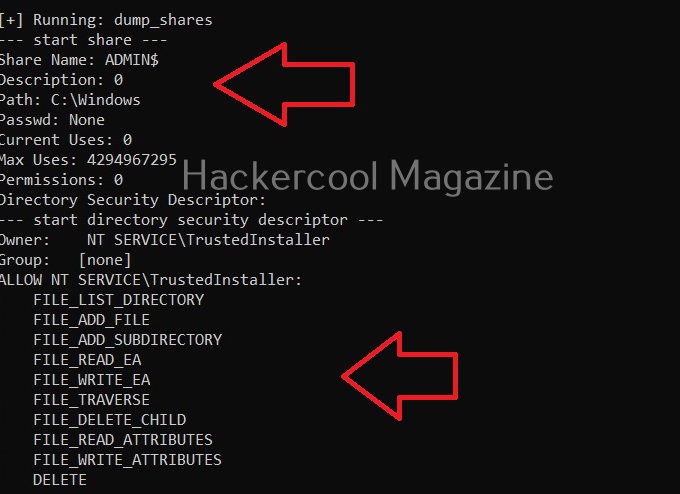
Dump all shares (-H)

Setting this option dumps all the network shares on the target system.

View installed software (-I)

All the programs that are installed on the target Windows system can be viewed using this option.

View all scheduled tasks (-j)

This option shows all scheduled tasks if any on the target system.

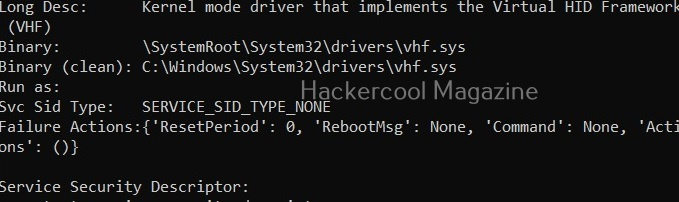
View driver kernel (-k)

This option shows kernel information of drivers on the target system.

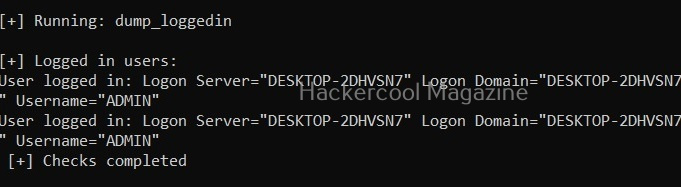
View logged in users (-L)

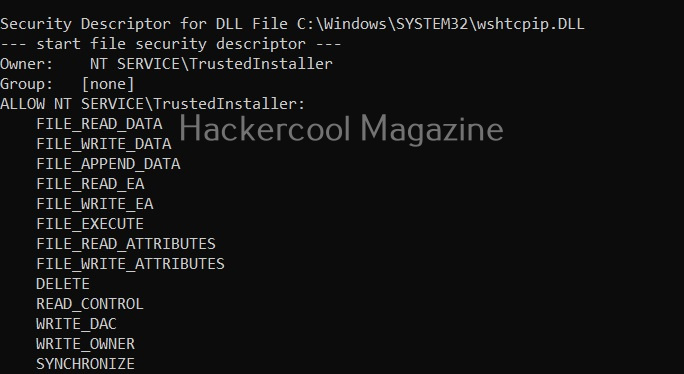
View NT objects (-O)

View directory tree of program files (-p)

View Registry settings and permissions (-r)

View processes running on target system (-R)

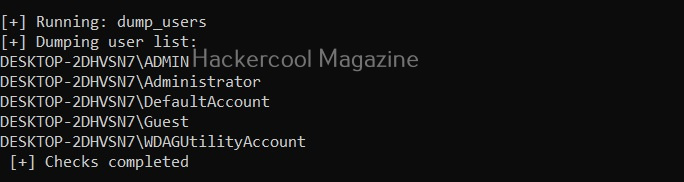
View all users on the target system (-U)

View all files and directories (-A)

This option shows all the files and directories on the target system and saves the ouput into a file named wpc.

Perform all simple checks (-a)

This option is used to performs all simple checks on the target system.
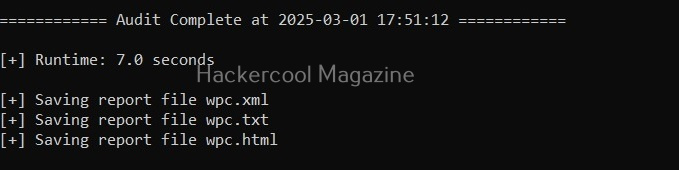
Saving report

Windows-privesc-check has lot of options while saving the output.

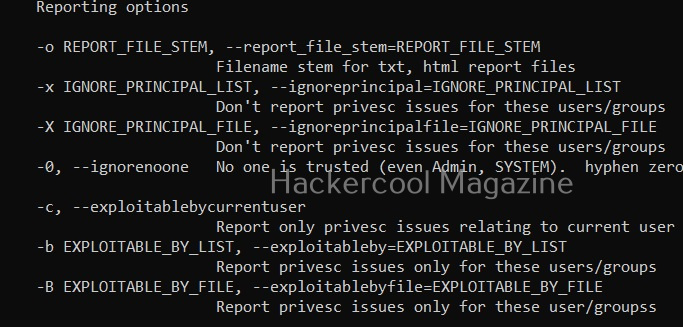
Report only privilege escalation issues relating to current user (-c)

Setting this option reports only the privilege escalation issues that can be exploited by users specified by you.

Same as above but users are specified in a file.

Setting this option allows you to ignore vulnerabilities that can be exploited by specific users. Windows-privesc-check ignores privilege escalation issues that are exploitable by users in the you set.

Same as above but the ignored list is specified is a file.

Setting the above option reports all weaknesses that are exploitable by all the users. This is known as zero-trust policy.

Learn about Unix-privesc-check, a tool that helps in elevating privileges on a Linux system.

Posted on

Windows privilege escalation for beginners

Hello, aspiring ethical hackers. In this blogpost, you will learn about Windows privilege escalation. Windows privilege escalation comes after Windows hacking and is part of Post-exploitation of Windows.

What is Windows privilege escalation?

Windows privilege escalation is the process of elevating privileges on a Windows system after successfully gaining access to a Windows system.

Why is it important?

According to StatCounter Global Stats, over 72.52% of people worldwide use Windows as their Desktop. That is the reason why Windows privilege escalation is one of the most important topics of ethical hacking.

Windows privilege escalation techniques

There are multiple ways by which hackers can elevate privileges on a Windows systems. They are,

  1. Exposed credentials
  2. Bypassing UAC
  3. Exploiting services running with administrator privileges.
  4. Windows kernel vulnerabilities.
  5. Misconfigured services.
  6. Windows Registry.
  7. Scheduled Tasks.

1. Exposed credentials:

Sometimes, the credentials of user accounts with administrator privileges on a Windows system are exposed. Most people still store Windows credentials on Desktop for easy access (you may not believe this but this is true). So, attackers can login as user with high privileges using these exposed credentials.

2. Bypassing UAC:

User Account Control (UAC) is a Windows security feature that was designed to protect the operating system. Introduced with Windows Vista, it is a mandatory access control enforcement feature. It works by limiting application software to standard user privileges until a user with administrator privileges authorizes an elevation in privileges.

This allows only applications that are trusted by users to be assigned administrator privileges. However, vulnerabilities in this UAC sometimes allows hackers to bypass UAC and get administration privileges on the target system.

3. Exploiting services running with administration privileges:

Some applications installed on Windows by users need administrative privileged on the system to run. If attackers exploit any vulnerabilities in these applications, they can easily elevate their privileges on the Windows system.

4. Windows kernel vulnerabilities:

Windows kernel in Windows (or for that matter any operating system) has the highest privileges assigned to it. If attackers exploit any vulnerabilities in the Windows kernel, they can elevate their privileges on the Windows system.

5. Misconfigured services:

Misconfigurations in services on Windows can also be exploited to escalate privileges on Windows system.

6. Windows Registry:

Windows registry is a hierarchical database that stores all low level; settings of Microsoft Windows. Weak permissions in the Windows registry can also be exploited to elevate privileges.

7. Scheduled Tasks:

Windows Task Scheduler (formerly known as Scheduled Tasks) is used to automate jobs and tasks in Windows just like cron jobs in Linux. Weak file permission setting in Task scheduler can be exploited to elevate privileges on a Windows system.

Learn about Windows-privesc-check, an executable that finds misconfigurations in target Windows system and helps in elevating privileges on a Windows target.

Posted on

PrintNightmare, Privilege Escalation in Powershell

PrintNightmare is a critical vulnerability affecting the Microsoft Windows operating systems. The recently disclosed vulnerability is present in the print spooler service of Microsoft Windows. The printer spooler service is used for printing services and is turned on by default. The versions of Windows vulnerable to PrintNightmare include Windows 7 to Windows 10 and windows Server 2008 to the latest version of Windows Servers.

The PrintNightmare vulnerability has two variants : one is enabling remote code execution (CVE-2021-34527) and the other privilege escalation (CVE-2021-1675). In this article, readers will see a demonstration of exploiting the privilege escalation vulnerability in PrintNightmare.
For this demonstration, we will use Windows 10 version 1809. The Powershell Script we used in this demo can be downloaded from Github.

In this scenario, imagine I already have access to the target machine as a user with low privileges. Let me demonstrate it to you. The first thing I need to confirm is whether the printer spooler service is running on the target system or not. This can be done using powershell command “Get-Service -Name “spooler”“.

The print spooler service is running. Now I can exploit it. Before that let me show you that I am a user with limited privileges i.e as “user 1” with very limited privileges.

Next, I already downloaded the Powershell script I need to exploit the Printnightmare vulnerability .So I moved to the Downloads folder where the Powershell script is saved. Once I am inside that folder, I run the command

Import-Module .\ <script Name>“as shown below.

Once the Powershell module is imported, I can execute the script with command
Invoke-Nightmare -NewUser “<username to create >” -NewPassword <password for that new user> DriverName “PrintMe”
This command will create a new user with administrator privileges.

How to exploit printnightmare

In the image above, you can see the existence of new user named “hacker” which I created. Now, let’s check the privileges of this user.

As readers can see, the new user I created belongs to the local administrators group. I reboot the system and try to login as that user.

The exploitation is successful.

Posted on 1 Comment

Beginners guide to UAC bypass

Hello, aspiring ethical hackers. In our previous blogpost, you learnt about various techniques used for Windows privilege escalation. In this blogpost, you will learn about UAC bypass, one of the techniques used for privilege escalation in Windows. To understand UAC bypass, you need to first understand what is UAC.

What is UAC?

User Account Control (UAC) is a mandatory access control feature of Windows operating system that helps in improving the security of the operating system. It was introduced in Window Vista and Windows Server 2008 and has ben improved since then. User Account Control works by limiting a software or program to run with standard user privileges (low privileges) until and unless a user with administrator privileges authorizes it by giving permission. This way, only applications trusted by the user can be run on the system. This helps to prevent malware infection as malware and virus need administrator privileges to infect the system wholly.

How can UAC be bypassed?

Now, you have a question. How can UAC be bypassed. There are various UAC bypass methods. They are,

1. Registry key manipulation:

This technique works by hijacking the normal execution flow of an auto elevated application. What are auto-elevated applications? In Microsoft windows, if a binary is trusted (i.e. it has been signed with a MS certificate or the binary is in a trusted directory), the UAC prompt will not be presented. This can be exploited using a registry key.

The fodhelper privilege escalation method is an example of this.  Fodhelper.exe is a trusted binary in Windows operating systems that is used to manage features in Windows settings. We can exploit this binary by hijacking a special key in the Registry under the current user hive and inserting a custom command that will get invoked when the Windows fodhelper.exe application is launched.

Once the UAC flag is turned off, we will spawn a second shell with SYSTEM privileges. Metasploit has a module for this. Let’s see it practically using Metasploit. Imagine we have a scenario where we have gained access to a Windows system using any Windows hacking technique.

To use the fodhelper module to elevate privileges, we need to background the current session.

Search for fodhelper module using the search command.

Image explaining about Windows privilege escalation with fodhelper module

Load the module and set the session ID as shown below.

Run the module as shown below.

As you can see, we successfully got a meterpreter session. When I check privileges, its still user privileges but when I run “getsystem” command, I get system privileges on the target Windows system.

2. DLL hijacking:

In this method, the execution of an elevated program is hijacked using DLL Search order hijacking, DLL loading, redirection or other DLL vulnerability.

3. Elevated COM interface method:

COM stands for Component Object Model. It acts as a binary interface between various processes of different programming languages. In Windows, is is the basis for several other Microsoft technologies like OLE, OLE Automation, Browser Helper Object, ActiveX, COM+, DCOM, Windows shell, DirectX and Windows runtime. In this method, the COM handler is bypassed while it references registry when a high integrity process is being loaded. These DLLs contain the payloads that result in elevated sessions.

Let’s demonstrate this using Metasploit. As for every privilege escalation exploit, we need to already have a meterpreter session on target. This can be achieved using one of the Windows hacking techniques. Once we have it, search for the bypassuac_comhijack module as shown below.

Load the bypassuac_comhijack module and check its options by using the “show options” command as shown below.

Set the session id and execute the exploit using “run” command as shown below. If everything went right, we will have another meterpreter session as shown below.

Check the privileges using the “getuid” command. If you still don’t have system privileges, run command “getsystem” and even if it results in an error, check your privileges once again using command “getuid“. You should definitely have system privileges by now.