Posted on

Beginners guide to dirbuster

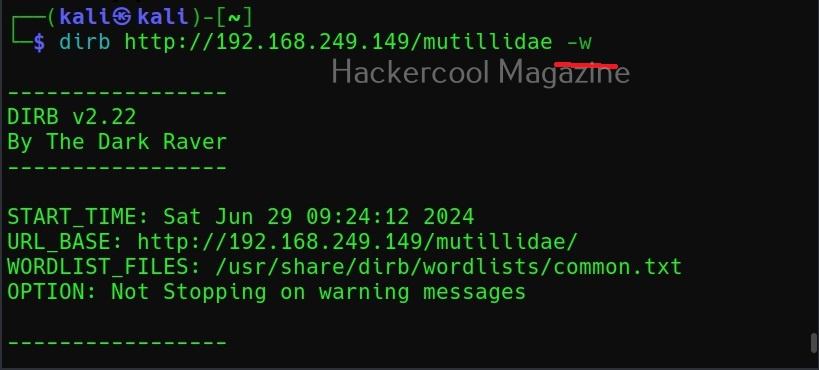
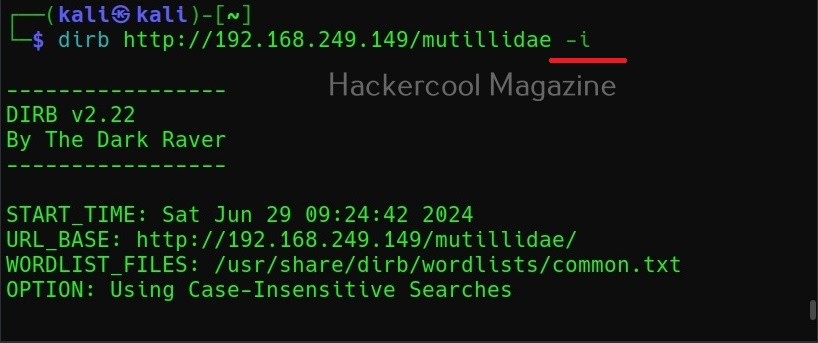
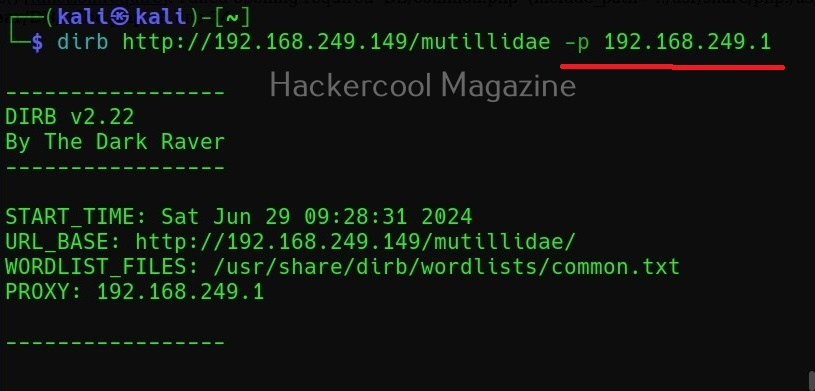
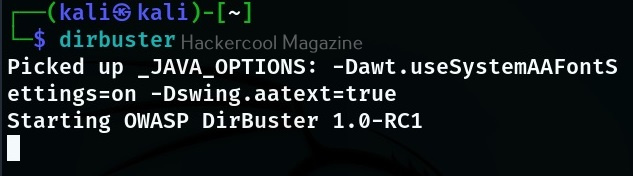
Hello, aspiring ethical hackers. In this blogpost, you will learn about dirbuster, a tool used to scan web directories and file names on web application servers. Dirbuster is written in Java and can be installed on Linux systems. Almost all pentesting distros include this in their tools list. For this tutorial, we are going to use Kali Linux. Dirbuster can be started on Kali by using the command as shown below.

dirbuster

Typing this command will open a GUI window as shown below.

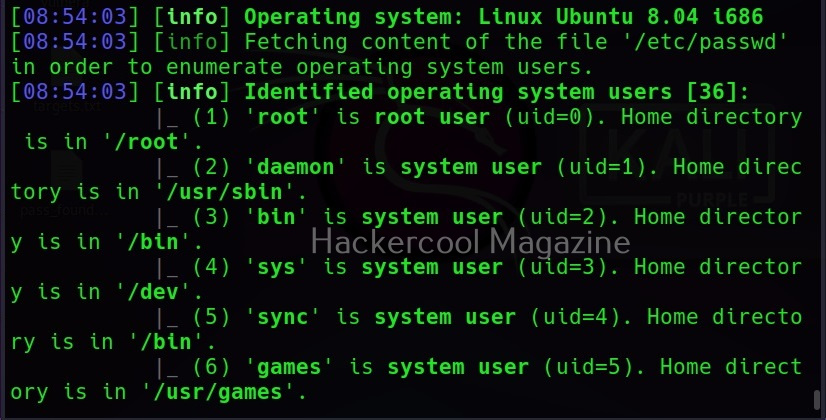
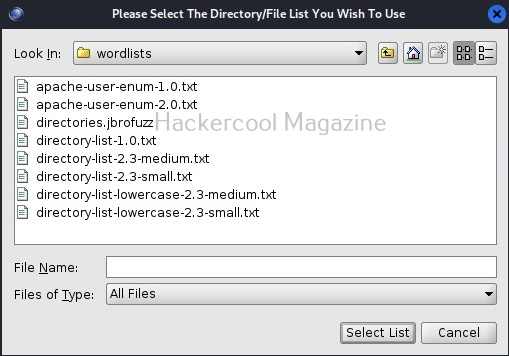
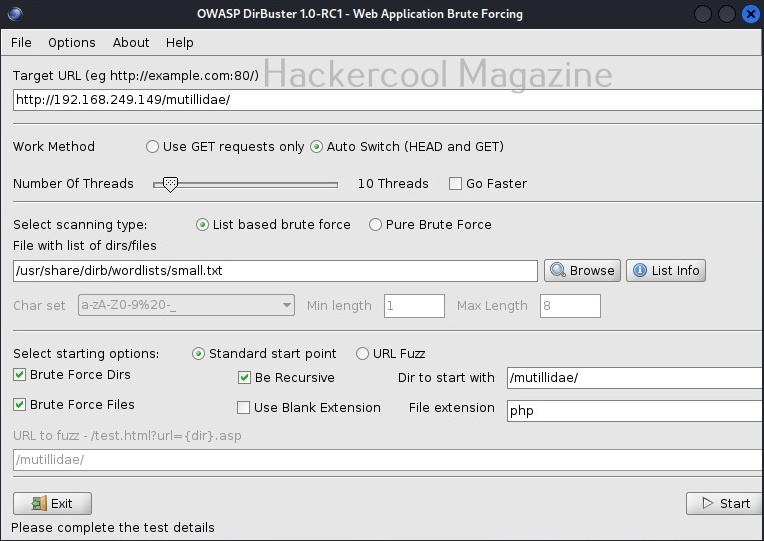
Here, you can configure all the options required to scan the target web server. For this tutorial, we will be using Metasploitable 2 as our target. Any directory scanning and fuzzing tool is as good as the wordlist it uses while scanning for hidden directories and files. Dirbuster provides its own set of wordlists which are located in “usr/share/dirbuster/wordlists” directory in Kali.

Unlike other wordlists, these wordlists are created using a different approach. These lists are created from scratch by crawling the internet and making a collection of the all the files used by all developers. It comes with a total of 9 different lists. If all these lists fail, dirbuster also has brute force option.

The scan starts. Depending on the size of the target web server, finishing time may vary. The progress of the scan will be displayed in the “scan information” tab.

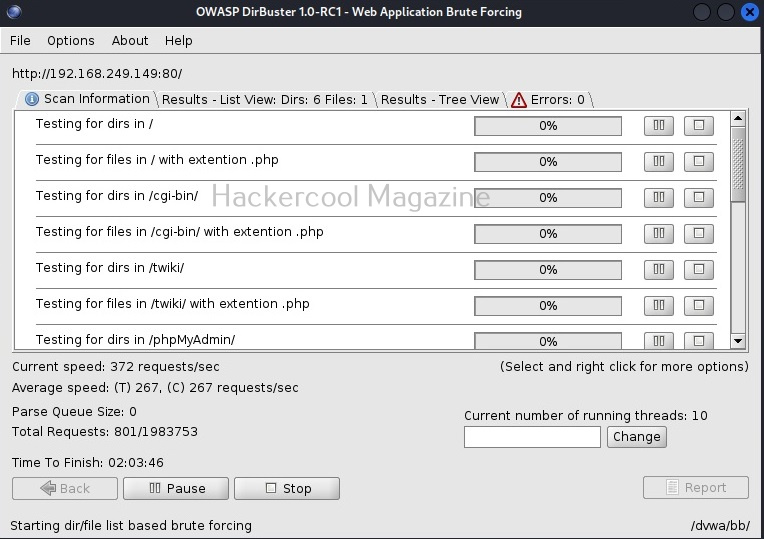
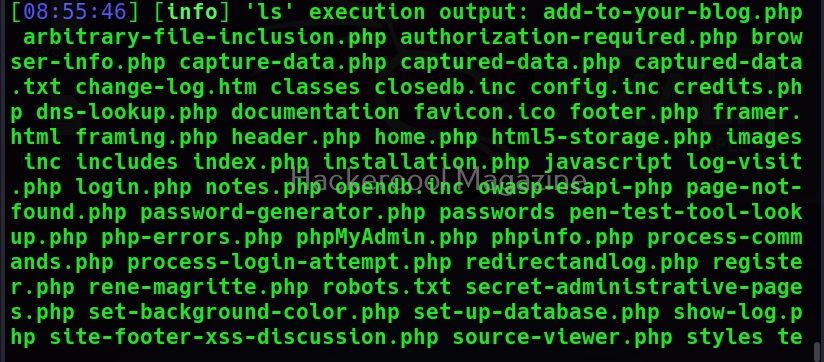
As the scan continues, you can see the results in different views. The “List view” shows all the detected directories and files by dirbuster in the form of a list.

You can also see the results of the scan in the form of “Tree view” that enables us to gain understanding about the target web server directories structure.

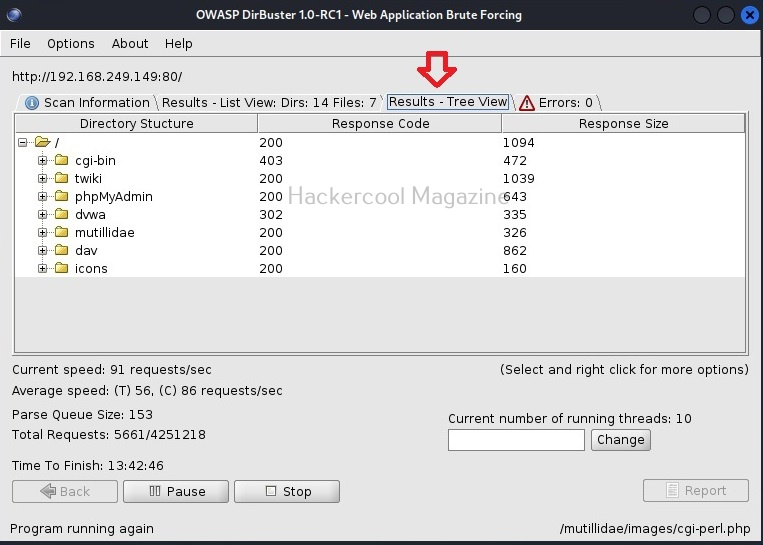
You can right click on the detected directories for more options as shown below.

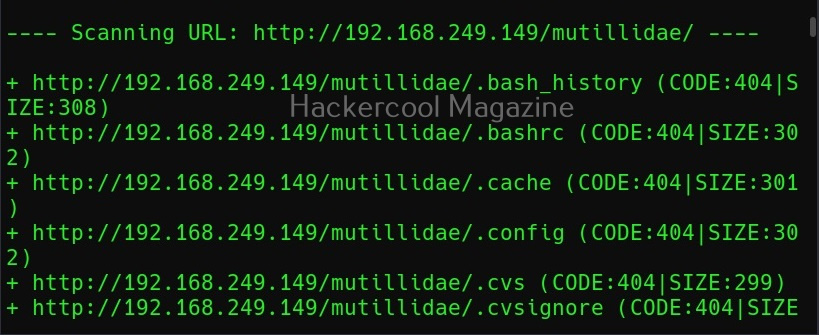
If dirbuster faces any errors while scanning directories, they are displayed in the “errors” tab.

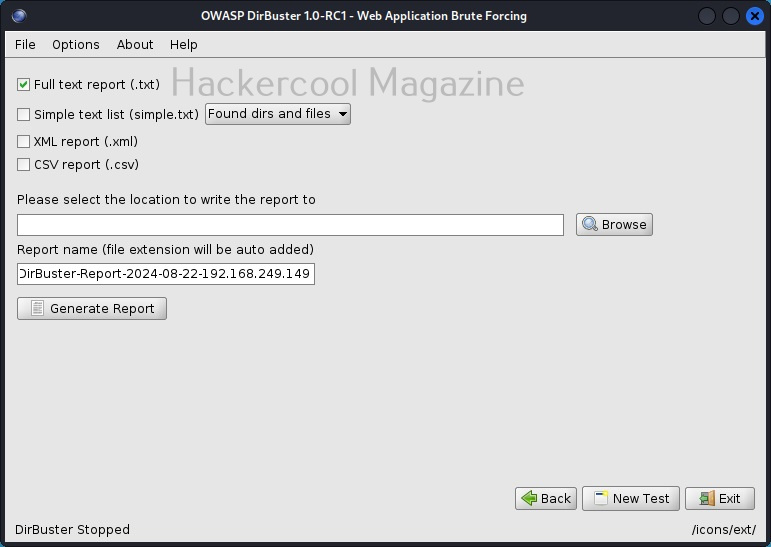
You can wait until the scan finishes or you can even end the scan by hitting “stop” button. Once you do that, dirbuster will prompt you to save the result of the scan as shown below.

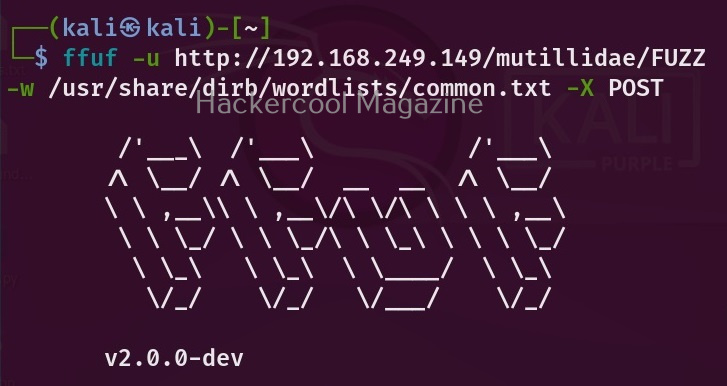
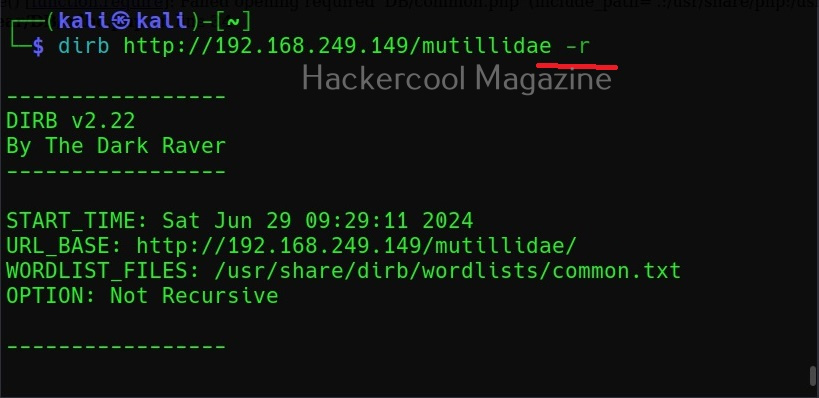
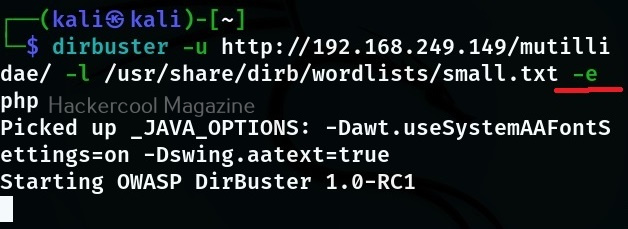
You can also use dirbuster by specifying its options through command line. The basic options to set are the URL and the wordlist. These can be set with ‘-U’ and ‘-r’ options respectively.

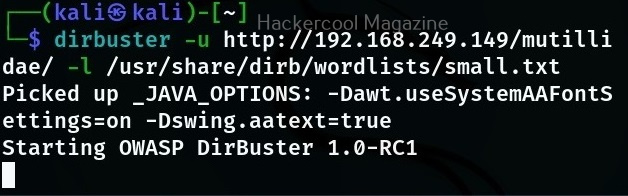
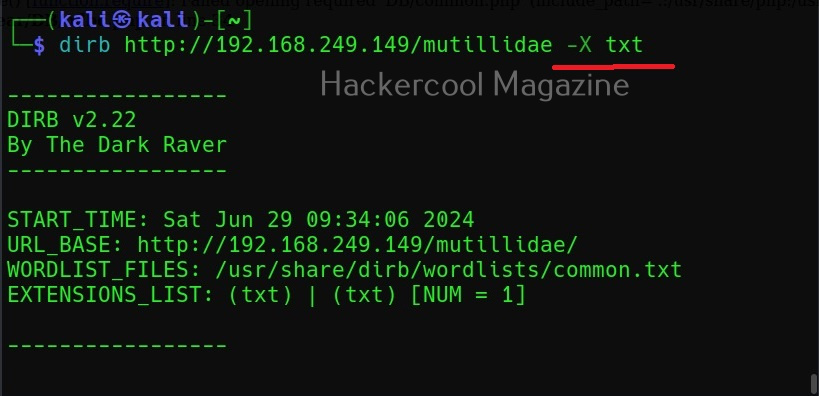
Then, all you have to do is click on “Start”. If you want to find files with a particular extension with dirbuster the option is ‘-e’. For example, let’s say you want it scan for files with “php” extension here is the command,

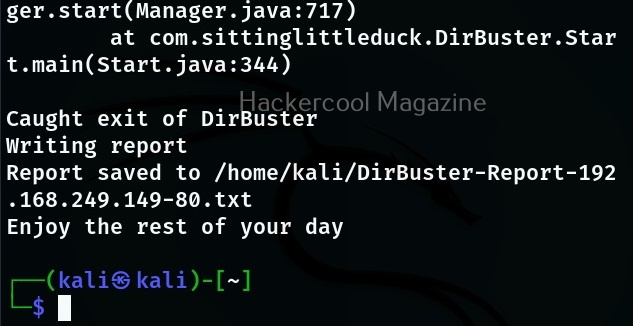
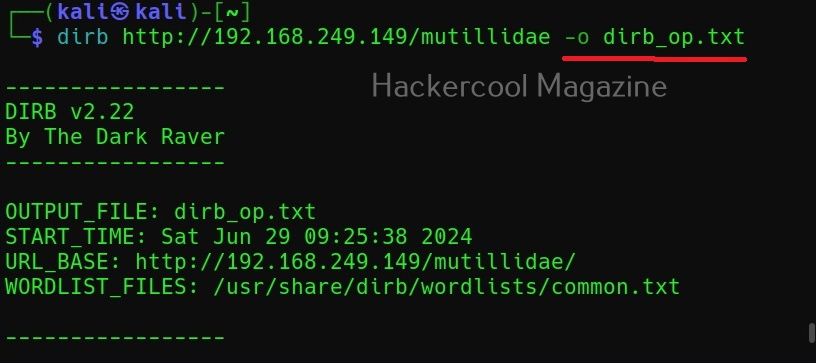
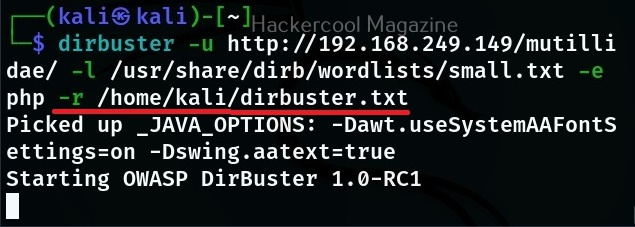
To save the output of dirbuster scan, use command line option ‘-r’.

Headless mode (-H)

You can run dirbuster in headless mode without GUI option as shown below.

Posted on

Beginners guide to ffuf tool

Hello, aspiring ethical hackers. In one of our previous blogposts on website footprinting, you learnt that web directory scanning and fuzzing are some of the techniques used to gather information about a website. In this blogpost, you will learn about a tool named ffuf, which is a fuzzing tool known for its speed.

Written in Go language, it is considered a very fast web fuzzer available on the market. It can be used for web content discovery (director scanning), virtual host discovery, parameter fuzzing, POST data fuzzing, configuration file check etc.

In this blogpost, let’s see how to use ffuf for fuzzing. It is installed by default on Kali and we are going to use the same. Metasploitable 2 is our target as always. See how to create a virtual hacking lab with Kali and Metasploitable 2.

Just like any other directory scanner out there, you need to specify an URL and a wordlist for fuzzing with ffuf. However, unlike other directory scanners, you need to use a word FUZZ while using this tool as shown below.

Here, we are fuzzing Mutillidae installed by default on Metasploitable 2. Here’s the result of the scan.

Colorize output(-c)

It found some interesting directories. However, the output is monotonous. With ffuf however, you can colorize the output using the “-c” option.

Here’s the result.

Silent mode (-s)

If you don’t like this output or want this tool to display output without printing any additional information, you can do it with the “-s” option.

Changing HTTP method (-X)

By default, Ffuf uses HTTP GET method. We can change this using the option (-X). For example, let’s change it to use POST parameter as shown below.

Follow redirected URL’s (-r)

Many websites have URLs redirected to other URLs. By using this option, you can ask it to follow the redirected URL if it finds a redirection.

Ffuf has many filters available. Using this option, we can specify ffuf to automatically calibrate those filter options.

Delay (-D)

What is a fuzzer without the option for adding delay between requests. Ffuf too has this option to add delay between each request. For example, let’s add 3 seconds delay between each request.

Stop ffuf on getting error (-se)

If Ffuf faces an error while fuzzing, it continues scanning. By setting this option, you can ask ffuf to stop when it faces any spurious error.

Search for files with specified extension (-e)

This option is used to search for files with specified extensions.

Save output (-o)

Finally if you want to save output of ffuf to a file, this is the option to use.

Posted on

Beginners guide to gobuster tool

Hello, aspiring ethical hackers. In one of our previous blogposts, you studied in detail about website footprinting and different methods used to gather information about a website. In it you have learnt that directory scanning and subdomain enumeration is one of the techniques used to gather information about a website. In this blogpost you will learn about a tool named gobuster which can do both.

Gobuster is a tool built in Go programming language that can brute-force URIs (directories and files) in websites, DNS subdomains, virtual host names on target web servers, open Amazon S3 buckets, open Google cloud buckets and TFTP servers. It is present by default in the repositories of Kali Linux and can be installed by just typing the command as shown below.

Once installed, gobuster can be used using the same command.

There are different modes in gobuster tool for different operations. No matter what mode you use, since Gobuster is a brute-forcing tool it needs a wordlist. Let’s see how to scan web directories first. For this tutorial, we will be using Mutillidae as our target. It is installed by default in Metasploitable 2. See how to install Metasploitable 2 in VirtualBox and see how to create a web application penetration testing lab.

Let’s see how to scan directories with Gobuster.

Let’s explain the options here.

dir – to scan for directories.

-u: URL to be scanned.

-w: wordlist from which earlier are scanned.

Here is the result of this scan.

You can see that gobuster found some interesting files along with a file named “passwords”. As an exercise, scan DVWA also as it is also installed by default on Metasploitable 2.

Now, lets see how to scan for subdomains using gobuster. We have to just change the “dir” option to “dns”.

Learn how to perform directory scanning with dirb.

Posted on

Beginners guide to dirb tool

Hello, aspiring ethical hackers. In one of our previous blogposts, you learnt in detail about website footprinting. In this blogpost, you will learn in detail about dirb tool, a tool often used in website footprinting. DIRB is an open-source web content or directory scanner. It is used to scan for web objects.

DIRB achieves this by using a pre-configured wordlist to perform a dictionary attack on the web server specified as target. The default usage of DIRB is given below.

Here is its output.

Ignore the warnings (-w)

By default, while scanning, it avoids going into any directories that are listable. This makes common sense too. It displays the message saying “directories are testable”. If you want it to scan inside such directories, you can use this option (-w).

Use case-insensitive search (-i)

Usually, DIRB scans uses case-sensitive searches. Setting this option allows to perform case-insensitive searches.

Saving the output (-o)

You can save the output of this tool to a file using the “-o” option.

Scan using a proxy (-p)

For all its awesome features, it produces a lot of noise which can raise suspicions on the target side. To beat this a bit, DIRB provides a option to use a proxy to perform directory busting.

Don’t perform recursive searches (-r)

Setting this option will stop dirb from performing recursive scan of the directories.

Interactive recursion (-R)

Similarly, this option is used to set Interactive Recursion while scanning.

Show pages that don’t exist (-v)

By default, DIRB scans the web server and shows only pages or directories that are found on it. Setting this option will make it show non-existent objects also.

Search for files with a specific extension (-X)

You can use this option if you want to search for files with a particular extension. For example, to search for text files (.txt) extension, we can use dirb as shown below.

You can also search for multiple file extensions using dirb. Just add all the file extensions you want to search for in a text file and use the (-x) option as shown below. For example, to search for all file extensions specified in a file named “ext_text”.

Posted on

Beginners guide to Commix

Hello, aspiring ethical hackers. In one of our previous blogposts, you learnt what is command injection, types of command injection etc. In this blogpost, you will learn about Commix, a tool that is used to automatically exploit command injection vulnerability.

Commix, which is short for (comm) and (injection) e(x)ploiter is an open source pen testing tool written by Anastasior Stasinopolos that is useful in automatically detecting and exploiting command injection vulnerabilities. Written in Python, commix can be installed on any platform that supports Python.

On pen testing distros like Kali Linux, commix is installed by default. So, we will be using it for this tutorial. As target, we will be using mutillidae in Metasploitable 2. Mutillidae, is an intentionally vulnerable web application for practicing ethical hacking. See how to install Metasploitable 2 in virtualBox and set up a virtual hacking lab.

A webpage “dns-lookup.php” in mutillidae has a command injection vulnerability in the Hostname/IP field. These vulnerabilities can be detected using web vulnerability scanners like OWASP ZAP (aka zaproxy), Nikto, Burpsuite etc.

What this webpage does is when you provide an IP or hostname, it performs a DNS lookup of that IP or hostname (For example, we have used it on google.com).

This is its name functioning but when you join another command to the IP/hostname using ampersand as shown below, it also executes that command as shown below.

Commix allows us to exploit this vulnerability automatically. To do this, with commix, we need information about the parameter being sent while sending this query. This can be achieved by using OWASP ZAP as an intercepting proxy. See how to set OWASP ZAP as an intercepting proxy.

The target can be specified in commix using the “-u” option and POST data can be specified using “–data” option as shown below.

When you execute this command, commix will prompt you to set cookies. Cookies are not needed in this case.

Then, commix says the parameters we are testing is vulnerable to command injection and it will prompt you for a pseudo-terminal access.

Selecting ‘Yes” will give us access to the commix shell a shown below.

Apart from giving you a terminal on the target system, commix provides a lot of enumeration options. Let’s see some of them here.

–hostname

It retrieves the hostname of the target system.

–current-user

This command retrieves the current user on the target system.

–is-root

This command checks if the current user has root privileges.

–is-admin

This command checks if the current user has admin privileges.

–sys-info

As you might have guessed by now, this command retrieves the system information of the target.

–users

This command retrieves all the users on the target system.

–passwords

This command retrieves passwords of all the users on the system.

Here, of course we did not get any password hashes, as we do not have enough privileges to get those.

–privileges

This command retrieves the privileges of all the users on the target system.

–ps-version

This command retrieves the version of the PowerShell installed on the target system.

–all

Instead of enumerating each item separately, you can retrieve all the information from the target system using the “–all” option.

–os-cmd

This command is used to execute a single operating system command on the target system. For example, let’s execute “ls” command on the target system.

–os=

This command is used to force the backend operating system (For example, Windows or UNIX.