Posted on 1 Comment

How to setup Vulnerawa in Wamp server

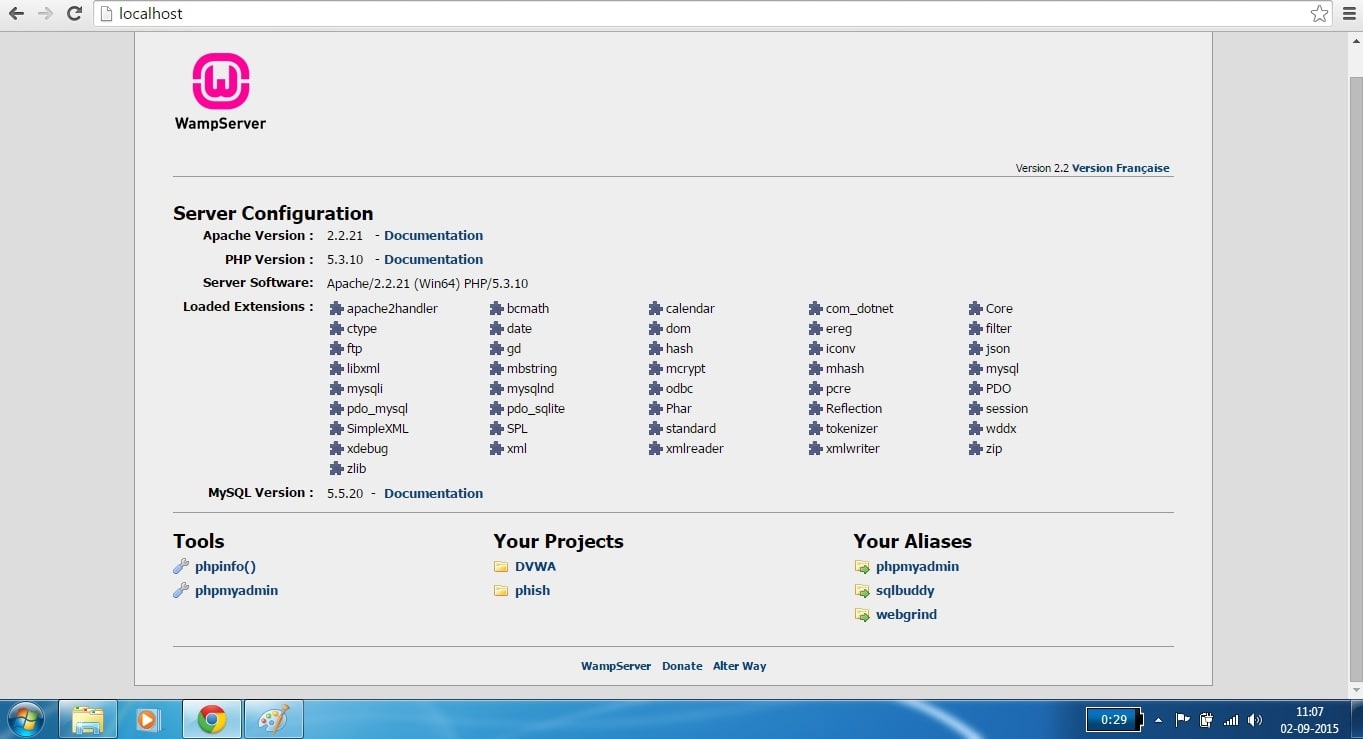
Good Evening friends. Today we will see how to setup Vulnerawa in Wamp Server. For those newbies who don’t know what is Vulnerawa, it is a vulnerable web app coded by me to simulate a real website for practice. Read more about it here. First, download Wamp Server from here as appropriate to your system requirements. We will use “WAMPSERVER (64 BITS & PHP 5.3.10) 2.2d″ for this howto. Install the Wamp Server. Open browser and type “localhost” in the URL bar to see if Wamp server is working as shown below.

Vwamp1

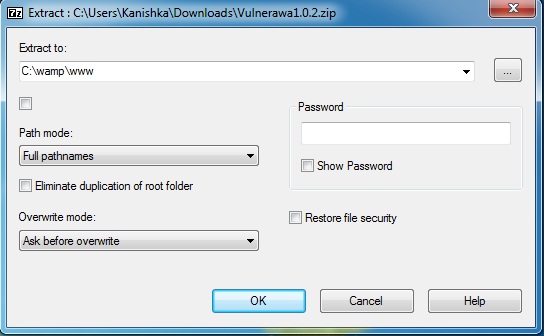
We can see that there are no projects available. Now download Vulnerawa from here. You will find a zip file as shown below. Now we will extract the contents of this file into the root folder of Wamp server. Right click on the zip file, go to 7-zip as shown below ( or any other unzipping software ) and select “Extract files”option. Extract the files to the folder “C:\\wamp\www” which is the root folder for Wamp server.

Vwamp2

Now lets check the root folder to see if the files are extracted. Go to wamp server’s root directory and you should see the folder named “vulnerawa1.0.2” as shown below.

Vwamp3

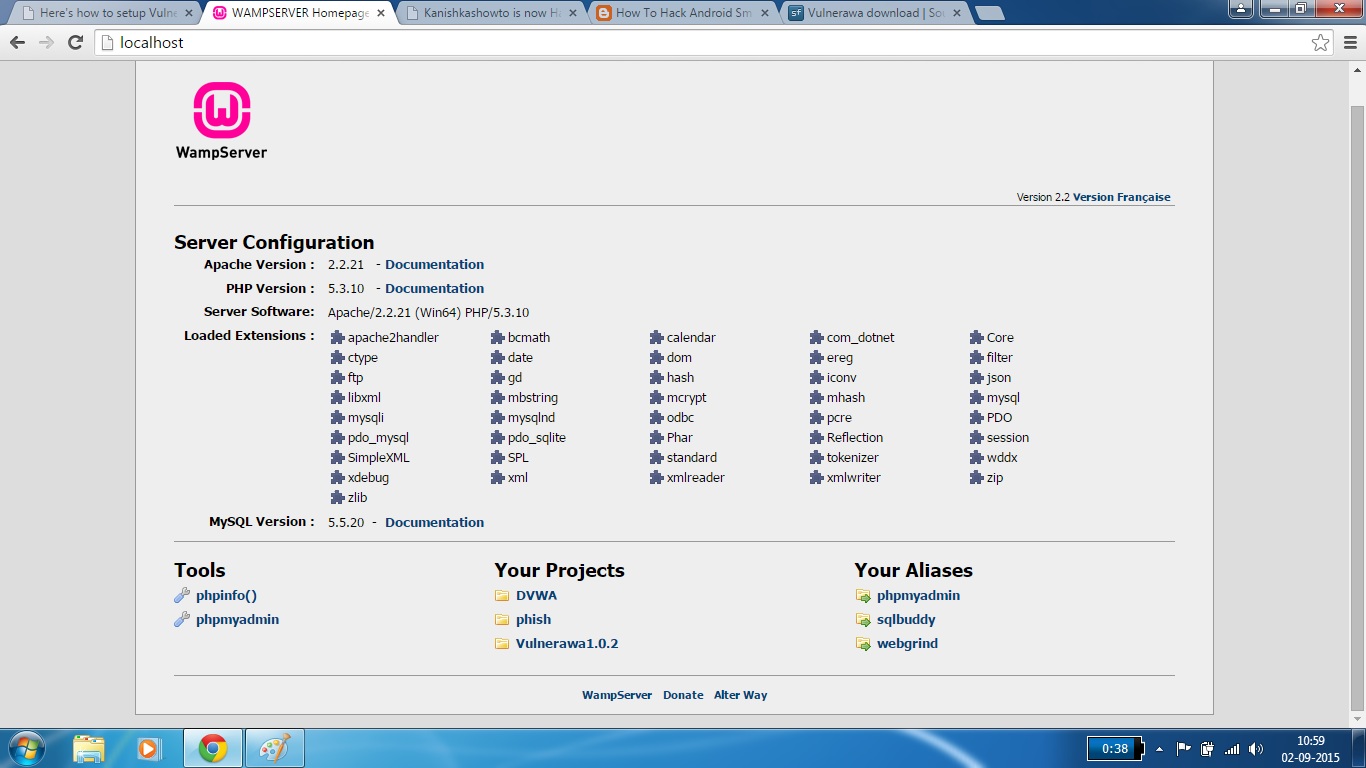
Now open your browser and type “localhost” once again. Now we can see our projectVulnerawa1.0.2 listed in the Projects section as shown below.

Vwamp4

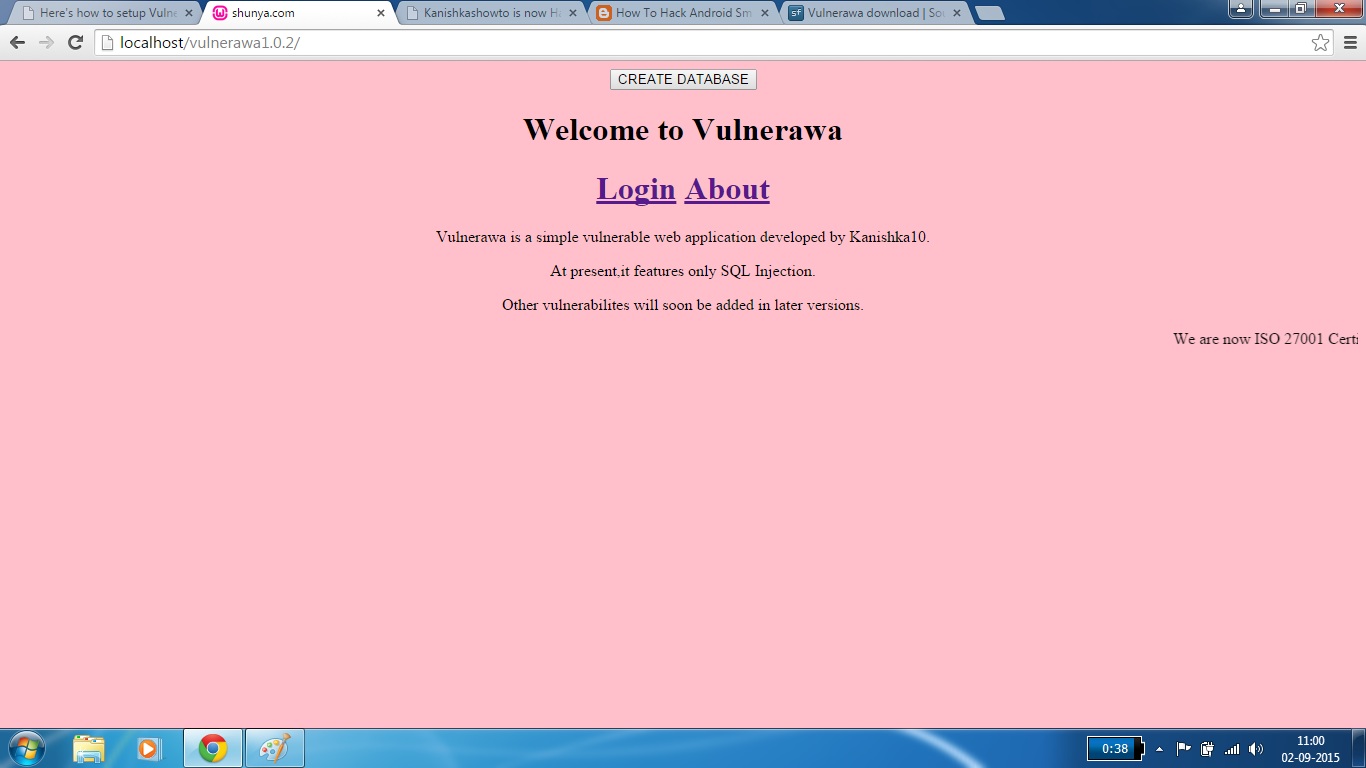
Click on the project. If you see the below webpage, then you have successfully setup Vulnerawa. If it gives you some error go to the url and type “http://localhost/vulnerawa1.0.2” directly. Happy hacking practice.

vulnerawa in wamp server

Here’s a video version of this howto.

https://www.youtube.com/watch?v=IJqqFFX5upc
Posted on 198 Comments

How to install Kali Linux in VirtualBox (2024)

Hello, aspiring ethical hackers. In this blogpost, you will learn how to install Kali Linux in VirtualBox. The makers of Kali Linux have a released the latest version of the popular pen testing distro. So, we decided to update this article on how to install Kali in VirtualBox.

Every latest version of Kali Linux has many brand new features. Now, let’s see the simplest process to install Kali Linux in VirtualBox. The makers of Kali Linux provide pre-built VMs for popular virtualization software like VMware, VirtualBox, QEMU and Hyper-V. Go here and download the pre-built image of VirtualBox. We have performed this installation in the Oracle VirtualBox 6. In this article, we will be installing Kali Linux 2024.2 but the process is same for any version of Kali Linux.

The pre-built image will be downloaded in the form of an zip archive. Extract the contents of the zip archive. Your downloaded contents should look like below. As you can see, there will be two files: Virtual Disk Image (VDI) file and VBOX files.

How To Install Kali Linux In Virtualbox 1

Now open VirtualBox and go to Machine > Add. You can also use shortcut “CTRL+A” to get there.

How To Install Kali Linux In Virtualbox 2

In the window that opens, browse to the directory that consists of contents of the zip archive we have extracted at the beginning of this article. A window like below will open. Browse to the OVA file we downloaded.

How To Install Kali Linux In Virtualbox 3

Only the vbox file will be displayed. Select this file. Doing this will successfully create the virtual machine on VirtualBox as shown below.

How To Install Kali Linux In Virtualbox 4

Power ON the virtual machine by double clicking on it. You should see the login screen as shown below.

How To Install Kali Linux In Virtualbox 5 1

Happy hacking practice.