Hello, aspiring ethical hackers. In this blogpost, you will learn about DNS spoofing attack. Also known as DNS poisoning or DNS cache poisoning, in this attack a fake or wrong value are entered into the DNS cache. To understand this in detail, you have to first understand what is DNS, DNS server and DNS cache etc.
What is DNS?
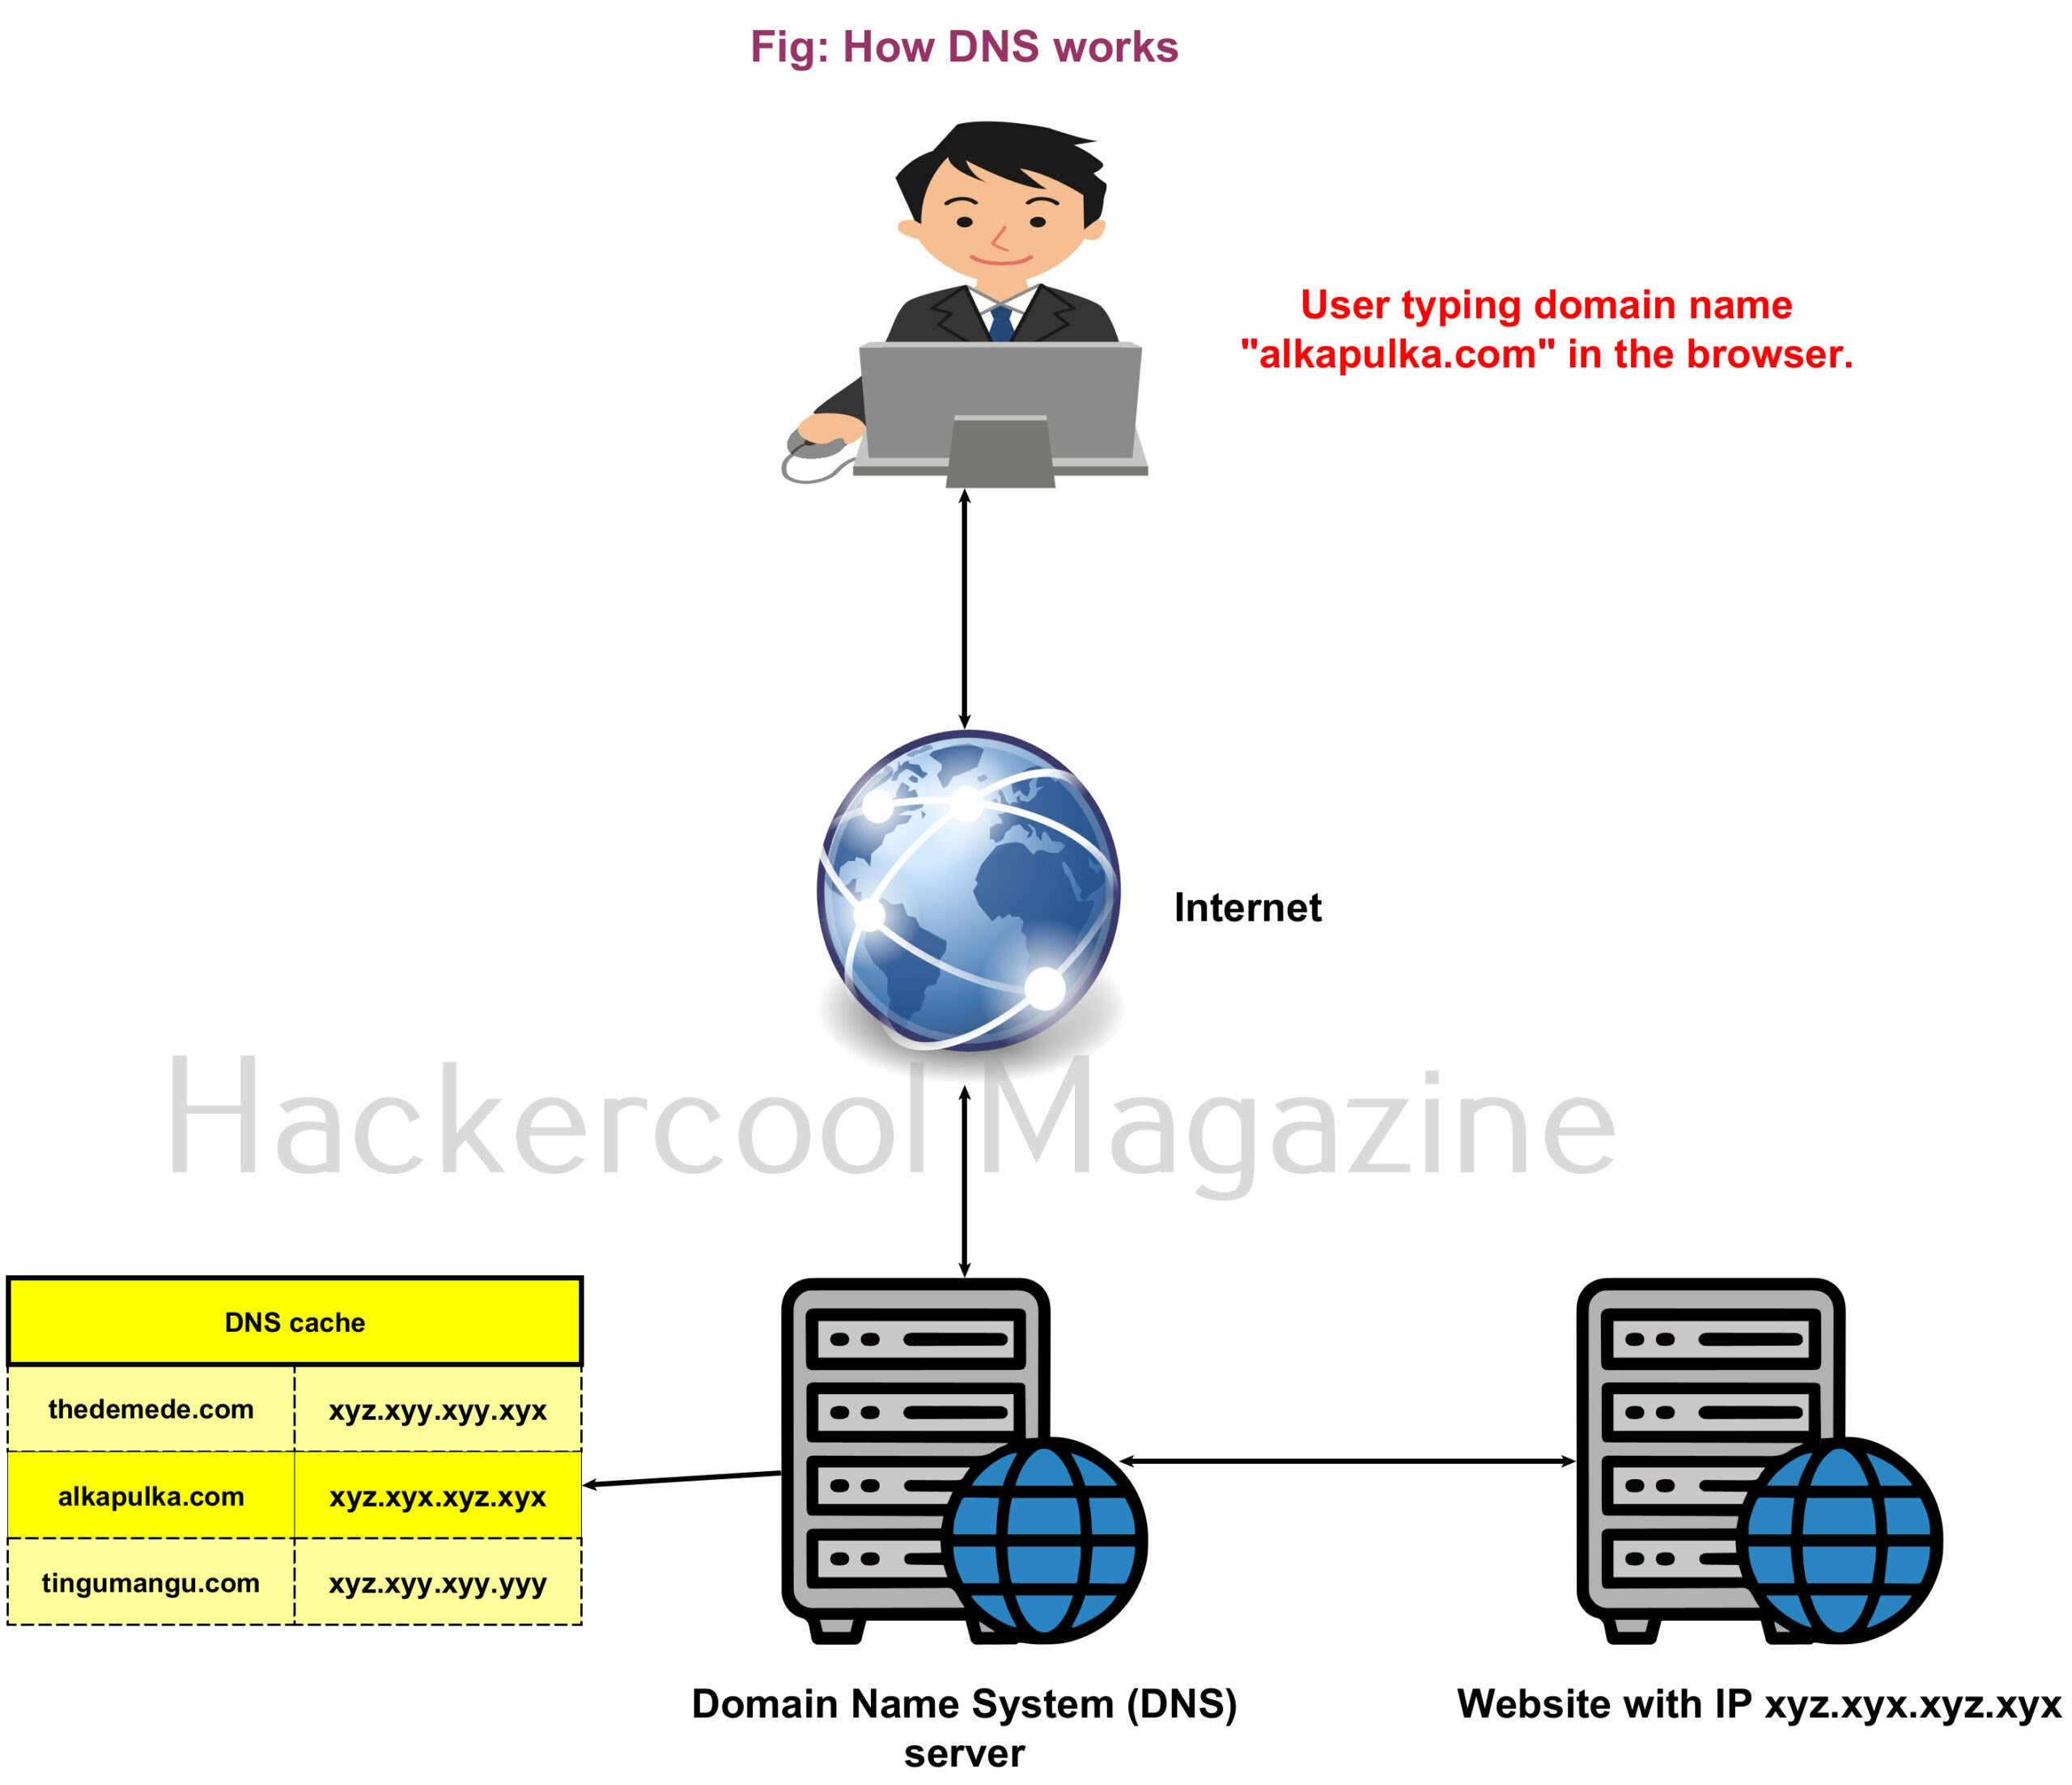
Domain Name System (DNS) is a system that associates domain names with their IP addresses. For example, you want to go to a website named Alkapulka.com. When you open the browser and enter the domain name in the URL, your query first goes to a server that keeps a record of domain names and their IP addresses. Then this server takes you to the IP address associated with the alkapulka.com. This server is called the Domain Name System (DNS) server. A DNS server stores domain names and the IP addresses associated with these domain names in a cache known as DNS cache. Hence it is also known as DNS cache poisoning.
What is DNS spoofing?
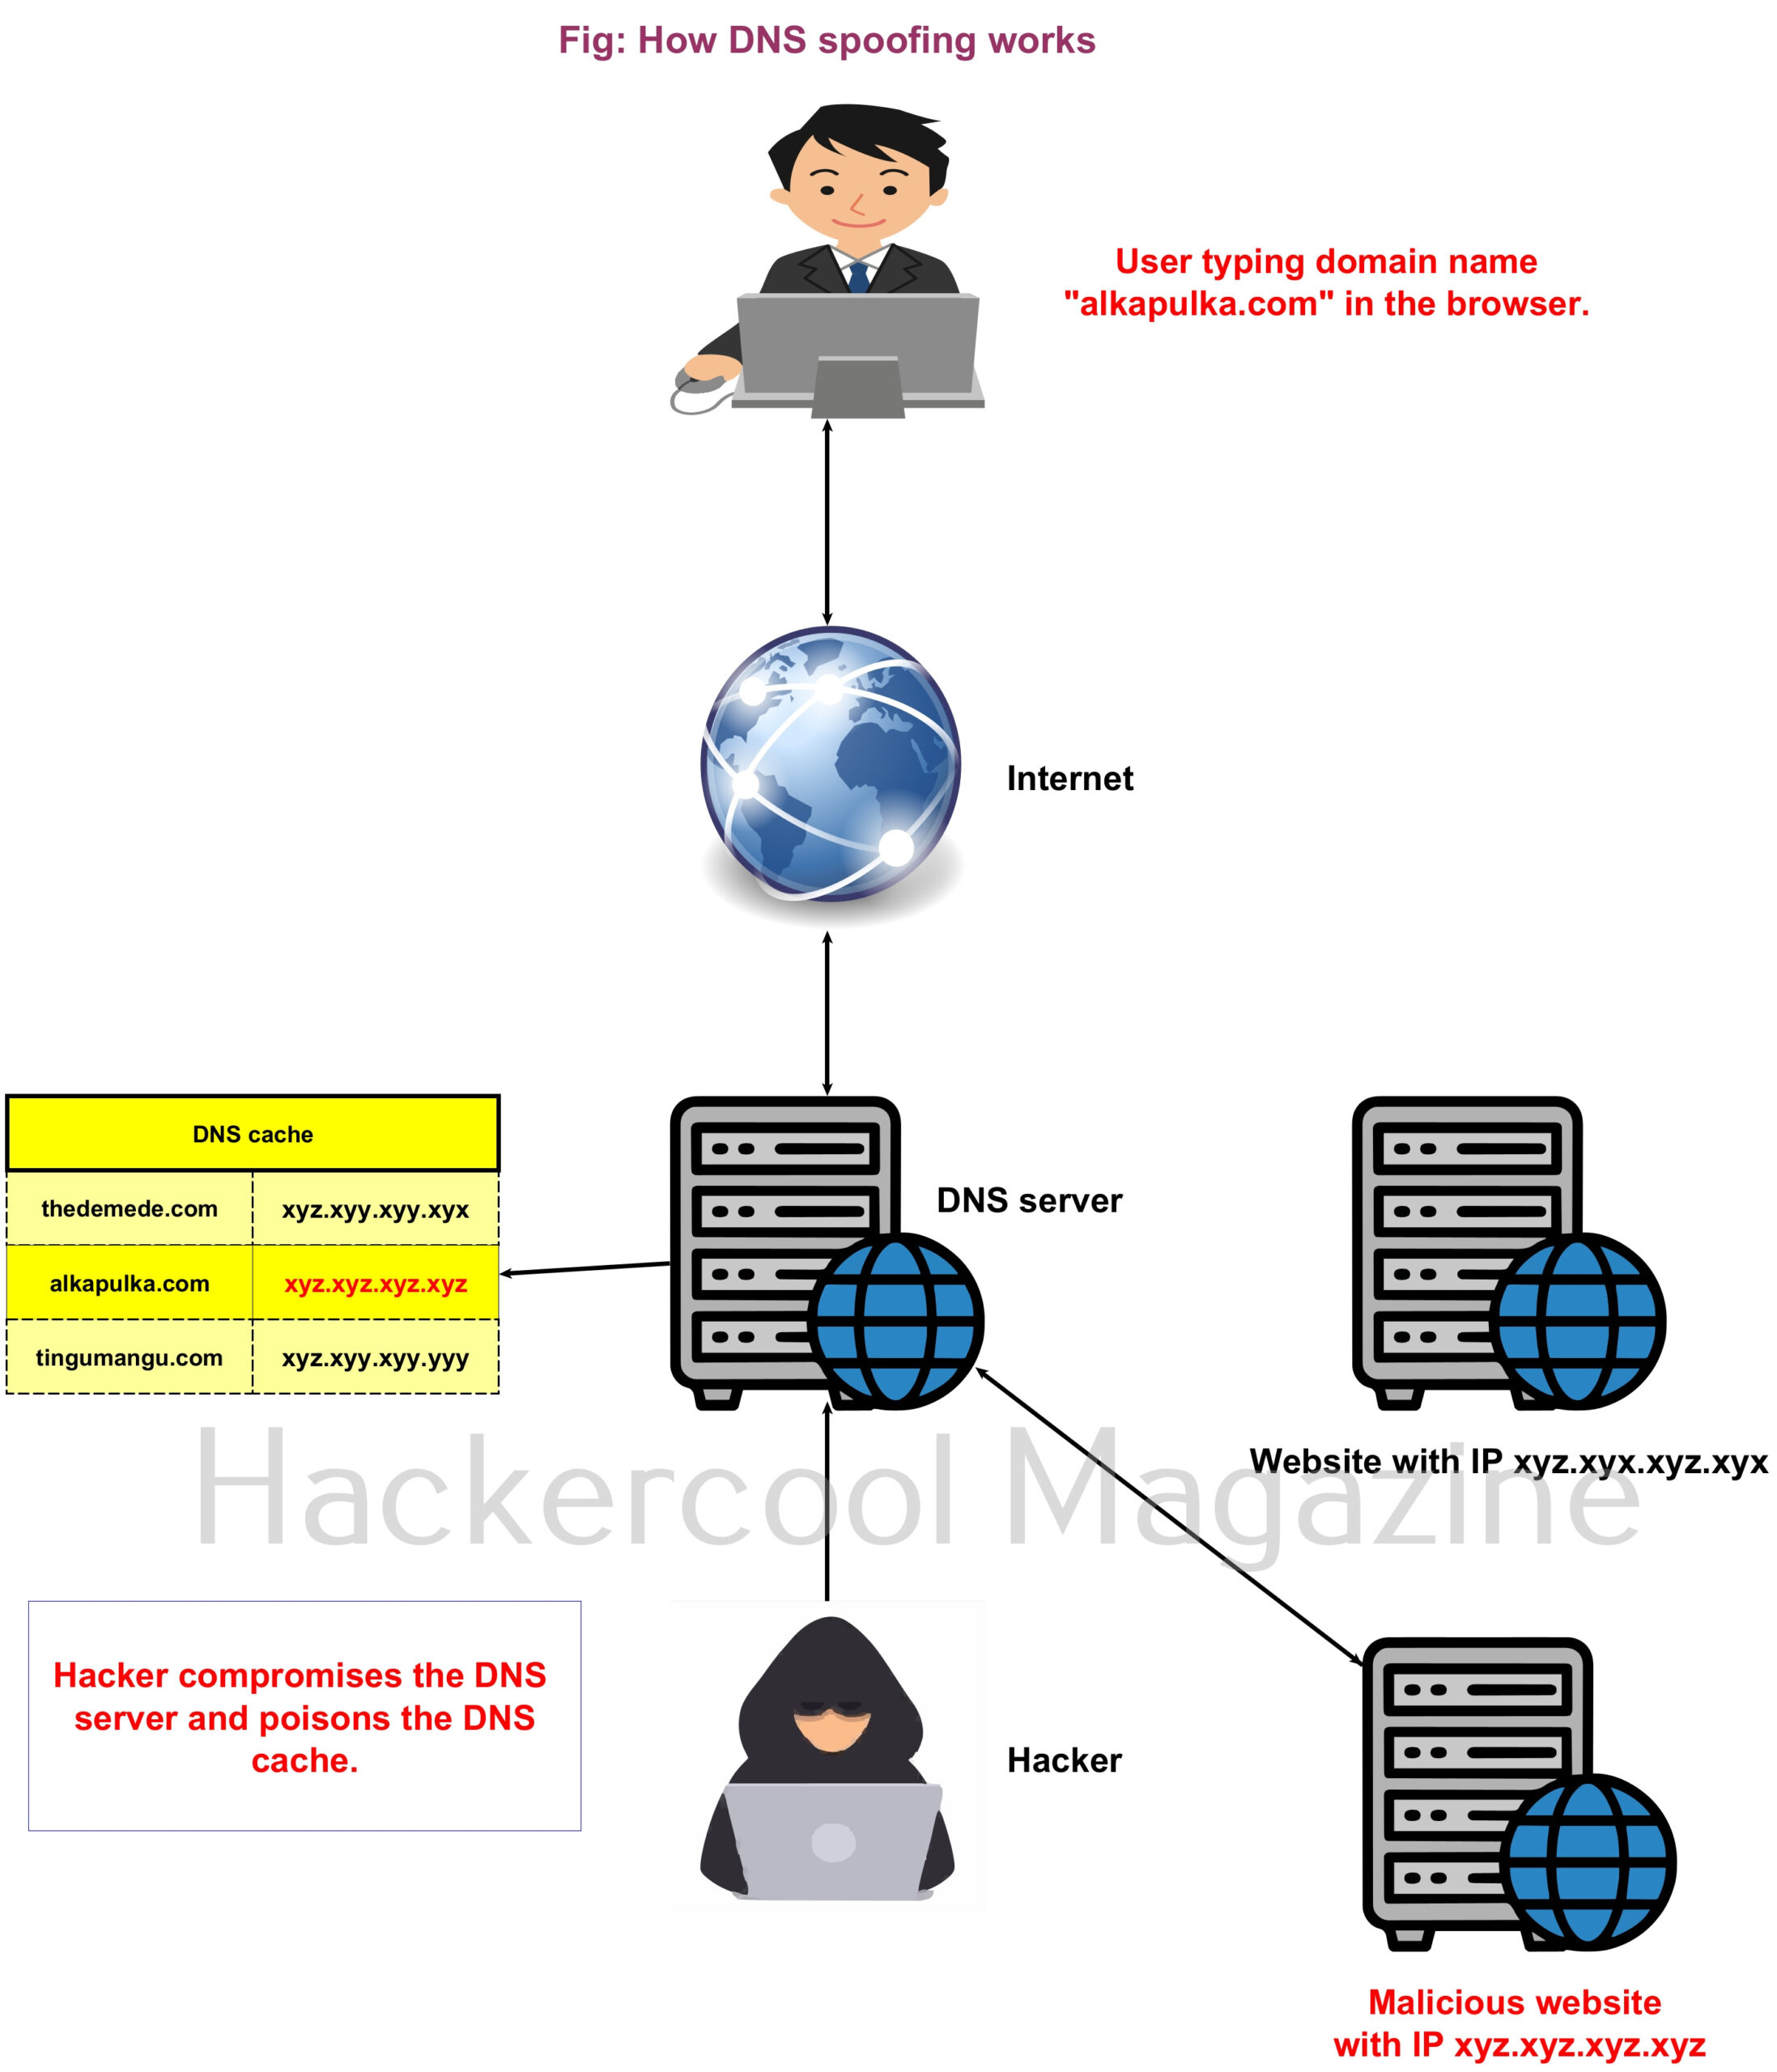
Just imagine the IP address of the website alkapulka.com is xyx.xyz.xyx.xyz. Somehow the hacker takes control of the DNS server and registers the IP address of alkapulka.com to xyz.xyz.xyz.xyz where I am hosting a different website that looks similar to that of alkapulka.com. Now, when someone tries to visit alkapulka.com, instead of going to the original website, he will be redirected to the duplicate website controlled by the hacker.
Impact of DNS Spoofing
A hacker performs DNS spoofing to make unsuspecting users visit a malicious website. Once the user is one the malicious website, a lot of hacking attacks are possible. Some of them are,
1. Phishing:
Hackers may take unsuspecting users to a phishing website. Phishing is an act of presenting a fake page resembling the original webpage you intend to visit with the sole intention of stealing your credentials. Learn more about phishing.
2. Infecting with malicious software :
The website the users are redirected to may contain malware that can infect the user systems. Malware or malicious software is any software that performs malicious actions on a computer or mobile.
3. Gaining initial access:
Hackers can use multiple techniques to gain initial access on the system of the user. Learn more about gaining access.
How DNS spoofing attack can take place?
DNS spoofing can be achieved using many techniques like
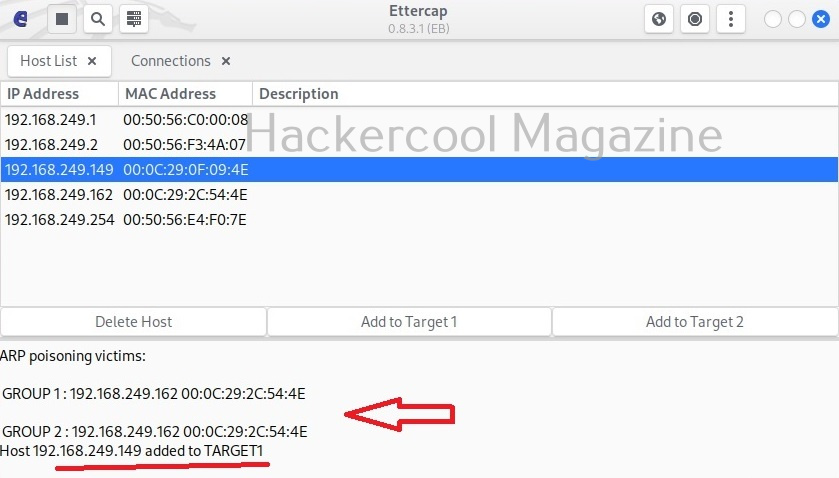
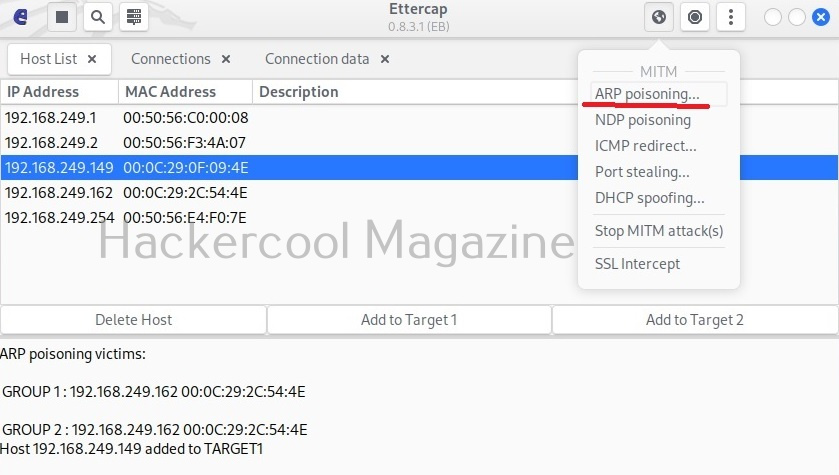
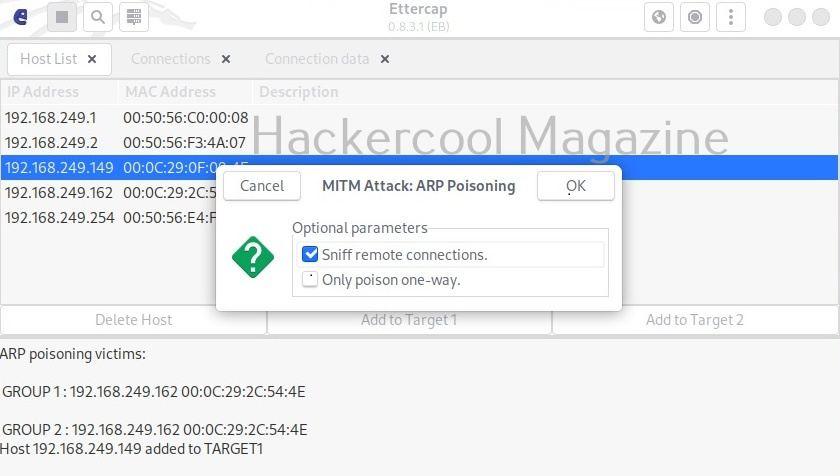
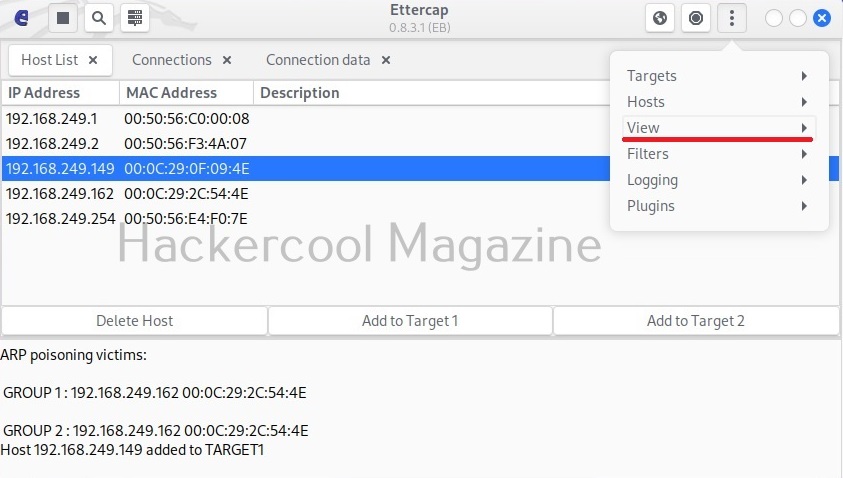
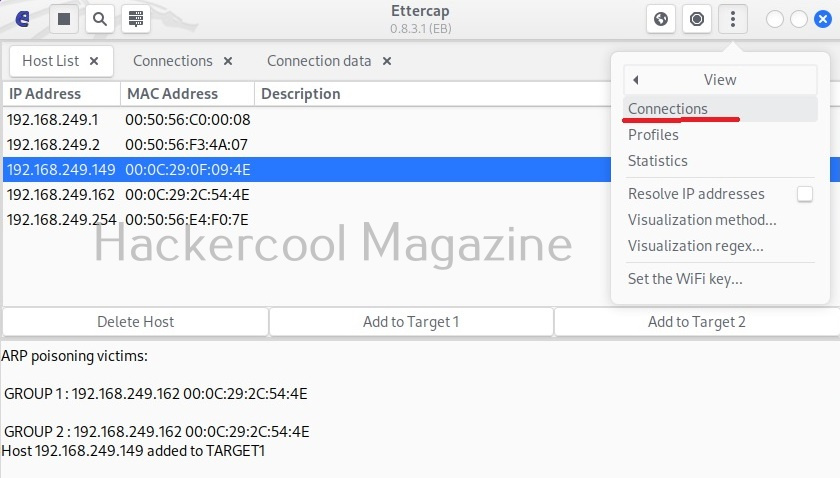
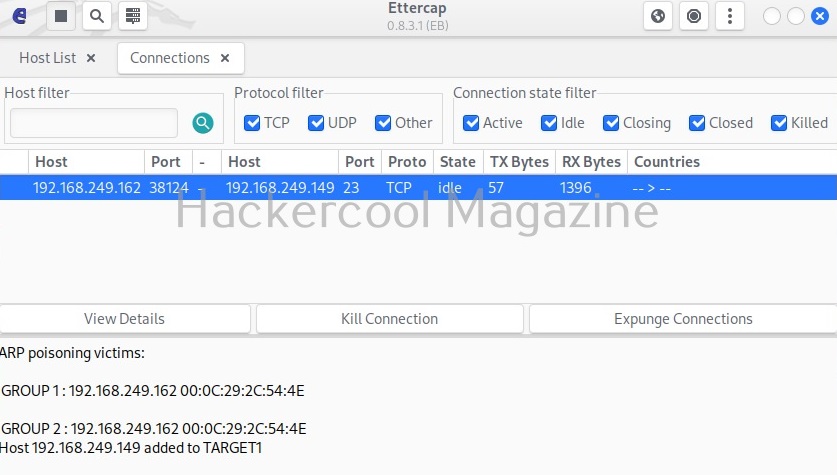
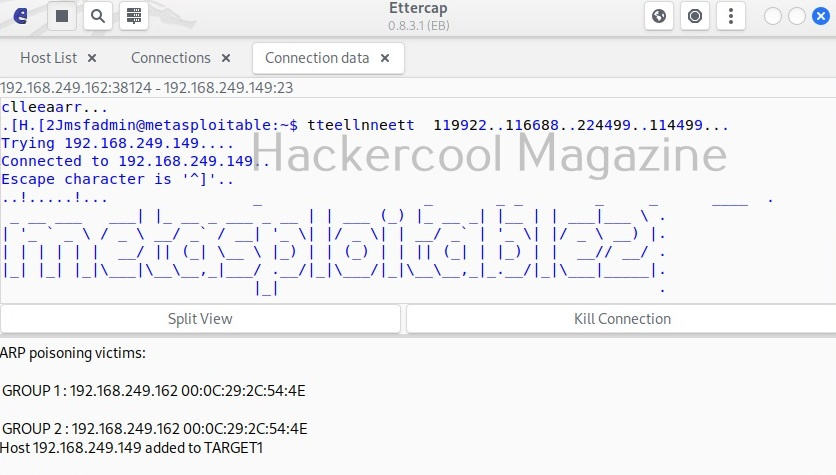
1. Man in the Middle attack:
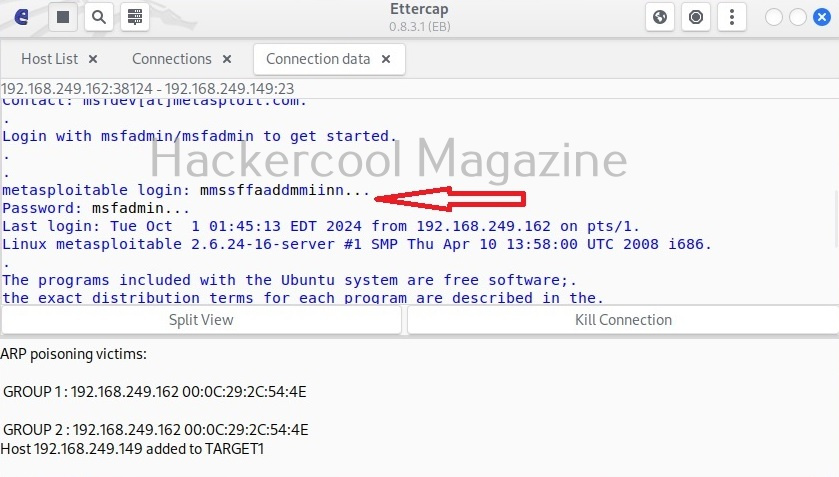
When attacker gets between the web browser and the DNS Server, he can perform DNS spoofing. Learn more about MiTM attack.
2. DNS server compromise:
If the DNS Server is compromised due to any vulnerability, then attacker gains access to the DNS cache, which he can manipulate as he want.