Hello, aspiring ethical hackers. In this blogpost, you can learn about Bluetooth hacking. Bluetooth is a short-range wireless technology standard used for exchange of data between devices.

Bluetooth is mainly used as an alternative to exchange of data using wires. The range of Bluetooth is very short may be over 10 meters.
What is Bluetooth hacking?
Exploitation of vulnerabilities in Bluetooth technology standard to hack Bluetooth enabled devices is known as Bluetooth hacking.
Modes of Bluetooth
A Bluetooth device can be set in two modes. Discoverable and Non-Discoverable.
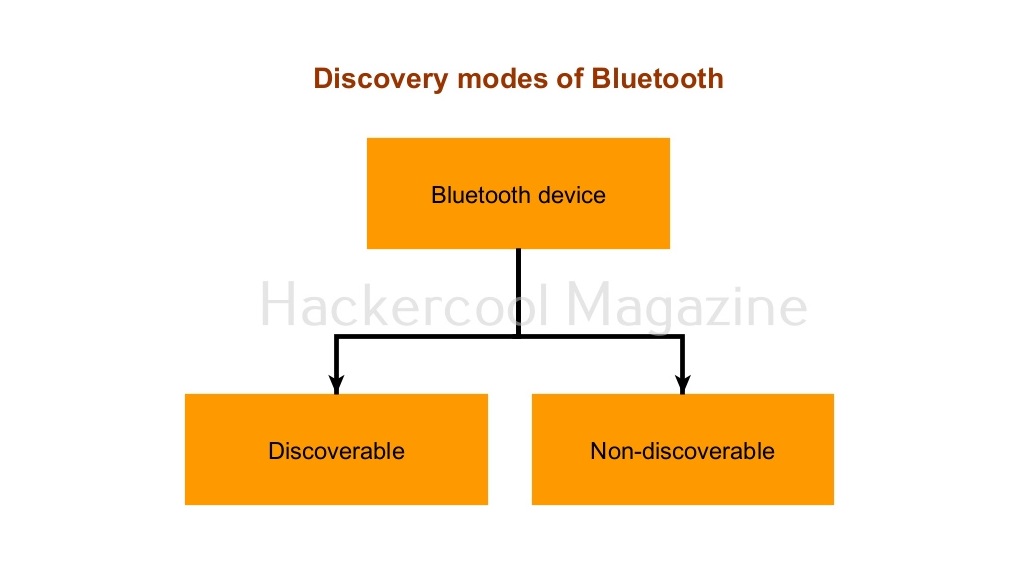
- Discoverable: In discoverable mode, the Bluetooth device is visible to other Bluetooth enables devices.
- Non-discoverable: As you should have guessed by now, in this mode, the device is not visible to other Bluetooth enabled devices.
Pairing modes
Similarly, Bluetooth has two pairing modes. They are Pairable mode and Non-pairable mode.
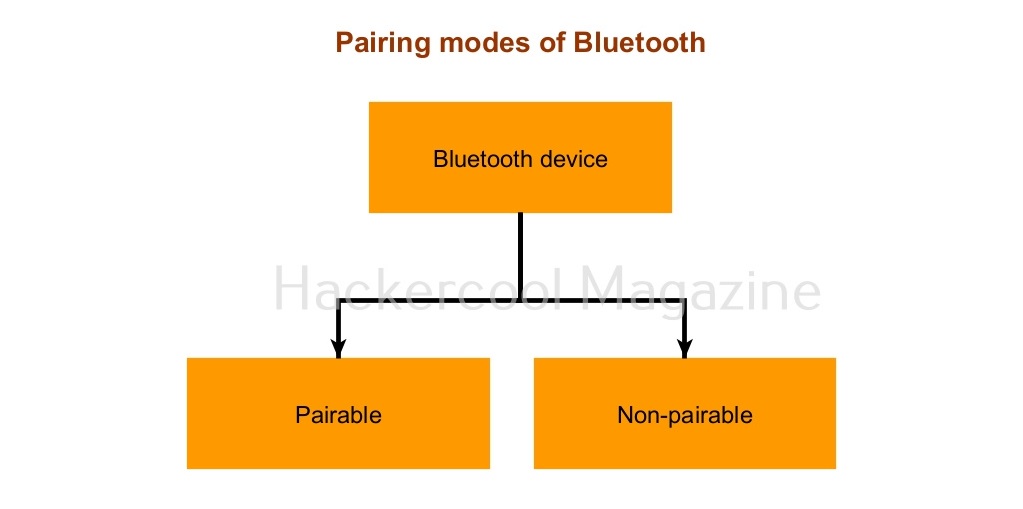
- Pairable mode: In this mode, the Bluetooth device accepts the pairing request upon requested.
- Non-pairable mode: In non-pairable mode, the Bluetooth device rejects the pairing attempt.
Various Bluetooth based attacks
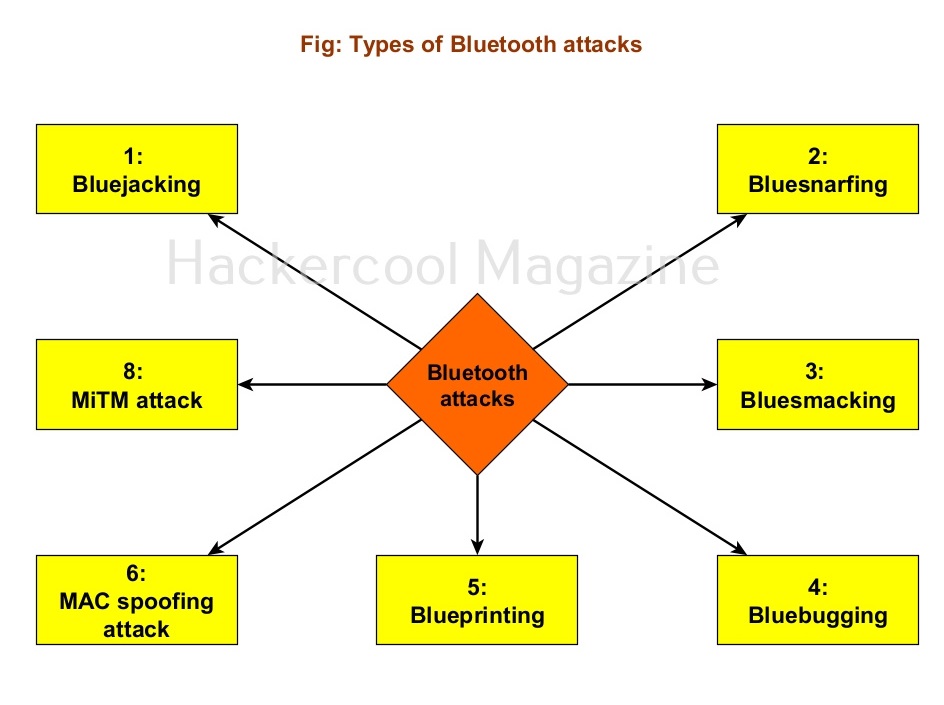
There are various Bluetooth based attacks. Some of them are,
1. Bluejacking:
Bluejacking is the attack in which an attacker can send messages to other users from the victim’s phone using Bluetooth.
2. Blue snarfing:
In this attack, an attacker can exploit Bluetooth to steal sensitive data from the target mobile phone.
3. Bluesmacking:
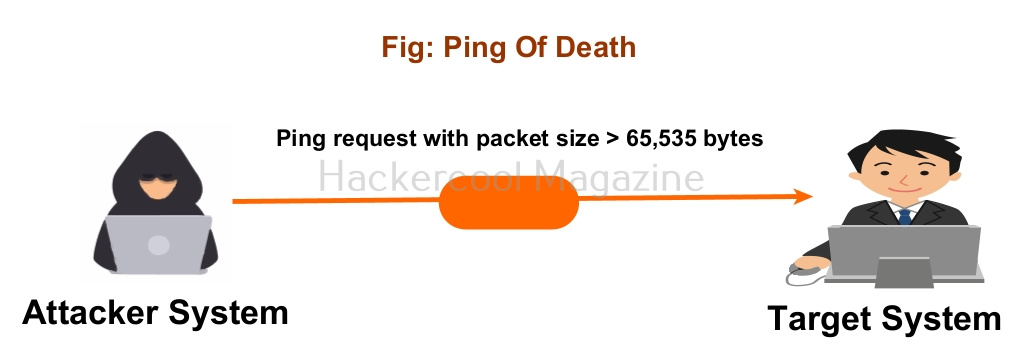
Similar to Ping of Death DoS attack, in this attack, attacker sends a oversized ping packet using Bluetooth to the victim’s device causing a buffer overflow attack.
4. Bluebugging:
In this attack, the attacker gains access to the target’s device using Bluetooth without target user being aware of it.
5. Blueprinting:
In this attack, the attacker tries to printout the data information of the target user’s mobile phone.
6. MAC spoofing attack:
: In this attack, just like any MAC spoofing attack, the attacker spoofs the MAC address of the target user’s mobile phones.
7. Man in the Middle (MitM) attack:
The attacker places himself between two Bluetooth devices.
Impact of Bluetooth hacking
Bluetooth attacks can lead to various threats. These include,.
- Leak of calendars and address book.
- Sending spurious SMS messages.
- Bugging devices.
- Sending premium messages.
- Social engineering
- Installing malicious code