Posted on

Beginners guide to Bloodhound tool

Hello, aspiring ethical hackers. In this article, you will learn about Bloodhound, an open-source tool that helps in identifying attack paths and relationships in Active Directory environment. Its also useful in uncovering hidden information about domain and security misconfigurations in AD (which would be impossible to find otherwise). Bloodhound is one of the favorite tools of both Red team hackers and Blue Team hackers.

Let’s see how this tool works. For this, we will be using Kali Linux as bloodhound is available by default in its repositories.

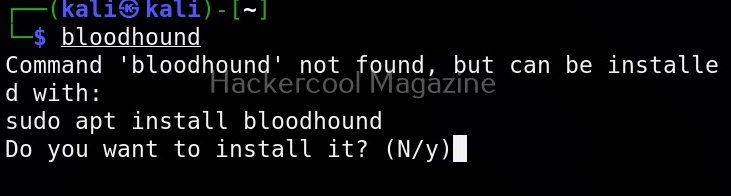
Once bloodhound is installed successfully you need to change permissions of the “neo4j” folder as shown below. Ne04i is a native graph database that is used by bloodhound.

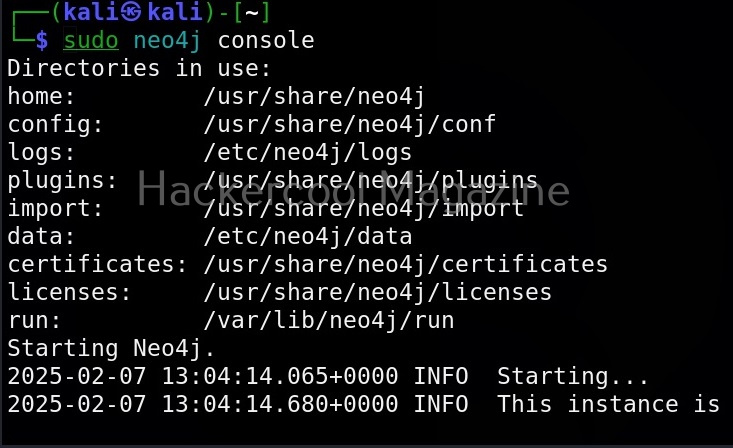
Next, we need to start neo4j console as shown below.

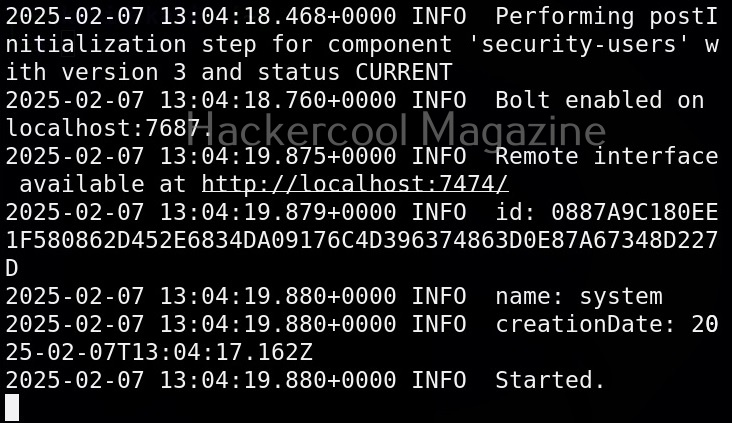
It provides a remote interface as the URL as shown in the above image. Click on that URL to access the remote interface. The URL opens in a browser. It will prompt you for authentication. The default username and password for logging into Neo4j is (neo4j;neo4j).

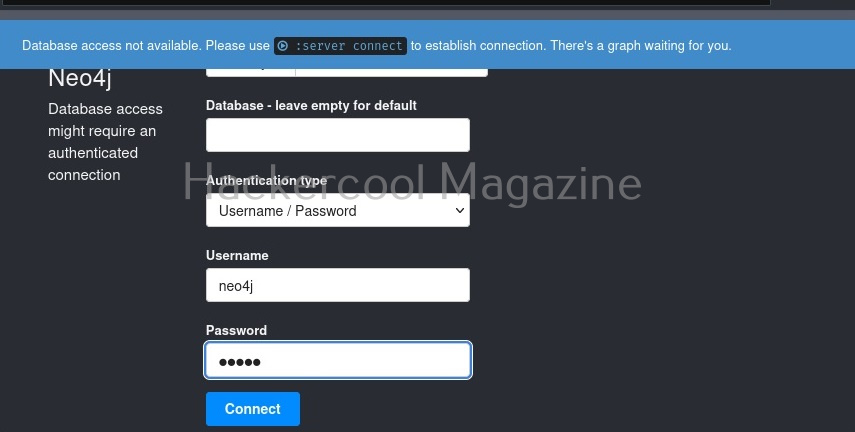
Unless you change the default credentials, Ne04j will not work. So change the password.

Now, Neo4j database is all set. To start bloodhound, use command as shown below.

bloodhound

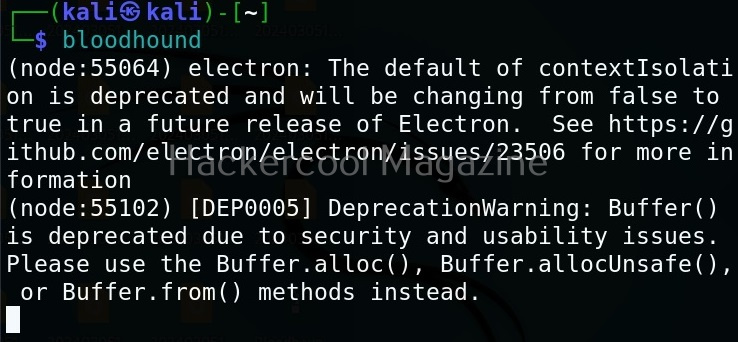
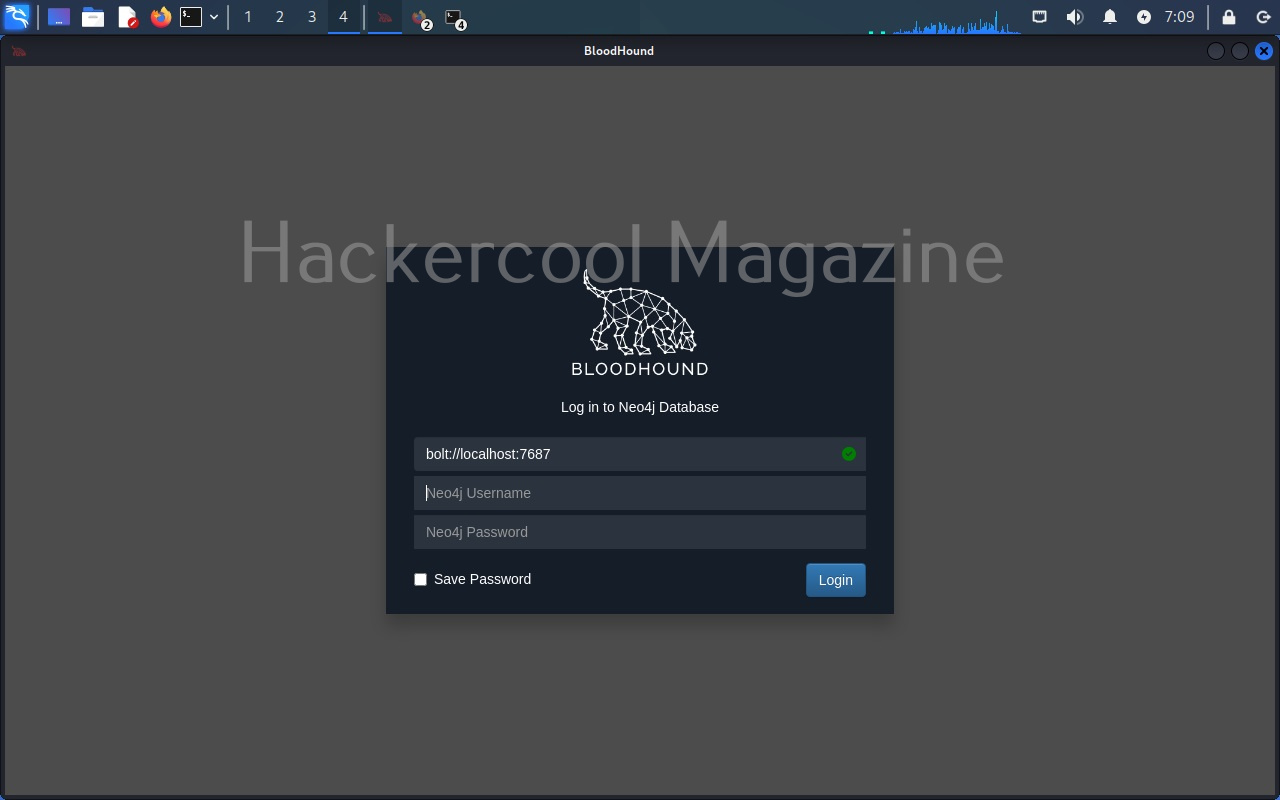
A browser should automatically open with a login option as shown below. Login with the Neo4j username and the new password you set.

A almost white screen should welcome you as shown below.

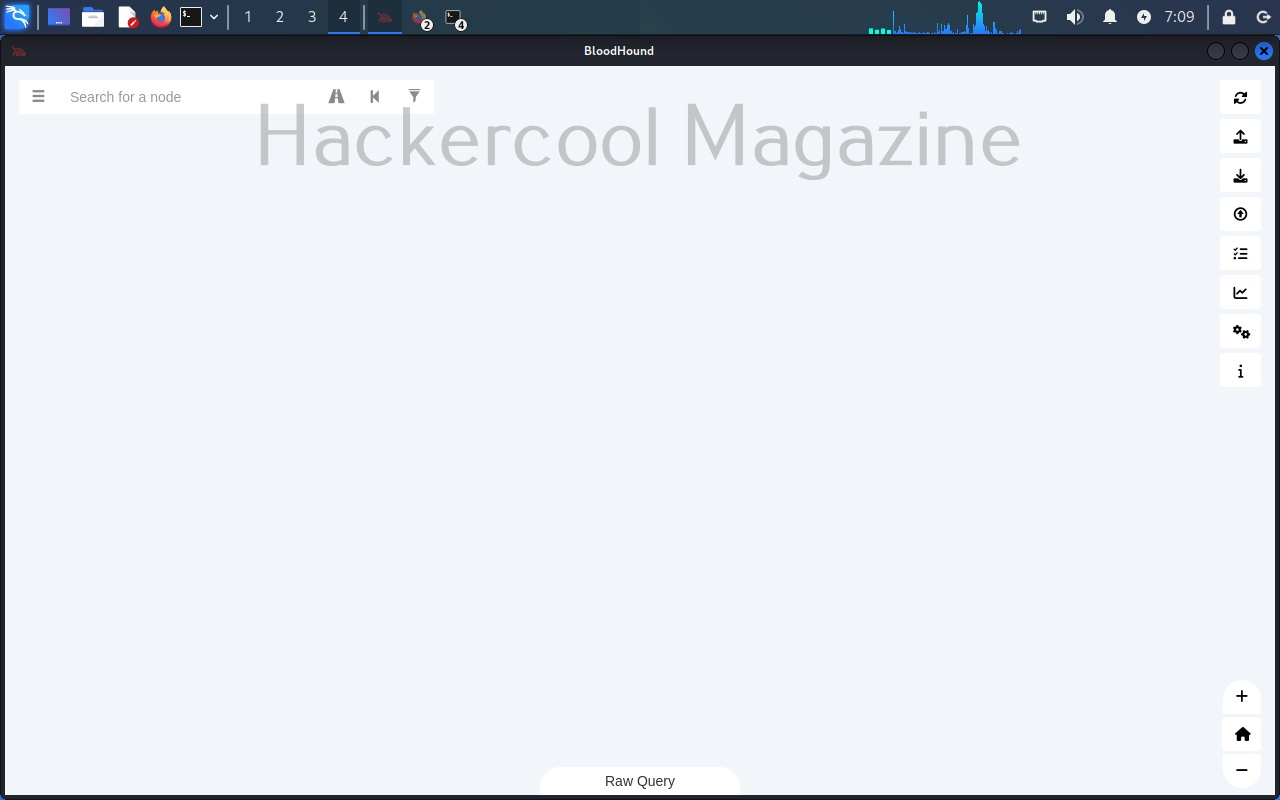
Bloodhound is successfully installed and ready to be used. To see how this tool works first we need to collect data belonging to a active directory environment. This can be done using a tool provided by the makers of bloodhound known as SharpHound. Data can be collected using SharpHound as shown below.

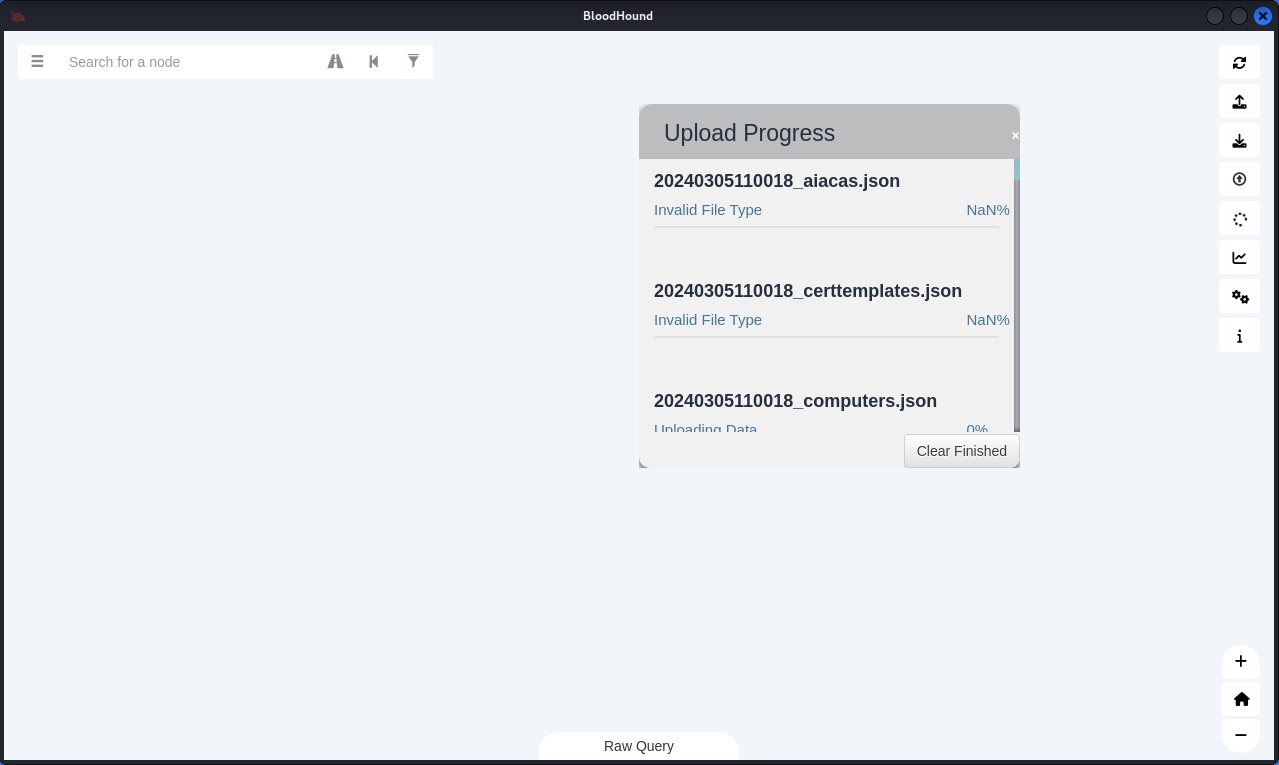
However, SharpHound has been giving some errors while collecting data lately. See, if it works for you. There is also some sample data available for download to see the working of bloodhound. This can be downloaded from here. This sample data in the form of zip archive can be uploaded to bloodhound as shown below.

Even uploading of this data is posing some problems. But don’t worry. we will soon be updating this article. Please watch out.

Posted on

UNIX privesc check: Complete guide

Hello, aspiring ethical hackers. In our previous blogpost, you learnt about Linux privilege escalation. In this article, you will learn about UNIX privesc check , a tool that will help you in elevating privileges on a Linux and UNIX system.

UNIX privesc check is a shell script that checks for all simple privilege escalation vectors on a UNIX system. This script finds misconfigurations and other settings that could allow local unprivileged users to elevate privileges on a target Linux system.

Let’s see how this tool works. For this, we will be using Kali Linux as this tool is available by default in its repositories. As target system, we will be using Metasploitable 2 installed in our virtual hacking lab.

As it is a local privilege escalation script, it needs to be run on the target system. Obviously, you need to have access on the target system. Learn various methods to gain access to a Linux system in our Linux hacking article. After gaining access, we can use any method to download the UNIX-privesc-check script to the target system.

Next, it can be executed like any other shell script.

Unix privesc check runs in two modes: standard and detailed. In standard mode it performs a speed optimised check of security settings. It can be run in standard mode as shown below.

./unix-privesc-check standard

In the detailed mode, it performs all checks performed in standard mode but additionally it will also perform checks of permissions of open file handles and other files. This mode sis low but can help you find more weaknesses in 3rd party programs. UNIX privesc check can be run in detailed mode using command shown below.

./unix-privesc-ccheck detailed

It is good practice to save the scan output to a file. This can be done as shown below.

Usually this file with scanned output needs to be transferred to the attacker system for analysis. This can be done using tools like netcat or socat. For example, let’s transfer “detailed_output.txt” file to attacker system for observation. While observing the output file, you need to look out for “warning” signs. These allow in privilege escalation of Linux system.

For example, you can see that SUDO is configured in the above image.

This tool has also found one binary with SUID bit set. Learn about SETUID privilege escalation.

It has even found public and private SSH keys which can be used to login to SSH server on target system. Learn about SSH hacking in our comprehensive guide.

That’s how we use this tool. Learn about Windows privesc check, a tool that helps us in elevating privileges on a Window system.

Posted on

Beginners guide to PowerSploit

Hello, aspiring ethical hackers. In our previous blogpost, you learnt what is Post-Exploitation and various techniques of Post exploitation. In this article, you will learn about PowerSploit, a Post-exploitation framework.

PowerSploit is a collection of Microsoft PowerShell modules that help Red Teamers and Penetration testers during post exploitation phase of pen testing. Let’s learn how to use this.

For this, I will be using Kali Linux as attacker system as PowerSploit is installed by default in Kali repositories. We are doing this on the same virtual hacking lab but we are replacing Metasploitable 2 target system with Windows 10 target system.

You can start PowerSploit by using command shown below.

powersploit

This will show you this. As you can see, all modules and scripts of PowerSploit are placed in different directories based on their functioning.

Here are all the PowerShell scripts and modules of PowerSploit.

To use a module or a script of PowerSploit, all you need to do is to copy the script you want to the target system. The uploading method can be different based on different situations.

For doing this, we need to already have access to the target system after gaining access. For this article, let’s assume I gained initial access to the target system and have meterpreter access on it.

We use the upload command of meterpreter to upload the “Get_Computer-Details.ps1” PowerShell script to target system. The “Get-ComputerDetails.Ps1” module gathers information about target system.

Once uploaded, you can use different techniques to execute the module. This depends on the type of access you have on the target system. For this article, Iuse shell command of meterpreter to get a CMD shell on the target system and use “PowerShell” to execute the PowerSploit’s script.

You can use all the scripts of PowerSploit in the same way. Learn how to use nishang post exploitation framework.

Posted on

Beginners guide to Nishang

Hello, aspiring ethical hackers. In our previous blogpost, you learnt about Post-exploitation in detail. In this article, you will learn about Nishang, a post-exploitation framework.

Nishang post-exploitation framework is a collection of PowerShell scripts and payloads that aids us in penetration testing and red teaming. Nishang can be useful in all the phases of penetration testing.

Let’s learn about how Nishang works. For this, we will be using Kali Linux as our attacker system as Nishang is available by default in its repositories. As target, we will be using the same virtual hacking lab but replace the Metasploitable 2 target with Windows 10 for this article.

As you can see in the above image, the PowerShell scripts and payloads of nishang are placed into different folders based on the purpose it fulfils. Let’s see all of them.

Let’s use one of the scripts of nishang in the “Gather” folder. As the name suggests, the scripts in this folder are useful in collecting information about the target. As you already read at the beginning of this article, the role of Nishang comes during Post-exploitation. So, we first need to be gaining access to the target system. For this article, let’s say we have a meterpreter session on the target system as shown below.

Let’s use “check_vm.ps1” script from Nishang for this tutorial. This script checks whether the target system is a virtual machine or not. We use upload command of meterpreter to upload this “check_vm.ps1” script to the target system.

After this, we need to execute this script on the target system. This can be done in two ways. If you have RDP access on the target system, you can just open PowerShell and execute the uploaded script.

By default, PowerShell doesn’t allow execution of scripts for security purposes. So we may need to first bypass this execution policy. It can be done as shown below.

Next, we need to import the script as module and execute it.

As you can see, the result is out. What if you don’t have RDP access on the target system. Then you have to get a shell from meterpreter as shown below and then execute commands just like above.

The result is same. We can use all other scripts of nishang in the same way. Learn about PowerSploit POST-exploitation framework.

Posted on

Beginners guide to Uniscan

Hello, aspiring ethical hackers. In our previous blogposts, you learnt about various vulnerabilities affecting web apps and websites like Local File Inclusion (LFI), Remote File Inclusion (RFI) and remote command execution (RCE) vulnerabilities. In this blogpost, you will learn about Uniscan, a web vulnerability scanner that scans and detects the above mentioned vulnerabilities in a website or web app.

Uniscan is a simple web vulnerability scanner that scans for LFI, RFI and RCE vulnerabilities. Let’s see how this tool works. For this, we will be using Kali Linux as attacker machine as this tool is available by default in its repositories. As target system, we will be using Metasploitable 2 installed as part of our virtual hacking lab.

Scan a single URL (-u)

All we have to do to scan a website with uniscan is to supply the URL with the (-u) argument as shown below.

Scan for directories (-q)

By enabling this option, we can scan for directories on the target website.

Here, is the result.

Scan for files (-w)

with this option, you can scan for files located on the web server.

Here, is the result.

Scan “robots.txt” and “sitemap.xml” files (-e)

With this option, you can scan the target website’s “robots.txt” and “sitemap.xml” files.

Here are the entries of robots.txt file of our target.

Perform dynamic checks (-d)

The option is useful to perform dynamic checks on the target website.

Perform stating checks (-s)

This option is used to perform static checks on the target. This is the scan that helps in detecting LFI, RFI and RCE vulnerabilities.

Here’s the output.

As you can see in the above image, uniscan detected a LFI vulnerability in the target.

Perform stress checks (-r)

Stress checks help us to see if the target is vulnerable to DoS or DDos attacks.

Fingerprint the server (-j)

With this option, we can perform OS fingerprinting on the target. Uniscan can perform ping, traceroute, nslookup, detect open ports and the services running on them.

Here’s the output.

Combining the scans

All these above explained types of scans can be performed at once as shown below.

Run uniscan in background (-b)

With this option, you can send uniscan to background.

Target multiple URLs at once (-f)

Instead of a single URL, we can scan multiple URLs with uniscan at once. All we have to do is save the URLs you want to scan in a text file and use ‘-f’ option to supply this text file to uniscan as shown below.