Posted on 2 Comments

Beginners guide to OpenVAS

Hello, aspiring ethical hackers. In our previous blogpost, you learnt about vulnerability scanning. In this blogpost, you will learn about OpenVAS. OpenVAS or Greenbone Open Vulnerability Assessment Scanner is a fully featured vulnerability scanner. Its features include unauthenticated and authenticated testing, various high-level and low-level internet and industrial protocols, performance tuning for large-scale scans and a powerful internal programming language to implement any type of vulnerability test. This article is a beginners guide to this tool.

It is an open source software and can be installed on Linux systems. Let’s start with installing OPENVAS on Kali Linux. Before you start the installation, update the Kali Linux system using the command shown below.

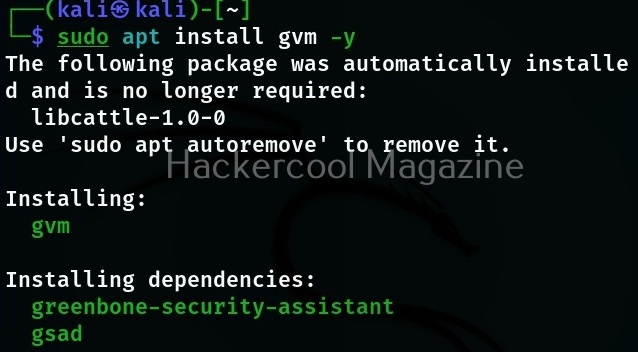
OpenVAS scanner is a part of Greenbone Vulnerability Manager (GVM) software. So, we have to install this software using command shown below.

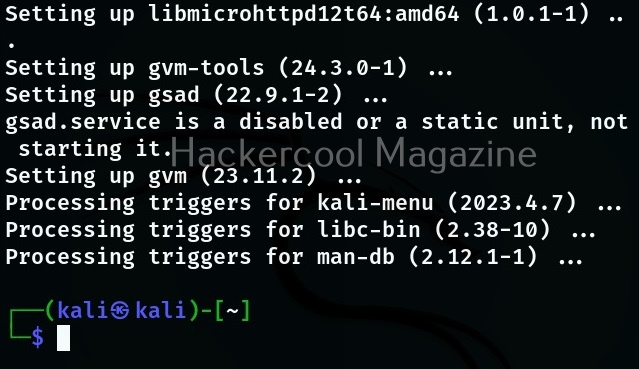
sudo apt install gvm -y

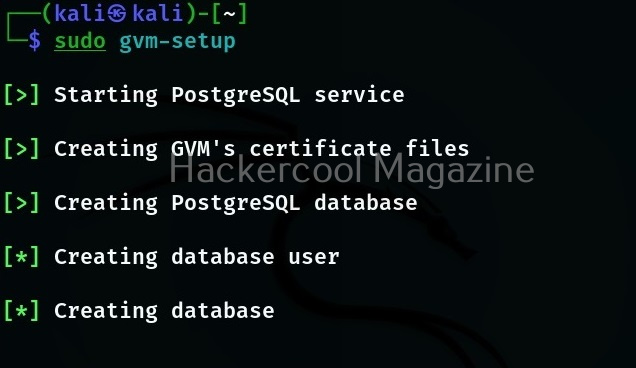
After successfully installing it, we need to set gvm. This can be done using a simple command.

sudo gvm-setup

This simple command will take care of everything needed to setup this tool.

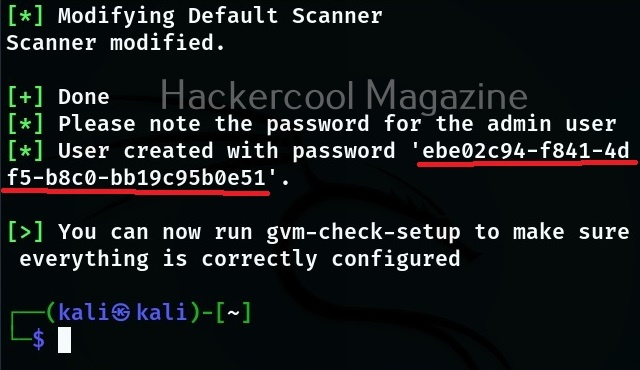
At the end of the setup, a password is created for the admin user of OpenVAS. It’s very important to make a note of this password. Otherwise you will not be able to login into the web interface of OpenVAS. The setup of OpenVAS is finished. It’s good to check if everything is installed correctly. Use the command below for that.

sudo gvm-check-setup

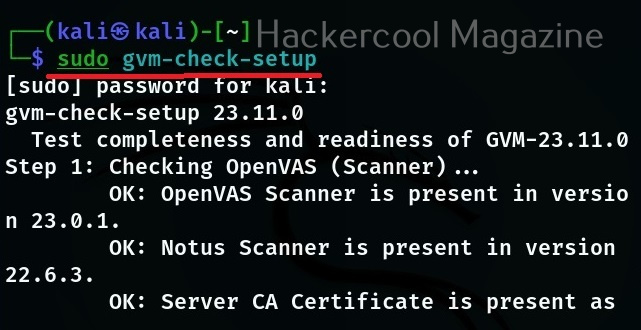
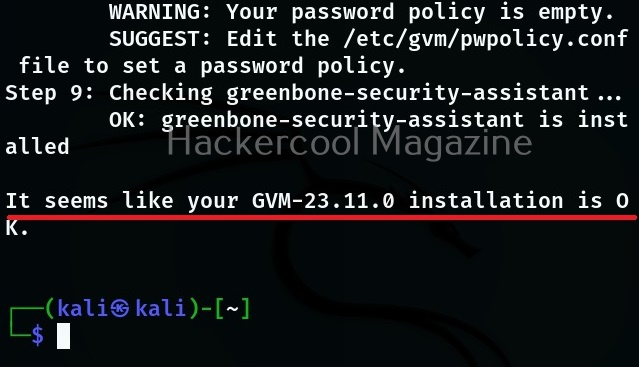
If you get a message as highlighted in the above image, it means the installation is successful without any errors. Everything’s done. Now let’s start the OpneVAS service. This can be done using command below.

sudo gvm-start

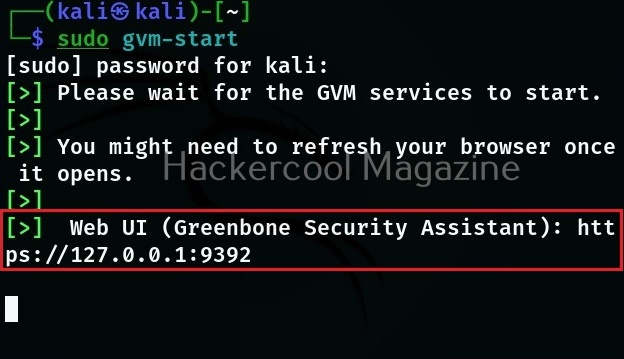
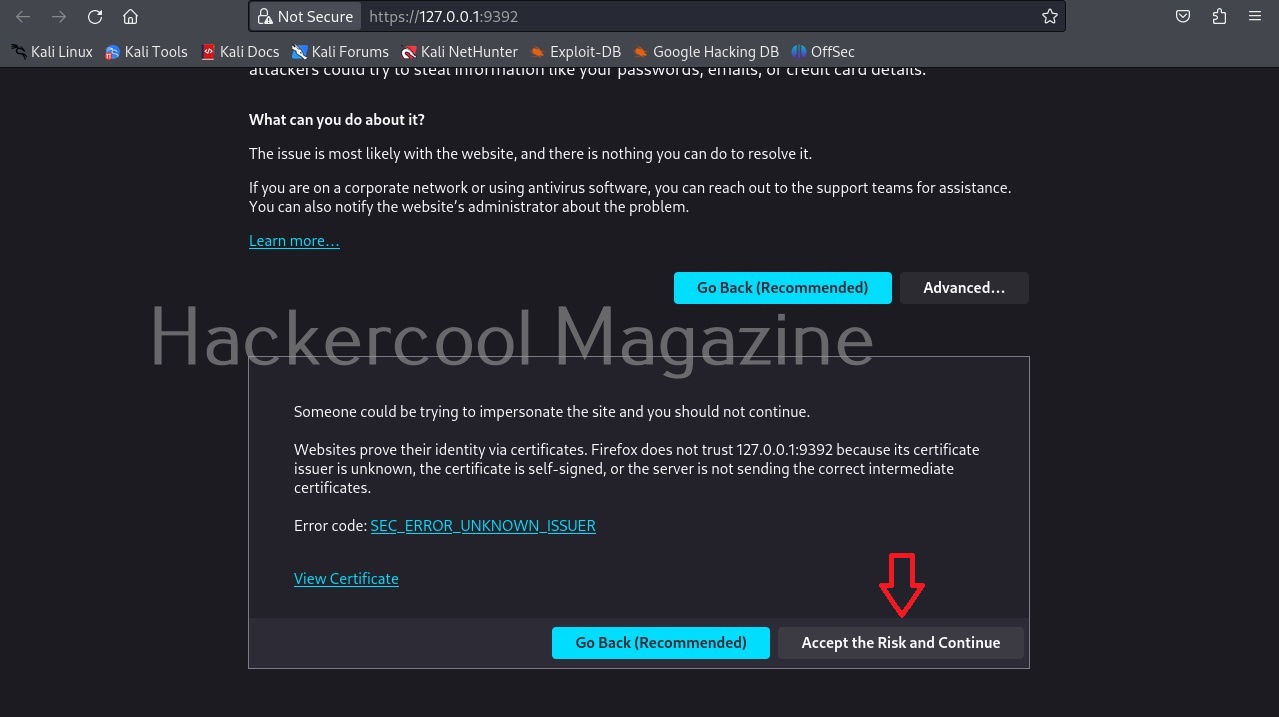
This will start OpenVAS and present you with URL of the web interface. By default, OpenVAS runs on port 9392. Click on the URL to go to its web interface. When the browser starts, you will most probably be greeted with a potential security risk. Click on “Advanced”.

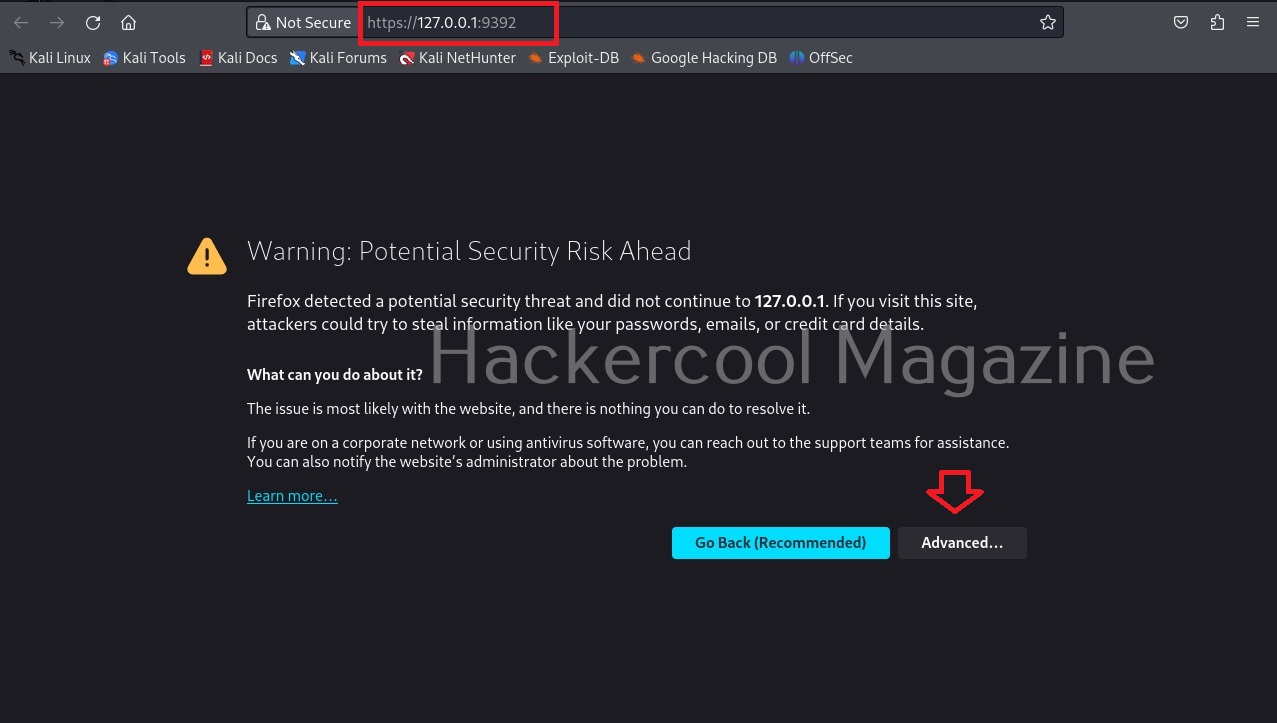
As an ethical hacker, you will have to take lot of risks. This is one of the HARMLESS risks you will be taking. Click on “Accept the Risk and Continue” button.

You will be taken to the login screen of OpenVAS.

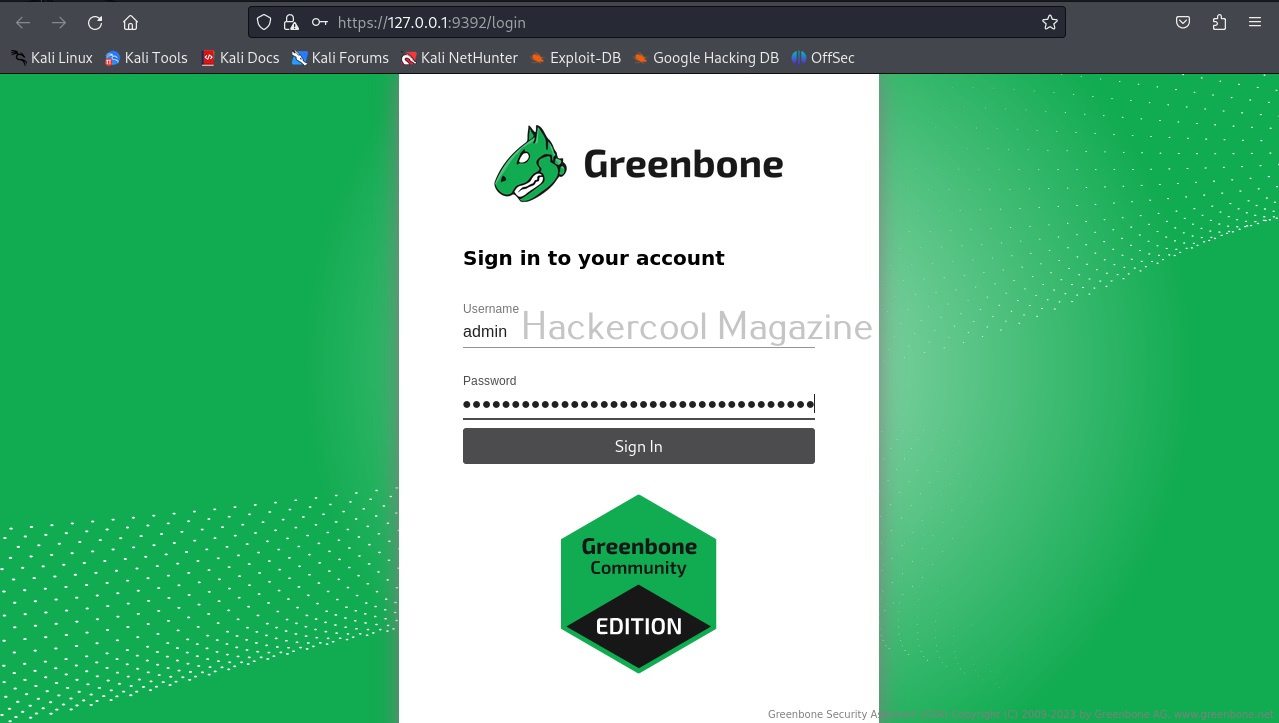
Login with the credentials. The username is “admin” and password is the password I told you to take not at the beginning of this blogpost.

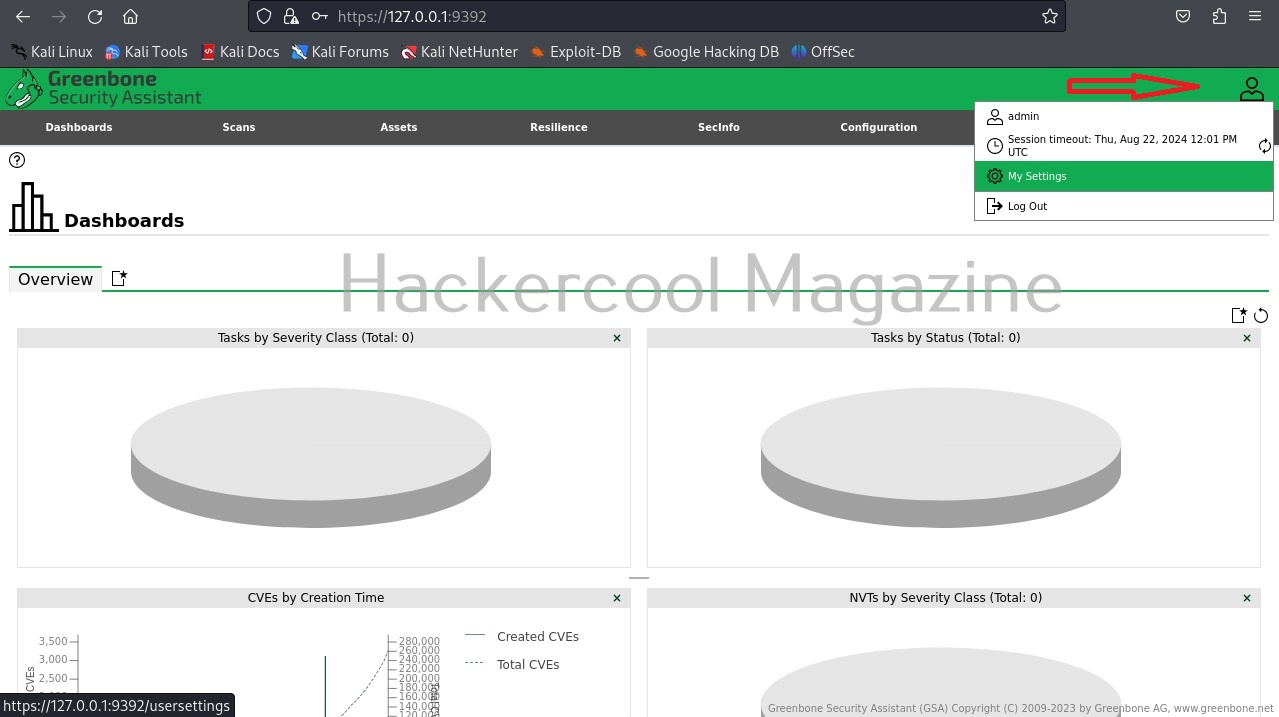
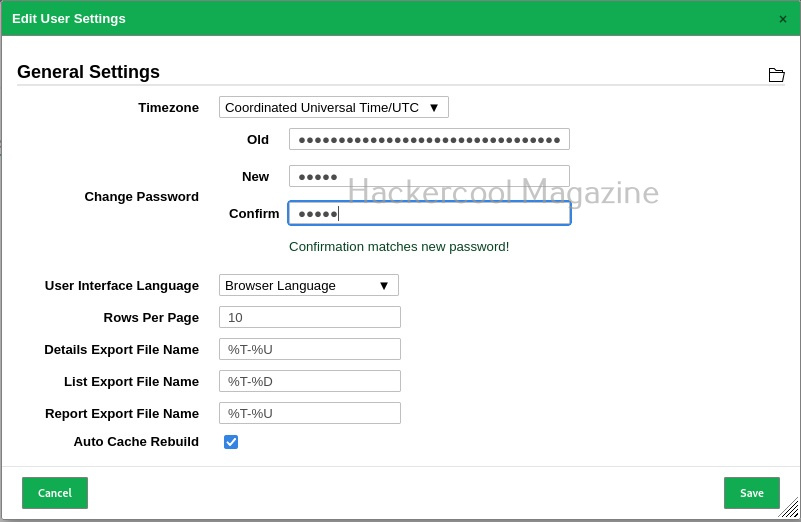
You will be taken to the dashboard of OpenVAS. I don’t know about you but the first thing I want to do is change my password. To do this, go to the Admin menu and click on “My settings”.

This will take you to the “settings” page as shown below. You can see some general settings of OpenVAS.

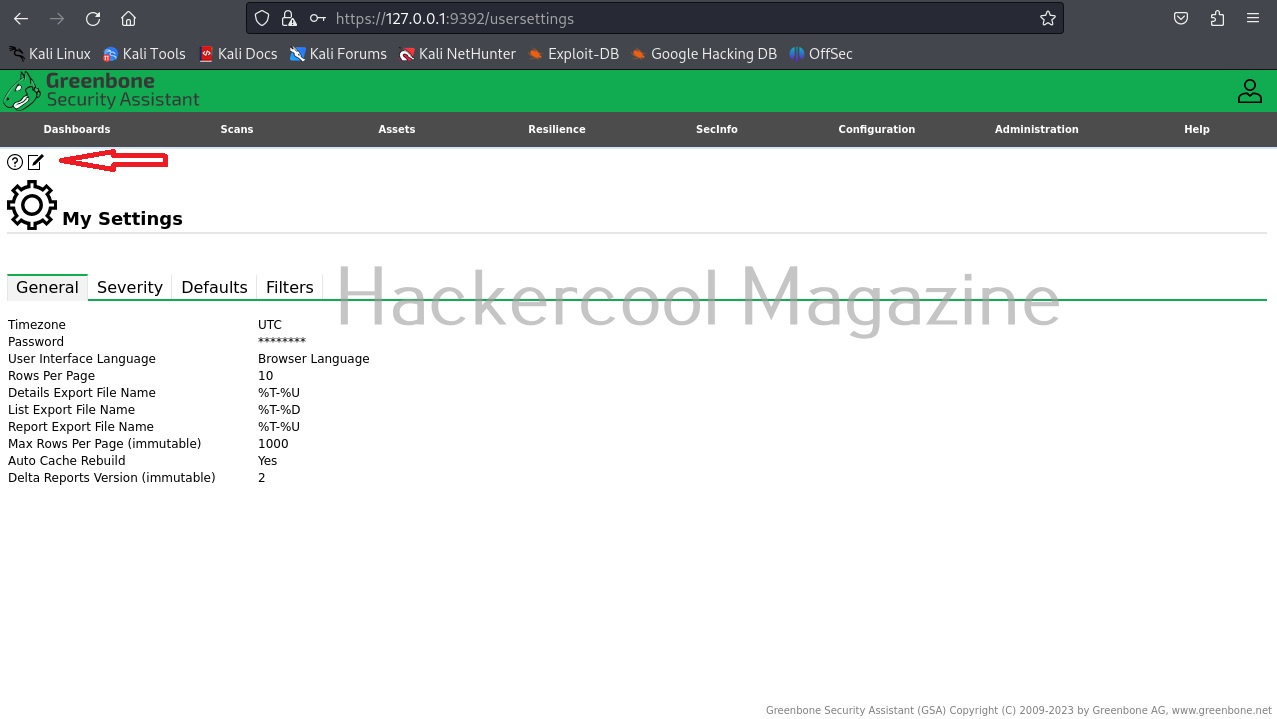
Click on Edit tab highlighted in the above image. Next, change your password and click on “Save”.

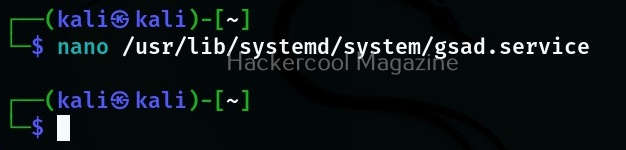
Next to change is how you want to access the web interface of OpenVAS. By default, you can only access it from he local machine. i.e the machine on which its is installed. If you want to access the web interface from any machine on the network, it can be changed too. This configuration is stored in the “gsad.service” text file. Open it with your favorite text editor (In my case it is nano).

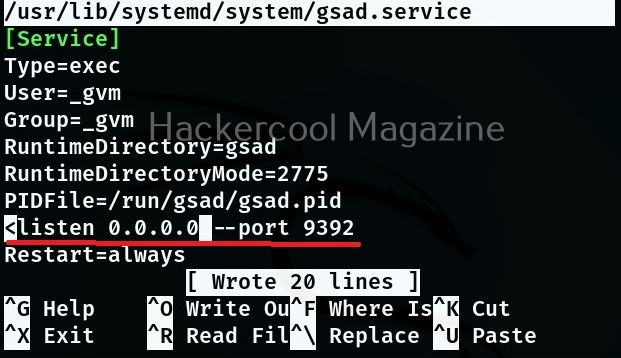
The line you want to change is the one that starts with ExecStart as shown below.

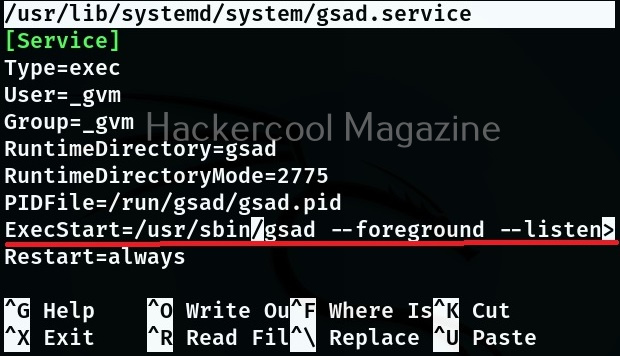
On that line, you can see the IP address and port on which the web interface of OpenVAS is running. By default, the IP is 127.0.0.1. Change it to 0.0.0.0. don’t forget to save the changes.

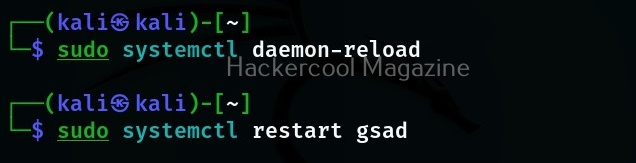
Restart the OpenVAS daemon and the gsad service.

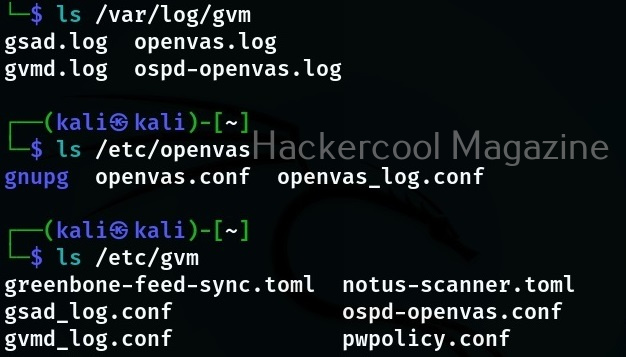
If there ever arise a need to check logs of OpenVAS, this tool’s logs are given below.

You can stop the OpenVAS service using the command shown below.

sudo gvm-stop

Posted on

JoomScan: Joomla vulnerability scanner

Hello, aspiring ethical hackers. In this blogpost, you will learn about JoomScan, a vulnerability scanner designed for Joomla. Joomla is one of the most popular CMS which is widely used for its flexibility, user-friendliness and extensibility. Popularity has its own cost in cyber world. It would be pretty helpful if the pen testers know the vulnerabilities in their Joomla CMS before any hacker takes advantage of them.

JoomScan is one such tool which will help web developers and web masters to help identify possible security weaknesses on their deployed Joomla! sites.

The features of JoomScan include,

  • 1. Exact version probing
  • 2. Common Joomla! based web application firewall detection
  • 3. Searching known vulnerabilities of Joomla! and its components
  • 4. Reporting to Text & HTML output
  • 5. Immediate update capability via scanner or svn.

    JoomScan is open source and is installed by default in almost all pen testing distros. We will be using Kali Linux for this tutorial. Now let’s see how to use this tool. Open a terminal and type command “joomscan update” first. We will update the tool first.

    joomscan

    Once the tool is updated as shown above, type command “joomscan” to see the options as shown below.

    Next, give the target joomla website as shown below. In this howto, I’m using my own Joomla website.

    The result would seem like below. Below we see that our target doesn’t have any firewall, it’s server is apache and it is powered by PHP version 5.3.10. Unfortunately it didn’t detect the version. Hmm, no probs.

    Next it will scan for vulnerabilities and check whether if this site is vulnerable for a particular vulnerability as shown below.

    At the end, it will show us the number of vulnerabilities present in our target.

    We can see that our target has 2 vulnerabilities as shown in the above image. We will see how to exploit those vulnerabilities in our future howtos. But for now we have successfully performed a vulnerability assessment of our target. Learn about WPscan, a tool used for WordPress vulnerability scanning.

    Posted on 2 Comments

    How to install Shellter in Kali Linux

    It is a dream of every hacker to bypass the antivirus solutions of their targets. Recently we have been learning about various payload generators that can bypass antivirus. In this howto, we will see one such payload generator which is designed to bypass antivirus. It’s named Shellter. To say in the words of its makers, “By using Shellter, you automatically have an infinitely polymorphic executable template, since you can use any 32-bit ‘standalone’ native Windows executable to host your shellcode. By ‘standalone’ means an executable that is not statically linked to any proprietary DLLs, apart from those included by default in Windows. ”

    Let us see how to install Shellter in Kali Linux. The version we are using here is the latest version Shellter V7.0 till date which can be downloaded from here. Go to the download page and download the zip file shown below.

    Click on the link and save the file as shown below.

    Once the download is finished, go to the Downloads folder. You will see the “shellter.zip” file as shown below. I copied the file to the root folder but if you want to keep the file in Downloads folder you can keep it. This step is not mandatory.

    Now change the permissions of the zip file as shown below. Until you change the permission- s, you cannot unzip the files. After you change the permissions of the file, unzip the contents of the file using the “unzip” command.

    Type “ls“. You will see a new directory with name “shellter”. You have successfully installed Shellter in Kali Linux. Navigate into the directory “Shellter” to see its contents as shown belo- w. We will see how to use Shellter to bypass antivirus in our next issue. Until then, happy hacking practice.

    install shellter in kali linux
    Posted on 1 Comment

    Hacking Metasploitable 2: Port scan output

    This howto is part of a series called Hacking Metasploitable. So it would be good if you follow this as part of that series. Today we will see scanning and banner grabbing of Metasploitable. Scanning is the second stage of hacking where we gather more information about our target. Imagine a scenario where we got the IP address range of our target and we want to check how many live systems are there. This is network scanning. There are many tools in our attacker system but we will use Zenmap. Open a terminal and type command “zenmap”. It would open a GUI tool as shown below. Give the IP address range as shown below. (192.168.25.100-130, it may differ for you ) and select “ping scan” . Then click on “scan”. It will show all the live systems. In our case, only Metasploitable.

    Now let’s do port scanning of the live system. Now in target field, specify only the IP address of Metasploitable. In Profile, select “slow and comprehensive scan” and click on “scan”. It will show all the open ports as shown below.

    But there is another tool which is widely used for port scanning. Enter nmap. Nmap is a versatile port scanner. (Zenmap is the GUI version of Nmap). The default way to use Nmap is shown below. It would list all the open ports.

    Next we will see how to grab banners. Banners display information about the type of service running at the open ports of our target. This can reveal some important information about our target which can be used for hacking. The Nmap command for banner grabbing and its results are shown below. We got a lot of banners.

    hacking metasploitable

    Next we will use Nmap to find out the operating system of our target. The command is given below.

    The OS details are given below.

    There is another way of grabbing banners. It is telnetting to each port as shown below. The results can also be seen.

    That’s all in Hacking Metasploitable : information Gathering stage.

    Posted on

    Beginners guide to Veil framework

    Hello, aspiring ethical hackers. In our previous blogpost, you learnt about some Antivirus bypass techniques used by hackers to keep their payloads undetected. In this blogpost, you will learn about Veil Framework, a tool to generate Metasploit payloads that can bypass common anti-virus solutions.

    Veil framework is officially supported by Debian 8 and Kali Linux rolling 2018+. It may also be run on Arch Linux, Manjaro Linux, Black Arch Linux, Deepin 15+, Elementary, Fedora 22+, Linux Mint, Parrot Security, Ubuntu 15.10+ and Void Linux.

    For this tutorial, we will be using Kali Linux. Veil framework can be installed either directly or can be downloaded from Github. Veil can be installed on Kali using apt as shown below.

    This simple command will install all the dependencies and software Veil requires like Wine etc.

    After successful installation, Veil can be started using the command shown below.

    As you can see, Veil has two tools installed: Evasion and Ordnance. Let’s focus on the evasion part for this article. We can use the command shown below to the evasion tool.

    As you can see, Veil is saying that 41 payloads have been loaded and it is displaying the commands available in Veil Evasion menu. To see all the payloads veil can create, use command “list” as shown below.

    You can select the payload you want to create as shown below. For example, here I want to create powershell/meterpreter/rev_tcp.py payload. So, I use its number as shown below.

    Along with payload information, the options required for this payload are also displayed along with the available commands.

    The required options can be set just like Metasploit. For example, set lhost using command

    Set lhost <attacker ip>
    

    After all the options are set, we can create the payload using “generate” command.

    You will be prompted to give a name to your output payload. Click Enter to continue. The payload is successfully created as shown below.