Posted on

Beginners guide to Eyewitness tool

Hello aspiring ethical hackers. In our previous blogpost, you studied about website footprinting. In this blogpost, you will learn about a tool called eyewitness which helps you to decide which website to focus on.

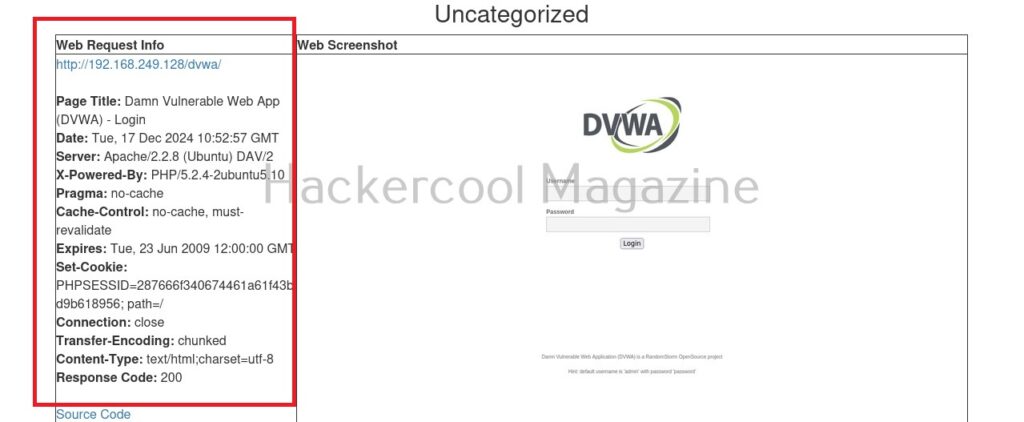
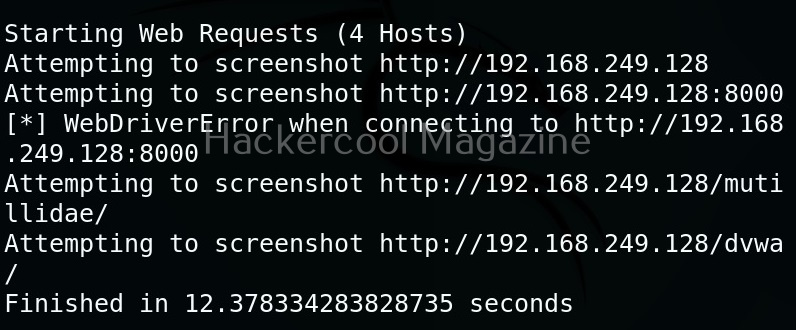
In ethical hacking, before trying to footprint a website, it would be good if we have a general idea about what websites to target first. For example, a company you are going to pen test may have multiple websites and sub domains. Before we jump into password cracking or exploitation or directory busting or perform any other attack, it would be good if we are first able to decide what website and URLs to target first. The role of eyewitness tool comes there. Eyewitness takes the screenshots of the URLs or websites you provide. Apart from taking screenshot of the URL, it will also capture any header info and default passwords.

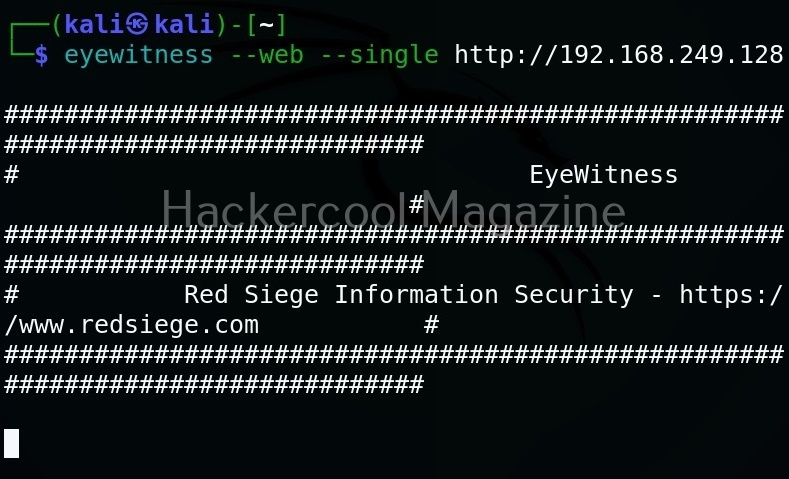
Let’s see how to use this tool. For this we will be using Kali Linux as this tool is available by default in Kali repositories. As target, we will be using Metasploitable 2 installed in our virtual hacking Lab. It can be installed as shown below.

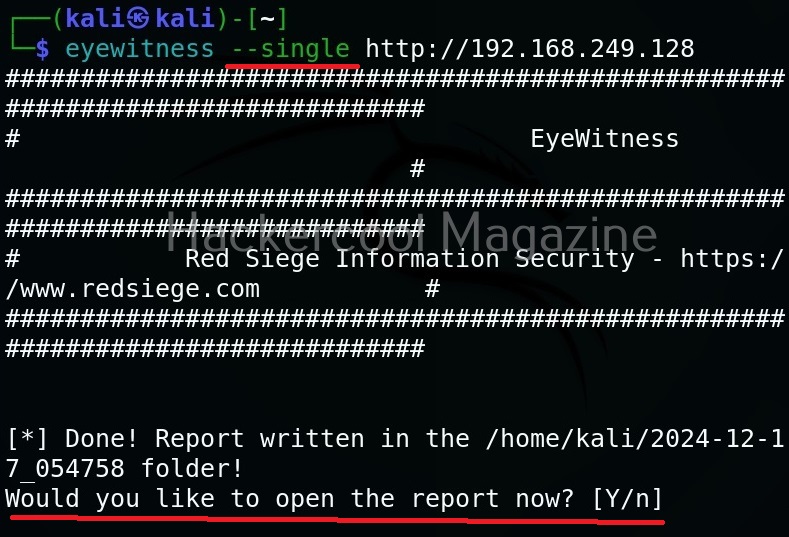
Target a single URL (–single)

You can take screenshot of a single URL as shown below.

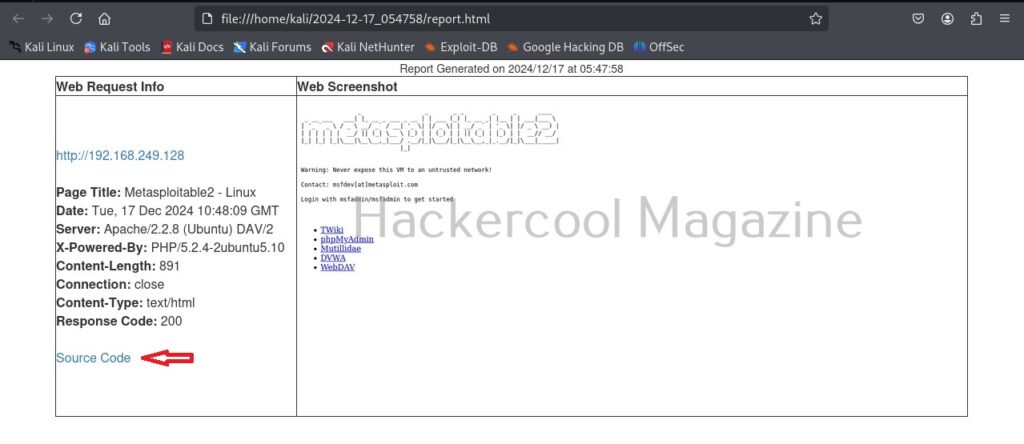
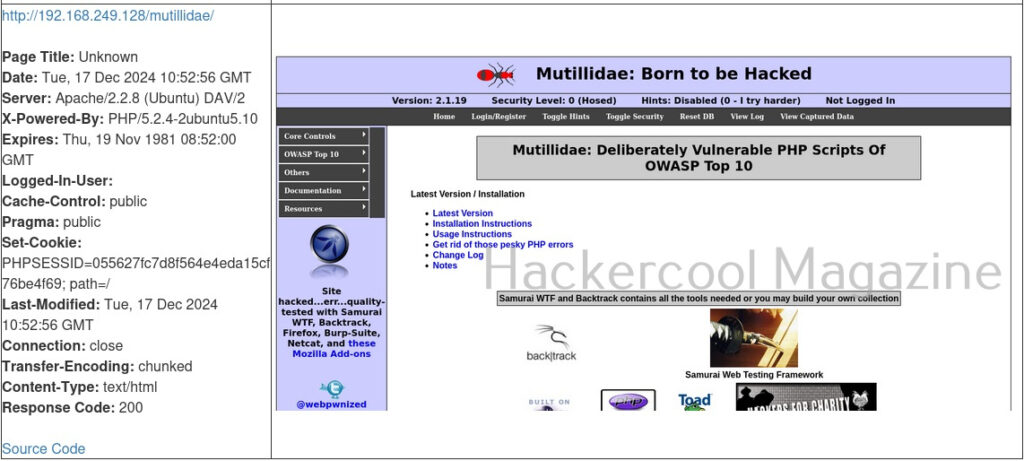
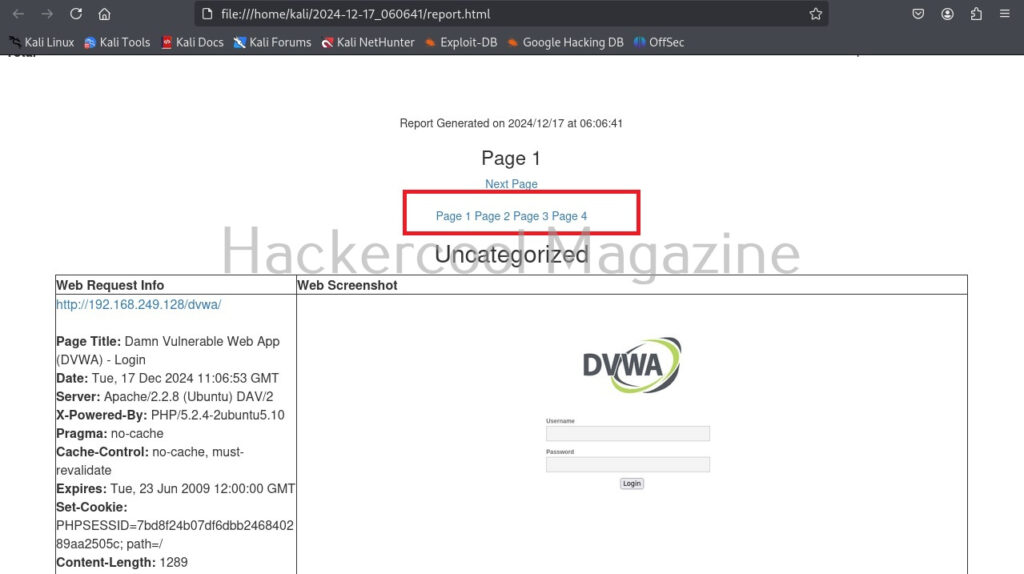
As soon as it writes a report for your target, it will ask you if you want to open the report. Click on “Yes”. It will open the report as shown below.

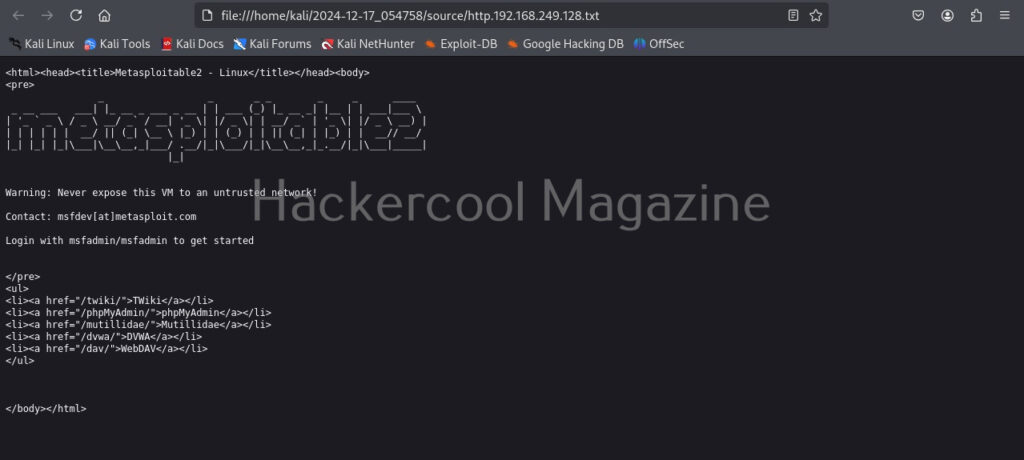
You can even view the code of the URL you scanned.

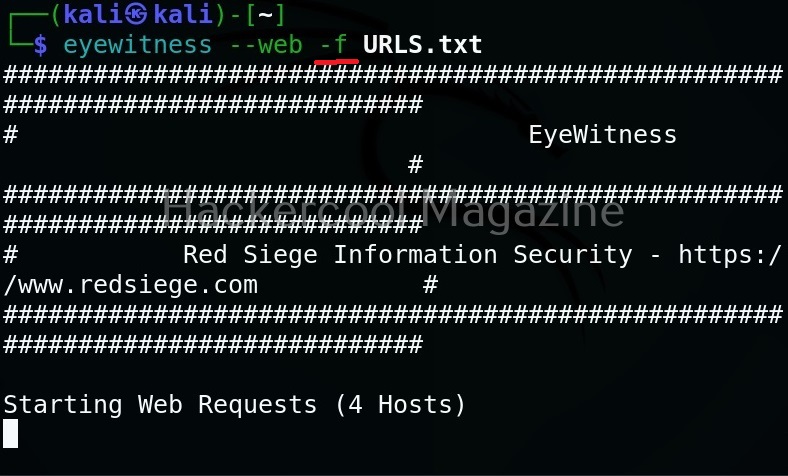
But the real power of eyewitness can be seen when we are targeting multiple URLs at once. For doing this, we will first create a file called URLS.txt and add some URLs we want to target as shown below.

Target multiple URLs (-f)

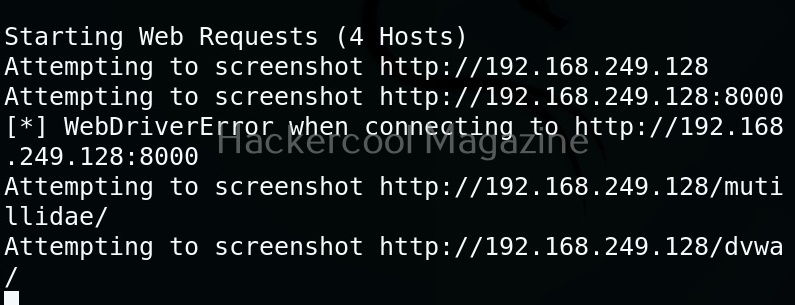
Multiple URLs can be targeted with this tool by specifying the above created file with (-f) option.

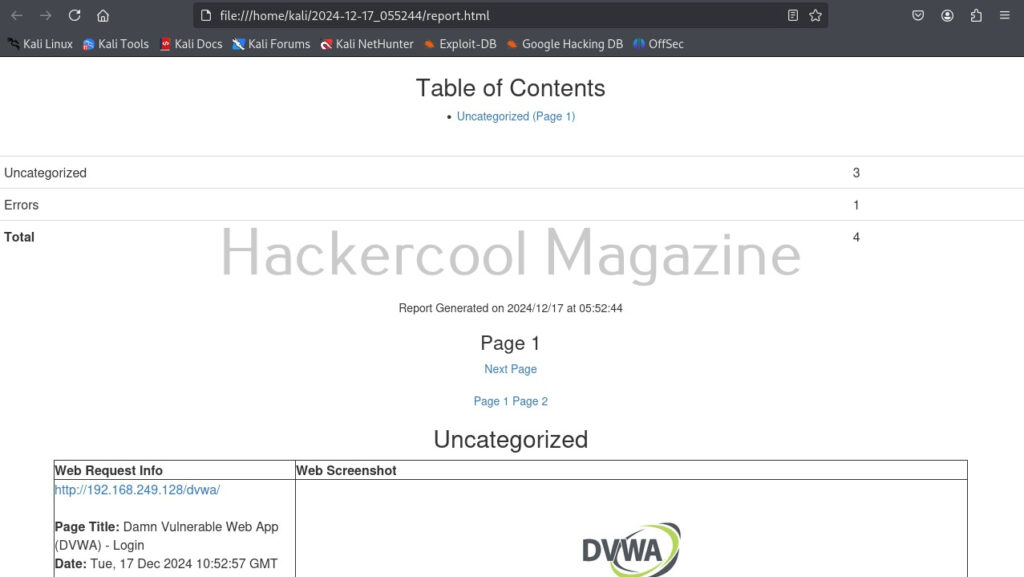
Here’s the report.

One of our URLs we targeted ended up in a error.

Skip DNS resolution(–no-dns)

In some cases, while using eyewitness tool, you may have to go through a VPN. In such cases, it is good to skip DNS resolution when connecting to the website. This option helps you to do it.

Resolve IP / host name for your target (–resolve)

Time to wait while requesting an URL (–timeout)

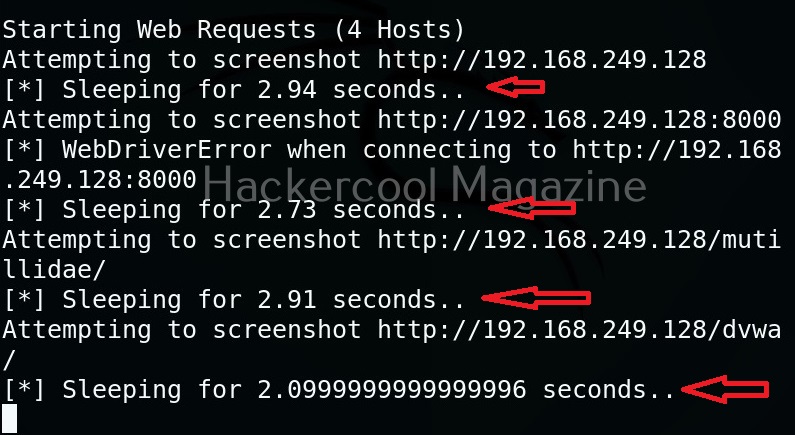
By default, eyewitness waits for 7 seconds before it goes to take a screenshot of a new webpage. However, this can be changed with this option. For example, let’s change the timeout time to 1 second.

Add jitter (–jitter)

Using this option, we can randomize the URLs specified and add a random delay.

Add delay before taking a screenshot (–delay)

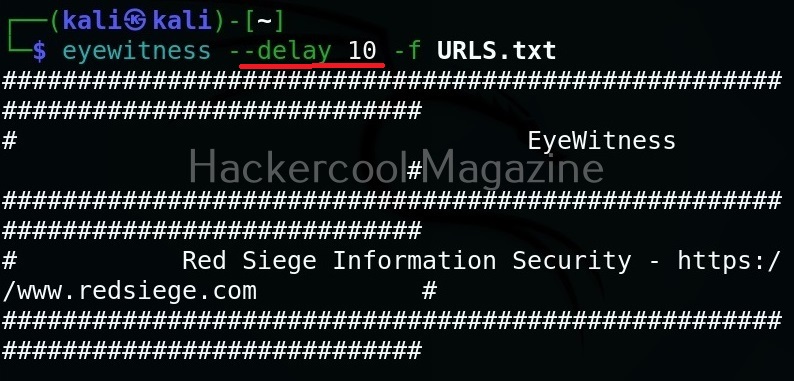
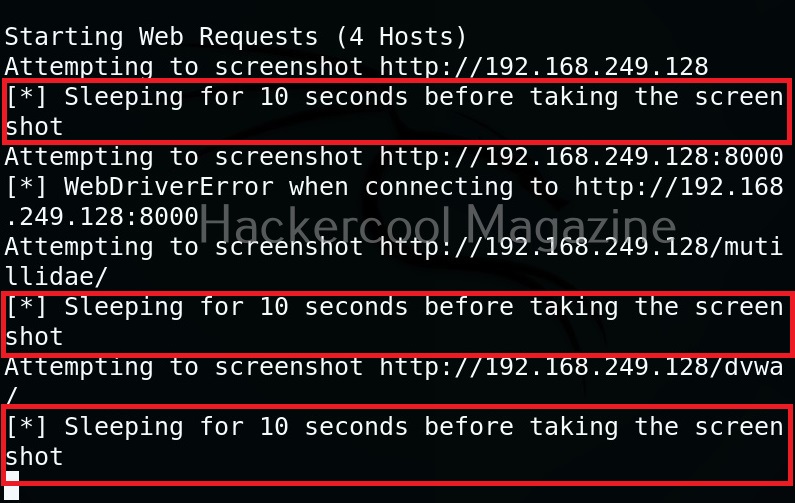
Using the option, we can add delay between opening of the navigator and taking a screenshot. This delay can be specified in seconds. For example, let’s add 10 seconds delay before taking screenshot.

Maximum retries (–max-retries)

This option specifies eyewitness tool how many retries it has to make if it fails to grab a screenshot on the first attempt.

Specify directory name for saving the report (-d)

This option is used to specify a directory name for saving the report.

Number of results to show on one page (–results)

By default, eyewitness shows output for all the URLs given as input on a single page. This option can be used to specify how many results to show per page. For example, let’s set it to show 1 result per page.

As you can see, now, all the results are shown on separate pages.

You don’t want to be prompted for viewing the report (–no-prompt)

If you don’t want eyewitness to prompt you to open the report after finishing its work, you can use this option.

Posted on

Beginners guide to ARP scan

Hello, aspiring ethical hackers. In our previous blogpost, you have learnt about network scanning and enumeration. In this blogpost, you will learn about a tool named arp scan, a command line tool used for scanning and fingerprinting on the local network.

ARP scan is available for Linux and BSD systems and uses ARP protocol to scan the network. Let’s see how to use this tool. For this, we will be using Kali Linux as this tool is available for download by default in Kali repositories.

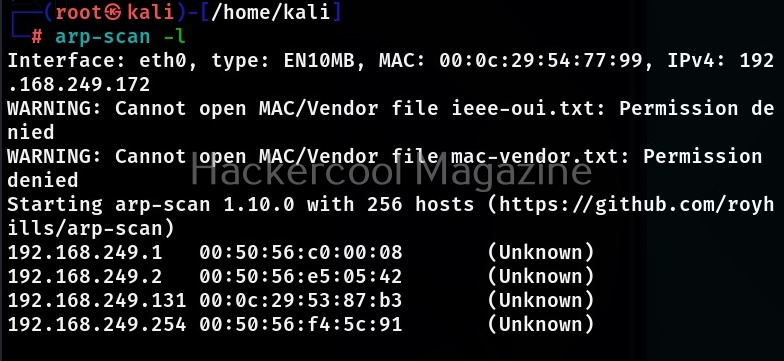
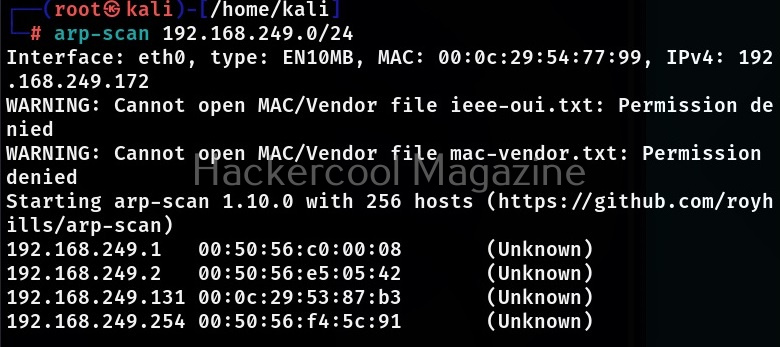
It is good to run arp scan tool as root user in order not to face some errors. You can simply scan a network using arp-scan as shown below.

If you want to scan your local network, you can simply specify the “-r” option to do it as shown below.

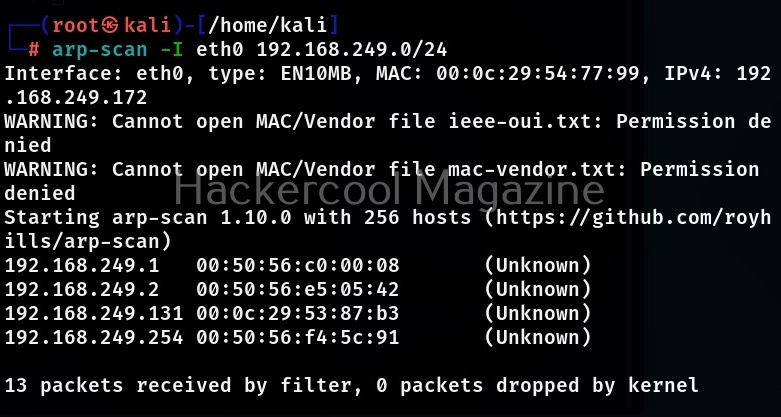
If your device is connected to multiple networks and you want to scan a particular network, you can specify the network interface using the “-I” option. By default if the “-I” option is not specified, arp-scan will search the system interface list for the lowest numbered configured up interface, excluding Loopback and scan that network.

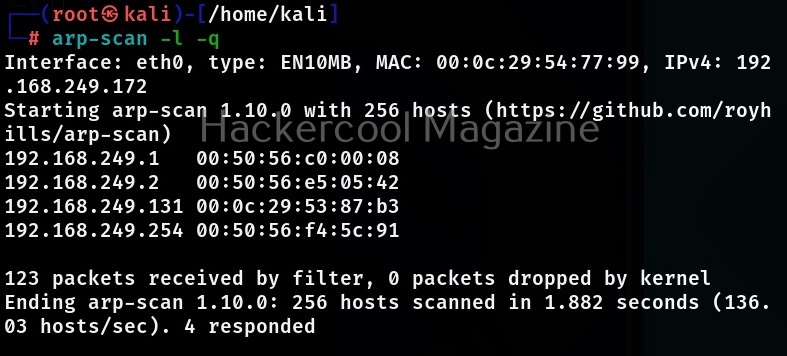
Quiet mode (-q)

If you want minimal output to be displayed for each responding host, while scanning with arp-scan, you can use quiet mode. While using this mode, only the target IP address and MAC address are displayed.

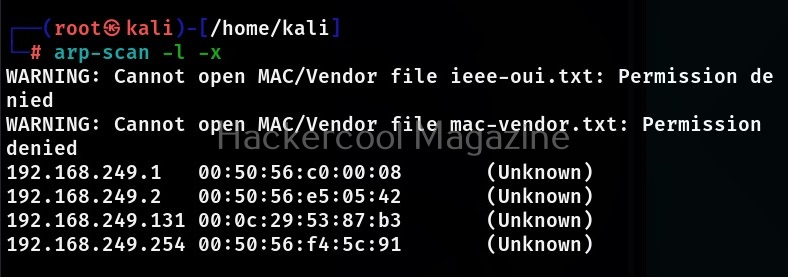
Plain mode (-x)

If you want more less details like just the responding host details, you can use the plain mode. While using this mode, arp scan suppresses the header and footer text in output as shown below.

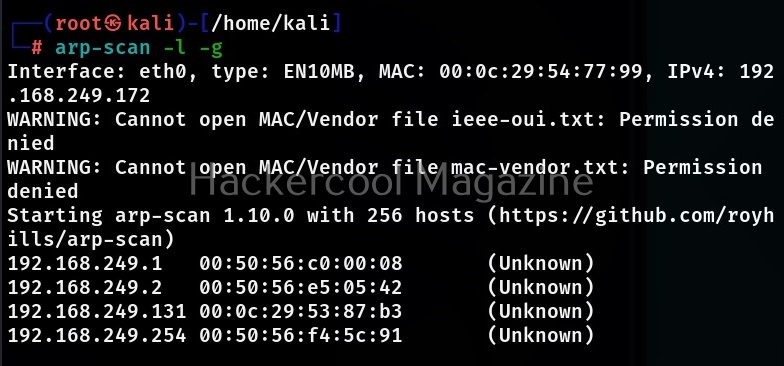
Ignore duplicates (-g)

By default, arp scan displays duplicate packets by flagging them with (DUP.n) where “n” is the number of times the target host responded. By specifying the option, these duplicate packets can be ignored by arp-scan.

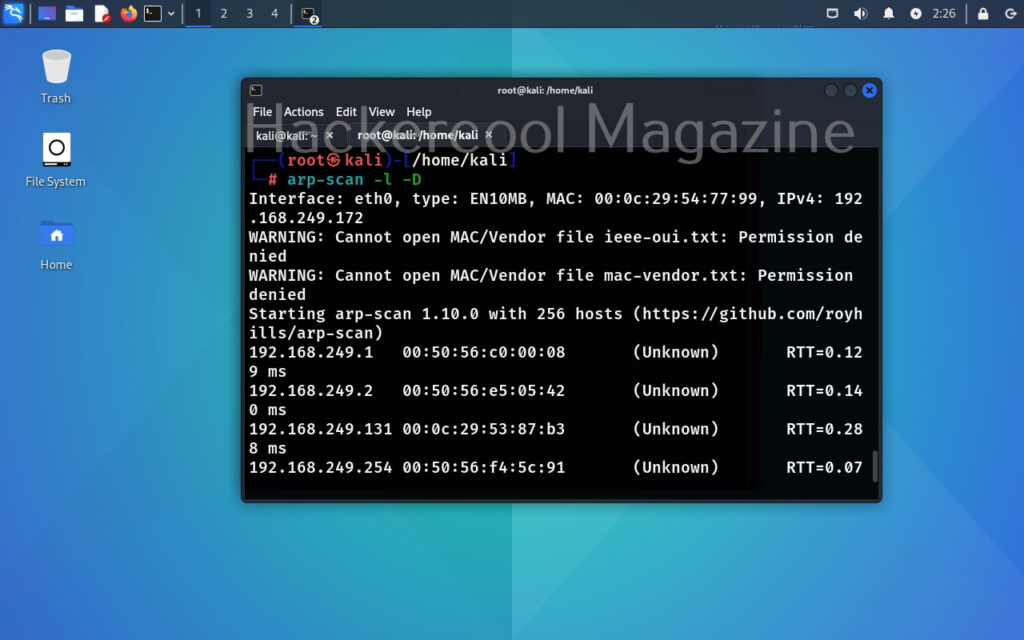
Calculate and display round trip time (-D)

Network Packet round trip time (RTT) is the time it takes for a data packet to travel from a source to a destination and back again. It is a key matric to measure network latency and is usually measured in milliseconds. Setting this option, allows us to measure the round trip time.

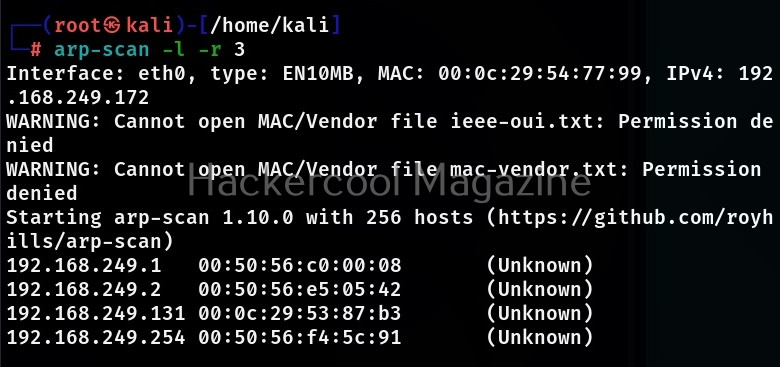
Retry attempts (-r)

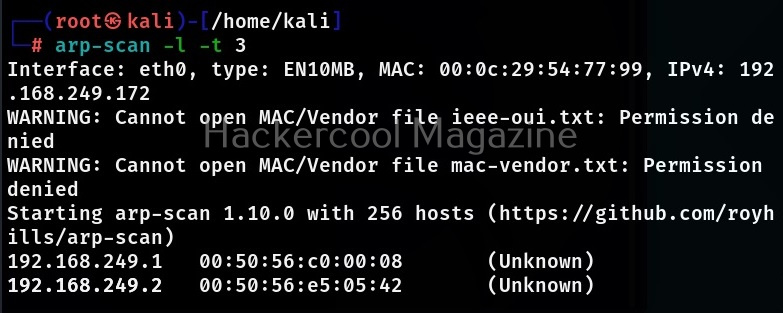
This option can be used to specify the number of retry attempts to make per host. By default arp-scan makes 2 retry attempts. For example let’s set it to 3.

timeout (-t)

By default, 500ms is the timeout for this tool. This option can be used to change it however.

Interval (-i)

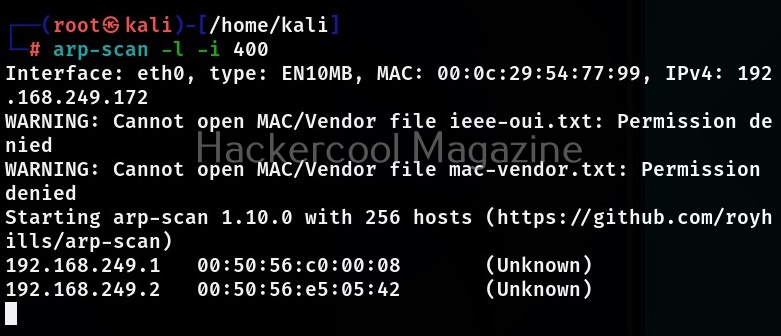
If you have limited bandwidth to use for scanning with this tool, you can use this option to control the outgoing bandwidth by limiting the packet rate. For example, let’s set the interval between each packet to 400 milliseconds. It can also be set to micro seconds by appending the “u” option.

Bandwidth (-B)

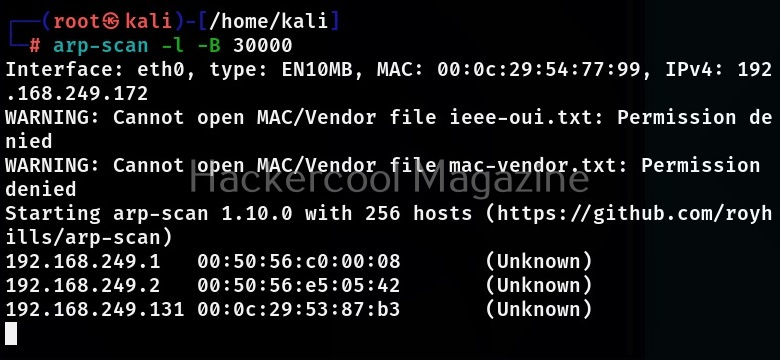
This option is useful when you want to control the outbound bandwidth to a specific value. By default, bandwidth is 2,46,000 bits per second.

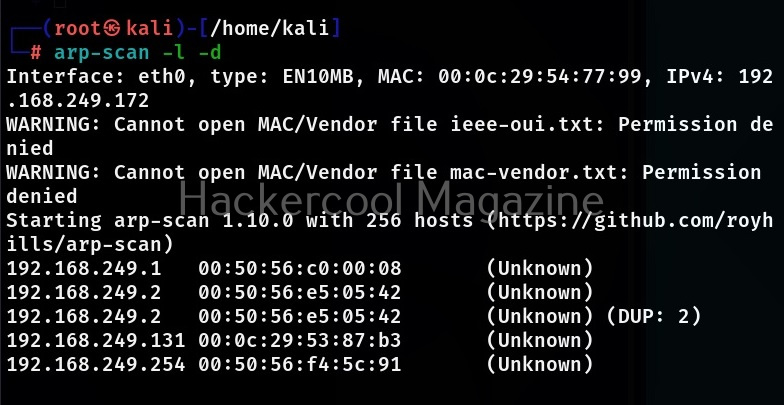
Resolve responding addresses to hostnames (-d)

This option is used to resolve the hostnames for addresses detected by this tool. The default output format will display the hostnames instead of the IPv4 address.

Limit the number of hosts to scan (-M)

By default, arp-scan scans all the hosts on the network that are LIVE. You can limit the number of hosts to scan using this option.
Posted on

JPS Virus maker: Beginners guide

Hello, aspiring ethical hackers. In our previous blogpost, you learnt how to create a virus from scratch. However, not always viruses are created from scratch in real-world. There are many virus makers available to easily create viruses. In this blogpost, you will learn about one such tool named JPS Virus maker.

Why we chose this tool particularly? There are numerous virus makers available on internet and for sale on dark web. We chose this tool because our intention is not to create a virus but just show you how easy it is to create a virus. An also because since its popular and harmless (because it is easily detected by even basic AV’s. Note that this is for education purpose only.

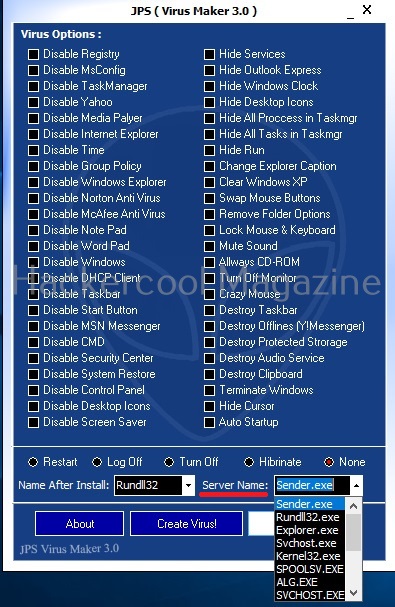
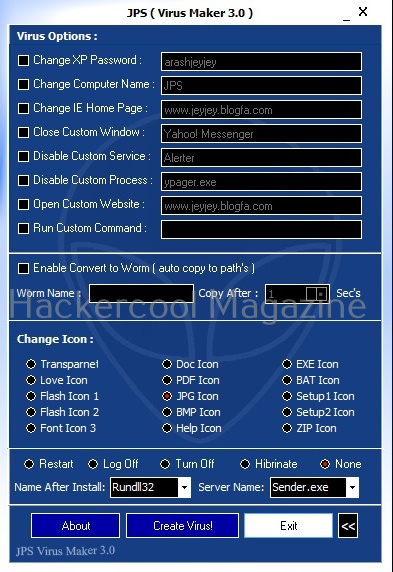
JPS virus maker runs on Windows. Once you download JPS virus maker to the Windows system, clicking on the executable opens a window as shown below. (Note that JPS virus maker is portable and needs to installation. Also note that Antivirus needs to be disabled while creating a virus with JPS virus maker. Otherwise Antivirus will flag it as malicious software.

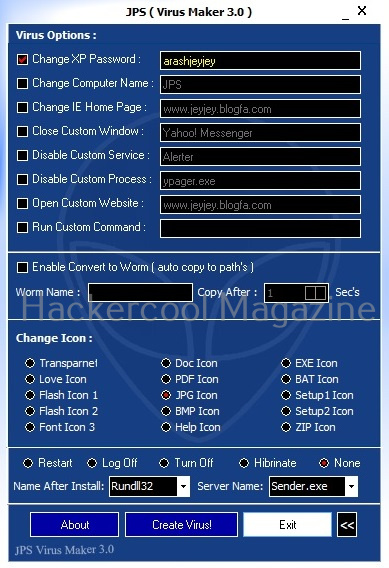
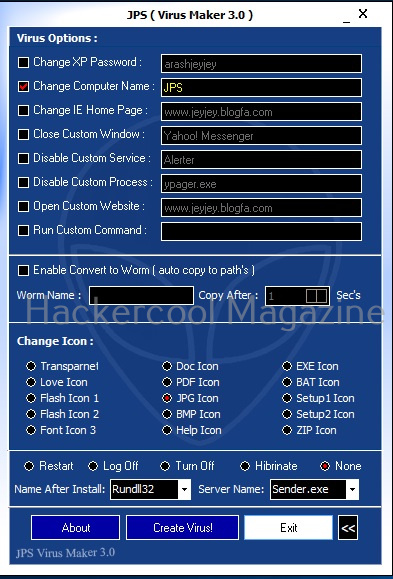
Here, you can see all the functions of the virus maker. You can specify any or all functions you want to perform on the targets system. You can select a single function or multiple functions at once.

But first let us click on the “About” button to learn more about its creator.

You can see that it is written in Delphi. With the “server name” option, you can select the name for the virus you want to create from the given values. Let’s name it “sender.exe”.

Similarly, you can also set the name for your virus after successful installation on the system.

Below all the functions given for you to set for your virus, you can select the option to restart, log off, turn off and hibernate the target system. You can find additional functions for your virus by clicking on the button next to “Exit”.

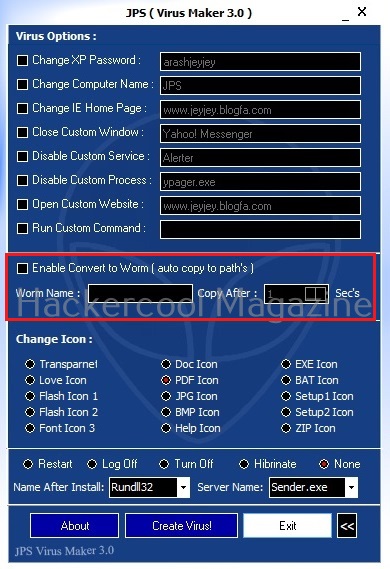
You can even convert your virus into a worm. To understand the difference between virus and a worm, read our guide on malware. You can even select a icon for your virus. Let’s select PDF icon, for example.

After you select all the functions you want your virus to have, click on “Create Virus” and the virus will be created.

The virus is ready. Now all we need to do is to send it to the target and convince them to execute it. For this, you need to learn social engineering.

Posted on

How to create a payload

Hello, aspiring ethical hackers. In this blogpost, you will learn what is a payload and how to create a payload manually. Note that it is only for educational and knowledge purposes and not for performing any malicious actions. The aim of this article is to give you a basic understanding on how to create a payload. Let’s start with defining what exactly is a payload.

What is a payload?

A payload in cyber security is a piece of code that is executed after successfully running an exploit to take advantage of a vulnerability. When a Proof Of Concept (POC) for a vulnerability is disclosed, this allows most hackers around the world to execute their chosen payloads. This payload can be anything from malware, reverse shell, RAT, ransomware etc or their own custom payload.

For example, ms08_067 vulnerability was exploited in real-world to deploy Conficker worm payload, but while pen testing with Metasploit, meterpreter is used as payload. Although payloads can be created using payload generators simply, it would be very thrilling and educative to create manually.

Creation of a computer payload consists of six steps. They are,

  1. Decide the function you want your payload to perform.
  2. Select a programming language in which you want to code your payload.
  3. Code the payload.
  4. Compiling the payload.
  5. Testing.
  6. Sharing the payload.

Let’s learn about each step in detail.

1. Function of a payload:

Before you even start coding a payload, you need to decide what exactly you want your payload to do. In real-world, payloads perform many functions that include downloading and installing additional payloads, wiping data from the infected system and even taking complete control of the system. For example, I decide that my payload should open a Firefox browser when executed.

2. Choose your language:

After deciding the function you want your payload to perform, next thing you have to do is choose a programming language to code this payload. Payloads can be written in many programming languages like C, Delphi, Visual Basic, C#, C++, Cobol, Ruby, Python etc. They can also be created using scripting languages like JavaScript, Batch script, Bash, PowerShell etc. Choose the programming or scripting language of your choice. For example, I want to write my payload in Batch scripting.

3. Write code:

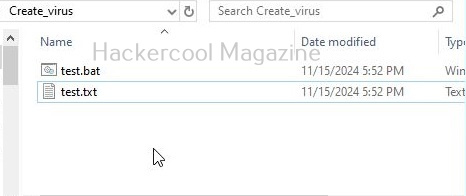
Once you select the programming language or scripting language, you need to code the payload. To code a batch script, all I have to do is open a notepad, add the code shown below and save the file as Batch file (with extension .bat)

@echo off
start firefox.exe

4. Compile (if necessary):

Compile the payload. Compiling is a process of converting source code into machine-readable code so that a computer can execute it. Since we have written our code in Batch, it doesn’t need any compilation. But programs written in C,C++, Python need compiling. Compiled programs are usually fast.

5. Test the payload:

Once you have finished coding the virus and compiling it, test its working by executing the virus. I execute the Batch virus I created and it open Firefox browser as shown below.

6. Share the virus:

The last step is to share the payload to make your target user execute it. Normally hackers use social engineering or phishing schemes to spread the paylaod.

Posted on

Complete guide to sherlock tool

Hello aspiring ethical hackers. In our previous blogpost, you learnt what is OSINT and its importance in ethical hacking, different types of OSINT etc. In this blogpost, you will learn about Sherlock, a OSINT tool.

Sherlock’s role in OSINT comes while gathering information from social media. It works by hunting for a particular username across various social networks. It does this by relying on social media site’s design feature to provide a URL with the username when a user registers an account on the social network.

Sherlock queries that URL and determines if the user has an account on that particular social network. It works by querying that URL and then uses that response to determine if there is a username. Sherlock can search for users on over 300 social networks that include Apple Developer, Arduino, Docker Hub, GitHub, GitLab, Facebook, Bitcoin Forum, CNET, Instagram, PlayStore, PyPi, Scribd, Telegram, TikTok, Tinder etc.

Let’s see how this tool works. For this I will be using Kali Linux which has Sherlock in its repository. You can install sherlock on Kali as shown below.

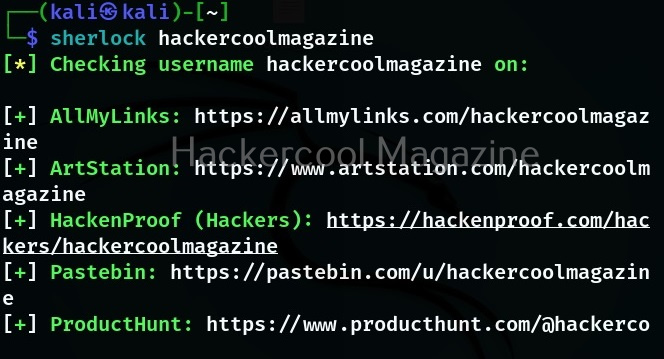
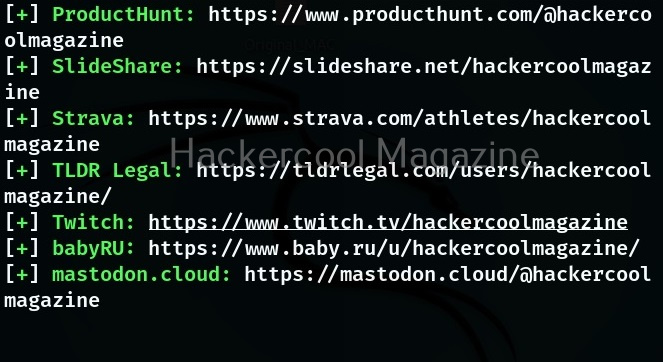
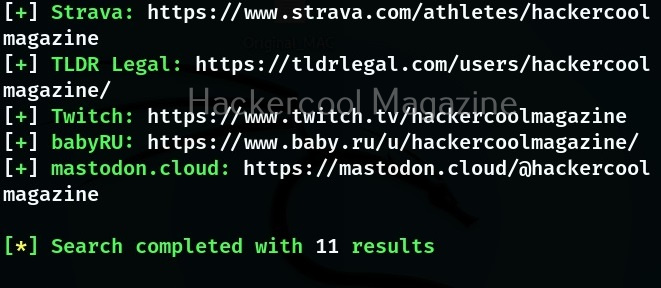
The simplest way to query a username with sherlock is by just supplying a username.

Searching on a particular social media site

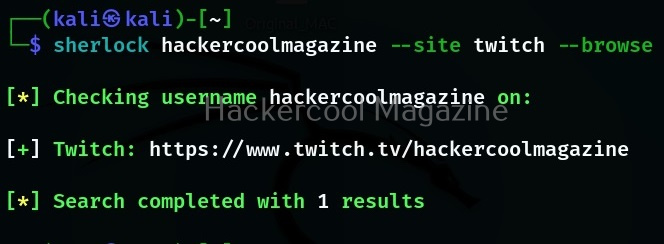
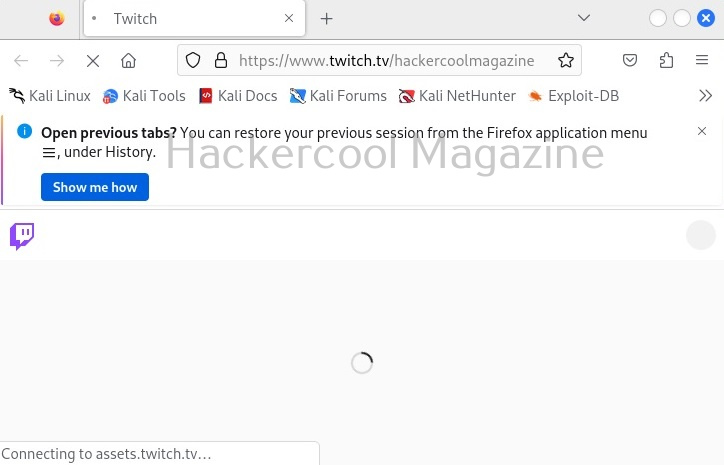
Instead of searching for a username on all the social media accounts, you can search for a username’s presence even on a single site as shown below. For example let’s search for a username on site Twitch.

Searching for similar usernames

Sometimes, a username can be slightly different to a person we are searching for. We can also search for similar usernames with this tool as shown below.

Here, {?} will be replaced with – or hyphen or period (.).

Searching for multiple usernames at once

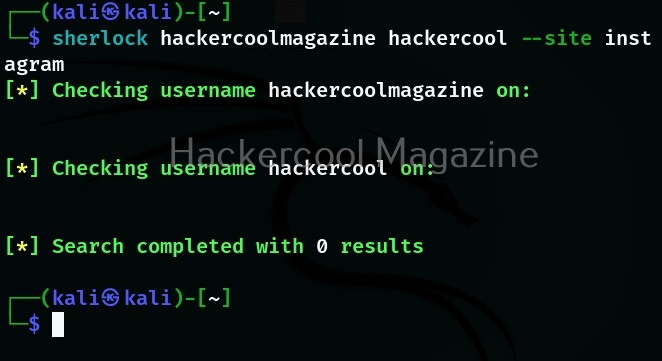
You can even search for multiple usernames with this tool as shown below. For example, let’s search for “hackercoolmagazine” and “hackercool” on Instagram.

Using a proxy while searching

You can even route your query through a proxy to remain anonymous.

Dump the entire HTTP response

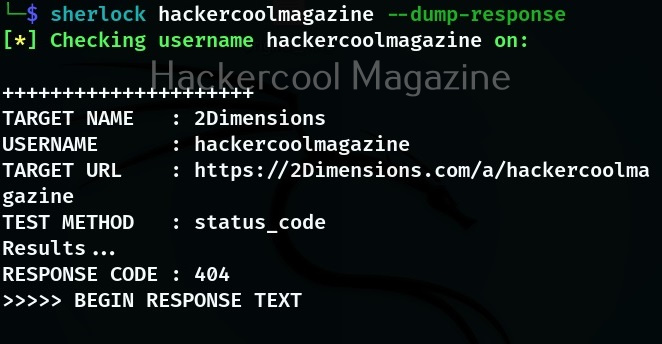
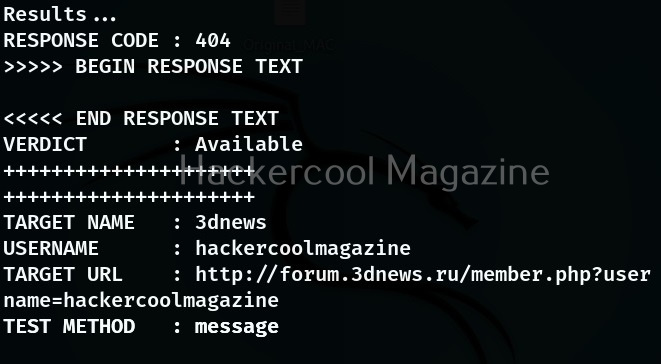
We can even see the HTTP response of the site while searching using this option.
Time to call

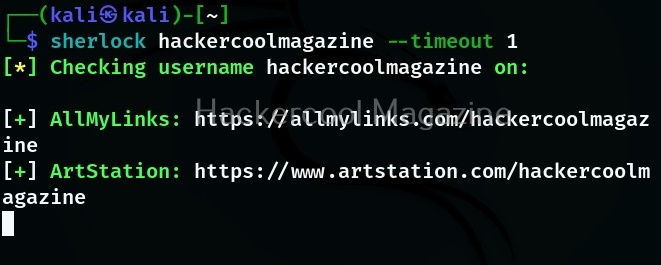
By default, while querying for usernames, this tool waits for 60 seconds for response to the request it made. With this timeout option, this time can be changed as shown below. The value should be set in seconds.
Print all the output

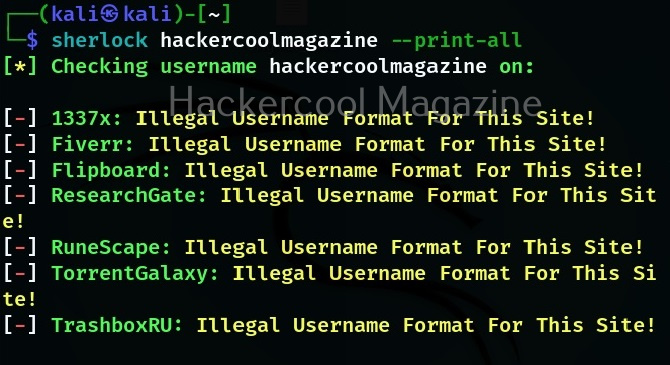
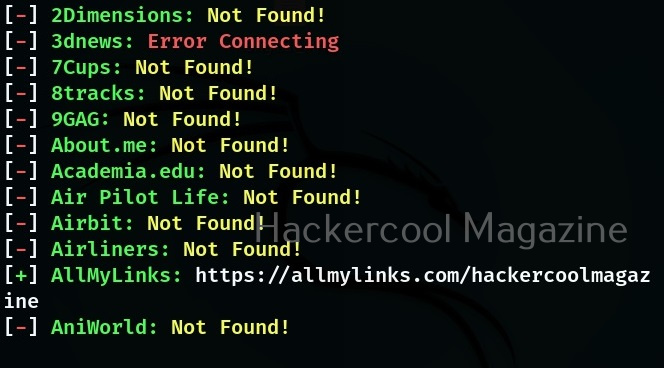
By default, Sherlock only prints out the social network where the username was found. Using the option, we can see all the social networks this tool queries for and also the reason why it was not found.

Print only positives found

This option prints out all the social networks on which the username is found.

Browse

By setting this option, we can use Sherlock to view the job result page on browser.

Search NSFW sites too

By default, sherlock doesn’t query NSFW sites while searching for a username. When we set this option, it even queries NSFW sites for the particular username.

Writing the output to a file

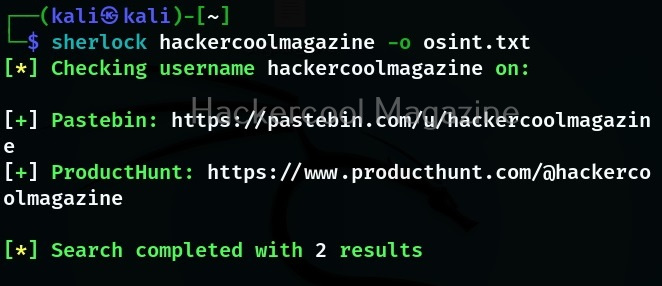
Like any other tool, we can use Sherlock too to save the output to a file of our choice using the “-o” option as shown below.