Hello, aspiring ethical hackers. In our previous blogpost, you learnt about vulnerability scanning. In this blogpost, you will learn about OpenVAS. OpenVAS or Greenbone Open Vulnerability Assessment Scanner is a fully featured vulnerability scanner. Its features include unauthenticated and authenticated testing, various high-level and low-level internet and industrial protocols, performance tuning for large-scale scans and a powerful internal programming language to implement any type of vulnerability test. This article is a beginners guide to this tool.
It is an open source software and can be installed on Linux systems. Let’s start with installing OPENVAS on Kali Linux. Before you start the installation, update the Kali Linux system using the command shown below.
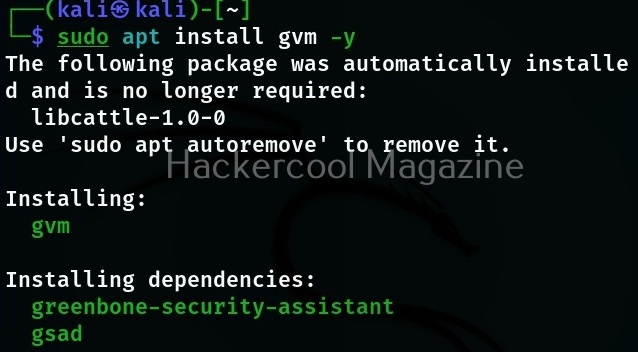
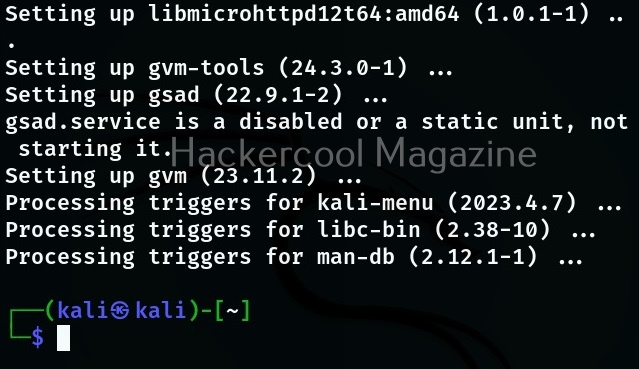
OpenVAS scanner is a part of Greenbone Vulnerability Manager (GVM) software. So, we have to install this software using command shown below.
sudo apt install gvm -y
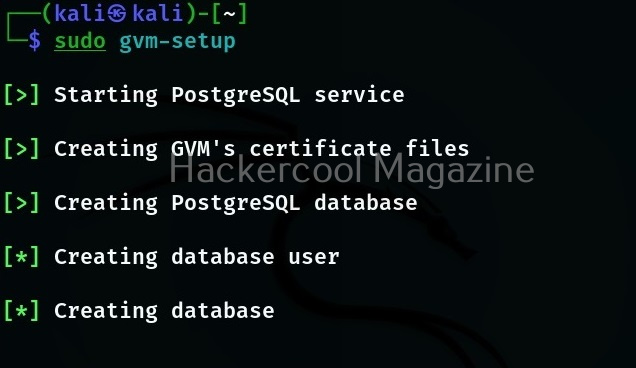
After successfully installing it, we need to set gvm. This can be done using a simple command.
sudo gvm-setup
This simple command will take care of everything needed to setup this tool.
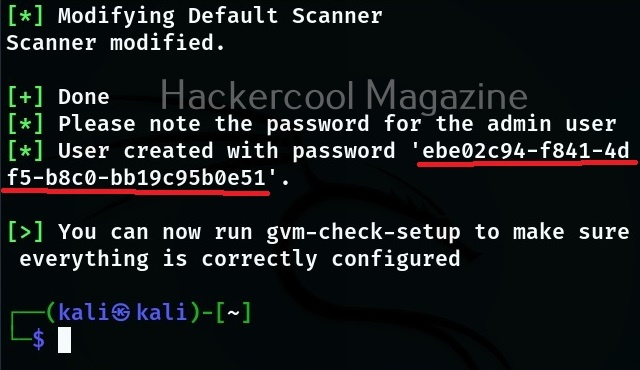
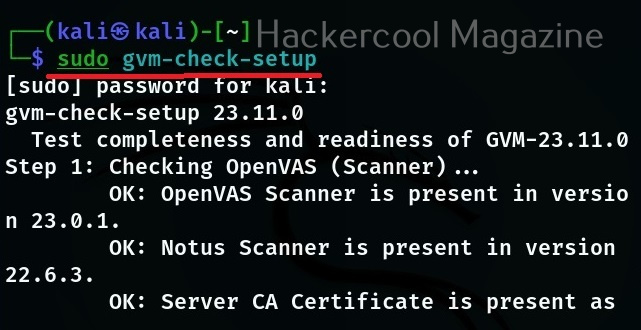
At the end of the setup, a password is created for the admin user of OpenVAS. It’s very important to make a note of this password. Otherwise you will not be able to login into the web interface of OpenVAS. The setup of OpenVAS is finished. It’s good to check if everything is installed correctly. Use the command below for that.
sudo gvm-check-setup
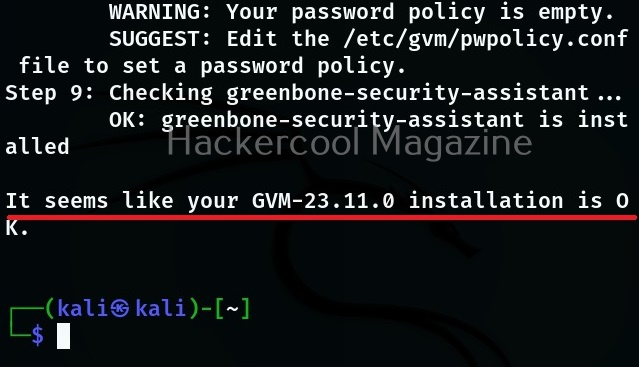
If you get a message as highlighted in the above image, it means the installation is successful without any errors. Everything’s done. Now let’s start the OpneVAS service. This can be done using command below.
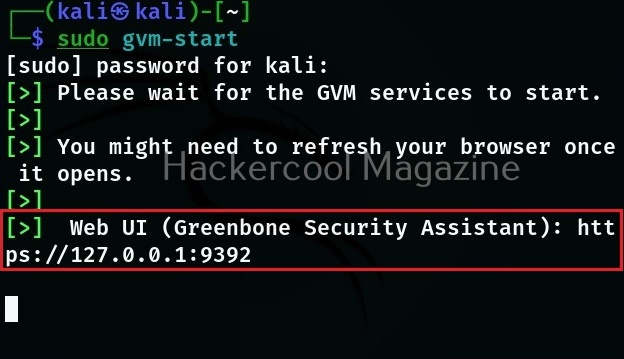
sudo gvm-start
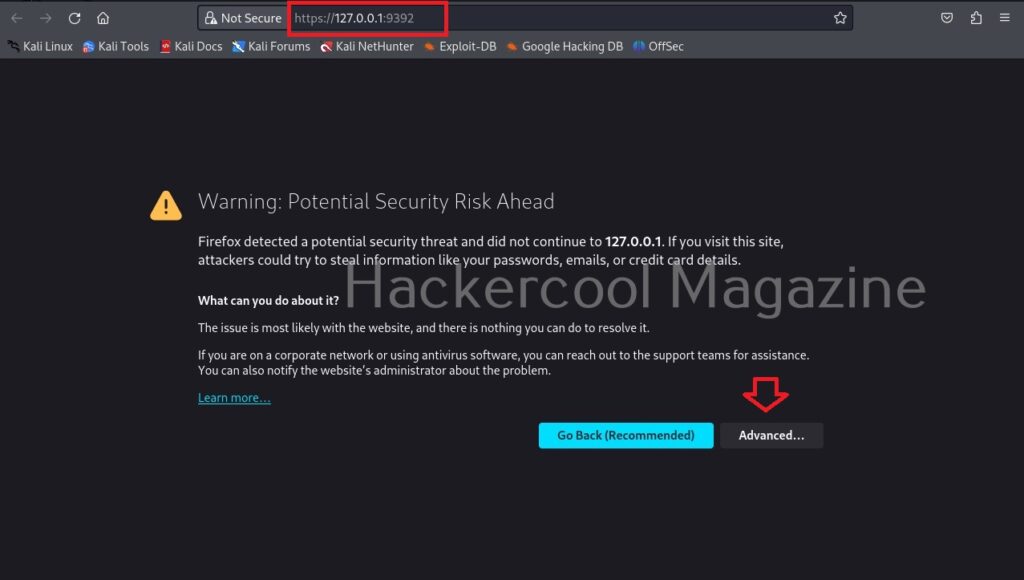
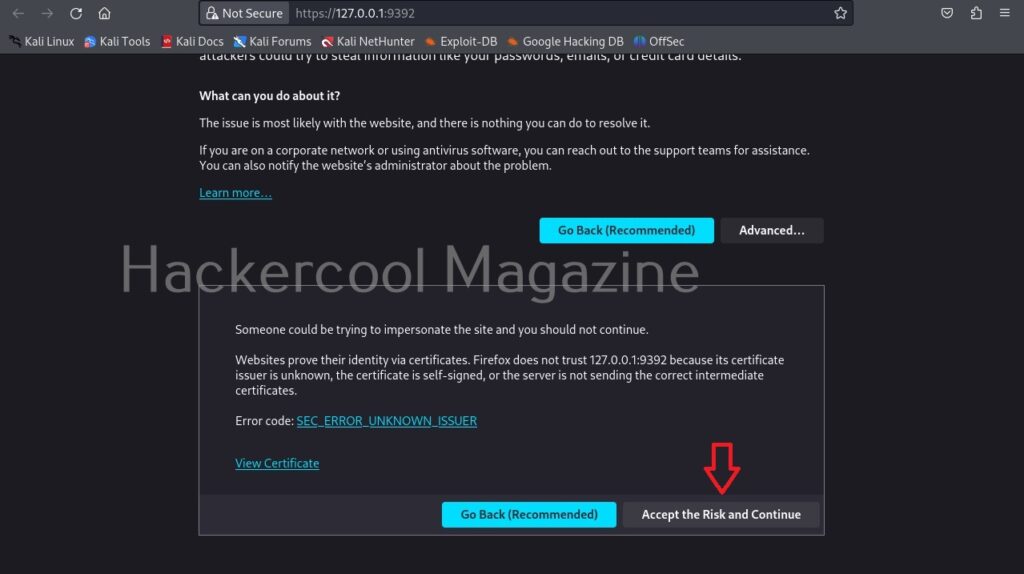
This will start OpenVAS and present you with URL of the web interface. By default, OpenVAS runs on port 9392. Click on the URL to go to its web interface. When the browser starts, you will most probably be greeted with a potential security risk. Click on “Advanced”.
As an ethical hacker, you will have to take lot of risks. This is one of the HARMLESS risks you will be taking. Click on “Accept the Risk and Continue” button.
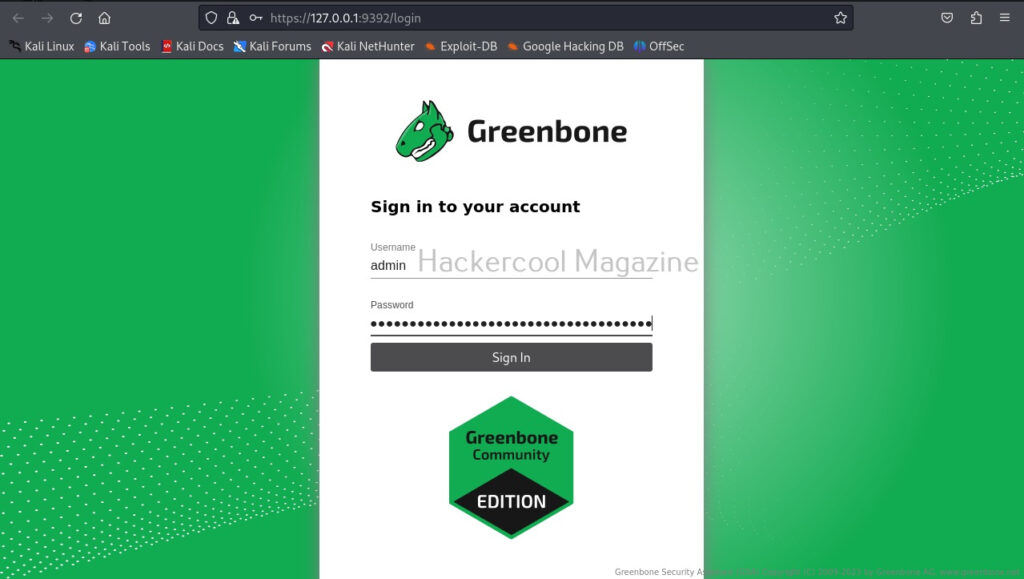
You will be taken to the login screen of OpenVAS.
Login with the credentials. The username is “admin” and password is the password I told you to take not at the beginning of this blogpost.
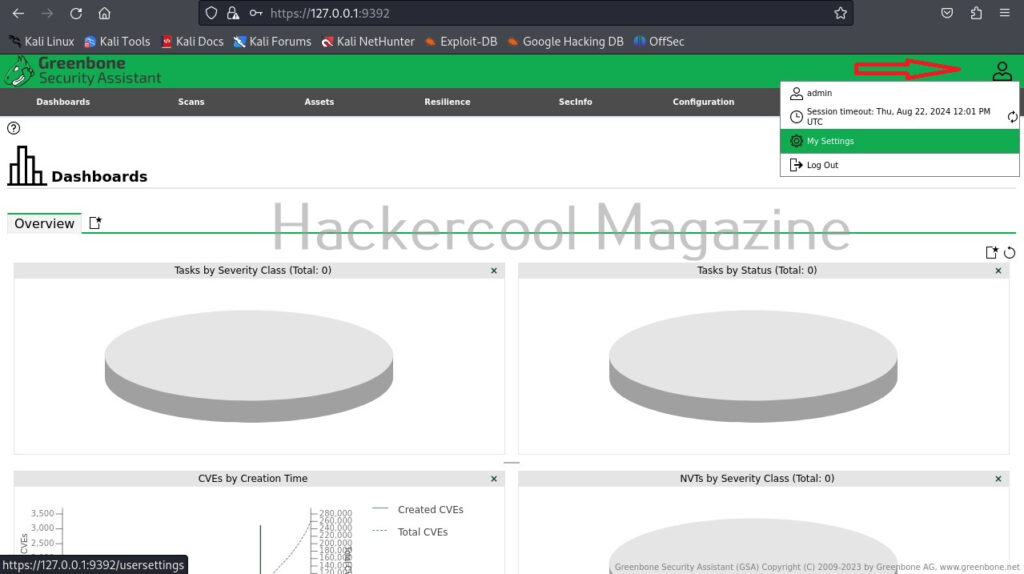
You will be taken to the dashboard of OpenVAS. I don’t know about you but the first thing I want to do is change my password. To do this, go to the Admin menu and click on “My settings”.
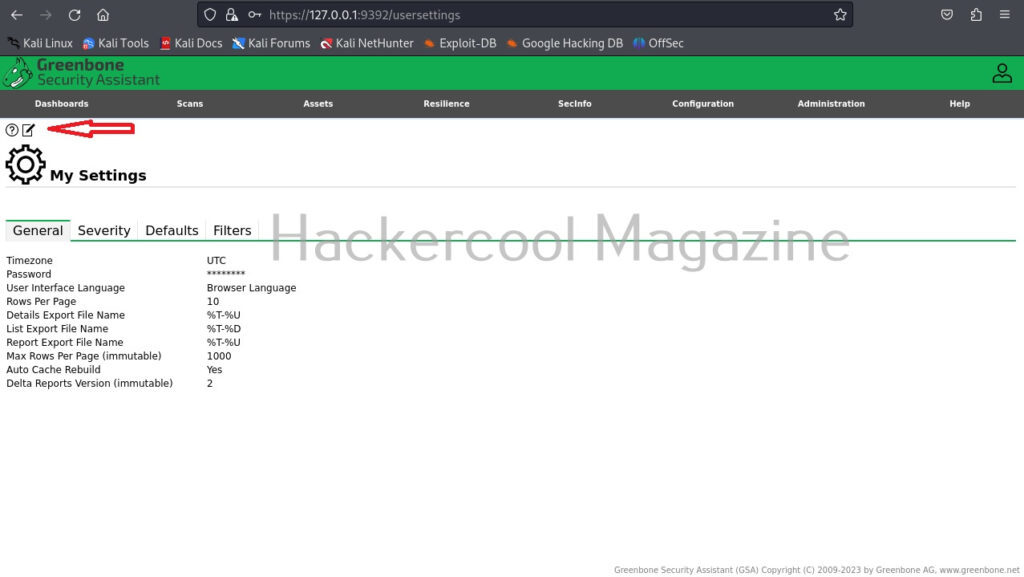
This will take you to the “settings” page as shown below. You can see some general settings of OpenVAS.
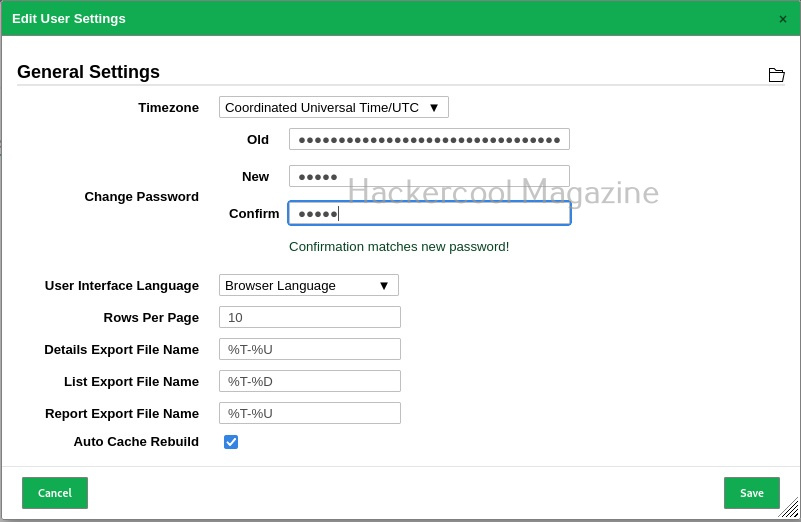
Click on Edit tab highlighted in the above image. Next, change your password and click on “Save”.
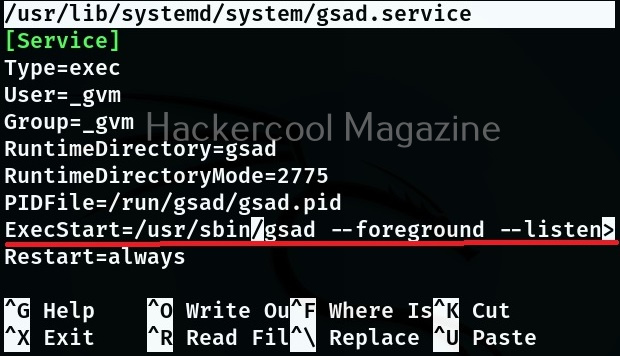
Next to change is how you want to access the web interface of OpenVAS. By default, you can only access it from he local machine. i.e the machine on which its is installed. If you want to access the web interface from any machine on the network, it can be changed too. This configuration is stored in the “gsad.service” text file. Open it with your favorite text editor (In my case it is nano).
The line you want to change is the one that starts with ExecStart as shown below.
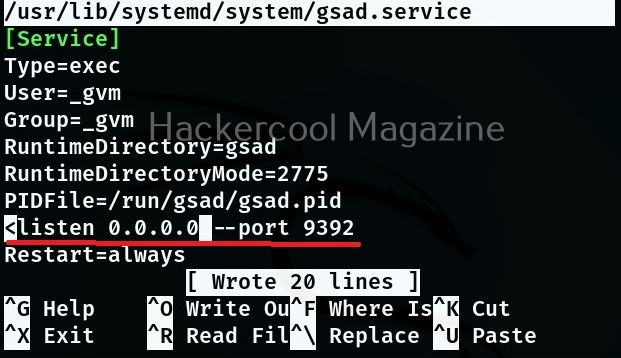
On that line, you can see the IP address and port on which the web interface of OpenVAS is running. By default, the IP is 127.0.0.1. Change it to 0.0.0.0. don’t forget to save the changes.
Restart the OpenVAS daemon and the gsad service.
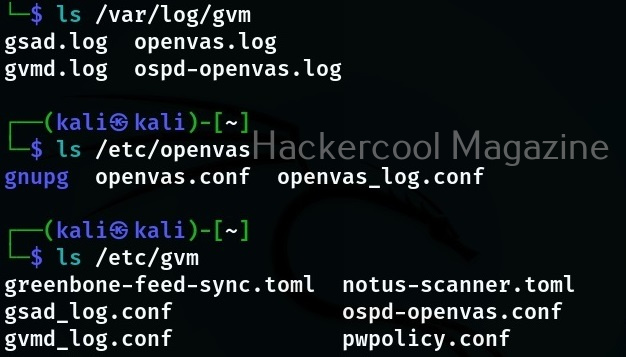
If there ever arise a need to check logs of OpenVAS, this tool’s logs are given below.
You can stop the OpenVAS service using the command shown below.
sudo gvm-stop


