Hello, aspiring Cyber Forensic Investigators. In our previous blogpost, you have learnt about digital forensics in detail. In this article, you will learn about Velociraptor, a tool used in EndPoint Forensics.
New to Ethical Hacking?
Start your journey with The Beginner Ethical Hacker Starter Kit (2026 Edition).
Inside the free guide, you’ll learn:.
- Ethical hacking fundamentals
- Beginner cybersecurity roadmap
- Essential hacking tools
- Common vulnerabilities explained
As organizations grow and endpoints multiply, digital forensics and incident response (DFIR) teams need ways to investigate systems quickly, remotely and at scale. Traditional forensics tools work well for single machines, but they can struggle in large, distributed environments. This is where this tool comes in.
Velociraptor is a modern DFIR platform designed to help investigators collect evidence and hunt for threats across many endpoints at once. For beginners, it may look complex at first, but its core ideas are surprisingly approachable.
What Is Velociraptor?
It is an endpoint visibility and digital forensics platform that allows investigators to query systems, collect artifacts and respond to incidents in real time. It is commonly used by DFIR teams to perform investigations across Windows, Linux and macOS systems.
Originally developed by Rapid7, it is widely adopted in the security community because it focuses on live response and scalable forensics, rather than traditional disk-only analysis.
At its core, Velociraptor answers a simple question:
“What is happening on my endpoints right now and how can I safely collect evidence?”
How Velociraptor Works?
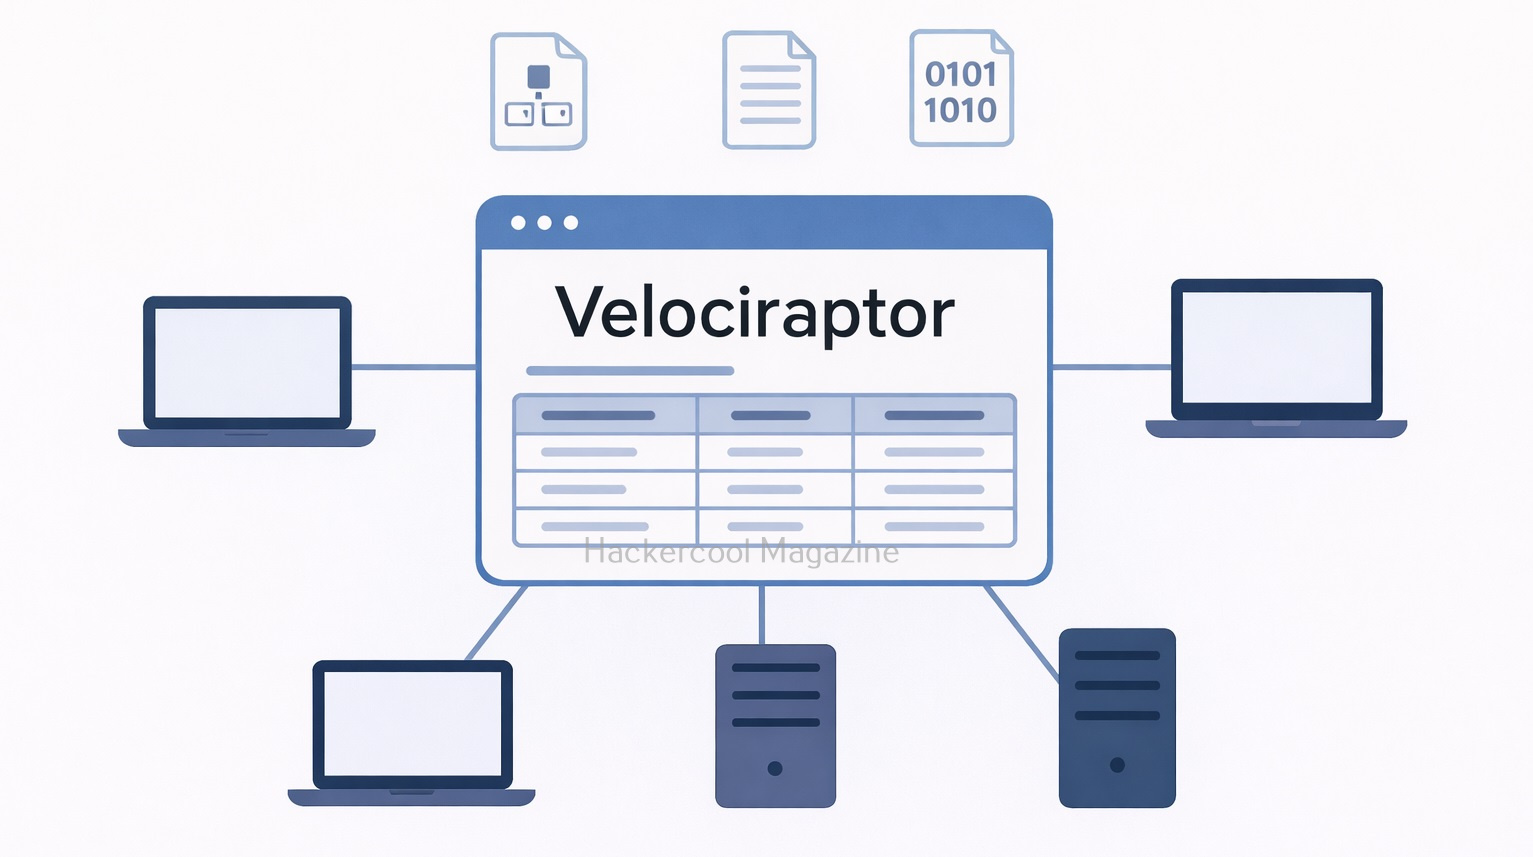
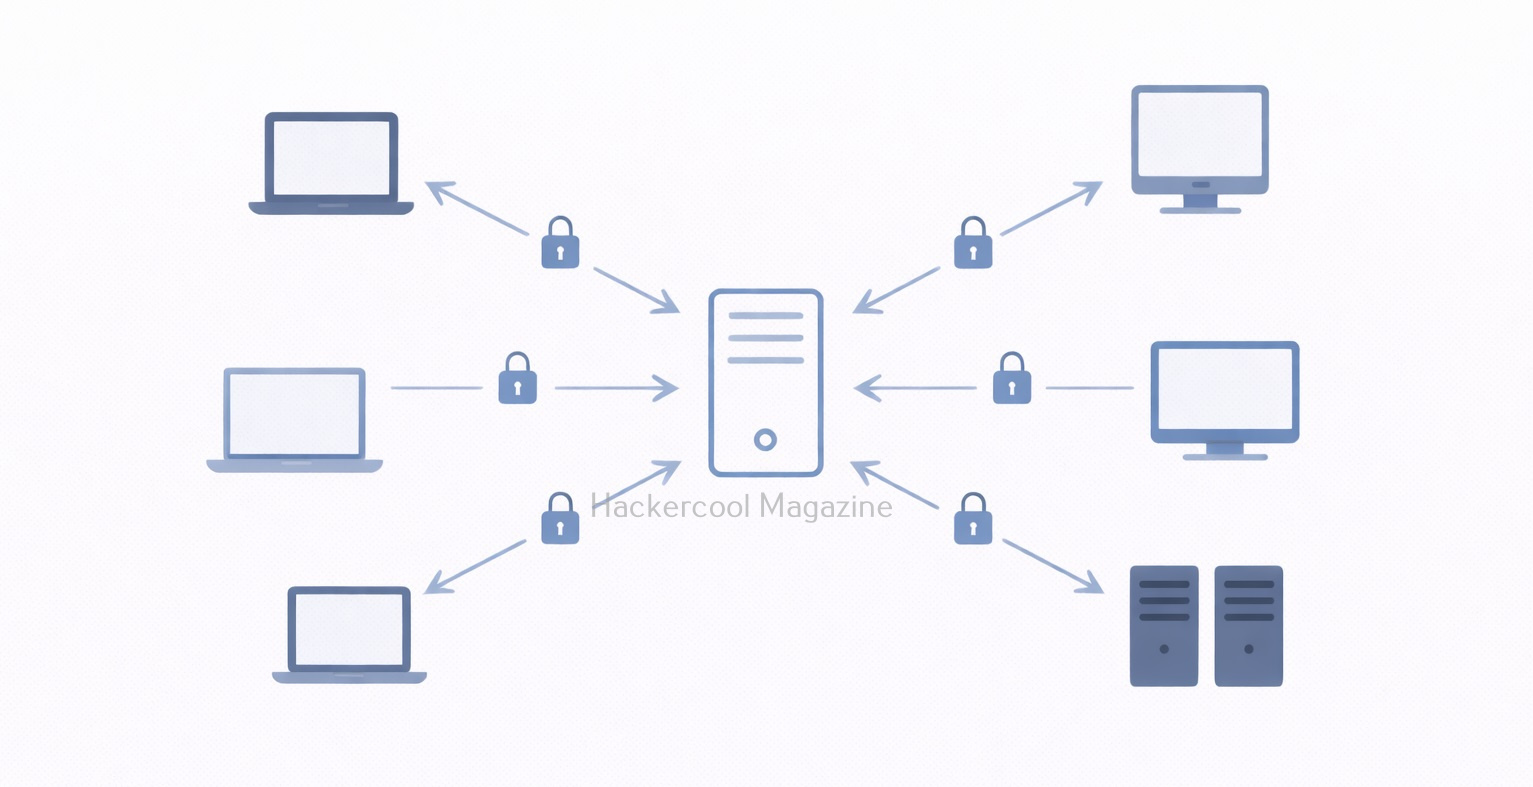
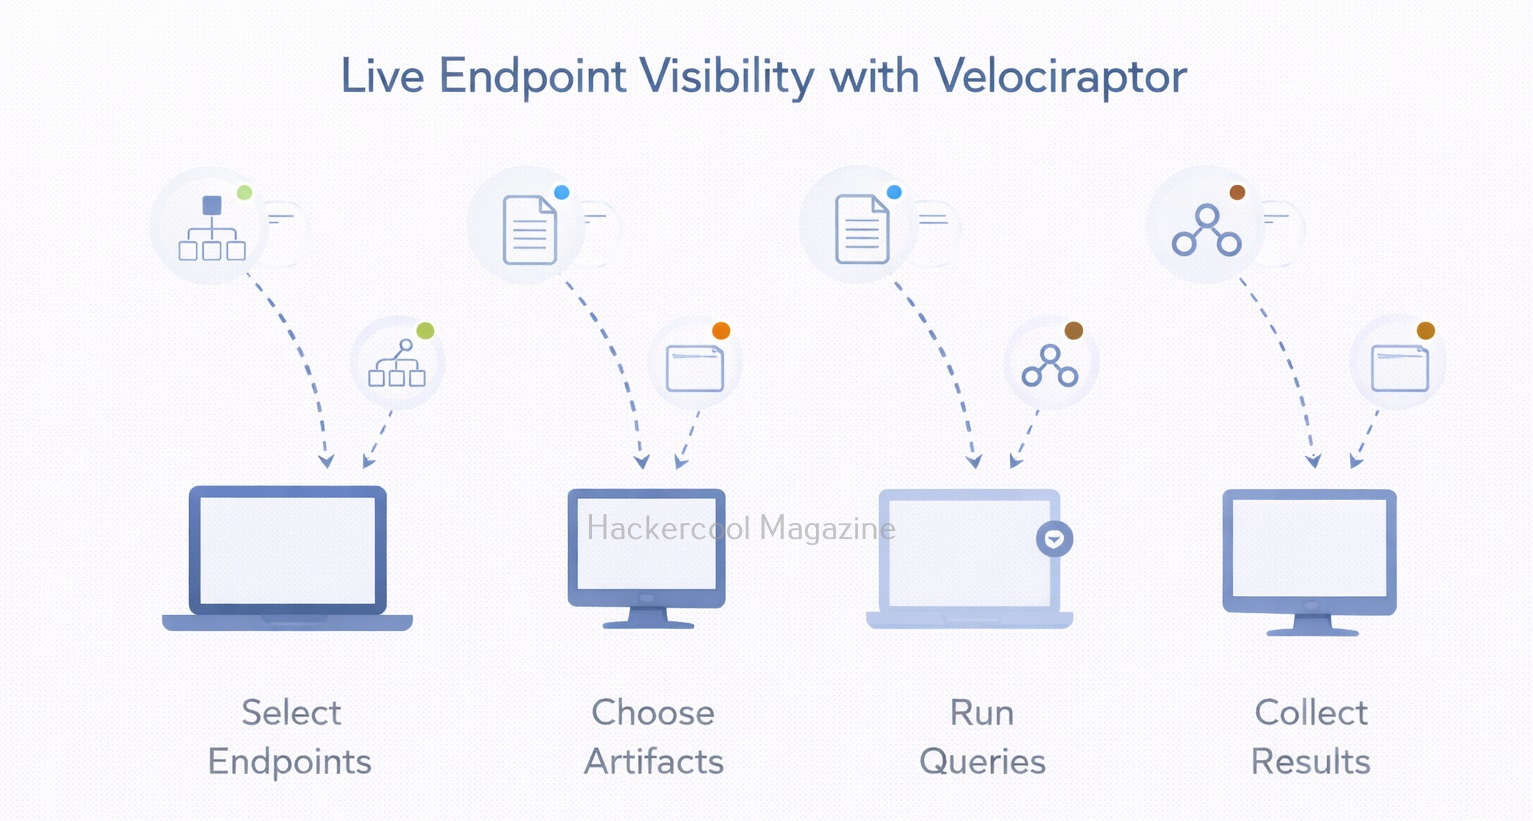
Velociraptor follows a client–server model in which,
- Velociraptor clients run on endpoint devices (laptops, servers, workstations)
- A Velociraptor server manages communication, queries and evidence collection
Investigators send queries or artifact requests from the server and selected endpoints respond with results. This allows evidence collection without interrupting users or shutting systems down.
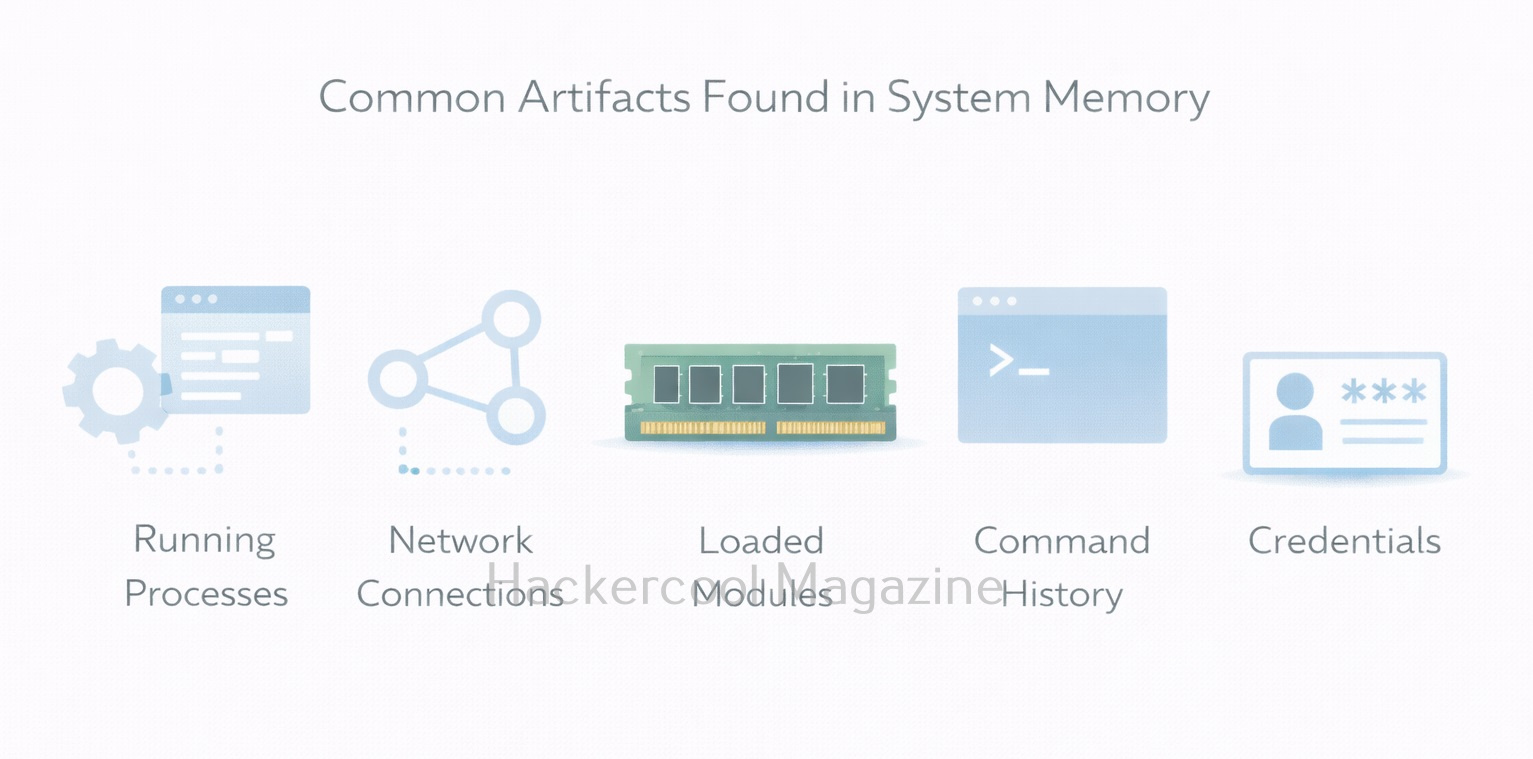
What Are Artifacts in Velociraptor?
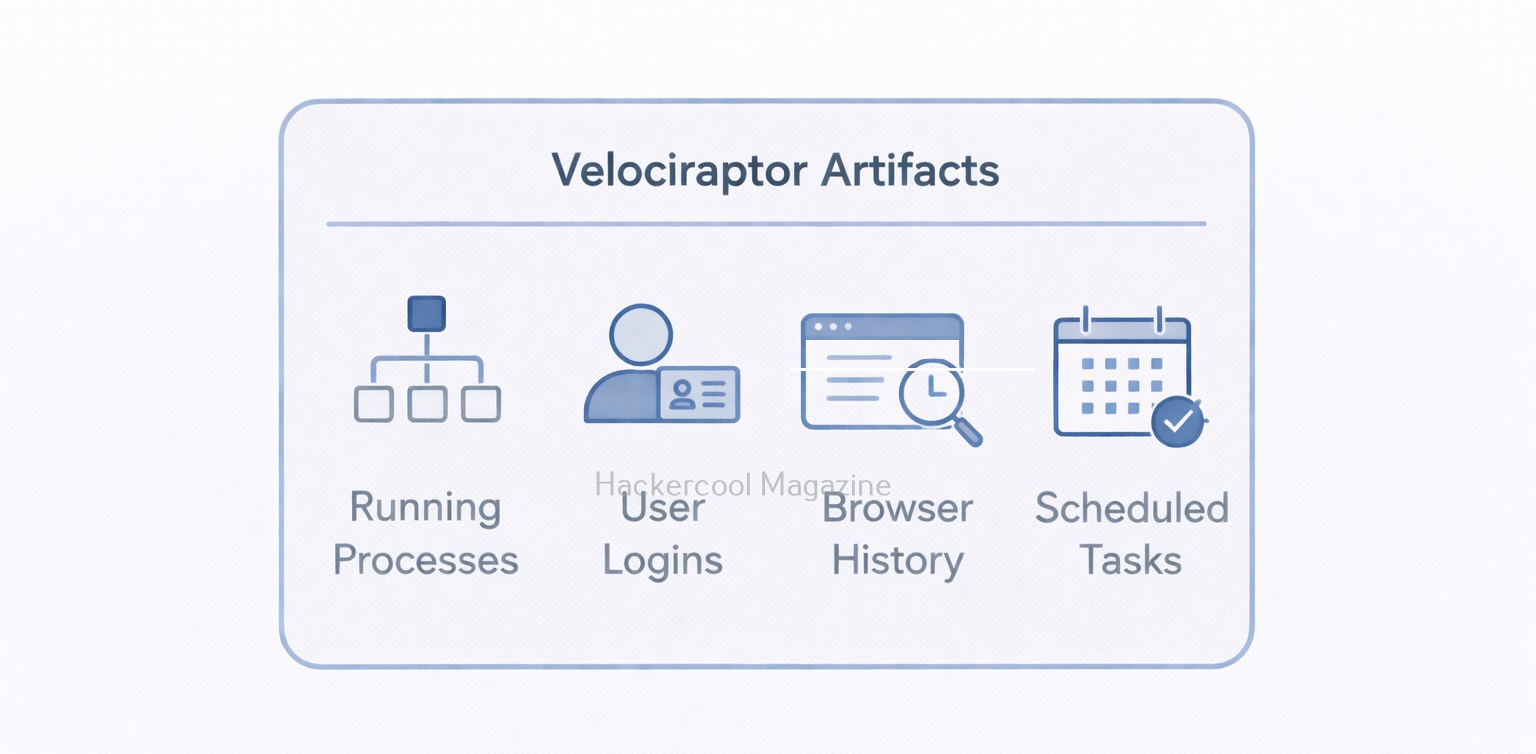
Artifacts are one of the most important concept of Velociraptor tool. An artifact is a predefined set of instructions that tells Velociraptor:
- What data to collect
- Where to collect it from
- How to format the results
Examples of artifacts include:
- Running processes
- User logins
- Browser history
- Scheduled tasks
- Autoruns and persistence mechanisms
Instead of writing scripts from scratch, beginners can use existing artifacts to collect common forensic evidence safely and consistently.
Want to Learn Ethical Hacking Step-by-Step?
If you’re serious about learning cybersecurity, a structured roadmap makes the journey much easier.
Download The Beginner Ethical Hacker Starter Kit (2026 Edition) and discover:
✔ The ethical hacking learning path
✔ Beginner-friendly security concepts
✔ Essential tools ethical hackers use
✔ The most common vulnerabilities explained
Common Use Cases of Velociraptor
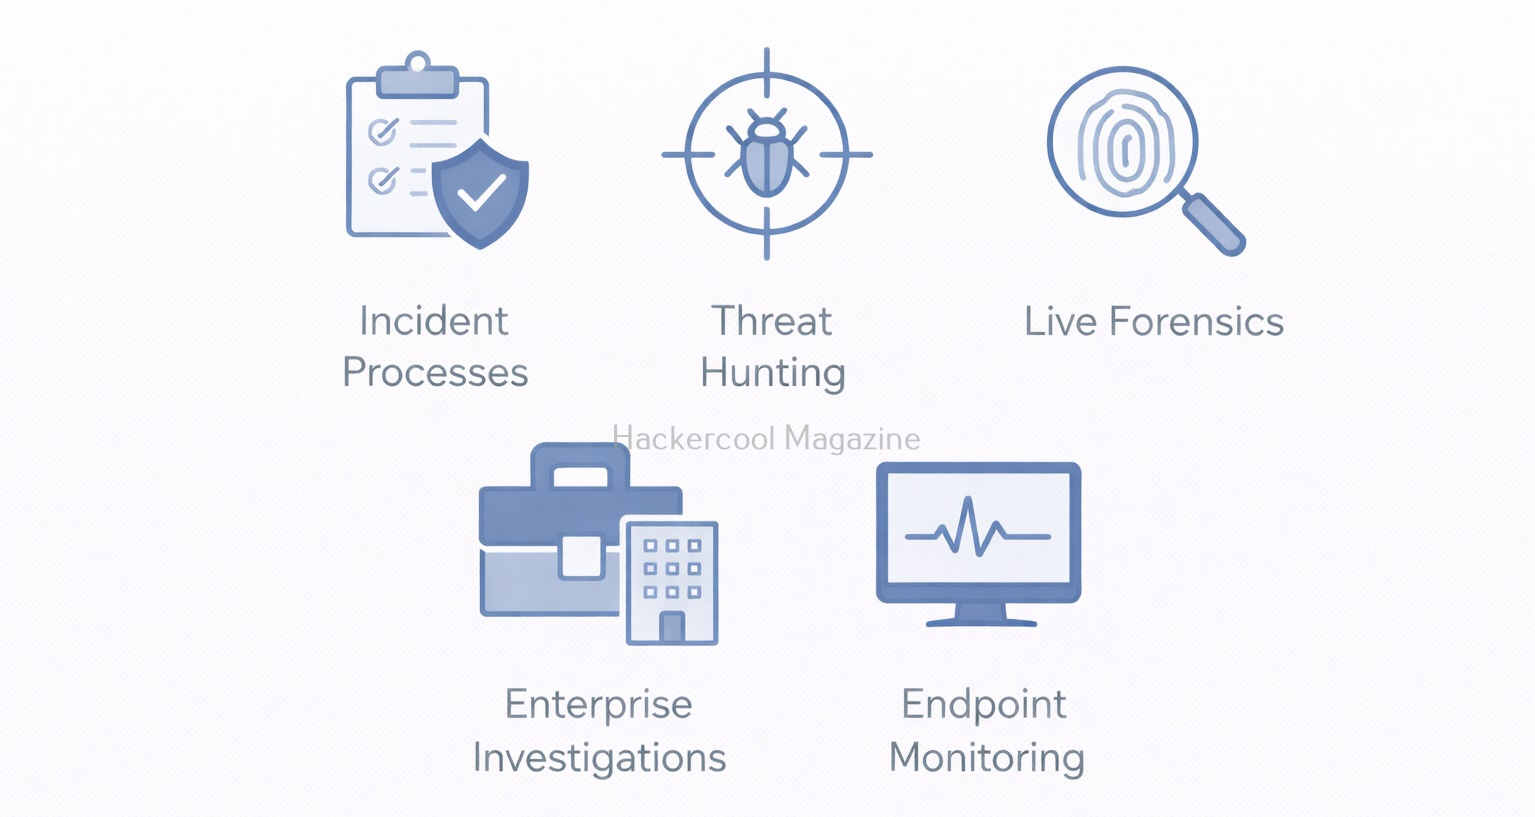
Velociraptor is useful in many real-world scenarios. These include:
- Incident response – Investigating compromised endpoints
- Threat hunting – Searching for suspicious behavior across systems
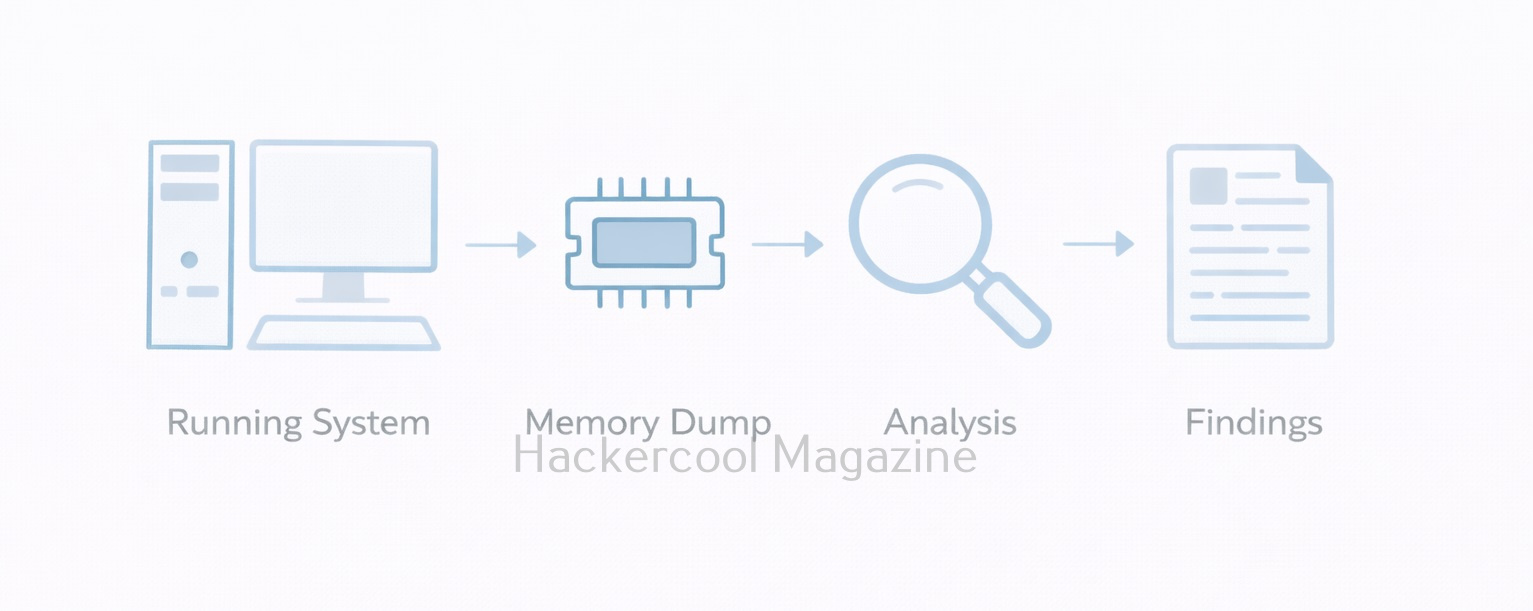
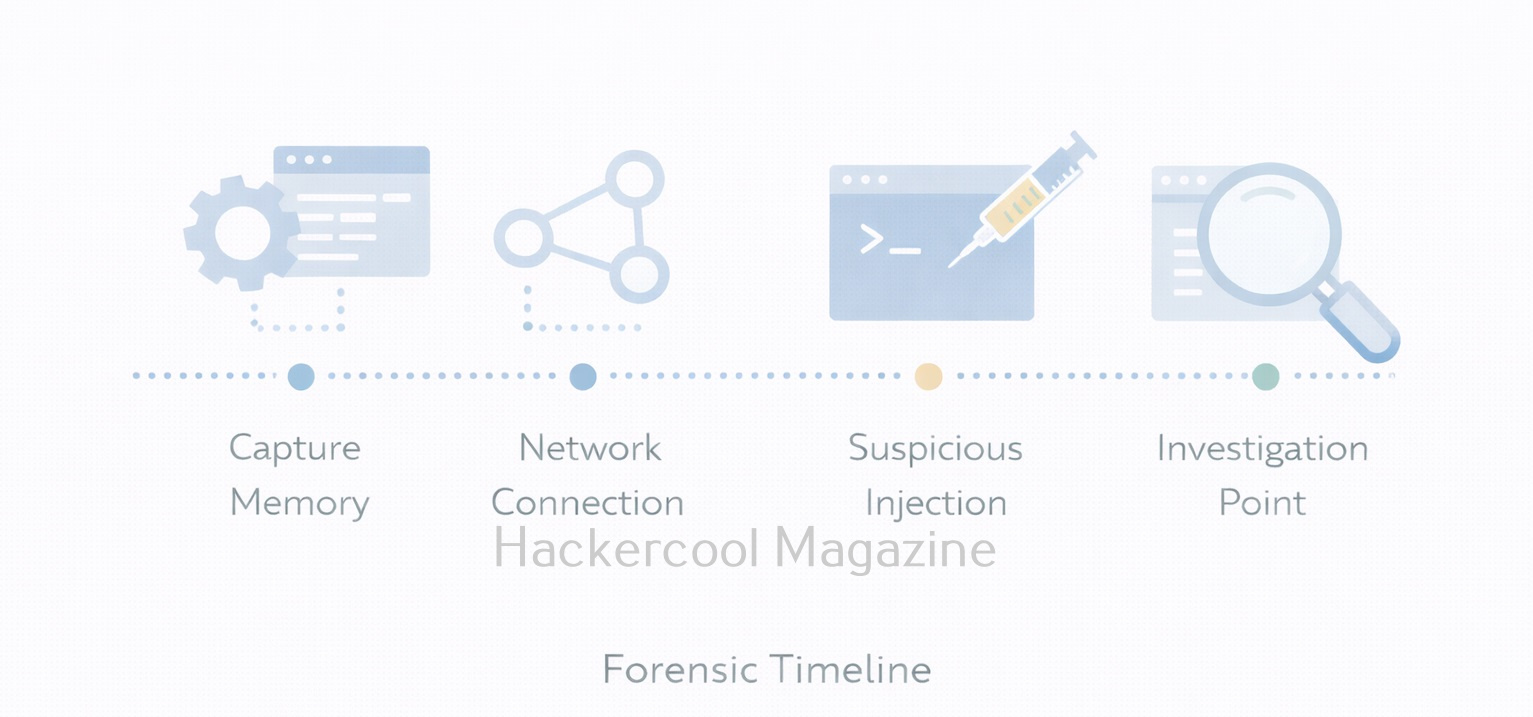
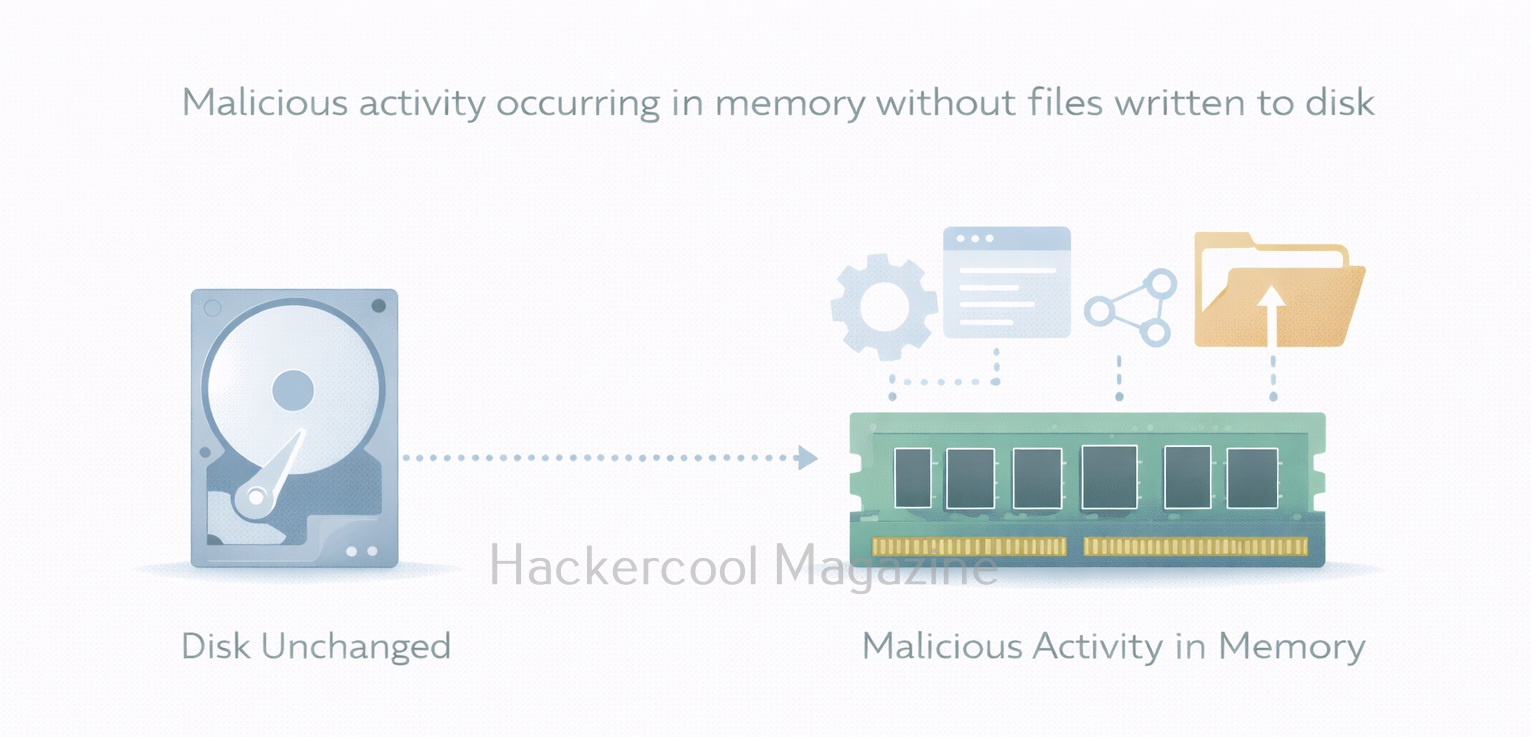
- Live forensics – Collecting volatile data without powering off machines
- Enterprise investigations – Responding to alerts across hundreds or thousands of endpoints
- Post-incident review – Understanding what happened and when
Many investigations involve no malware files at all, but instead focus on misuse of credentials, persistence mechanisms or unusual system behavior.
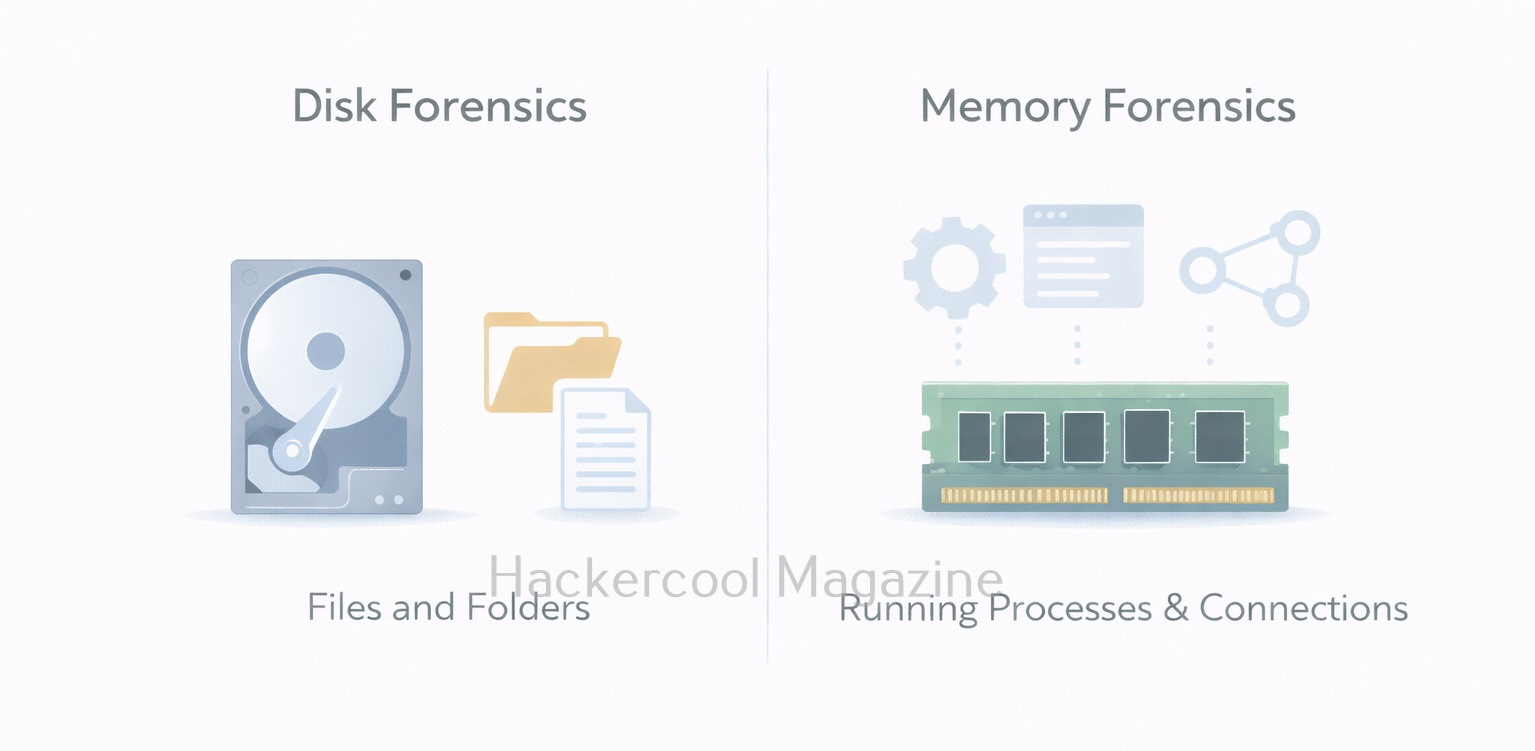
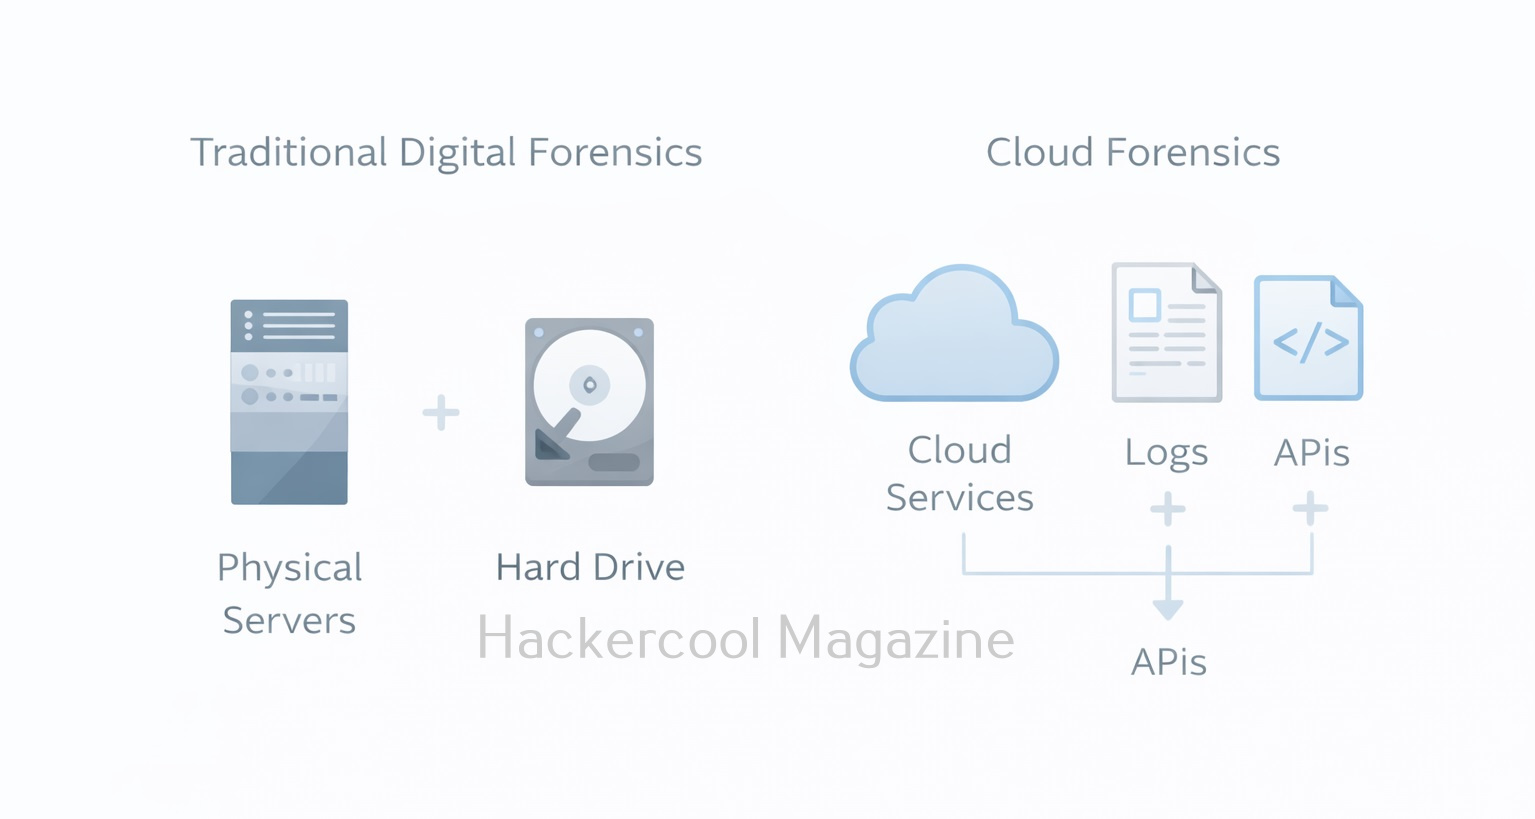
Velociraptor vs Traditional Forensics Tools
Now, let’s see the difference between Velociraptor and Traditional Forensics Tools.
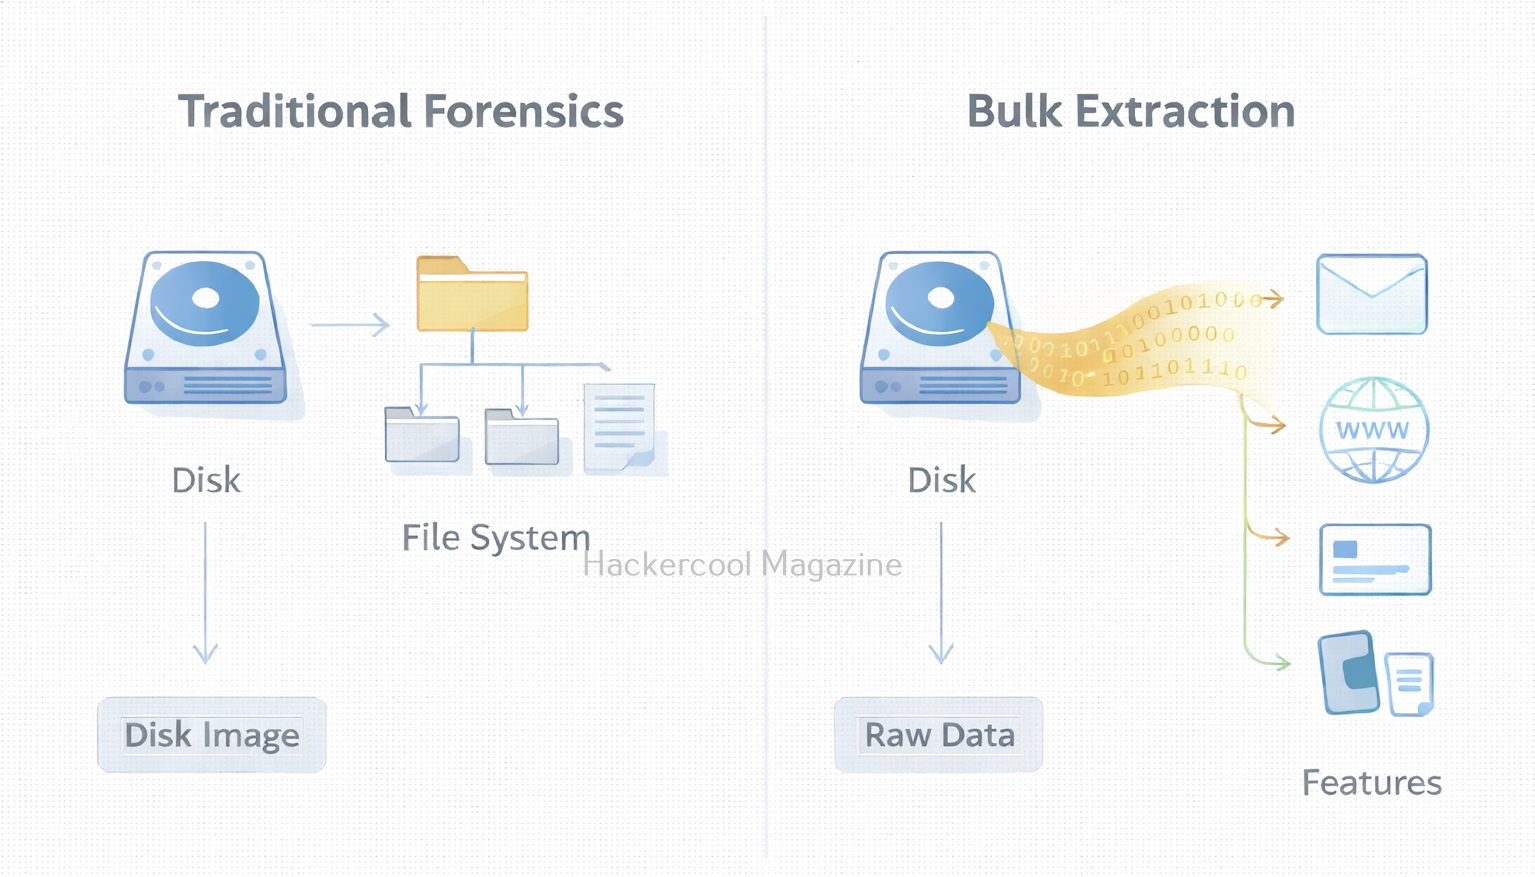
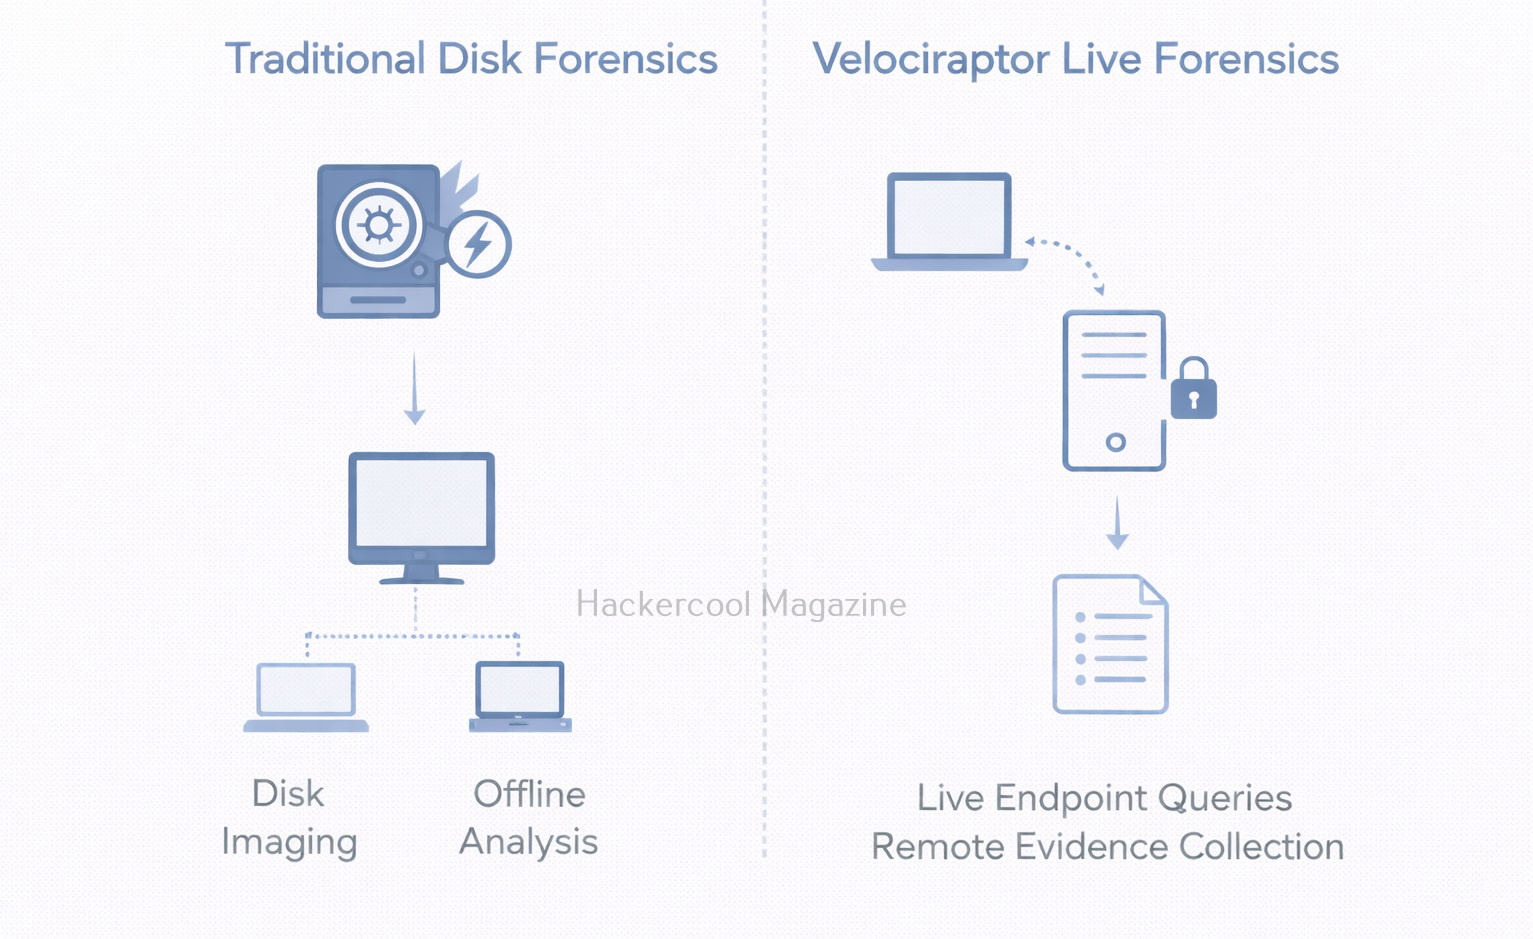
Traditional Forensics Tools:
- Focus on disk images
- Often offline
- Best for deep historical analysis
Velociraptor:
- Focuses on live endpoints
- Works remotely and at scale
- Best for rapid investigation and response
Velociraptor does not replace traditional tools. It complements them.
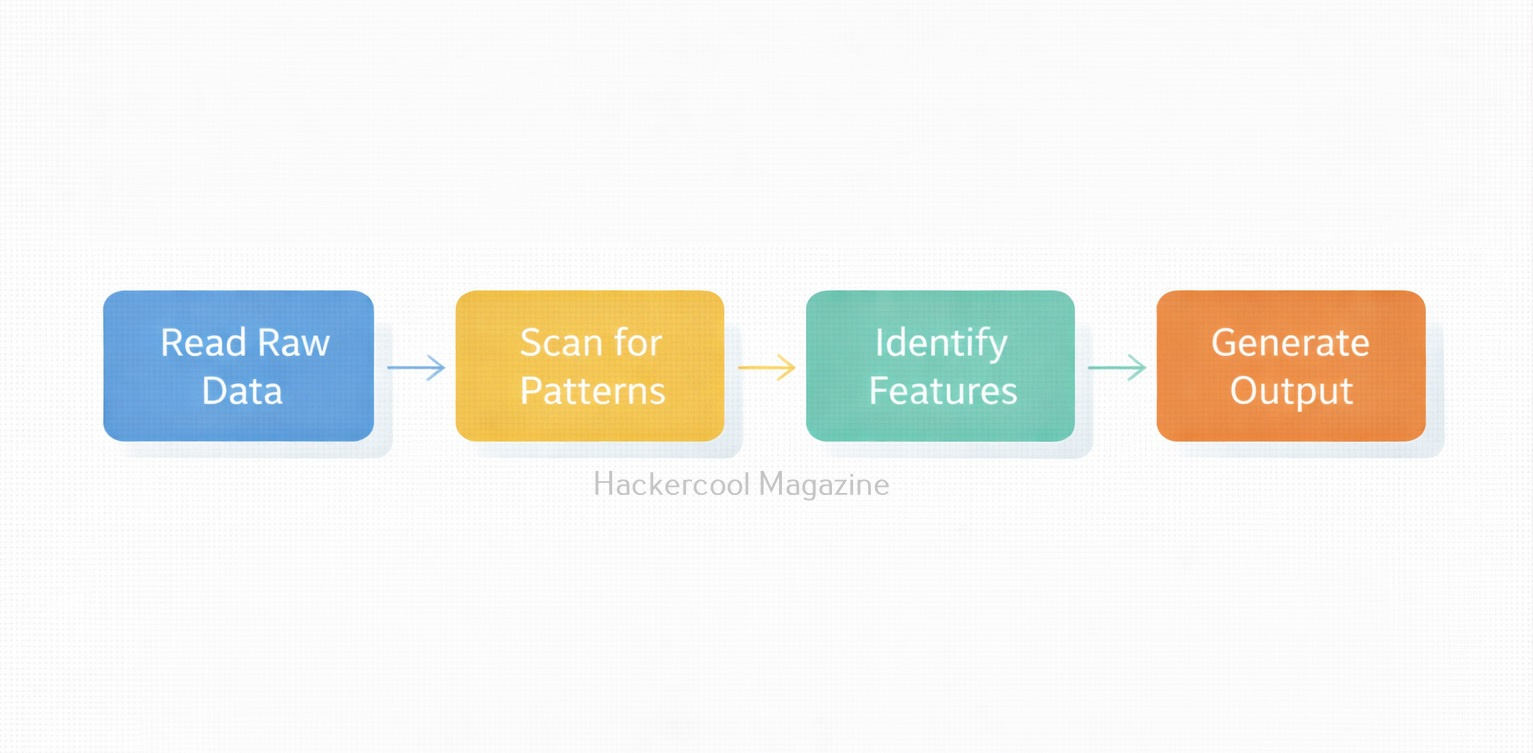
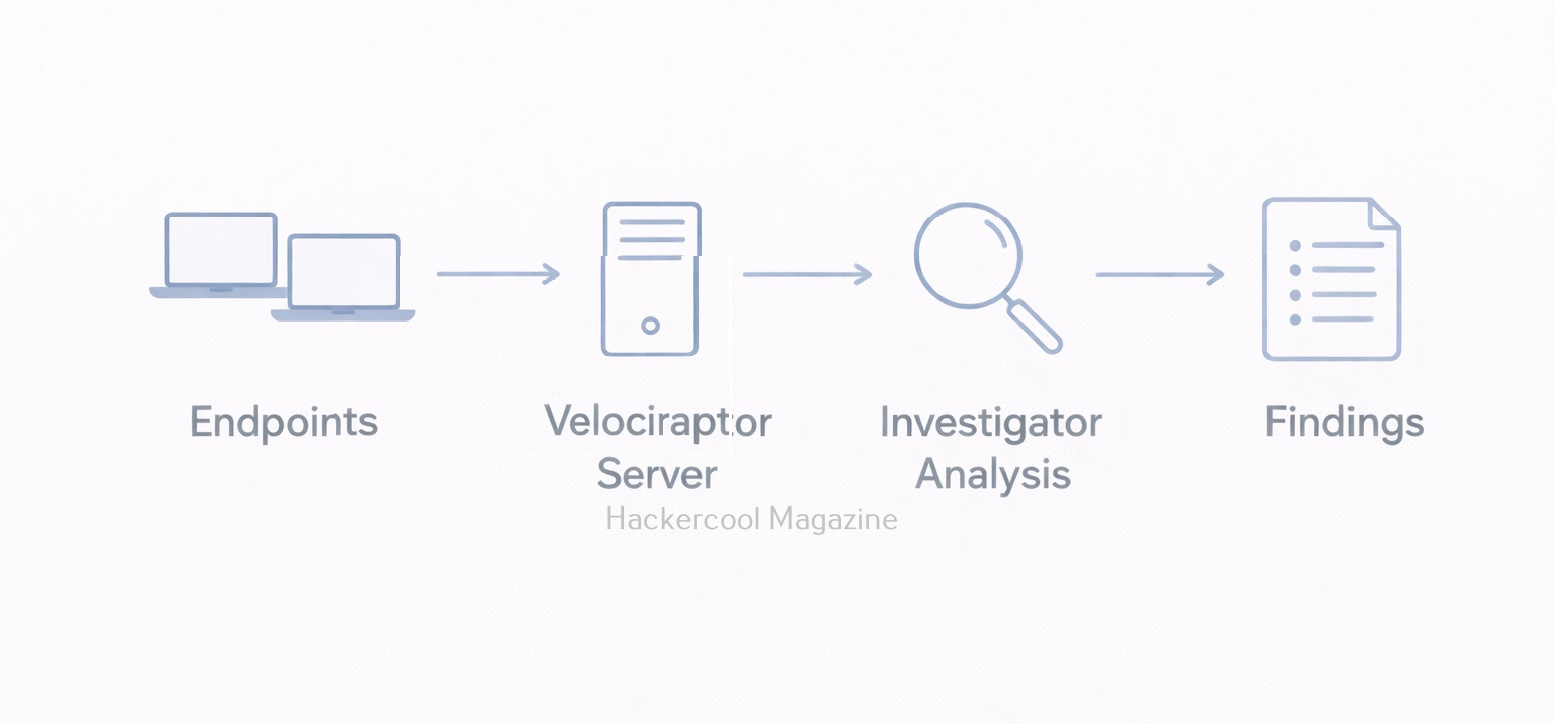
A Simple Workflow For Beginners
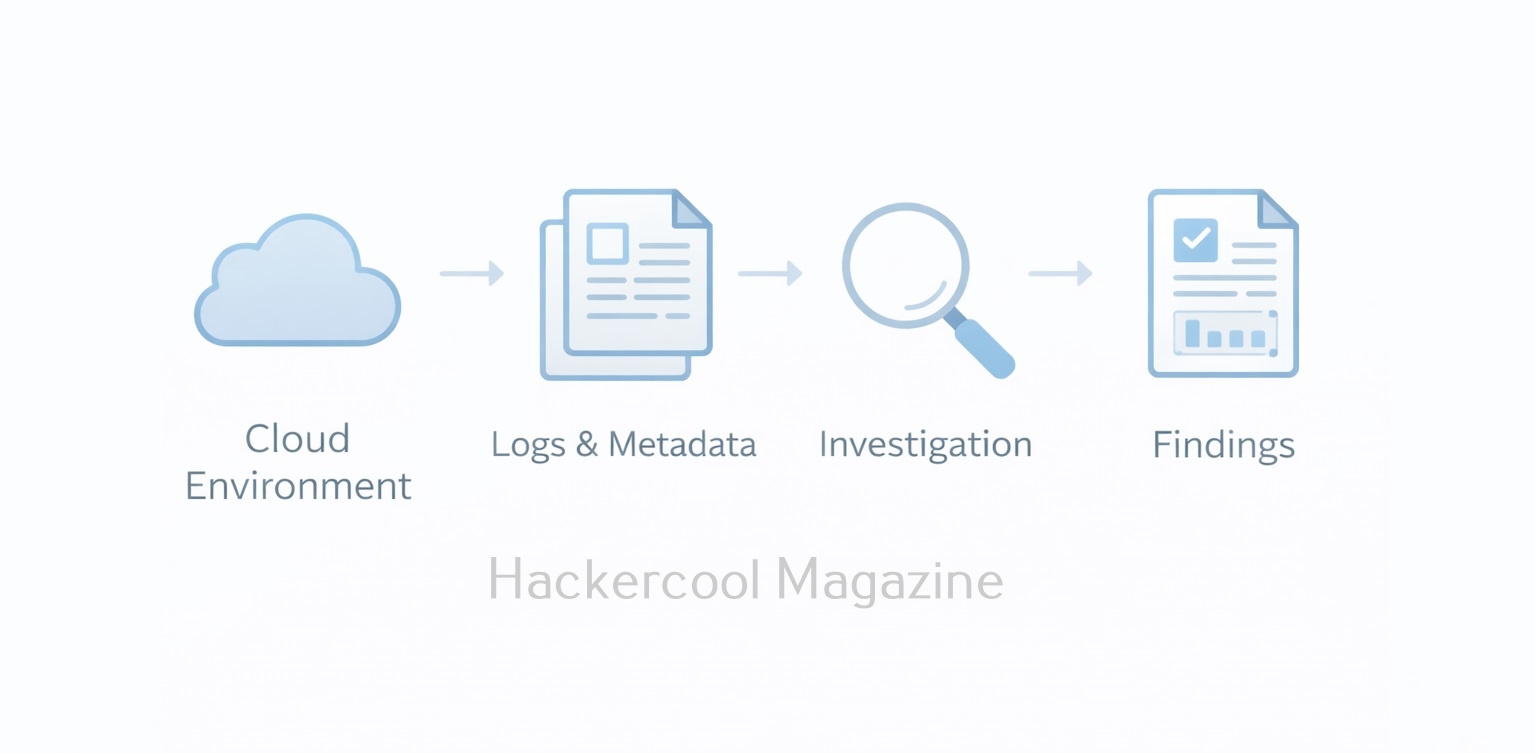
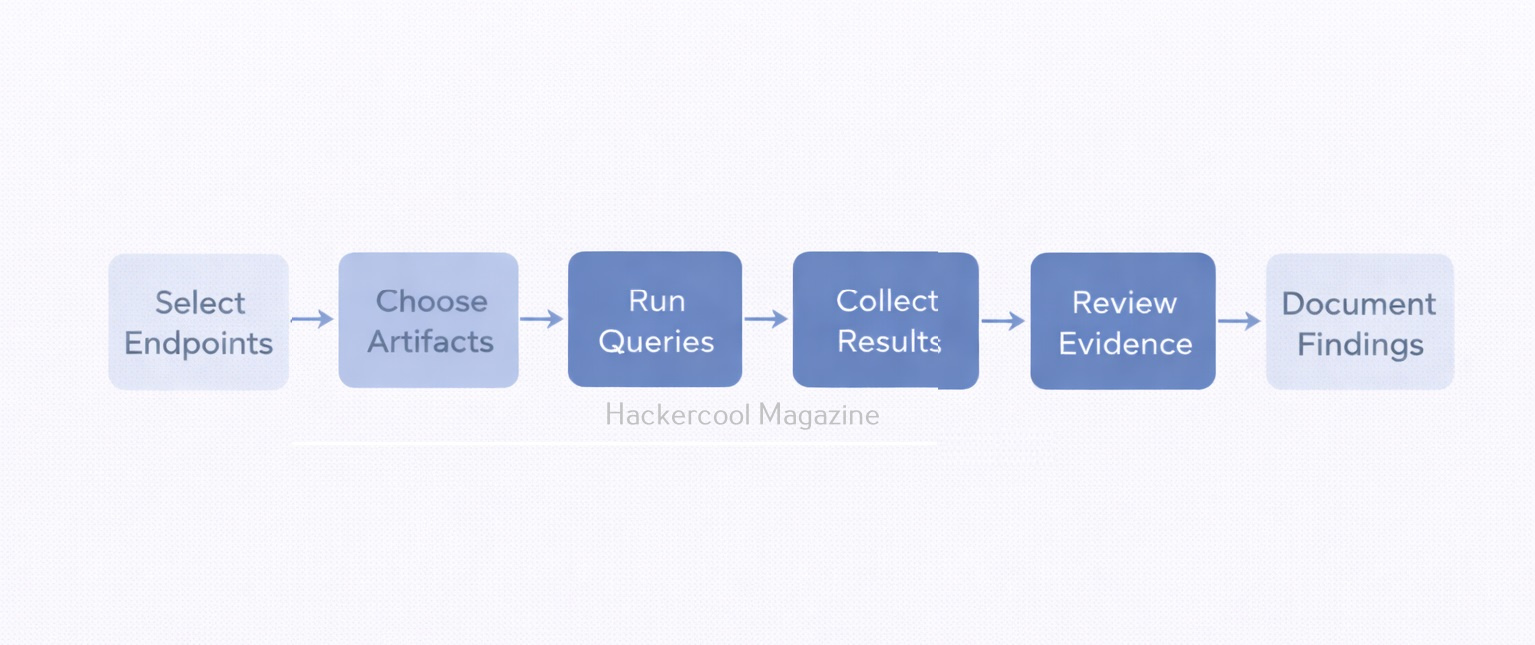
A basic Velociraptor workflow might look like this:
- Identify endpoints of interest
- Select relevant artifacts
- Run queries from the server
- Collect and review results
- Export evidence for documentation
- Correlate findings with logs or disk analysis
Beginners should focus on understanding results, not just memorizing queries.
Why Learning Velociraptor is valuable
Velociraptor is increasingly used in:
- Incident response teams
- Blue team operations
- Threat hunting programs
- Enterprise DFIR environments
For beginners, learning Velociraptor builds skills in:
- Endpoint visibility
- Live response
- Scalable investigations
- Modern DFIR workflows
These skills are highly relevant in today’s cloud-connected, remote-work world.
Challenges Beginners Should Expect
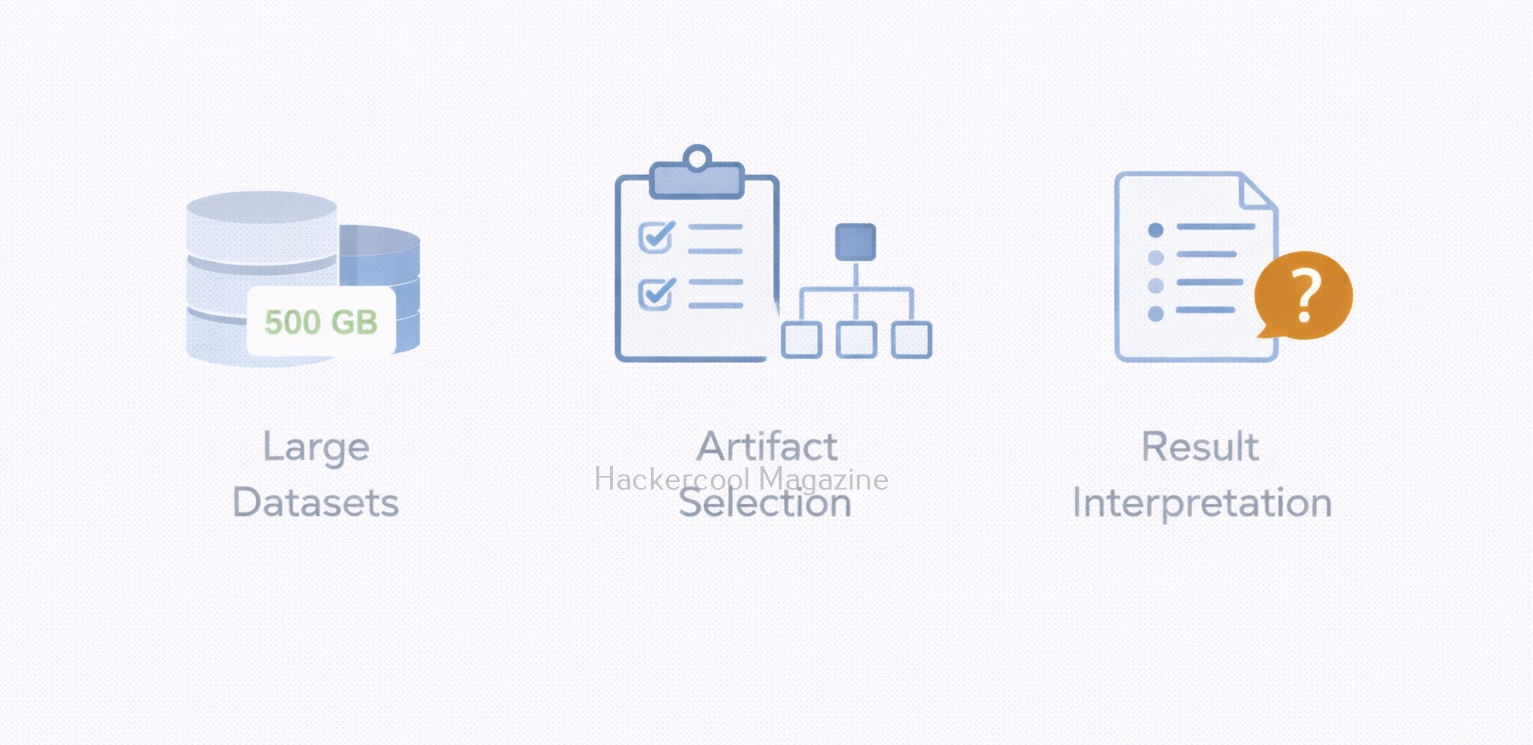
Like any powerful tool, Velociraptor comes with learning challenges. These are,
- Understanding artifacts and query logic
- Managing large amounts of data
- Avoiding unnecessary data collection
- Interpreting results correctly
These challenges are normal. The goal is not perfection, but progressive understanding.
Conclusion
Velociraptor teaches you an important lesson: modern forensics is about asking the right questions at the right time. Instead of focusing only on disks and files, investigators focus on endpoints, behavior and artifacts. As threats continue to evolve, tools like Velociraptor are becoming essential parts of the modern forensic toolkit.
Start Your Ethical Hacking Journey Today
Learning cybersecurity can feel overwhelming at first. The best way to start is with a clear roadmap and the right resources.
Download The Beginner Ethical Hacker Starter Kit (2026 Edition) and get instant access to:
✔ Ethical hacking fundamentals
✔ A beginner cybersecurity learning roadmap
✔ Essential hacking tools every beginner should know
✔ Common vulnerabilities explained simply