Posted on

Foremost Forensic Tool: A Beginners Guide

Hello, aspiring Cyber Forensic Investigators. In this article, you will learn about Foremost, a Forensic tool used for file carving. In digital forensics, one of the most common tasks is retrieving deleted or hidden files from storage media. Whether investigators are analyzing a compromised server, a suspect’s hard drive or a damaged USB stick, they often rely on file carving techniques to recover valuable evidence. Among the many tools available, Foremost stands out as a powerful yet simple utility designed for efficient file recovery.

Originally developed by the U.S. Air Force Office of Special Investigations (AFOSI) and the Center for Information Systems Security Studies and Research (CISR), Foremost has evolved into one of the most widely used open-source forensic tools for beginners and professionals alike.

This blogpost will walk you through what Foremost is, why it’s so useful and how to start using it even if you’re brand new to digital forensics.

What is Foremost?

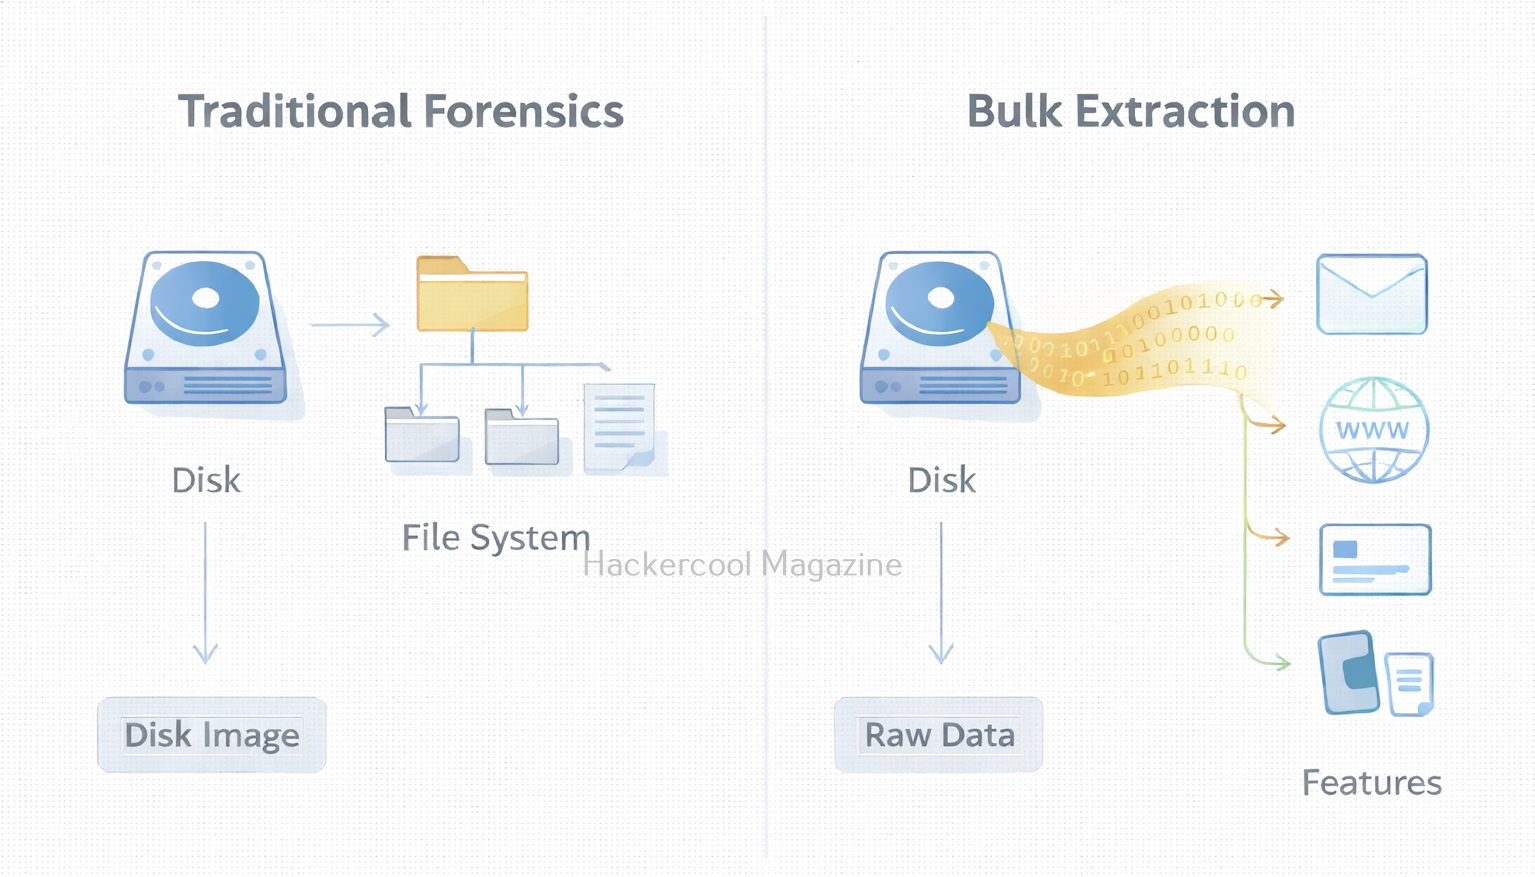
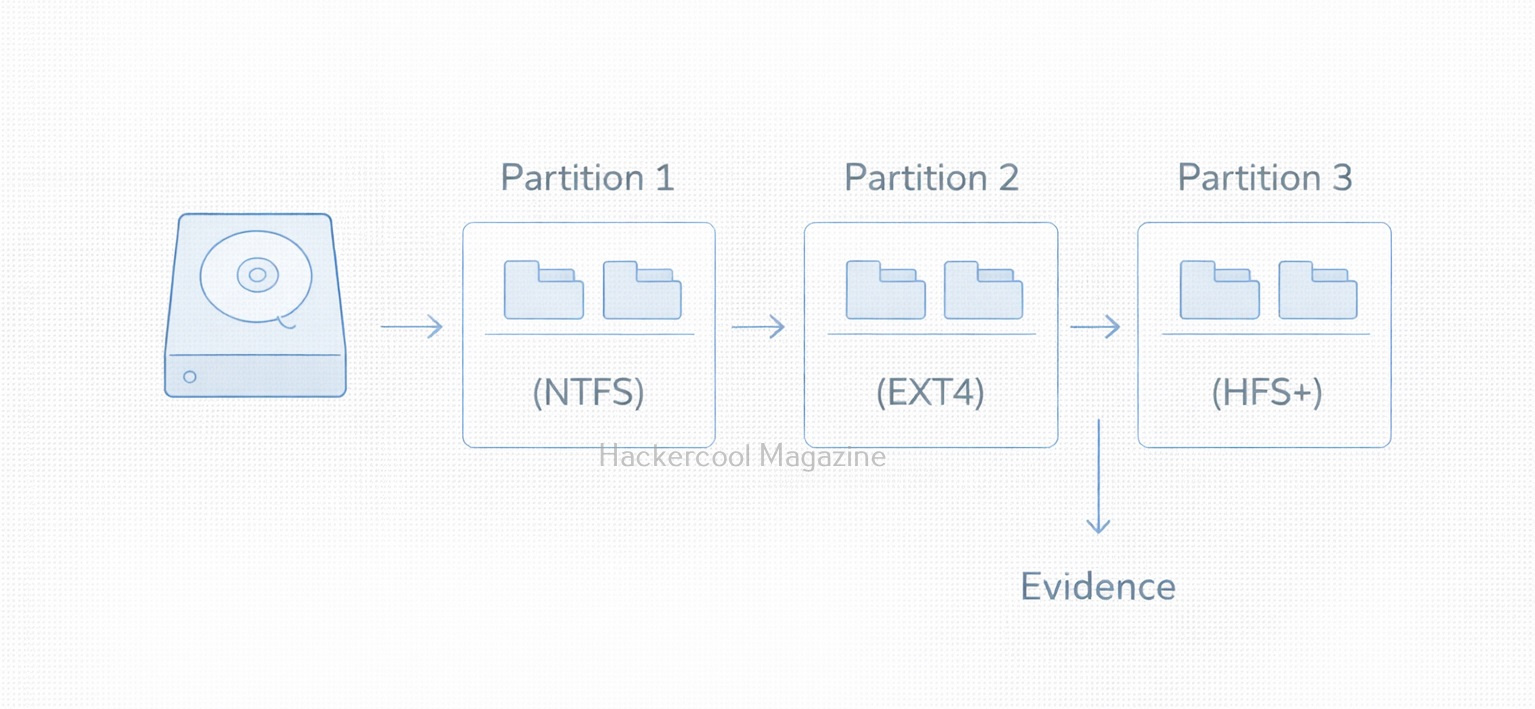
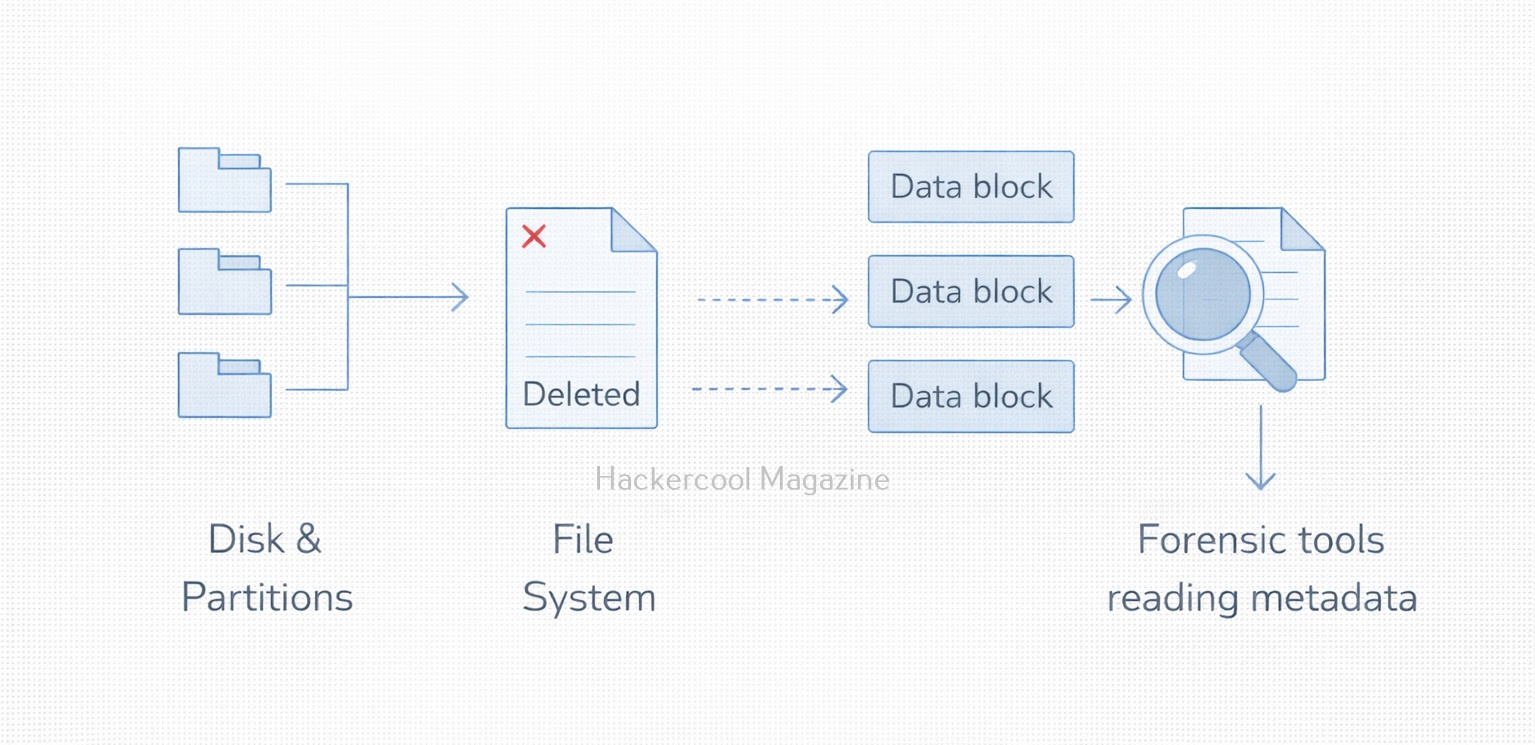
Foremost is a file carving tool which means it recovers files based on known file headers and footers rather than file system metadata. This makes it extremely effective when:

  • The file system is corrupted
  • The partition table is missing
  • Files have been deleted
  • Metadata like filenames or timestamps no longer exist

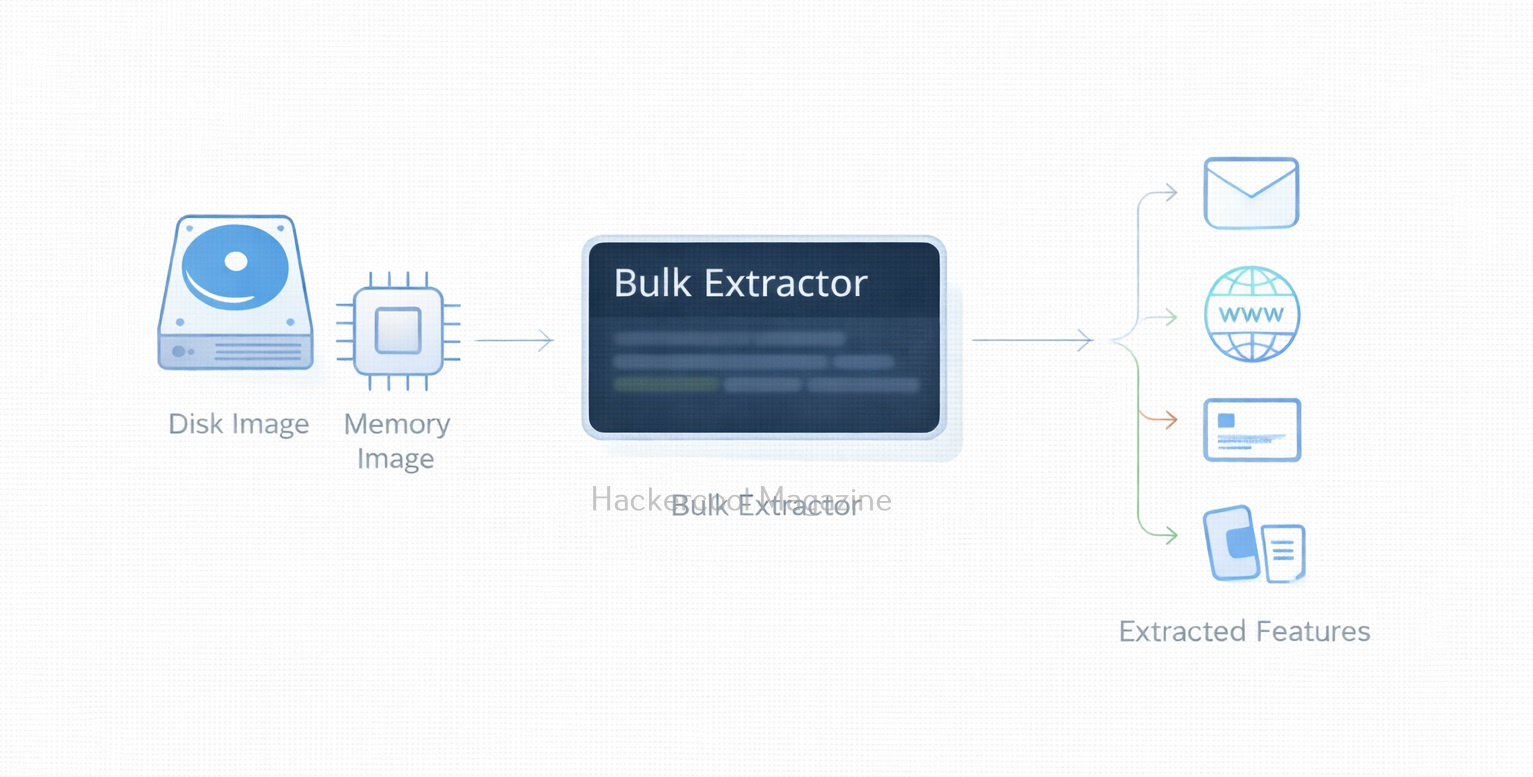
Foremost searches raw disk images or partitions and extracts files such as:

  • Images (JPG, PNG, GIF, BMP)
  • Documents (PDF, DOC, PPT)
  • Videos (AVI, MP4)
  • Archives (ZIP, RAR)
  • Email files and many more, depending on your configuration

Because Foremost works at the byte level, it is fast, reliable and widely used in forensic investigations and CTF-style challenges.

Installing Foremost

Ubuntu / Debian:

On most Linux systems, Foremost is available in built-in repositories. To install this tool on Ubuntu / Debian, we should use commands shown below.

sudo apt-get update
sudo apt-get install foremost

Fedora:

We can install foremost on Fedora using commands shown below.

sudo dnf install foremost

Kali Linux:

Foremost comes preinstalled on Kali Linux.

How Foremost Works?

Foremost works by scanning for known file signatures using a configuration file (/etc/foremost.conf). This file lists the header and footer patterns for each supported file type. For example, JPEGs are identified by following header and footer.

  • Header: FFD8
  • Footer: FFD9

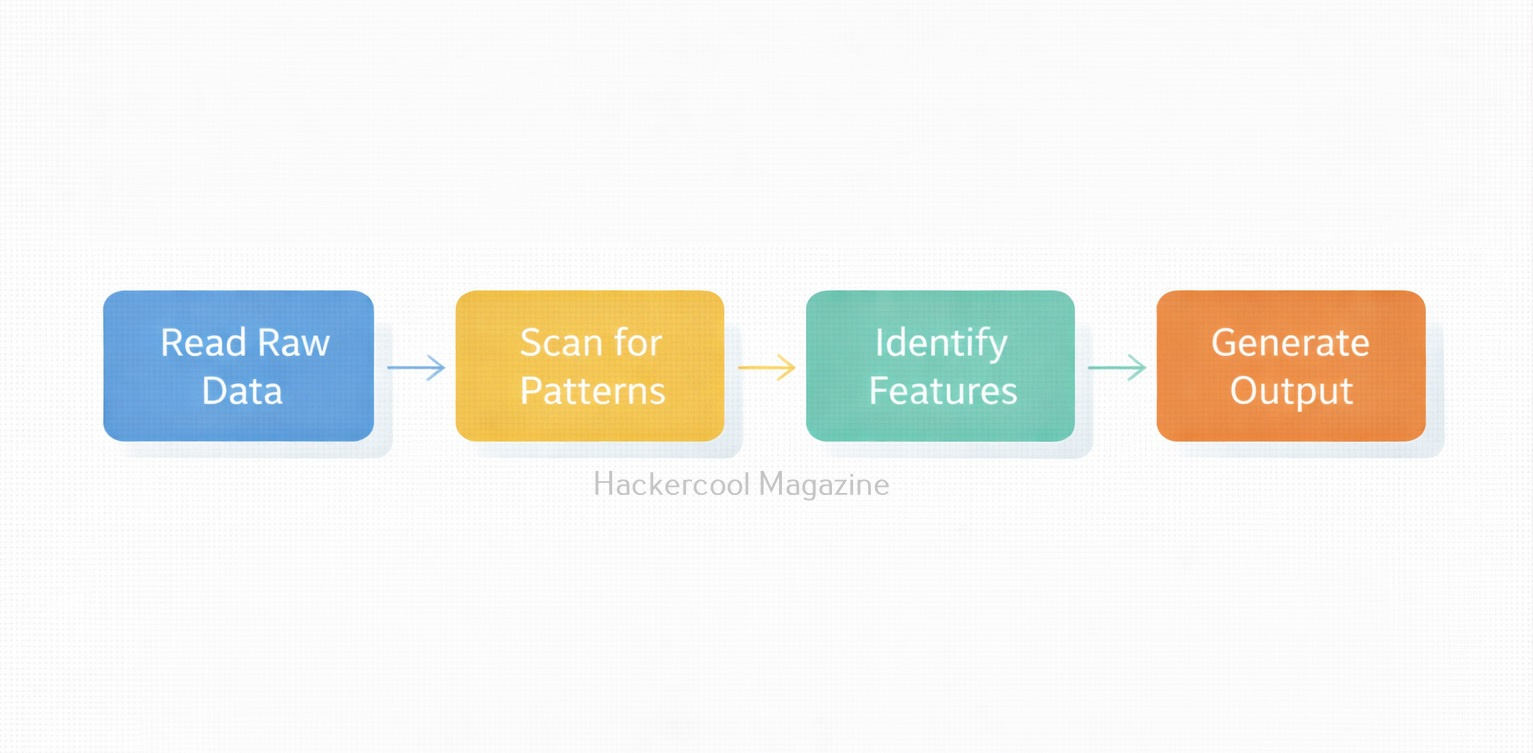
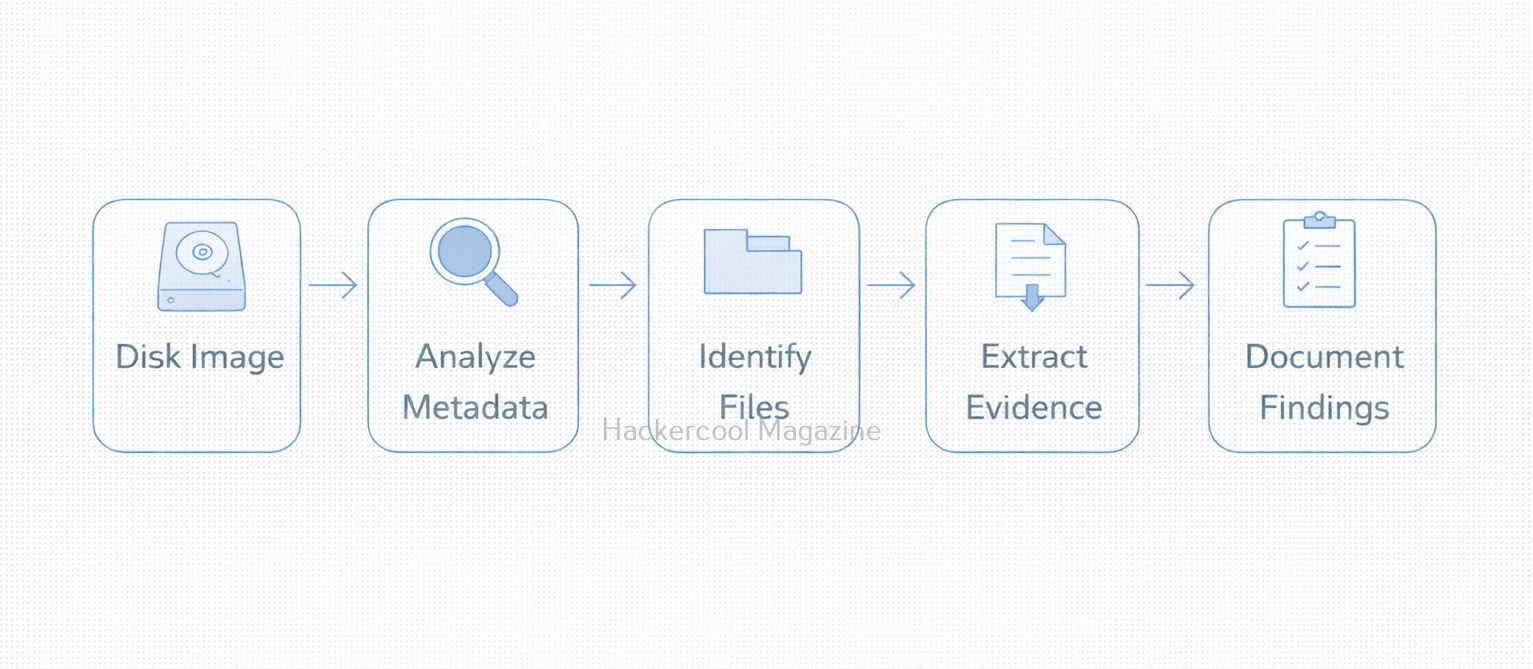
Foremost scans the entire disk or forensic image file, identifies these patterns and extracts whatever lies between them. This process is fully automated and saves results into organized folders.

Basic Commands for Beginners

Let’s walk through some essential commands you’ll use during your first forensic analysis.

1. Carving all known file types from a disk image:

To carve all known file types from a disk image, we should use the command shown below.

foremost -i disk-image.dd -o output_folder

Explanation:

In the above command,

  • -i specifies the input image
  • -o specifies where results will be stored

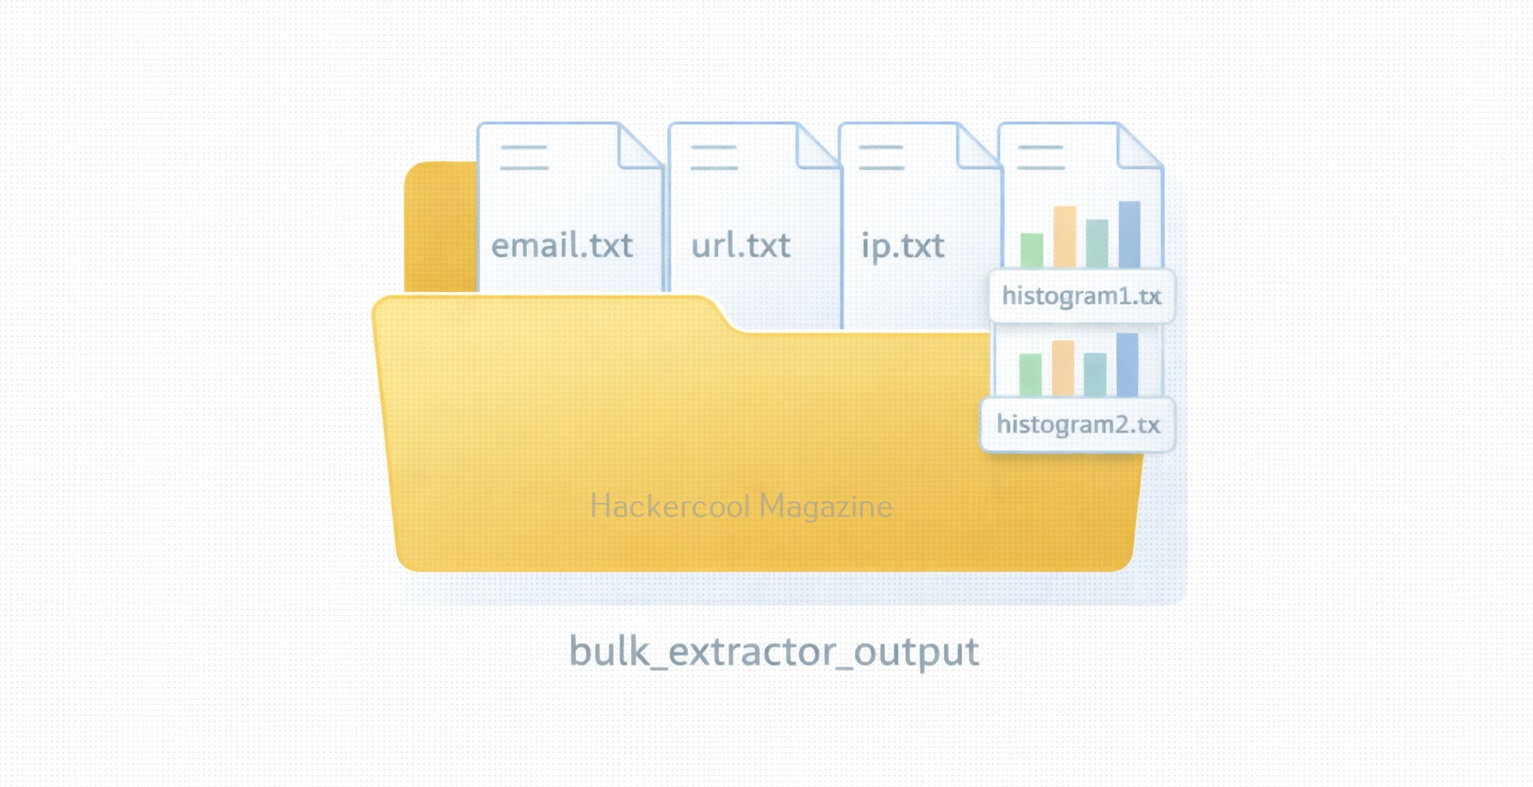
Foremost will automatically create subdirectories for each recovered file type.

2. Recovering only specific file types:

You can also recover specific file types using this tool. Let’s say you want to extract only JPEG images, the command is given below.

foremost -i disk-image.dd -o output -t jpg

You can even specify multiple types of images using command shown below.

foremost -i disk-image.dd -o output -t jpg,png,pdf

This is extremely useful when you’re looking for specific evidence, such as illegal images or stolen PDF documents.

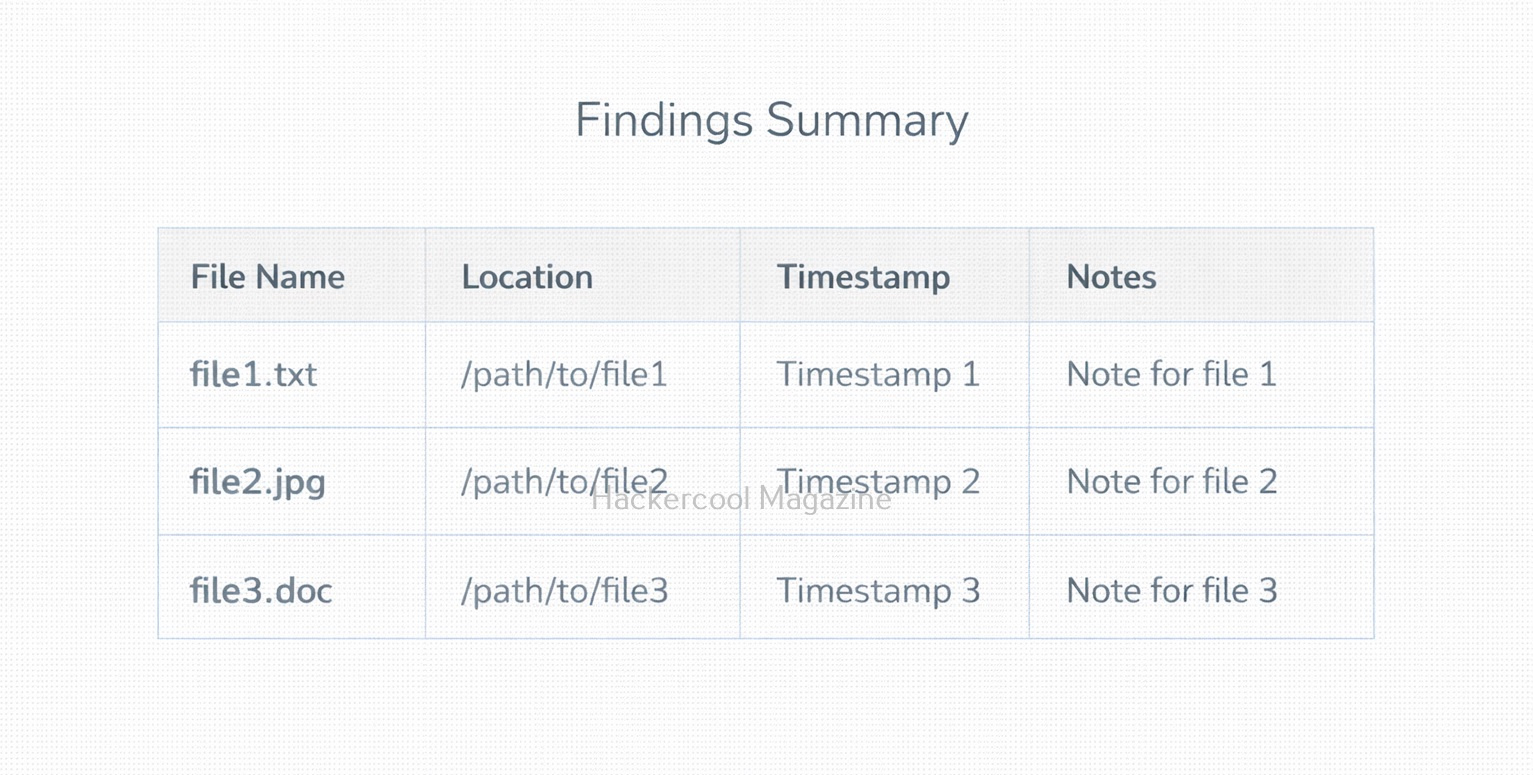
3. Saving a detailed audit log:

Foremost automatically generates an “audit.txt” file in your output folder. To view the audit log, we can use command shown below.

cat output/audit.txt

This log contains:

  • Detected file signatures
  • Number of files recovered
  • Carving start and stop time
  • Any errors encountered

This is crucial for forensic report writing.

4. Using a Custom configuration file:

You can modify or create a custom config file to carve rare file types. For example,

foremost -i disk-image.dd -o output -c myconfig.conf

This option is helpful when working with proprietary file formats or adding new signature patterns.

5. Carving files from a raw device (Drive/USB):

We can also carve files from a raw device.

sudo foremost -i /dev/sdb -o usb_recovery

Important:
Never run carving directly on a suspect’s original device. Always work on a forensic image. This command is mainly used for testing or training environments.

When Should You Use Foremost?

Foremost is ideal for:

✔ Recovering deleted files
✔ Extracting evidence from corrupted partitions
✔ File carving during memory forensics (with image dumps)
✔ CTF competitions and capture-the-flag challenges
✔ Beginner-level forensic labs and training

If you’re working with a damaged or heavily modified file system, Foremost is often faster and easier than more complex forensic suites.

Limitations of Foremost

While powerful, Foremost has a few limitations. They are:

  • It cannot recover filenames or folder paths
  • It may produce false positives for file signatures
  • It doesn’t reconstruct fragmented files well
  • It cannot analyze metadata

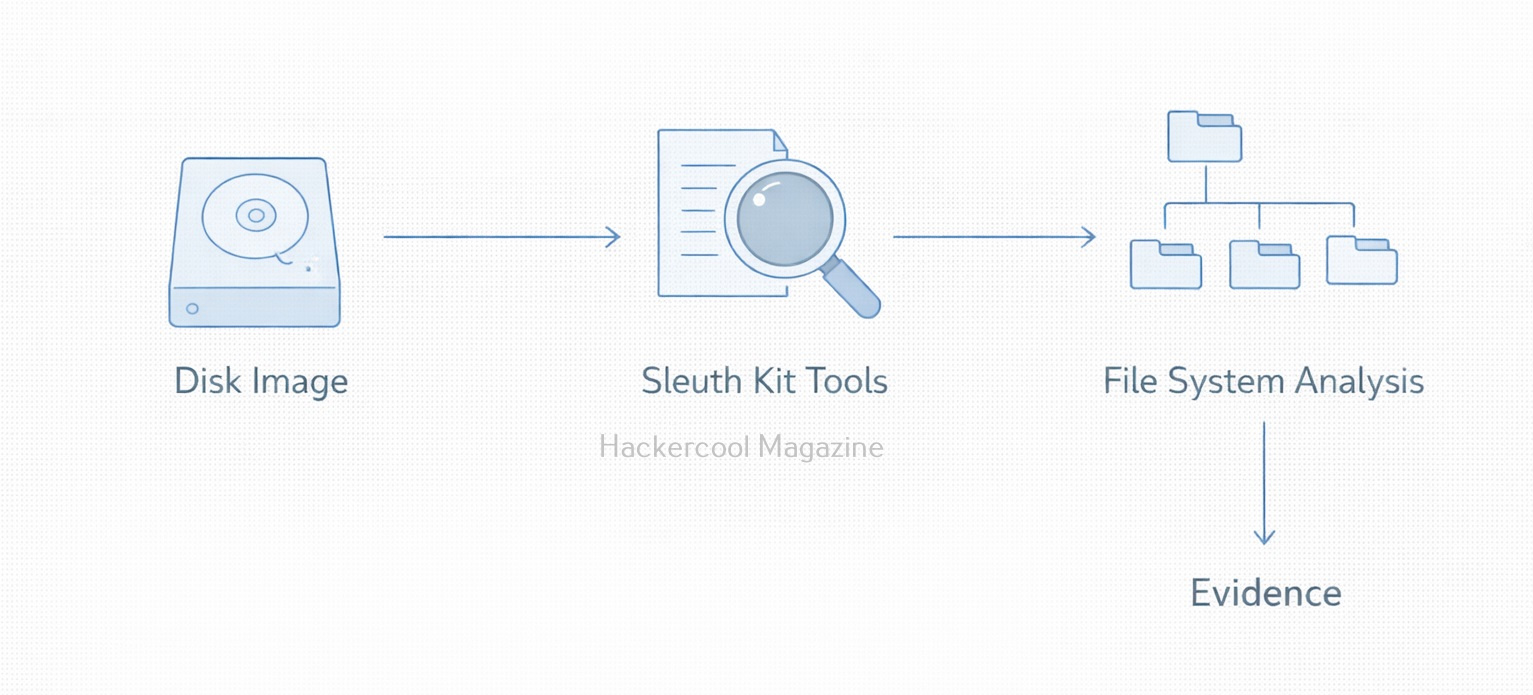
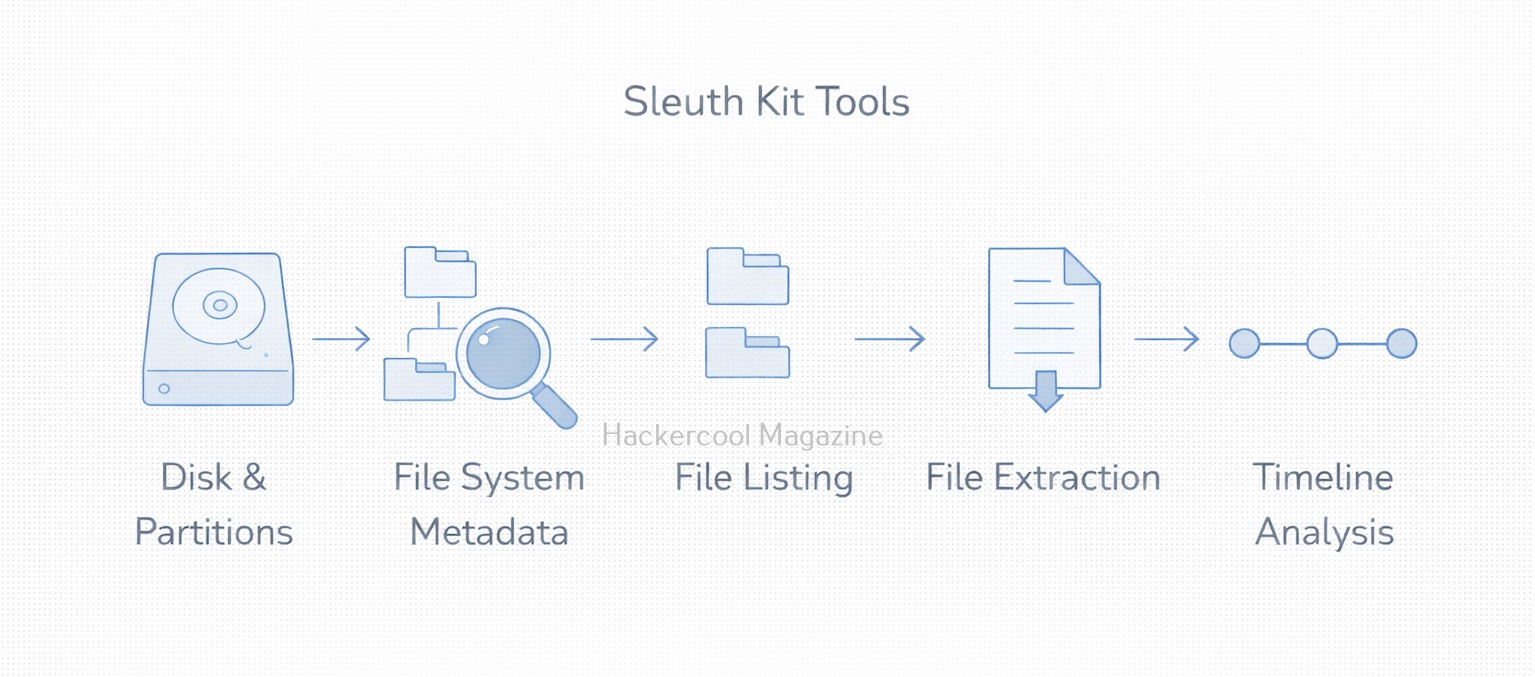
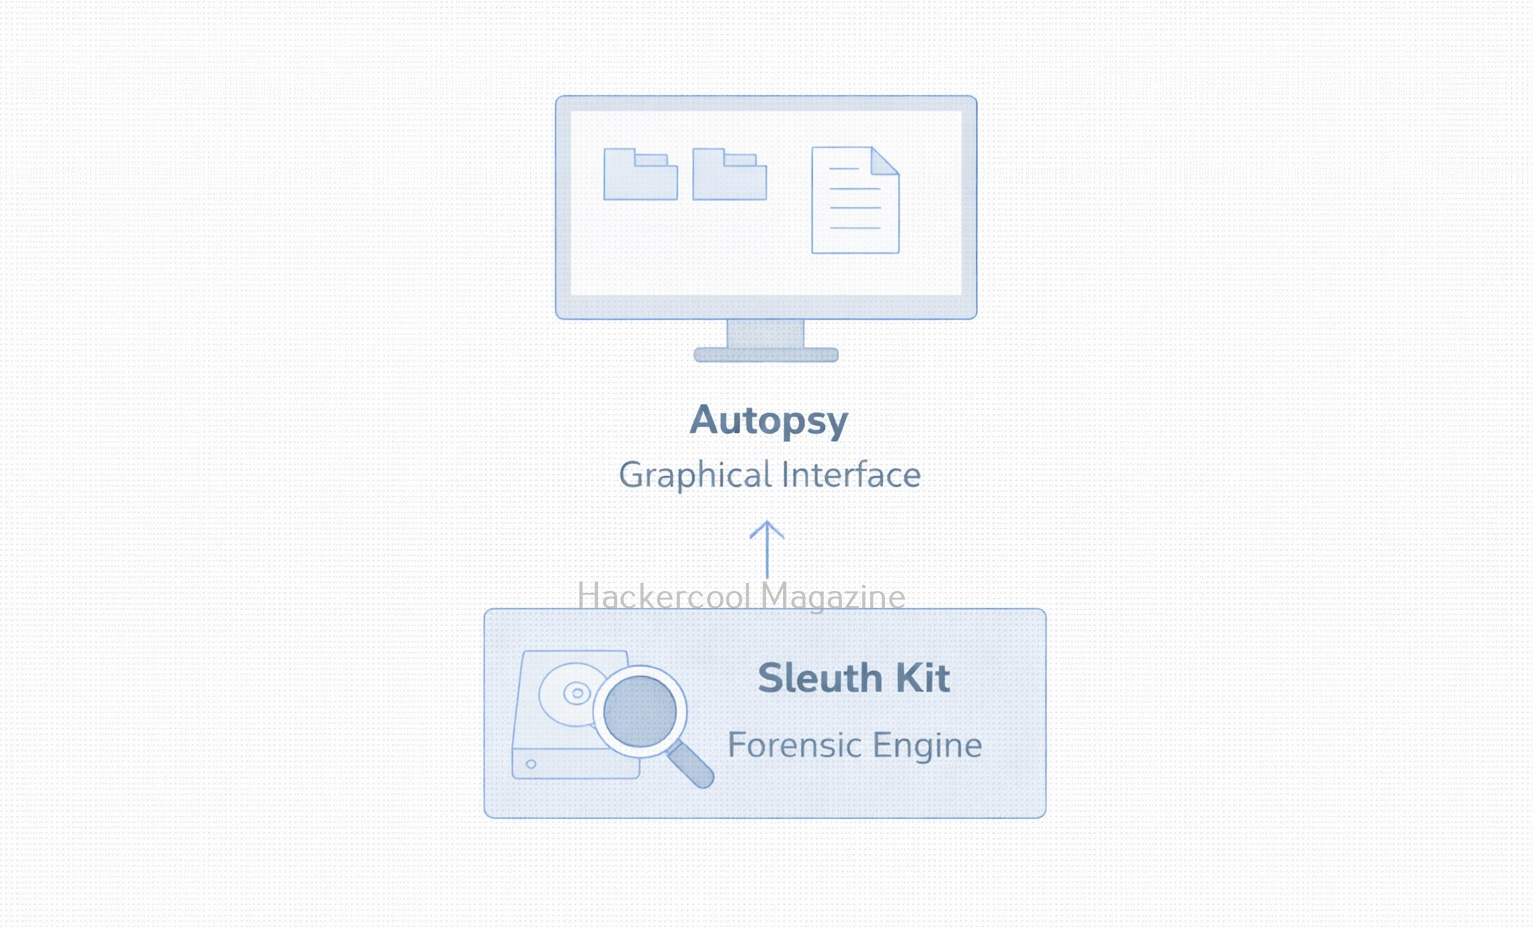
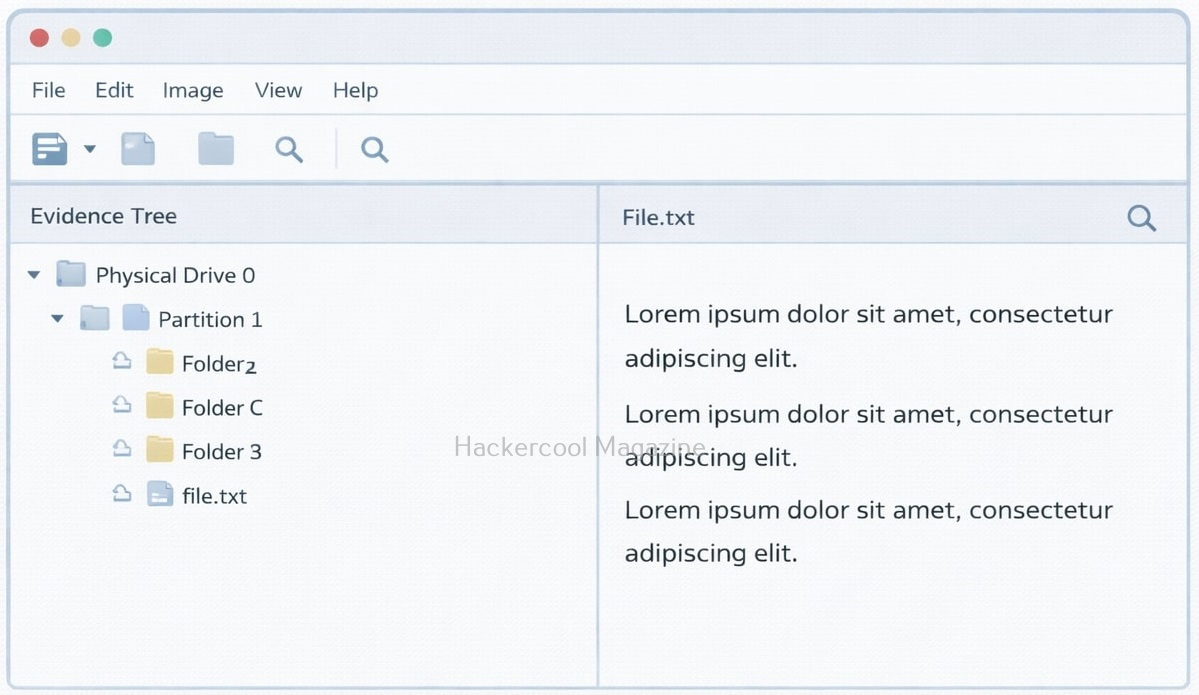
For advanced analysis, we can pair Foremost with The Sleuth Kit, Autopsy or Volatility.

Conclusion

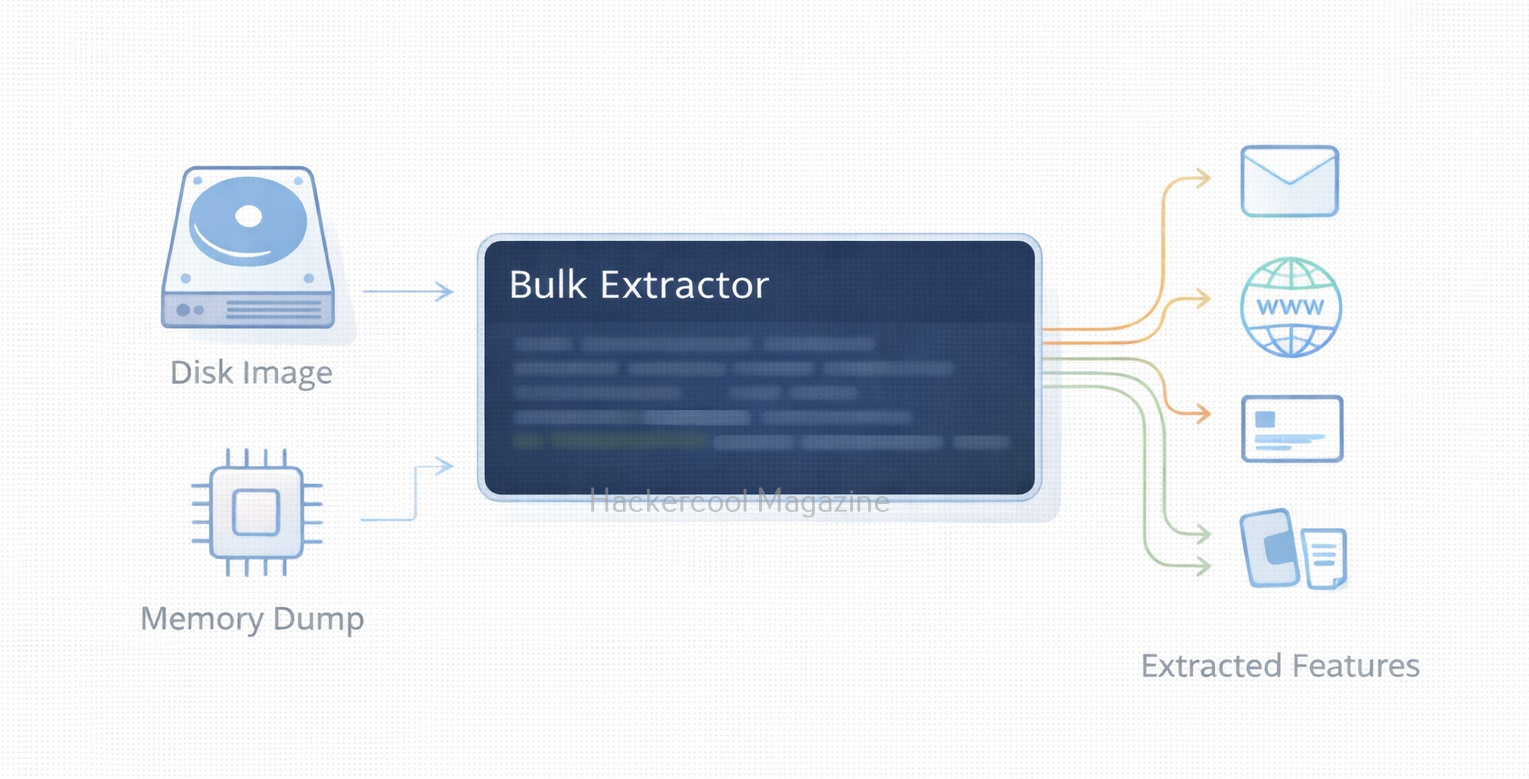
Foremost is one of the best tools for beginners stepping into the world of digital forensics. Its simple command-line interface, speed and ability to recover a wide range of deleted files make it a go-to utility for investigators, students and hobbyists. With just a few commands, you can start carving files from disk images and uncover hidden or deleted data that may hold crucial evidence. If you’re starting your journey into forensic investigations, Foremost is an essential tool to master. Next, learn about Bulk Extractor.

Posted on

Beginners Guide to Bulk Extractor tool

Hello aspiring Cyber Forensic Investigators. In our previous blogpost, you learnt in detail about Computer Forensics. In this article, you will learn about Bulk Extractor, a fast, automated forensic carving tool. Digital forensic investigations often require extracting useful information from massive amounts of data like disk images, memory dumps, captured network traffic and more.

Manually searching through gigabytes (or terabytes) of raw data is impossible and even traditional forensic tools can be slow when scanning large datasets. This is where Bulk Extractor, one of the most efficient open-source forensic tools becomes incredibly valuable. Designed for speed and automation, Bulk Extractor scans raw data and extracts important artifacts such as emails, credit card numbers, URLs and phone numbers without needing to parse the file system first.

For beginners looking to learn forensic data carving, Bulk Extractor is an ideal tool. It’s lightweight, fast, easy to use and capable of revealing hidden evidence that might not appear through typical file system analysis. Let’s explore what Bulk Extractor does, why it’s so popular and how you can start using it.

What is Bulk Extractor?

Bulk Extractor is an open-source digital forensic tool developed by Simson Garfinkel. Its purpose is simple:

To extract high-value forensic artifacts from raw data at high speed.

It scans data sector by sector and extracts items such as:

  • Email addresses
  • Phone numbers
  • Social security numbers
  • URLs and domain names
  • Credit card numbers
  • GPS coordinates
  • ZIP files
  • Network addresses (IPv4, IPv6)
  • Package names and keywords

As Bulk Extractor ignores file systems, it can detect:

  • Deleted data
  • Hidden data in unallocated space
  • Fragmented artifacts
  • Carved strings independent of file structure

This makes it incredibly powerful in investigations involving:

Installing Bulk Extractor

To install this tool on Ubuntu, Debian or Kali Linux, use commands shown below:

sudo apt update
sudo apt install bulk-extractor

You can verify installation using command shown below.

bulk_extractor -V

Workflow of Bulk Extractor

Bulk Extractor works by scanning input data (such as .dd or .img images) and writing results into output directories known as “feature files.” Here is the simple workflow:

  1. Select data source (raw image or file)
  2. Choose output directory
  3. Run Bulk Extractor
  4. Review extracted feature files
  5. Analyze results using BEViewer (optional GUI)

Let’s walk through some beginner-friendly commands of this tool.

1. Basic command to run Bulk Extractor:

To scan a raw disk image, the command is given below.

bulk_extractor -o output/ image.dd

This command does the following:

  • Processes the image
  • Generates multiple report files
  • Saves them in the output directory

After running this tool, look inside the output/ folder. You will find files like:

  • email.txt
  • url.txt
  • ccn.txt (credit card numbers)
  • json.txt
  • domain.txt
  • telephone.txt
  • ip.txt
  • wordlist.txt
  • hash.txt

Each file contains extracted artifacts in plain text format which are easy to read and analyze.

2. Run Bulk Extractor with all scanners enabled:

When you run this tool in default mode as shown above, some scanners are disabled by default. To use all scanners of this tool, run the command shown below.

bulk_extractor -S all -o output/ image.dd

-S all activates all scanners shown below.

  • PDF scanner
  • GPS scanner
  • ZIP scanner
  • Network packet scanner
  • EXIF scanner
  • Base64 decoder

Obviously, this way of scanning produces even more valuable results.

3. Specifying a particular scanner:

You can also specify a particular scanner to run. For example, if you want to only retrieve emails, the command is given below.

bulk_extractor -e email -o output/ image.dd

Similarly, if you want to extract URLs, the command is given below.

bulk_extractor -e url -o output/ image.dd

If you want to extract credit card numbers:

bulk_extractor -e ccn -o output/ image.dd

This focused approach speeds up analysis and at the same time reduces noise.

4. Run Bulk Extractor on a Memory Dump

Bulk Extractor also works extremely well on rerieving information from RAM captures, like the ones obtained with tools like Volatility etc.

bulk_extractor -o mem_output/ memdump.raw

This can reveal information like:

  • Chat sessions
  • Browser artifacts
  • Credentials
  • Temporary files
  • Network activity

5. Viewing Results Using BEViewer GUI:

Bulk Extractor also provides a way to view results in graphical format with the help of GUI viewer known as BEViewer. To install BEViewer, use command shown below.

sudo apt install bulk-extractor-viewer

You can run BEViewer using command shown below.

beviewer

With BEViewer, you can:

  • Visualize extracted artifacts
  • Navigate through offsets
  • Jump directly to locations inside the raw image

This is extremely helpful for beginners.

6. Advanced Usage: Recursive Scanning

Using this tool, we can even enable recursive analysis inside compressed files (ZIP, GZIP, PDF). This can be done using command shown below.

bulk_extractor -R -o output/ image.dd

This extracts buried evidence from archives.

Why Investigators Love Bulk Extractor?

1. It is extremely fast

Bulk Extractor can process large images faster than most forensic suites.

2. It doesn’t require file system to work

One of the great features of this tool is that it doesn’t require any file system to work. It can work on damaged, incomplete or even partially corrupted images.

3. It is beginner-friendly

This tool has simple commands, easy output files and automated scanning which makes it very beginner-friendly.

4. Great for triaging

It quickly identifies whether deeper forensic work is needed.

5. Works on any data

This tool works on any type of data like from disk images, memory dumps, network captures or even single files.

Conclusion

This is one of the most useful tools for forensic beginners. Its speed, simplicity and ability to extract valuable artifacts from any kind of data make it indispensable for digital investigations. With just a few commands, investigators can uncover emails, URLs, credit card numbers and dozens of other forensic artifacts hidden anywhere in a disk image or memory dump.

Posted on

Beginners guide to Sleuth Kit

Hello, aspiring Cyber Forensic Investigators. In our previous blogpost, you learnt about Computer Forensics. In this article, you will learn about Sleuth Kit, a tool that plays an important role in Open-Source Forensics. In the world of digital forensics, few tools are as powerful, dependable and widely used as The Sleuth Kit (TSK). Whether you’re analyzing deleted files, investigating compromised systems or learning forensic fundamentals, TSK provides a complete set of command-line tools that let investigators examine disk images at a deep, forensic level.

TSK is the main engine behind the popular Autopsy GUI, but even on its own, it’s a fast, flexible and scriptable toolkit preferred by many forensic analysts. For beginners learning how file systems work under the hood, The Sleuth Kit is an excellent starting point. This blogpost introduces TSK’s core capabilities, explains its workflow and provides beginner-friendly commands you can try in your own forensic lab.

What is The Sleuth Kit?

The Sleuth Kit is an open-source collection of command-line forensic tools used to analyze:

  • Disk images
  • File systems
  • Deleted files
  • File metadata
  • Partition structures
  • Timelines and artifacts

It supports major file systems such as:

  • FAT
  • NTFS
  • EXT (2, 3, 4)
  • HFS+
  • UFS

TSK is commonly used for:

As Sleuth Kit is CLI-based, investigators can automate workflows, integrate TSK into scripts and even perform extremely detailed low-level analysis.

Installing Sleuth Kit

On Ubuntu, Debian or Kali Linux, Sleuth Kit can be installed using commands shown below.

sudo apt update
sudo apt install sleuthkit

You can verify its successful installation using command shown below.

tsk_recover -V

Basic Workflow of TSK

TSK provides multiple tools for each stage of forensic analysis. For beginners, the workflow generally looks like this:

  1. Identifying partitions
  2. Inspecting File Systems
  3. Listing files and directories
  4. Extracting or recovering files
  5. Building timeline for analysis

Let’s learn about each of these steps using actual commands.

STEP 1: Identifying Partitions

To view a disk image’s partition layout, use command:

mmls image.dd

This command displays:

  • Partition types
  • Start and end sectors
  • Offsets needed for further analysis

Example output:

DOS Partition Table
Slot    Start       End        Length      Description
00:     0000000000  0000204799 204800      NTFS Boot
01:     0000204800  1000000000 ...         NTFS Partition

Alwyas keep the Start sector handy, you’ll use it while running other commands.

STEP 2: Inspecting the File System

To get information like file system metadata (like block sizes and type), we can use the command shown below.

fsstat -o 204800 image.dd

where “-o” means offset, in sectors (from the mmls output).

This command helps you verify you’re examining the correct partition.

STEP 3: Listing Files and Directories

To view contents of the directory (NTFS example), you should use command shown below.

fls -o 204800 image.dd

If you want to view this information with detailed metadata, use command shown below.

fls -r -o 204800 image.dd

Where “-r” stands for recursive, showing all subdirectories.

Here’s an example output for this command:

d/d 4: $AttrDef
r/r 5: bootmgr
d/d 6: Users

STEP 4: Extracting or recovering files

Let’s say you identify a file with inode number 128-32. You can recover it using command shown below.

icat -o 204800 image.dd 128-32 > recovered-file.txt

Where “-icat” extracts the raw content of a file from the disk image. This is especially useful for deleted files that don’t appear in the directory listing. You can also recover all files from the partition instead of recovering single files. For this, you can use command:

tsk_recover -o 204800 image.dd output_directory/

This command extracts:

  • Existing files
  • Deleted files (if not overwritten)
  • Directory structure

which is great for full-case evidence collection.

STEP 6: Building Timeline for analysis

TSK is famous for its timeline capabilities. First, you need to generate a body file which can be done using command shown below.

fls -m / -r -o 204800 image.dd > bodyfile.txt

Then, use the “mactime” tool to create a readable timeline.

mactime -b bodyfile.txt > timeline.csv

on opening the timeline.csv file, you can see:

  • File creation times
  • File modification times
  • Access timestamps etc

How to Recover Deleted Files?

You can easily identify deleted files with TSK using command shown below.

fls -o 204800 image.dd | grep deleted

Then, you can extract these files with “icat” just like normal files. Here is an example of Deleted file metadata (NTFS example).

istat -o 204800 image.dd 128-32

This command will display timestamps, file flags and cluster allocations.

Why Investigators Prefer Sleuth Kit?

There are many reasons investigators prefer Sleuth Kit in their investigation. Some of them are,

1. Deep, low -level access:

Using Sleuth Kit, you can inspect raw file system structures, something most GUI tools often hide.

2. Ability to Automate:

Sleuth Kit gives you ability to automate which is perfect for forensic scripts, training labs and large cases.

3. Trustworthy and Open-Source:

Its is open-source and is trusted by law enforcement, academia and corporate IR teams worldwide.

4. Works with any disk image format:

Sleuth Kit works with any disk image format like E01, dd, raw or partition dumps.

Conclusion

The Sleuth Kit is one of the most important tools in digital forensics. For beginners, it offers hands-on insights into how file systems work, how data is stored and how deleted files can still be recovered. Whether you’re analyzing a compromised system or building your first forensic lab, mastering TSK is a key step toward becoming a skilled digital forensic analyst. Don’t like CLI? Learn about its GUI alternative, Autopsy.

Posted on

Beginners guide to Guymager

Hello, aspiring Cyber Forensic Investigators. In our previous blogpost on Computer Forensics, you learnt what is Imaging and its importance. In this article, you will learn about Guymager, a tool used for reliable disk imaging.

When it comes to digital forensics, few tools are as clean, fast and beginner-friendly as Guymager. Unlike command-line imaging tools such as dd, dcfldd or dc3dd, Guymager provides a powerful graphical interface, making it perfect for new forensic investigators who want to perform reliable evidence acquisition with minimal complexity. Despite its simplicity, Guymager is highly respected in professional labs for its speed, hashing accuracy, detailed logging and support for common forensic image formats.

In this blog post, we’ll break down what Guymager is, why it’s used in digital forensics and how beginners can start using it including sample commands and workflows.

What is Guymager?

Guymager is an open-source forensic imaging tool for Linux, designed to create exact clones of storage devices while preserving integrity. It is widely used for:

  • Creating forensic disk images
  • Hashing drives with MD5, SHA-1, SHA-256
  • Performing bit-for-bit cloning
  • Generating detailed acquisition logs
  • Producing EWF (E01), AFF, or Raw (.dd) images

Its user-friendly GUI makes it suitable for students, interns and analysts who are new to imaging procedures.

Why Use Guymager?

Here are the main reasons forensic teams rely on Guymager:

1. Graphical Interface

Being a GUI tool, there is no need to memorize long commands while using this tool. Simply select the drive, choose an output format and start imaging.

2. Very Fast Imaging Engine

Guymager is optimized for multi-threading and often outperforms traditional imaging tools.

3. Automatic Hashing and Logging

Every image created comes with:

  • Pre- and post-imaging hashes
  • Complete logs of the imaging session
  • Information about the device metadata

4. Supports Write-Blocking

Guymager automatically prevents writes to the source drive when used with hardware write blockers.

5. Stable, Trusted and Open-Source

Frequently found in forensic Linux distros like DEFT, CAINE, and Kali Linux.

Installing Guymager

On most Linux systems (Debian, Ubuntu, Kali), you can install this tool using commands shown below.

sudo apt update
sudo apt install guymager

You can start this tool using command shown below.

sudo guymager

Running as root is necessary because Guymager interacts directly with disk devices.

Step-by-Step Guide to use this tool

STEP 1: Launch the Tool

After starting guymager, the GUI will open and automatically scan for available devices.

It displays:

  • Device name (e.g., /dev/sdc)
  • Size
  • Serial number
  • File system information (if available)
  • Read-only status

STEP 2: Select the Drive to Image

Right-click on the device and choose “Acquire Image”.

Now pick:

  • Output format (EWF-E01, AFF, RAW)
  • Output directory
  • Case metadata (optional but recommended)

STEP 3: Configure Imaging Options

You can enable:

  • MD5 / SHA-1 / SHA-256 hashing
  • Compression (for E01 images)
  • Segment size
  • Automatic log creation

For beginners, the default settings are usually enoigh.

STEP 4: Start Imaging

Click on “Start”.

Guymager will display:

  • Imaging speed
  • Remaining time
  • Hash values
  • Log progress

When complete, the tool verifies the image by comparing pre- and post-acquisition hashes.

Useful Commands for Beginners

Even though Guymager is GUI-based, you can still interact with imaging results using standard Linux commands. Here are some useful commands for beginners while interacting with this tool.

1. Verify Image Hashes

If you choose RAW imaging (.dd), you can verify the image using:

md5sum image.dd
sha256sum image.dd

2. Mounting the Forensic Image (Read-Only)

You can mount the forenisc image with Guymager using command shown below.

sudo mount -o loop,ro image.dd /mnt/image

3. Viewing Logs

While using this tool, each imaging session generates a .log file. You can view this log file using command shown below.

cat case123.log

4. Checking information about Acquired Image (E01 Format)

You can view information belonging to the acquired Forensic Image by using ewf tools as shown below.

Install ewf-tools:

sudo apt install ewf-tools

Then view metadata:

ewfinfo evidence.E01

Beginner Tips for using Guymager

1. Always use a Write Blocker:

Always and always use a Write Blocker while using this tool. This ensures the original evidence drive is never modified.

2. Save Images on a Different Drive:

Never store the forensic image on the same drive you are imaging from.

3. Document Everything:

Always document everything about the Imaging process. Maintain a record of the Case number, device details, serial numbers, hash values etc. Although Guymager logs help, you should always keep personal notes too.

4. Prefer E01 for Real Cases:

While using this tool for imaging in Real-world cases, always prefer E01 format. This format stores metadata, hashes and compression which is ideal for investigations.

5. Use RAW(.dd) format for Training:

Always prefer RAW (.dd) format for training. This is simpler, easier to mount and widely supported.

Conclusion

For beginners entering the field of digital forensics, Guymager is one of the easiest and most reliable tools for forensic imaging. Its fast performance, intuitive interface, automated hashing and comprehensive logging make it a favorite among forensic professionals and students alike. Next, learn how to acquire evidence using FTK Imager tool.

Posted on

Beginners guide to FTK Imager

Hello, aspiring Cyber Forensic Investigators. In our previous blogpost on Computer Forensics, you have learnt what is Imaging and its importance. In this article, you will learn about FTK Imager, a tool used for fast and forensically sound evidence acquisition.

FTK Imager may be the first tool you’ll encounter when you’re just beginning your journey into digital forensics. Developed by AccessData, it is a lightweight but powerful forensic acquisition tool used worldwide by investigators, incident responders, law enforcement and cybersecurity analysts. Its primary purpose is simple but critical: create a forensically sound image of digital evidence.

Unlike other evidence acquisition tools like dd, dcfldd or dc3dd, FTK Imager offers a clean, intuitive graphical interface, making it ideal for beginners who want to learn proper evidence handling without complex terminal syntax. Yet, despite its beginner-friendly design, FTK Imager is robust enough for professional, court-admissible investigations.

What makes FTK Imager Popular in Forensics?

FTK Imager is more than just an imaging tool. It provides a range of features essential in the early stages of forensic analysis. They are,

  • Creates forensically sound disk images (E01, Raw/DD, SMART, AFF formats)
  • Supports physical and logical imaging
  • Can preview file systems before imaging
  • Extracts volatile data such as RAM
  • Generates integrity hashes (MD5, SHA-1, SHA-256)
  • Verifies images after creation
  • Writes detailed forensic logs
  • Offers options to mount images as read-only drives

For students and early-stage analysts, these features offer a complete introduction to acquisition and evidence handling.

Installing and Setting up FTK Imager

FTK Imager runs on Windows and is available as both an installed application and a portable executable. Beginners should prefer the portable version because it can be run from a USB forensic toolkit.

Once launched, the interface is clean, with clear options for adding evidence items, creating images, viewing files and exporting data.

How To Create a Disk Image with FTK Imager?

Here’s a simple step-by-step workflow for creating a forensic image of a suspect drive using this tool.

STEP 1: Launch the Tool

Open FTK Imager and Go to File → Create Disk Image.

STEP 2:  Choose the Source Type

Select what you want to acquire:

  • Physical Drive
  • Logical Drive
  • Image File
  • Folder Contents

For beginners who are practicing, use Physical Drive.

STEP 3: Select the Target Device

Choose the drive you want to image, such as:

\\.\PHYSICALDRIVE1

STEP 4: Choose the Image Format

Choose the format of the forensic Image you want to save this evidence as.

It supports:

  • E01 (Expert Witness format) – Recommended for real cases
  • Raw/DD – Compatible with many open-source tools
  • SMART / AFF formats

Beginners should typically start with Raw/DD format for simplicity.

STEP 5: Add Case Information

You’ll be prompted to fill optional metadata. This will include information shown below.

  • Case Number
  • Evidence Number
  • Examiner Name
  • Notes

This information helps maintain chain of custody.

STEP 6: Set the Output Destination

Choose a location where you want to save your forensic image. Note that this should be separate storage drive, not the source device.

STEP 7: Enable Hashing

Hashing verifies the integrity of the Image, So, check the boxes:

  • MD5
  • SHA-1 or SHA-256 (recommended for modern investigations)

This tool will automatically generate and verify these hashes.

STEP 8: Start Imaging

Click “Start” and FTK Imager will begin acquiring the bit-for-bit copy, showing real-time progress, speed and any errors.

How to Preview Evidence with FTK Imager?

One of this tool’s greatest strengths is its ability to preview evidence without altering it. To view evidence with FTK Imager, go to File → Add Evidence Item → Image File.

This tool can display:

  • Folder structure
  • File metadata
  • Deleted files
  • Hex view of sectors
  • File hashes

Beginners find this extremely helpful for practicing forensic interpretation.

How To Export Files from an Image?

You can even extract individual files or folders from a forensic image using this tool. To do that, Right-click any file and go to → Export File(s). FTK Imager maintains timestamps and metadata, keeping the export forensically sound.

How To Capture RAM (Volatile Memory)?

To capture volatile memory with FTK Imager, go to File–>Capture Memory as shown below.

How To Create Hashes of Individual Files?

A common beginner task is to hash individual files for the purpose of integrity. To do this, Right-click on the file you want to compute hash to. and select Compute Hash

FTK Imager can generate:

  • MD5
  • SHA-1
  • SHA-256

hashes, depending on your settings.

How to Mount A Forensic Image?

You can mount also mount a forensic image as a read-only drive for examination. You can do this by going to File → Image Mounting. Once you are here, select from:

  • Read-only mode
  • Mount as a physical or logical drive

This helps beginners explore forensic artifacts using Windows tools without altering evidence.

Best Practices for Beginners

1. Always Use a Write-Blocker

Never and never connect a suspect drive directly to your system and always use a Write-Blocker.

2. Store Images Separately

Never save images on the same drive as the evidence source.

3. Document Every Action

Always document each and every action like Case details, hashes, timestamps and imaging logs. They must be preserved.

4. Verify Images:

FTK Imager does verification automatically. Always maintain the verification log.

Conclusion

FTK Imager remains one of the most essential tools for beginners in digital forensics. Its intuitive interface, strong forensic controls, built-in hashing and preview capabilities make it an ideal starting point for anyone learning evidence acquisition. Whether you’re preparing for a real investigation or building your lab skills, mastering FTK Imager gives you a strong foundation in the world of DFIR.