Hello, aspiring Cyber Forensic Investigators. In our previous blogpost on Computer Forensics, you learnt in detail about Imaging. In this article, you will learn about DCFLDD, an Imaging tool that made a guest entry in the above-mentioned blogpost.
New to Ethical Hacking?
Start your journey with The Beginner Ethical Hacker Starter Kit (2026 Edition).
Inside the free guide, you’ll learn:.
- Ethical hacking fundamentals
- Beginner cybersecurity roadmap
- Essential hacking tools
- Common vulnerabilities explained
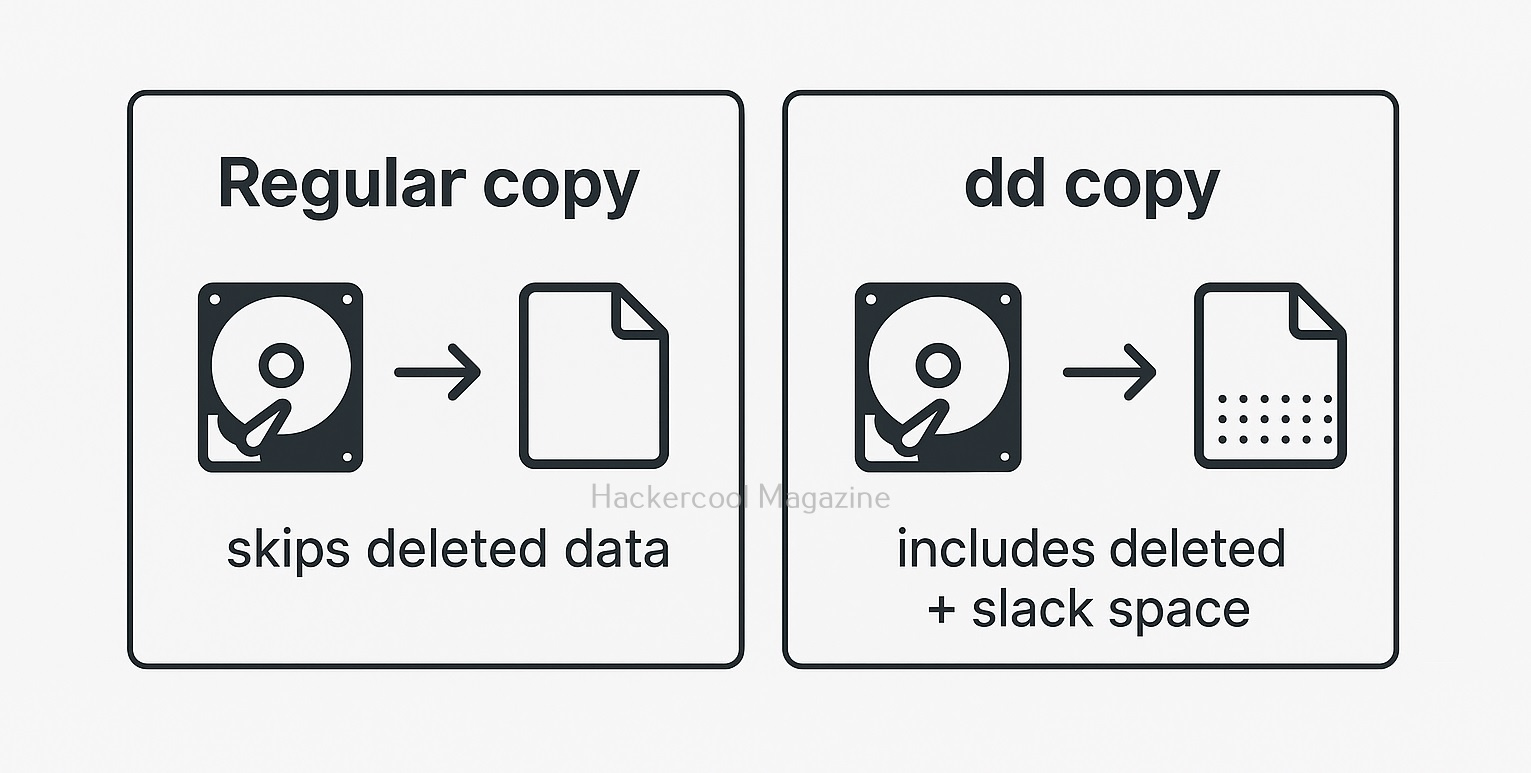
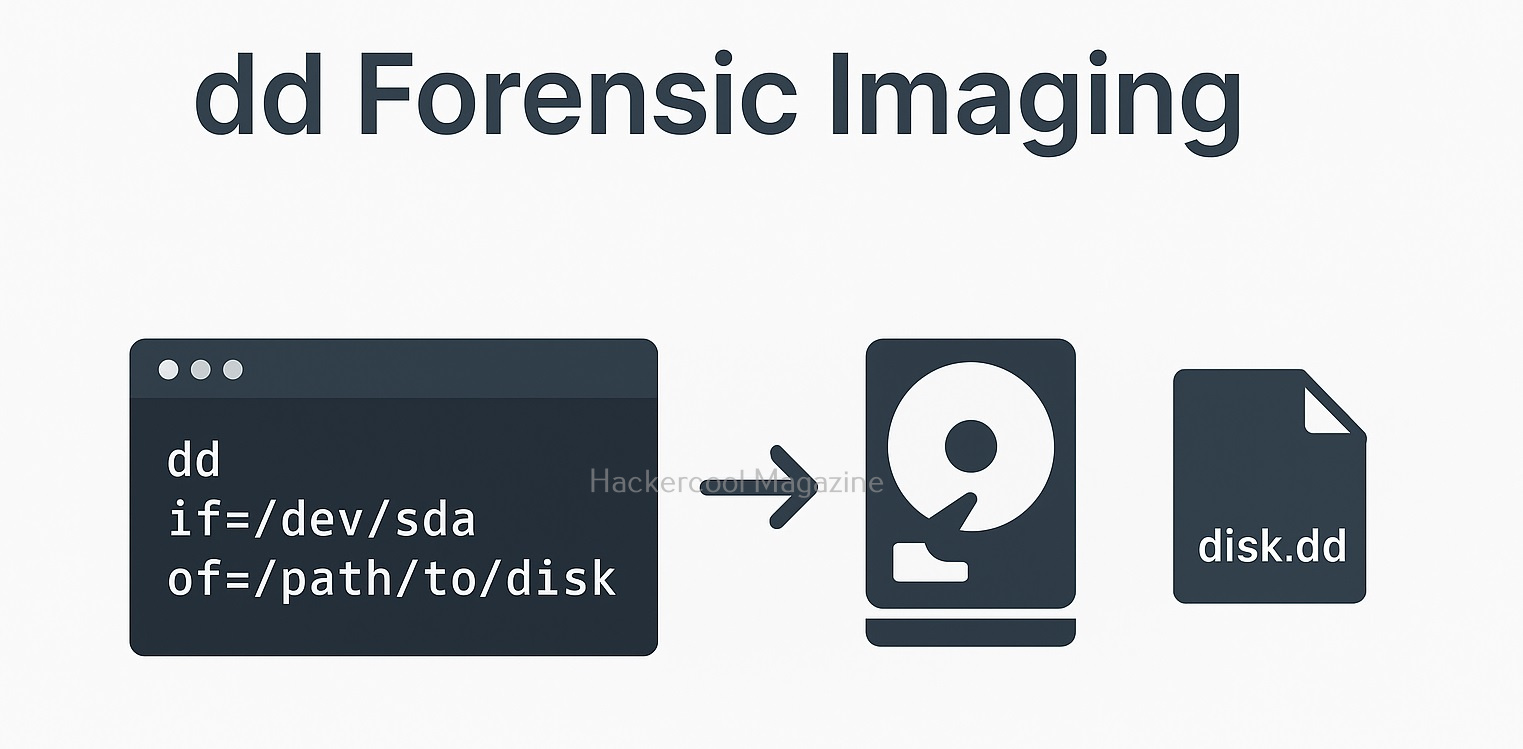
For anyone starting in digital forensics, the first major skill to learn is acquiring a forensically sound disk image, a bit-for-bit copy of a suspect’s storage device. While many beginners start with the classic dd tool, modern forensic workflows often rely on a more advanced and investigator-friendly tool: dcfldd.
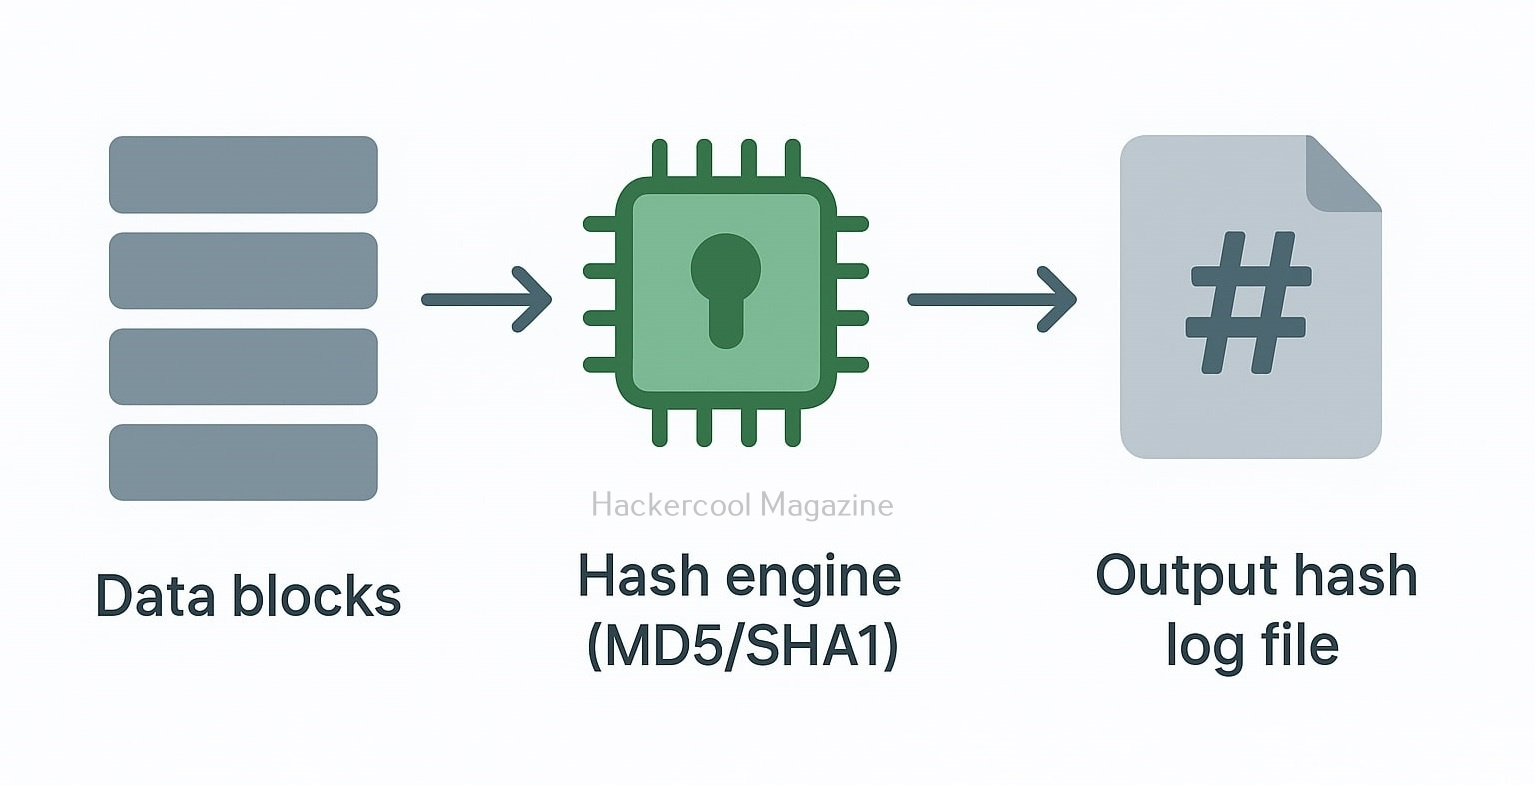
Created by the U.S. Department of Defense Computer Forensics Lab (DCFL), dcfldd builds directly on top of dd, adding features specifically designed for forensic imaging. These improvements make it safer, faster and easier for beginners to use, especially when dealing with hashing, viewing progress and logging. If you’re just stepping into the world of DFIR, dcfldd is one of the best tools to master early.

What is dcfldd?
dcfldd is a command-line disk imaging tool used for digital forensics and incident response. Think of it as dd with “forensics mode” built in.
Compared to dd, dcfldd adds:
- Built-in hashing feature (MD5, SHA-1, SHA-256, etc.)
- Real-time progress indicators
- Automatic verification
- Error handling improvements
- Ability to split output images
- Detailed logging for forensic reports
In short, it streamlines the entire imaging process while reducing mistakes, an advantage for both new and experienced investigators.
Why you should use dcfldd instead of dd?
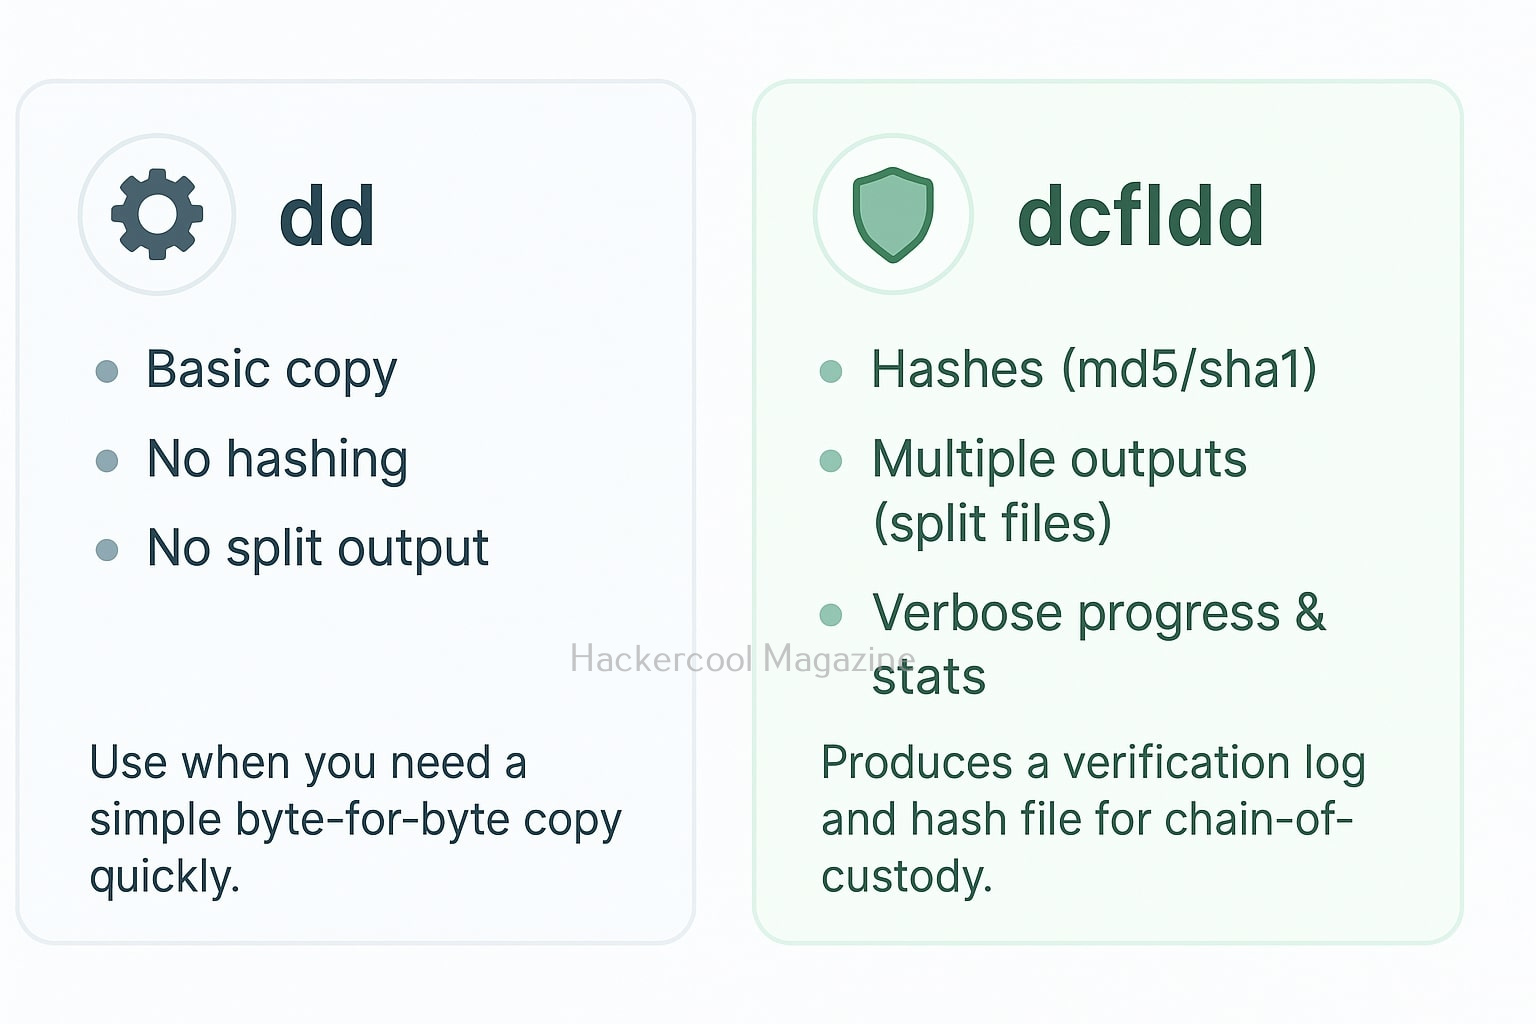
While dd is reliable, it has many limitations. Needless to say, dcfldd fixes many of them:
| Feature | dd | dcfldd |
|---|---|---|
| Built-in hashing | ❌ No | ✅ Yes |
| Hash verification | ❌ No | ✅ Yes |
| Progress display | ❌ Basic | ✅ Built-in |
| File splitting | ❌ No | ✅ Yes |
| Logging | ❌ Minimal | ✅ Automatic |
For beginners, these enhancements take away the stress of managing multiple commands and help create court-ready evidence images with fewer commands.
Want to Learn Ethical Hacking Step-by-Step?
If you’re serious about learning cybersecurity, a structured roadmap makes the journey much easier.
Download The Beginner Ethical Hacker Starter Kit (2026 Edition) and discover:
✔ The ethical hacking learning path
✔ Beginner-friendly security concepts
✔ Essential tools ethical hackers use
✔ The most common vulnerabilities explained
Basic dcfldd Imaging Command
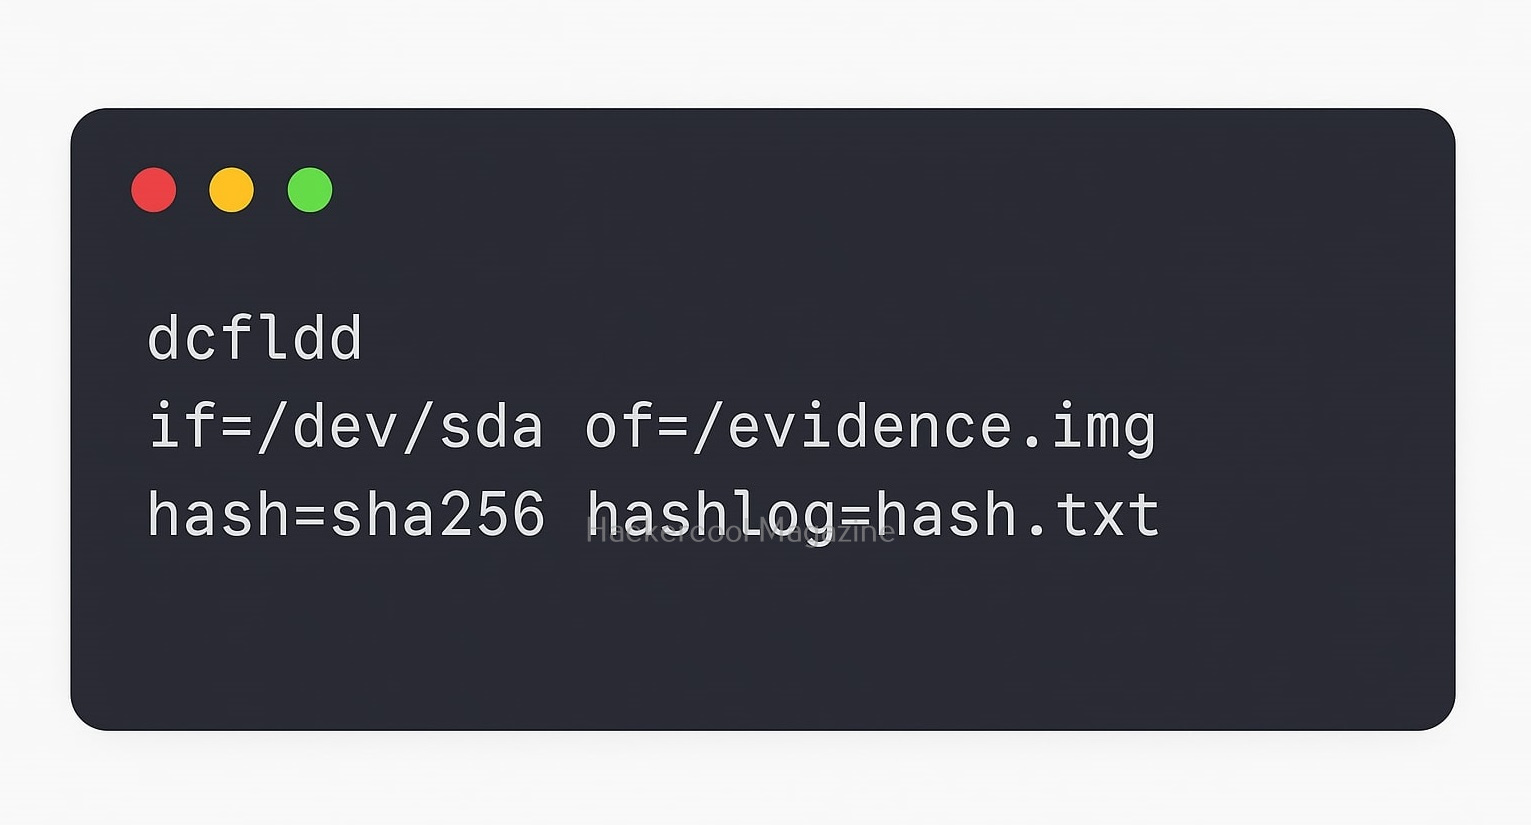
Here’s the most commonly used command when creating a forensic image with this tool.
dcfldd if=/dev/sdb of=/cases/suspect.img hash=sha256 hashlog=/cases/suspect_hash.txt
What this command does is,
- if=/dev/sdb: Reads from the suspect drive
- of=suspect.img: Saves the output as a disk image
- hash=sha256: Generates a SHA-256 hash during imaging
- hashlog=: Saves the hash value to a file
This single command does what dd requires multiple commands for, making it ideal for beginners learning proper forensic acquisition.
Show Progress While Imaging
Seeing progress of your imaging is extremely helpful, especially when imaging large drives. dcfldd has native support for this. This can be done using command shown below.
dcfldd if=/dev/sdb of=suspect.img hash=sha1 hashlog=hash.txt statusinterval=5
Where,
statusinterval=5: Shows progress every 5 seconds
You’ll see data copied, percentage of copying completed and throughput.
How to Split a Large Image into Smaller Chunks?
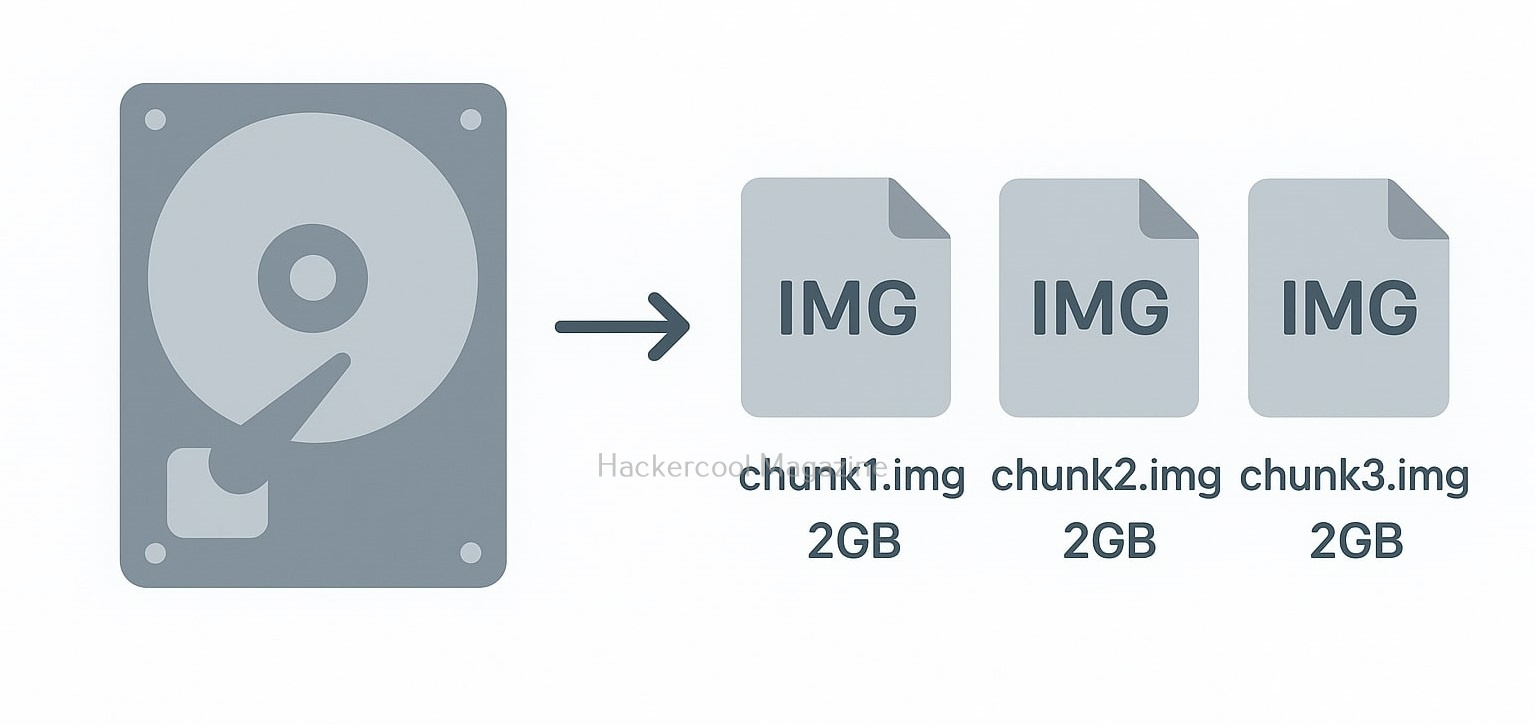
Large forensic images can be difficult to store and transfer. dcfldd allows for easy splitting using command shown below.
dcfldd if=/dev/sdb of=suspect.img split=2G
The above command creates files like:
- suspect.img.000
- suspect.img.001
- suspect.img.002
Perfect for archiving and moving across FAT32 drives or network locations.
How to Verify the Image?

Verification of images is very crucial in forensics. dcfldd can compare source and image hashes using command shown below.
dcfldd if=/dev/sdb of=suspect.img hash=sha256 verifylog=verify.txt
When we use the above command, dcfldd will not only generate a hash for both the source and the image but also confirm whether they match.
How to Image only a specific Partition?
In some cases, we don’t need to image the whole disk. We just need the Image of a specific Partition. We can use dcfldd to image a single partition using command shown below.
dcfldd if=/dev/sdb1 of=/cases/partition_sdb1.img hash=md5 hashlog=partition_hash.txt
This command is very helpful while Imaging USB drives, boot partitions or Linux system partitions.
How to Recover Data from a Damaged Drive?
The below command recovers data from a damaged drive.
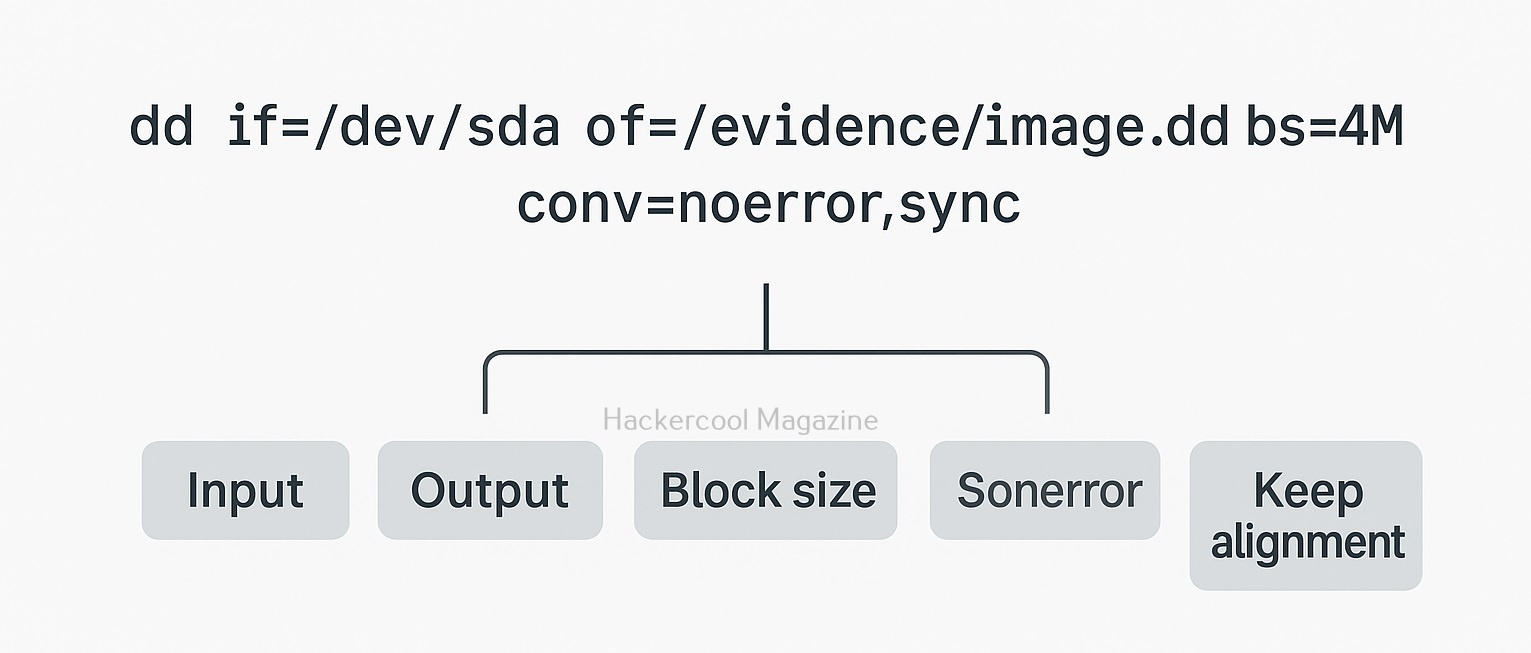
dcfldd if=/dev/sdc of=recovery.img conv=noerror,sync
- noerror → Continues even if sectors are unreadable
- sync → Fills unreadable sectors with zeros to preserve structure
While ddrescue is still best for severely damaged drives, dcfldd performs reliably for light recovery tasks.
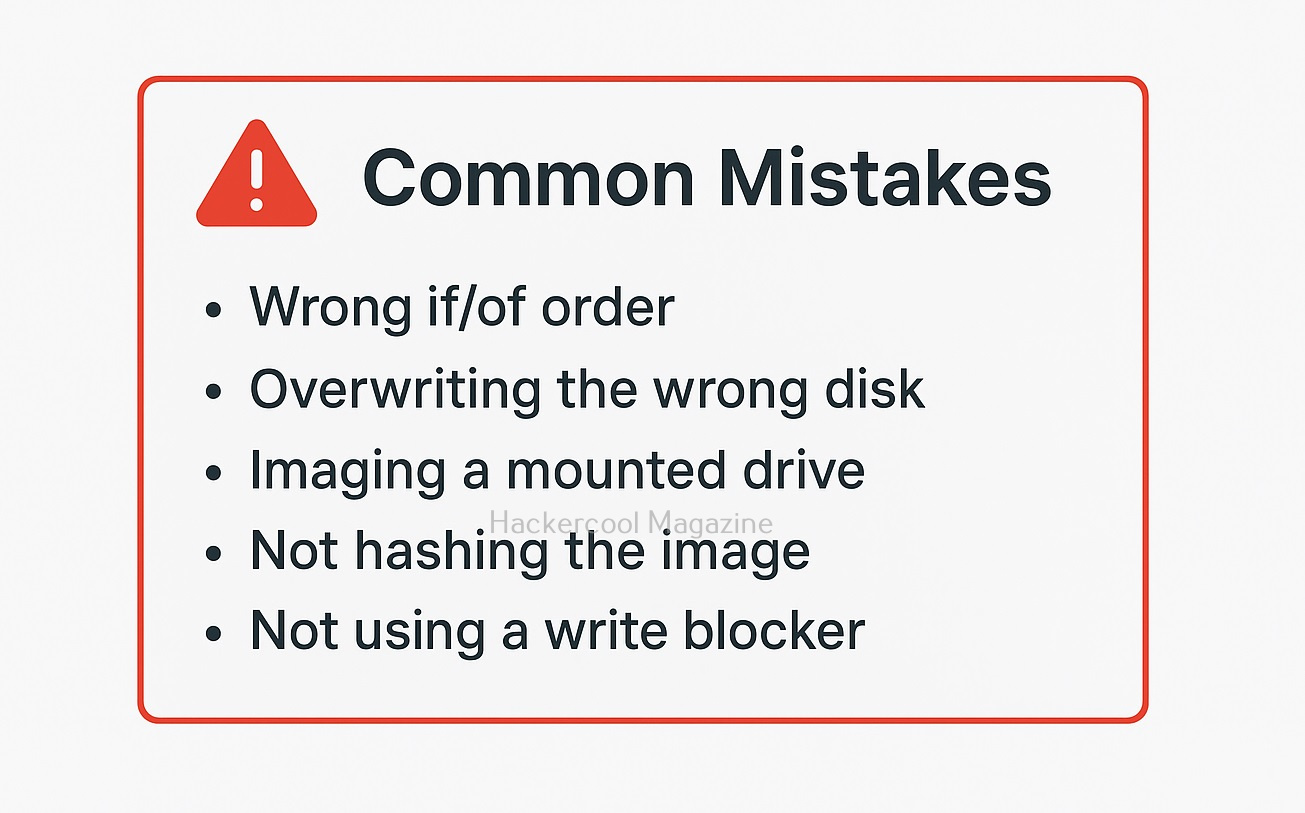
Beginner Tips for Safe Forensic Imaging
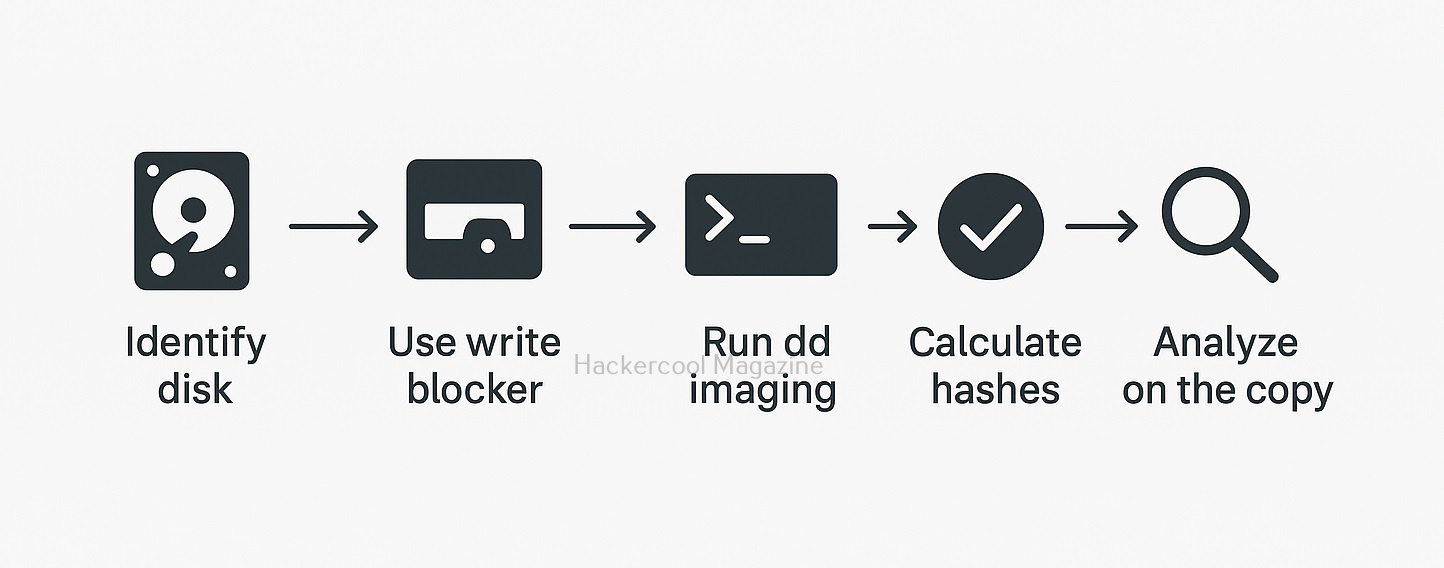
1. Always Use a Hardware Write-Blocker:
Never and never connect a suspect drive directly. Always use write-blockers to ensure the original data remains untouched.
2. Double-Check Device Names
Be very, very careful. A small typo can prove dangerous while using this tool. Mixing up /dev/sdb and /dev/sdc can permanently damage evidence.
Use command shown below to confirm device names.
lsblk
3. Document Everything
Always make a record of:
- Hash values
- Device model and serial number
- Commands used
- Date and time
- Case number
This ensures chain-of-custody integrity.
4. Use Strong Hashes
SHA-256 is the current standard in courts and forensic reports.
Conclusion
dcfldd is one of the most beginner-friendly forensic imaging tools available today. Its built-in hashing, progress tracking, verification and logging eliminate many of the hurdles new investigators face when using tools like dd. By mastering a few essential commands, even beginners can produce professional, court-admissible forensic images with confidence. Next, learn about dc3dd, another imaging tool.
Start Your Ethical Hacking Journey Today
Learning cybersecurity can feel overwhelming at first. The best way to start is with a clear roadmap and the right resources.
Download The Beginner Ethical Hacker Starter Kit (2026 Edition) and get instant access to:
✔ Ethical hacking fundamentals
✔ A beginner cybersecurity learning roadmap
✔ Essential hacking tools every beginner should know
✔ Common vulnerabilities explained simply