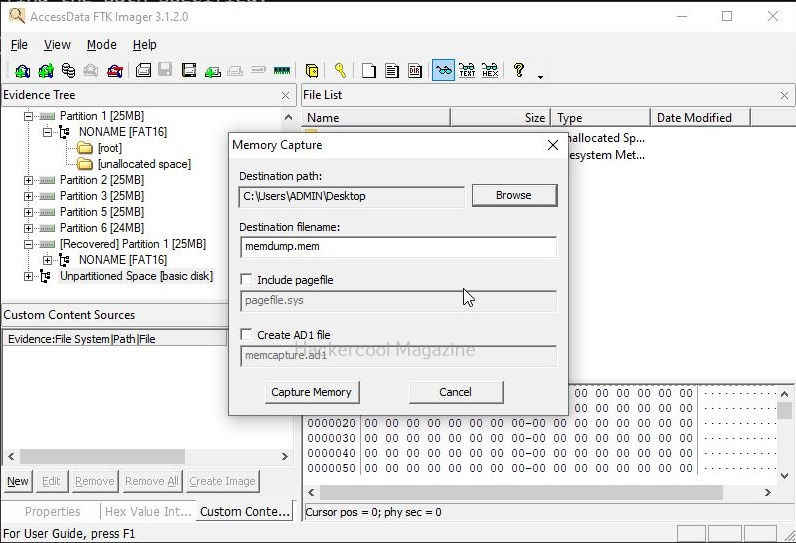
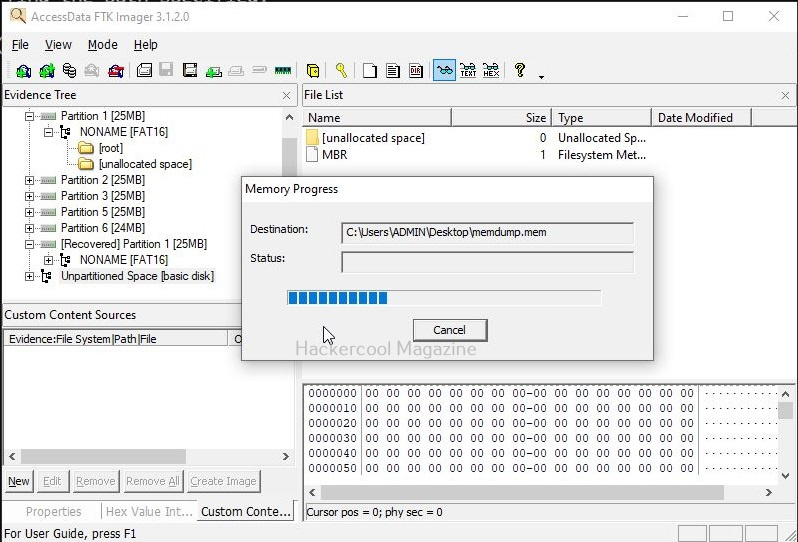
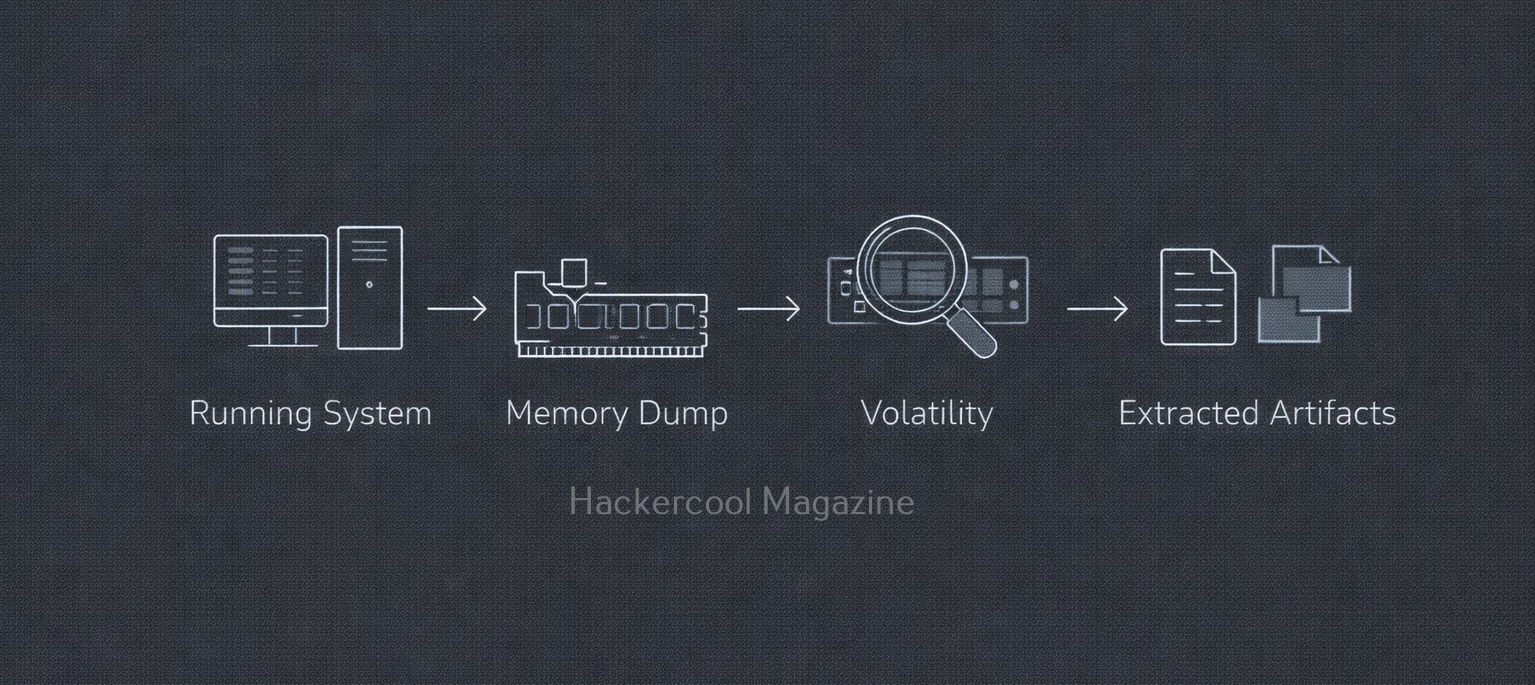
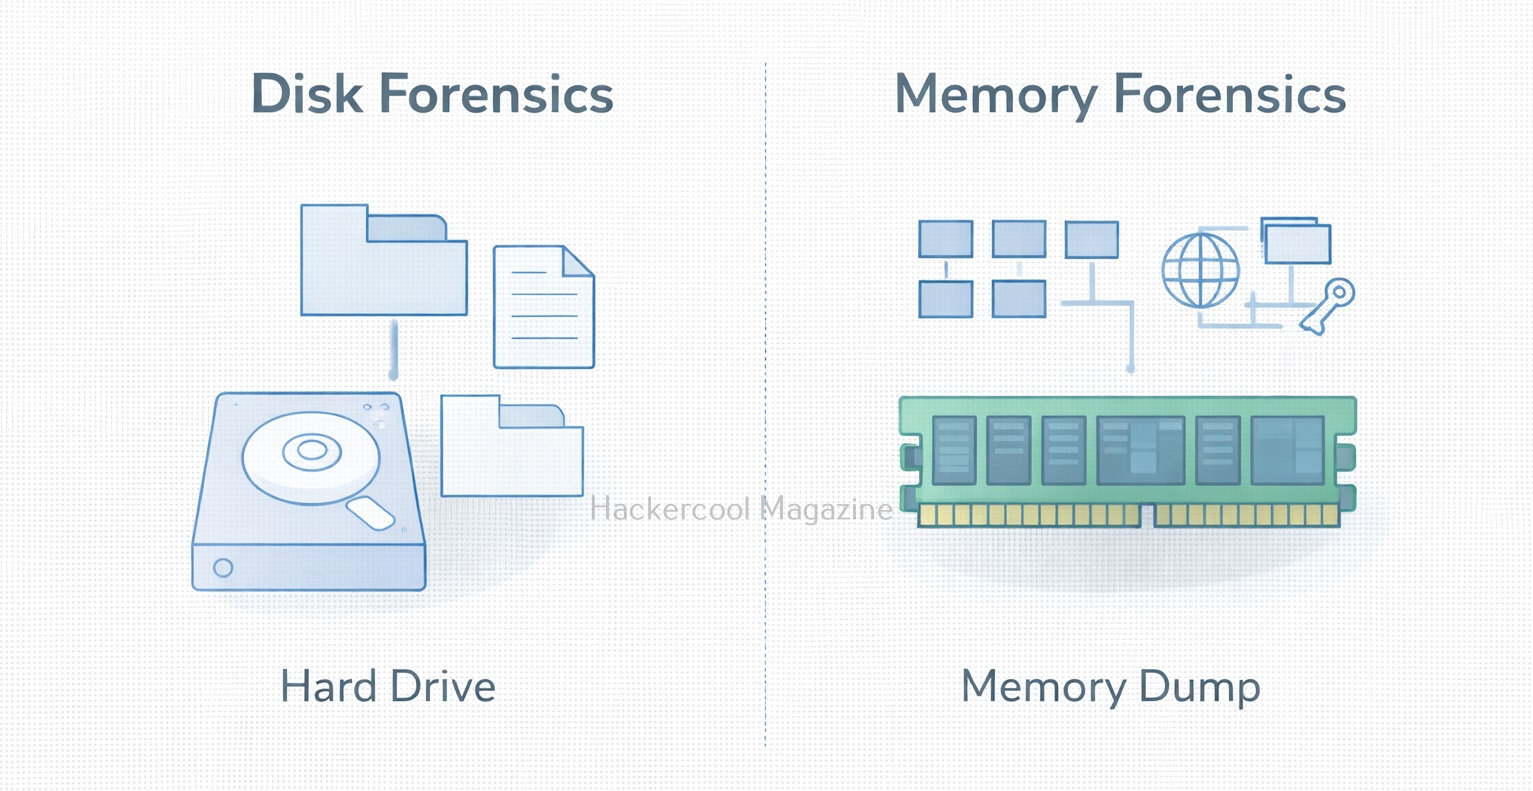
Hello, aspiring Cyber Forensic Investigators. In our previous blogpost on Computer Forensics, you learnt about different types of forensics. In this article, you will learn about Volatility, a memory forensics tool. In modern digital forensics and incident response, analyzing volatile memory (RAM) has become just as important as examining hard drives to detect malware, running processes, encryption keys, open network connections etc. However, In-memory (RAM) artifacts often disappear the moment a system is powered off. This is where Volatility, the most widely used open-source memory forensics framework, becomes indispensable.
New to Ethical Hacking?
Start your journey with The Beginner Ethical Hacker Starter Kit (2026 Edition).
Inside the free guide, you’ll learn:.
- Ethical hacking fundamentals
- Beginner cybersecurity roadmap
- Essential hacking tools
- Common vulnerabilities explained
Whether you’re investigating malware, analyzing a compromised system or learning how attackers hide in memory, Volatility provides deep visibility into live system activity. In this beginners guide, we’ll explore what Volatility is, why it matters and how to start using it with practical commands that you can try in your forensic lab.
What is Volatility?
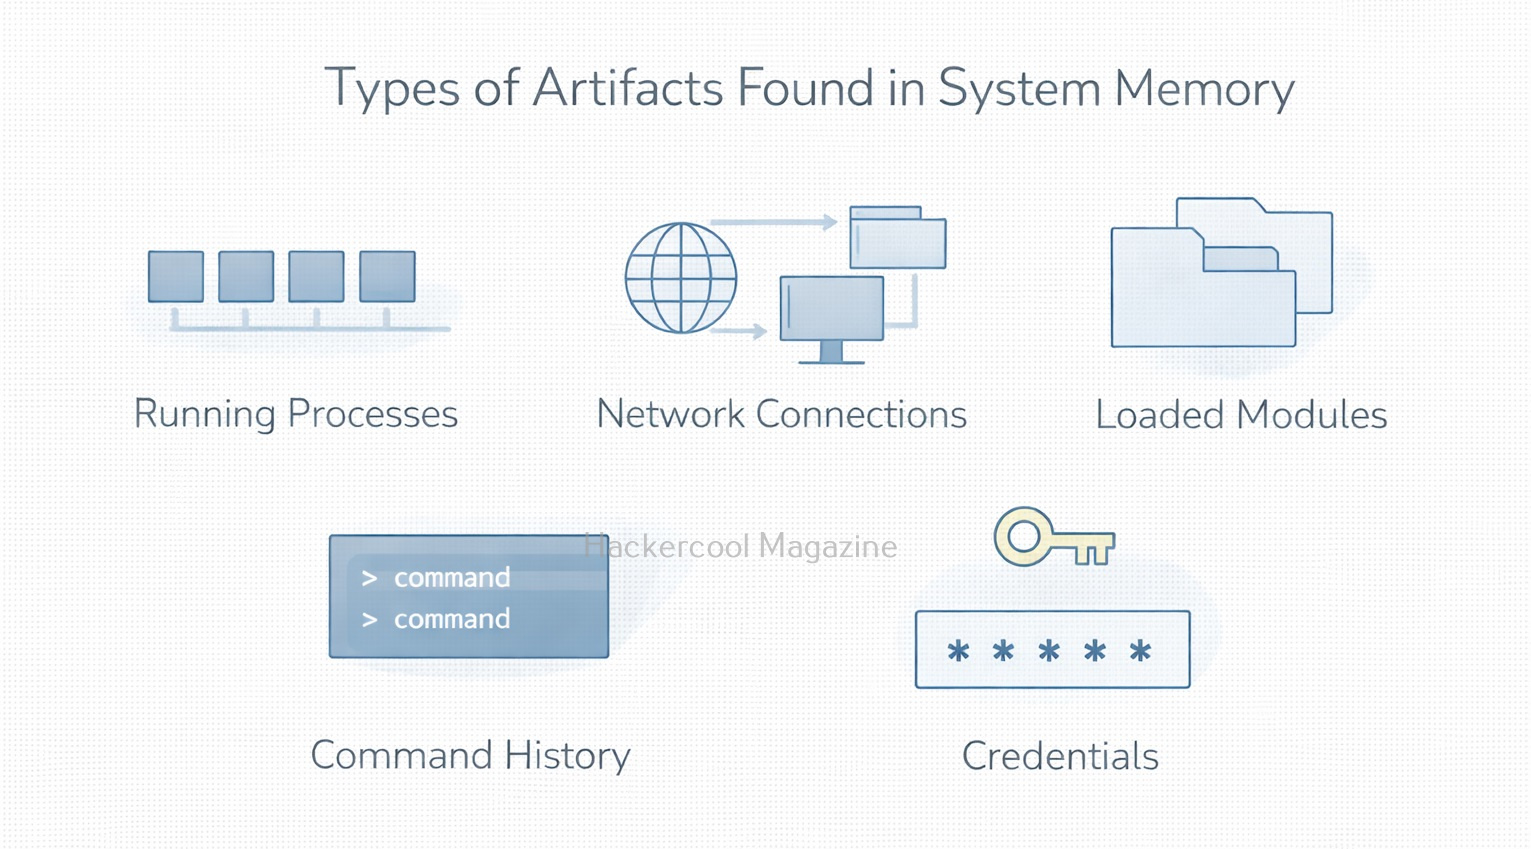
Volatility is an open-source memory forensics toolkit used to analyze RAM captures from Windows, Linux, macOS and Android systems. It allows cyber forensics investigators to extract information like,
- Running processes
- Loaded DLLs
- Network connections
- Registry hives
- Command history
- Browser artifacts
- Malware including rootkits
- Kernel modules
- Encryption keys
- Hidden or injected code
Volatility works with many memory image formats that include:
- Raw (.dd, .img)
- EWF (E01)
- Lime
- Crash dumps
- Hibernation files
Volatility is widely used by SOC teams, IR analysts, DFIR experts and forensic students because it exposes what was actually happening on a live machine even after the system is turned off.
Installing Volatility
Most forensic Linux distros include Volatility by default, but you can install it on Ubuntu/Kali with:
sudo apt update
sudo apt install volatility
Or for Volatility 3 (newer version):
pip install volatility3
For beginners, using Volatility 2 is easier due to its extensive plugin support.
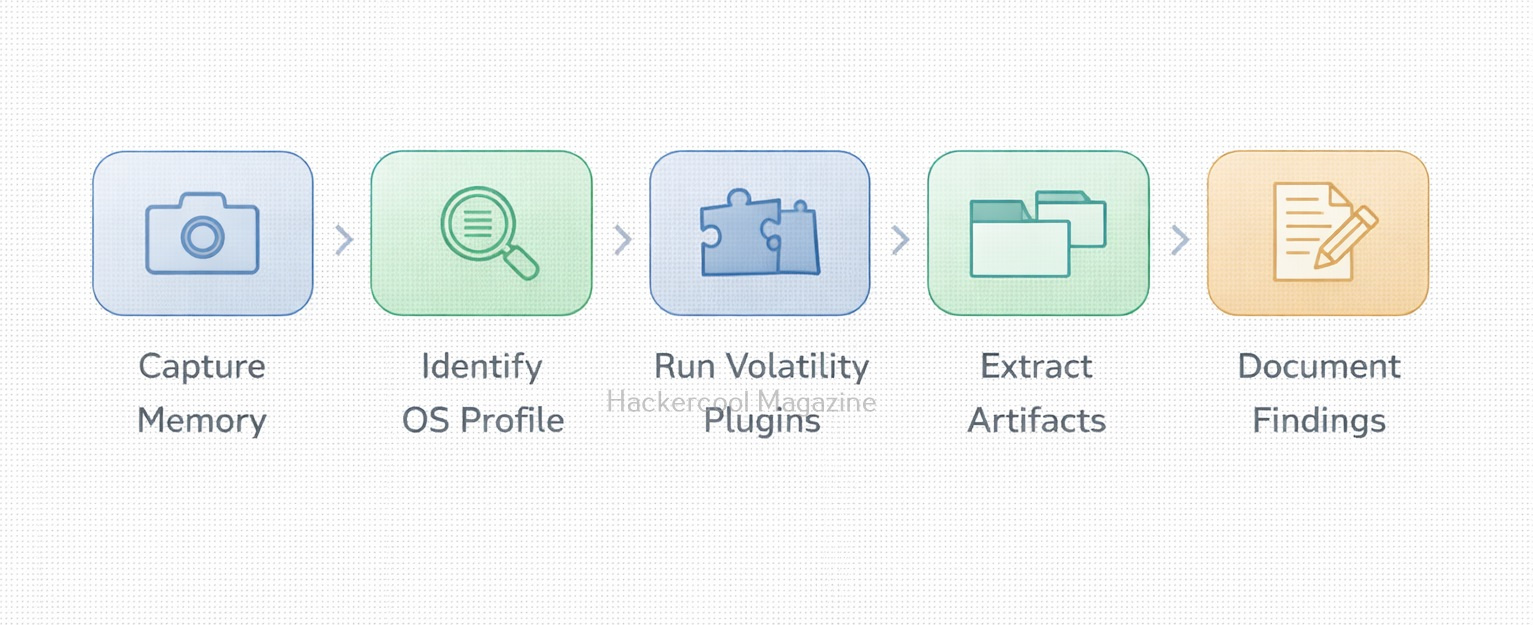
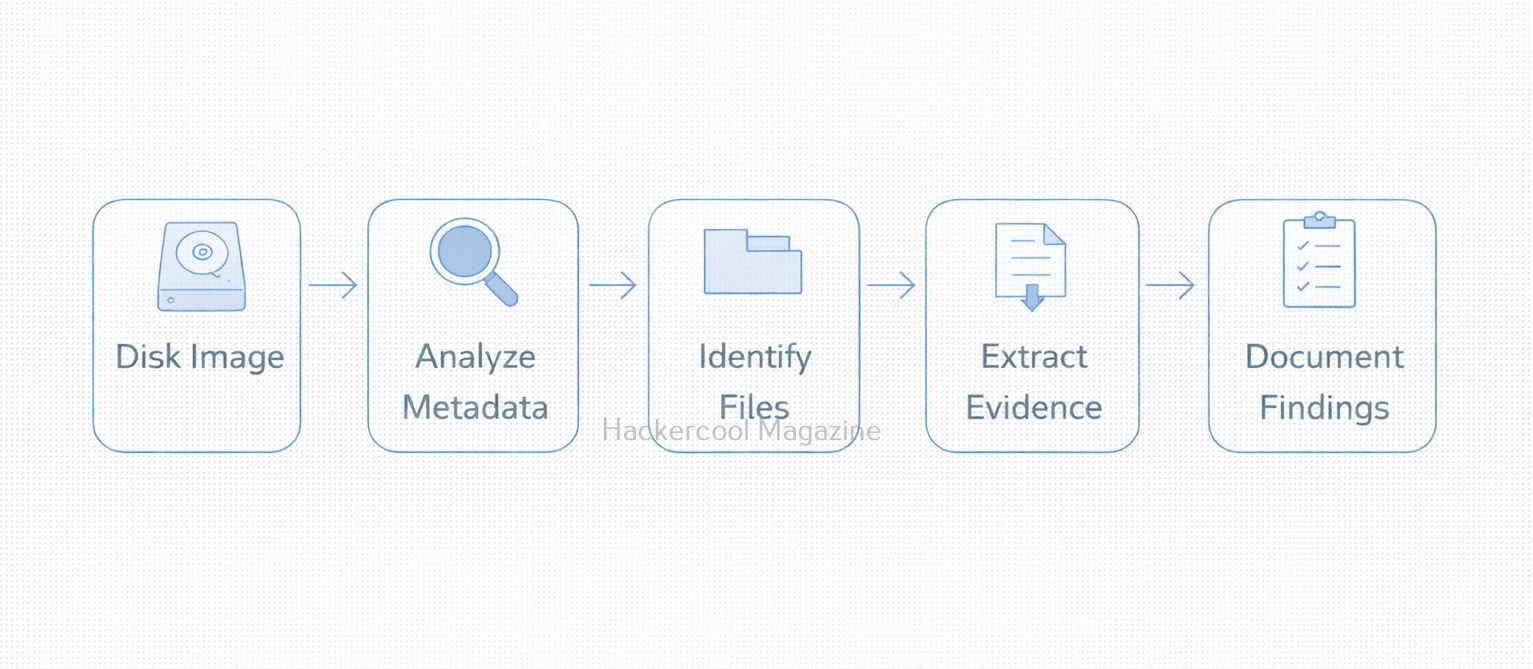
Step-by-step guide for beginners
Let’s walk you through a step-by-setp guide for beginners to use this tool.
Want to Learn Ethical Hacking Step-by-Step?
If you’re serious about learning cybersecurity, a structured roadmap makes the journey much easier.
Download The Beginner Ethical Hacker Starter Kit (2026 Edition) and discover:
✔ The ethical hacking learning path
✔ Beginner-friendly security concepts
✔ Essential tools ethical hackers use
✔ The most common vulnerabilities explained
STEP 1: Identify the Image Profile
Before Volatility can start analyzing RAM, it needs to know the OS version and architecture running on target system. This can be detected using the command shown below.
volatility -f memory.img imageinfo
This output suggests profiles as given below:
Win7SP1x64
Win10x64
Pick the closest match from the output and use it while using all further commands.
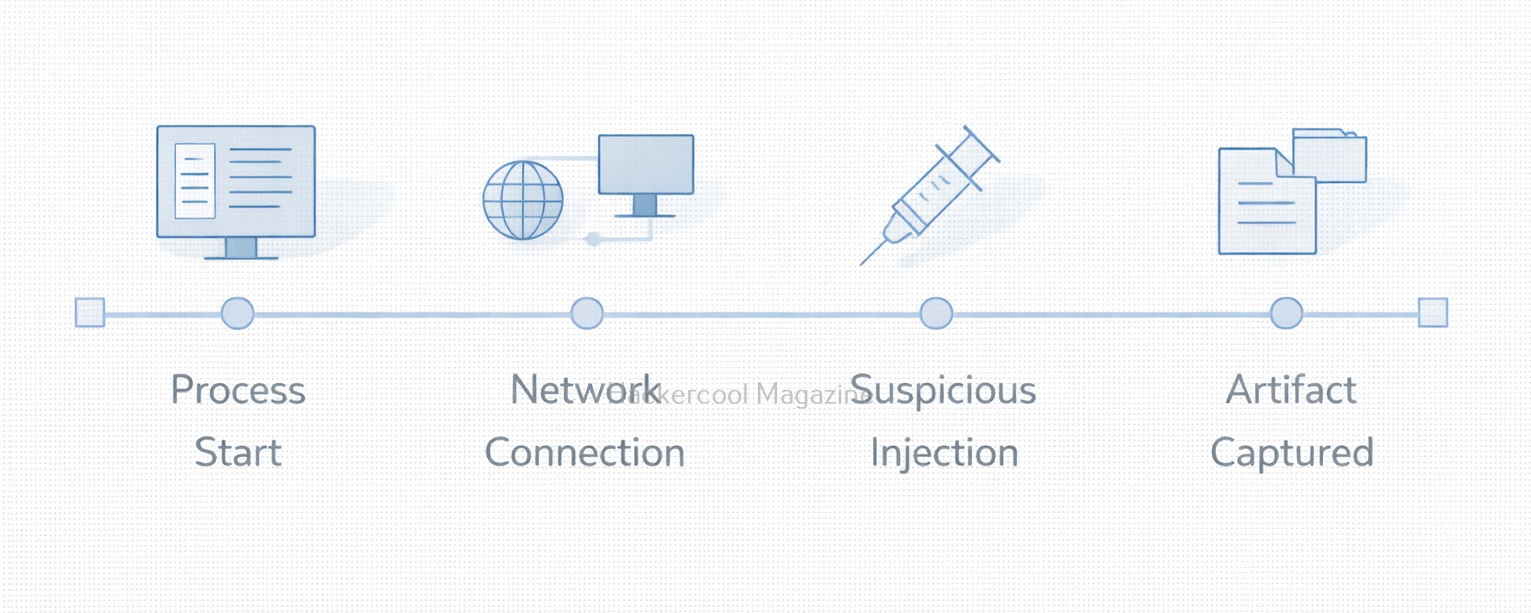
STEP 2: List Running Processes
One of the first steps in memory forensics is to view what processes were active. The command shown below will reveal that information to us.
volatility -f memory.img --profile=Win7SP1x64 pslist
It will reveal information like:
- Process IDs
- Parent processes
- Timestamps
You can spot suspicious processes such as “cmd.exe” running under “explorer.exe”.
To identify hidden/unlinked processes, we should use command shown below.
volatility -f memory.img --profile=Win7SP1x64 psscan
If “psscan” finds a process missing from “pslist”, it may indicate malware or rootkit activity.
STEP 3: List Loaded DLLs
Malware often loads suspicious DLLs. These can be detected using Volatility as shown below.
volatility -f memory.img --profile=Win7SP1x64 dlllist
You should be looking for DLLs:
- Loaded from unusual directories
- With random names
- Not signed by known vendors
STEP 4: Check Network Connections
Network activity in RAM is also extremely valuable for incident response. To view the active network connections, use command shown below.
volatility -f memory.img --profile=Win7SP1x64 netscan
Using the above command, you can identify:
- External IP addresses the machine communicated with
- Ports used for C2 (Command & Control)
- Suspicious outbound connections
STEP 5: Extract Command History
Attackers frequently use PowerShell, cmd.exe or bash while hacking. We can use Volatility to recover parts of the command history.
For Windows CMD:
volatility -f memory.img --profile=Win7SP1x64 cmdscan
For consoles created by applications:
volatility -f memory.img --profile=Win7SP1x64 consoles
For PowerShell commands (Volatility 3 plugin):
volatility3 -f memory.img windows.shellbags
STEP 6: Dump a Process
Dumping a process helps us in malware analysis. First, dentify the PID of a suspicious process using “pslist” command and then dump it using command shown below.
volatility -f memory.img --profile=Win7SP1x64 procdump -p 1234 -D output/
You can then analyze the dumped file with tools like:
- Strings
- YARA
- Static AV engines
- Other reverse engineering tools
STEP 7: Extract Browser Artifacts
Volatility can also extract browsing history, cookies and even parts of open web sessions. For example, you want to extract browsing history, you can use command:
volatility -f memory.img --profile=Win7SP1x64 iehistory
For browsing history in Chrome (Volatility 3 plugin):
volatility3 -f memory.img windows.chromehistory
Importance of Volatility
1. Provides visibility unavailable in disk forensics
RAM contains live system data that never touches the disk. So attackers often execute their malicious code in RAM to stay undetected. Volatility provides visibility to this information.
2. Excellent for malware and rootkit investigations
Even the most stealthy malware typically leaves traces in memory. So, this tool plays a role here too.
3. Cross-platform support
Volatility supports RAM capture on Windows, Linux, macOS and Android.
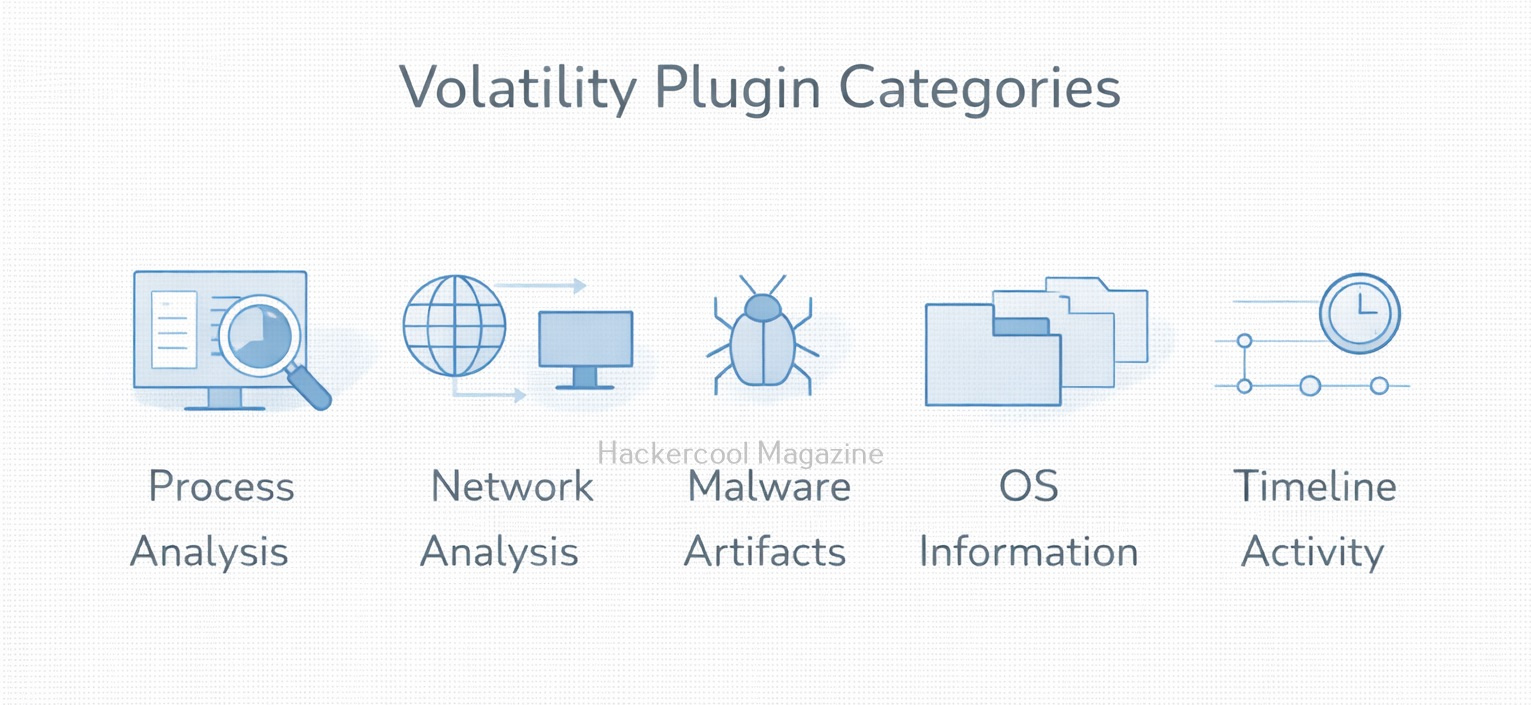
4. Massive plugin ecosystem
Volatility has hundreds of plugins that allow deep and specialized analysis.
5. Open-source and trusted in DFIR
It is open-source and used by government agencies, SOC teams and forensic labs worldwide.
Conclusion
Volatility is one of the most important tools in the world of digital forensics and incident response. For beginners, it offers a hands-on way to learn how processes, DLLs, memory structures and malware operate behind the scenes. By mastering simple commands like “pslist”, “netscan”, “dlllist, and “procdump”, you gain a powerful skill set that can help uncover intrusions and understand attacker behavior. Whether you’re a student, a threat hunter or an aspiring DFIR analyst, Volatility is a tool you’ll use throughout your career.
Start Your Ethical Hacking Journey Today
Learning cybersecurity can feel overwhelming at first. The best way to start is with a clear roadmap and the right resources.
Download The Beginner Ethical Hacker Starter Kit (2026 Edition) and get instant access to:
✔ Ethical hacking fundamentals
✔ A beginner cybersecurity learning roadmap
✔ Essential hacking tools every beginner should know
✔ Common vulnerabilities explained simply